


Move over Venmo, Apple Pay Cash is here, and it's built right into iMessage. If you're like us, you've been eagerly waiting to give this new feature a try on your iPhone ever since Apple announced it during WWDC 2017 back in June. While it was never released in the main iOS 11 update, it finally showed up in iOS 11.2.
Before you jump right into using Apple Pay Cash, there are a few preliminary steps for you take. Fortunately, they're all pretty quick and painless. Just follow the instructions in our guide below, and you'll be paying and requesting money from your friends and family in no time.
The Requirements
Before continuing, note that you need to live in the US and be at least 18 years old to use Apple Pay Cash. Also, if Apple should ever need to authenticate your identity, you will need a US-based credit or debit card and a social security card.
Aside from those legal requirements, you'll also need an iPhone capable of sending and accepting Apple Pay Cash. iPhones that can be used include the SE, 6/6 Plus, 6s/6s Plus, 7/7 Plus, 8/8 Plus, and X. Apple has a full list of compatible Apple devices if you're interested in using it on your Apple Watch or Mac too.
Update to iOS 11.2 (If Not Done Already)
While Apple announced Apple Pay Cash as a new iOS 11 feature, the system only went live with the release of iOS 11.2. If your iPhone is running a previous version of iOS, you will need to update in order to use Apple Pay Cash (and so will everyone you want to trade money with).
To update, simply head to your Settings app, tap "General," then "Software Update." Follow the on-screen instructions to begin downloading and installing your update.


Enable Two-Factor Authentication
Two-factor authentication is an added security measure to prevent intruders from gaining access to your iOS devices. When enabled, Apple sends a passcode to one of your authorized iOS devices when you attempt to sign in to your iCloud account. That passcode must then be entered into the device you are signing in to before you gain access to iCloud and its information.
This security method helps to ensure that only you can gain access to your sensitive data. It makes sense then why Apple would require you to have this setting enabled before participating in Apple Pay Cash. You don't want your financial information stolen right off your phone, right?
Add a Credit or Debit Card
Technically, you do not need a credit or debit card to use Apple Pay Cash. Once you receive a transaction with Apply Pay Cash, that money gets stored in an Apply Pay Cash card on your device. If you make sure to never spend (or send) more money than you have on your Apple Pay Cash card, you'll be all set.
Of course, that could prove to be a pretty unrealistic scenario for many people. If you anticipate that you will ever need to use more money than your Apple Pay Cash card contains, you might want to consider adding a debit or credit card.
If you have a credit or debit card set up with Apple Pay already, you're good to go. If not, adding a card is easy. In the Settings app, scroll down to "Wallet & Apple Pay," then tap "Add Credit or Debit Card." Just follow the on-screen instructions to set up your card with Apple Pay.
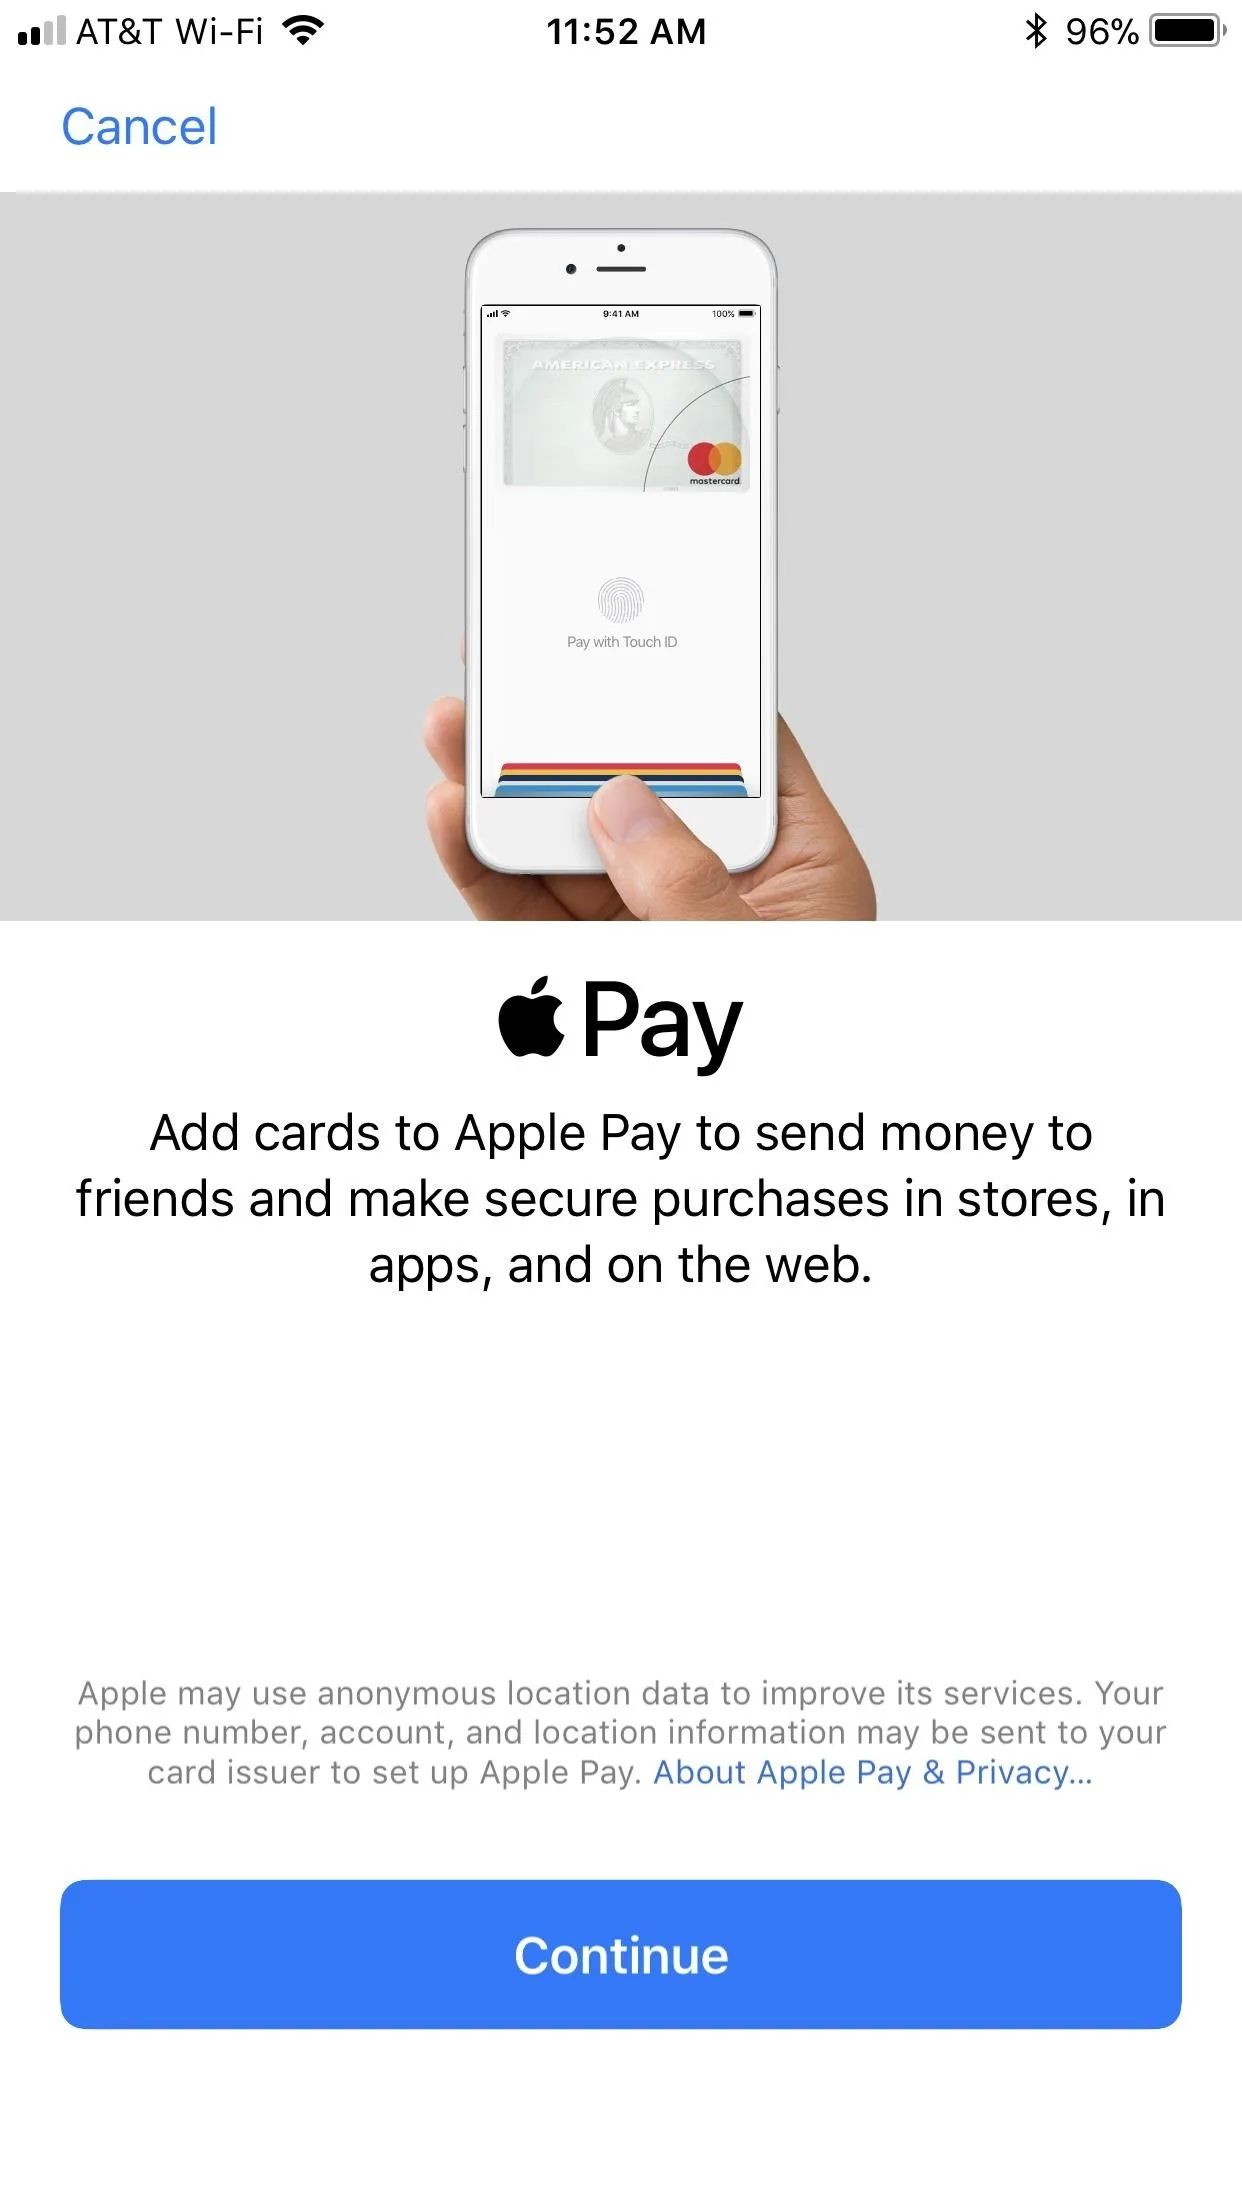
Jake Peterson/Gadget Hacks
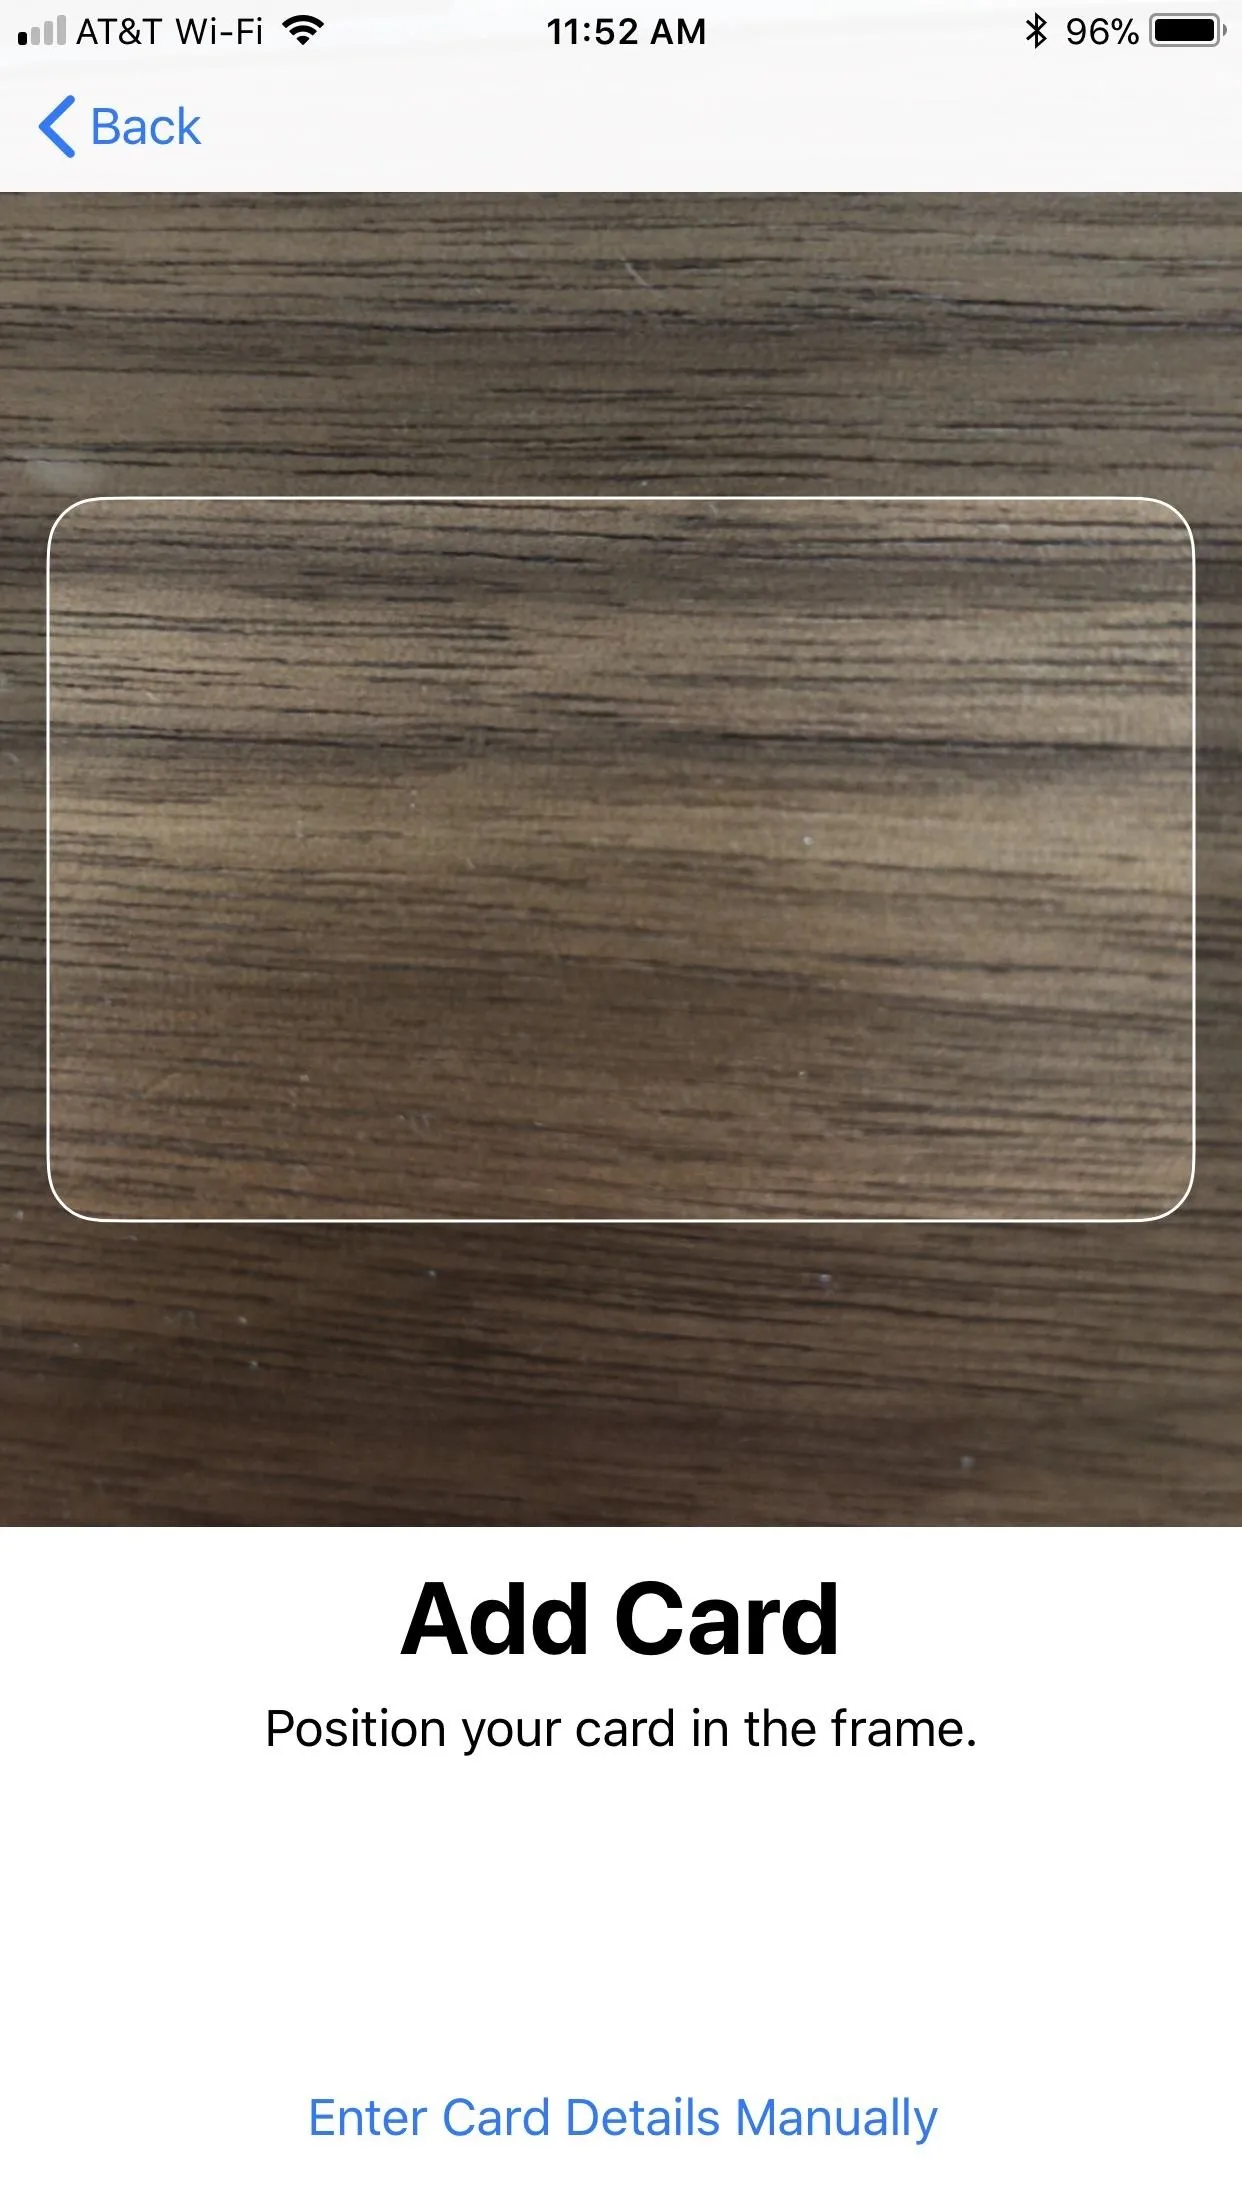
Jake Peterson/Gadget Hacks
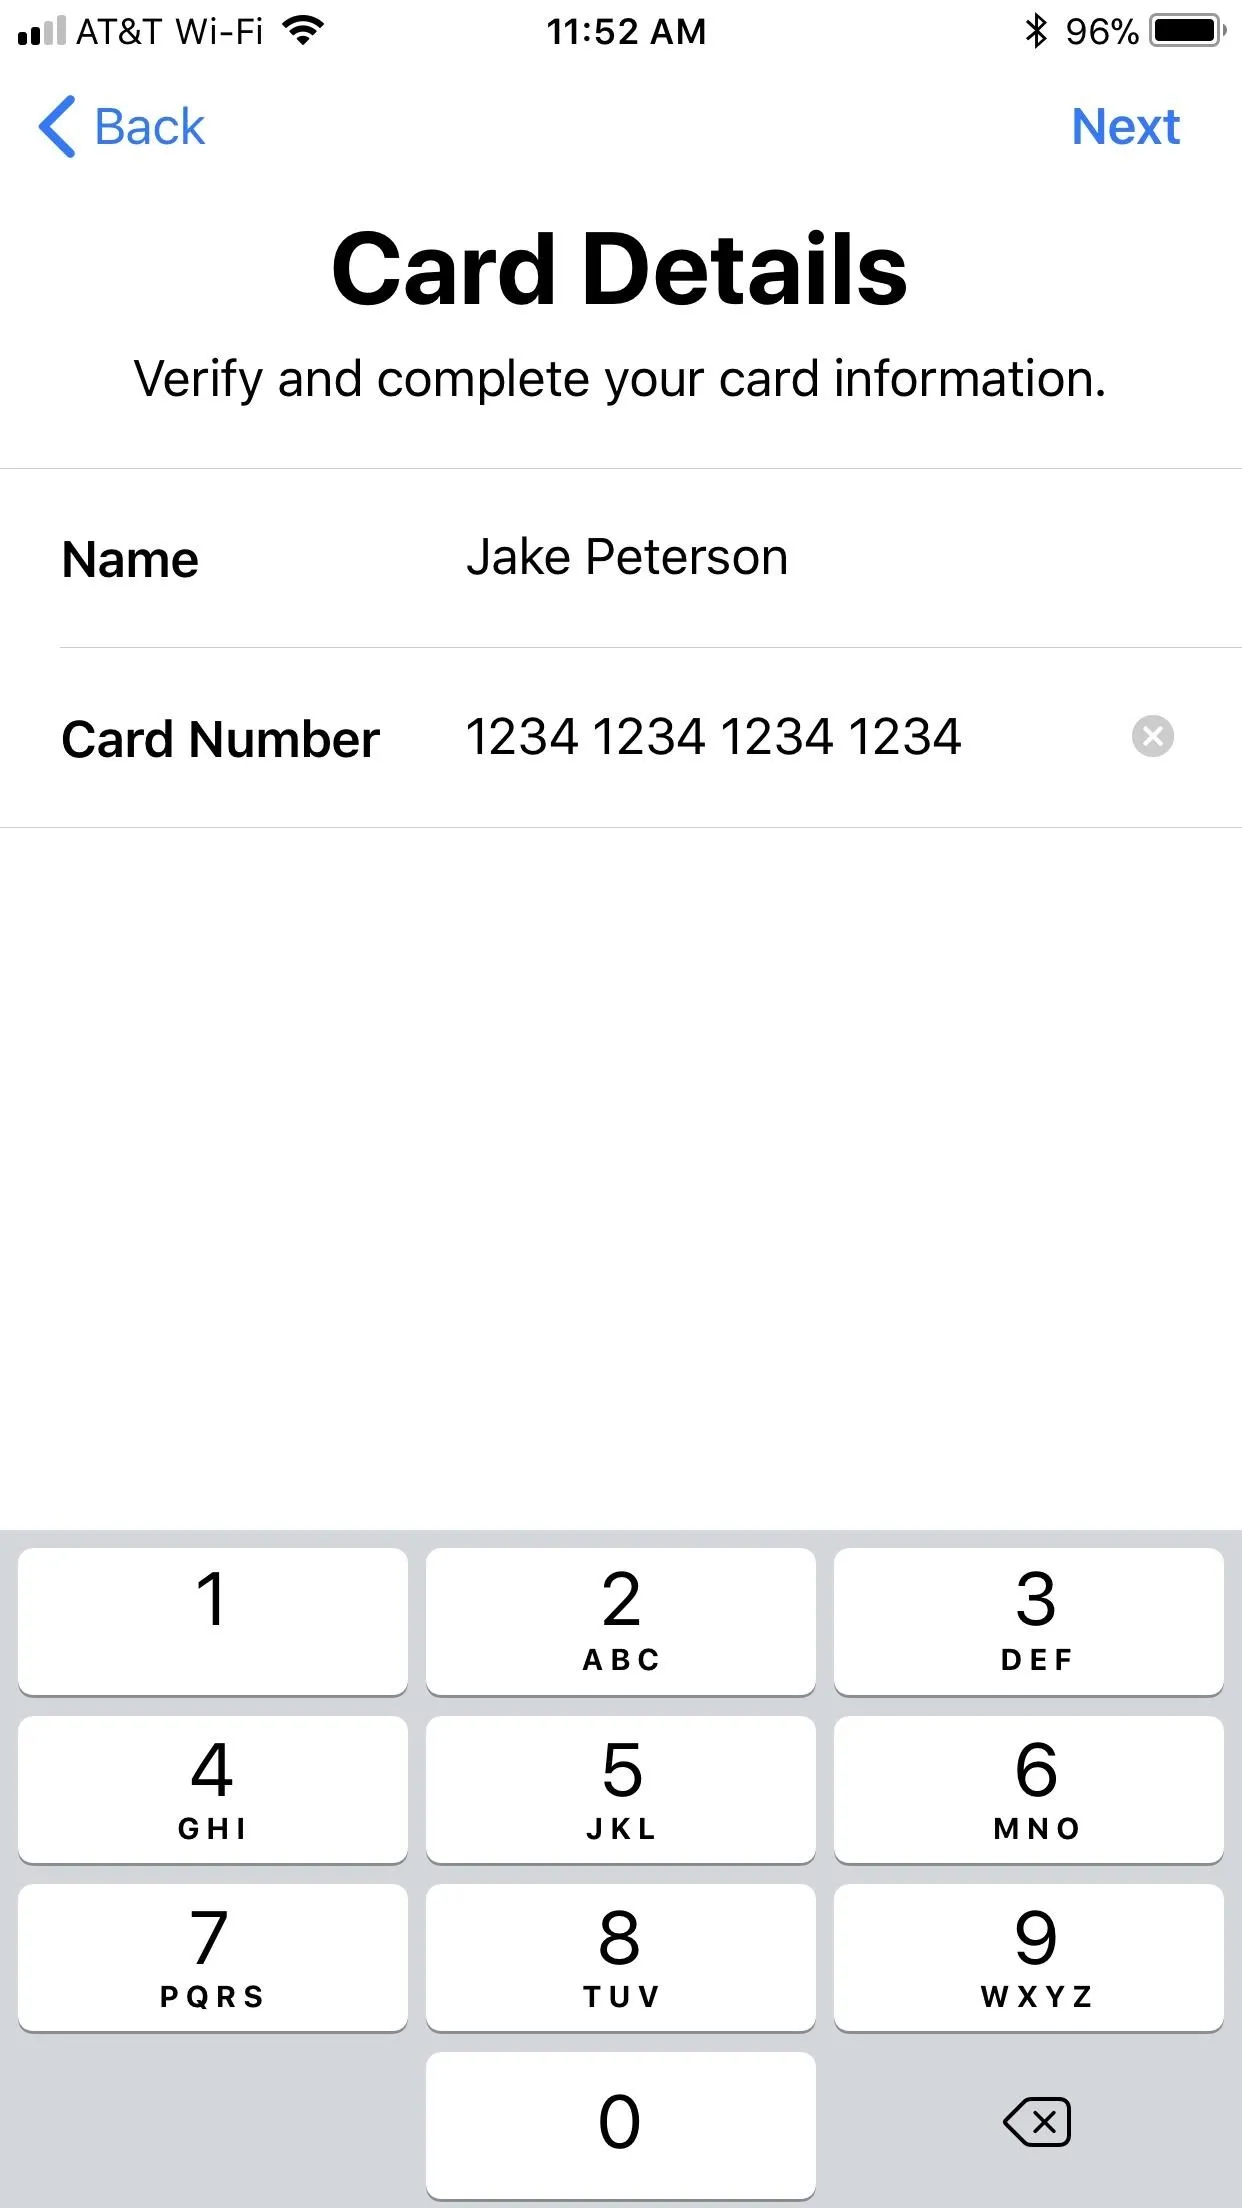
Jake Peterson/Gadget Hacks
Jake Peterson/Gadget Hacks
Jake Peterson/Gadget Hacks
Jake Peterson/Gadget Hacks
Of course, you can always wait to set up a credit or debit card when you ...
Enable Apple Pay Cash
Even with the above in place, you can't get started with Apple Pay Cash without enabling it first. Luckily, that's a simple process in itself. There are two ways to activate Apple Pay Cash:
From Within the Messages App
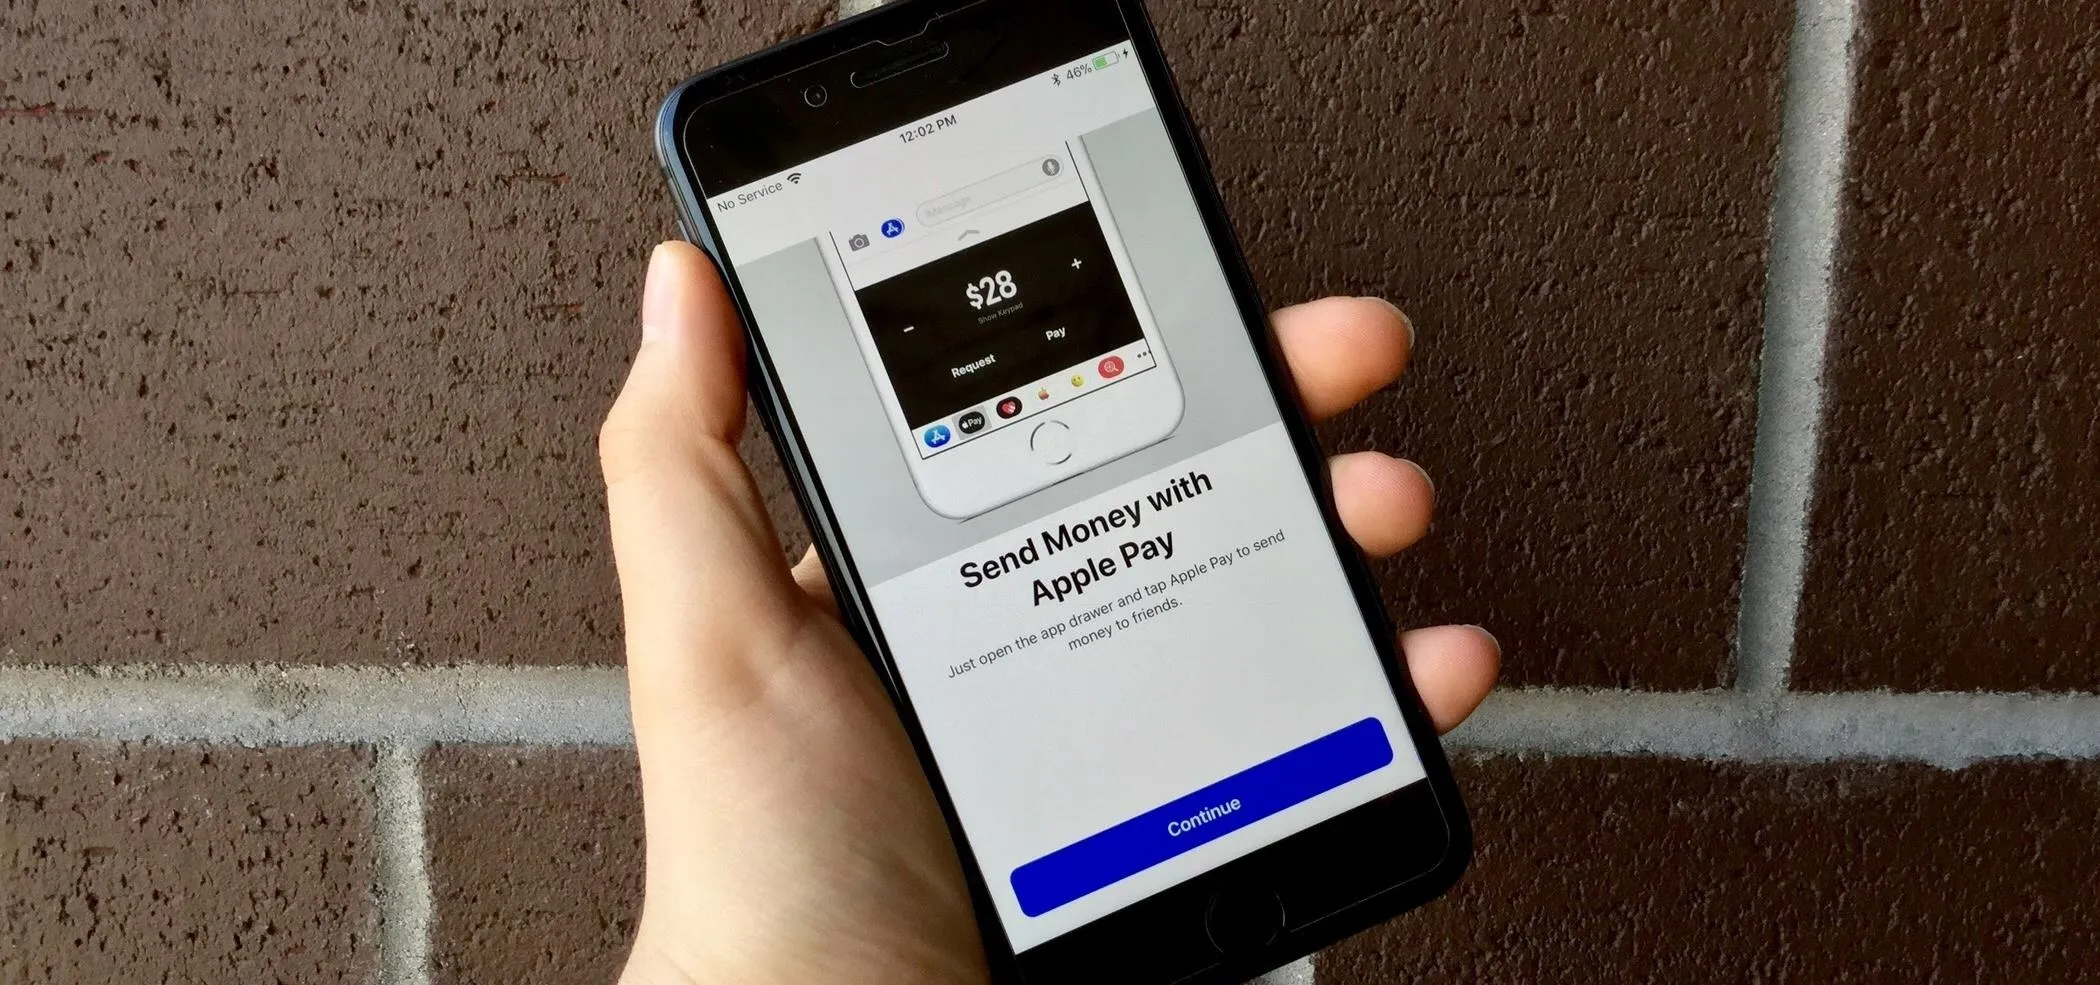
It would make sense to allow users to activate an iMessage feature right from the Messages app itself. Just choose a conversation (the other user will also need to be running iOS 11.2) and tap the Apple Pay Cash icon from the new App Drawer. Then, simply choose an amount from the pay/request screen that pops up.


Once you tap "Request" or "Pay," follow the on-screen instructions to finish setting up Apple Pay Cash. If you didn't add a credit or debit card previously, you have a chance to here. Again, a card is only required if you pay someone before receiving any money or if you don't have enough money on your Apple Pay Cash card to fulfill the payment.


From Within the Settings
The other way to enable Apple Pay Cash is found in Settings. Go to "Wallet & Apple Pay," then tap the "Apple Pay Cash" toggle to enable the feature. You will be required to enter your Apple ID password, as well as follow the prompts found in the method above. If you'd like to add a card, you can also do so here.


One cool change that comes with Apply Pay Cash is that even if you don't have a credit or debit card in your Wallet, you can still use the lock screen Wallet shortcut. Previously, you'd need a credit or debit card in your Wallet to have access to the feature. Now, simply double tap the Home button — or Side button on iPhone X — to reach your Apple Pay Cash Card from the lock screen.
- Follow Gadget Hacks on Facebook, Twitter, Google+, YouTube, and Instagram
- Follow WonderHowTo on Facebook, Twitter, Pinterest, and Google+
Cover photo by Jake Peterson/Gadget Hacks


Comments
Be the first, drop a comment!