


Anyone remember Google Goggles? Well, it's back with a new name: Google Lens. But this time, there's more machine learning and it's integrated into many different Google apps and services. The latest is the Google app for iPhones.
Adding Google Lens visual search to the Google app makes plenty of sense — after all, it's the first place most people turn when they're looking for answers. Now, you can just tap a button, then point your camera at something to learn more about it.
If you don't see the Google Lens button just yet, start by updating your Google app on the App Store. If you still don't see it after that, force-close the Google app, then reopen it. Once you see the button pictured below (next to the microphone icon in the search bar), go ahead and tap it, then read on to see how it all works.
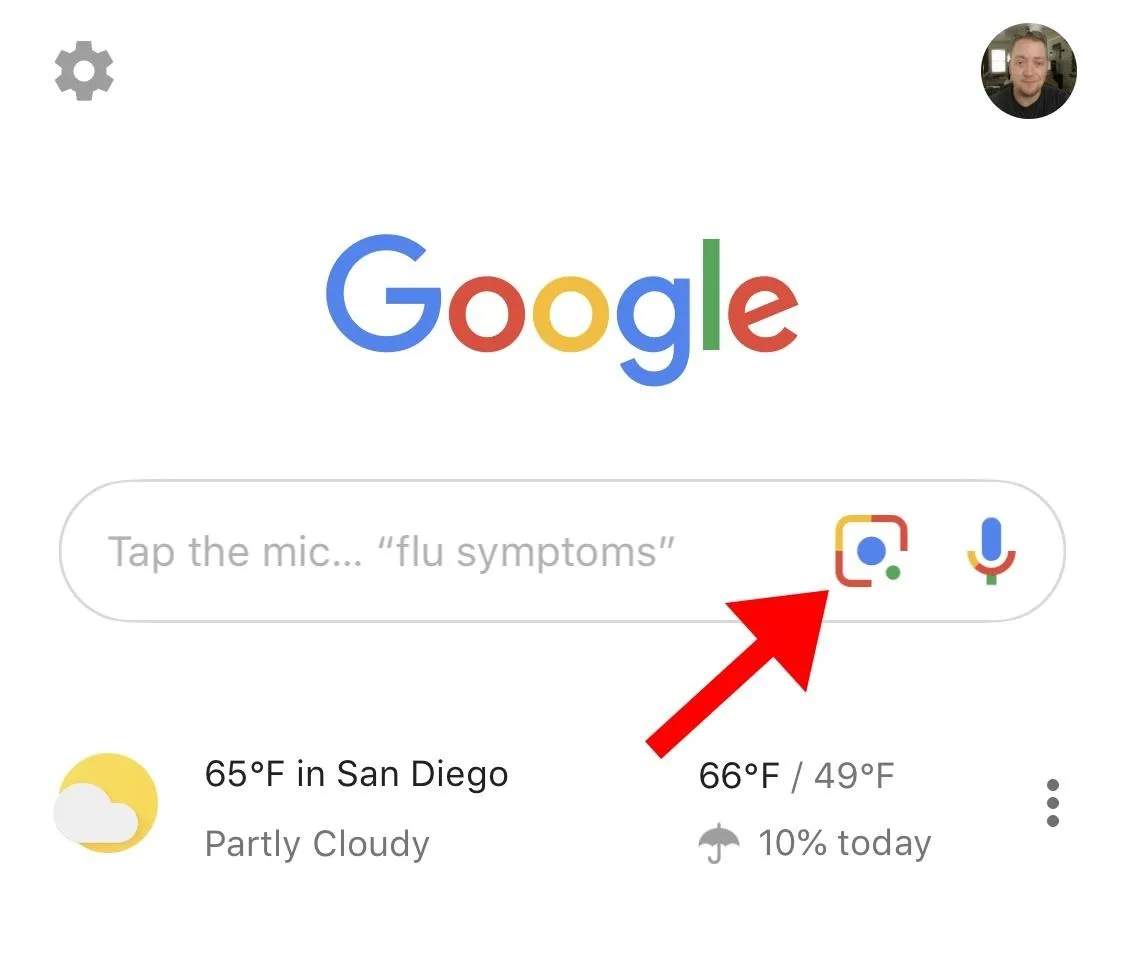
The new Google Lens button in the Google app for iOS.
Enable Google Lens in the Google App
When you're ready to try out Google Lens, start by tapping the Lens icon in the search bar of your Google app. It's the one right next to the microphone icon, and it looks like a hybrid of the Instagram icon and the Google Assistant logo.
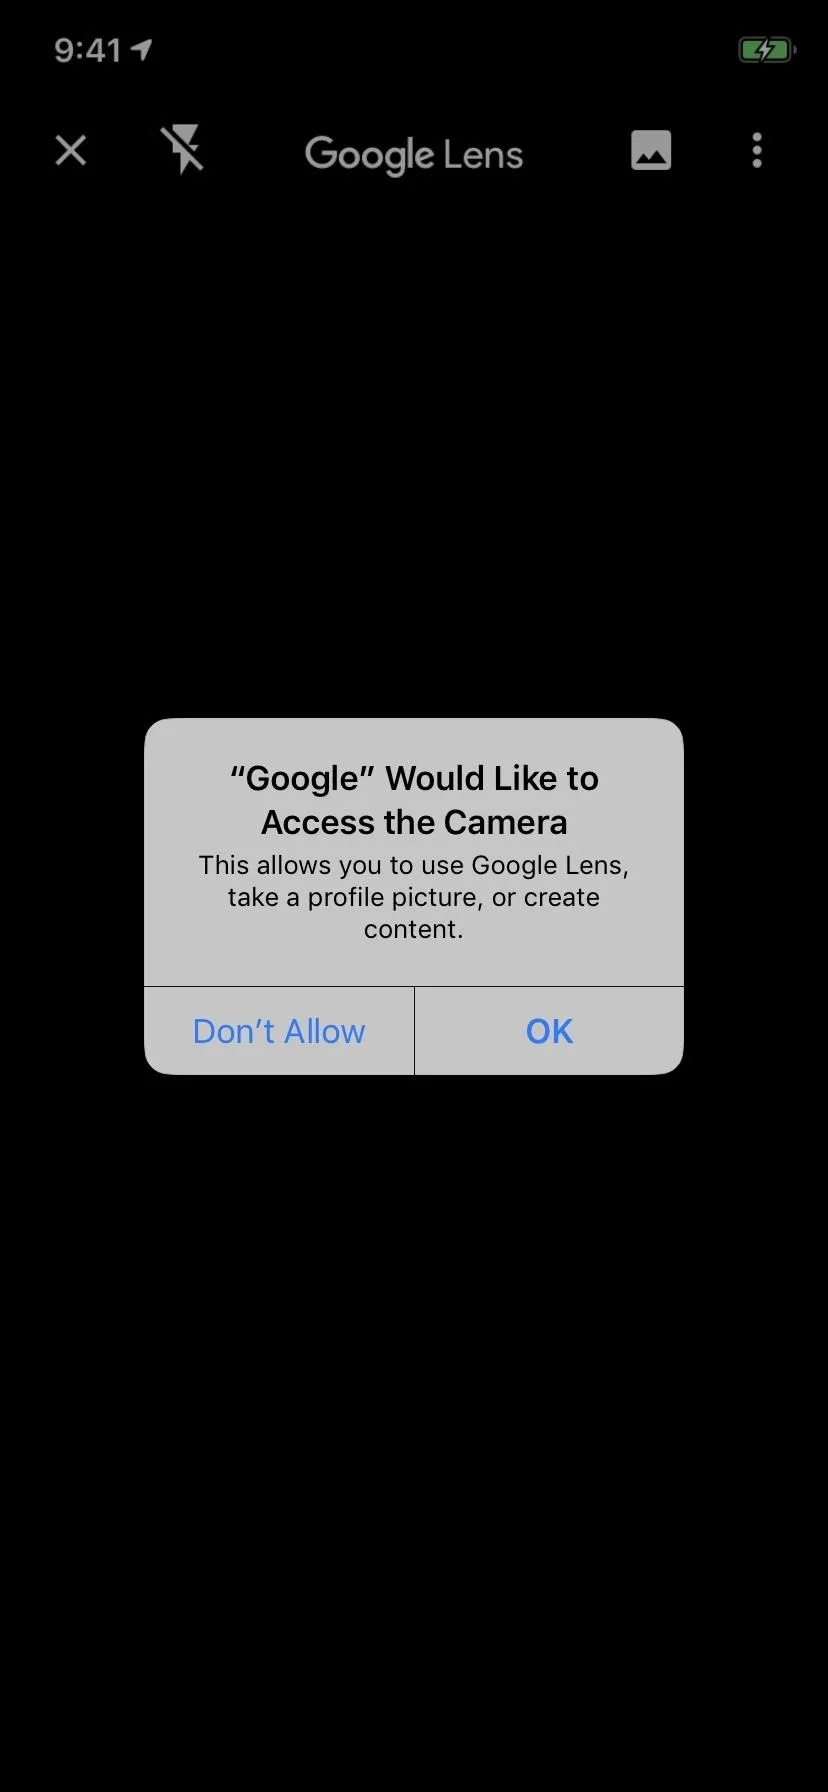
When you do this for the first time, you'll see an outline of what data Google Lens can access. It's standard stuff, really — just your camera, which it obviously needs, and your Google history (Web & App Activity) so it can store your searches for your own future reference. If you're okay with these permissions, tap "Turn on camera to use Lens," then hit "OK" on the system permission prompt.
Justin Meyers/Gadget Hacks

Justin Meyers/Gadget Hacks
Justin Meyers/Gadget Hacks
Justin Meyers/Gadget Hacks
Justin Meyers/Gadget Hacks
Justin Meyers/Gadget Hacks
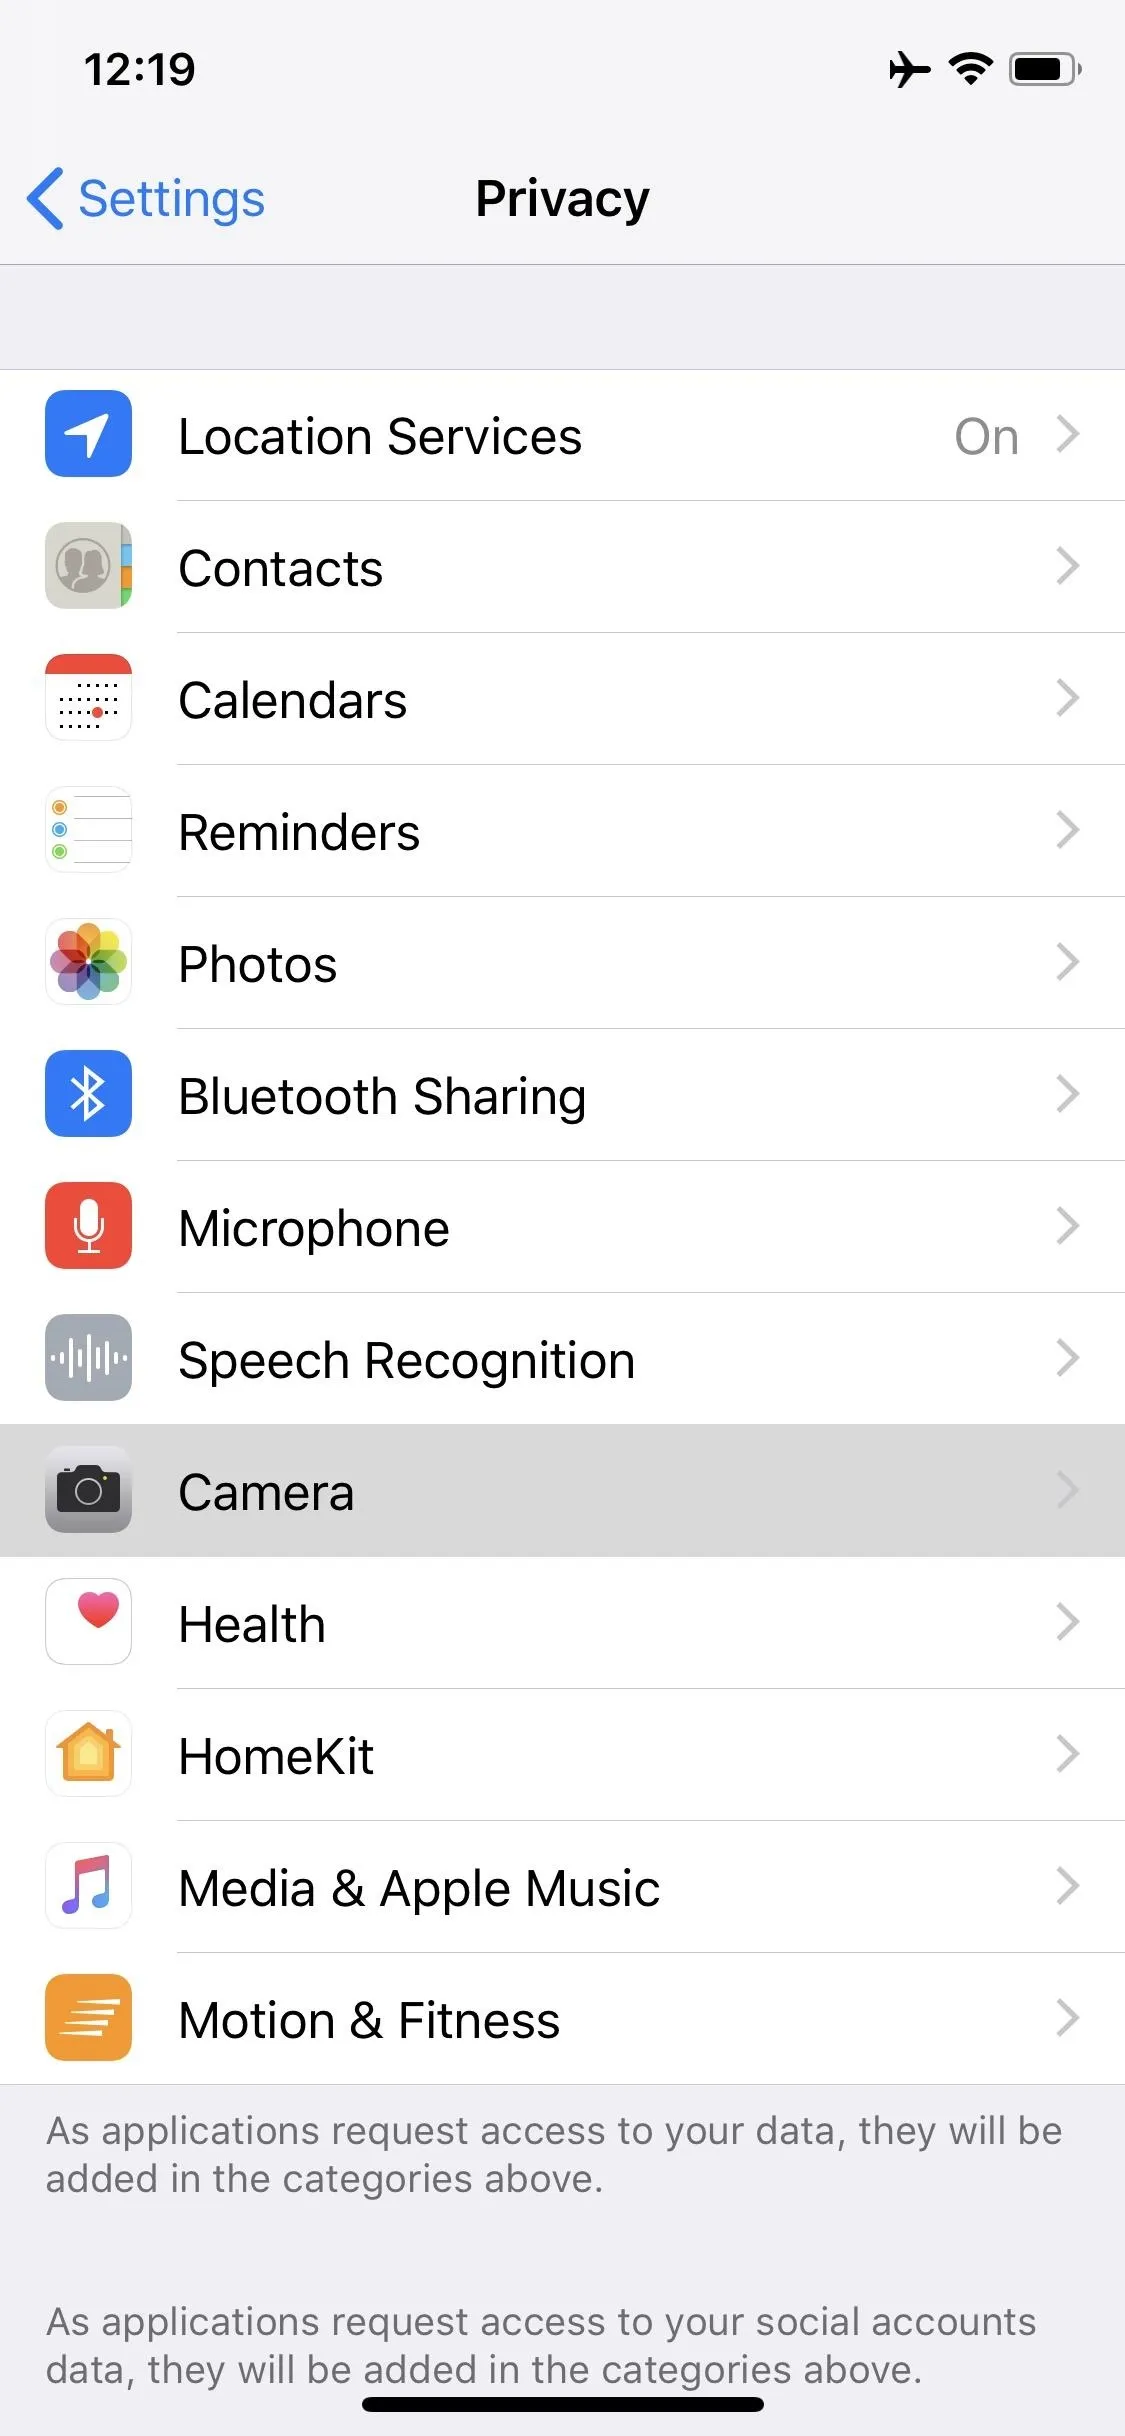
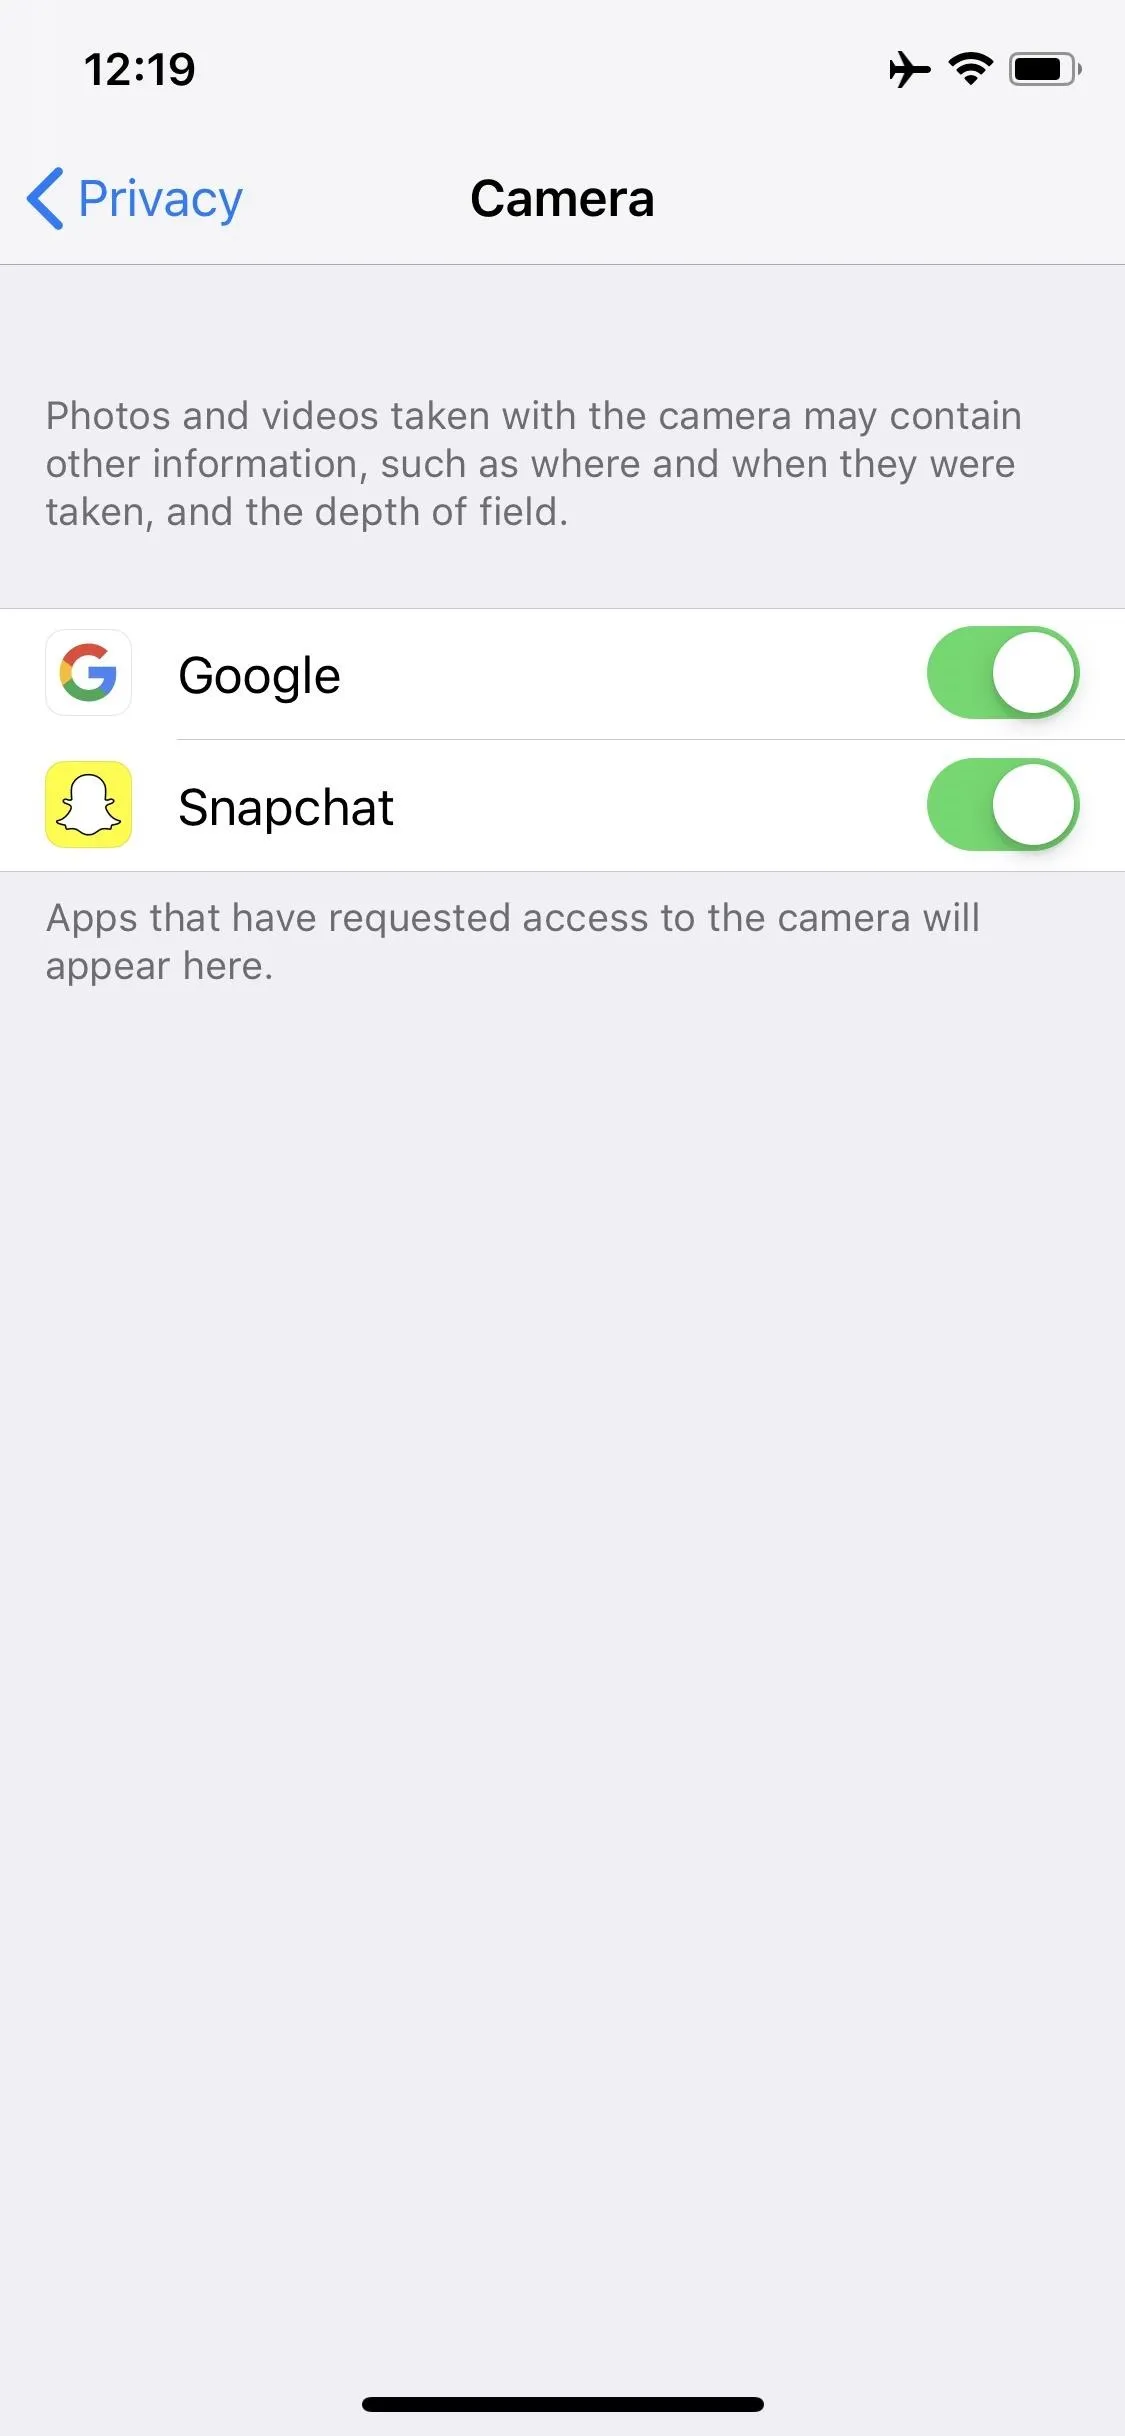
If you rejected the camera permission the first time it popped up (by tapping "Don't Allow" when the "Google Would like to Access the Camera" prompt came up), you can retroactively fix this. Open your Settings app, then choose "Privacy" and select "Camera" on the following screen. From there, make sure the toggle next to "Google" is enabled.

Learn About the World Around You
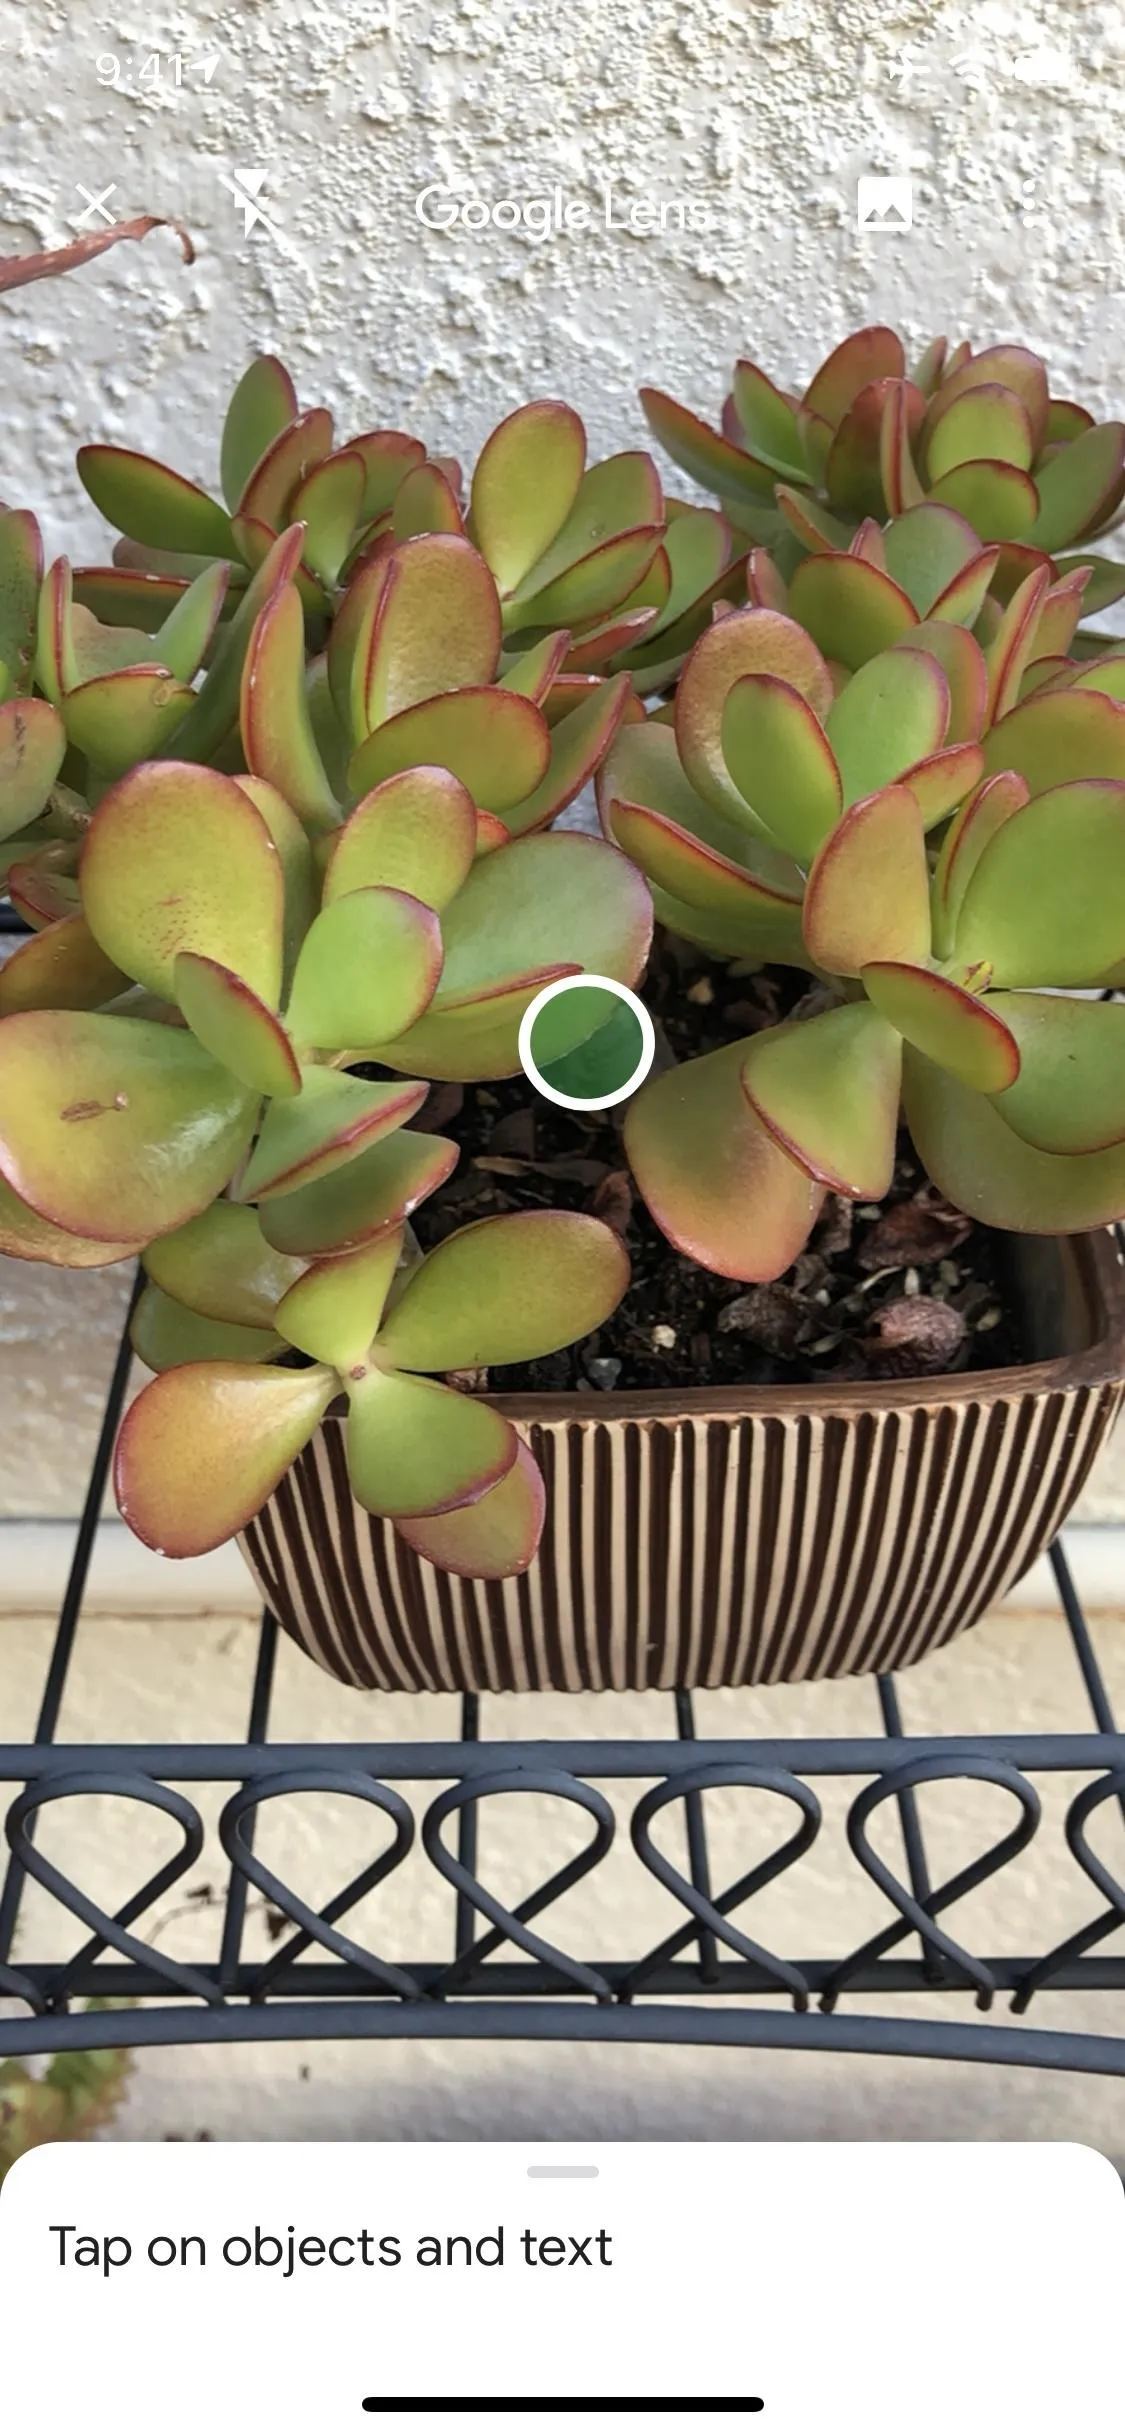
Now you're ready to give Google Lens a try. From the Google app's main screen, tap the Google Lens icon to get started. Your camera will immediately open.
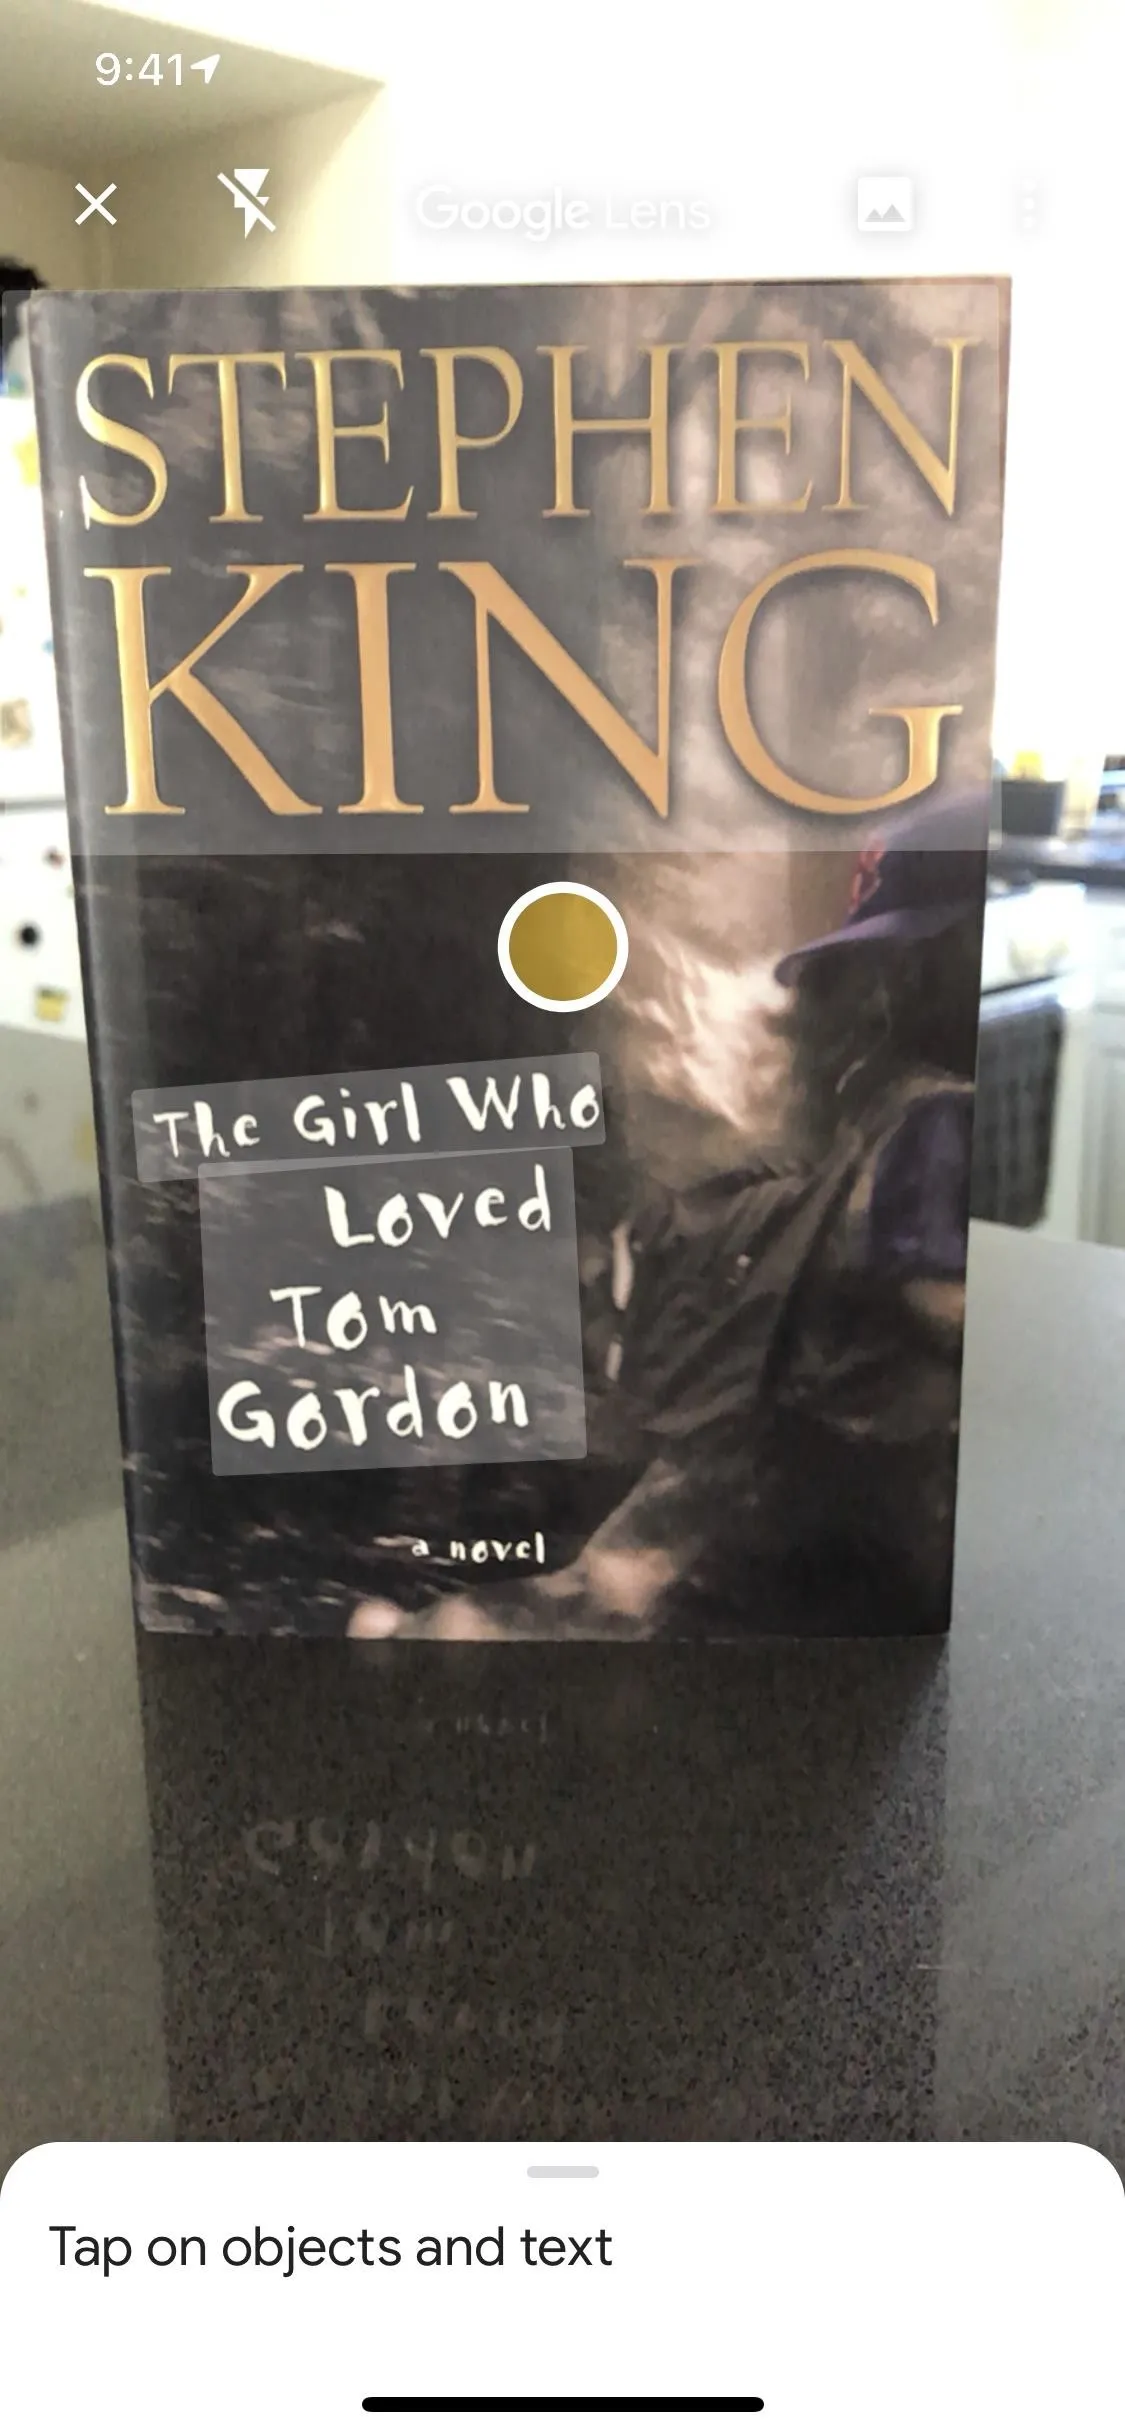
Google Lens will automatically highlight areas of the camera viewfinder if it recognizes objects of interest, but you'll still have to manually tap an object to learn more about it. The object doesn't have to be highlighted for this to work — just tap anything in the viewfinder, then you'll either get a knowledge graph card or Google's best guess as to what you're wanting to learn about. If you tap this card (or term), you'll be taken to the Google search results page for it.
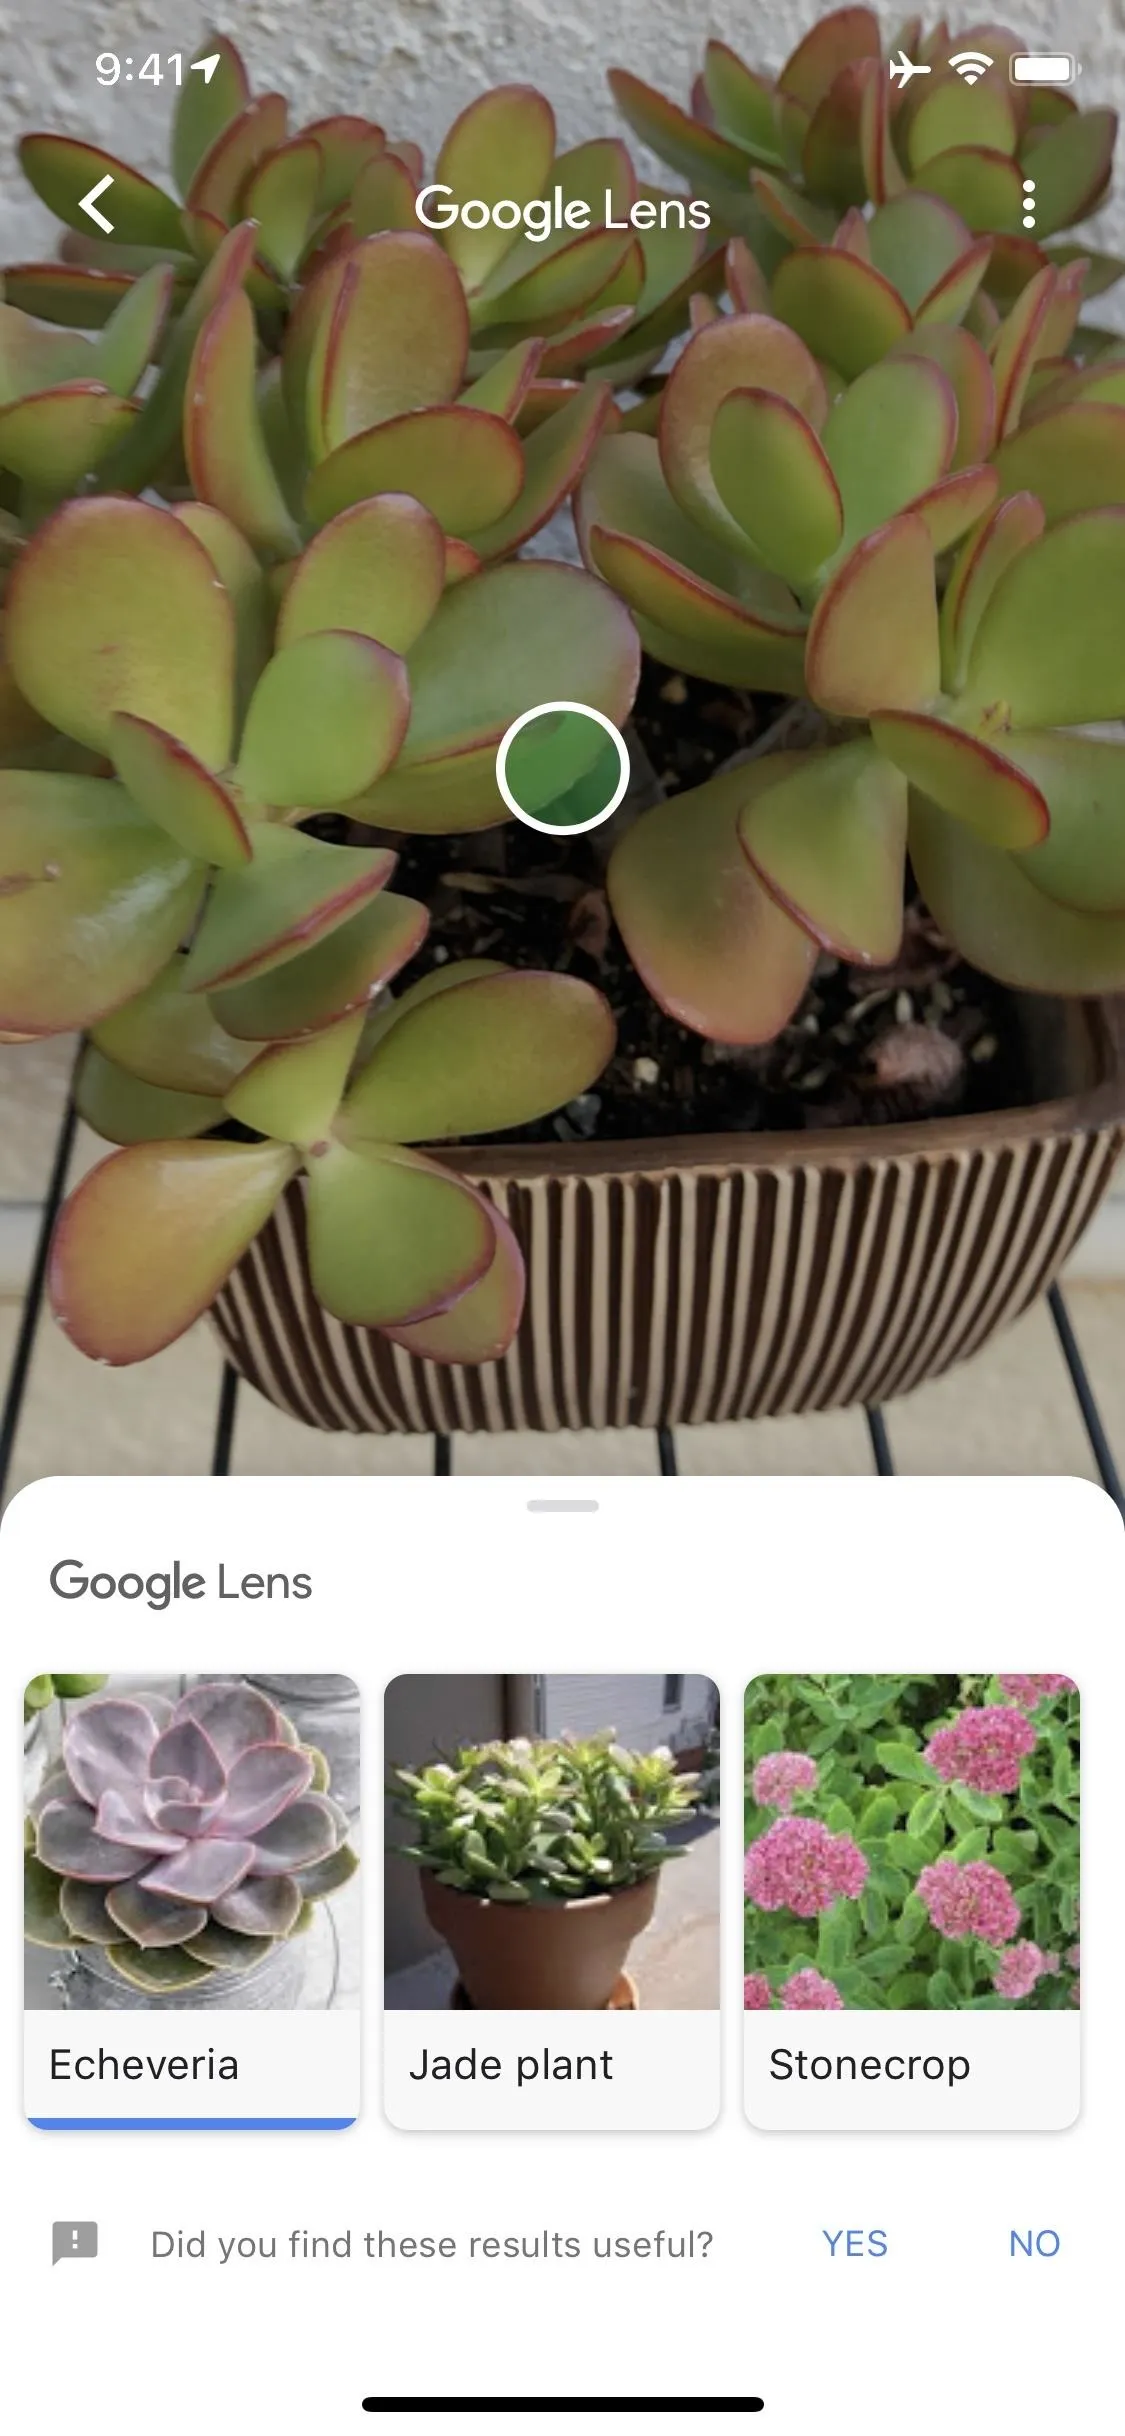
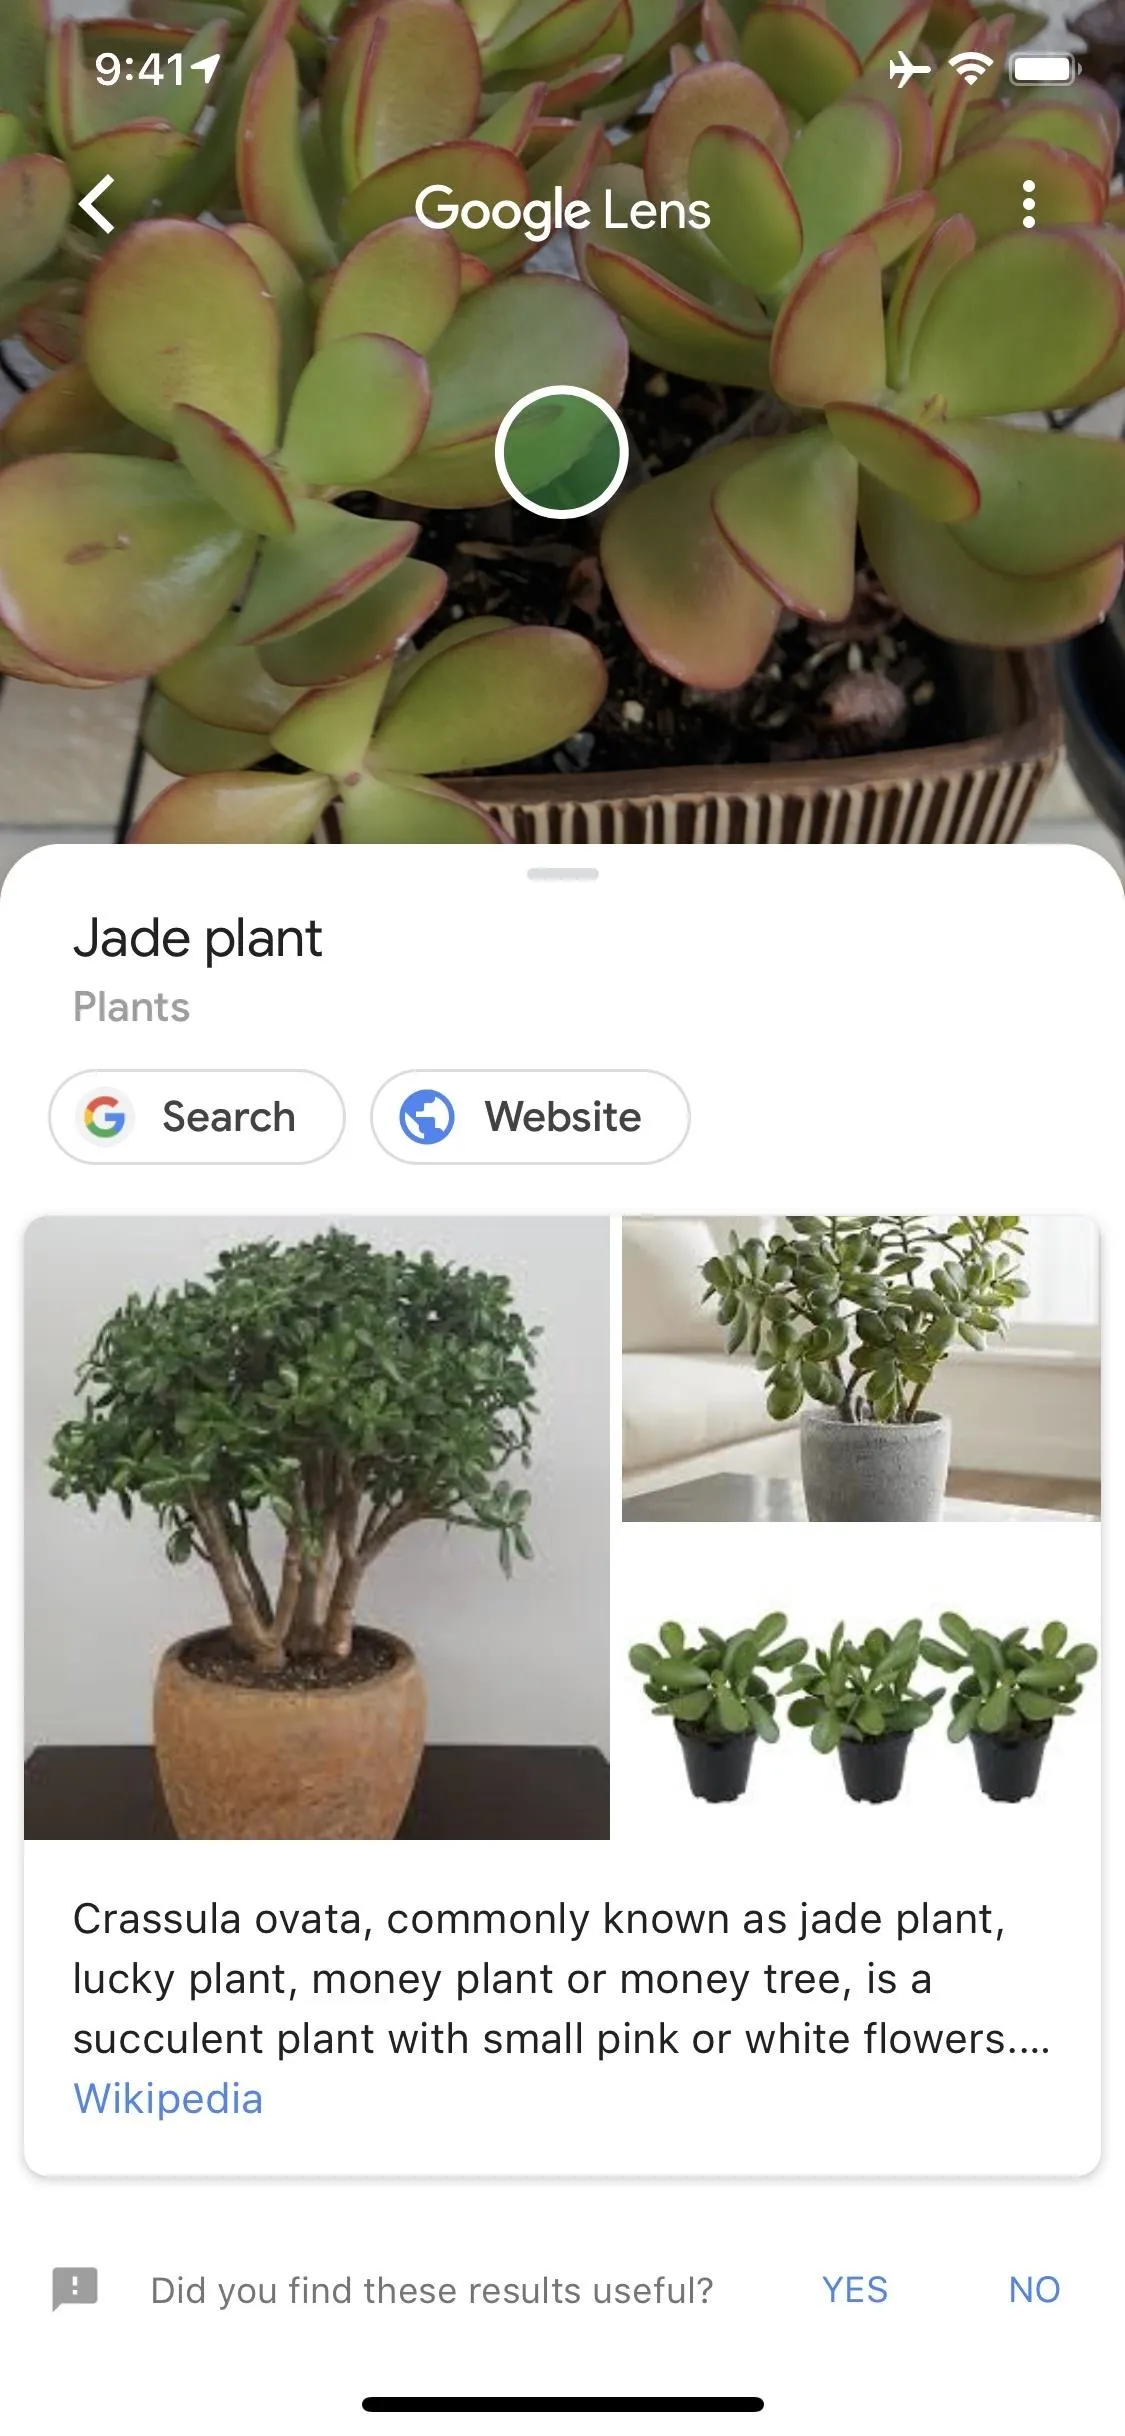
You can tap just about anything in your camera's viewfinder to learn more about it, but Google Lens doesn't always get it right. As you can see below, the first result when using Lens to identify a Jade plant was a completely different succulent. But Lens provided more than one guess here, and Jade was the second option. Tapping this allowed me to learn more about the right plant.
Learn What Google Lens Is Good At
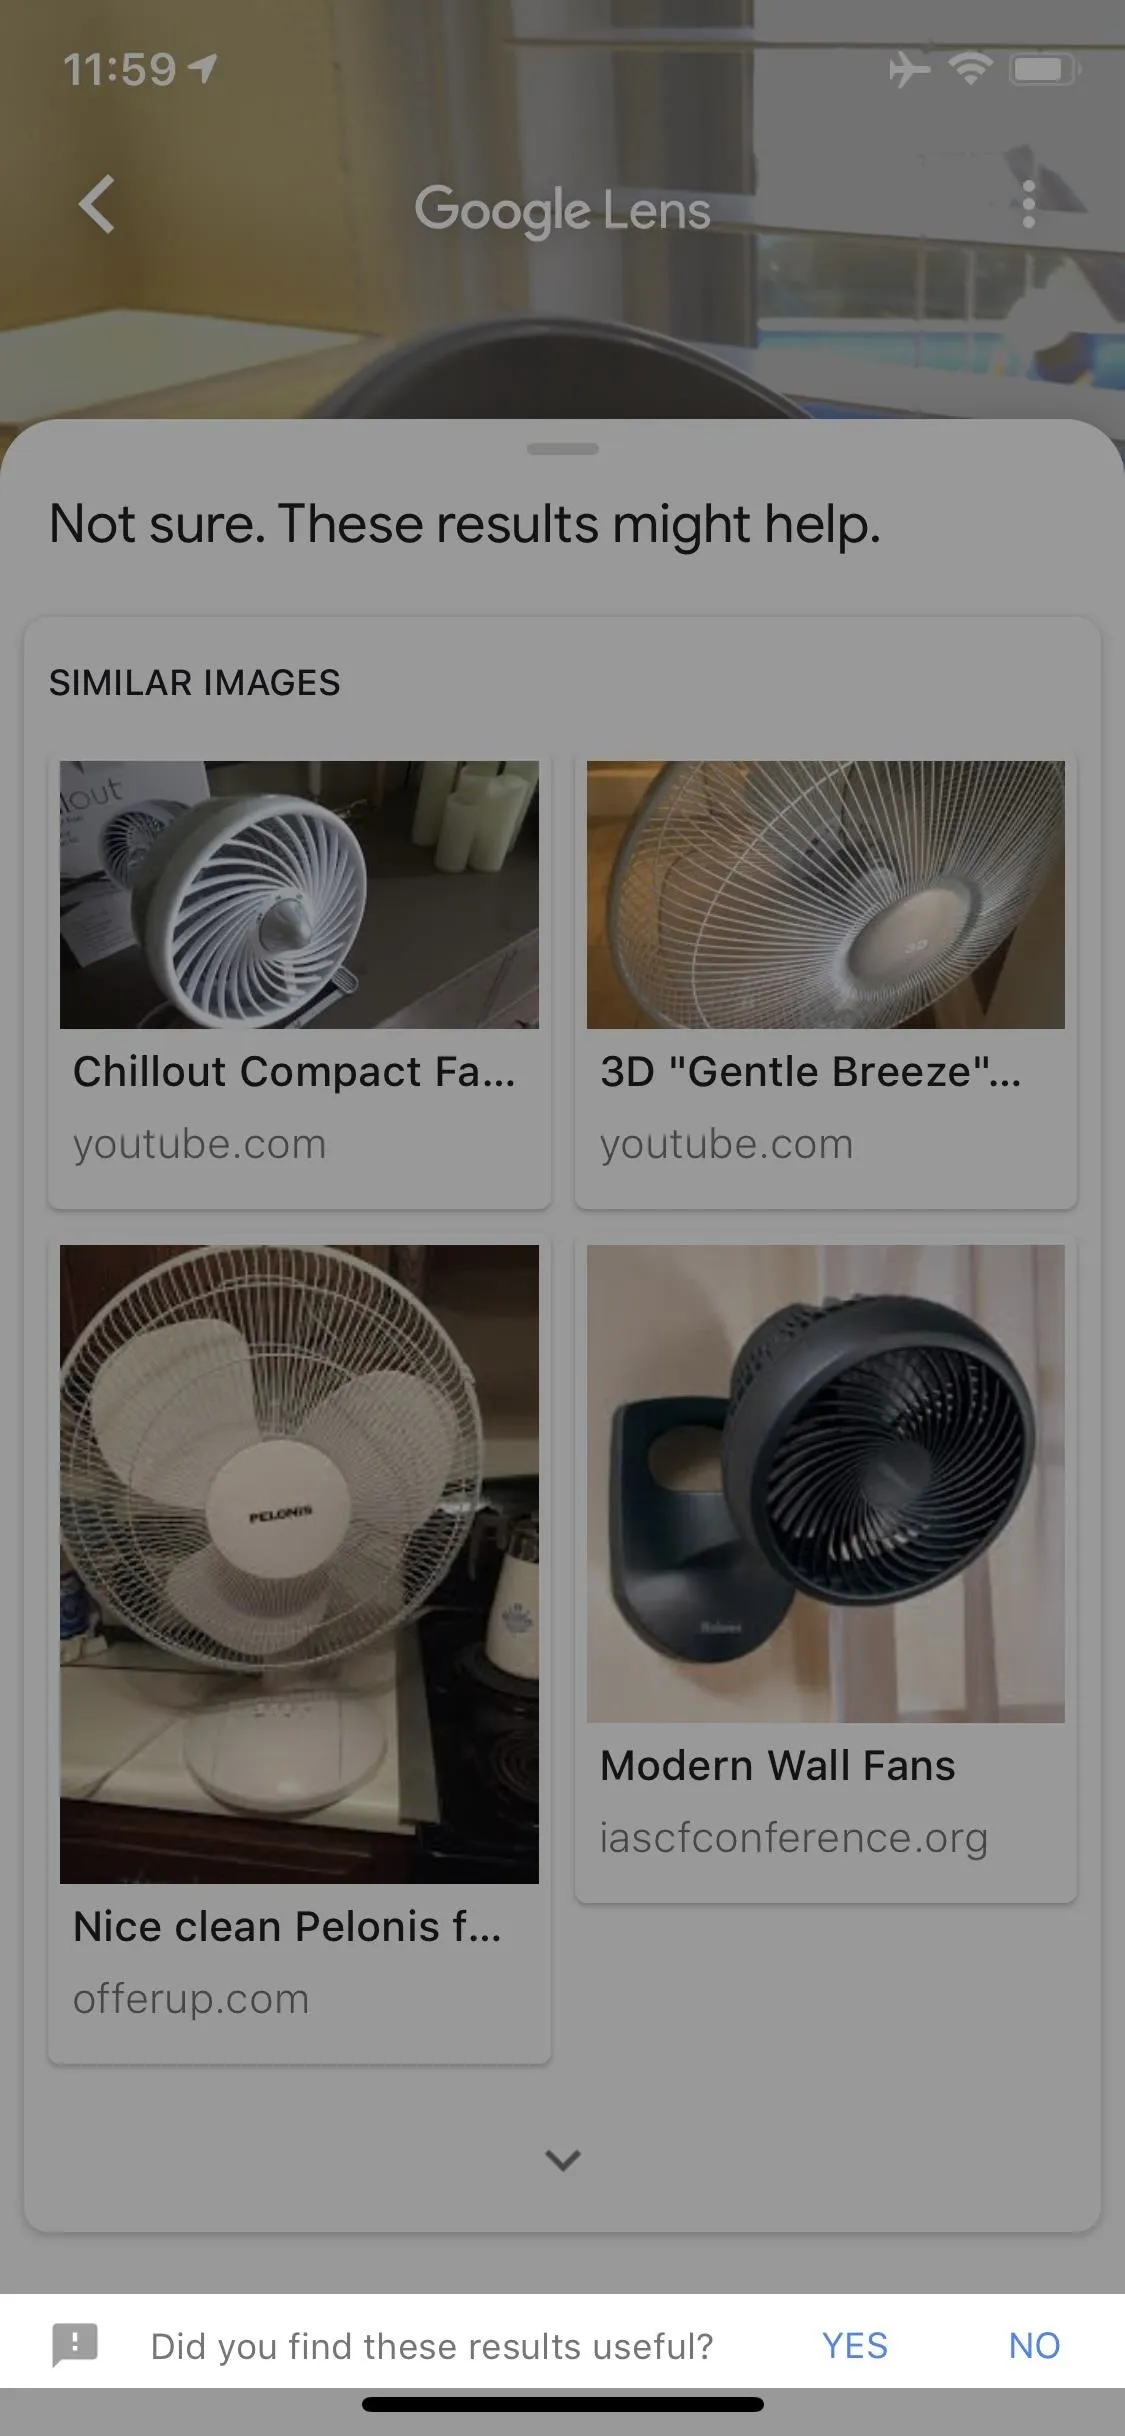
That last point above is something you'll definitely need to be aware of when using Google Lens: It's not great at identifying everything. It's getting better all the time, but as it stands, it works better with certain types of objects than it does for others. Learning what works and what doesn't will help your overall experience with Lens.
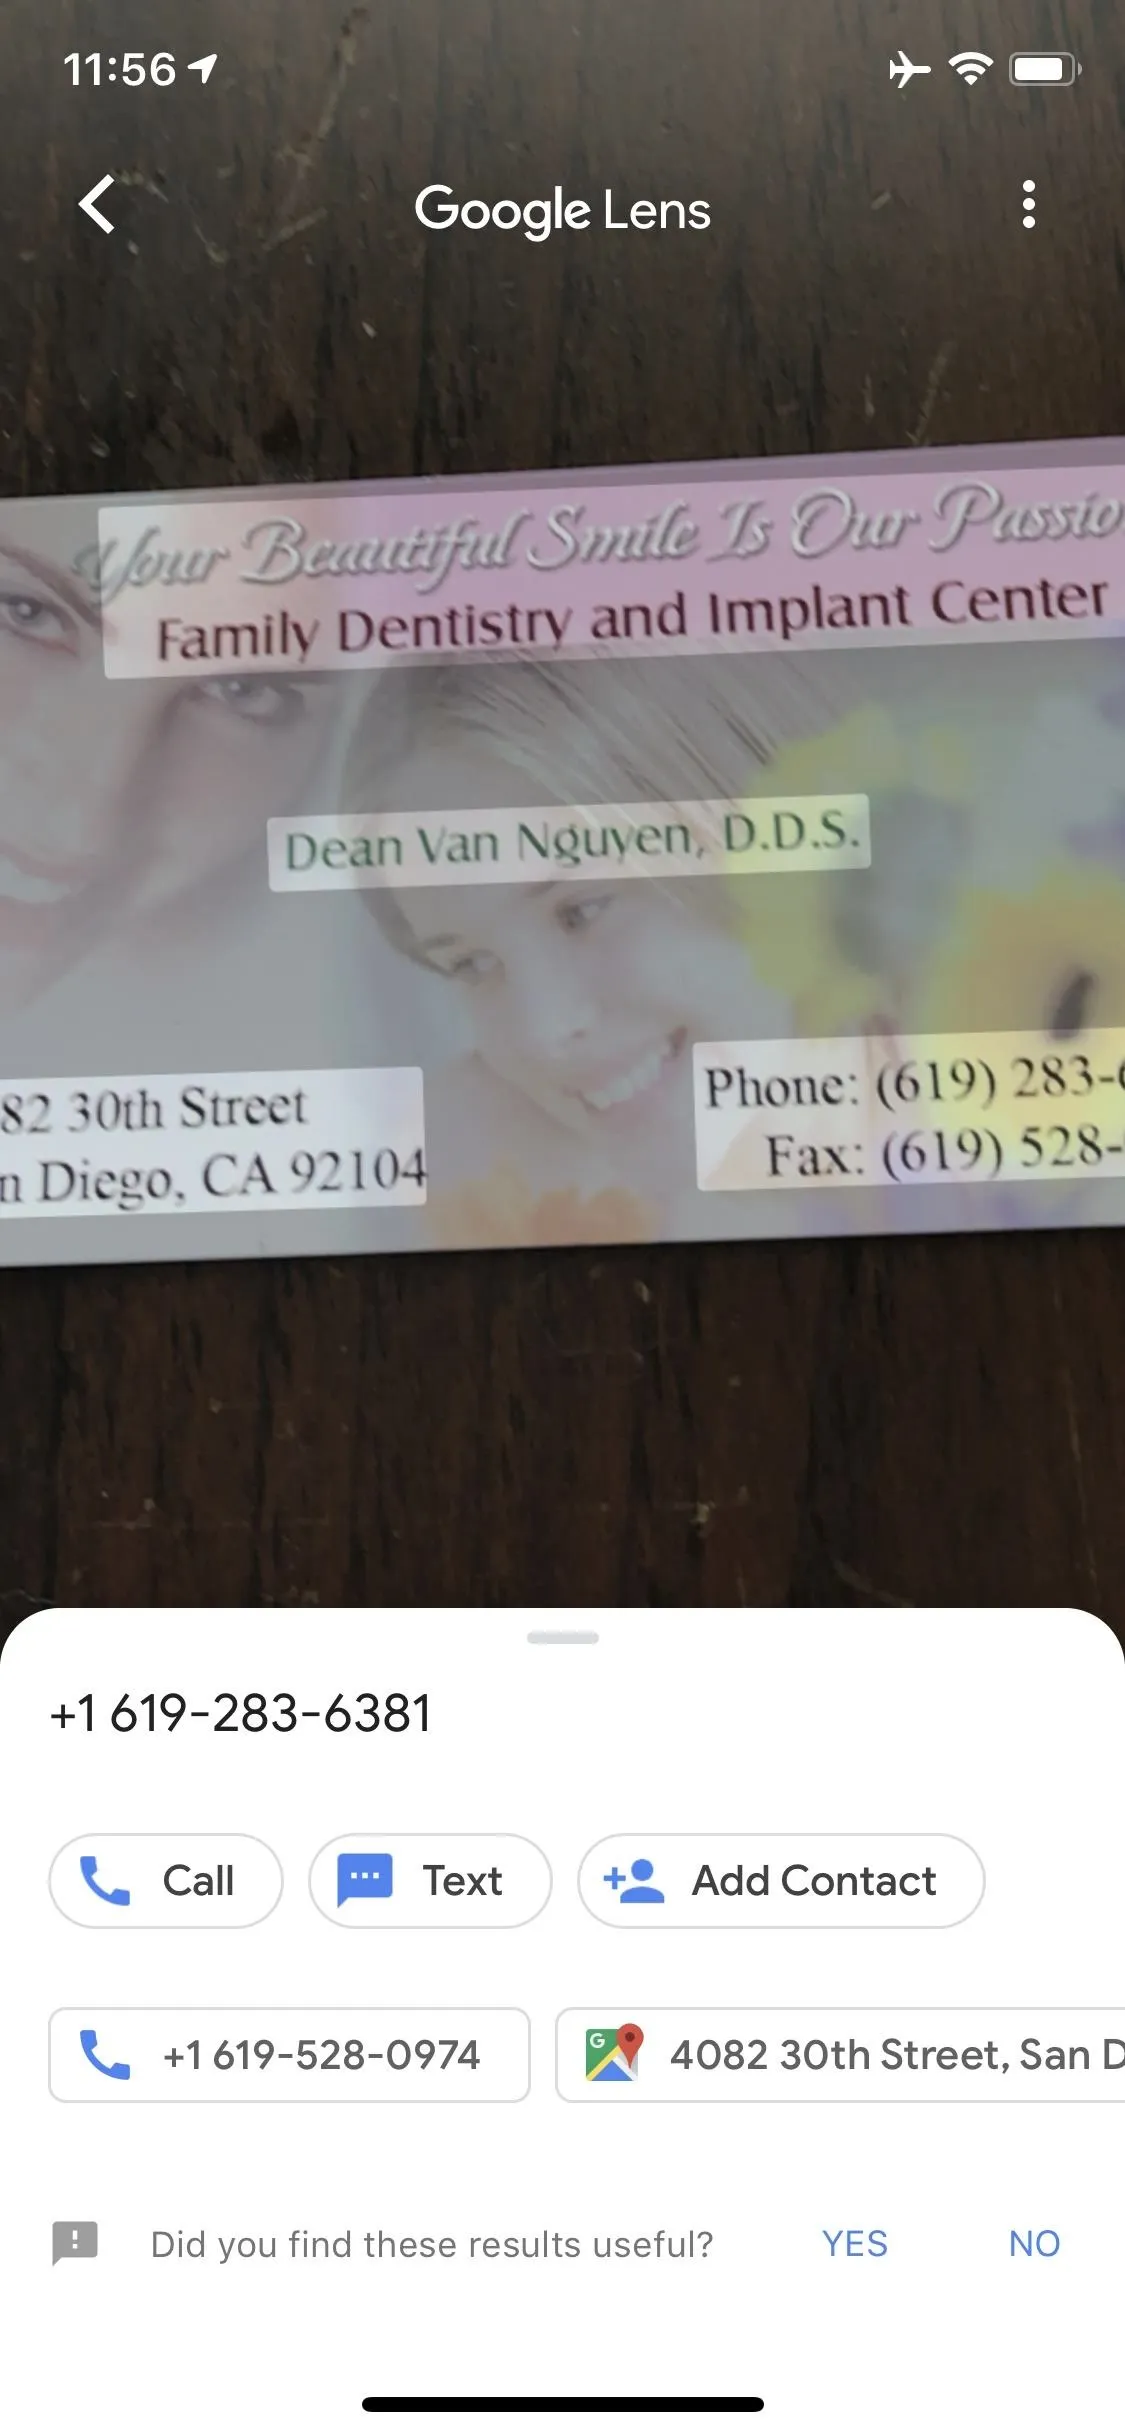
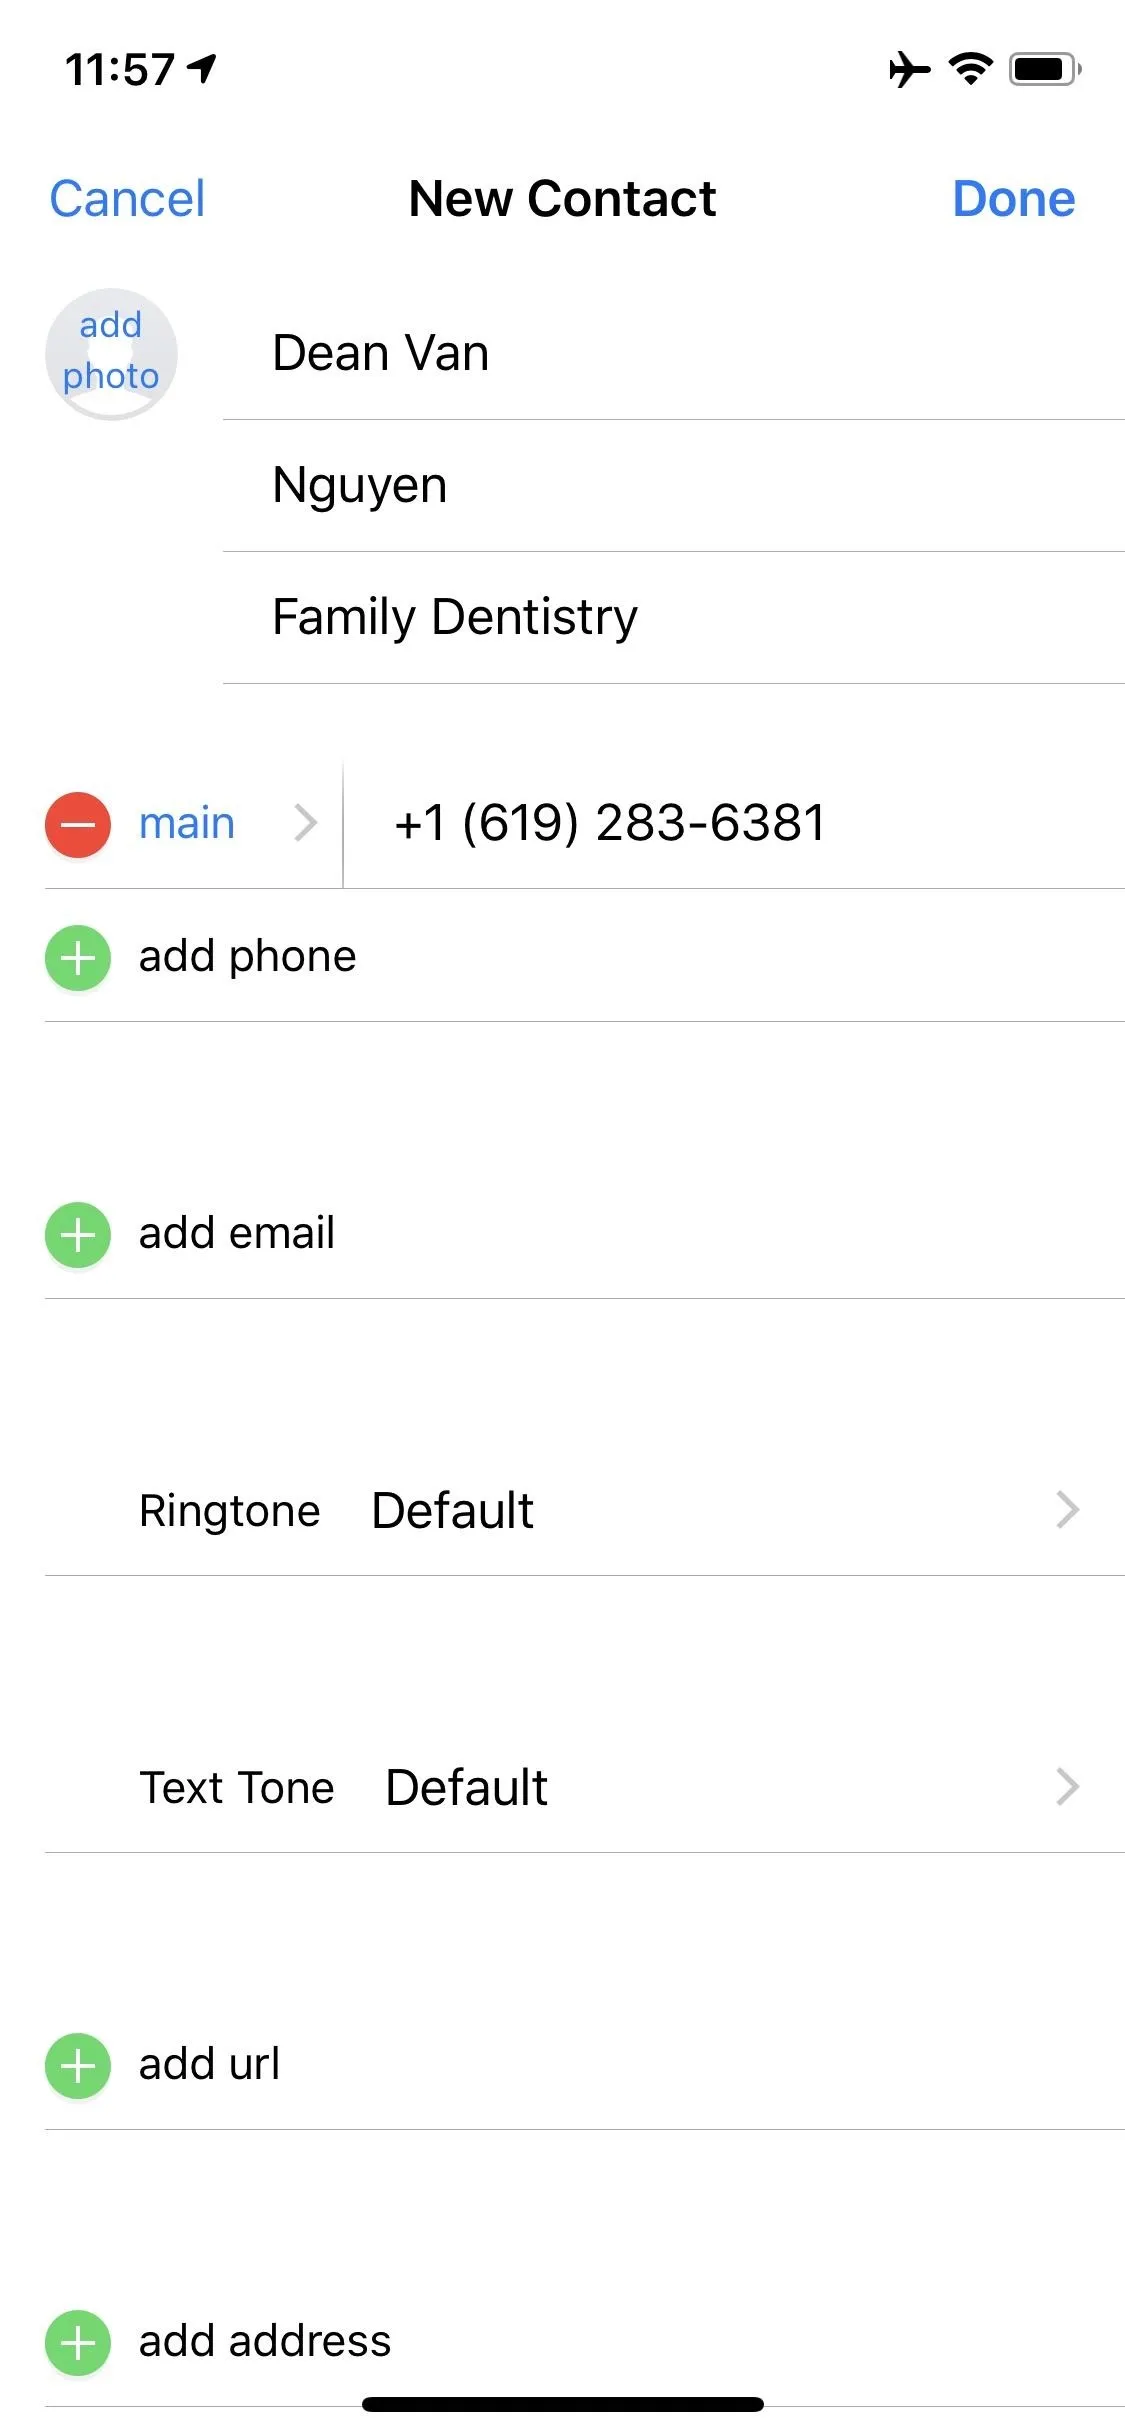
Where Lens really shines is its OCR (Optical Character Recognition), which has several great uses. It will translate text from another language, let you easily Google a word without typing it, or even offer to import business cards as a contact.

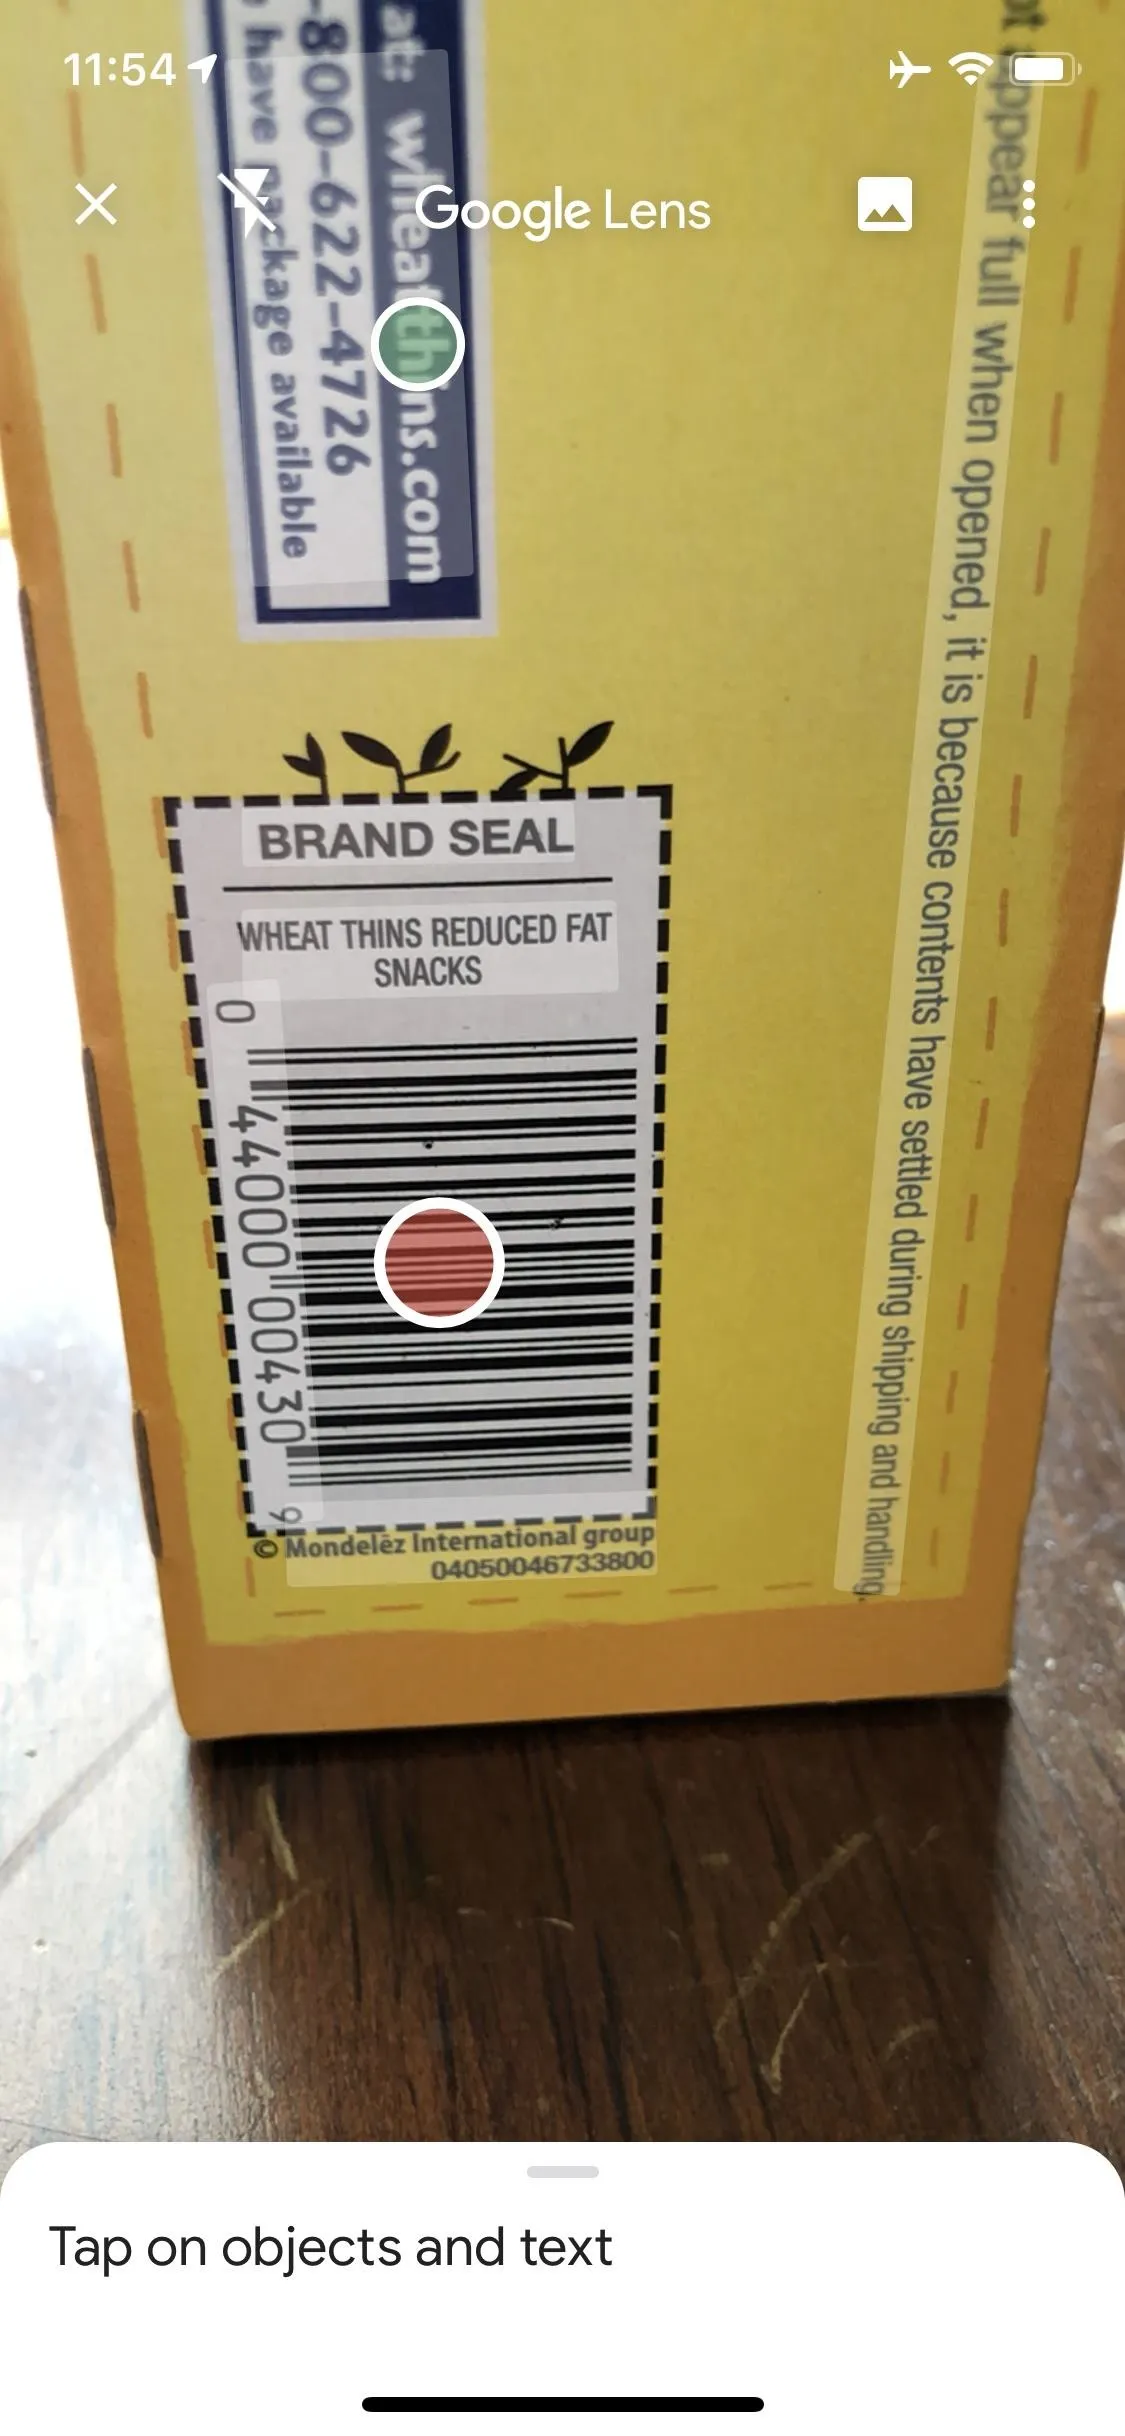
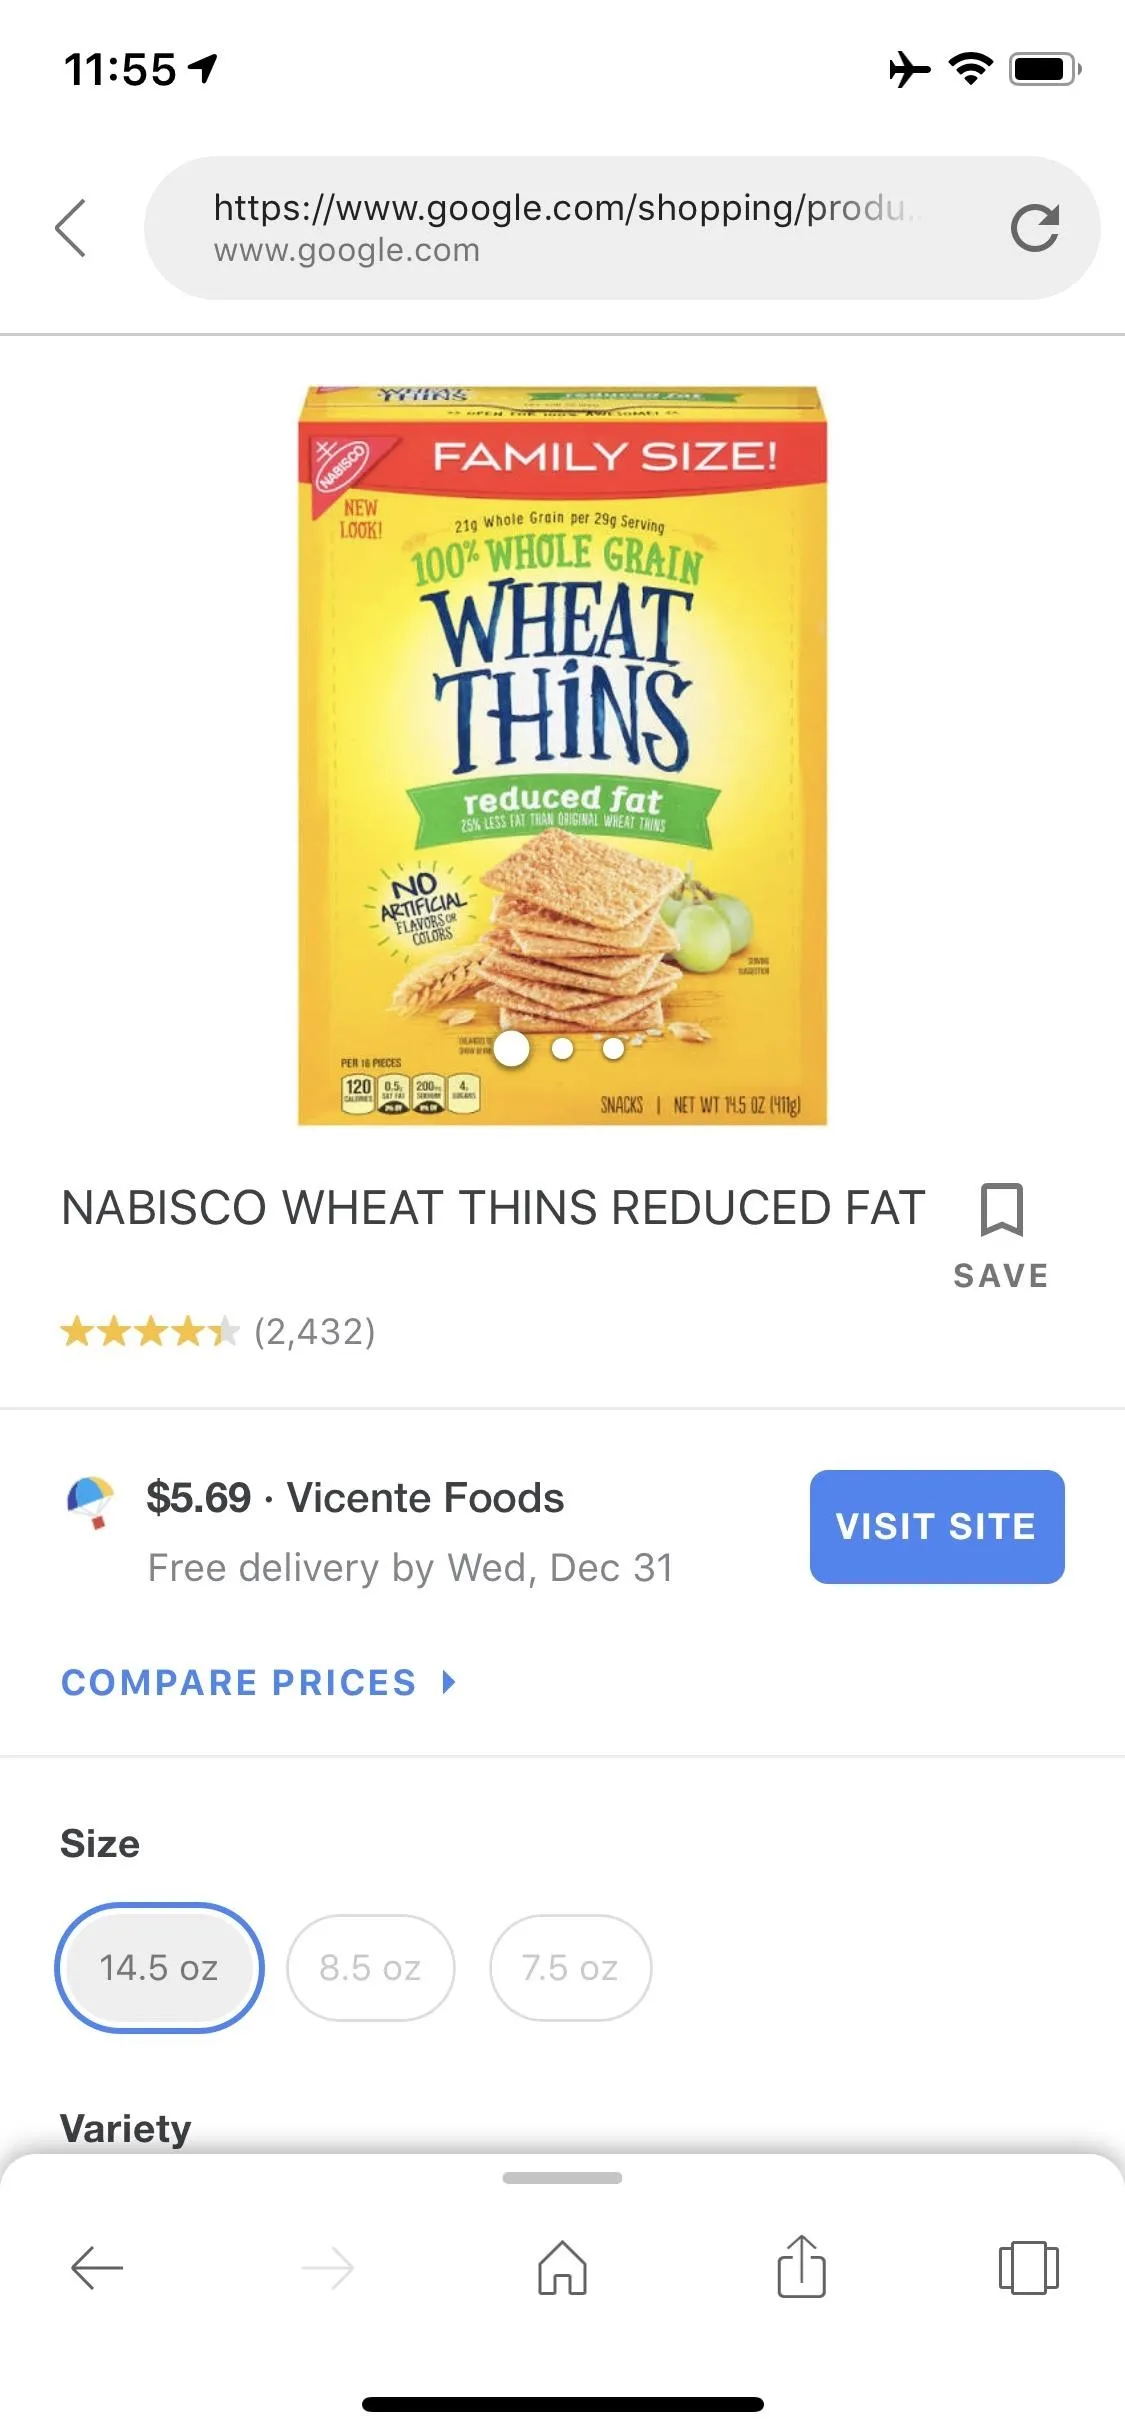
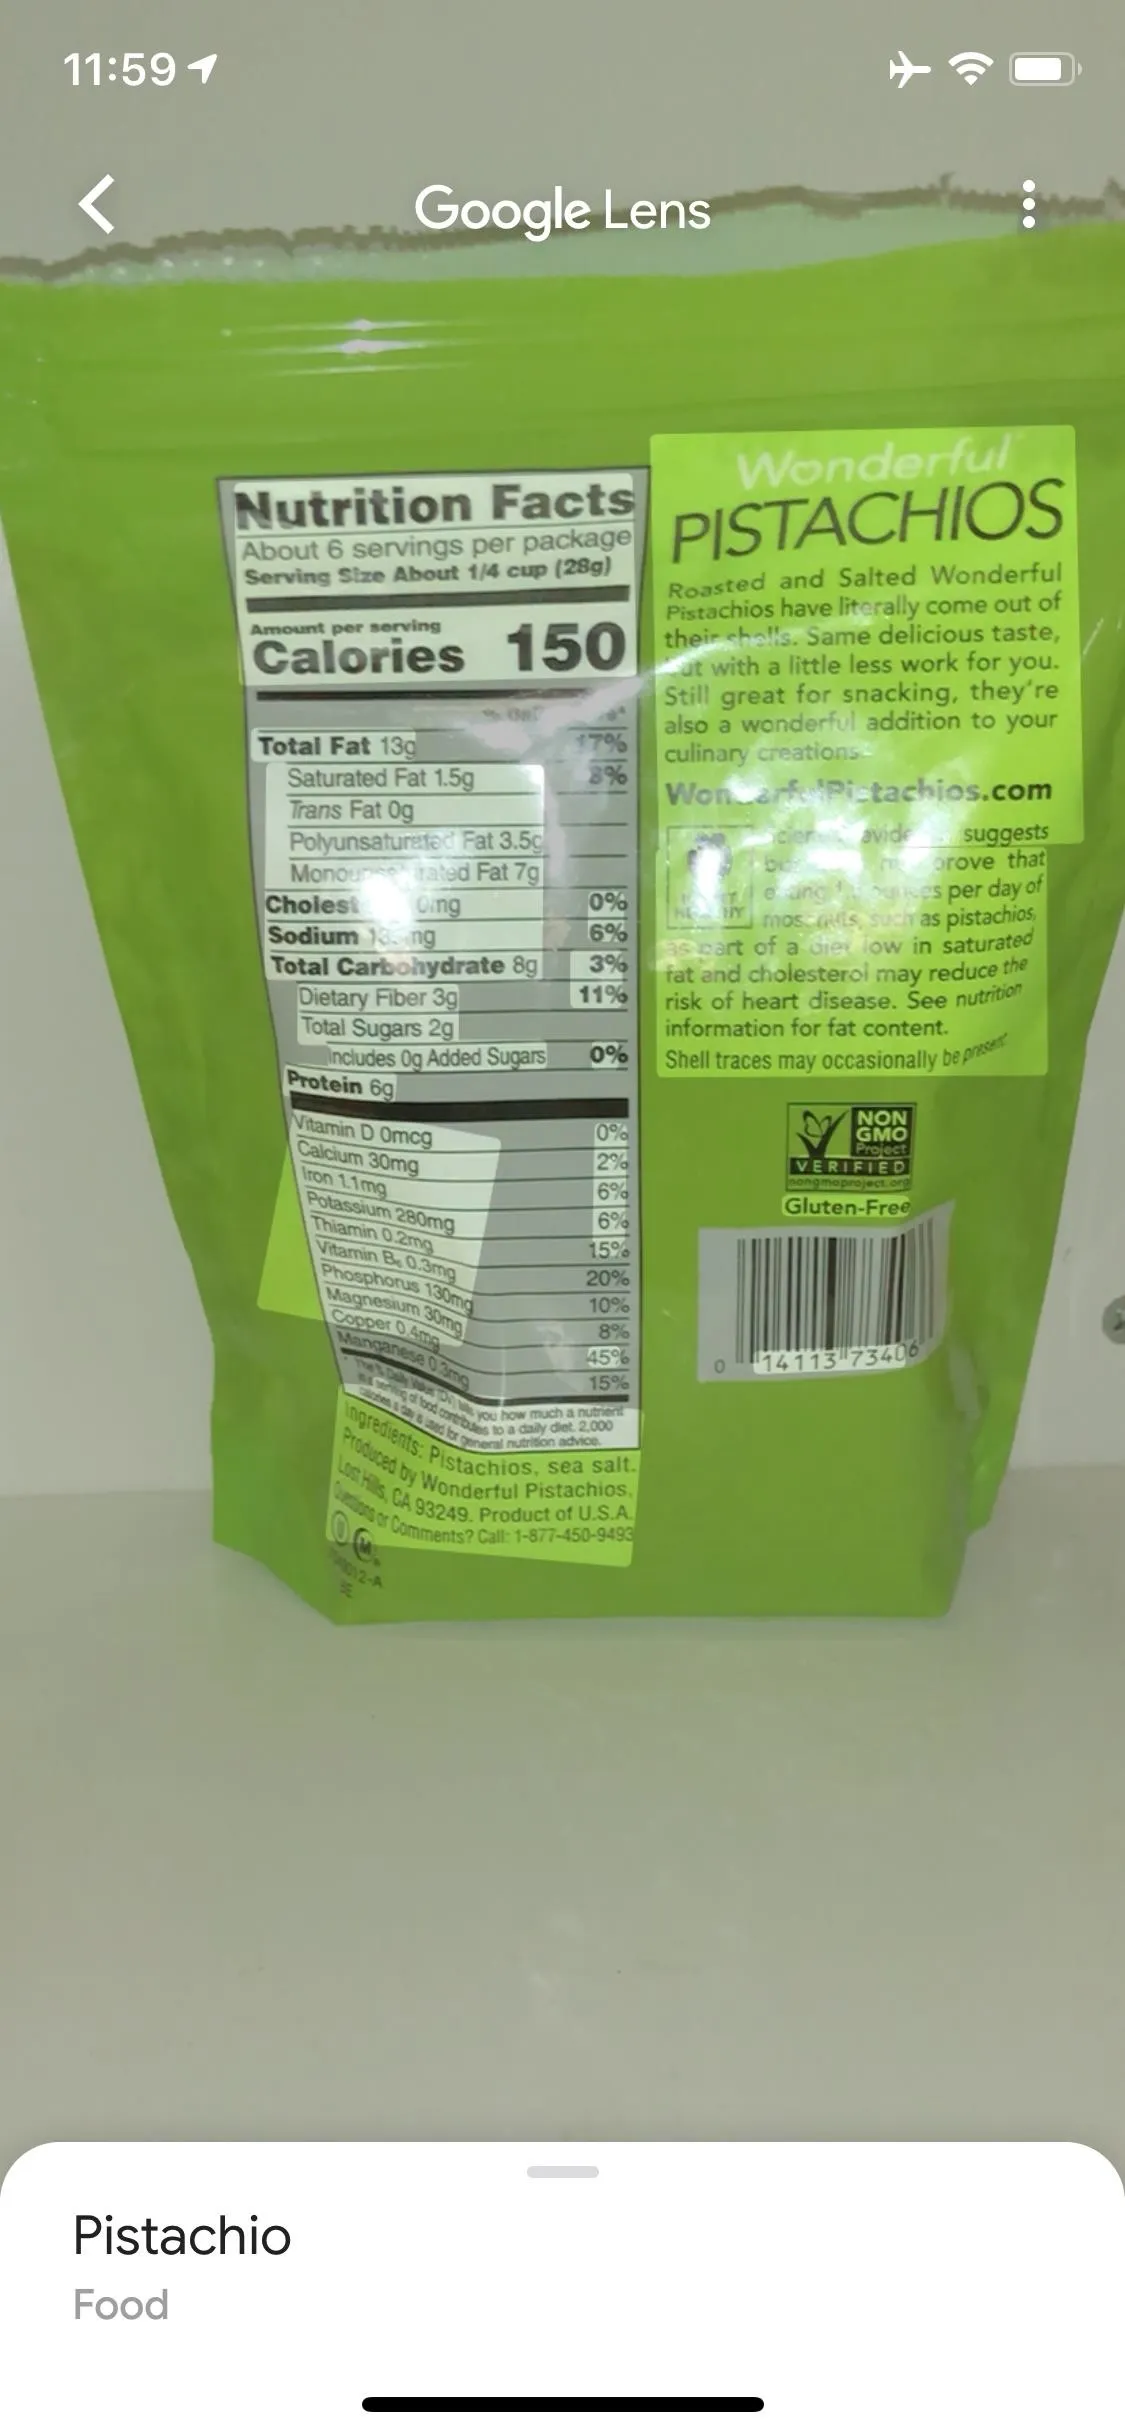
Google Lens is also great at scanning barcodes and QR codes. Just line the barcode up on the screen, tap it, then you'll get information about the product. You can then tap the "Search" button to run this item through a traditional Google search, or you can hit the "Shop" button to search for the best price on the product through Google Shopping.

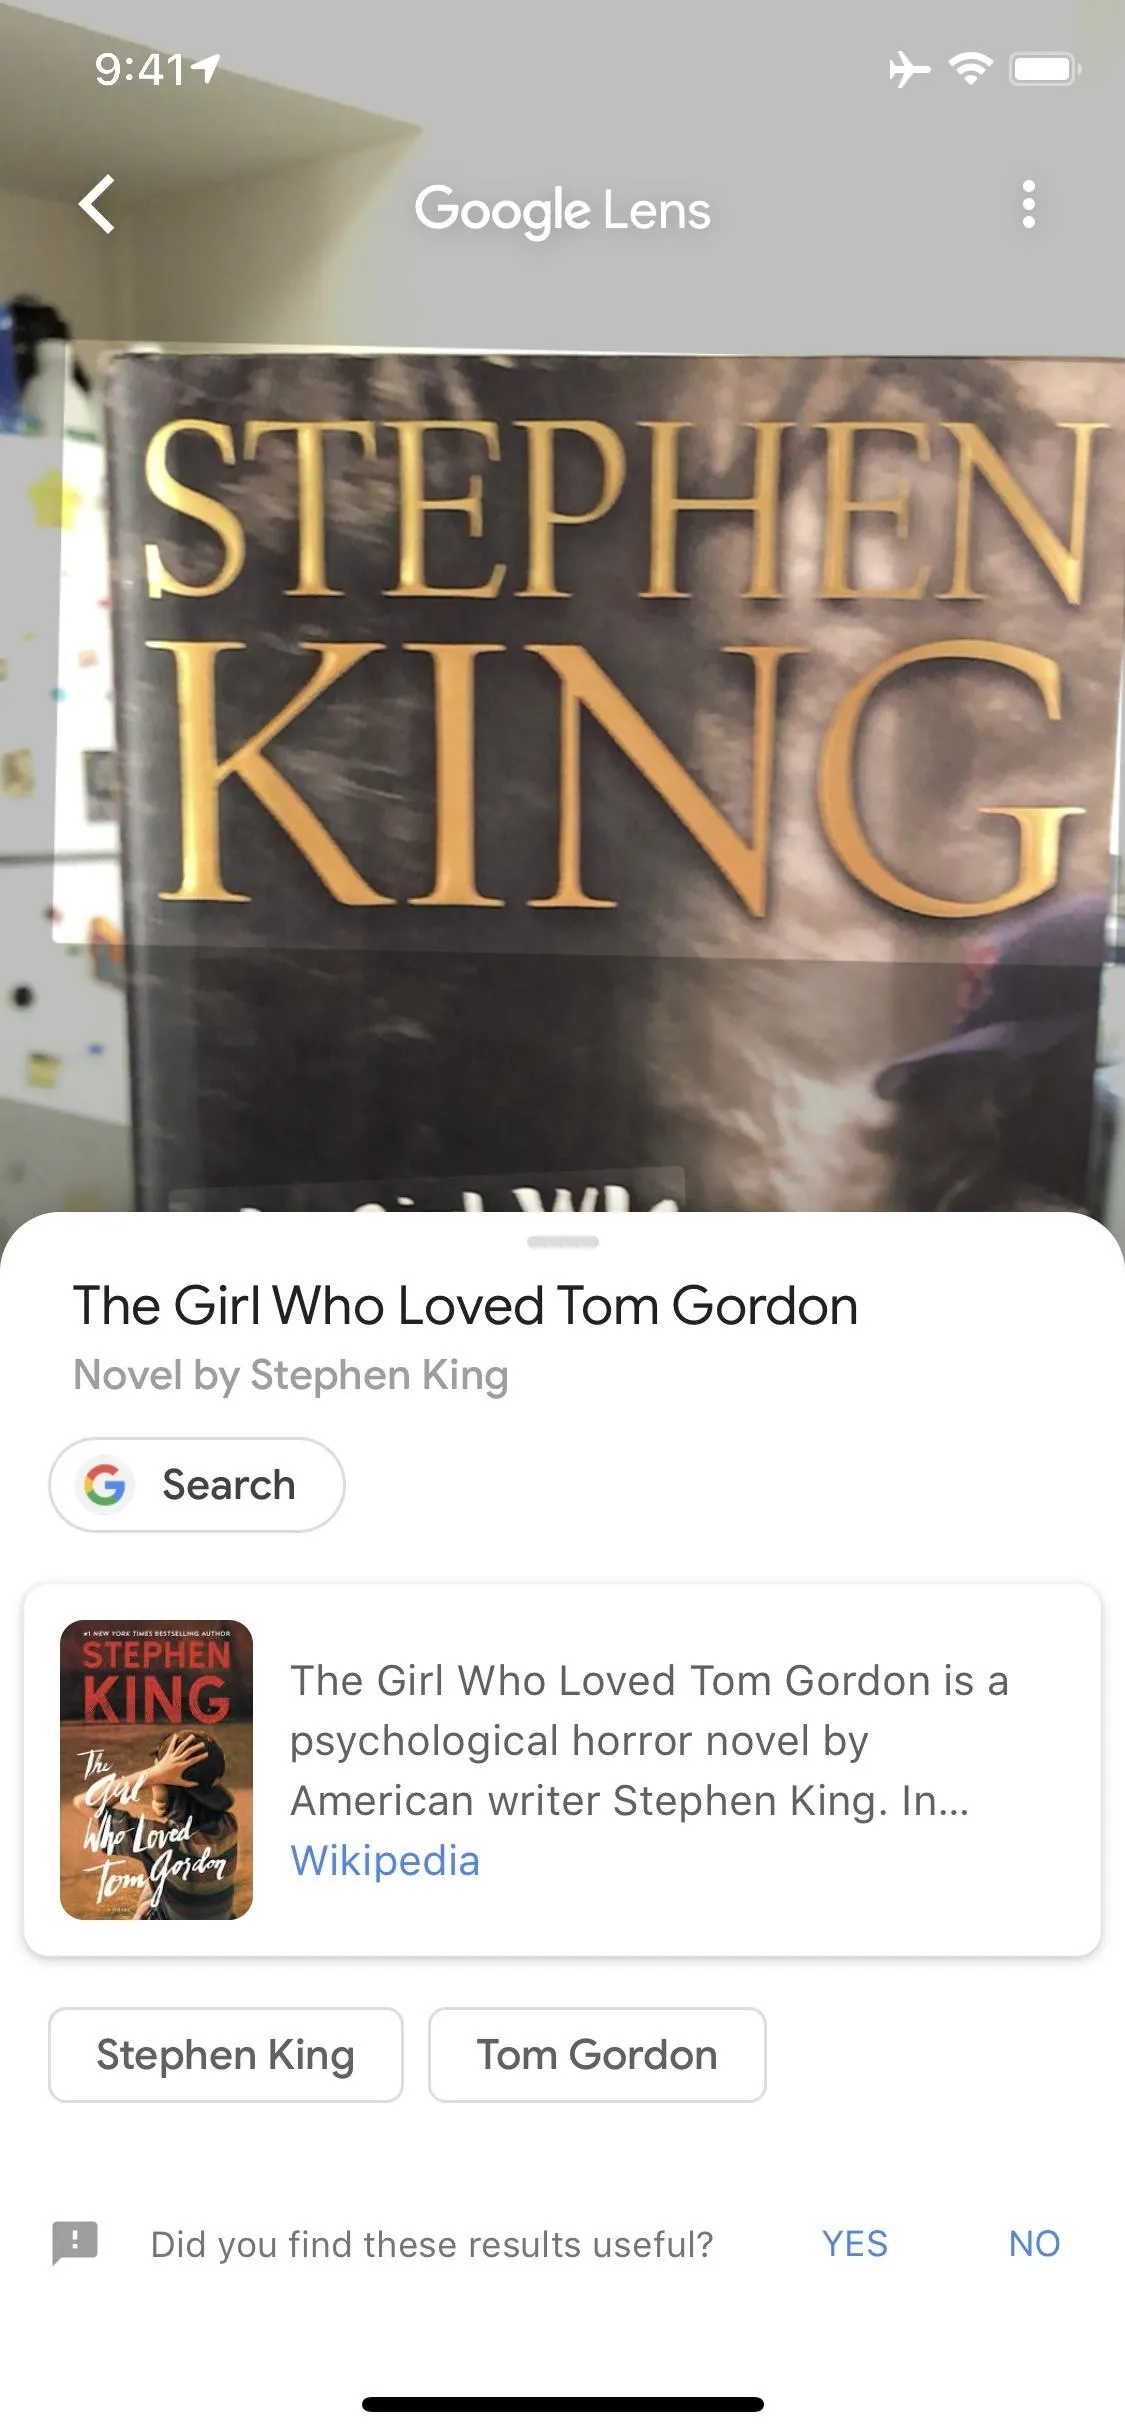
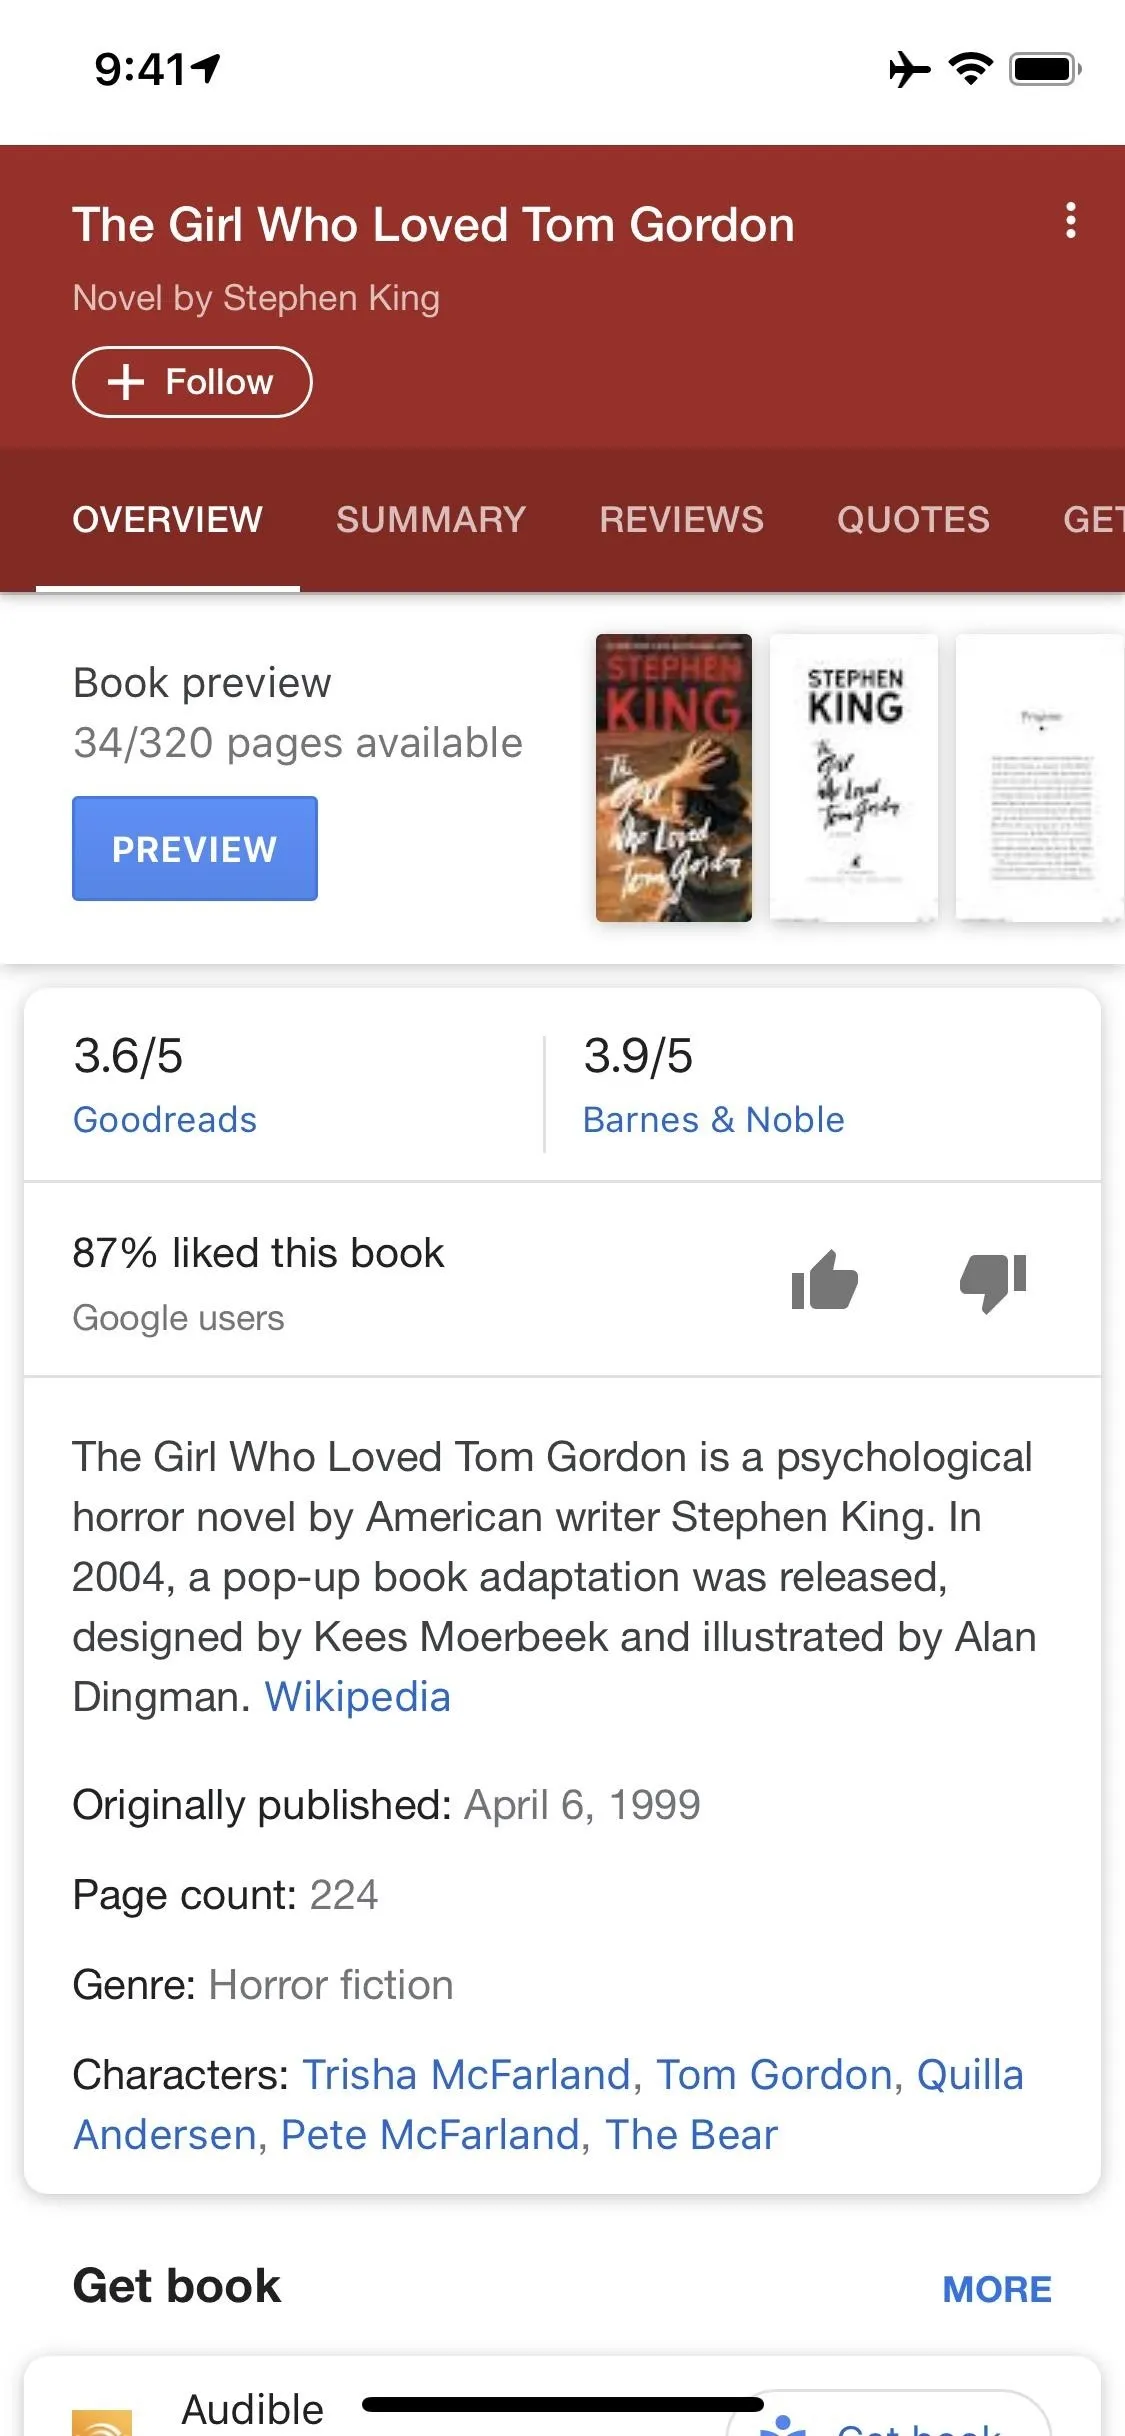
Lens will also recognize logos, book covers, and other printed items with ease. It's not perfect with identifying plant and animal species, but it's pretty good overall. Another area where it excels is with famous landmarks and artworks, which should really come in handy on your next vacation.
Nonetheless, you should still experiment with Google Lens on your own to get a feel for what it can and cannot do.
Use Flash for Better Results
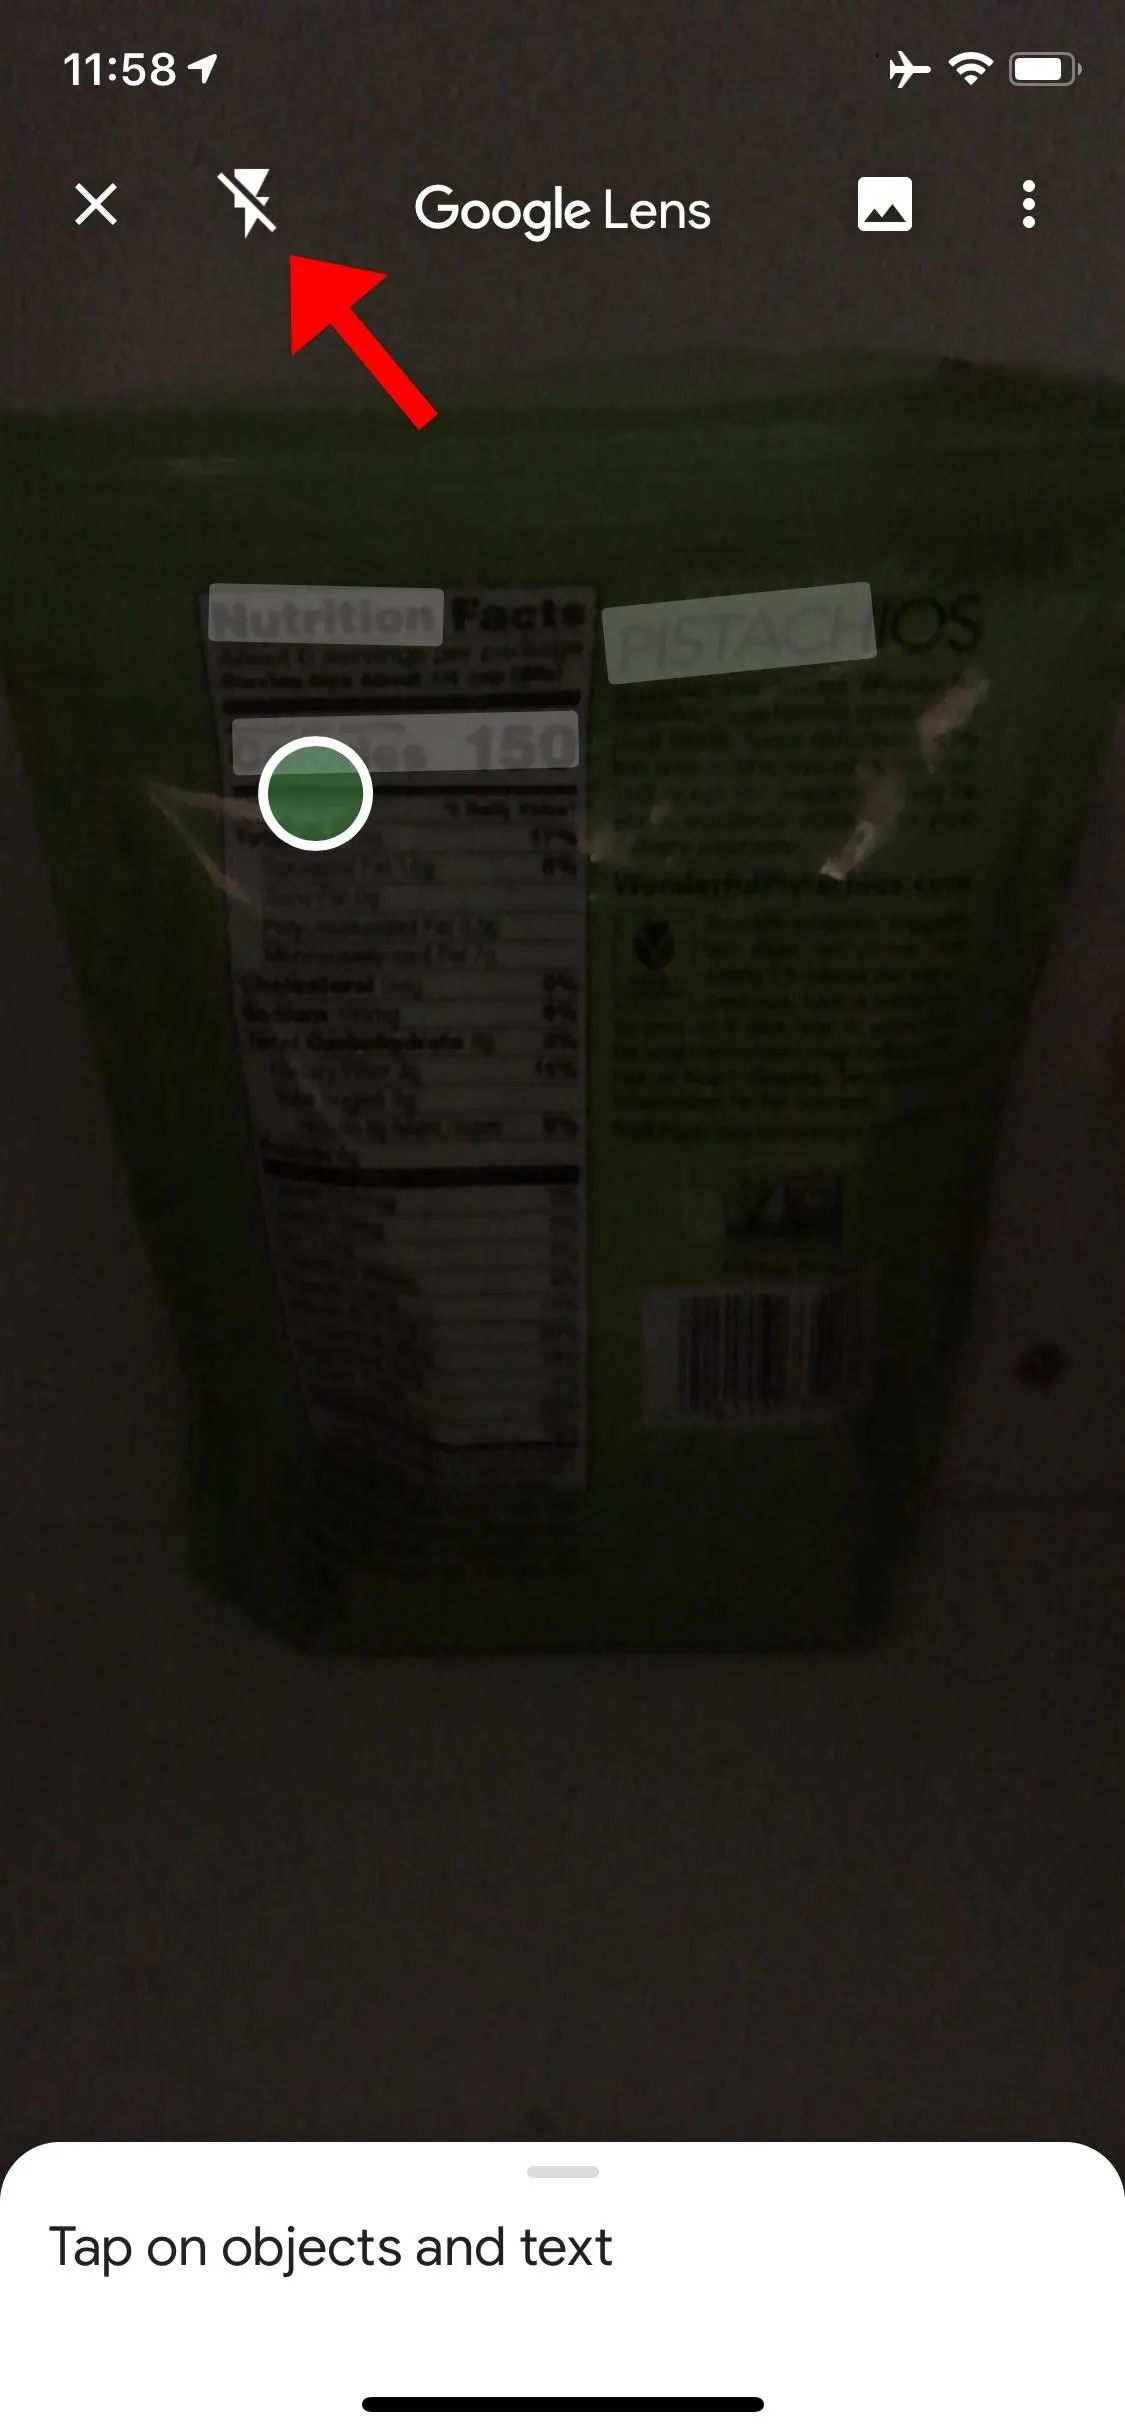
If you're trying to identify an item in the dark, you should be aware that Google Lens has flash built-in. Just tap the lightning bolt icon towards the top-left, then your iPhone's camera flash will come on and Google Lens will be able to see and identify much more.
Give Feedback on Results
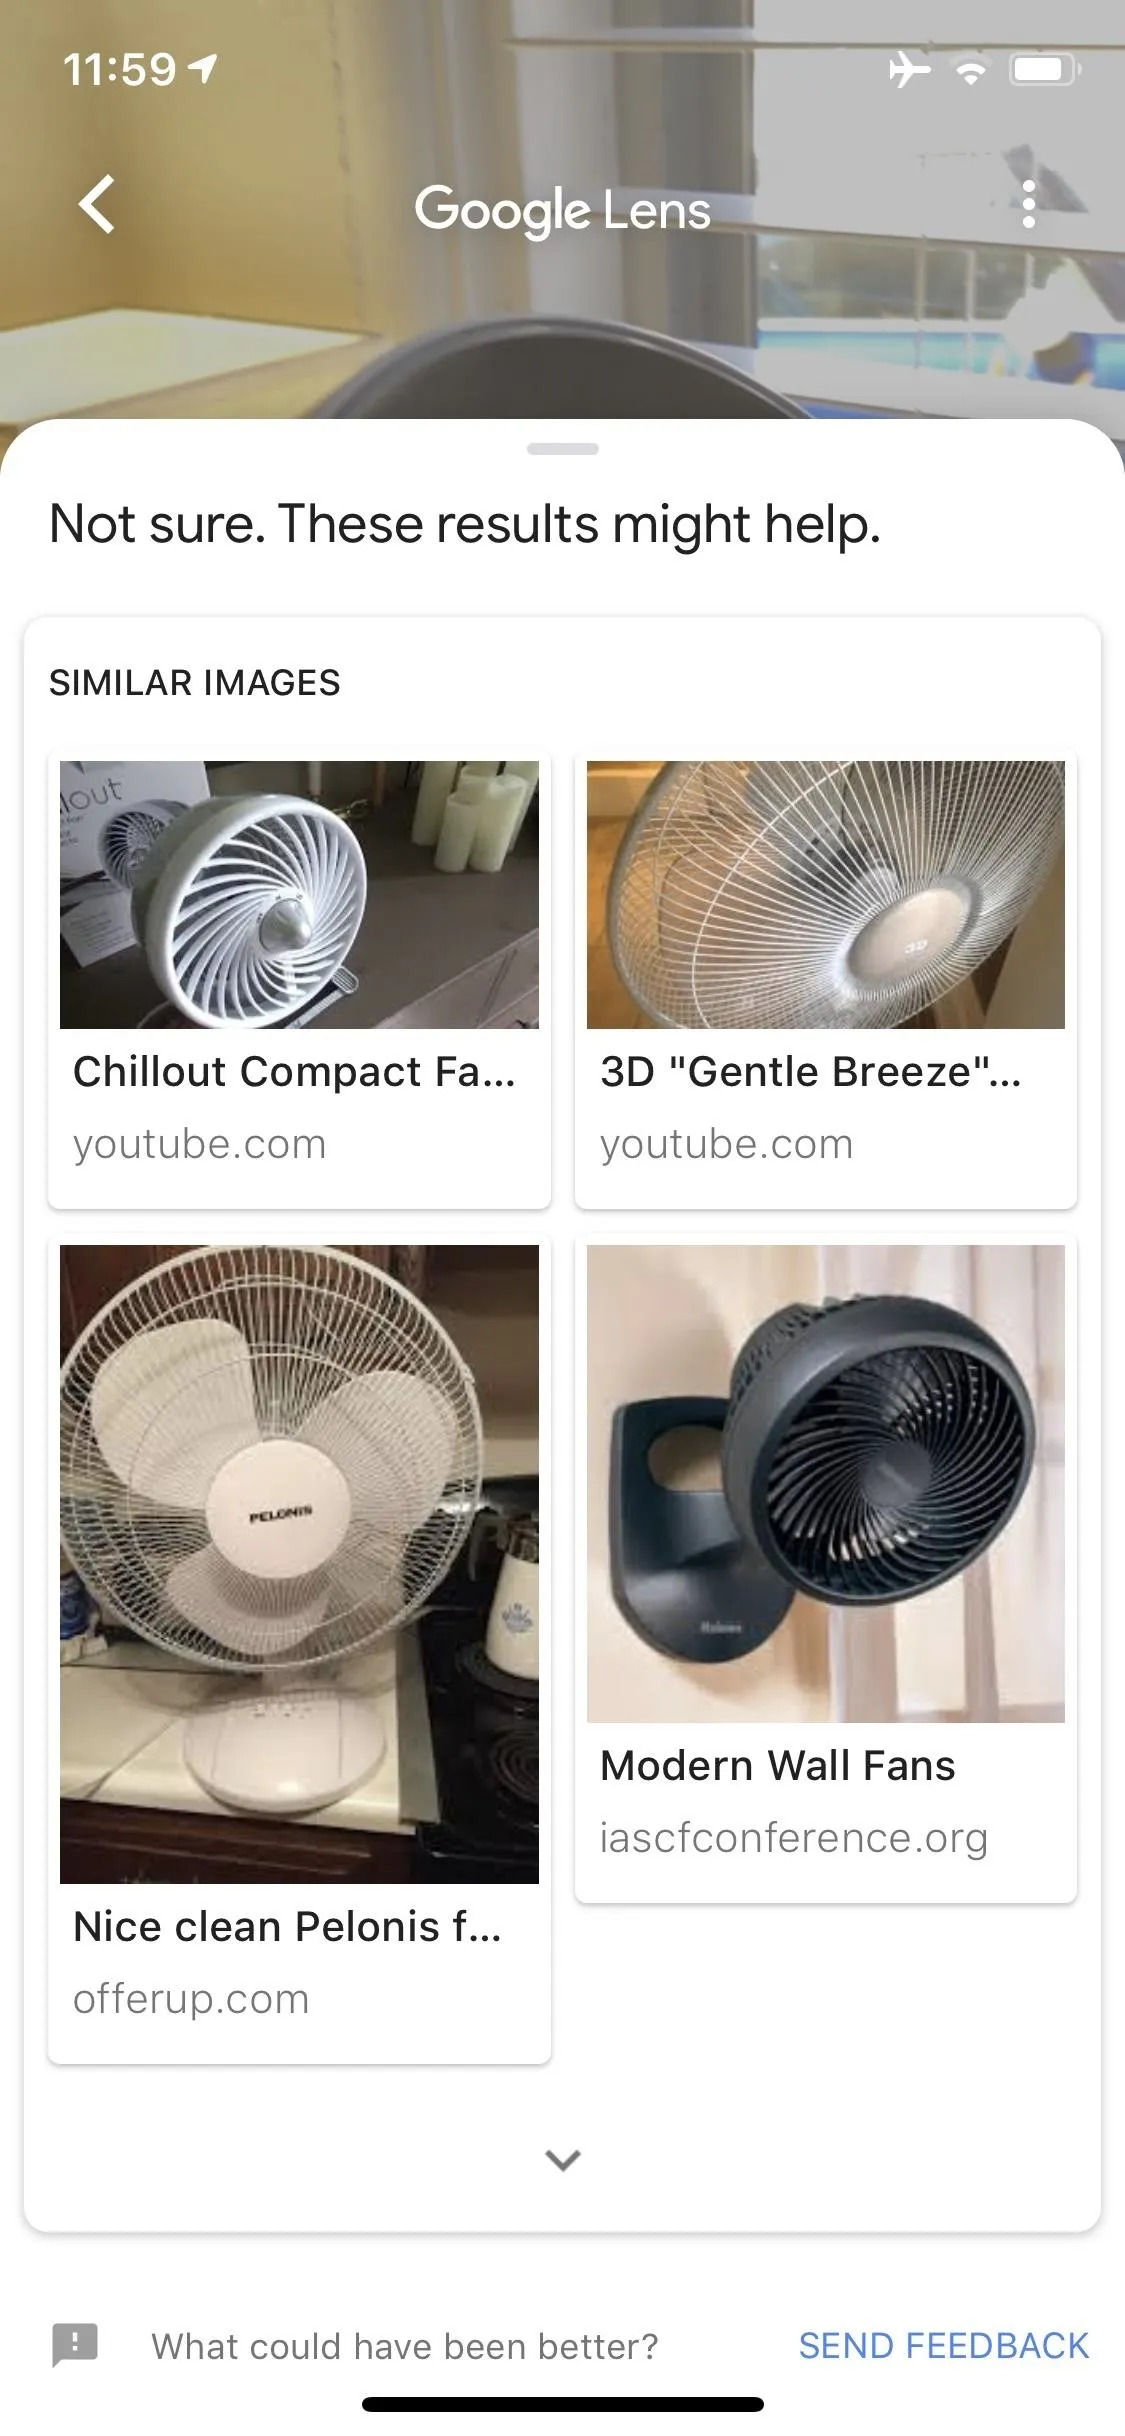
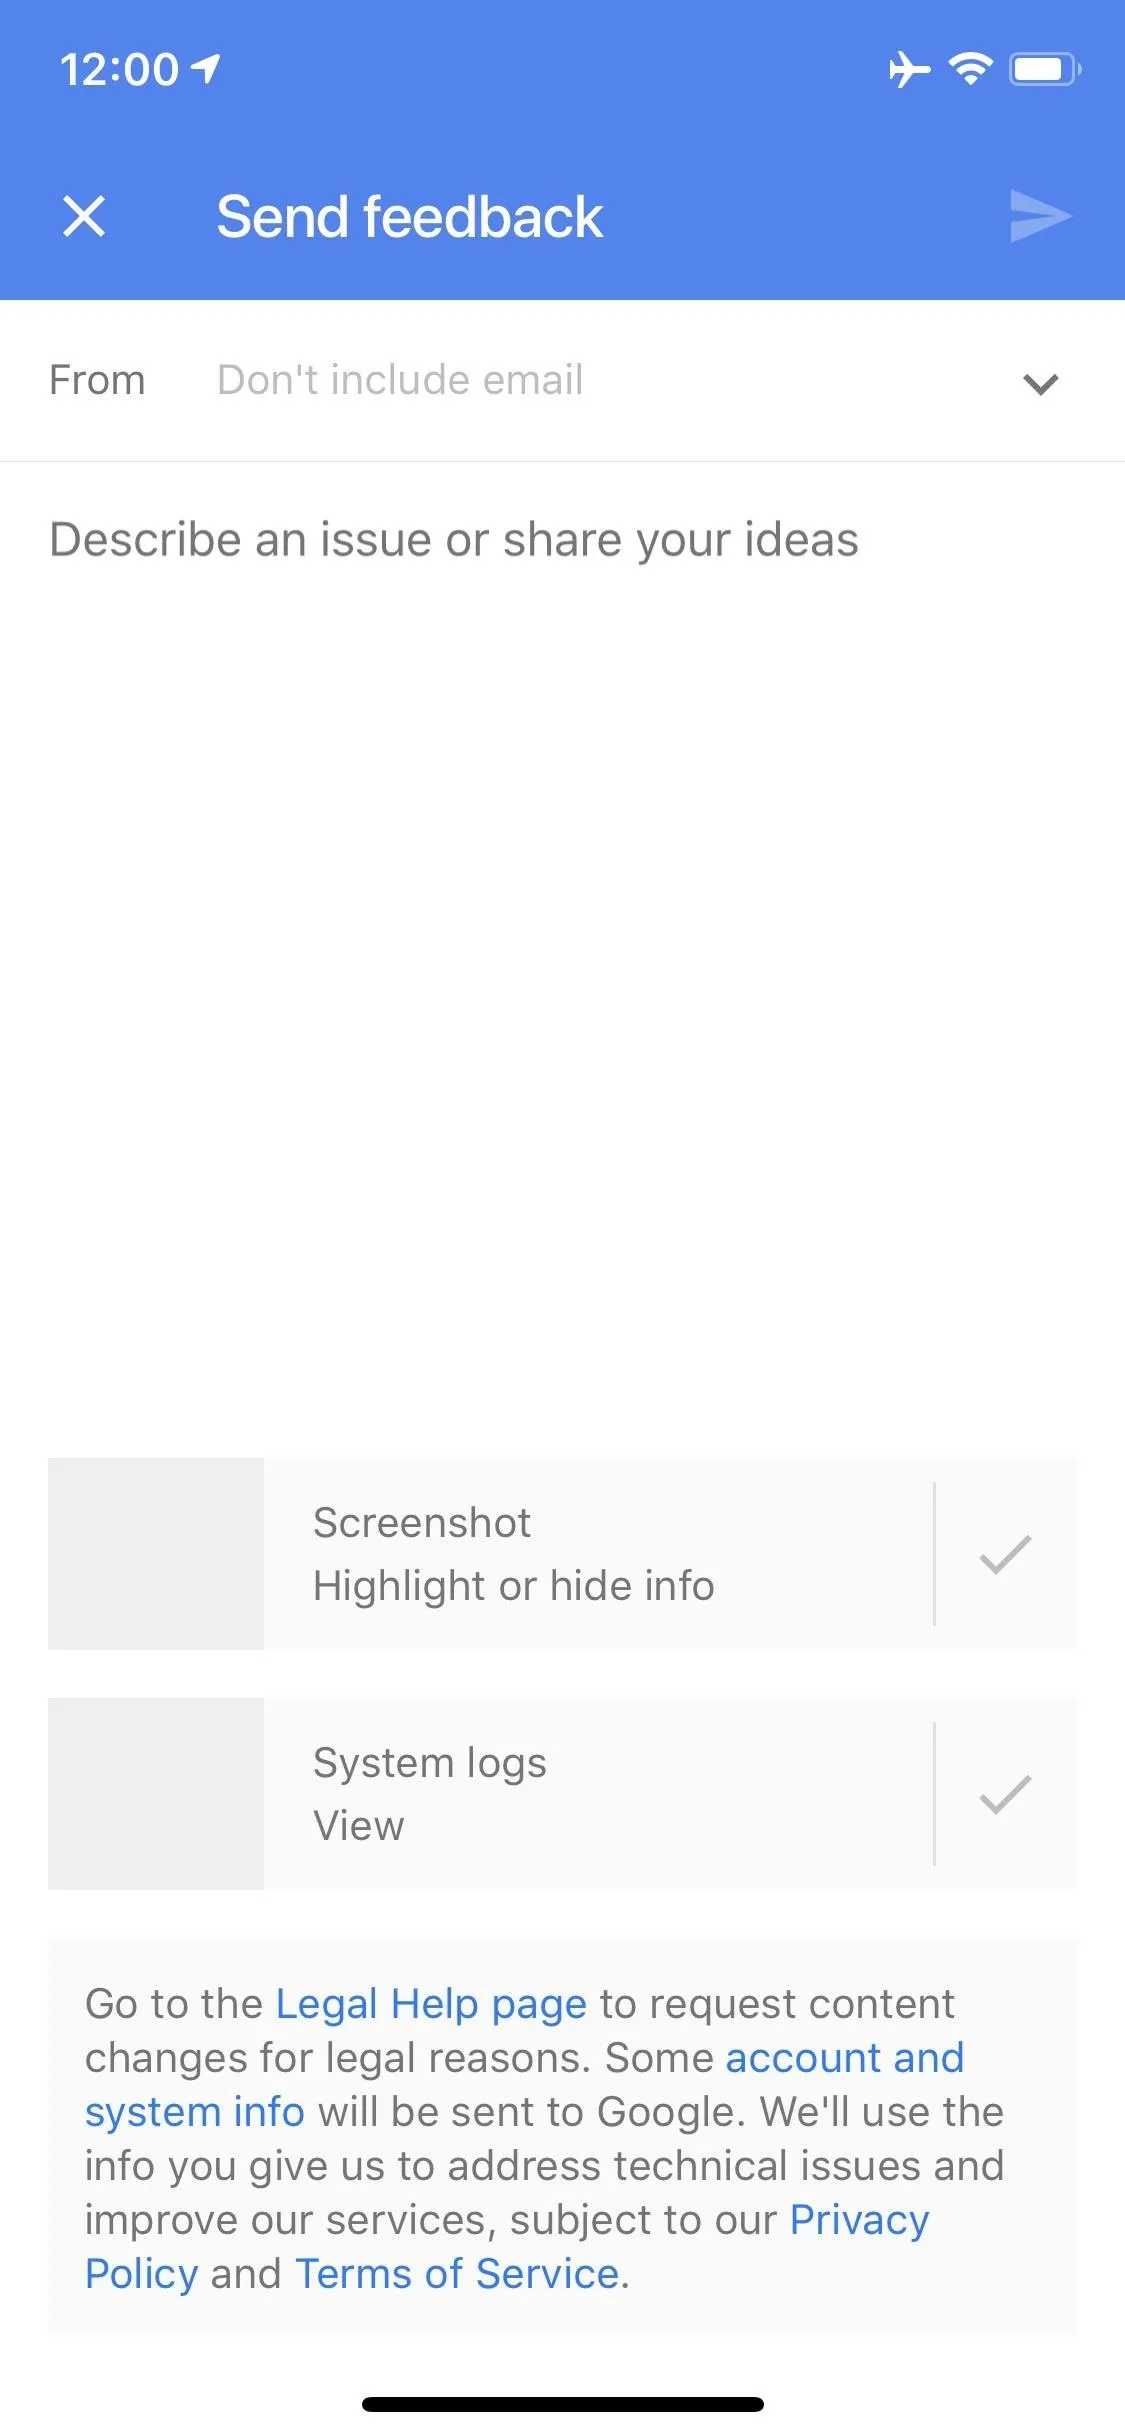
Finally, you should know that Google Lens is always learning, and there's a way you can help speed things along. Whenever you use Lens, you'll see a banner at the bottom of the results page asking "Did you find these results useful?" If you tap the "Yes" or "No" option on this banner, you'll be asked if you'd like to send feedback. If you opt to do this, you can describe your issue with an email to Google Lens' developers.
Don't just use the "No" button here. If Google Lens got everything just right, take the time to tap the "Yes" button as well. This will give the AI another verified data point to train itself with, ultimately improving accuracy and results for everyone.
- Follow Gadget Hacks on Pinterest, Reddit, Twitter, YouTube, and Flipboard
- Sign up for Gadget Hacks' daily newsletter or weekly Android and iOS updates
- Follow WonderHowTo on Facebook, Twitter, Pinterest, and Flipboard
Cover image and screenshots by Dallas Thomas/Gadget Hacks


Comments
Be the first, drop a comment!