


If you've spent countless hours scrolling through Instagram feeds full of selfies, then I'm sure you know that some are, well ... better than others. There are so many different things you can do to start taking better selfies to post on social media. One really easy way is to start shooting in VSCO.
VSCO is an all-powerful photo app that not only lets you take photos but edit and share them as well. It also comes with a number of basic and advanced manual camera controls that allow you to set up that perfect shot. VSCO's camera provides you with high-quality results, and it's a camera that once you use it, you'll never shoot from your phone's stock camera app again.
For this tutorial, I'm going to walk you through VSCO's basic front-facing camera features on an iPhone so you can quickly start upping the quality of your selfies today. If you don't already have VSCO on your iPhone, then you can install the app from the iOS App Store.

Selfie shot with the default camera on an iPhone 7 (left) vs. one shot with VSCO (right).

Selfie shot with the default camera on an iPhone 7 (left) vs. one shot with VSCO (right).
Access VSCO's Selfie Cam
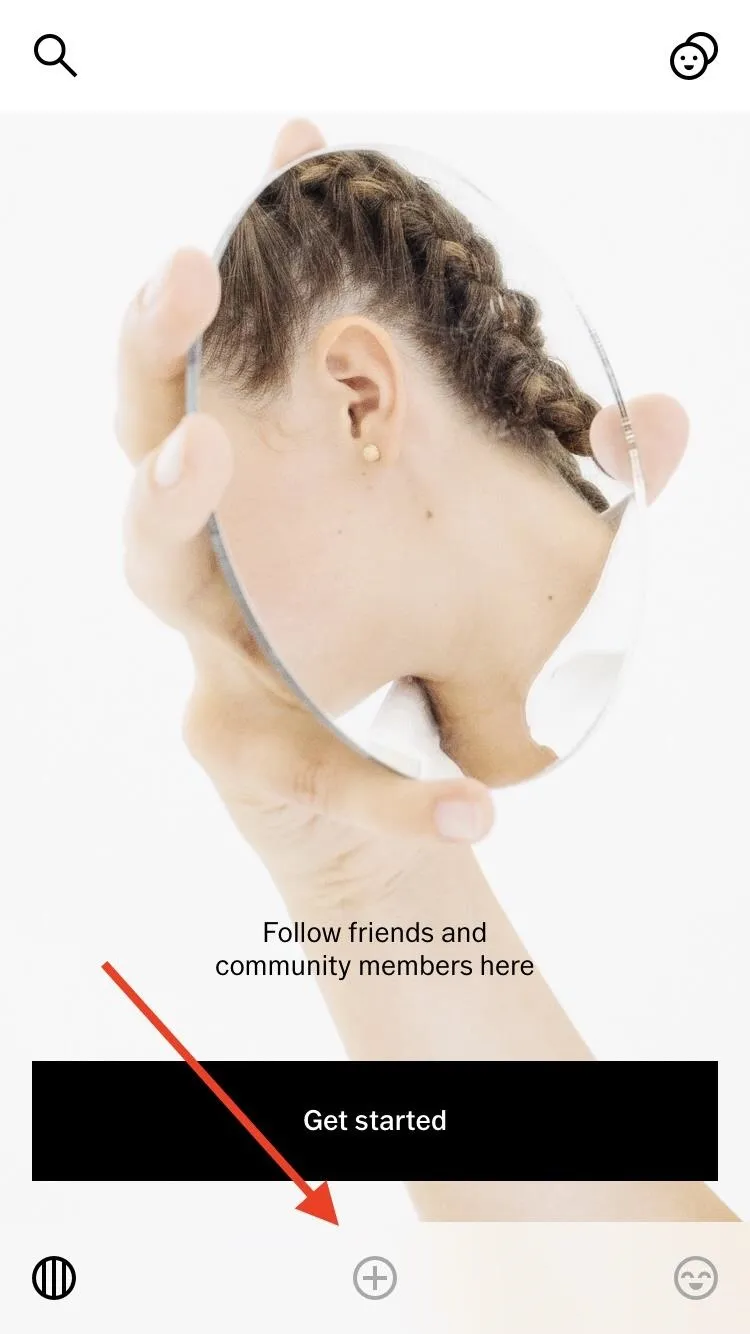
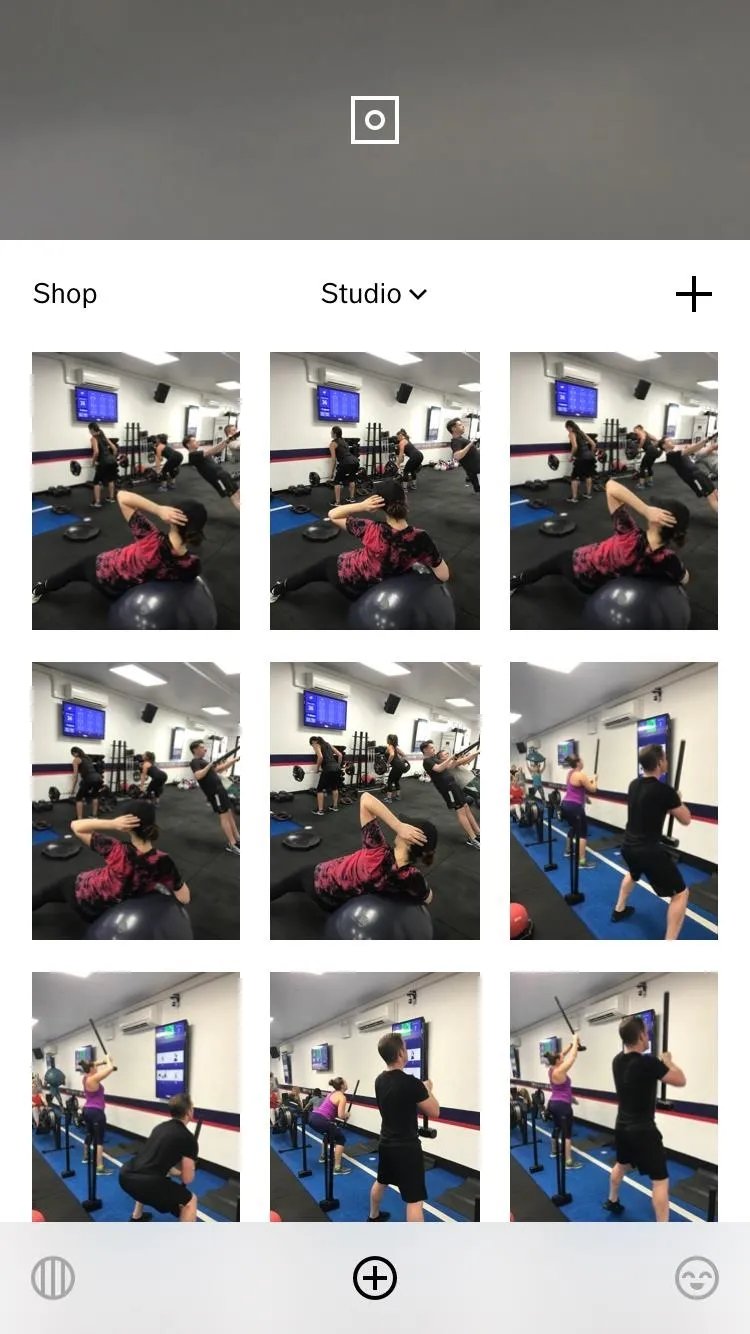
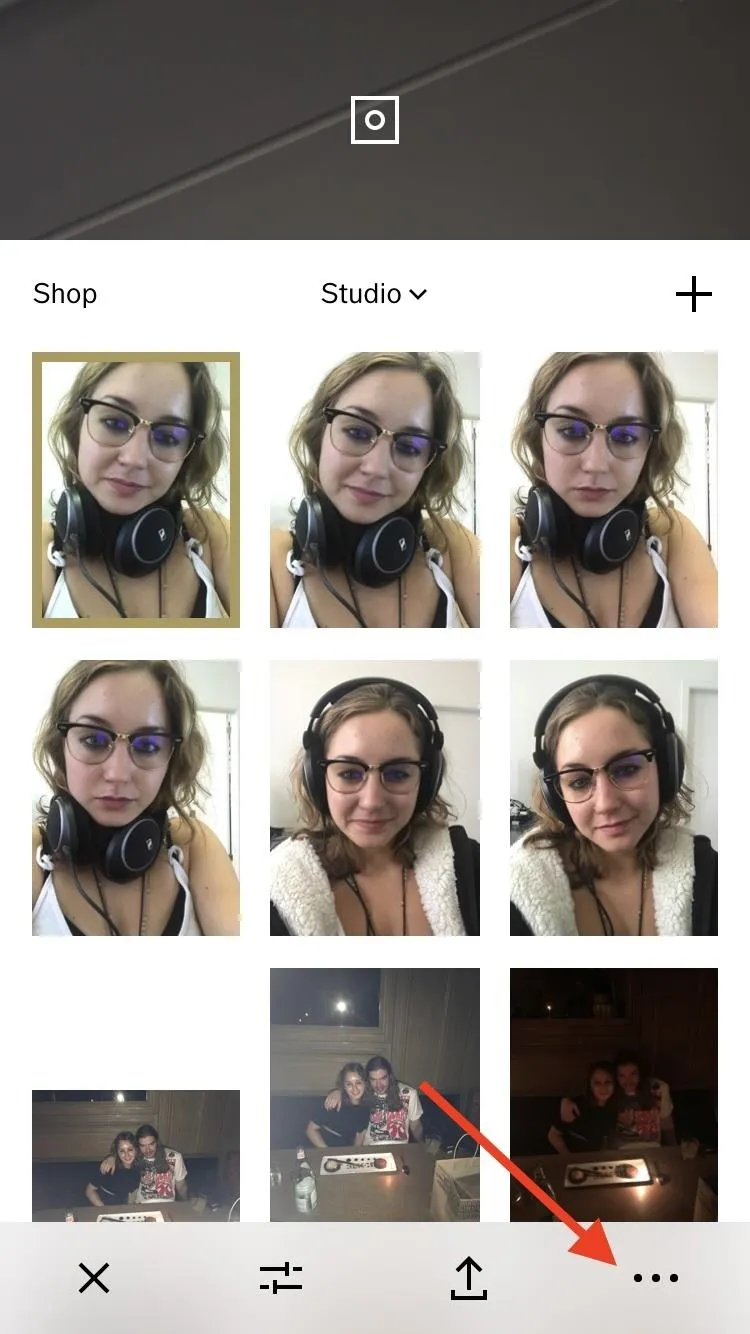
From the app's main screen, tap on the circular plus sign icon on the bottom toolbar to access your "Studio." This is where all your VSCO images will be stored, and it's the default landing page when you open the app up in subsequent sessions.
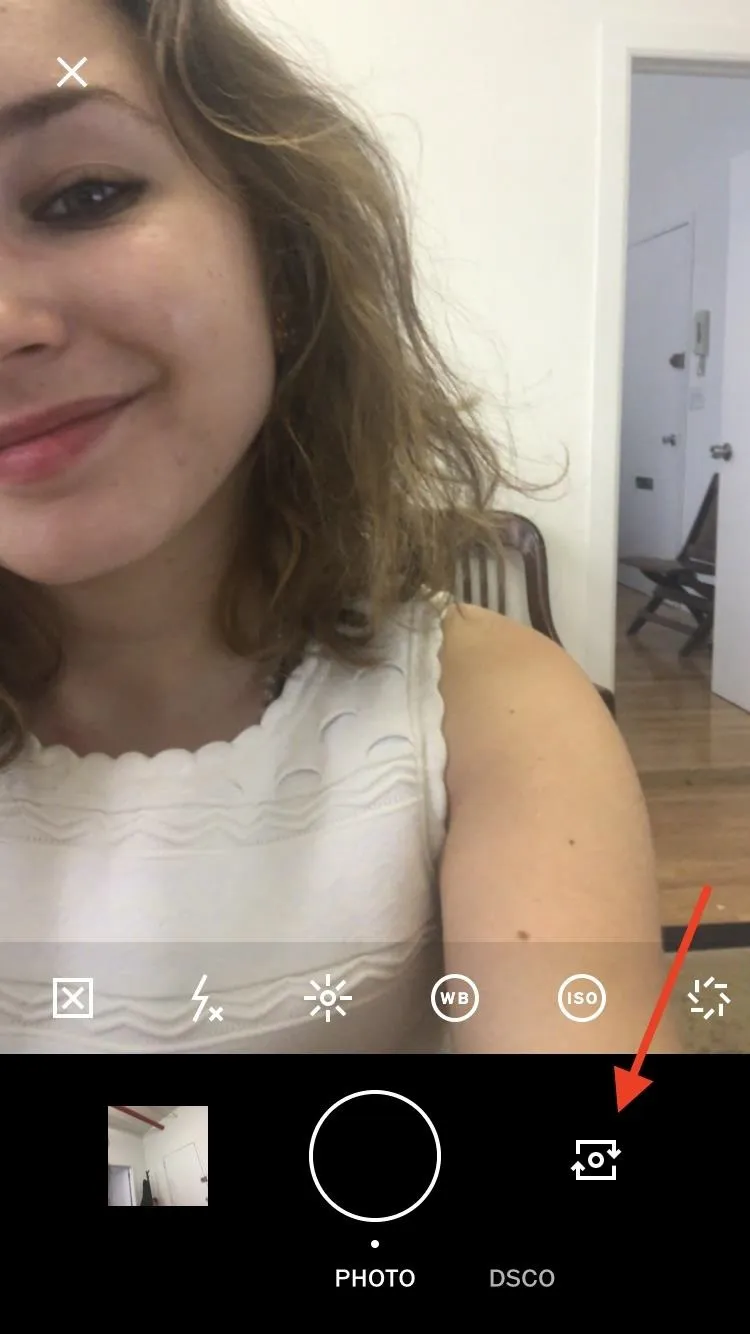
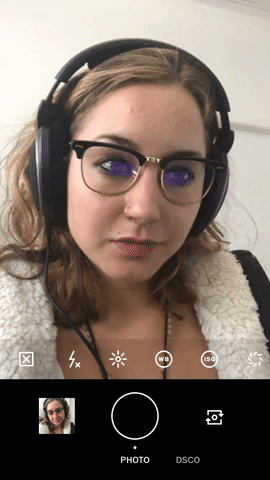
To access VSCO's camera, tap the camera icon at the top of this screen. Next, tap on the square icon with the two arrows circling it (in the bottom-right corner) to access selfie mode.
If you have an iPhone 6s or newer and it's running iOS 10 or higher, then VSCO will also support RAW capture. Shooting in RAW means that your image preserves all its original data and captures exactly what your camera sees. For our purposes here, though, keep in mind that the RAW option is not available when you are using your front-facing camera. If you'd like to take your image in RAW, then it would be best to tap off your front-facing camera icon and have someone take your picture for you.
Frame Your Face
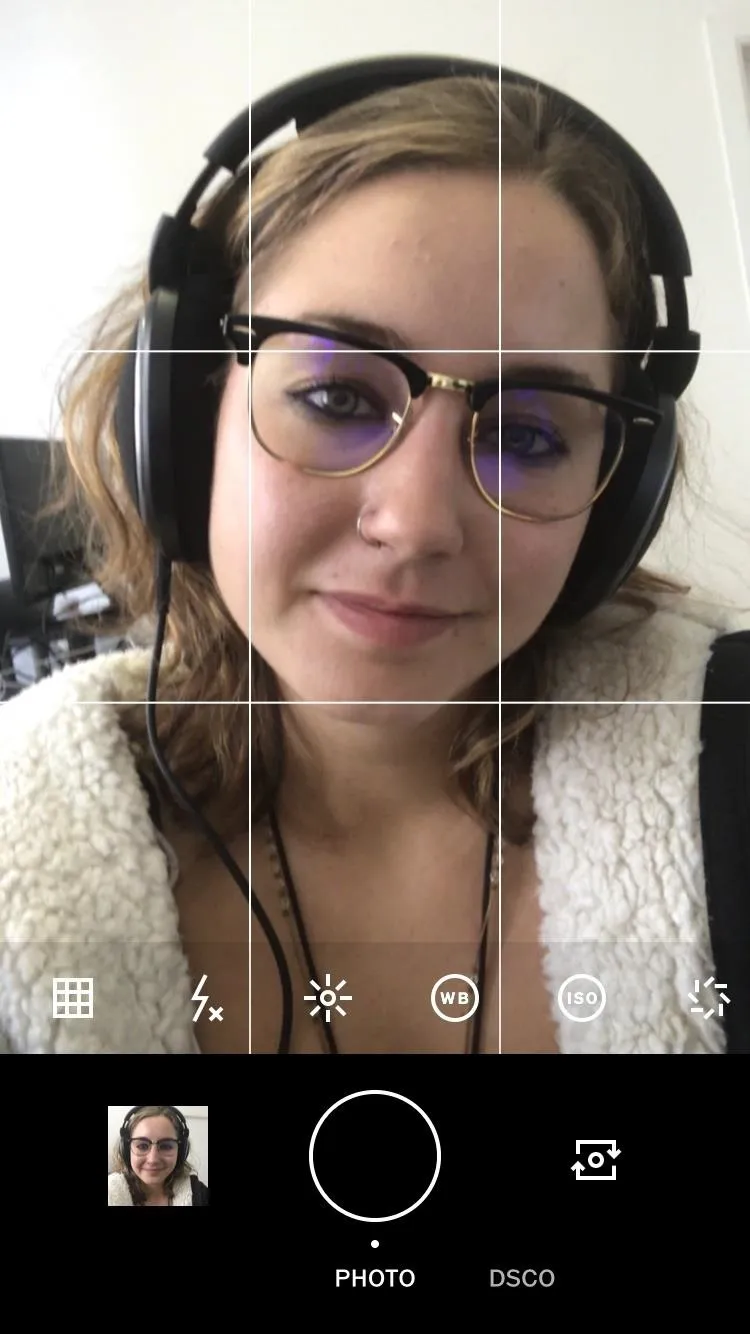
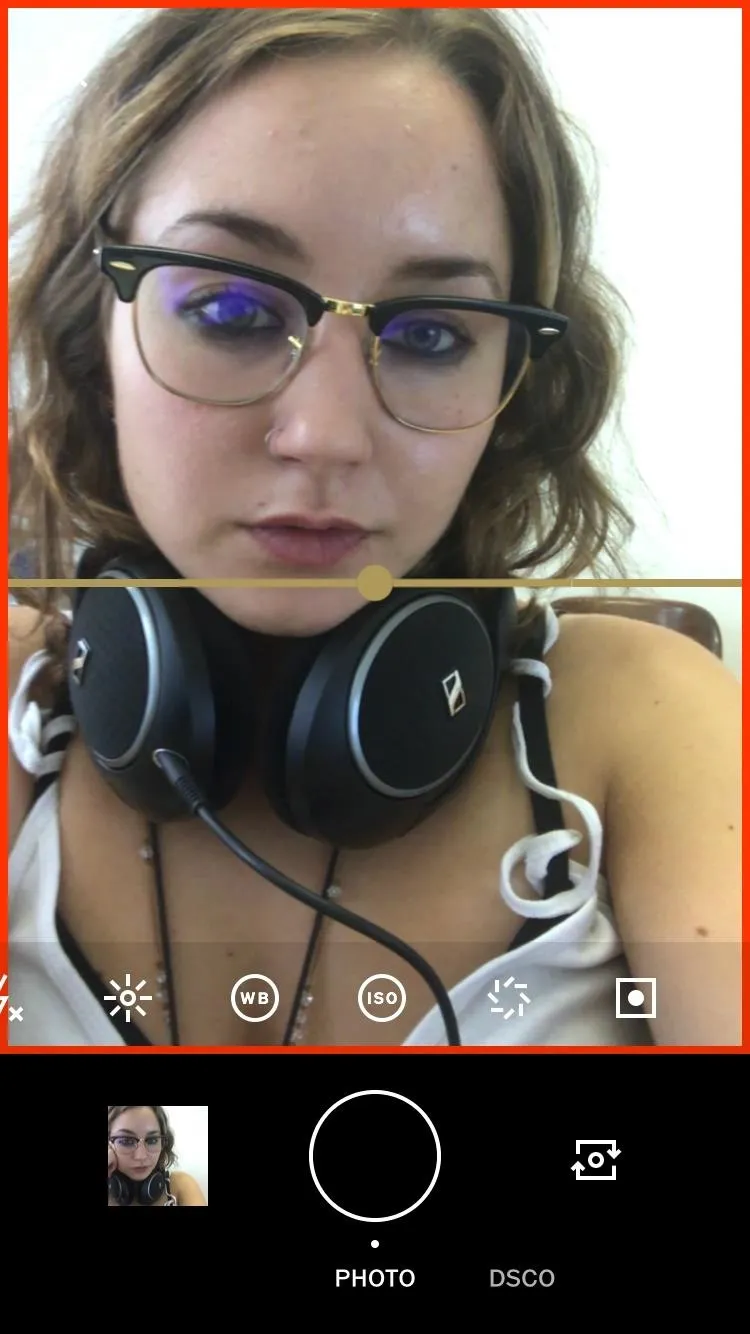
Look for the toolbar at the bottom of the camera screen. Here, you'll find a square icon with an X in it —tap this to enable a grid. The grid helps you apply the rule of thirds to frame up your photo properly, and it's also useful if you're taking a selfie and want to ensure that your face is centered and perfectly straight. Or, if you just want to play around to find the best angle for your face, the grid is also super helpful for that.
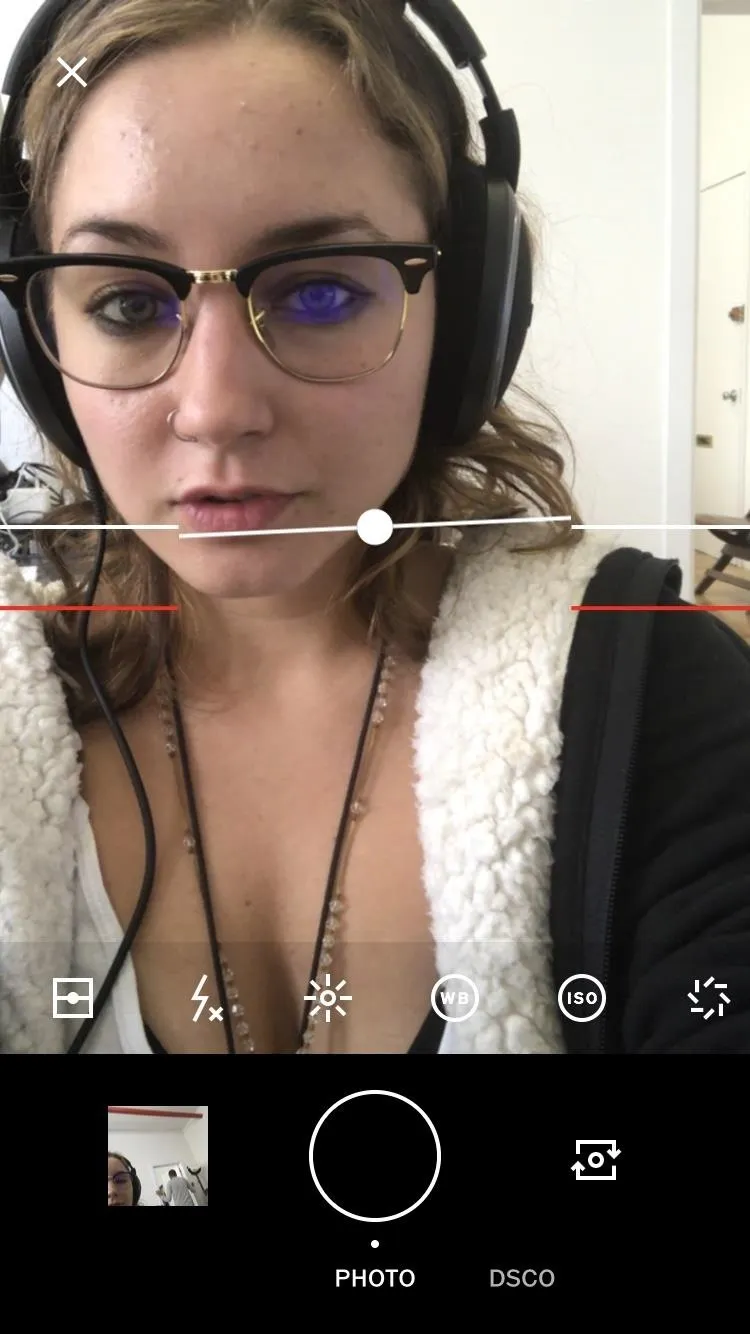
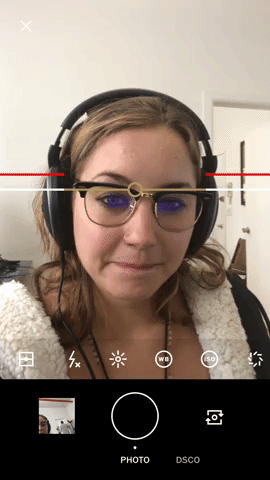
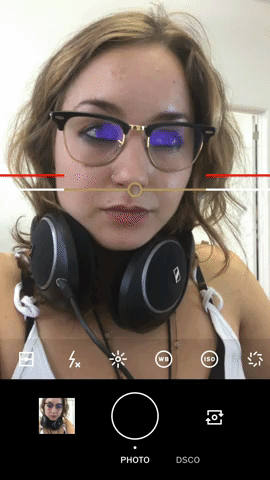
Level with Us
Tap on the grid icon once more to find a leveler, which is another good tool to use to help frame your selfie. When you use VSCO's leveler, the camera sees you the way anyone else would — at eye level. This helps to give a more intimate feel to your image and allows for a deeper connection with your audience.
Once your image is level, the white lines will connect and turn brown. You'll also find two red lines that don't connect. Tilt your camera until all the red and brown lines connect. When all connected, your image is at its perfect level point.
To Flash or Not?
Next to your leveler icon, you'll find a lightning bolt icon. This is your flash. If you're in a dark place like a nightclub and want to take a selfie, then you would need to use a flash.
VSCO uses your iPhone's display to provide the "flash," and it gives a bit of a subdued look to your face, almost like a non-flash. If this is a look you don't want, it might be best to shoot outside of VSCO.
Otherwise, for a selfie, no-flash is probably your best bet. If your camera is facing you, then you'll find the flash is off (X) by default, but you can tap it to enable automatic (A) or manual (no indicator).
If you do end up using the flash, you could also tap on the sun icon to decrease the brightness if you want to offset the brightness of the flash on your face.
Shutter Up
The last basic front-facing camera feature you have is the full-screen shutter button. You'll find this shutter feature by scrolling past VSCO's advanced camera features on the toolbar. It will be the last one there, the one with the circle inside the square. Tap on it to enable the full-screen shutter button.
Your camera screen will now have a red-lined rectangle surrounding it. This allows you to tap anywhere on the screen to take a photo, not just the circular shutter button. When it comes to selfies, this is a great tool to use, because once you've aligned your face in the frame, you can tap anywhere without having to move around too much to capture the perfect shot.
Just note that the manual focus option will be turned off when this is on, so you won't be able to tap to focus on your face anymore. It's not really needed for selfies anyway.
Selfie On, My Friend
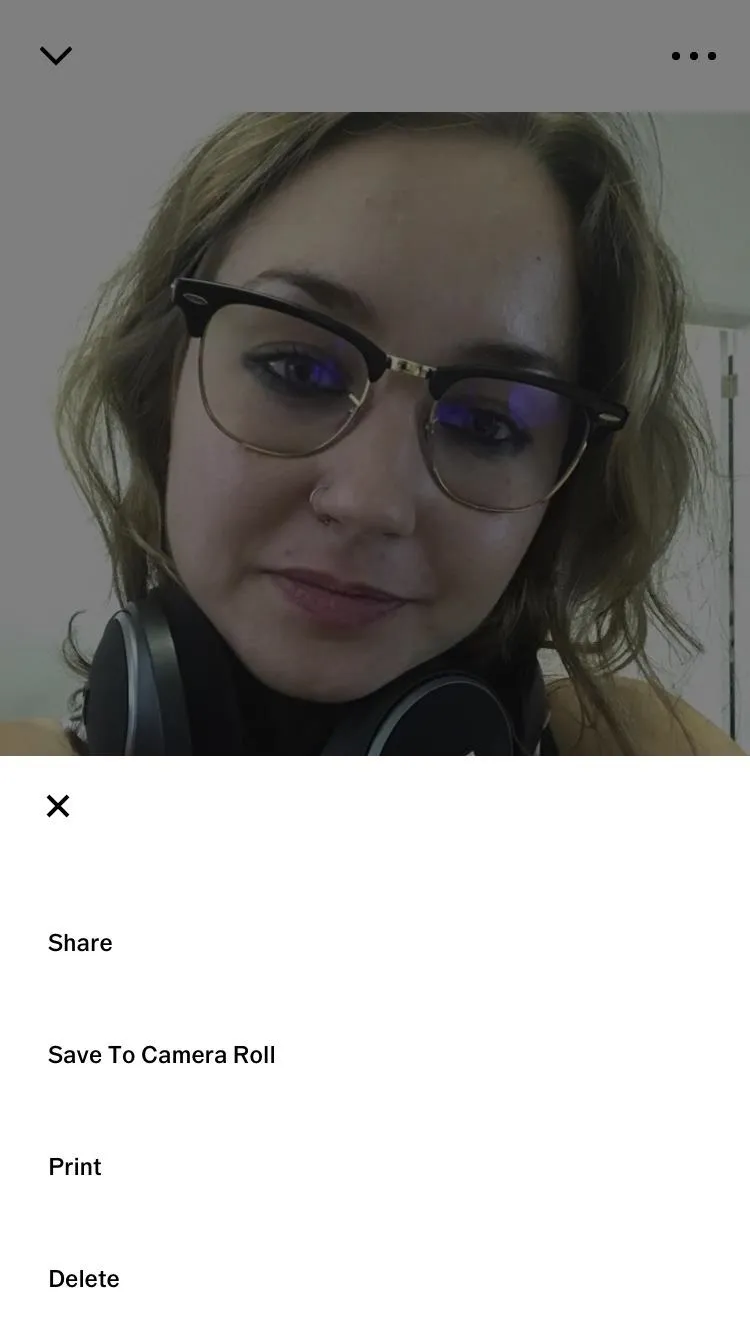
Once you're all set, take the photo! Your photo will automatically save to your Studio. To see the photo you just took, tap on the image thumbnail next to your camera's main shutter button. From here, tap on the ellipsis ( ... ) icon to share it, save it to your camera roll, print it, or delete it. You can also access these menu options from within your VSCO Studio by tapping on the image, then tapping on the ellipsis at the bottom-right corner.
While there are other tools in the front-facing camera toolbox in VSCO, they aren't really needed when it comes to quick selfies. But just so you know, there's a brightness slider (which works nicely in conjunction with the flash mode), white balance controls, an ISO slider, and shutter speed options.
If you'd like more tips on how to take a better selfie, like ways to angle your face and light your photo, then check out our guide below.
- Follow Gadget Hacks on Facebook, Twitter, Google+, YouTube, and Instagram
- Follow WonderHowTo on Facebook, Twitter, Pinterest, and Google+
Cover image, GIFs, and screenshots by Bettina Mangiaracina/Gadget Hacks


Comments
Be the first, drop a comment!