


Shopping wasn't always this easy. Now, in a matter of minutes, you can order your groceries for the week, send your cracked phone in for repairs, get your holiday shopping done, and have everything delivered to your front door in just a few days — without ever having to leave your home. Online shopping is convenient, comfortable, and a blessing ... right? Well, it can also be a headache.
If you do the majority of your shopping from different online retailers, it's easy to lose track of the packages being delivered to you. It's important to know when a delivery is going to be delayed or whether you need to be at home to sign for it, which is why you need a centralized hub to keep an eye on them. Arrive, a project from Shopify, solves this problem by allowing you to track all of your packages, across all online retailers, in one place.
Install Arrive
To get started, install Arrive from the App Store. The service is only available in the US and Canada for now, but to install it, you can either search for it in the App Store app, or you can tap the link below from your iPhone.
- App Store Link: Arrive (free)

Sign In
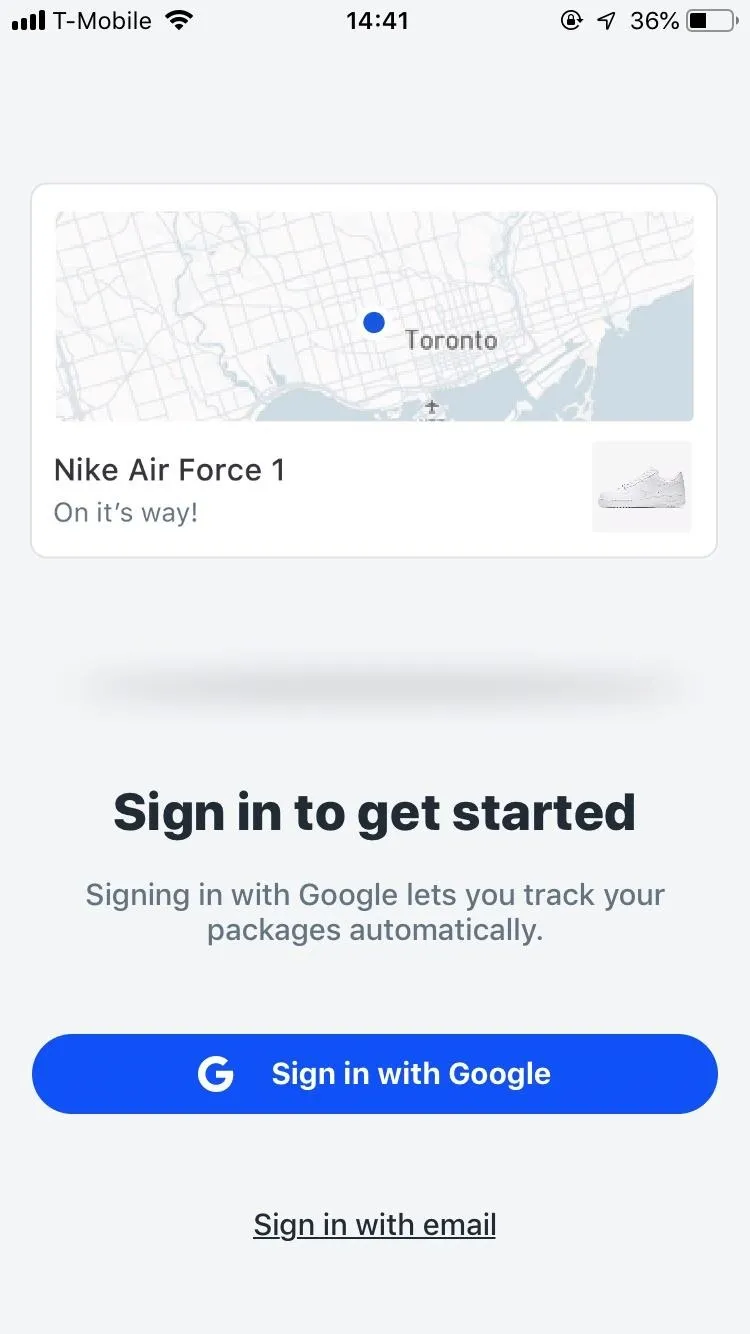
Now, open Arrive and you'll be asked to log in. You can do this in one of two ways: sign in with Google or sign in with your email. If you sign in with Google, Arrive automatically searches through your emails and pulls active tracking numbers to help you find deliveries. When it finds a tracking number, the delivery appears in the app.
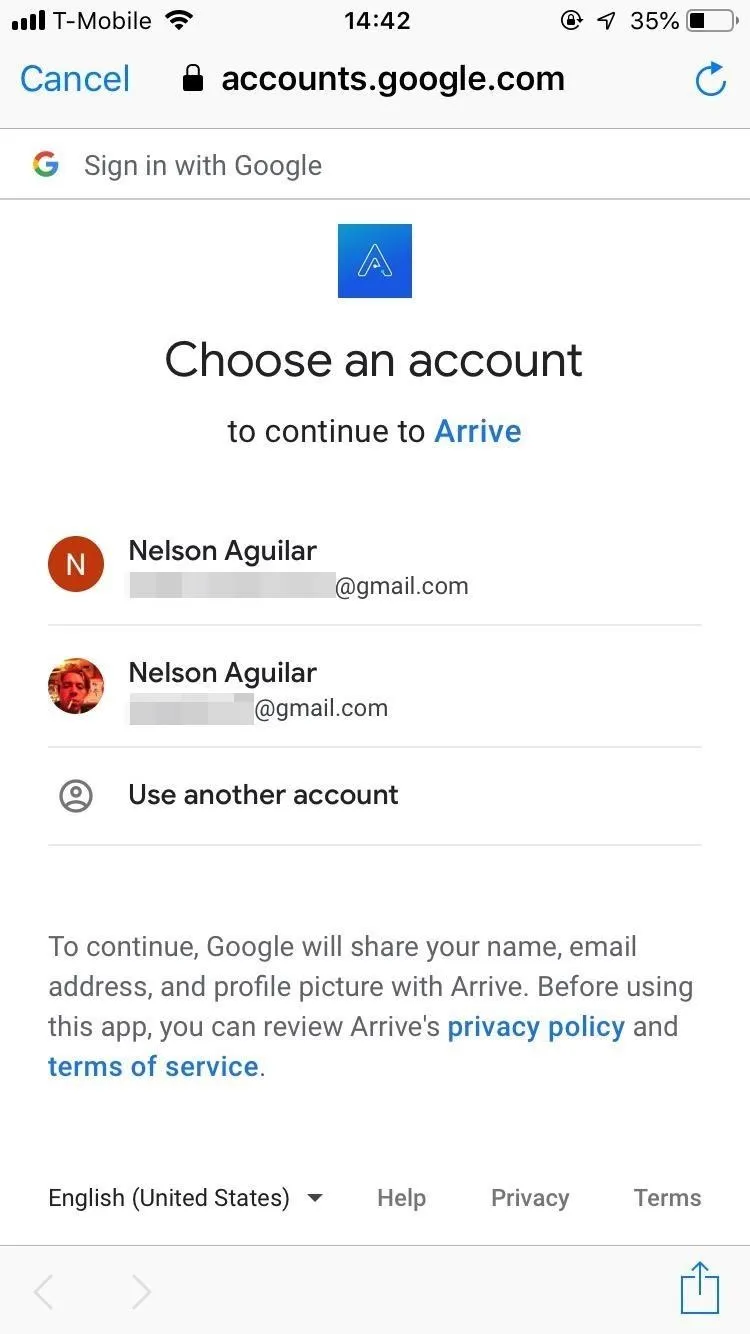
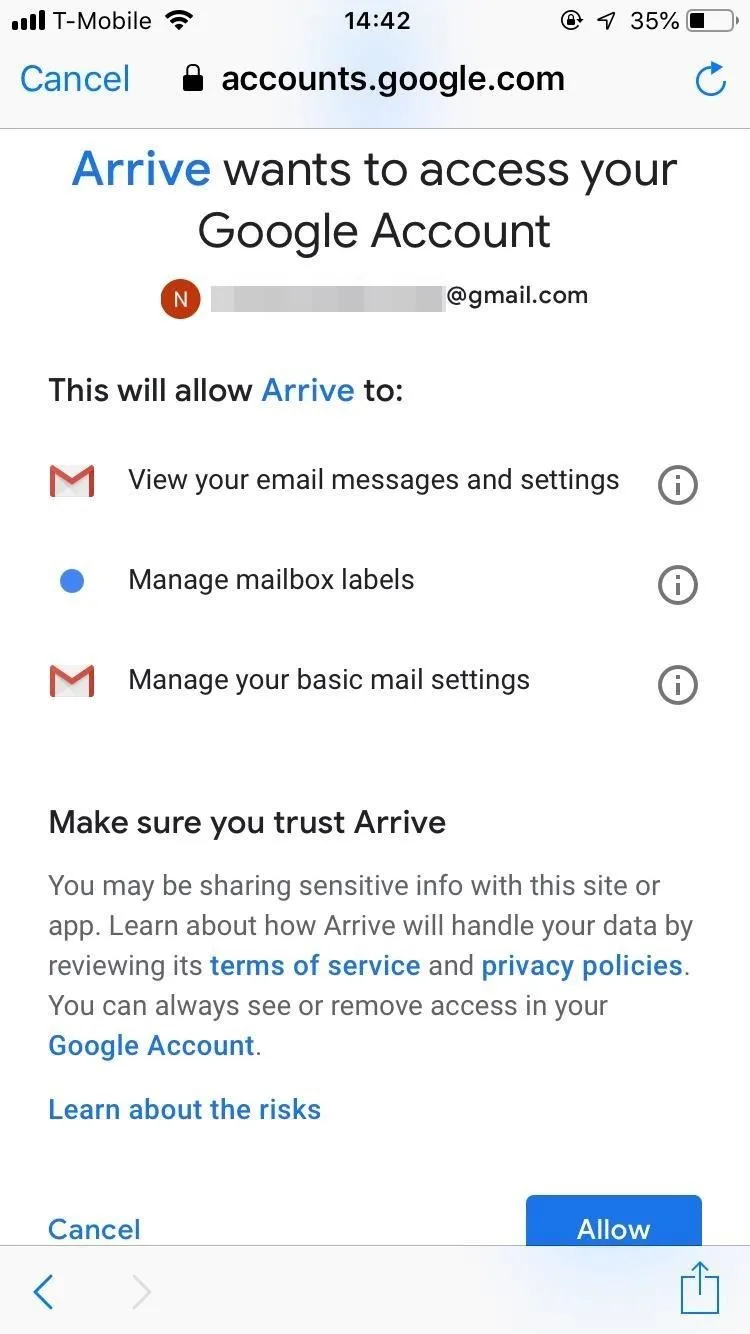
If you decide on this sign in method, tap on "Sign in with Google," choose your Gmail account, and grant the app access to your messages and settings by tapping on "Allow." Although Arrive promises to keep "your private information safe and secure," you may not want it to have access to your emails, which is why you can use the second method.
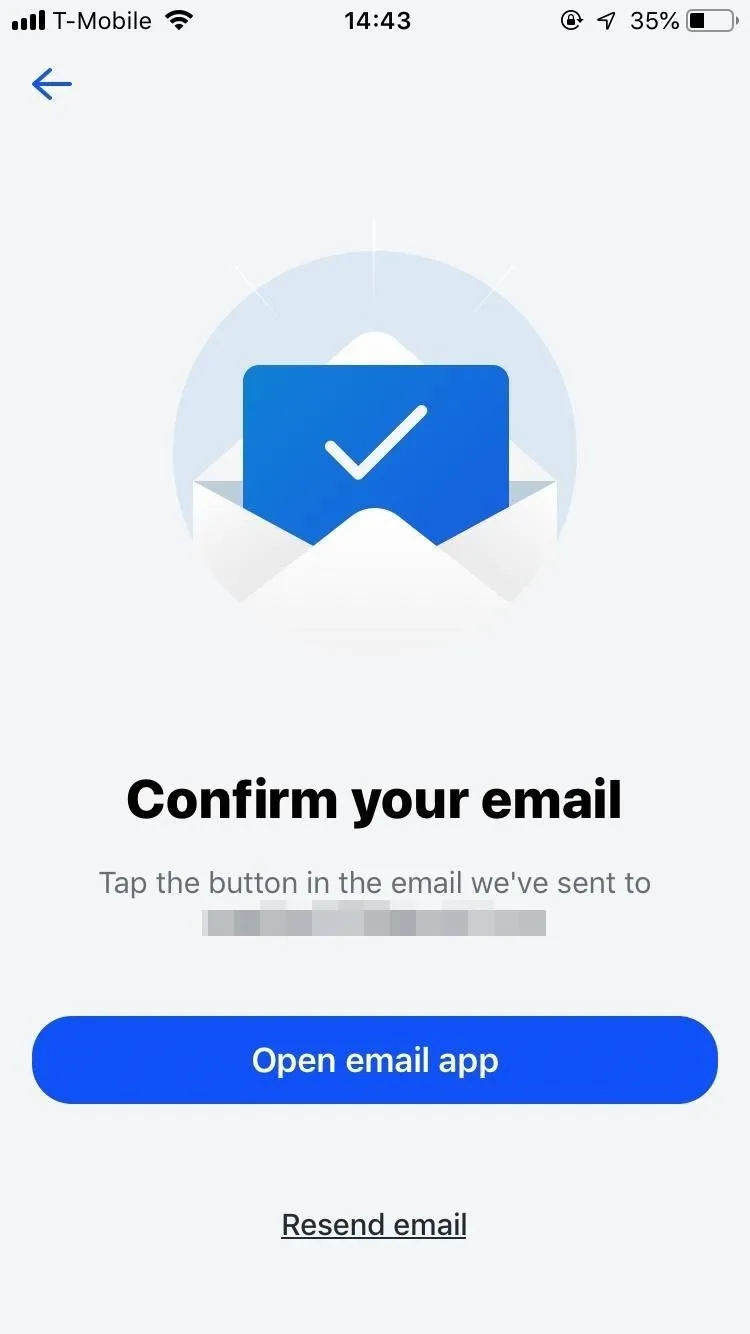
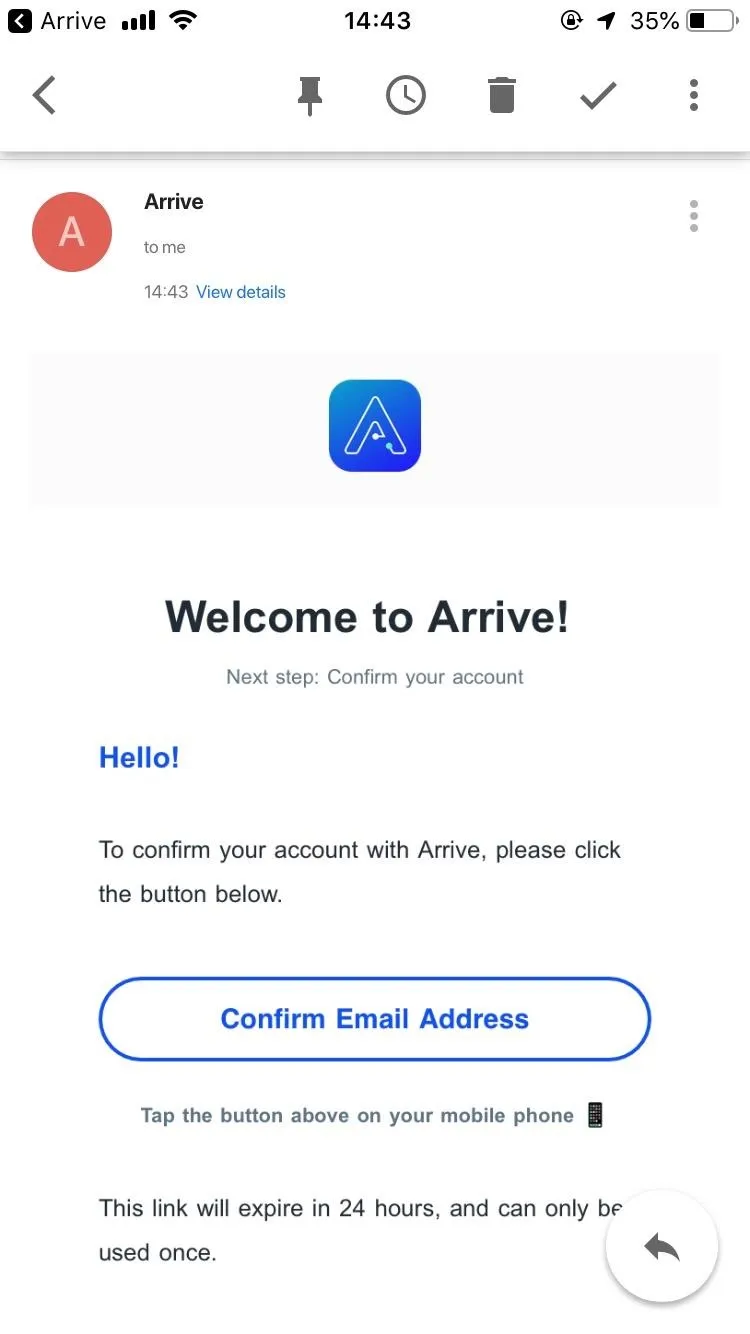
You can also choose to sign in with your email (including Gmail), but without giving Arrive access to your account. To do this tap on "Sign in with email" on the first page and enter your email address. A confirmation email will be sent to you. Tap on "Open email app" to be redirected, find the confirmation email, and tap on "Confirm email address." Arrive won't have access to your email account, which means you'll have to add tracking numbers manually.
Add a Delivery
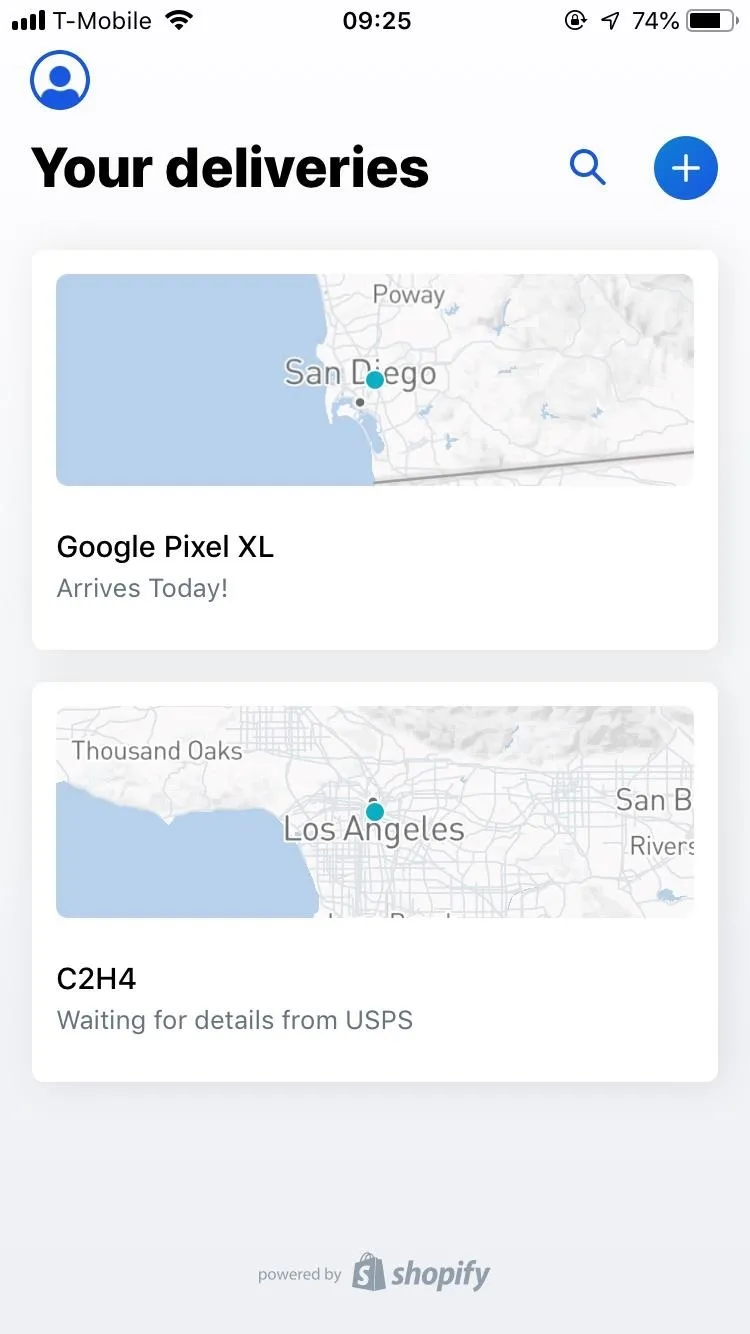
If you granted Arrive access to your email, deliveries made with accounts tied to that email address should appear in the app automatically, although not all of them will. If Arrive has issues finding all of your deliveries, or you didn't give the app access to your email, you must manually add deliveries.
To add a delivery, tap on the large plus (+) sign at the top-right of the application. Enter your tracking number, give the delivery a name, and select your carrier. Arrive has over 400 carriers to choose from, domestic and international. When you're done entering the information, tap on "Add a delivery" at the bottom of the page. The delivery will then appear in a card on the home page.
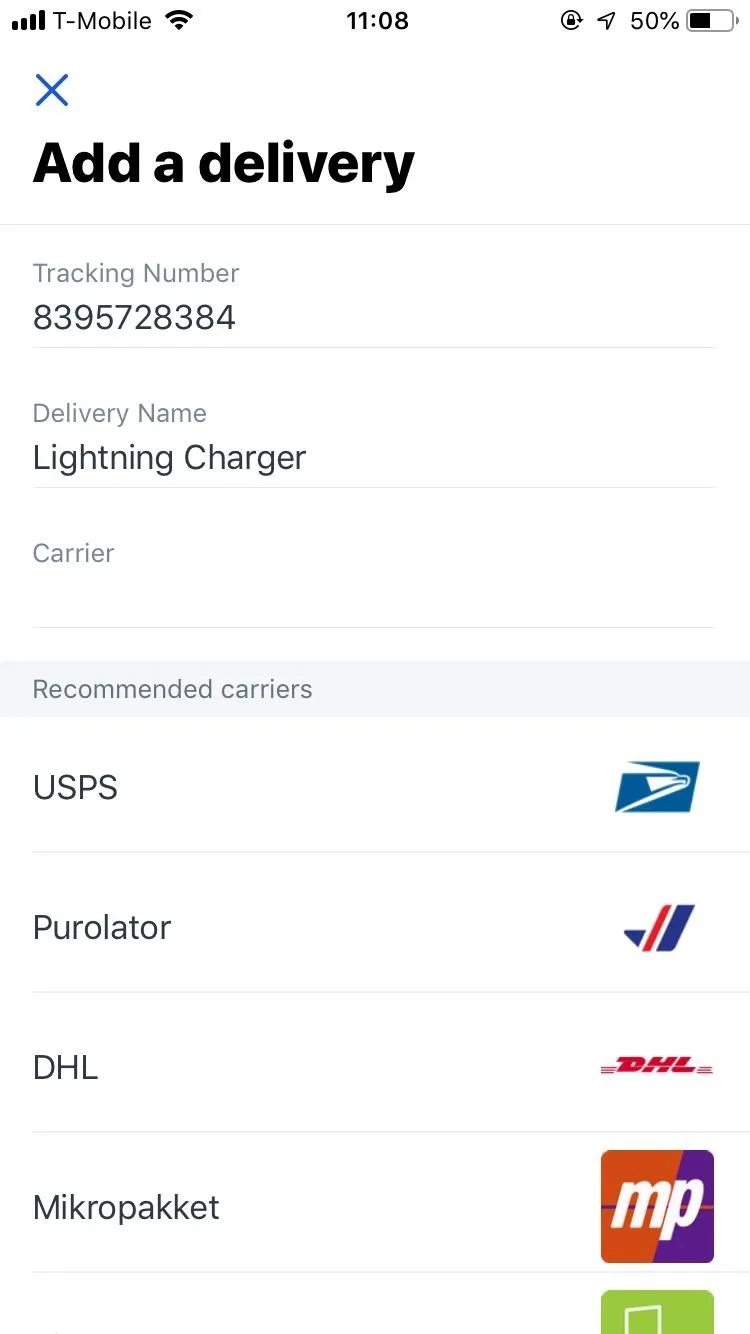
If you copy a tracking number to your clipboard and go into Arrive, it will detect that you want to add a new delivery and make this process even easier.

Track Your Deliveries
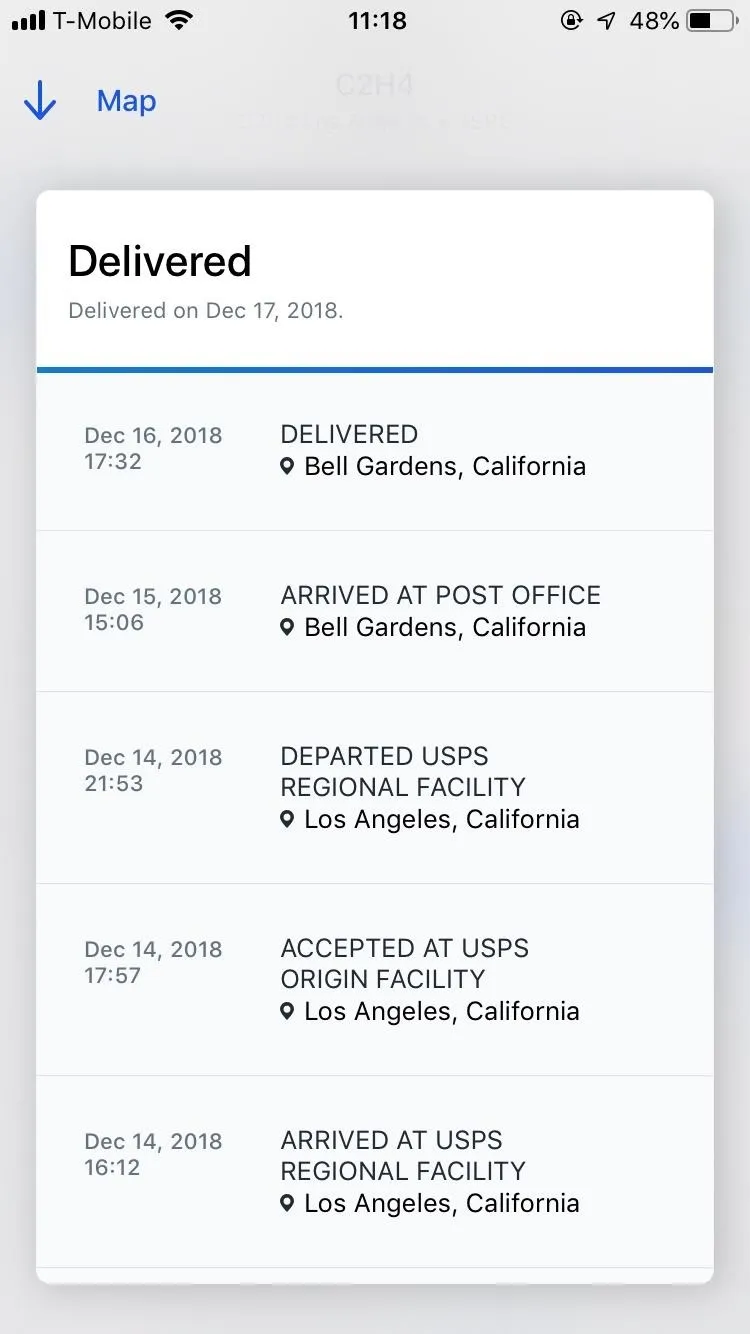
Tracking your deliveries through Arrive is simple: tap on a delivery card and check out real-time tracking of your package. On the map, you can see where your package currently is. If you tap on the card coming up from the bottom of the map, you can see more detailed information about your delivery.
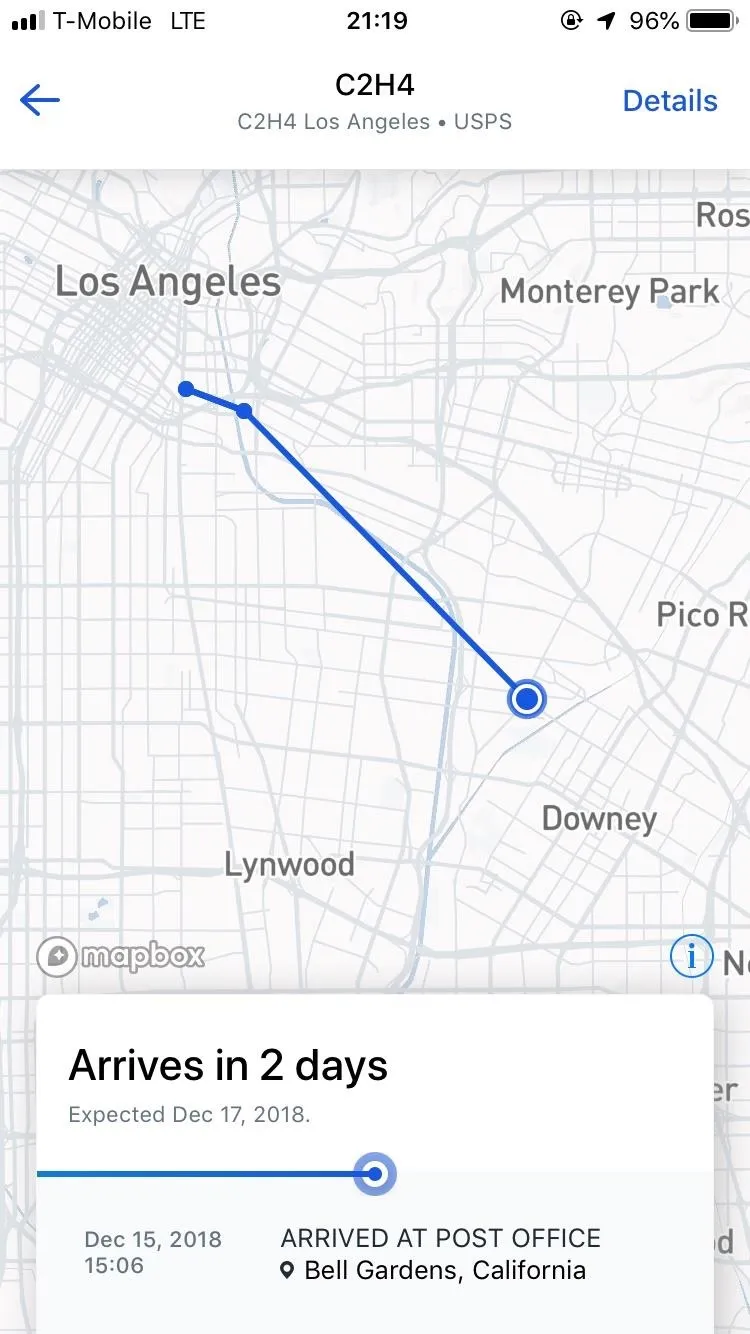
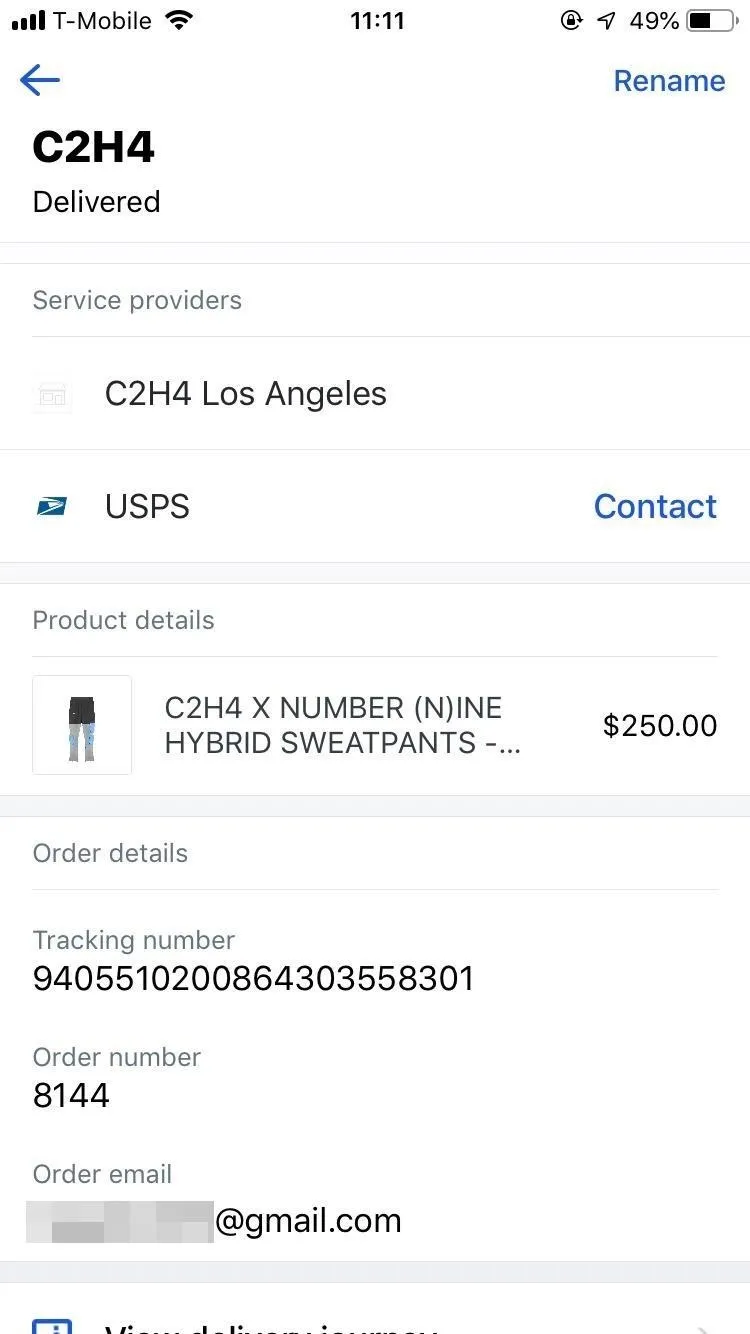
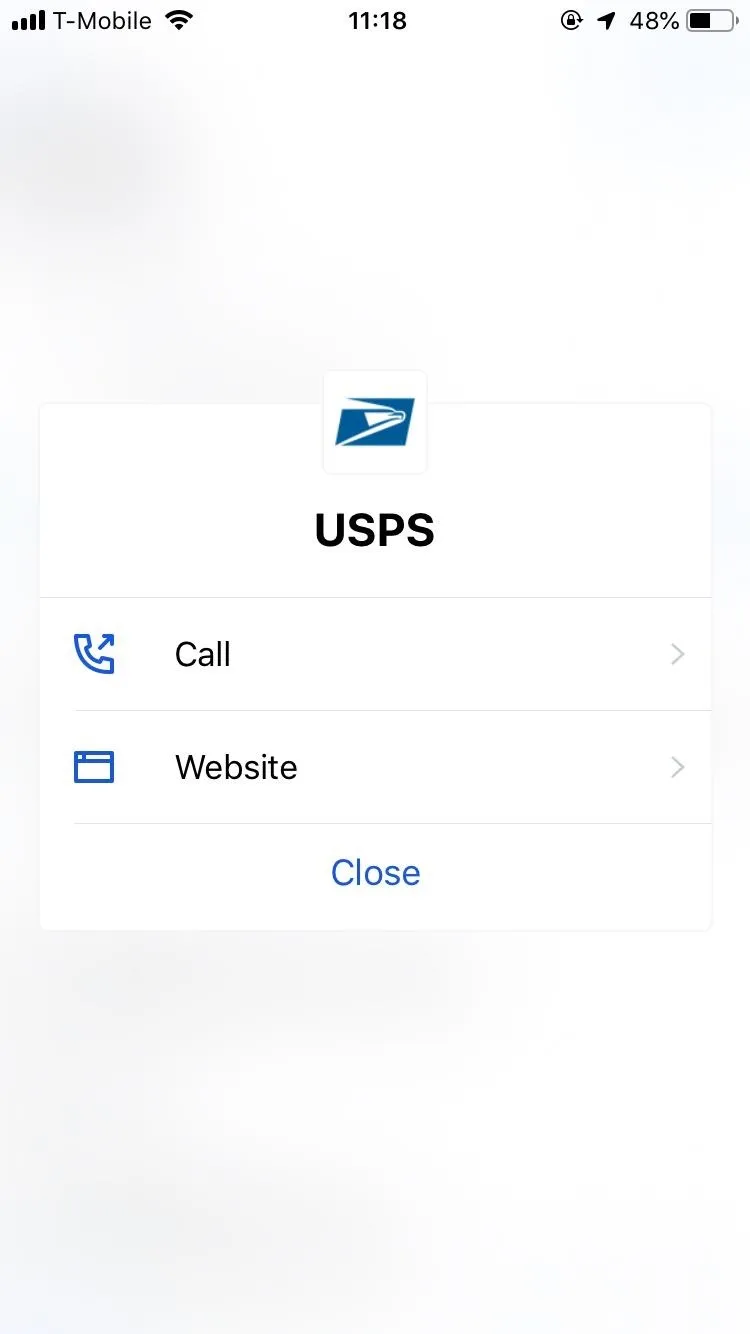
Tap on "Details" on the top-right to view the service providers (retailer and delivery service), product details, and order details. If there is something wrong with your delivery, you can contact your delivery service through here. If the retailer where you purchased your product from has integration with Shopify (Apple, Target, Nike, etc.), you'll be able to contact them as well from this page.
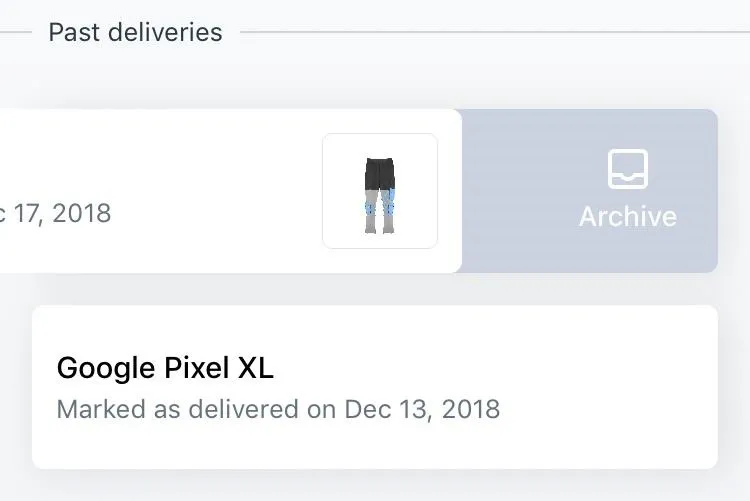
Once your package is delivered, you can swipe left on the delivery card to archive it.
Adjust Settings (Optional)
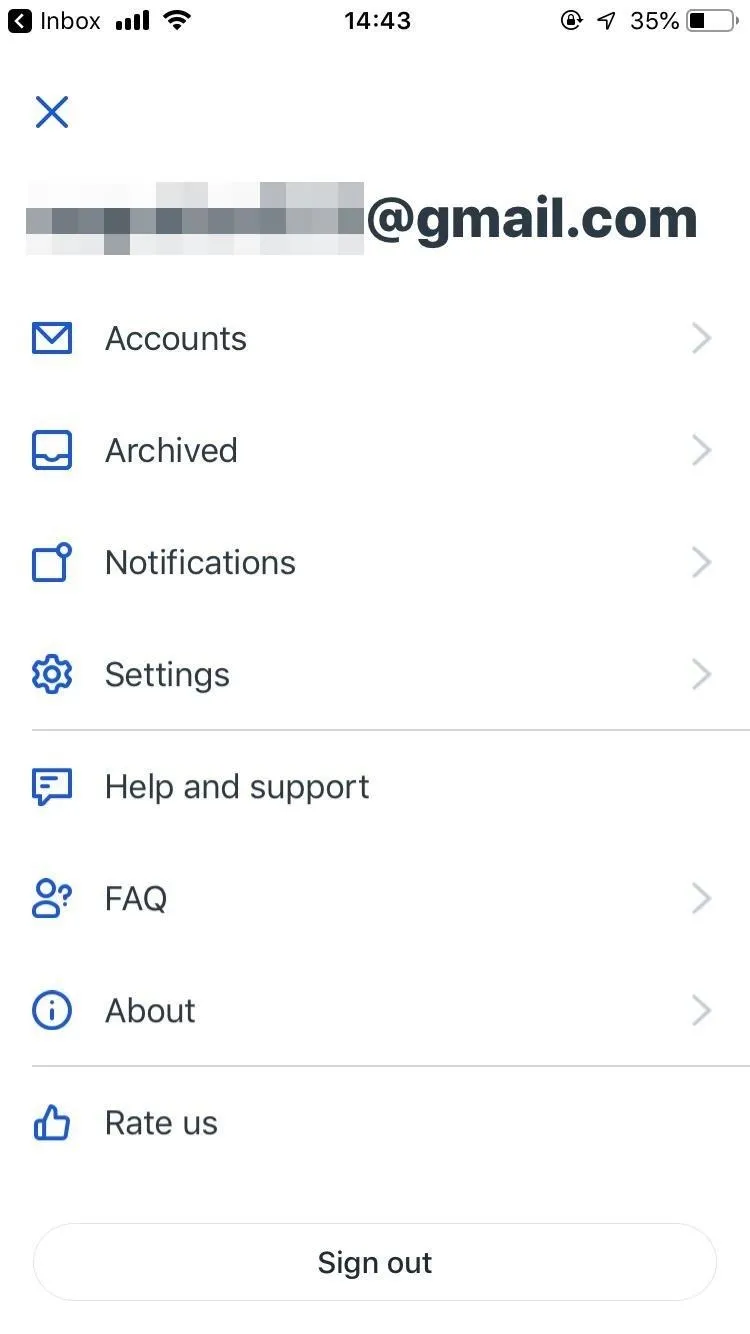
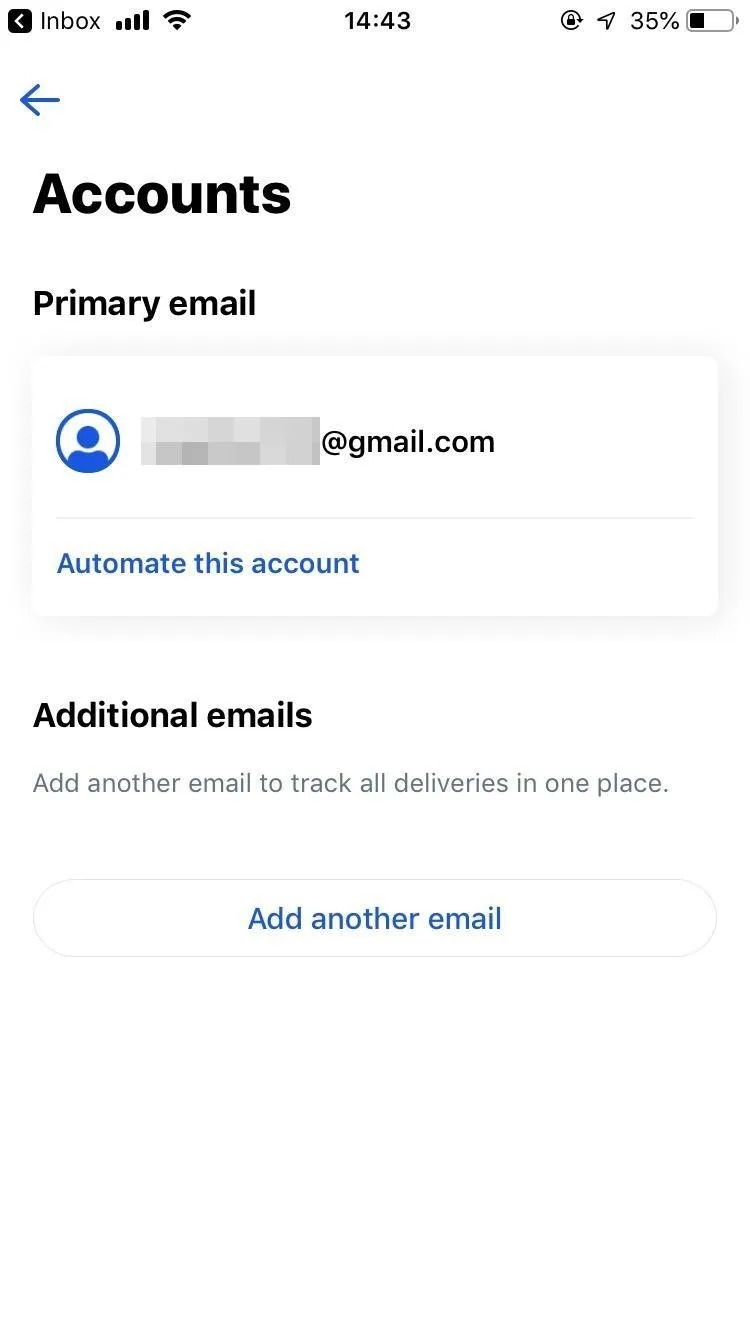
If you want to go into your settings, tap on the profile icon on the top-left of Arrive's home page. Here, you can access email accounts attached to Arrive, archived deliveries, and notifications. In "Accounts," you can automate your Google account (if you didn't do that when you first logged in) and add additional Google email accounts if you use multiple email addresses when ordering online.
Deactivating Your Account
If you want to delete your Arrive account, send an email to bye@tryarrive.com. According to their FAQ, it can take up to 30 days for your account to be deleted. However, this does not remove Arrive from your Gmail account. To do so, you must do the following (easiest on a computer):
- Go to your Google Account
- Click on "Security"
- Under Google apps with account access, click "Manage access"
- Choose Arrive
- Click "Remove Access"
Now Arrive no longer has access to your Gmail.
- Follow Gadget Hacks on Pinterest, Reddit, Twitter, YouTube, and Flipboard
- Sign up for Gadget Hacks' daily newsletter or weekly Android and iOS updates
- Follow WonderHowTo on Facebook, Twitter, Pinterest, and Flipboard
Cover photo and screenshots by Nelson Aguilar/Gadget Hacks


Comments
Be the first, drop a comment!