


In the event of an emergency where you can't answer for yourself, trained professionals can view your Medical ID on your iPhone to learn about your medical situation, granted that you have created one. But that's not all your Medical ID can do. With a new feature, iOS can share your Medical ID data automatically with first responders when you place an emergency call.
According to Apple, when you place an emergency call or text with your iPhone, your current location and your Medical ID information are securely sent to Apple. Next, the company uses your coordinates to confirm whether or not you're in a supported area for the feature. If you are, Apple shares your information with one of its "partners," who then sends it along to emergency dispatch services.
The new feature, which is part of iOS 13.5, comes as Apple looks for ways to help its user base during the novel coronavirus pandemic. Apple also previously introduced its COVID-19 exposure notification API that it's developing with Google. We expect these two developments won't be the last health updates we hear about from Apple and other tech giants in 2020.
- Don't Miss: How to Disable COVID-19 Exposure Notifications
Update to iOS 13.5 or Later
Apple introduced the feature in iOS 13.5. It first appeared in 13.5 developer beta 4 and public beta 3, but is now available to the public.
To update your iPhone, head to Settings –> General –> Software Update. If your iPhone is already up-to-date, this page will say so. If not, follow the instructions on-screen to download and install the iOS 13.5 update.
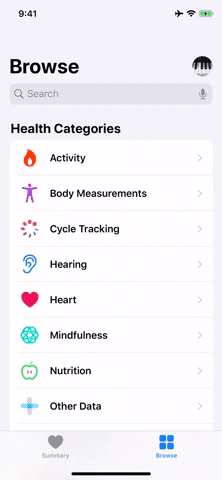
Create a Medical ID (If You Haven't Yet)
If you have already created a Medical ID card, skip to Step 3 below. If not, you'll need to do so to gain access to the new feature that sends your medical information to first responders. That info can include your name, photo, birthdate, medical conditions, medical notes, allergies and reactions, medications, blood type, organ donor status, weight, height, primary language, and emergency contacts.
- More Info: How to Create a Medical ID on Your iPhone
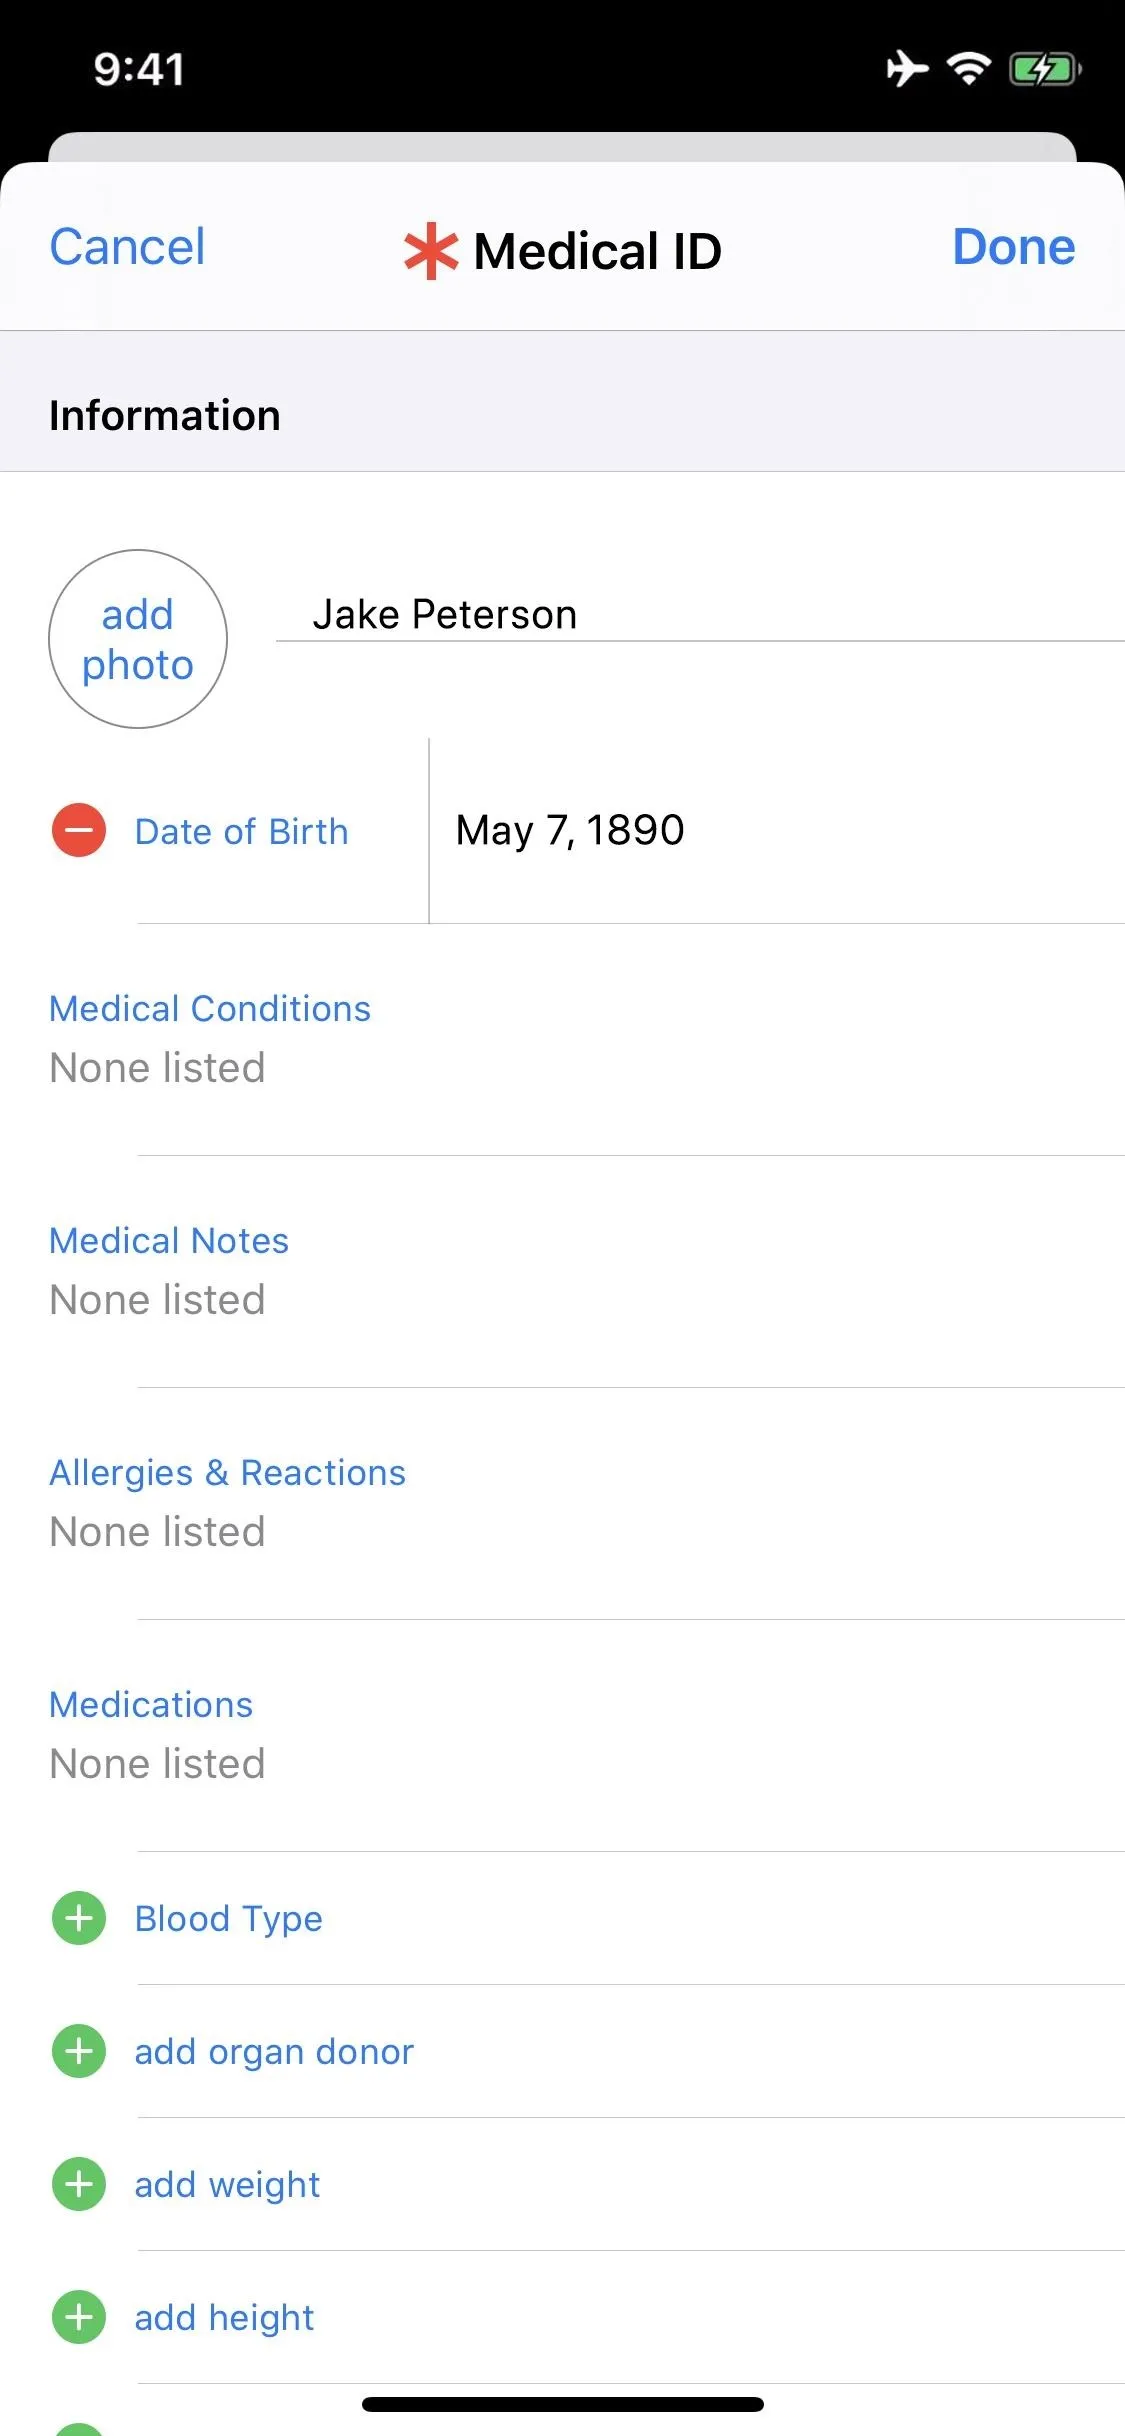
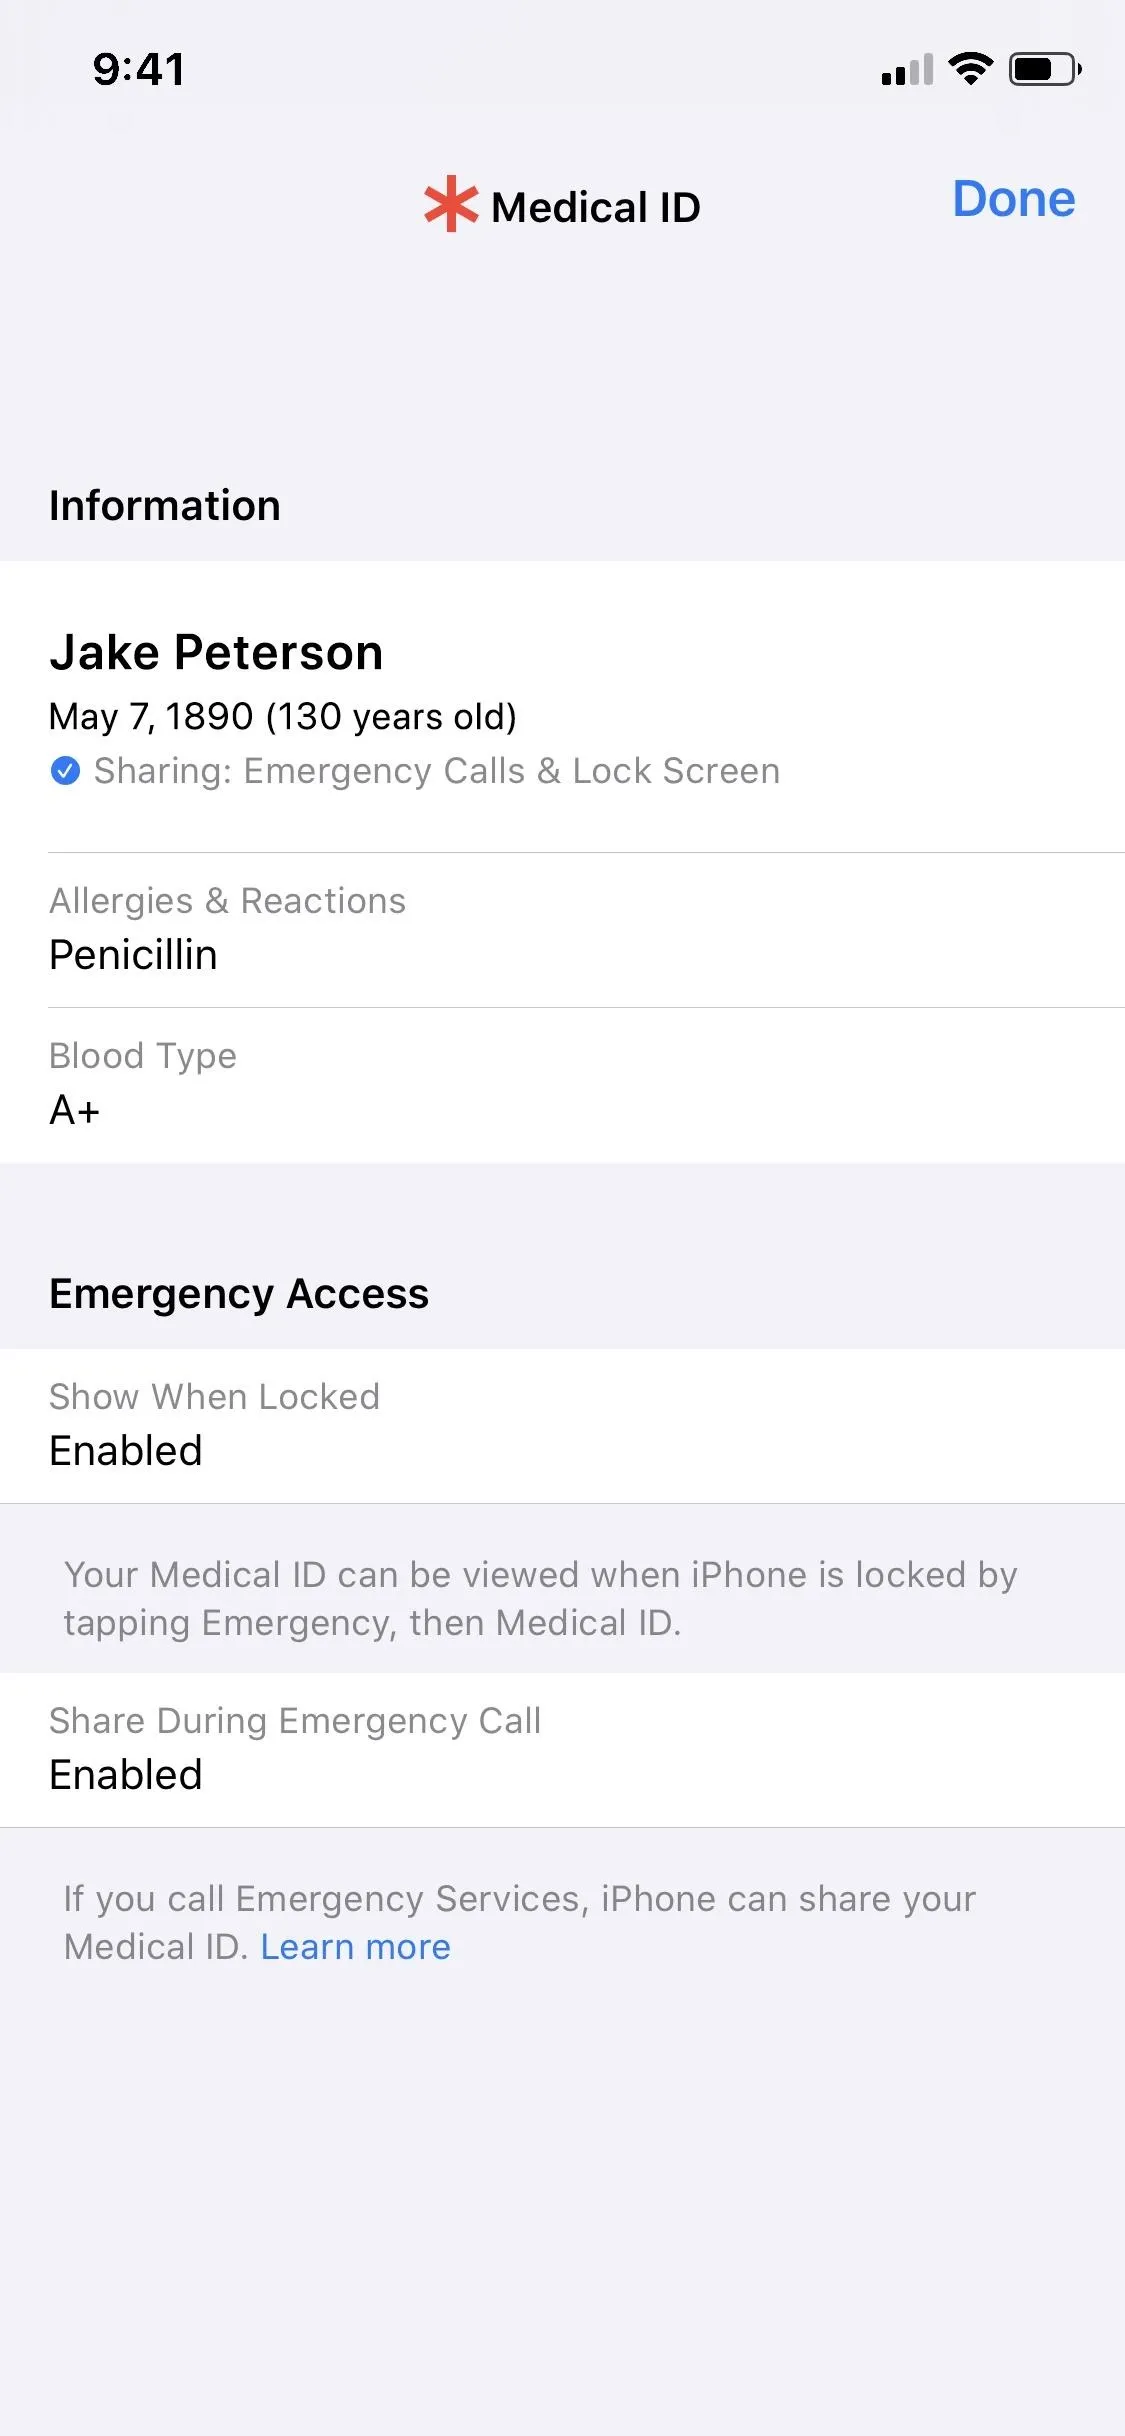
The Medical ID settings (left) vs. what's seen on the lock screen (right).
The Medical ID settings (left) vs. what's seen on the lock screen (right).
Enable 'Share During Emergency Call'
Now, all that's left to do is enable the feature! There are a couple ways to do so from the Health app and one way from the Settings app.
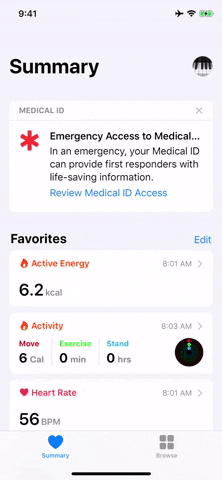
Use the 'Review Medical ID Access' Prompt in Health
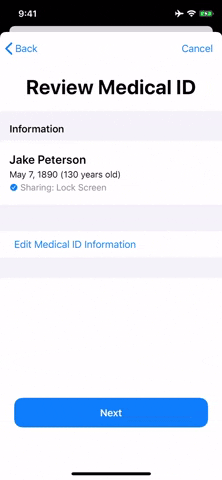
In your Health app, if you see a card at the top of your screen that says Emergency Access to Medical ID, tap the "Review Medical ID Access" link within it. Next, select "Review Medical ID" and make sure all of your information is correct and up to date, then hit "Done" in the top right of the modal window.
Afterward, tap the "Next" button to view the "Share Medical ID Information during an Emergency Call" page. From here, tap "Share Medical ID Information." It will then ask if you want your Medical ID card to be shown on your lock screen, which is a good backup in case the EMTs don't have the data that was forwarded automatically to 911 dispatchers. Ensure the toggle is enabled, then tap "Done."
Use the Medical ID Tool in Health or Settings
If you don't see this card on the Health app, you can get there manually in one of two ways. First, in the Health app, tap your profile icon in the top right. Second, in the Settings app, select "Health."
Either way you get there, the rest is the same. Tap "Medical ID," select "Edit," then toggle on "Share During Emergency Call" near the bottom. We also suggest toggling on "Show When Locked" in case emergency responders don't get your medical information. Save it with "Done."
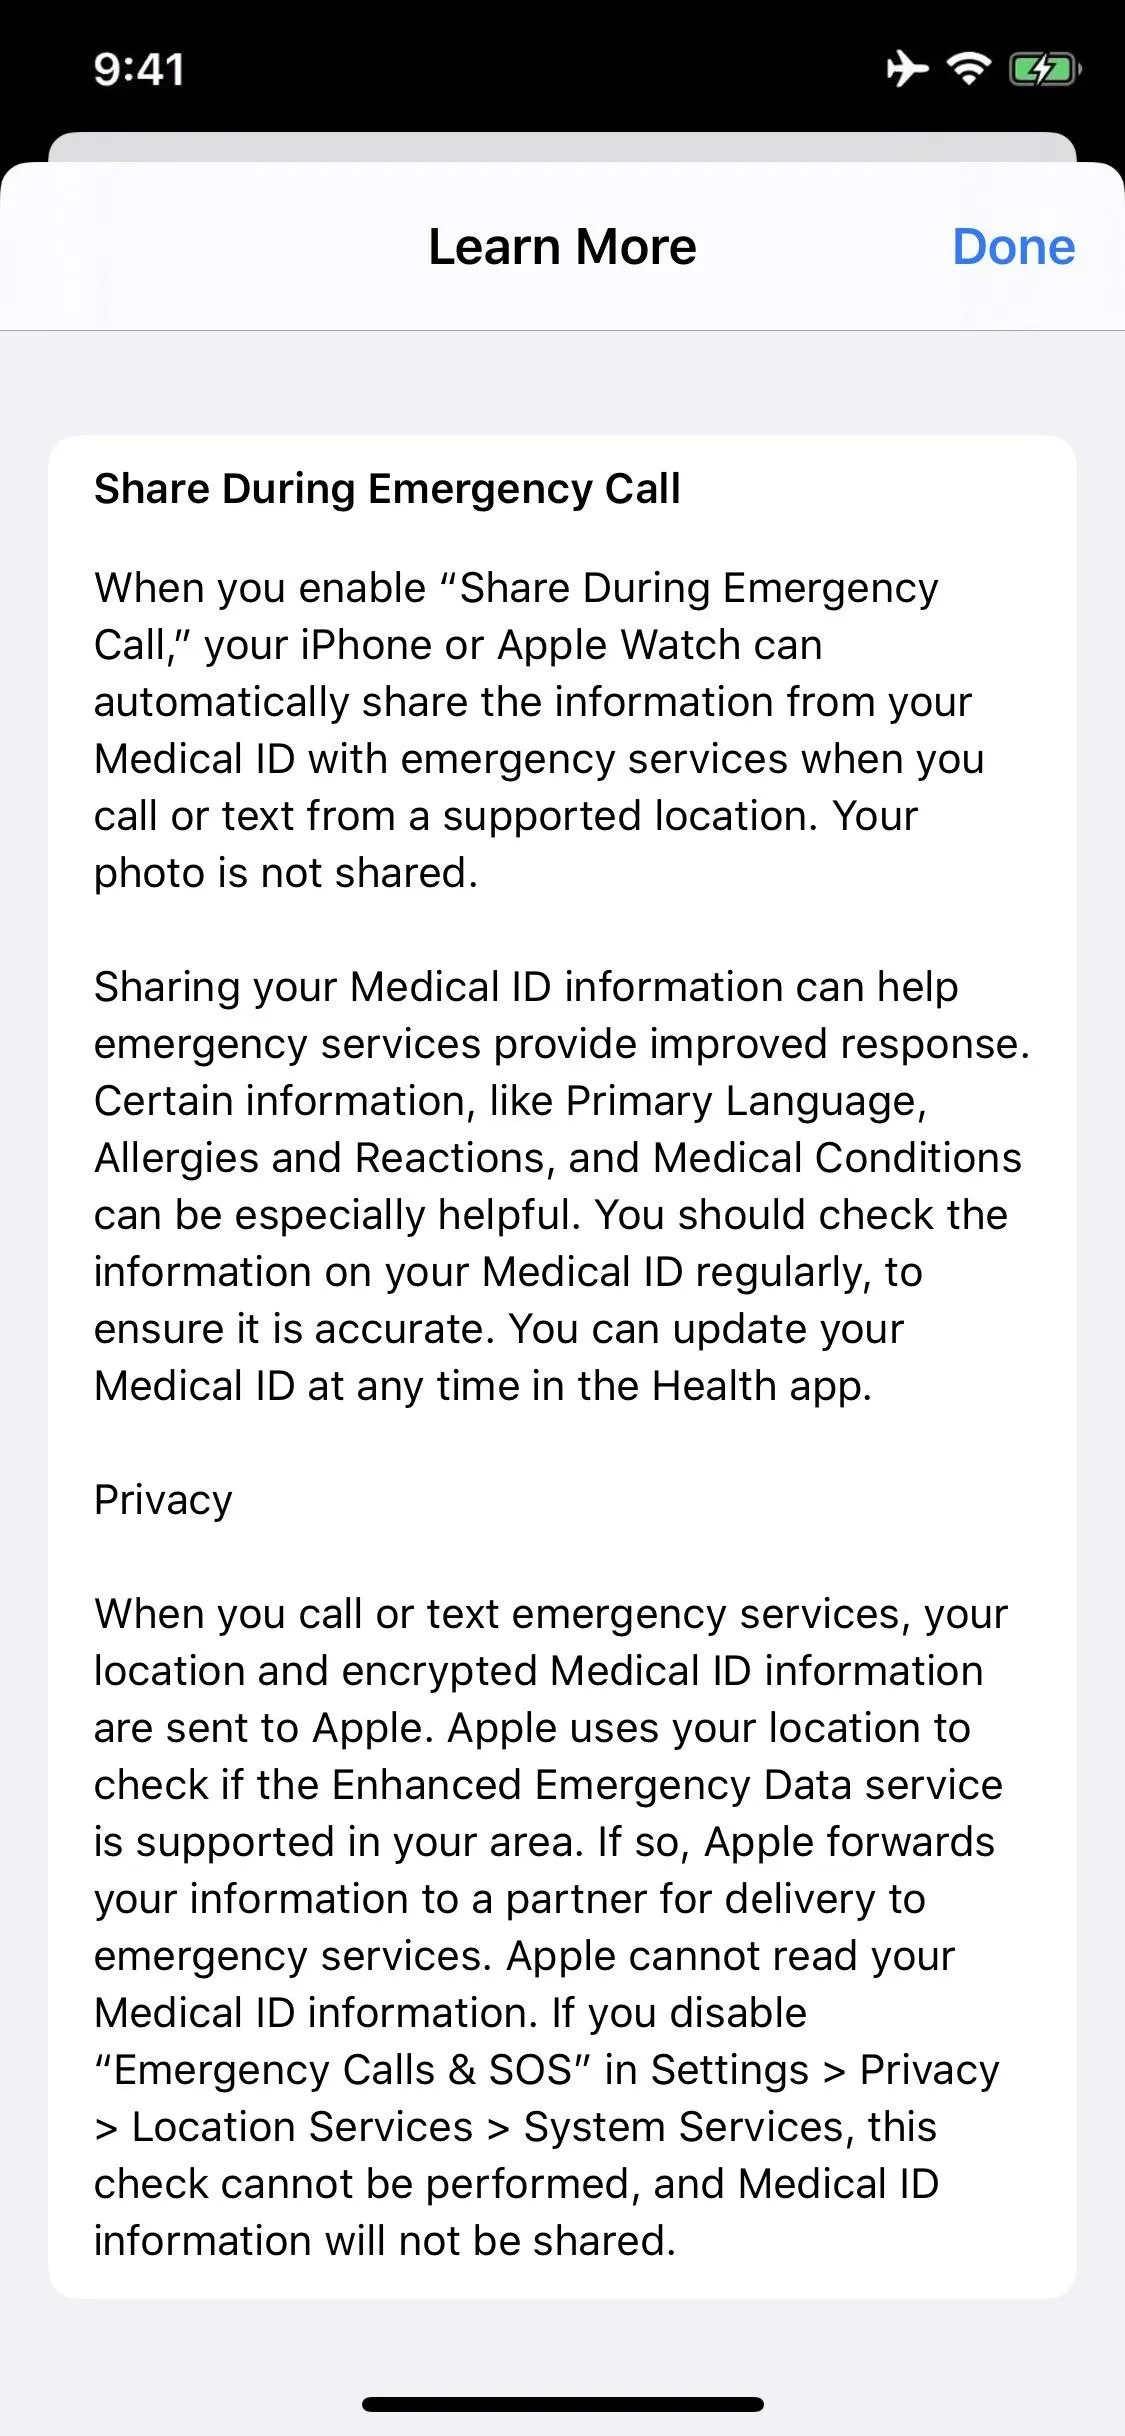
If you want some more information about how the feature works, and how Apple ensures your privacy and security, you can tap "Learn more" beneath the feature. The screenshot on the right below also shows all of the information on that page.
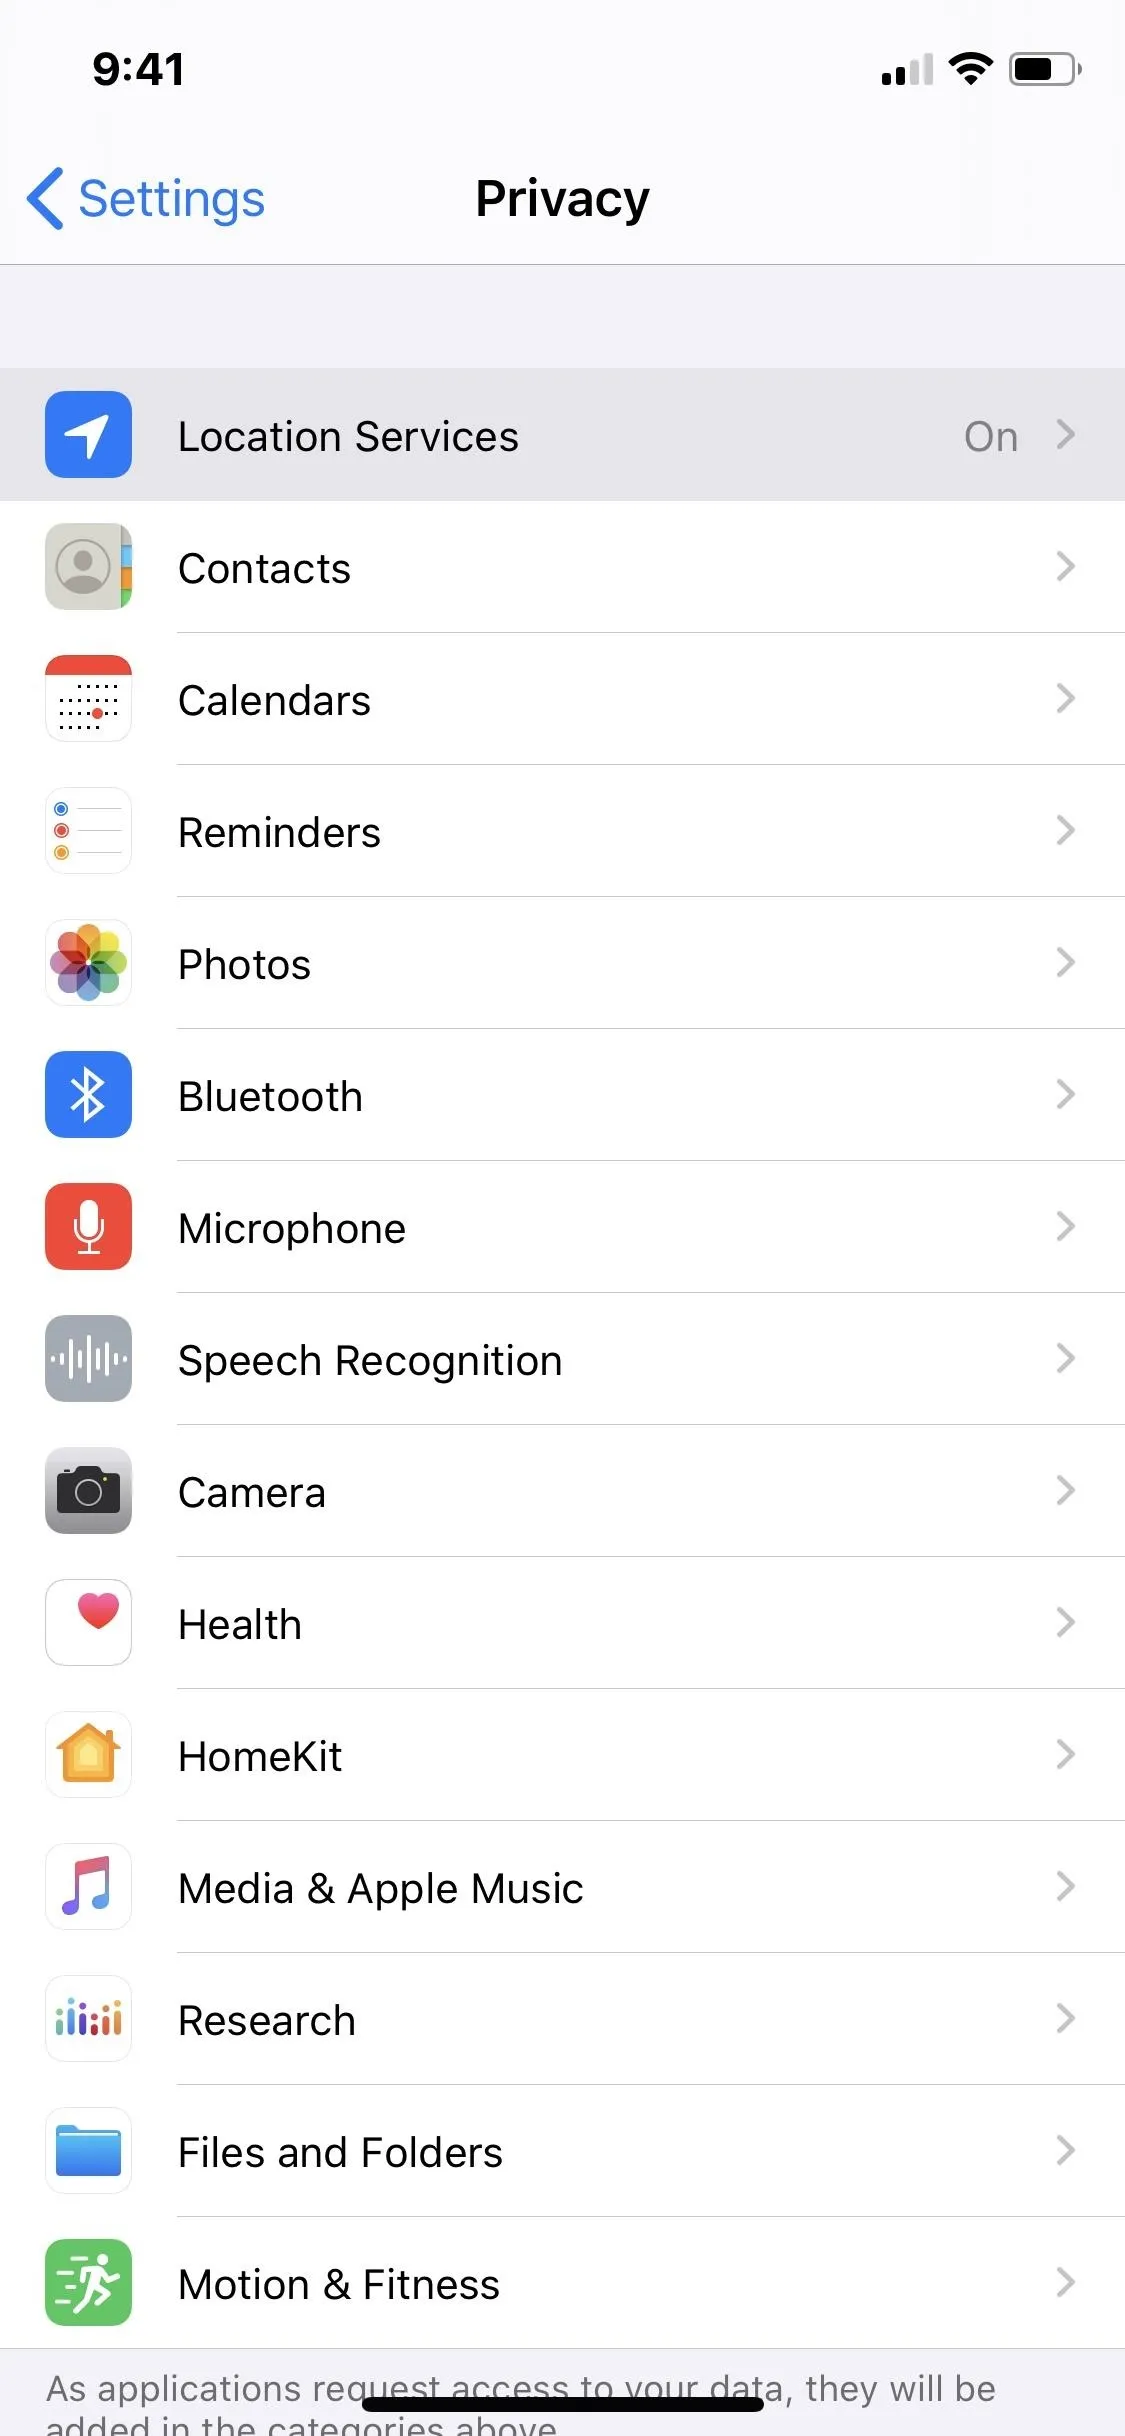
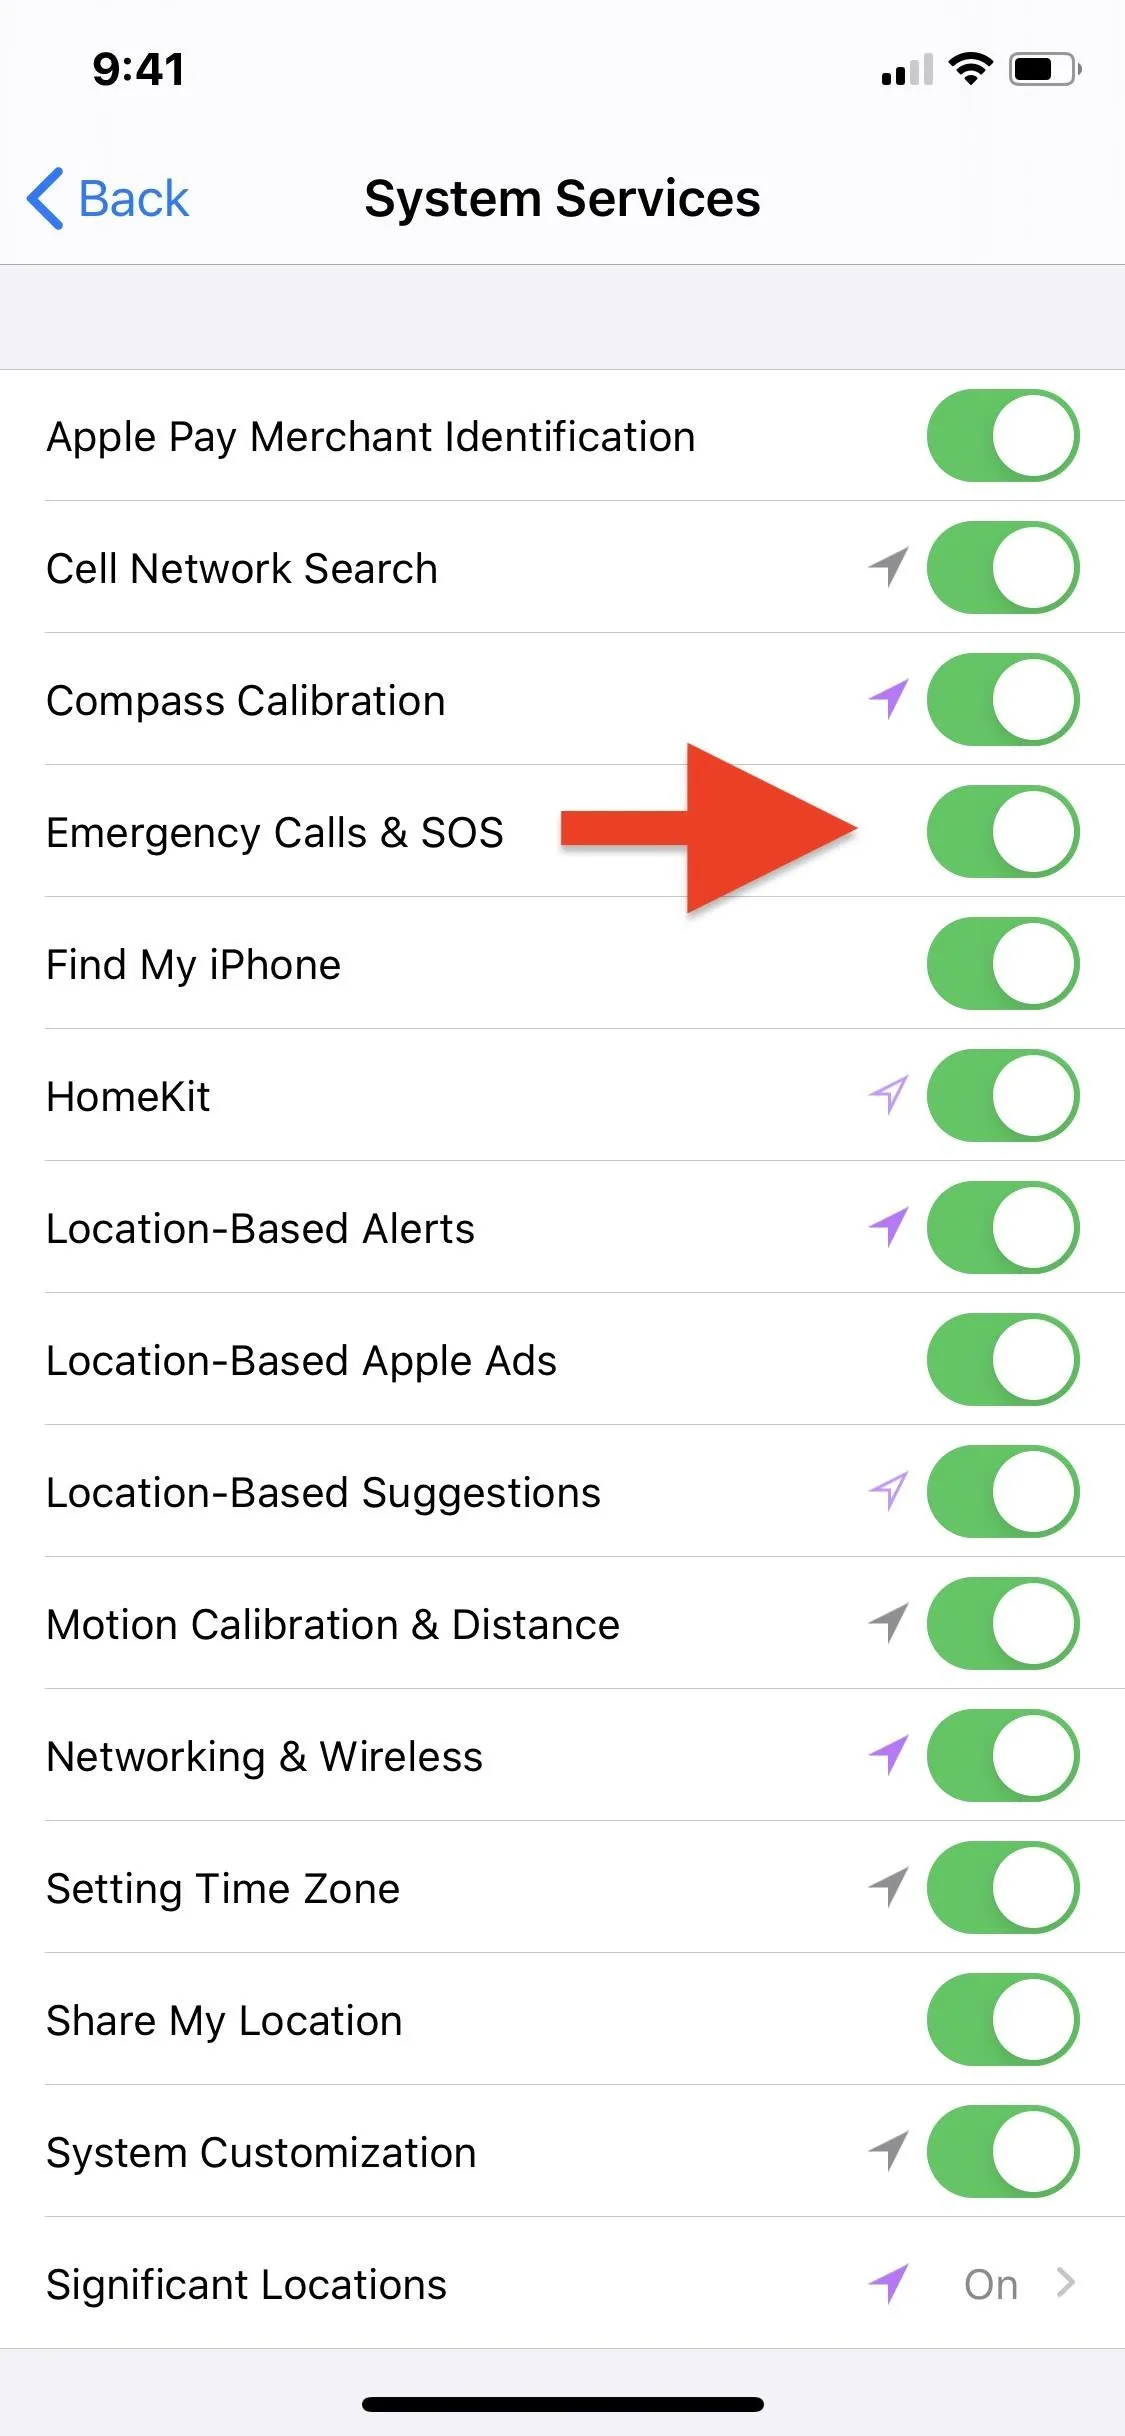
Verify Your 'Emergency Calls & SOS' Settings
Whether you're texting emergency services, calling 911 manually, or using the "Emergency SOS" shortcut to dial 911 automatically, you need to make sure your iPhone can track your location to send to them. If you've disabled Location Services for the setting, Apple can't check if Enhanced Emergency Data is supported in your area, so it won't send your Medical ID data to any dispatchers.
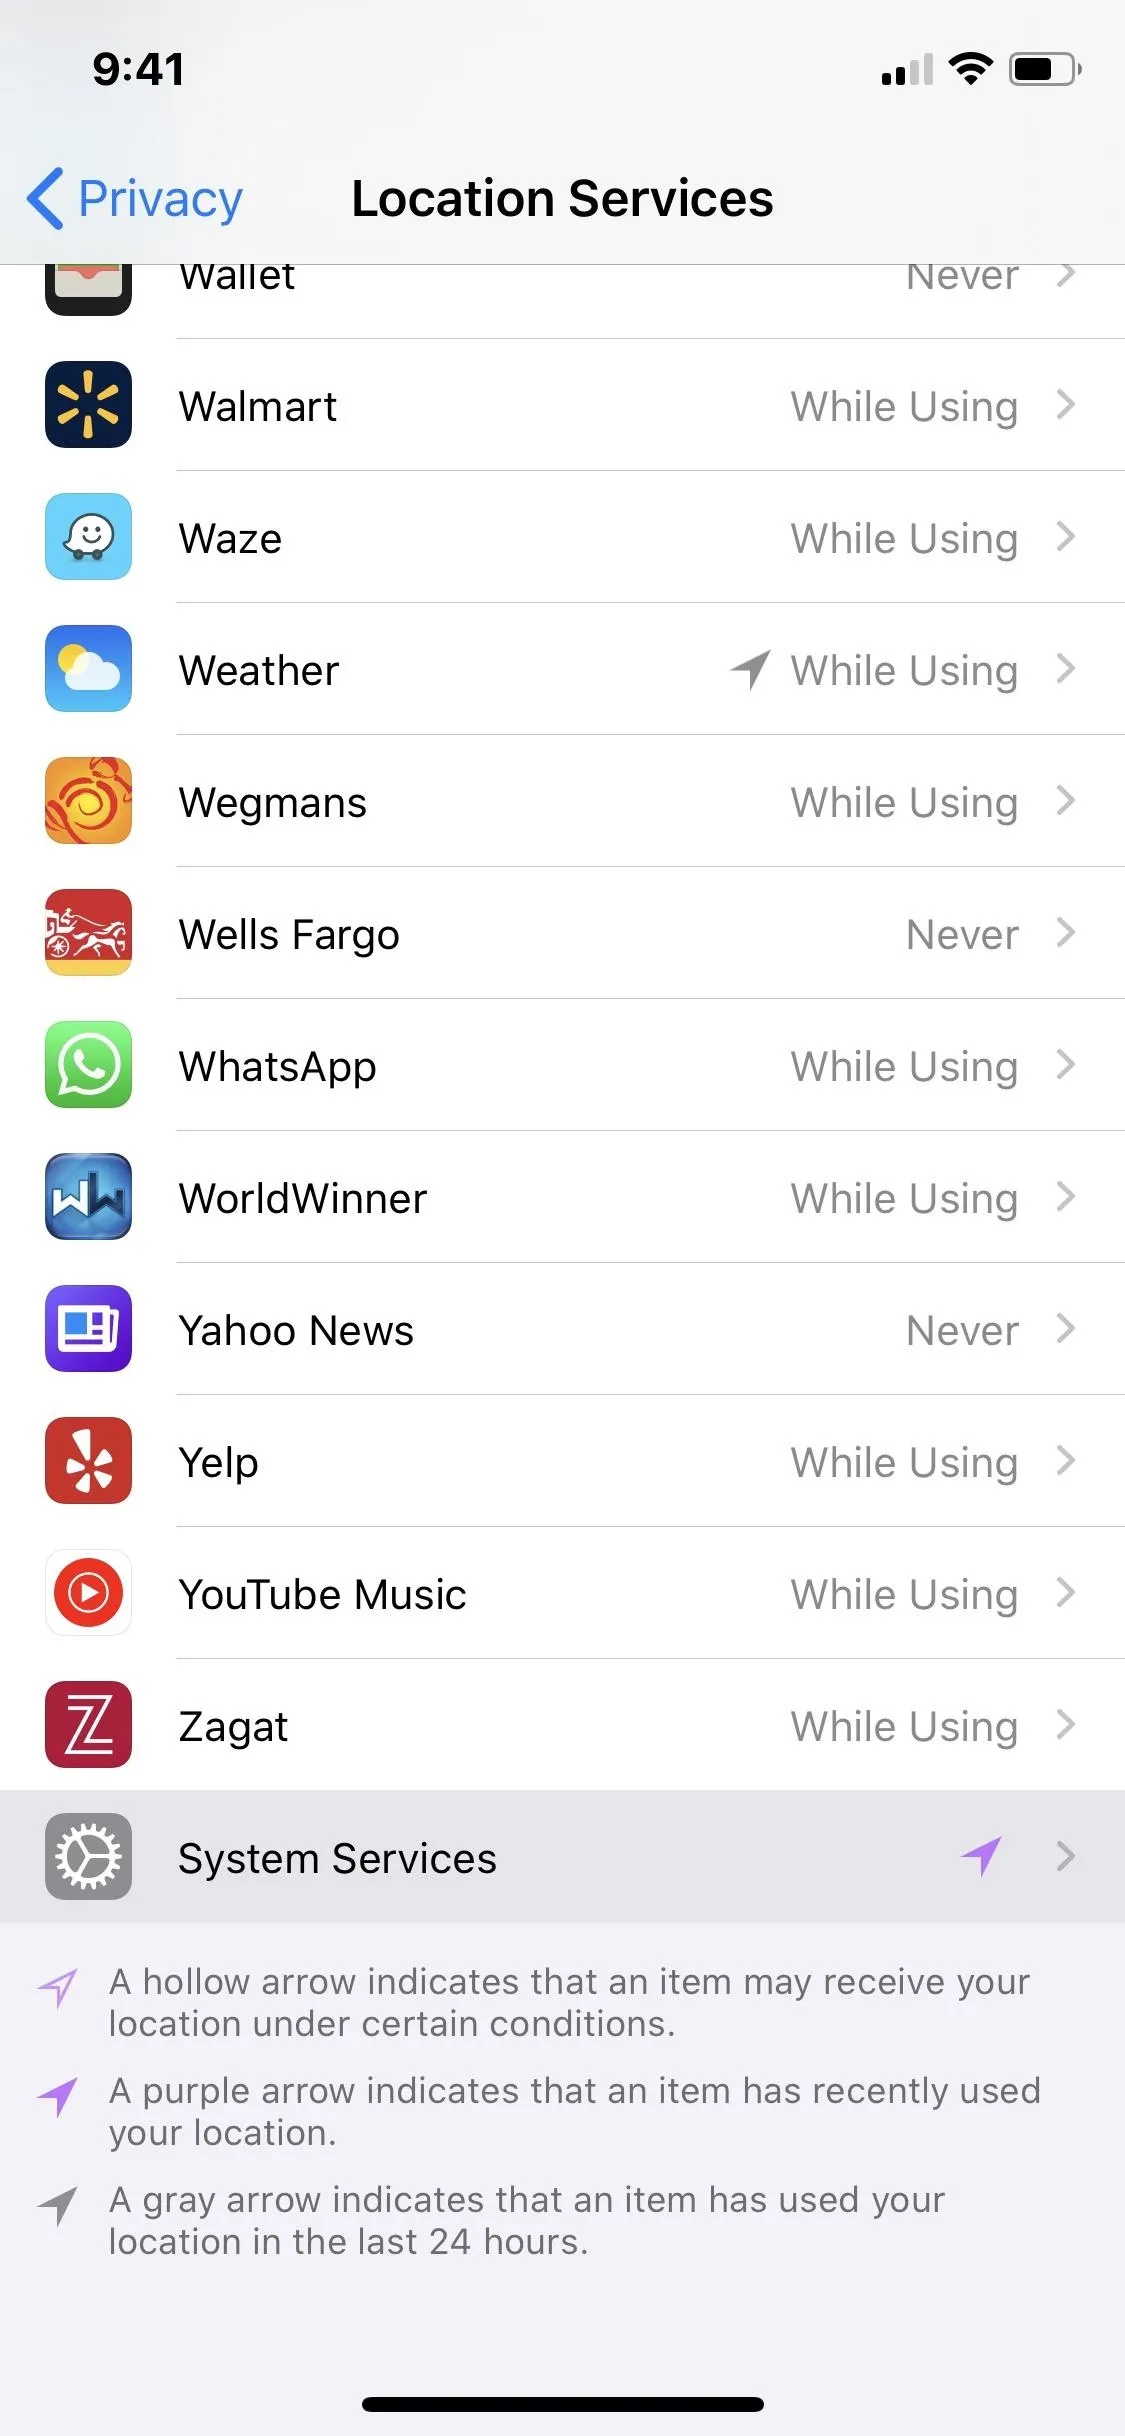
Open the Settings app and go to Privacy –> Location Services –> System Services, then make sure "Emergency Calls & SOS" is toggled on. With it enabled, dispatchers in supported areas can get your Medical ID information before even sending paramedics or somebody else to your location.
Cover image, screenshots, and GIFs by Jake Peterson/Gadget Hacks


Comments
Be the first, drop a comment!