


The iPhone 11, 11 Pro, and 11 Pro Max introduced a new rear camera system to the iOS ecosystem. Each model has a new ultra-wide lens in addition to the wide one, and the Pros have a telephoto lens. Both have improved selfie cams too. With so many lenses, it can be challenging to choose which to film with, but why pick when you could shoot with two at once?
Enter "DoubleTake," by FiLMiC Inc. If you recognize that name, you've probably used its paid video recording app, FiLMiC Pro. The company was fresh on the iPhone 11 scene, announcing ahead of iOS 13's release an exciting way to record video from multiple cameras at the same time. It took them about four months to finalize the feature, but here we are.
Install & Enable Permissions
First thing's first: it's not just for the iPhone 11 series. If you have an iPhone XS, XS Max, or XR, you can also jump into the dual-cam recording. That makes sense since those iPhone models also have the A12 Bionic processor or newer built in to handle the double-recording duties. Devices with the A11 Bionic chip or older, such as the iPhone X and iPhone 8 Plus, aren't supported.
You can install DoubleTake on any iPhone running iOS 13, but unless it's one of the devices mentioned above, you'll only be able to record from one lens at a time.
- App Store Link: DoubleTake by FiLMiC Pro (free)
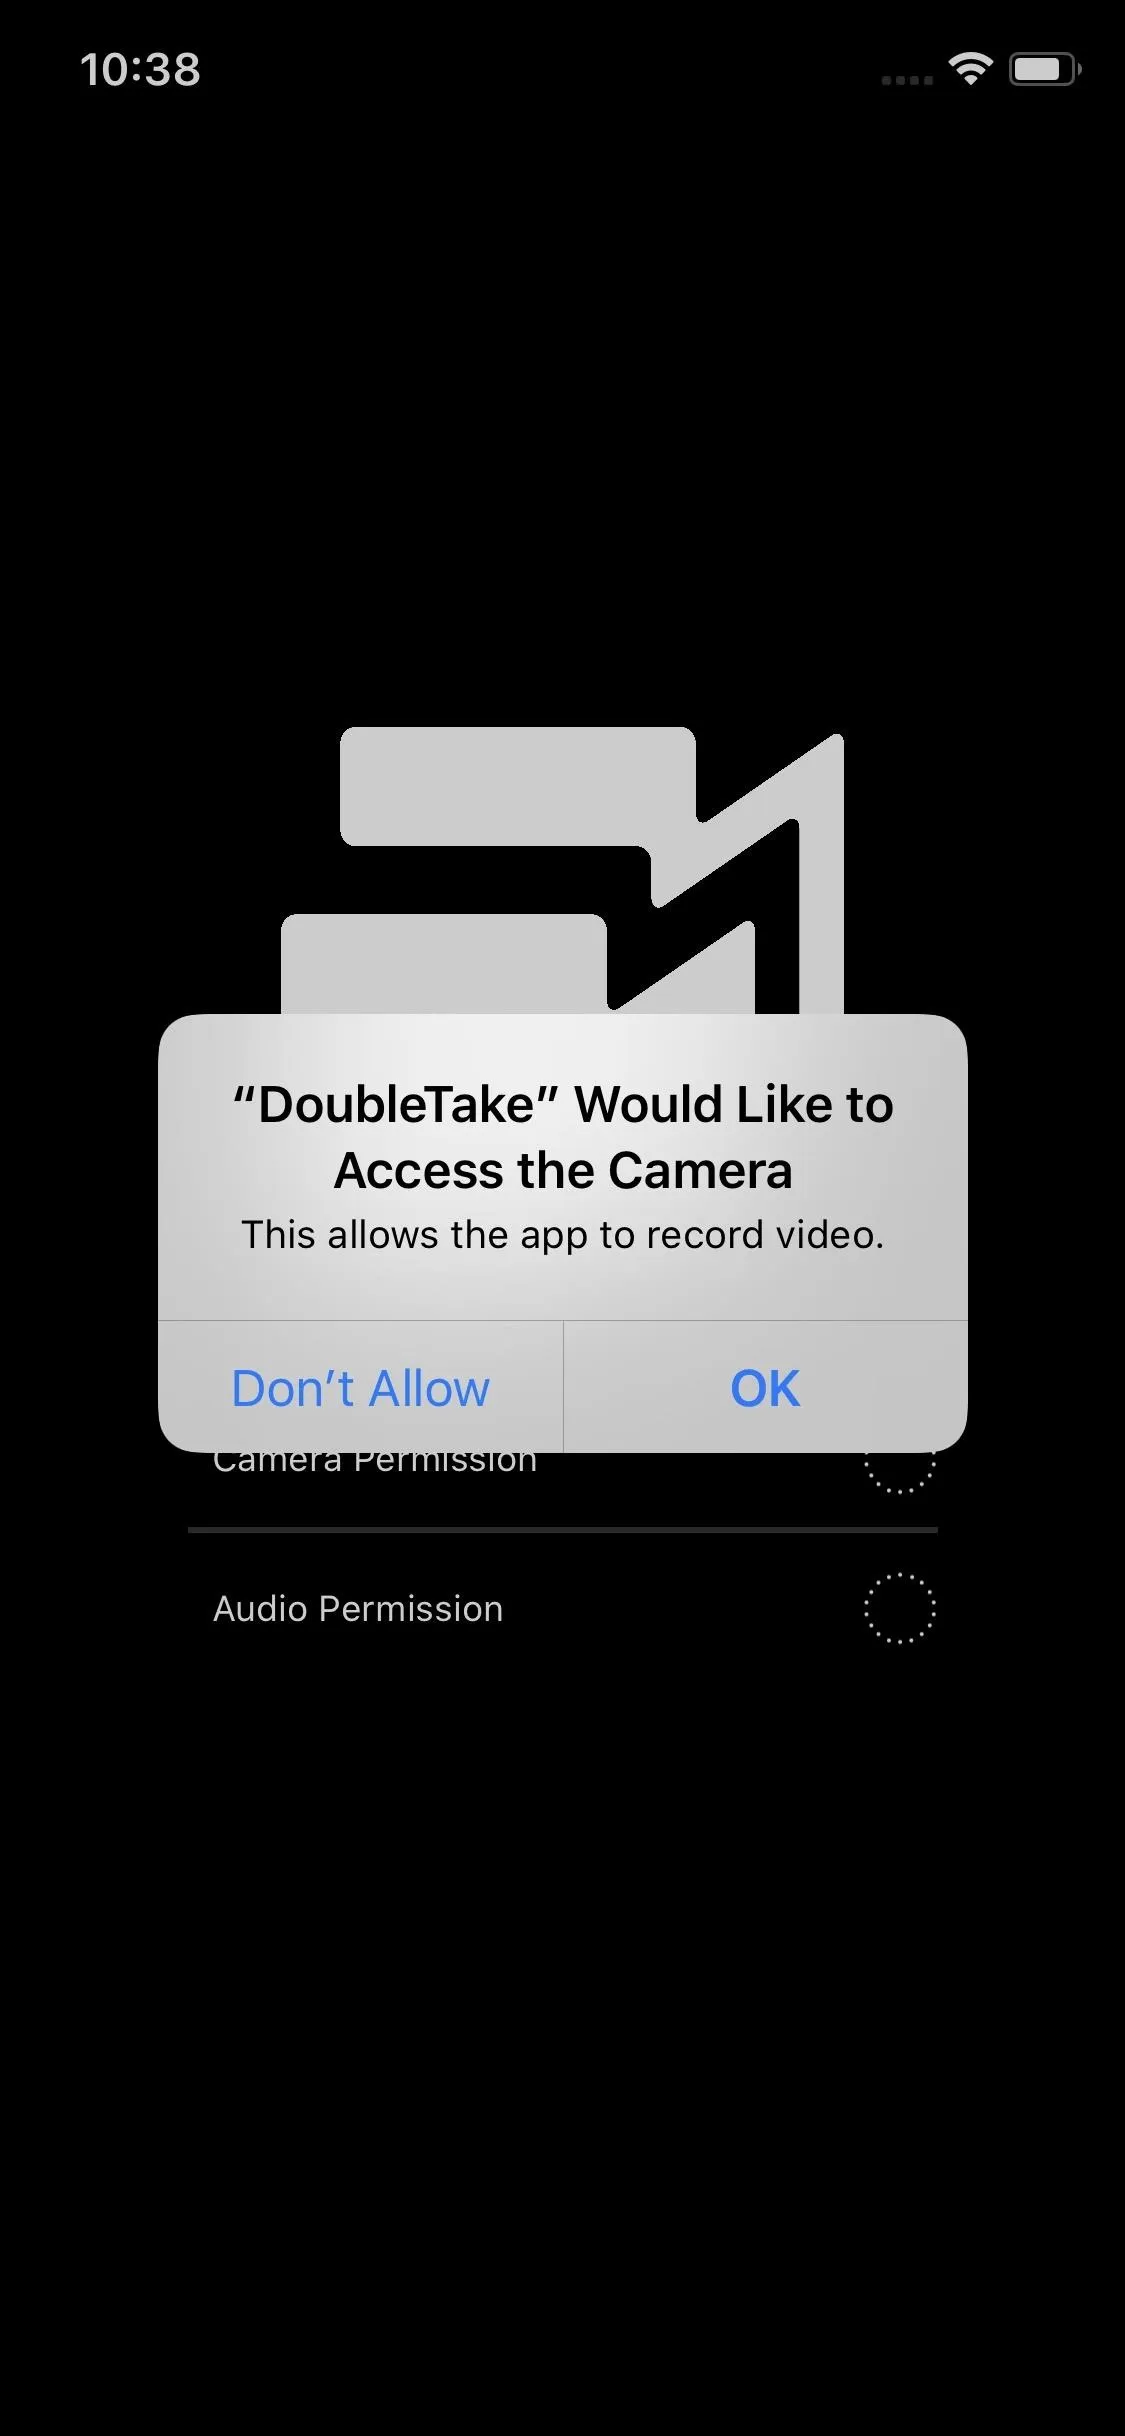
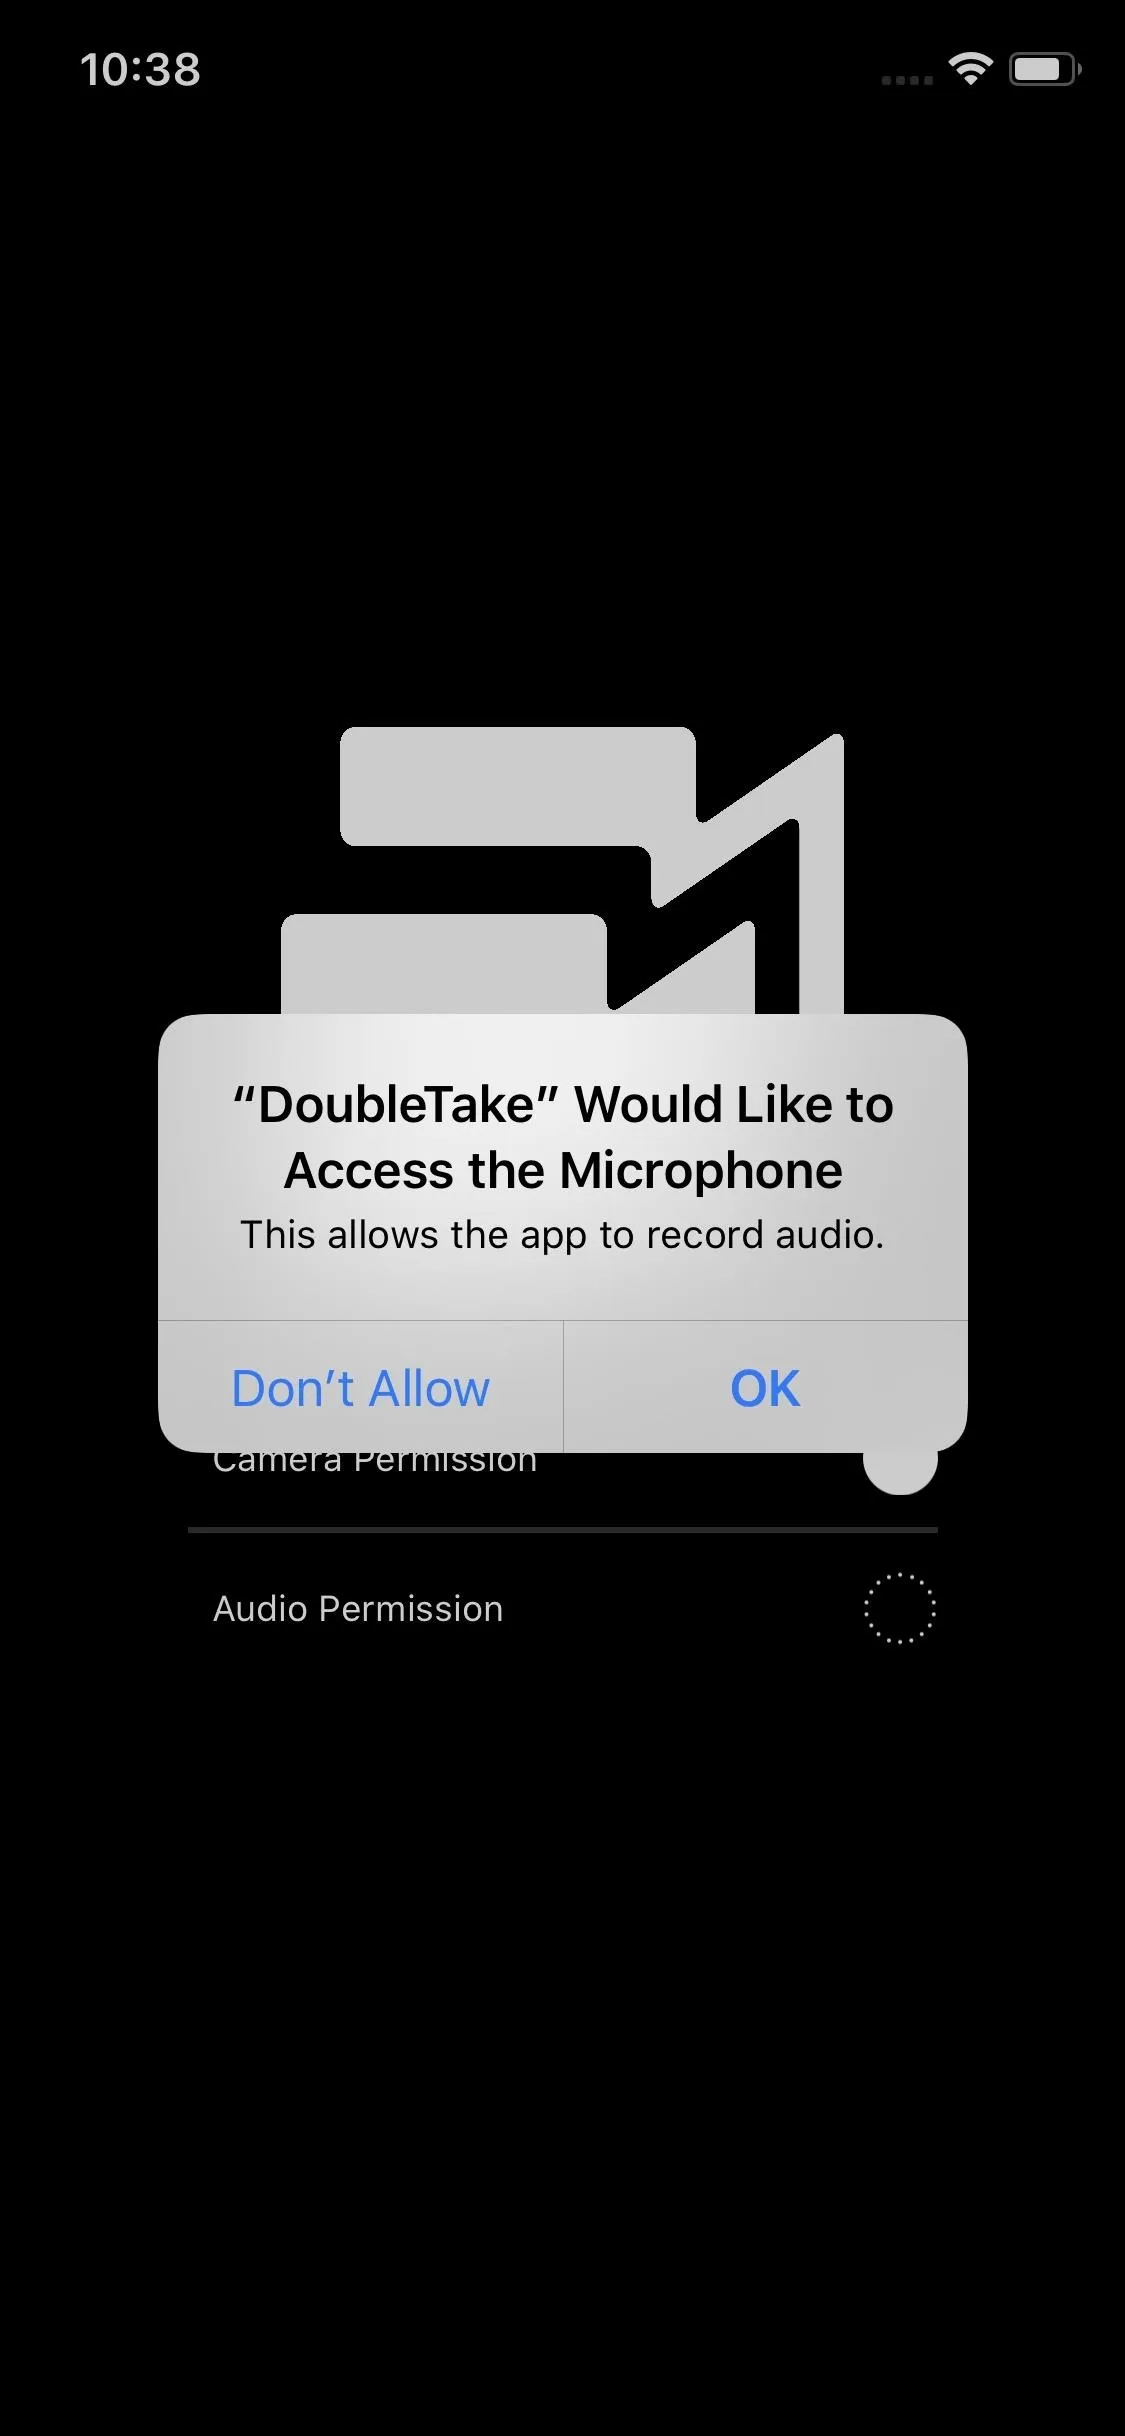
When you first boot up DoubleTake, you'll need to grant Camera and Microphone permissions. Just tap each option, then agree to the permissions pop-up that appears. Tap "Continue" to move on.

Choose Your Lenses
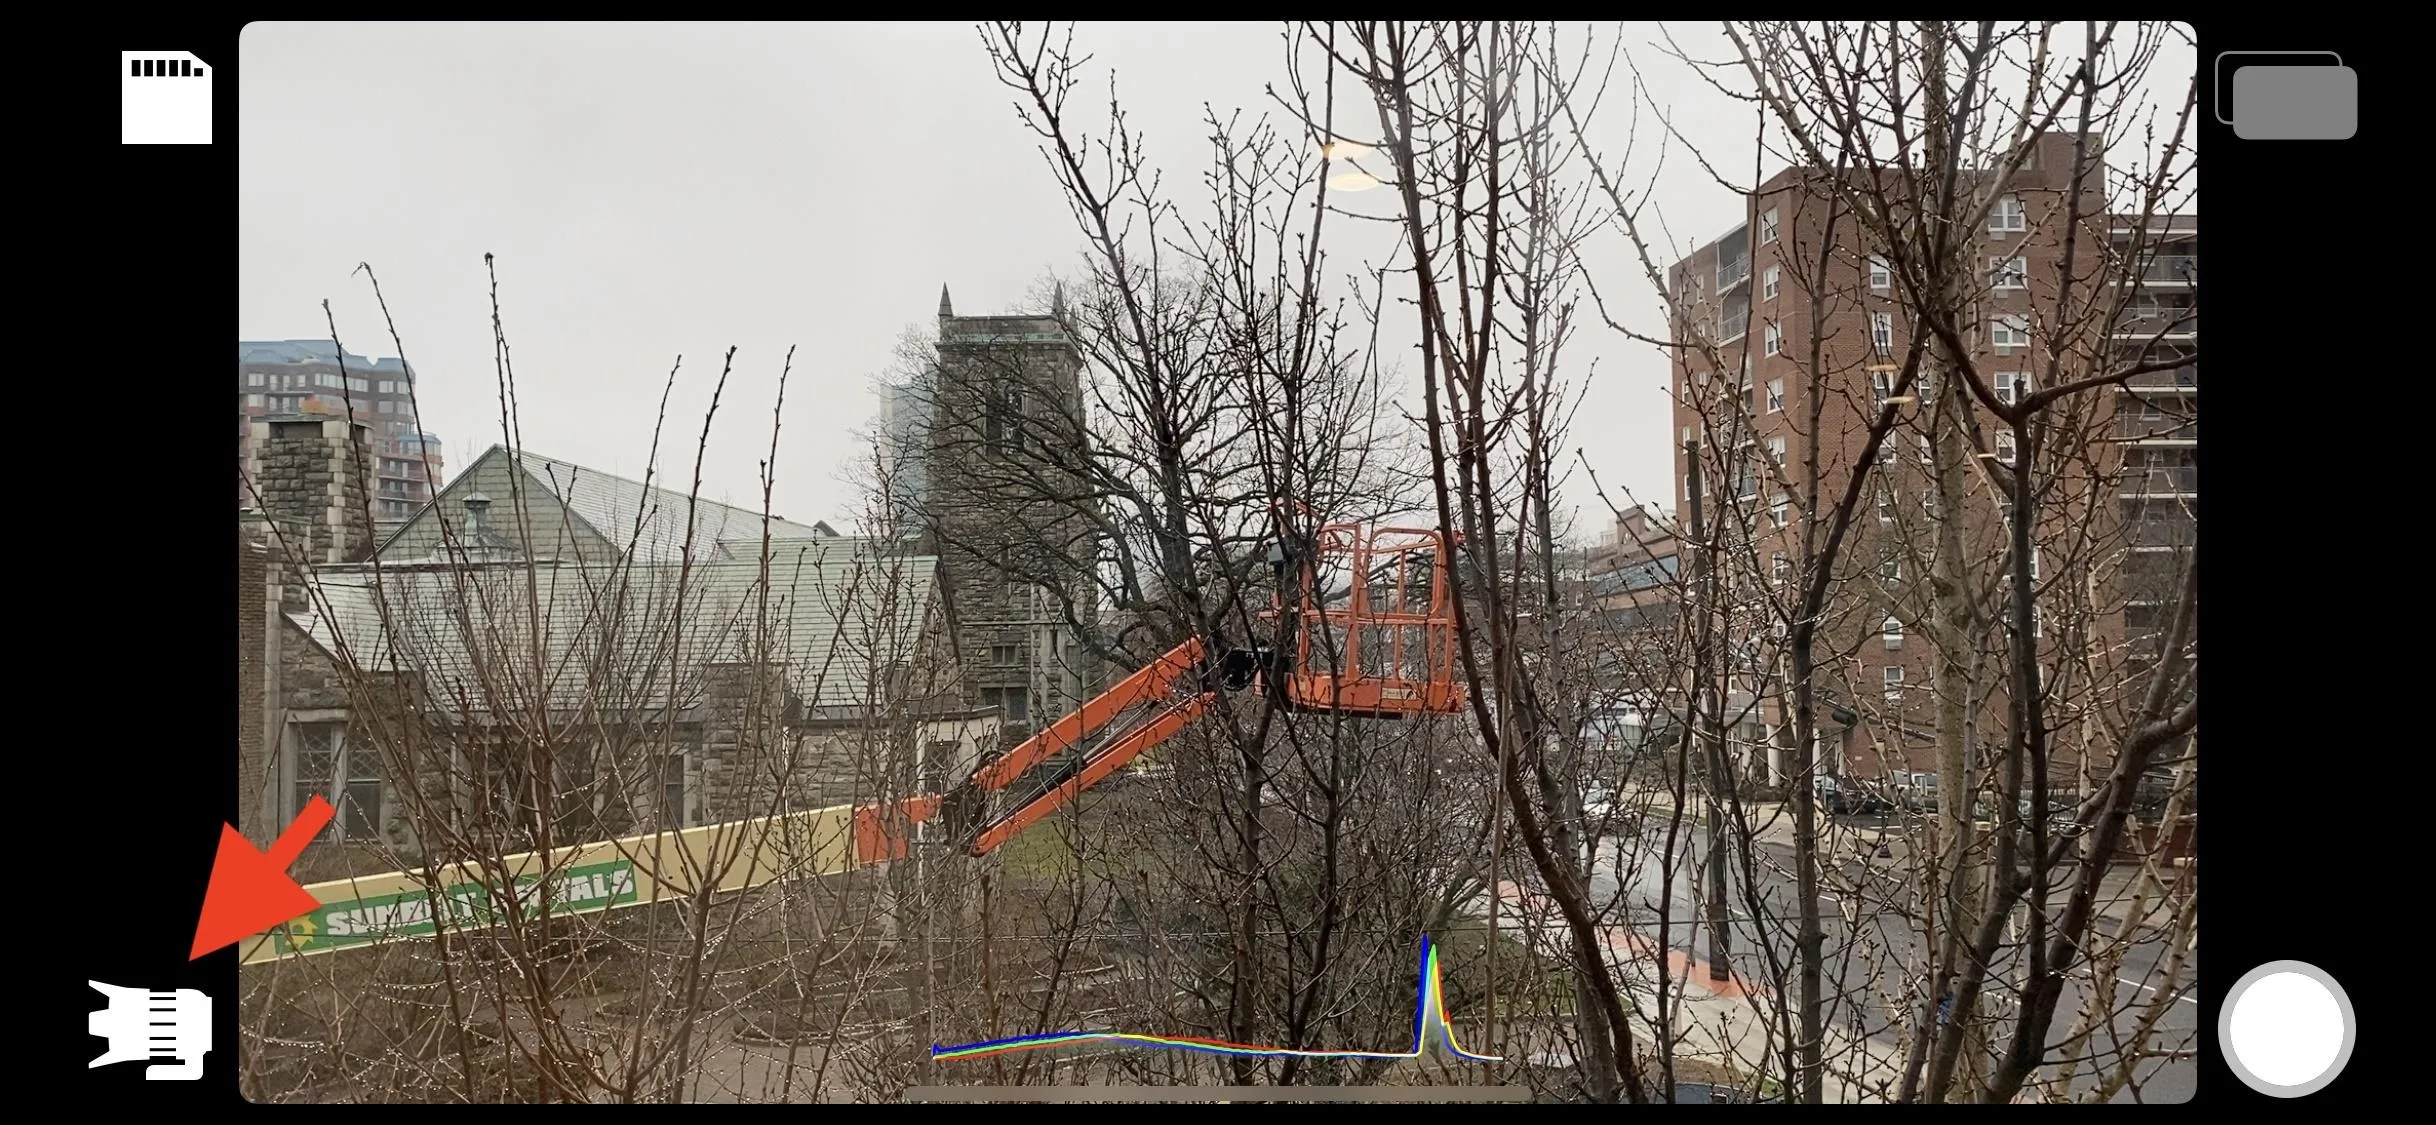
Once you've left the permission screen, you might be a bit confused by what you see since it looks like a regular camera view. Where are the multiple video feeds? Simple: tap the lens icon in the bottom left, the pick your lenses.
By default, the "wide" lens should be selected already as your camera "A." Any lens you mark as "A" is your "main" camera that will fill out most of the display. You can deselect the wide lens to choose a different Camera A or stick with it for now. Depending on which iPhone model you have, aside from the wide lens, you may see ultra-wide, telephoto, and the selfie lens available.
With camera A selected, your next lens choice will be Camera "B." Depending on the shooting mode you select later (see the next section), the B lens will either be on the right side of the screen or appear as an overlay on top of A's feed.
Once you have your two cameras selected, you can choose a frame rate. Tap the "24 FPS" option in the bottom right to choose between 24, 25, or 30 fps. When satisfied, tap "Confirm" to head to your new dual-lens camera view.
Choose the Shooting Mode
After confirming your lenses, you'll see the feeds from both on the screen. However, if you start shooting right away, you'll end up with two different video files, one from each camera. So if that's not what you want, you'll want to switch the shooting mode. You can select a new one using the icon in the top right.
Discrete
By default, the first time you launch DoubleTake and select your lenses, you'll end up with camera B's view overlayed as a small box on top of camera A's full view. It's called "Discrete" mode, and it produces two separate video files as if you filmed each individually.
Since camera B's feed may block what you need to see in A's, you can drag the window to a different part of the screen. You may want to use the Discrete shooting mode if you merely want to see a different perspective of the same thing.
Picture-in-Picture
PiP, which stands for Picture-In-Picture, looks identical to Discrete. However, the final product is what you see on-screen — exactly. Rather than recording two videos, one from each camera, you get one video featuring camera A with camera B's window overlayed on top of it.
The benefit of recording them together as separate videos is most apparent with the selfie lens as camera B, which could show your reactions to whatever's happening with one of the rear lenses. Like with Discrete, you can move camera B's window to another spot on the screen. However, unlike with Discrete, it matters from a filming perspective since wherever you see it on-screen when shooting is where it'll be in the final video.
Split Screen
Split Screen takes each camera feed and dedicates equal screen real estate to both. As with PiP, it results in one output, not two different video files. It's helpful if recording an interview, as you can give the same amount of space to both your subject and the interviewer behind the camera.
Shoot Your Combined Video
If you've ever used any video recording app before, you know how to shoot. Tap the shutter/record button in the bottom right to start filming, then tap it again to stop. While your iPhone shoots native 4K, you're limited to 1080p using DoubleTake.
- Don't Miss: Change Resolution & Bit Rate in FiLMiC Pro
When shooting in Discrete or PiP mode, you can tap the expand button in the top right of camera B to have it fill the screen. If you like seeing it this big but need to switch back to camera A, you can swipe the video up or down off of the screen. To return to camera B's full view, tap the chevron that appears on camera A's feed.
To make camera B's window small again, tap its minimize button. Now, if you want to focus solely on camera A at this point, you can swipe camera B's window to any of the four sides of the frame to make it disappear off-screen. Tap the chevron that appears on camera A's feed to pull it back into the frame.
Just know that if you're shooting with PiP mode, any changes you make to camera B's window during filming will appear in your final product.
While DoubleTake shoots with automatic focus and exposure, tapping on an area in the frame will shift those settings to that area. You can do that for camera A's feed in all shooting modes and camera B's in just Split Screen. However, in Discrete and PiP modes, you can expand camera B's window and refocus it from there.
View, Export & Trash Clips
Once you've shot some content, you might be wondering where DoubleTake actually sends it. You won't find it in your Photos app. Instead, you'll need to tap the save icon in the top left of DoubleTake.
Here, you can view all of the videos you've shot using DoubleTake. If you used Discrete, you'd find two separate videos per each camera you selected. You can tap on a video to watch it.
Just as with FiLMiC Pro, if you want to select clips, you need to tap the checkmark icon in the bottom left. Then, you can tap any number of clips to choose them. Once you select at least one clip, the other three tools that were grayed out will be available. The film roll icon saves your selected clips to Photos, the share icon opens up the share sheet, and the trash icon deletes your selected clips.
And videos that you don't delete will remain stored in the app, so after exporting them, you may want to delete them to keep a clean app, as things can get real messy quickly.
Cover image, screenshots, and GIFs by Jake Peterson/Gadget Hacks


Comments
Be the first, drop a comment!