


![Short Cuts (The Criterion Collection) [Blu-ray]](https://m.media-amazon.com/images/I/712N05DgTZL._AC_UY218_.jpg)
A temporary email can go a long way. Using your actual email to sign up for a mailing list to receive 10% off a purchase doesn't make sense if you don't use the website much. It means you'll have to deal with spam emails from then on, which is why an anonymous email is perfect not to have to deal with all that trouble. And that's where the TempMail shortcut for your iPhone comes in handy.
With a couple of taps (thanks to Back Tap), you can run TempMail whenever you're in your web browser to generate an anonymous email quickly, copy it to your clipboard, and paste it into an email text field. You can then quickly view any emails sent to that address and even change the email address whenever you're finished, all without having to leave the page you're on.
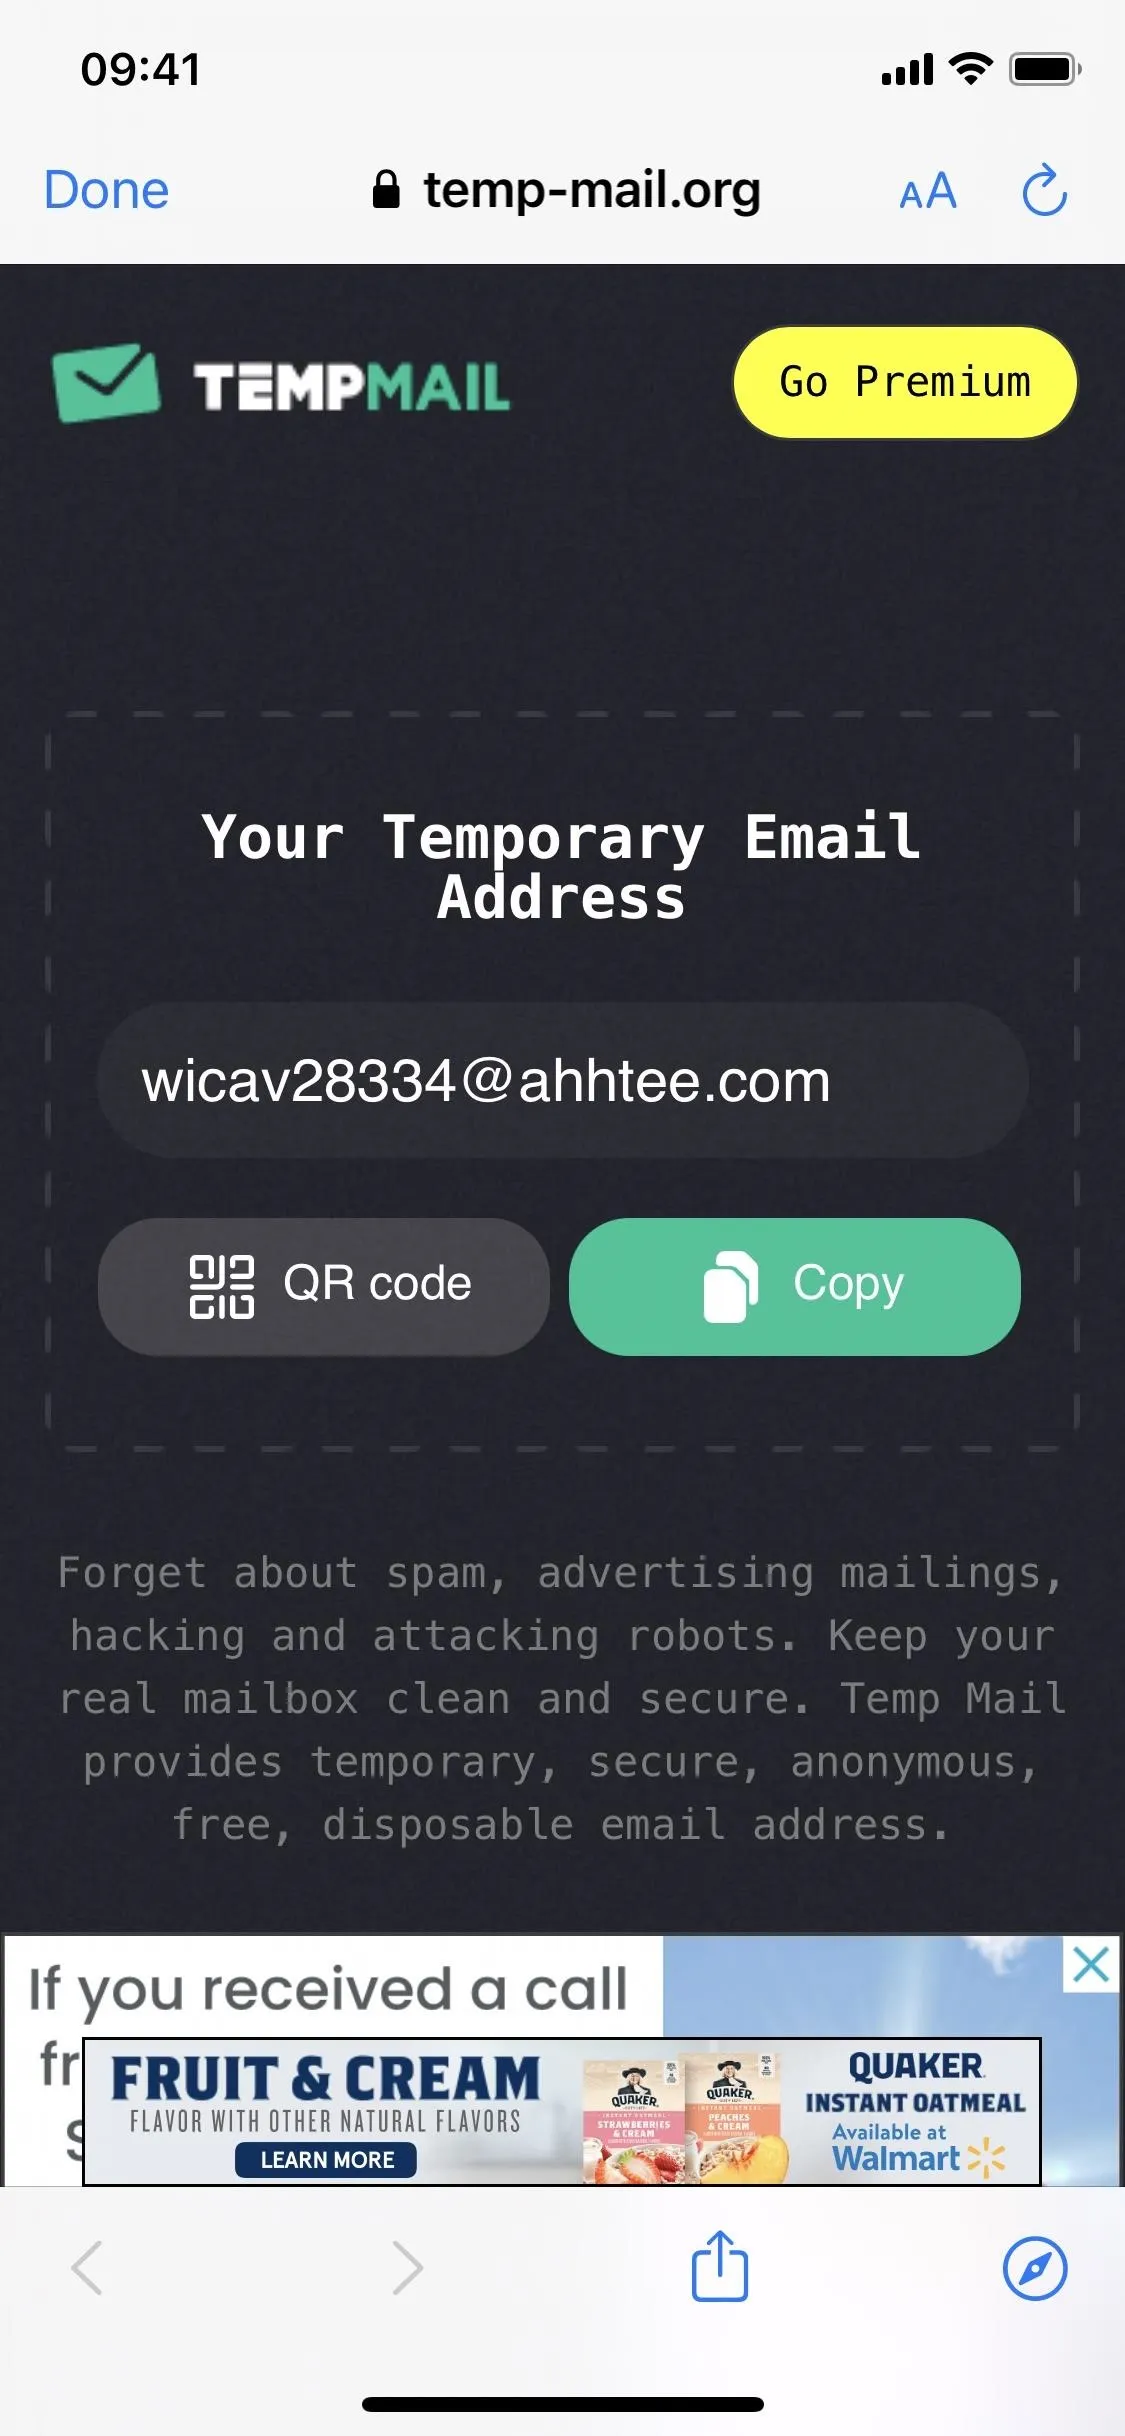
The TempMail shortcut is powered by Temp-Mail, which specializes in creating self-destructing, anonymous emails for mailing lists, downloading files, commenting on threads, and more. Run the shortcut whenever you want to generate a temporary and anonymous email and never deal with those annoying spam emails again.
Prerequisites
The only thing required for TempMail to work is to have the Shortcuts app to run it. Although Shortcuts is pre-installed is on your iPhone, you may have deleted it for lack of use. If so, you can always re-install it for free from the App Store. Make sure you have "Allow Untrusted Shortcuts" on in Settings –> Shortcuts, or you won't be able to install the TempMail shortcut.
And while it's not required, if you want the shortcut to run optimally, it's a good idea to update to iOS 14 if you're not already on the latest version.
Limitations
It's important to understand that Temp-Mail does not store received emails for more than two hours, according to its privacy policy. That's to prevent the server from bloating and because Temp-Mail is primarily designed for quick interactions on the spot. But don't let the word interactions confuse you because there is no way to send emails from your disposable email address — it's meant for receiving only.
Add the TempMail Shortcut
Download TempMail, developed by RoutineHub user eaic, using the direct link below. You can also download it from the shortcut's dedicated RoutineHub page, where the shortcut is kept up to date. Currently, it's on version 1.0, released Dec. 16.
- iCloud Link: TempMail v1.0 (free)
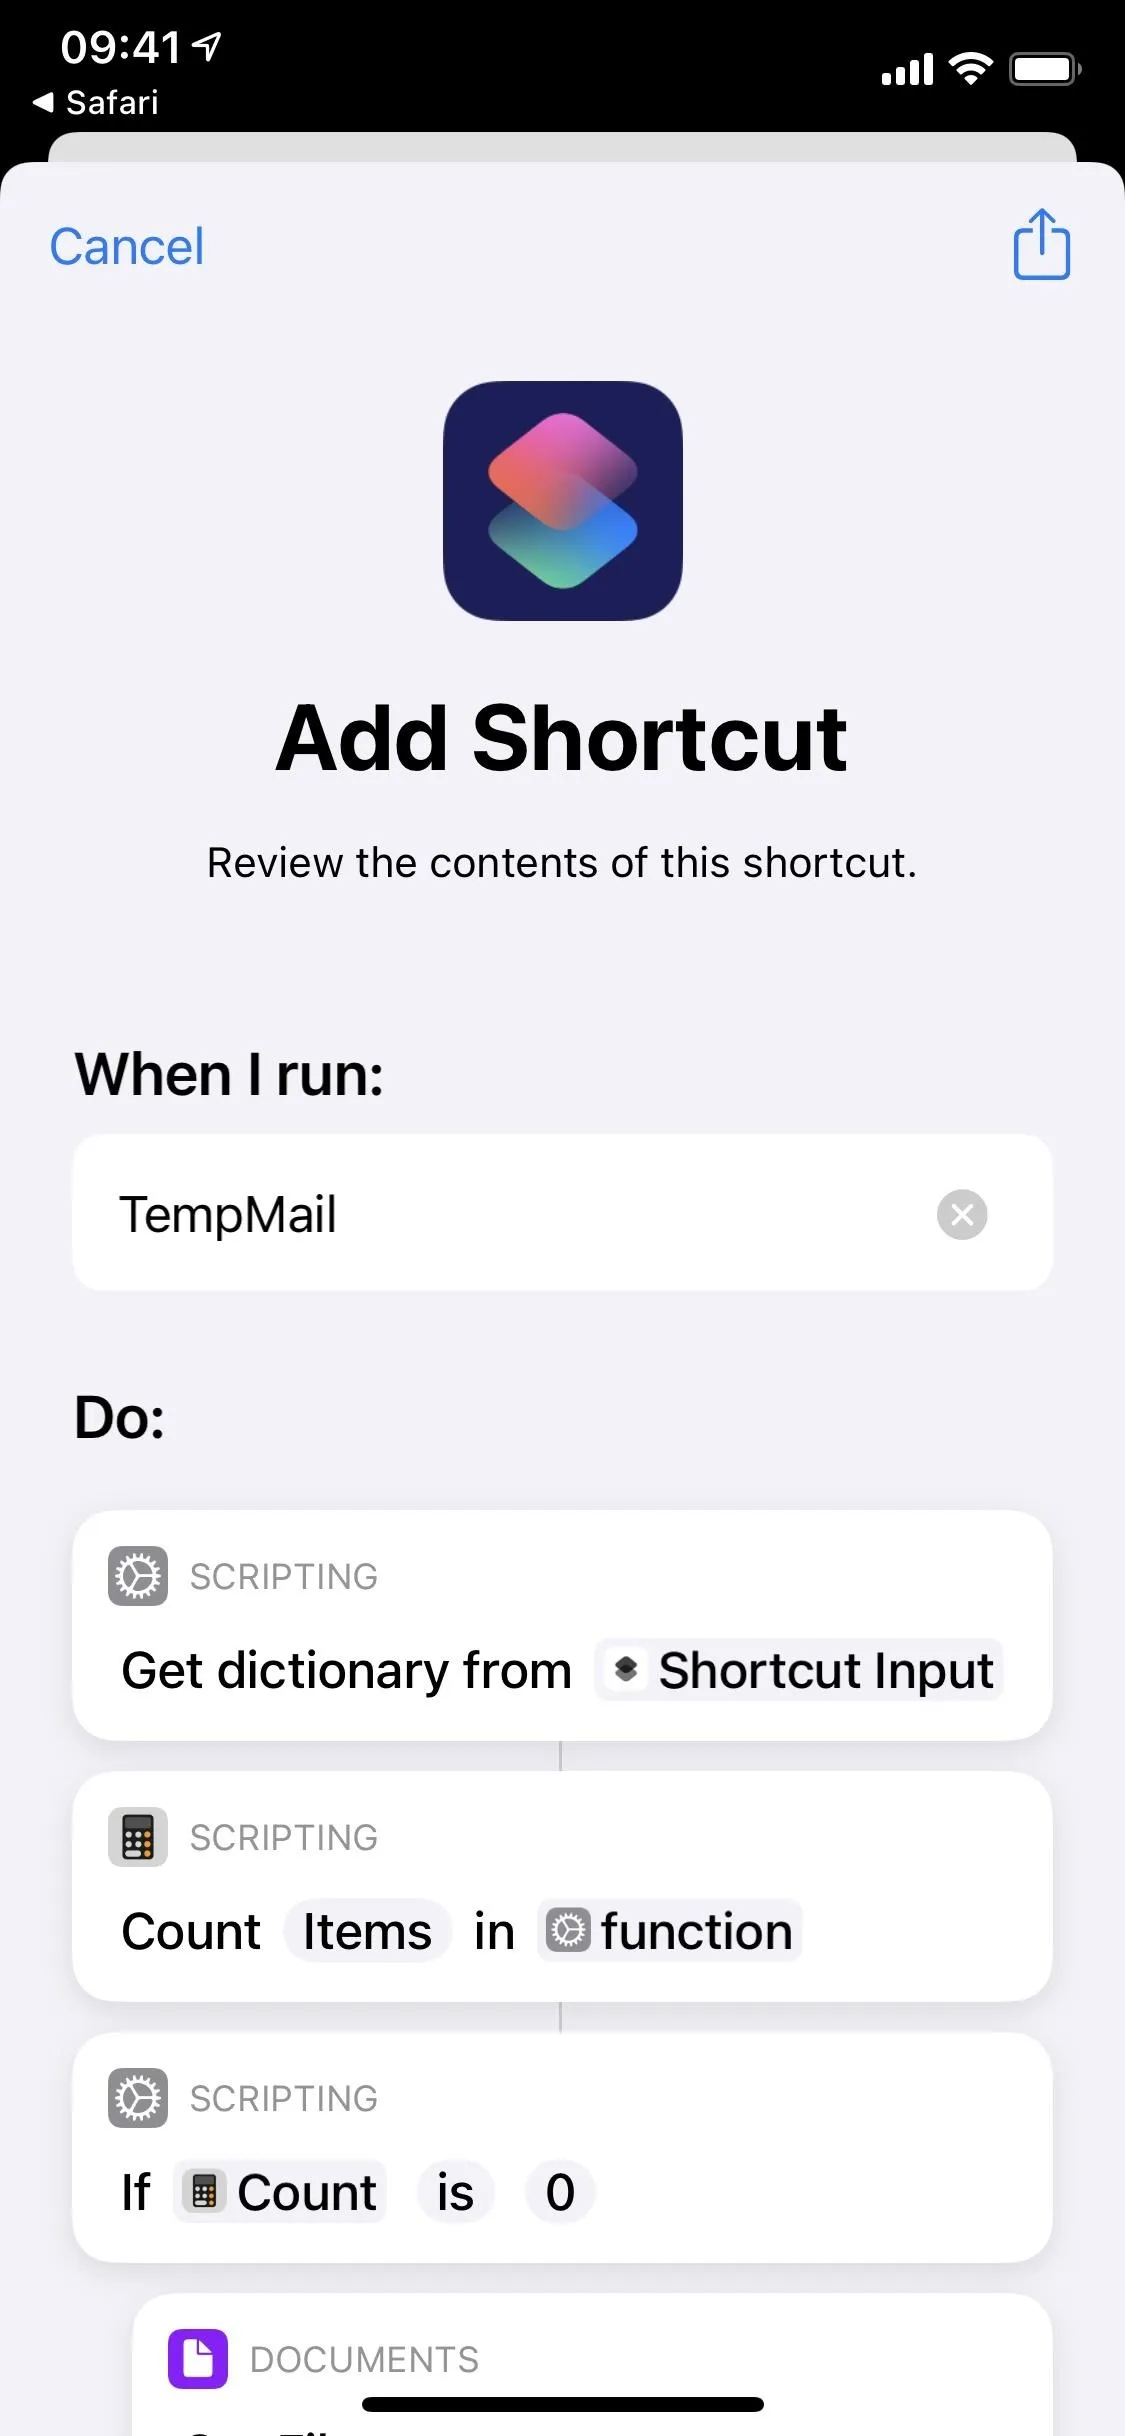
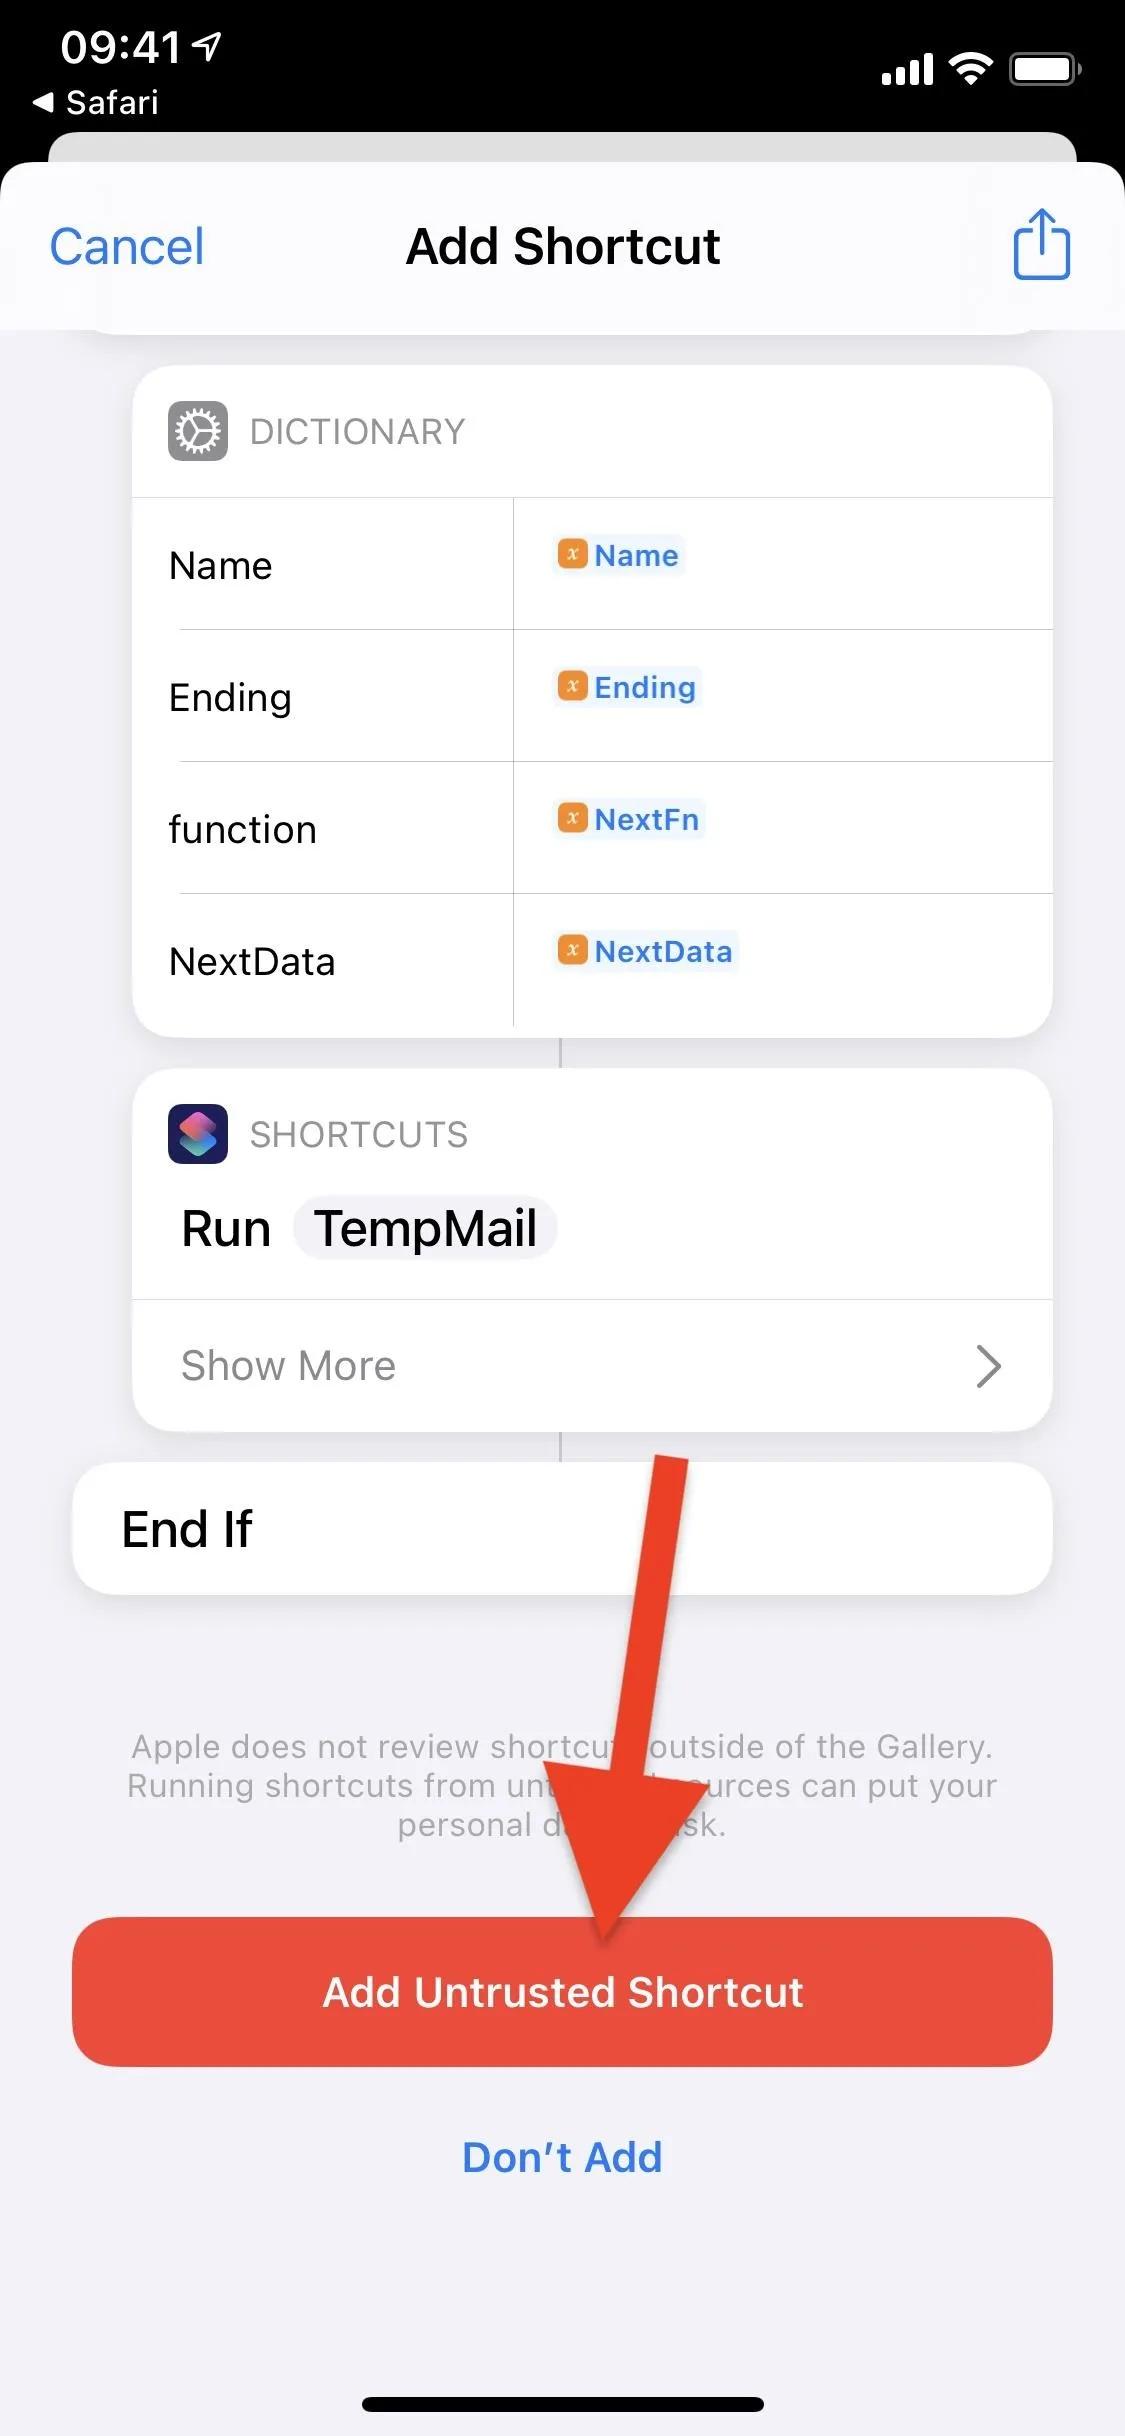
Once you hit "Get Shortcut," you'll be redirected to Shortcuts. There, you can view the various actions the shortcut will perform. Scroll down all the way to the bottom of the page and tap on "Add Untrusted Shortcut" to add TempMail to your library.
Use Back Tap to Run TempMail
There are dozens of apps to generate temporary and anonymous emails, so why use a shortcut? If you take advantage of Back Tap, the accessibility feature that allows you to run actions by tapping the back of your iPhone, you can then run any shortcut quickly from anywhere.
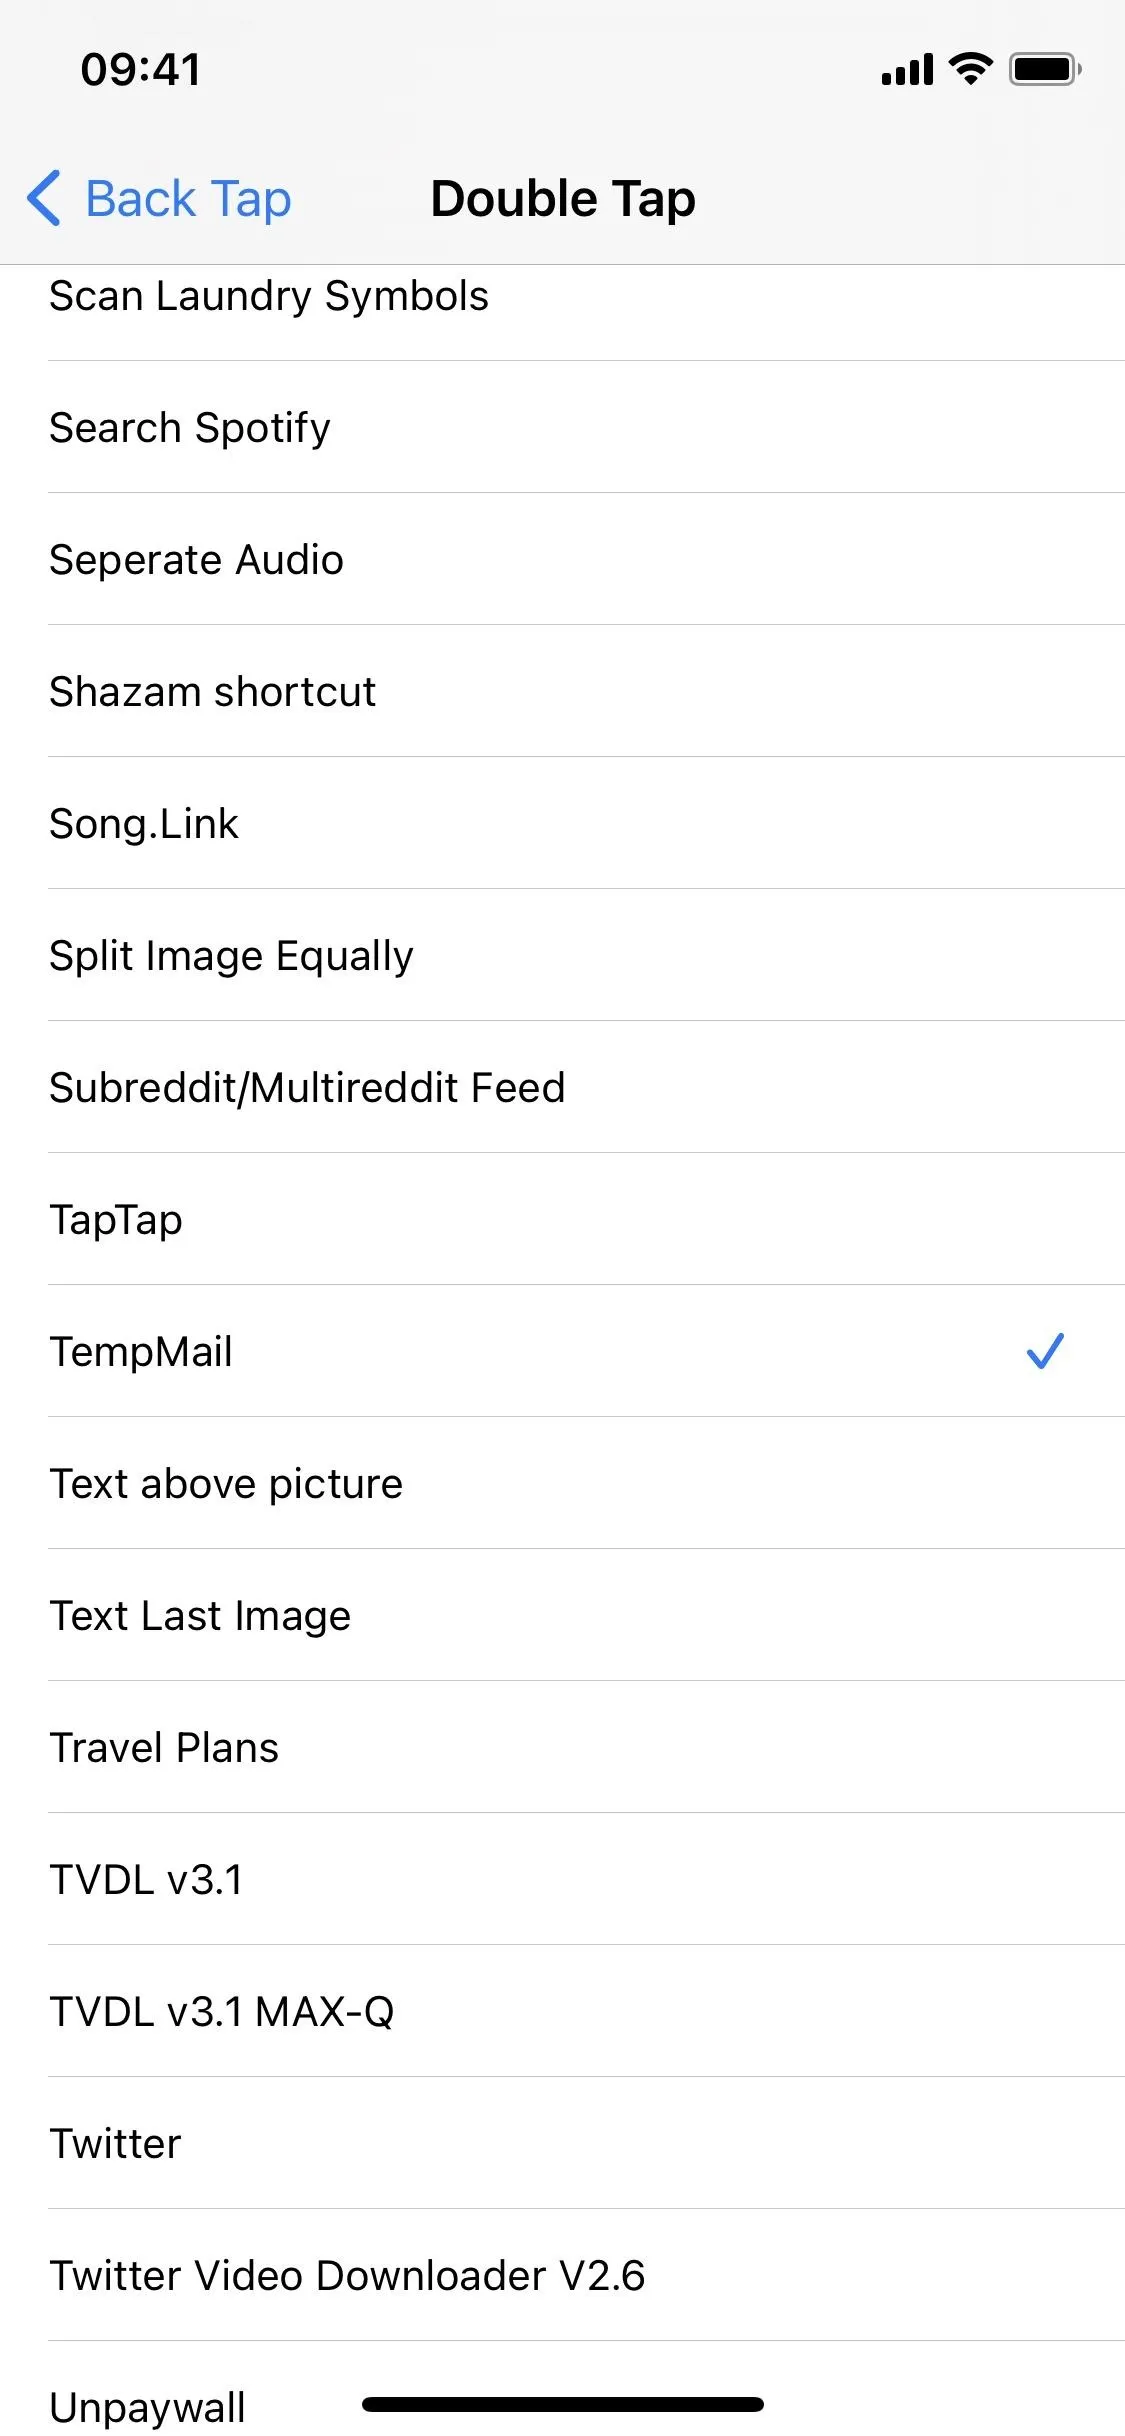
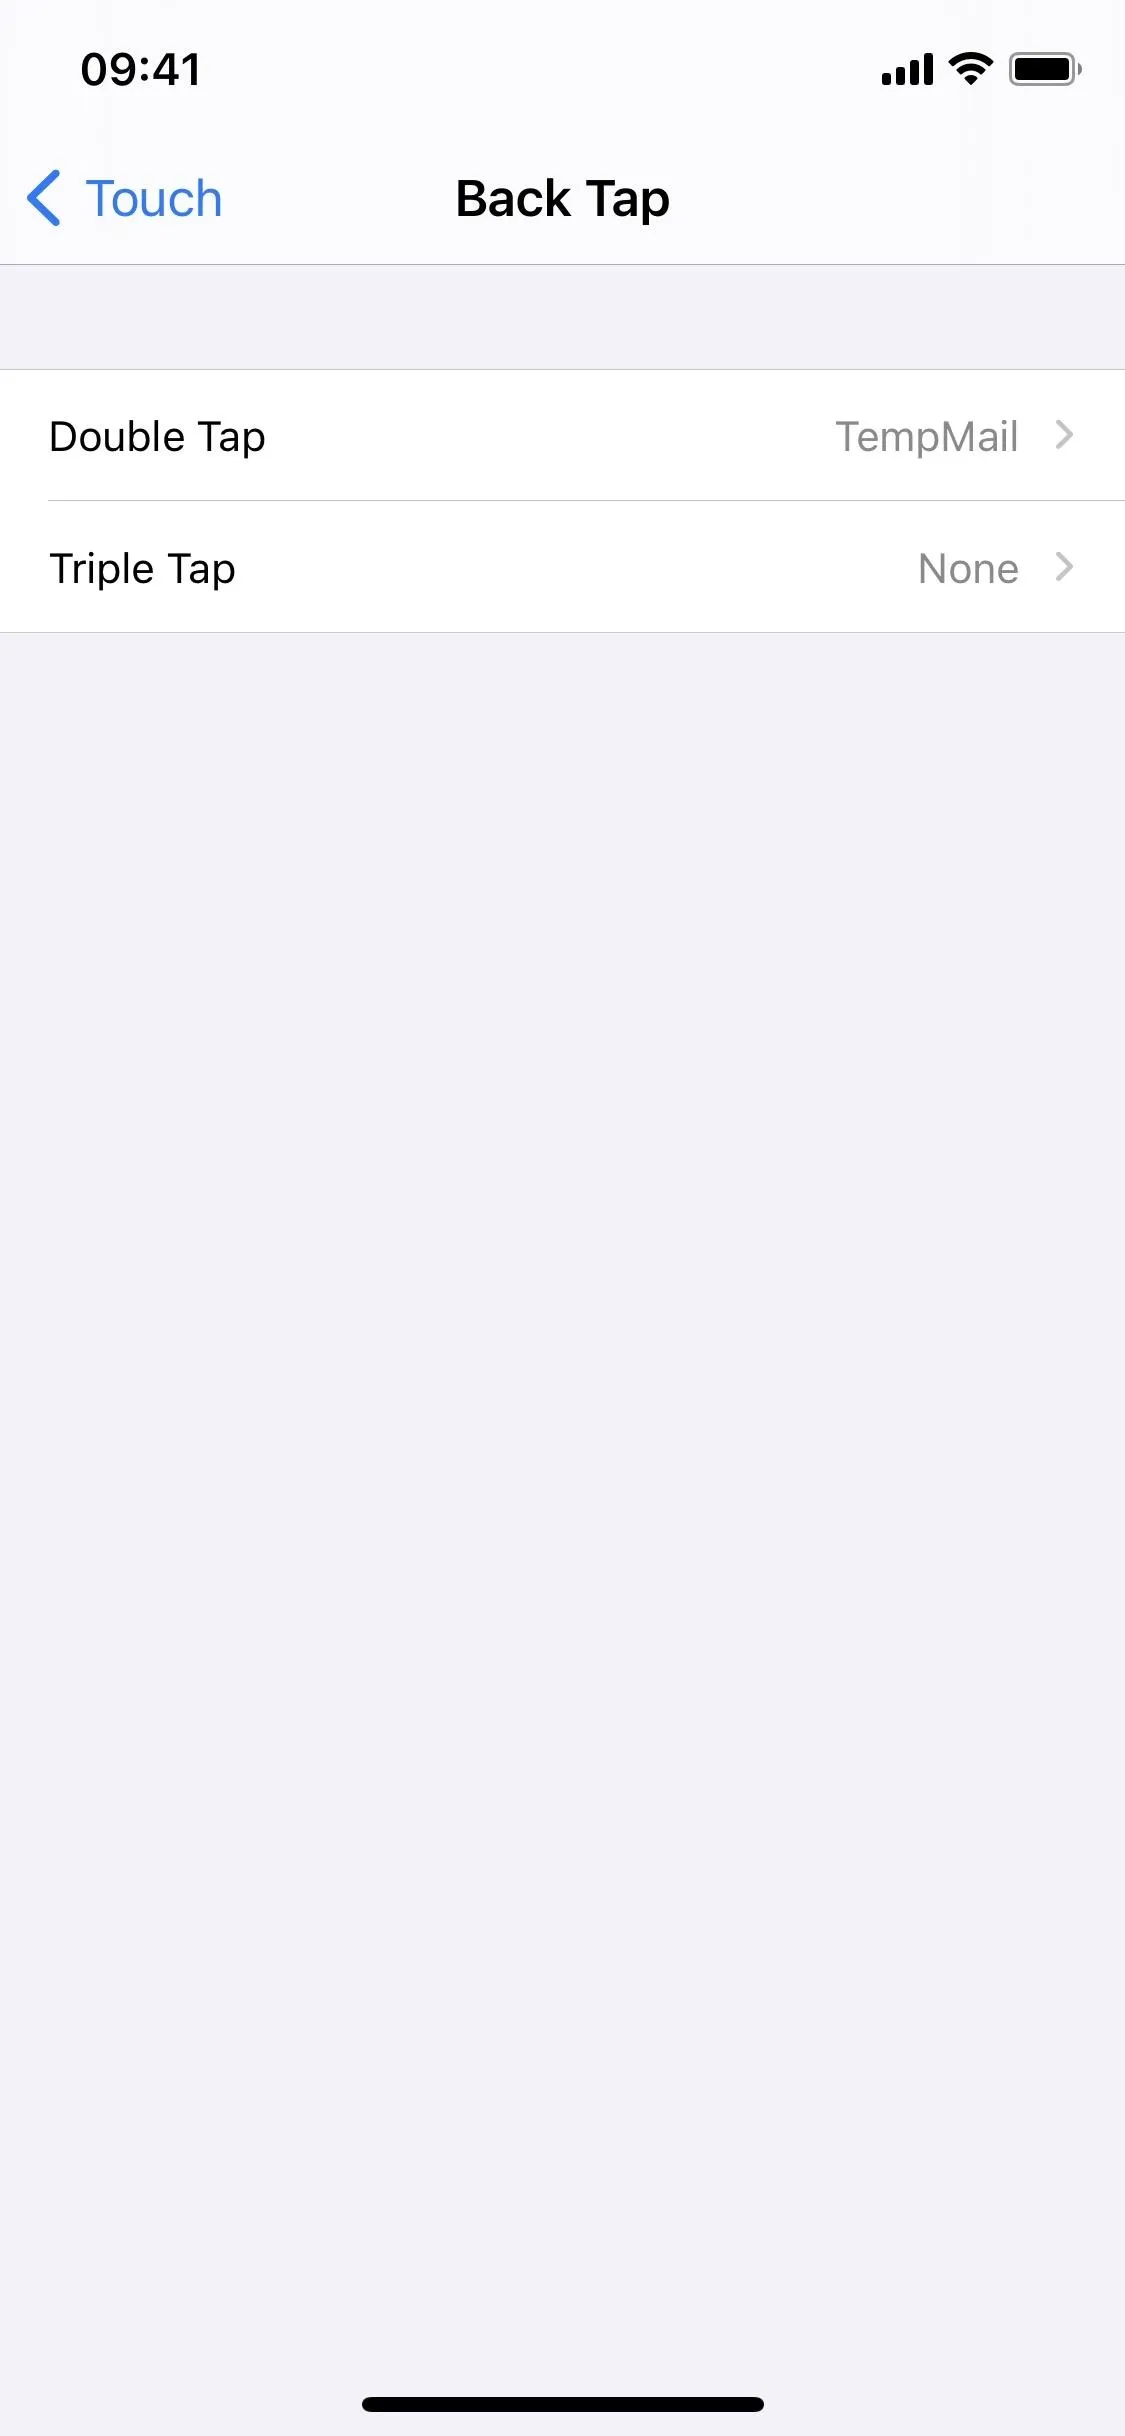
First, you'll need to add the shortcut to Back Tap. To do so, launch the Settings app and go to Accessibility –> Touch –> Back Tap; choose either "Double Tap" or "Triple Tap.' Next, select the TempMail shortcut and exit Settings.
Use TempMail to Generate Anonymous Email
Whenever you need to generate your anonymous email and enter it into a website or application, you can use Back Tap to run TempMail, ask Siri to run it, or tap the shortcut's card in the Shortcuts app. If you use Back Tap, tap on the back of your iPhone two or three times to run the shortcut.
The first time you run the shortcut, you'll be asked to give it access to iCloud Drive, the Temp-Mail website (which the shortcut is powered by), and the RoutineHub website. For each of these notifications, tap on "OK" to proceed.
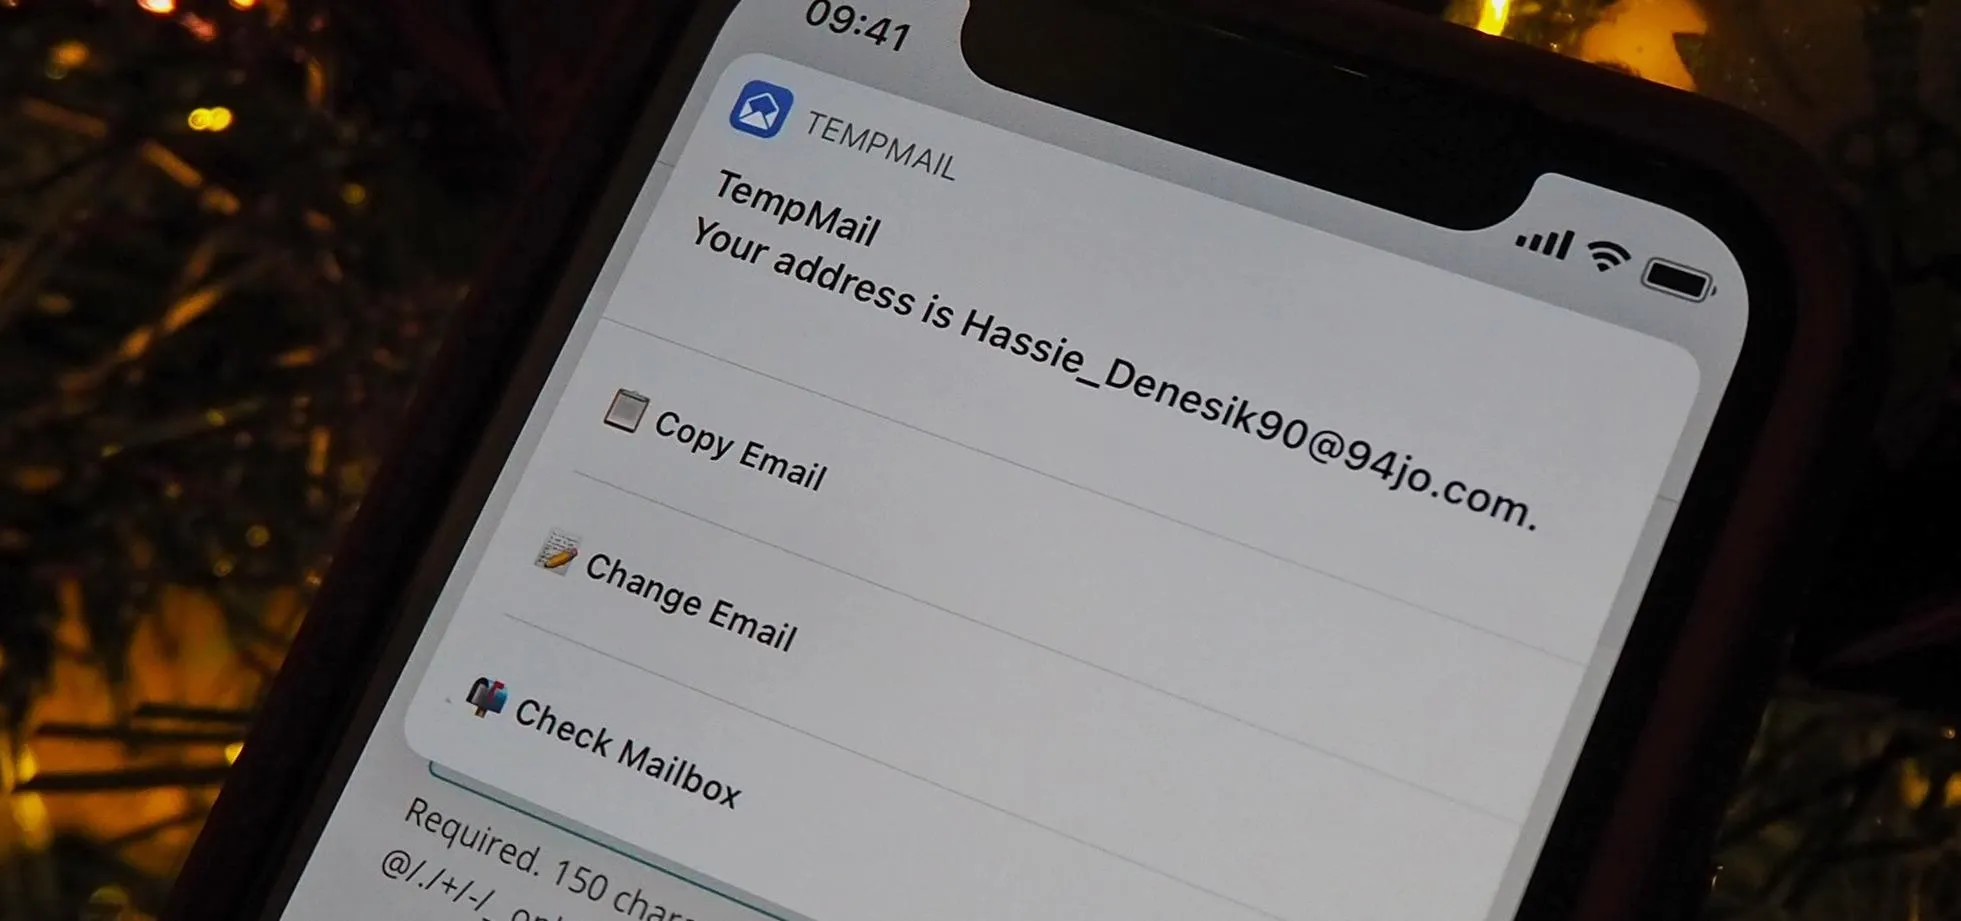
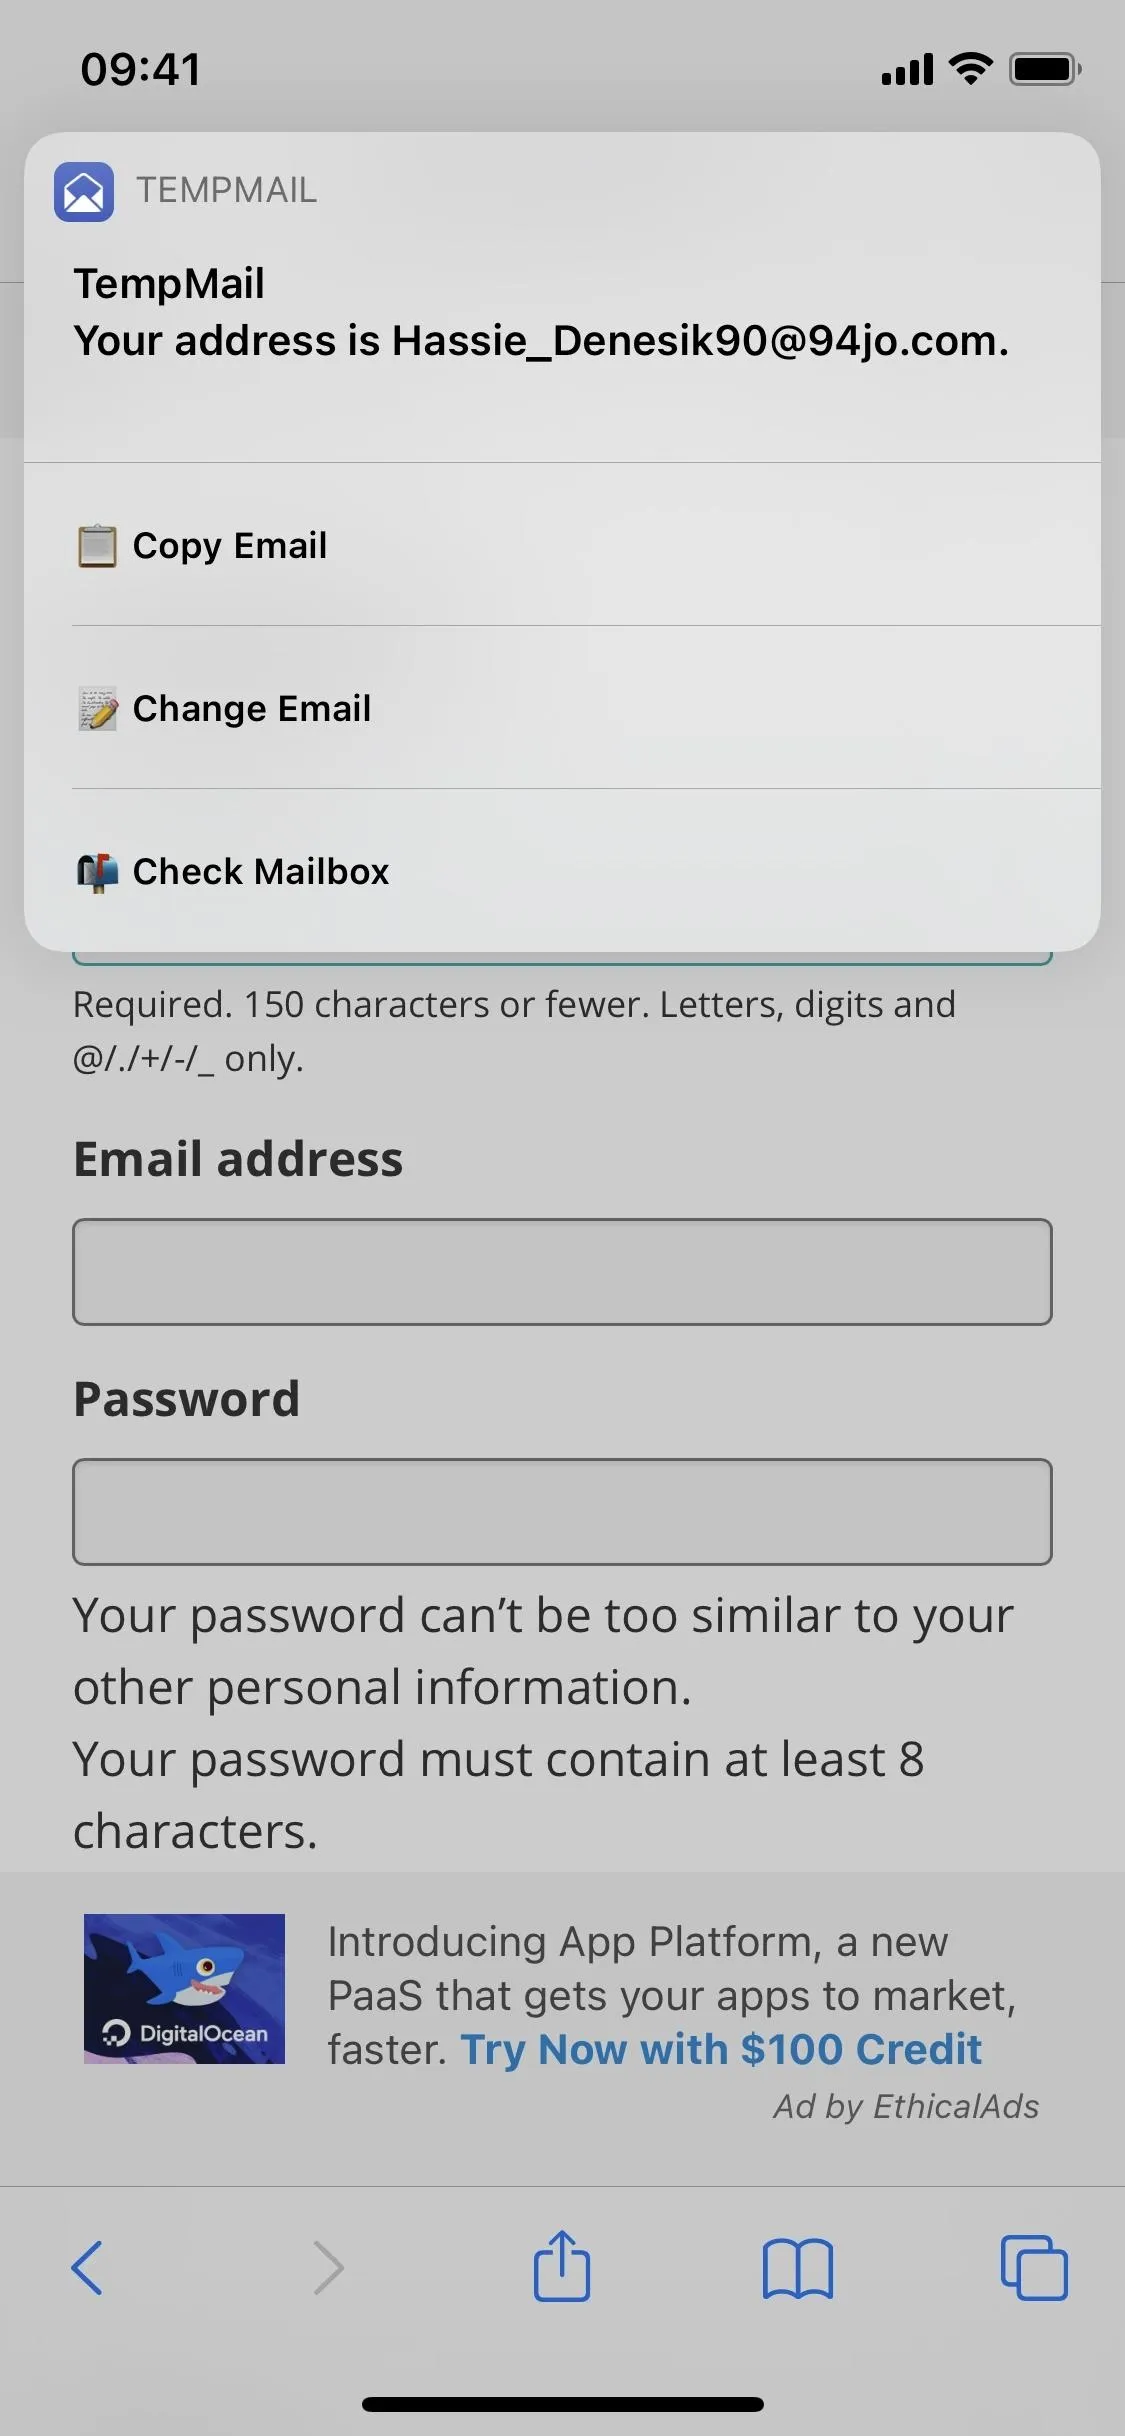
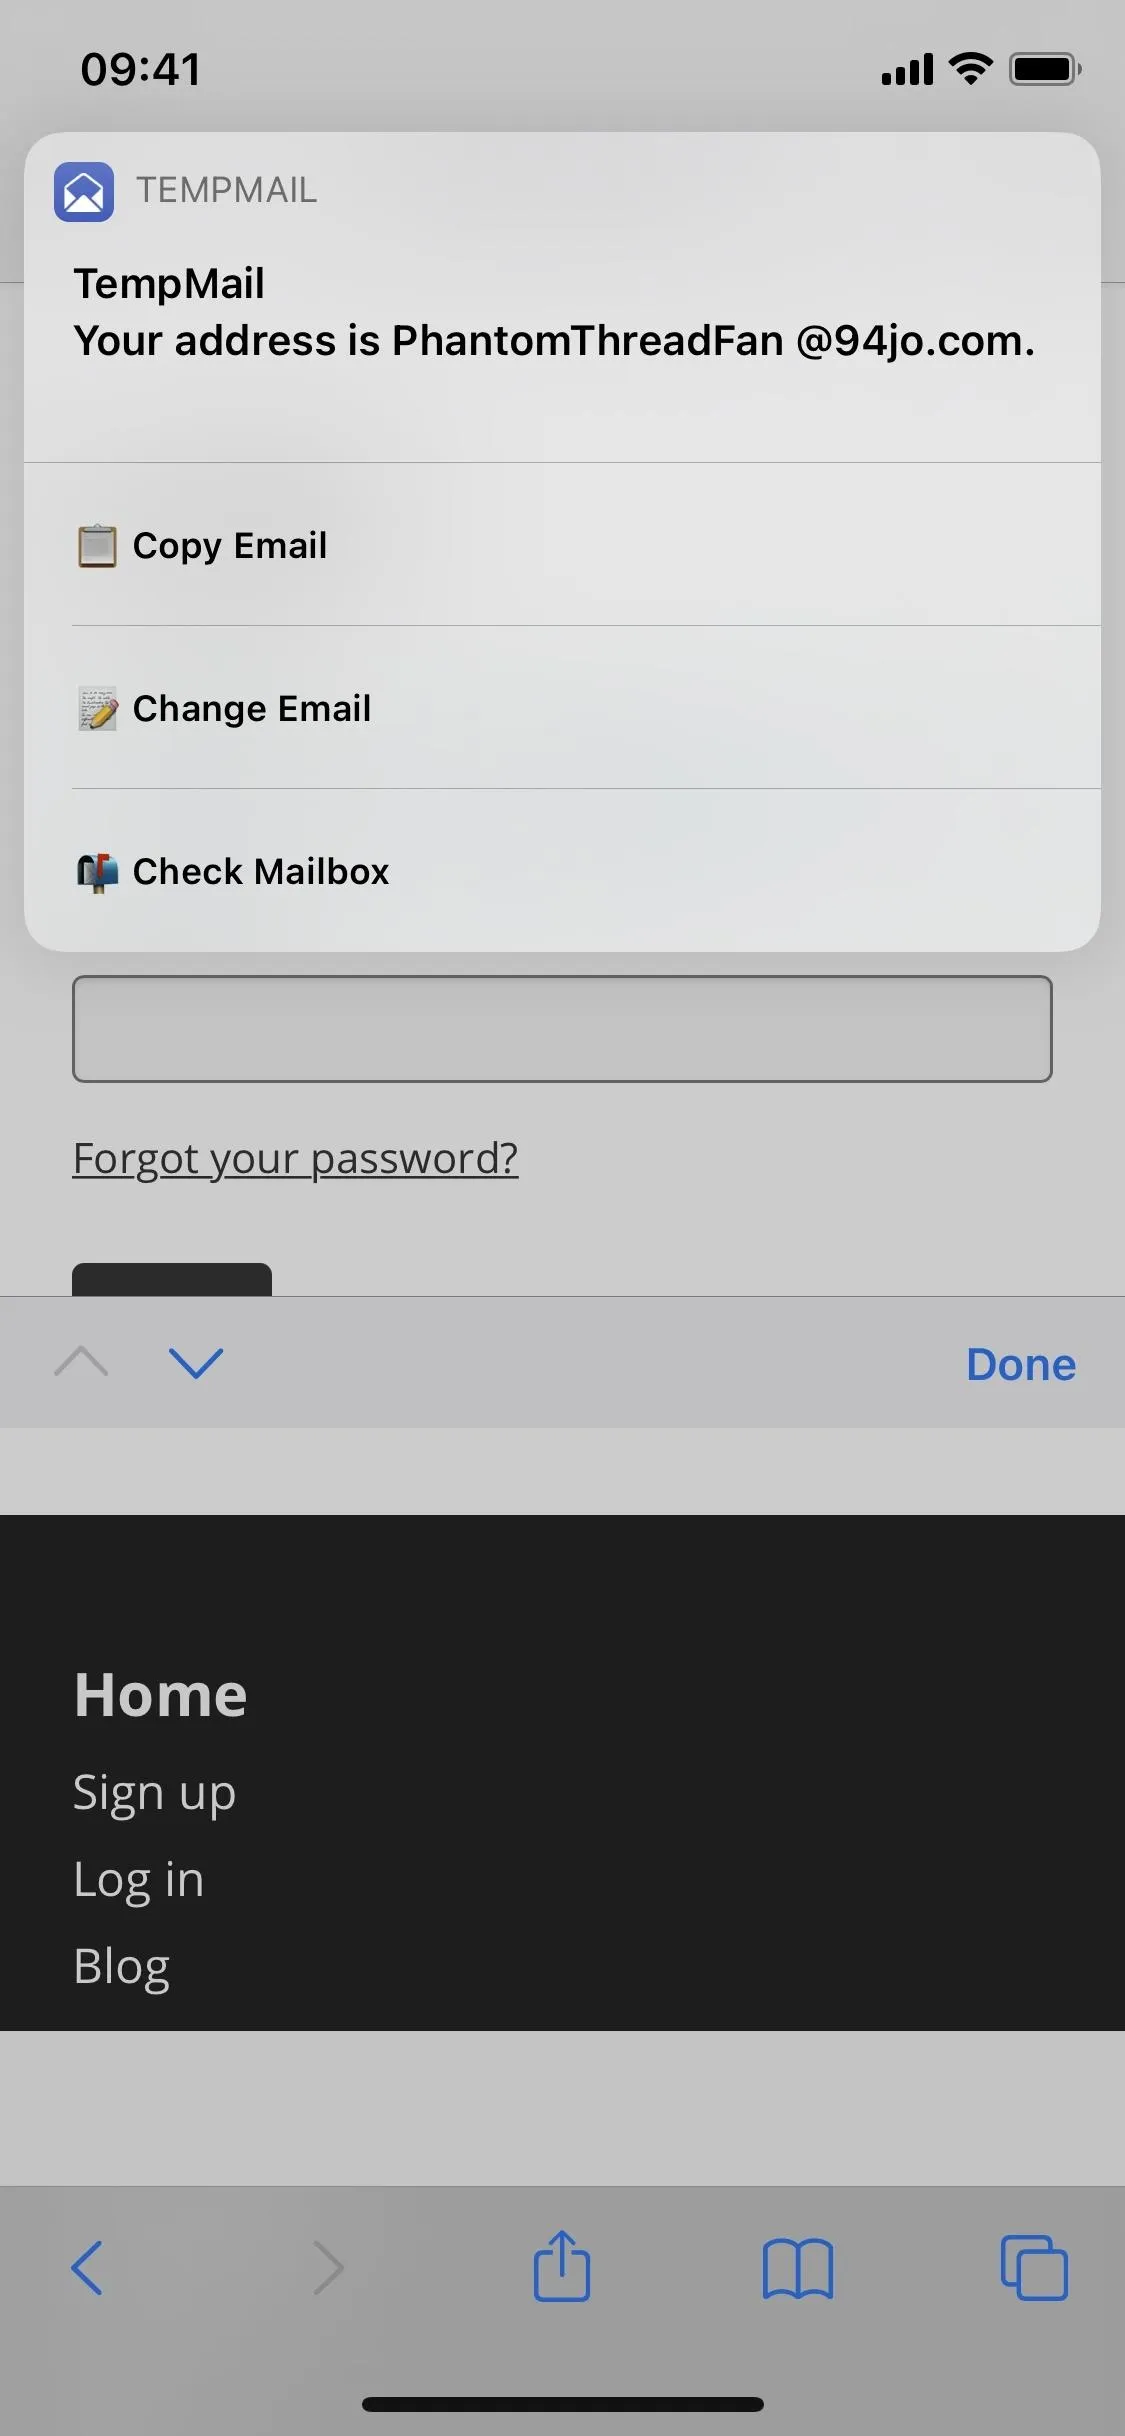
From then on, whenever you run the shortcut, you'll see these three options:
- Copy Email: Copies the anonymous email to your clipboard.
- Change Email: Changes your current anonymous email to another one.
- Check Mailbox: Let's you view emails received at the anonymous account.

Depending on which option you choose, the shortcut may ask for access to other things, such as notifications, websites, and other shortcuts. Hit "OK" to continue if you see any of these prompts.
Copy Email
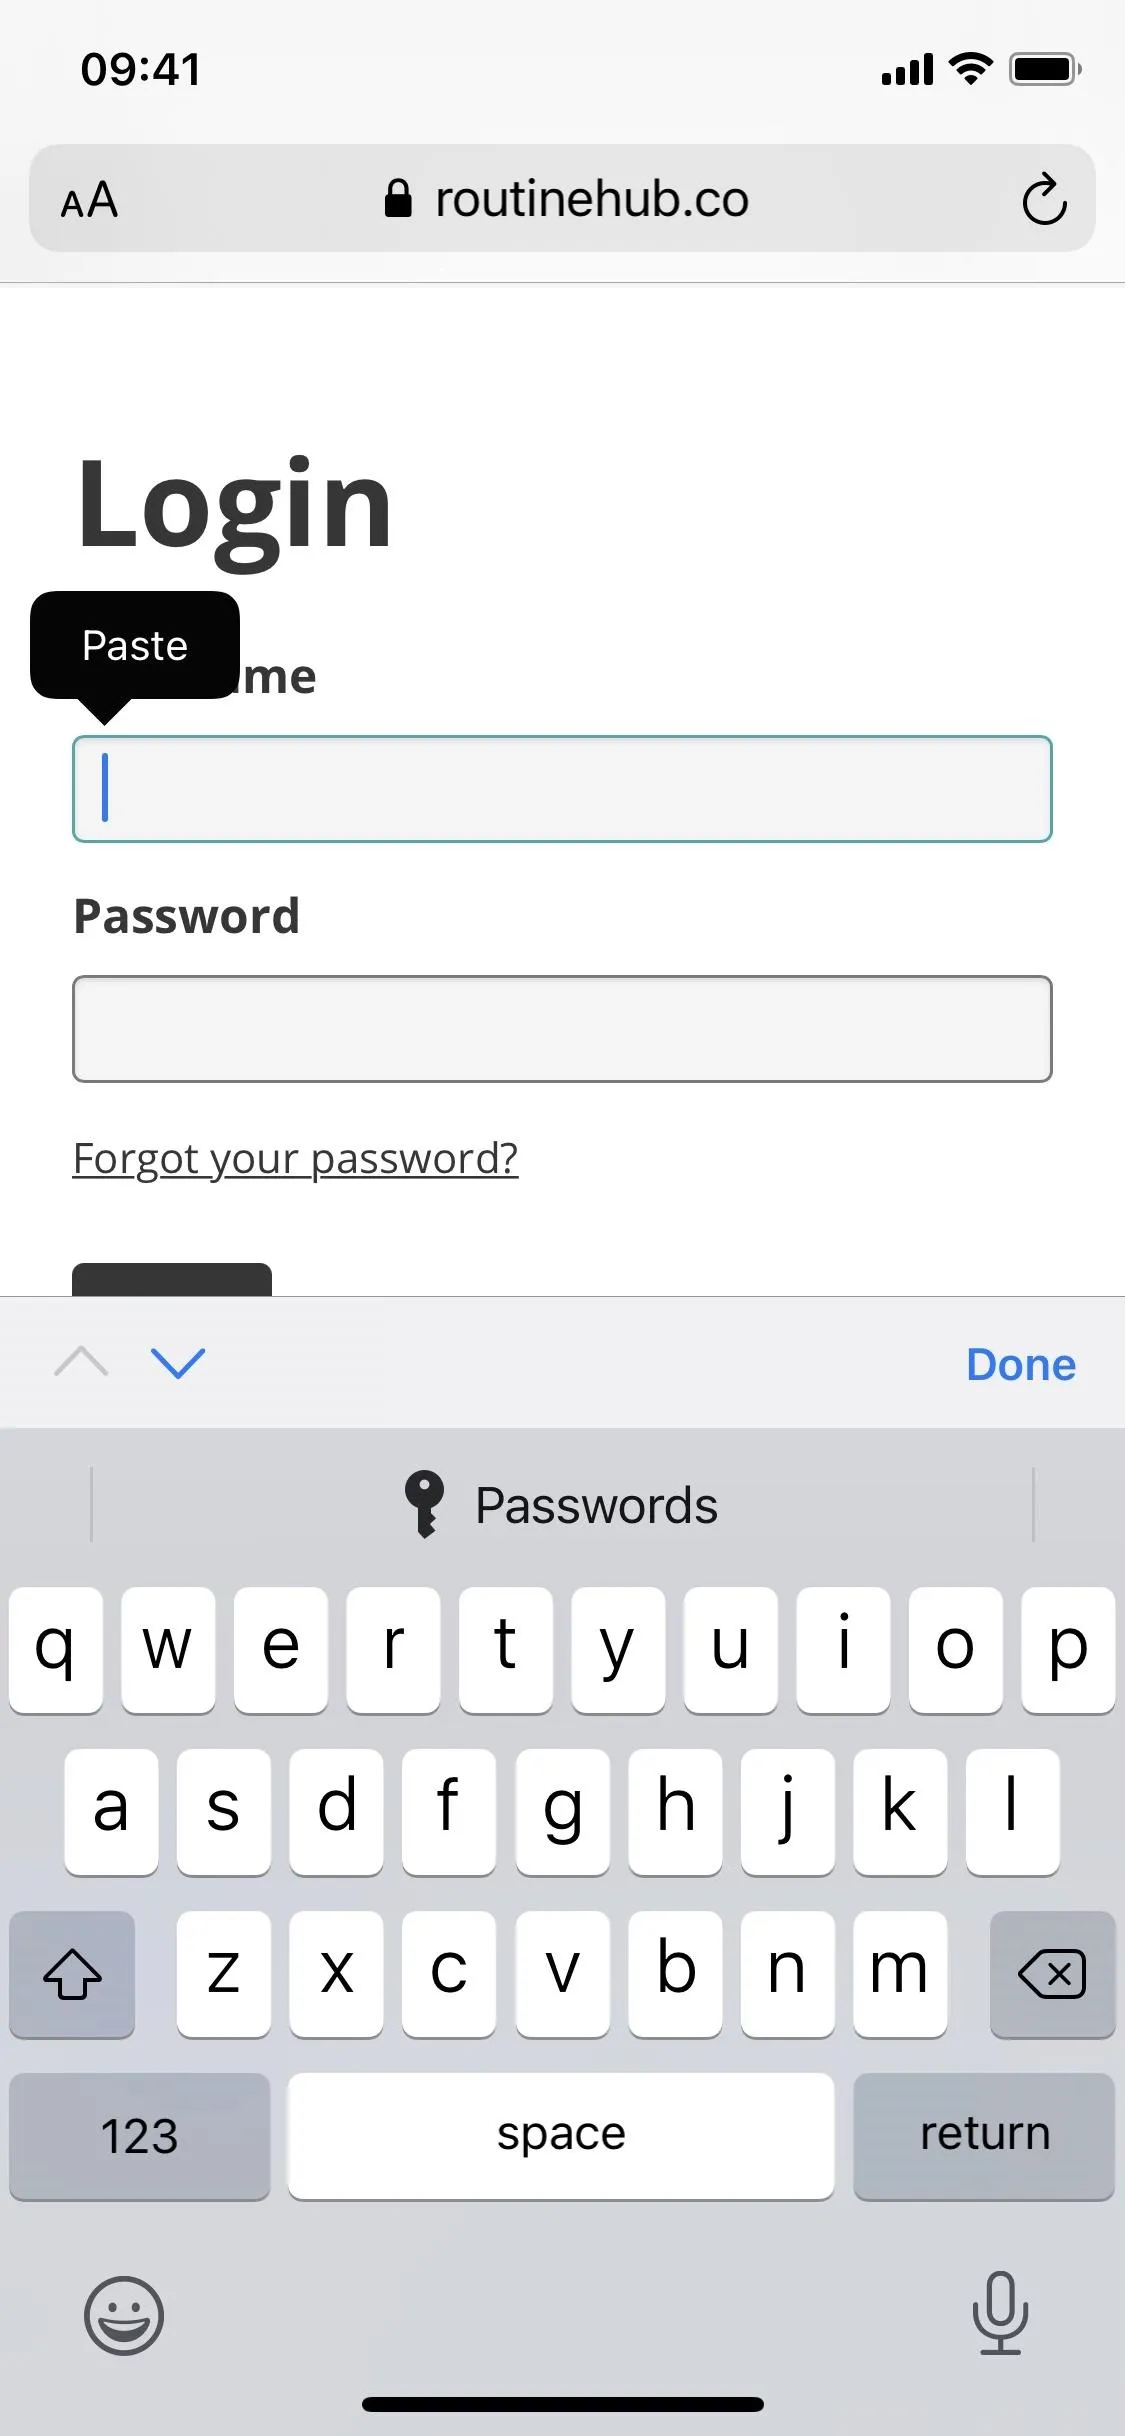
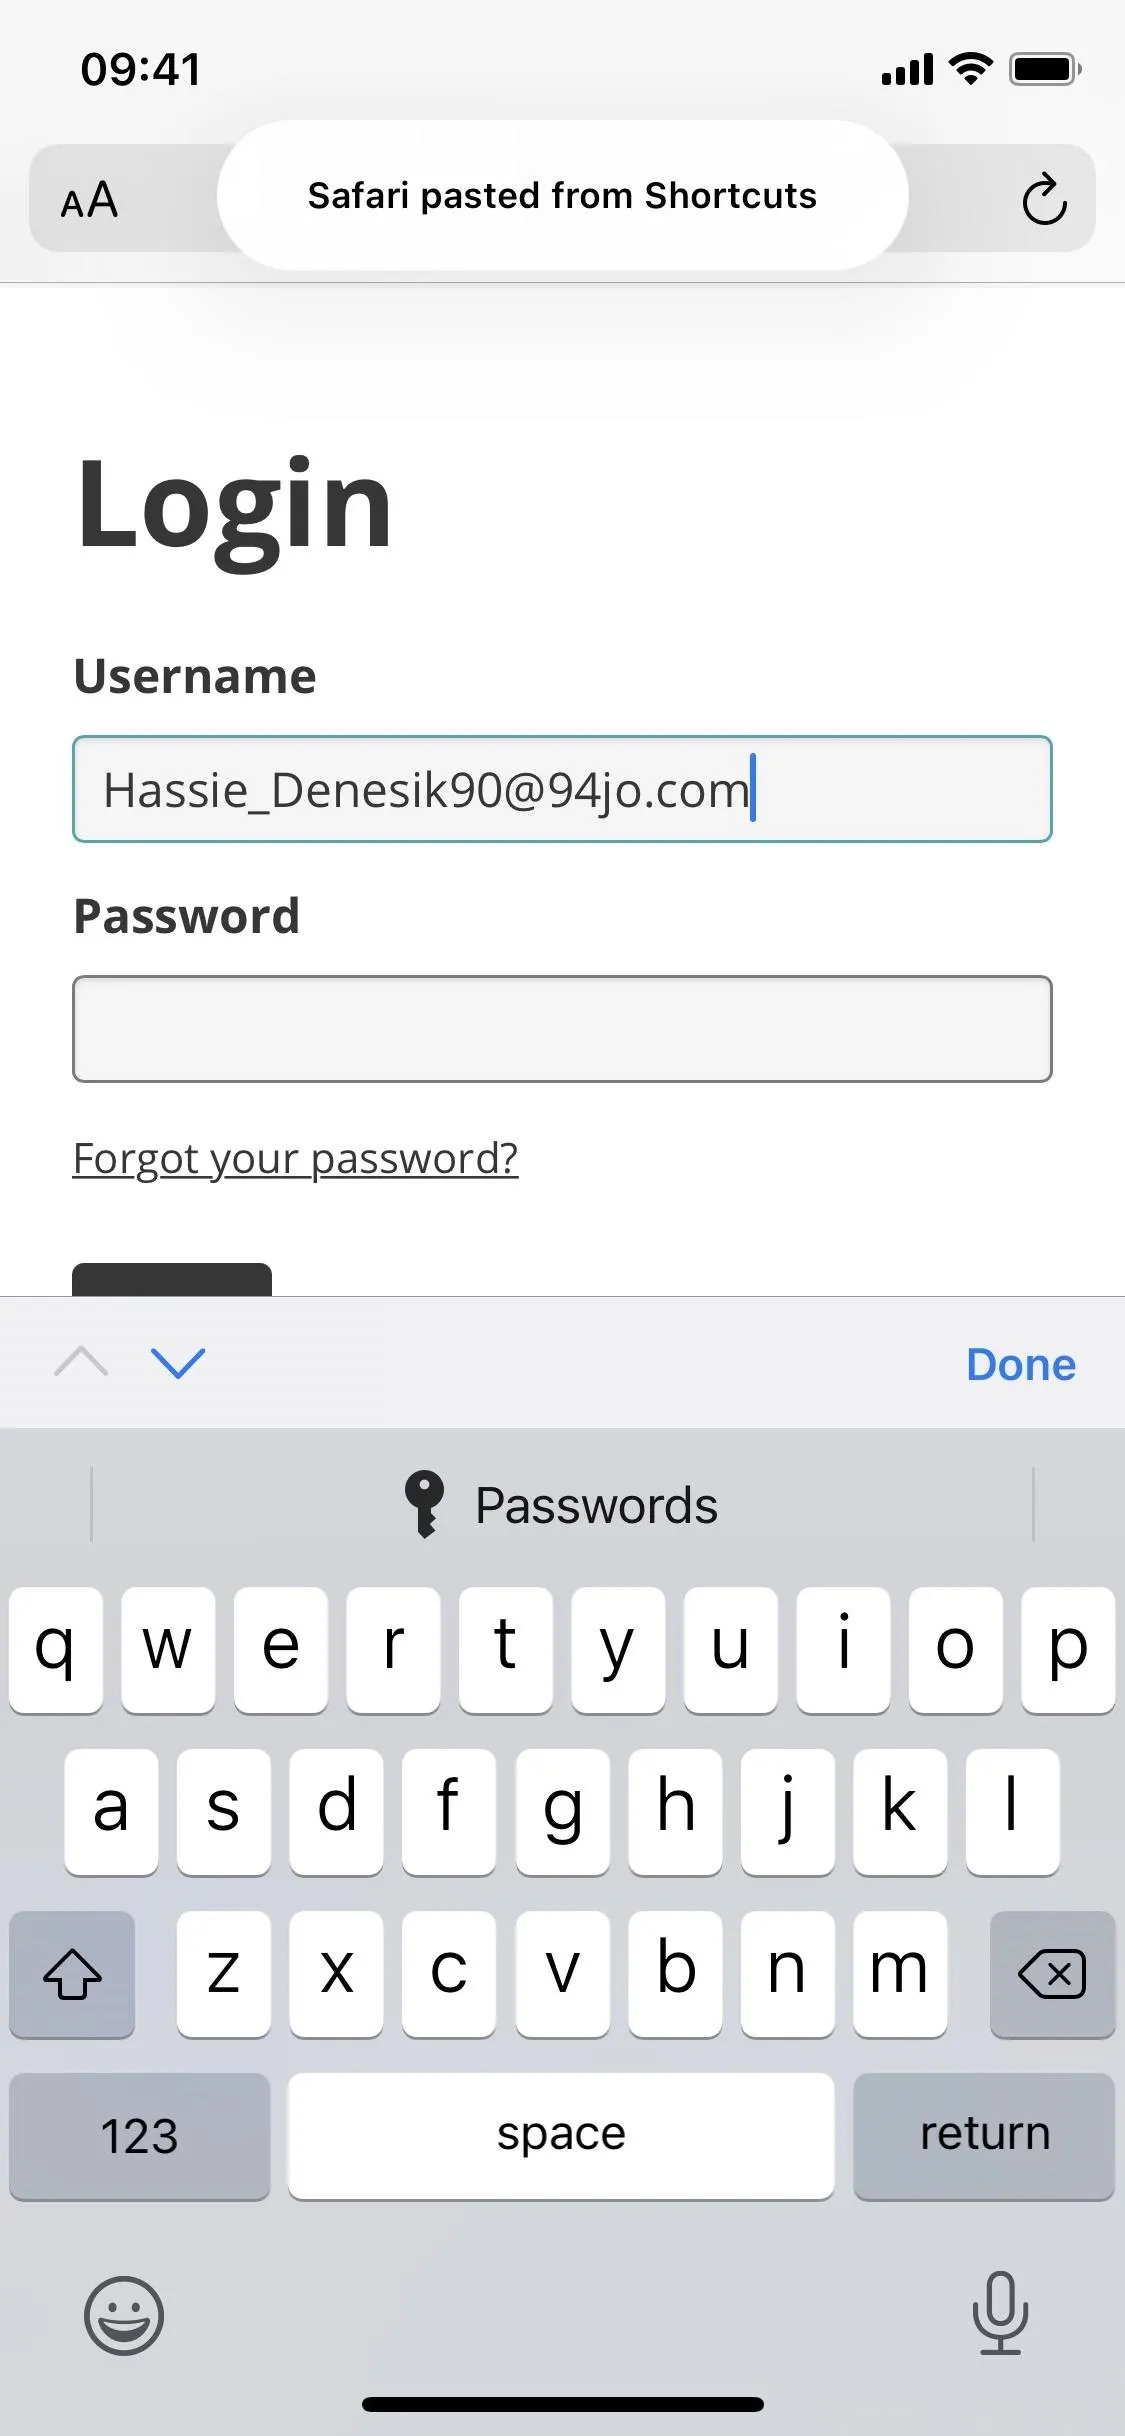
The first option is to copy the anonymous email to your clipboard, so you can then paste it into an email field. To paste it, press your finger down in an empty text field for a few seconds until the menu appears, then tap "Paste." Use this option whenever you need to quickly enter your anonymous email account and don't want to type it all out.
Change Email
Your email is meant to be very temporary. It's more of a one-time use thing, so you'll want to change your email often. Doing so also ensures that any anonymous information collected (IP address, browser type, ISP, platform, and other log files) will be deleted while the email address was active.
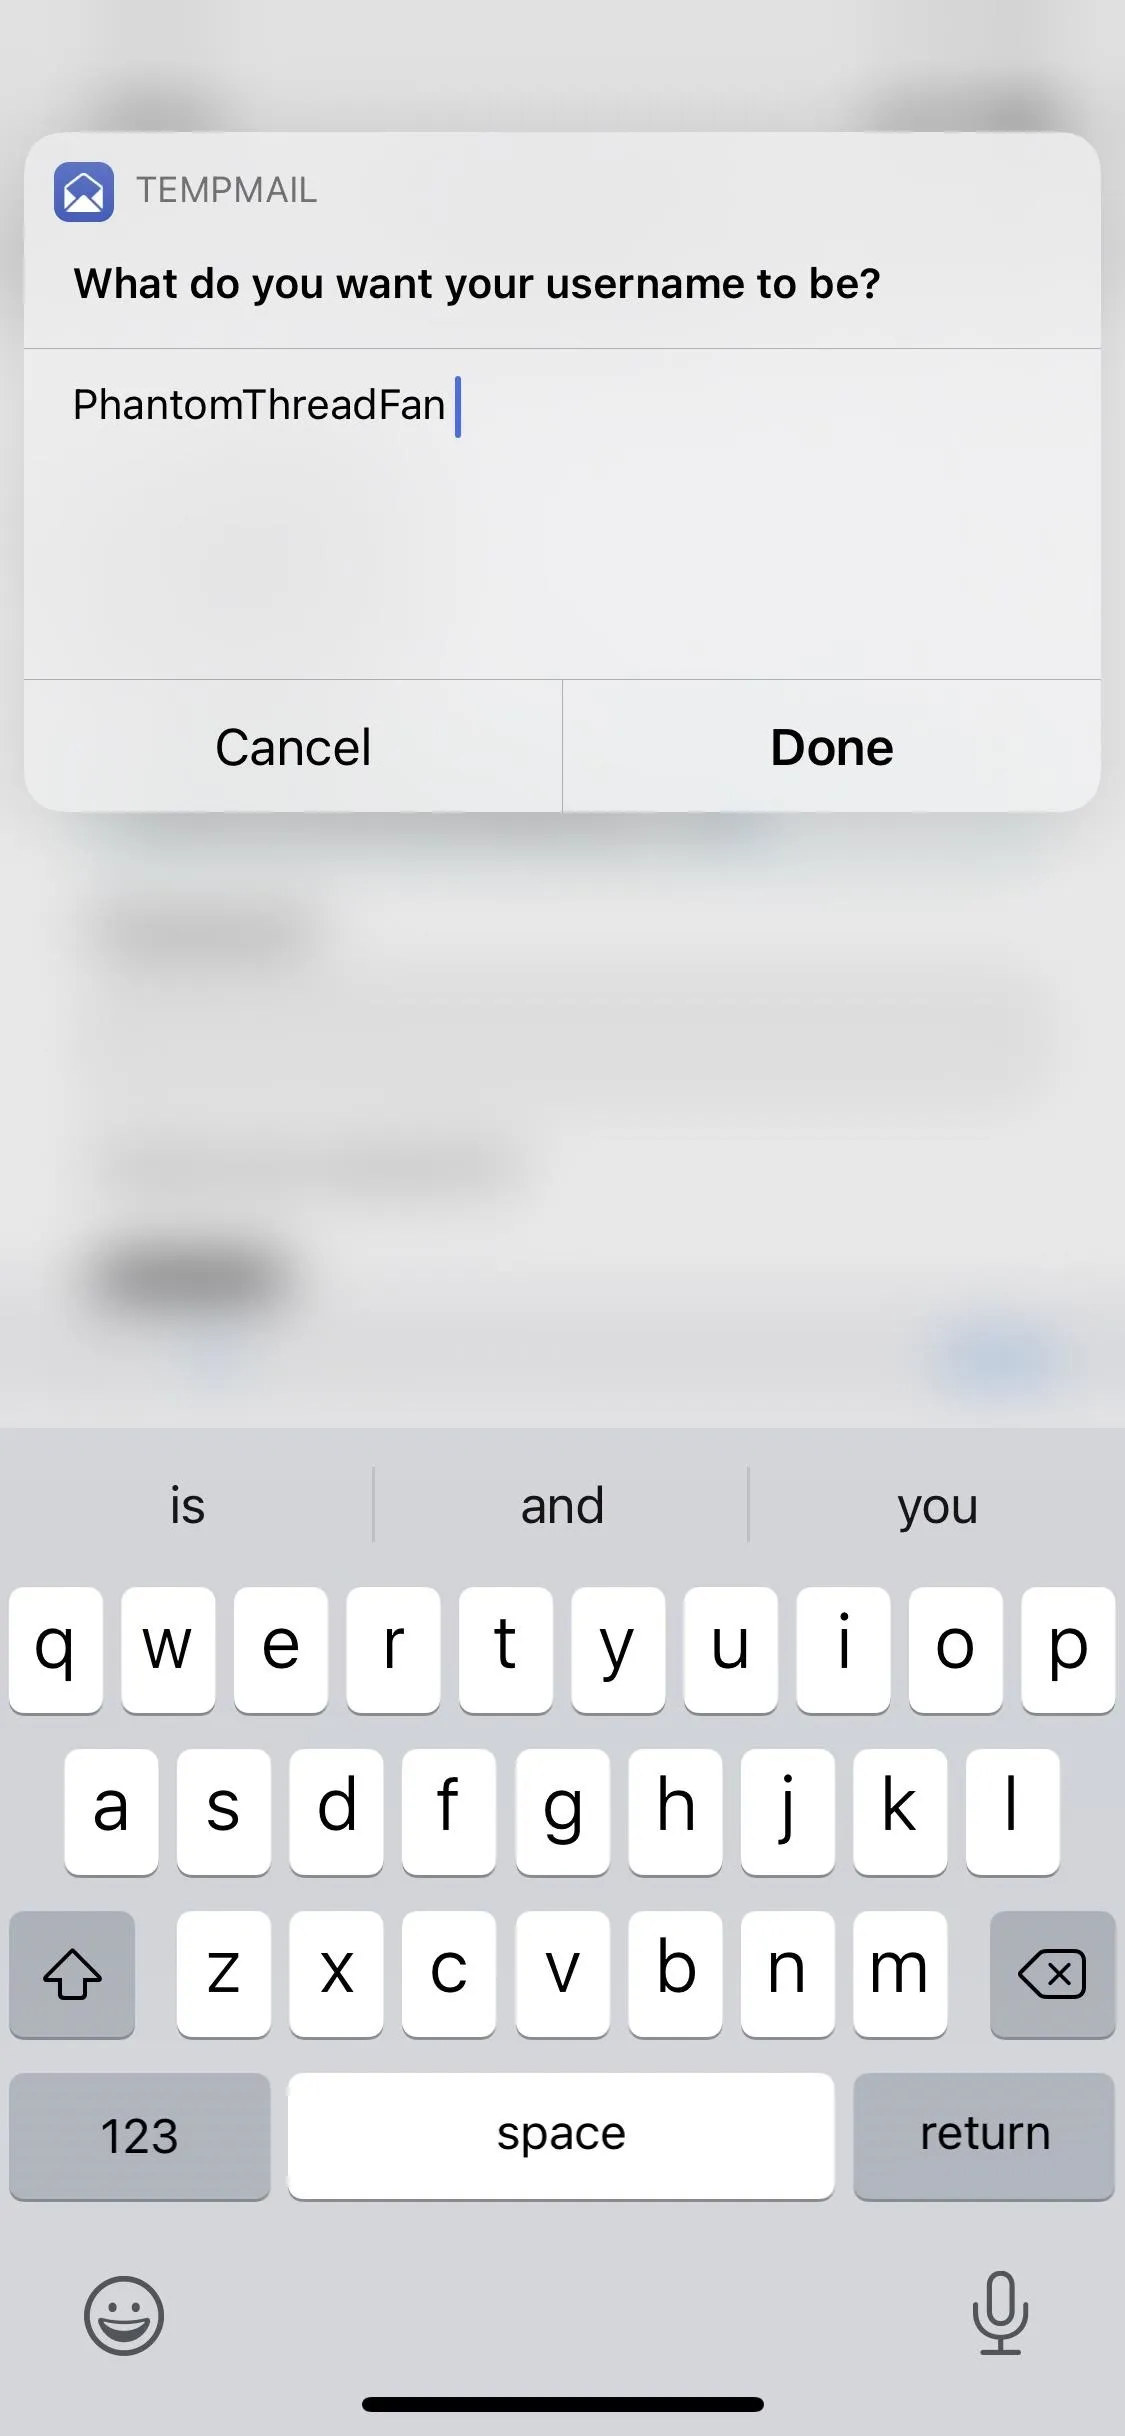
If you change your email, you'll be able to type in anything and change the username (not the domain name). Enter whatever you want to use for the email, then tap "Done," and you'll see your brand new email address at the top of the TempMail shortcut menu. Even if you don't change the email manually, it'll be changed whenever Temp-Mail changes the domain list, which is often.
Warning: Whenever changing the email, your previous inbox or inboxes for other anonymous emails will no longer be available to view, so make sure you only change it after you have used your mailbox for whatever it is you need it for (verification code, password, etc.).
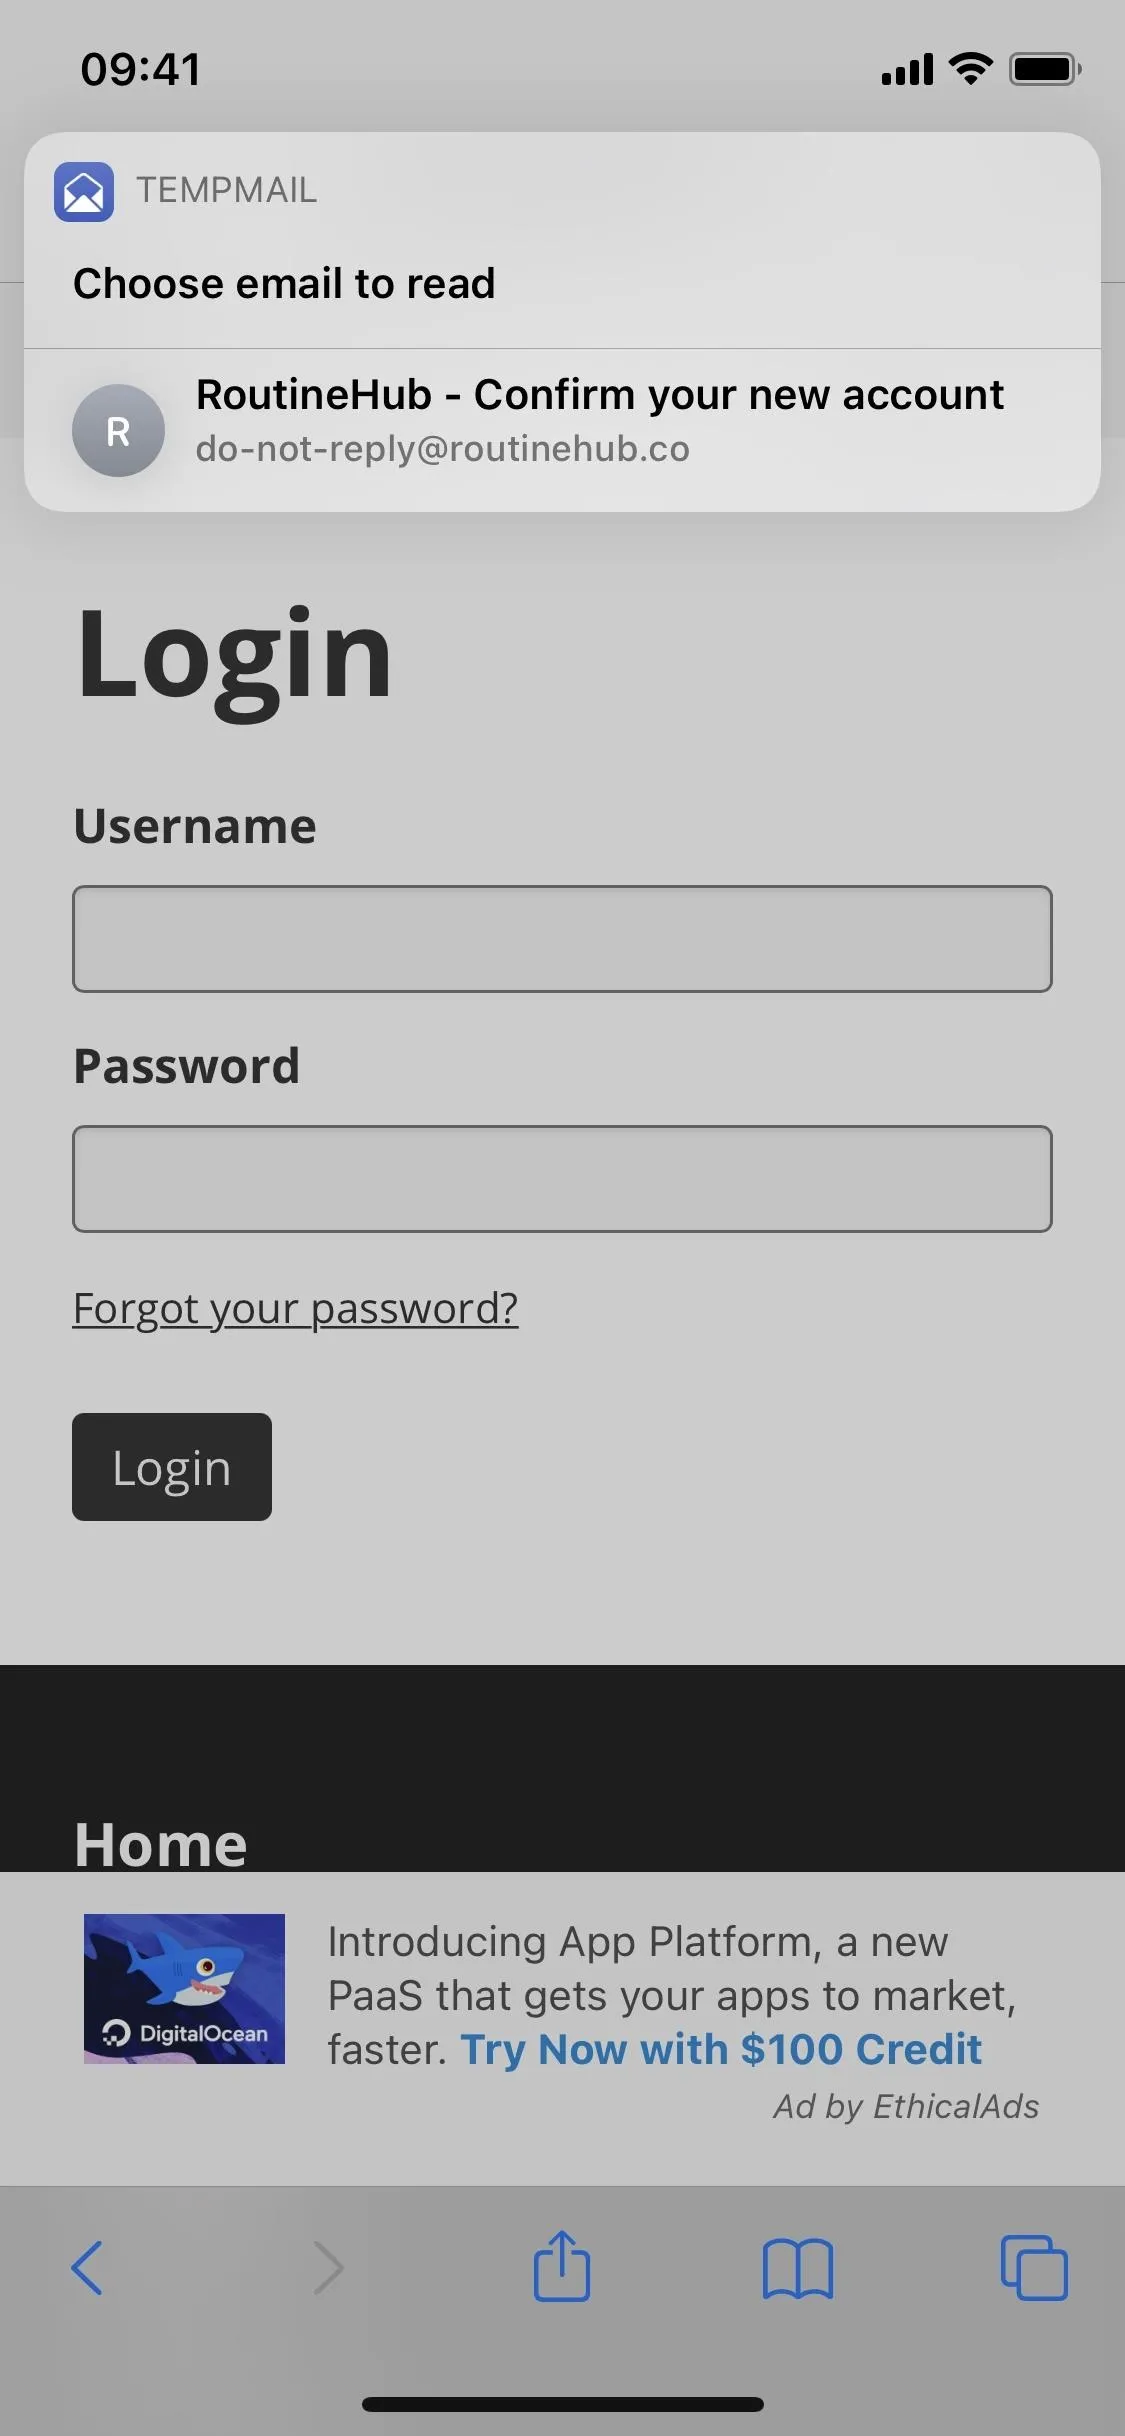
Check Mailbox
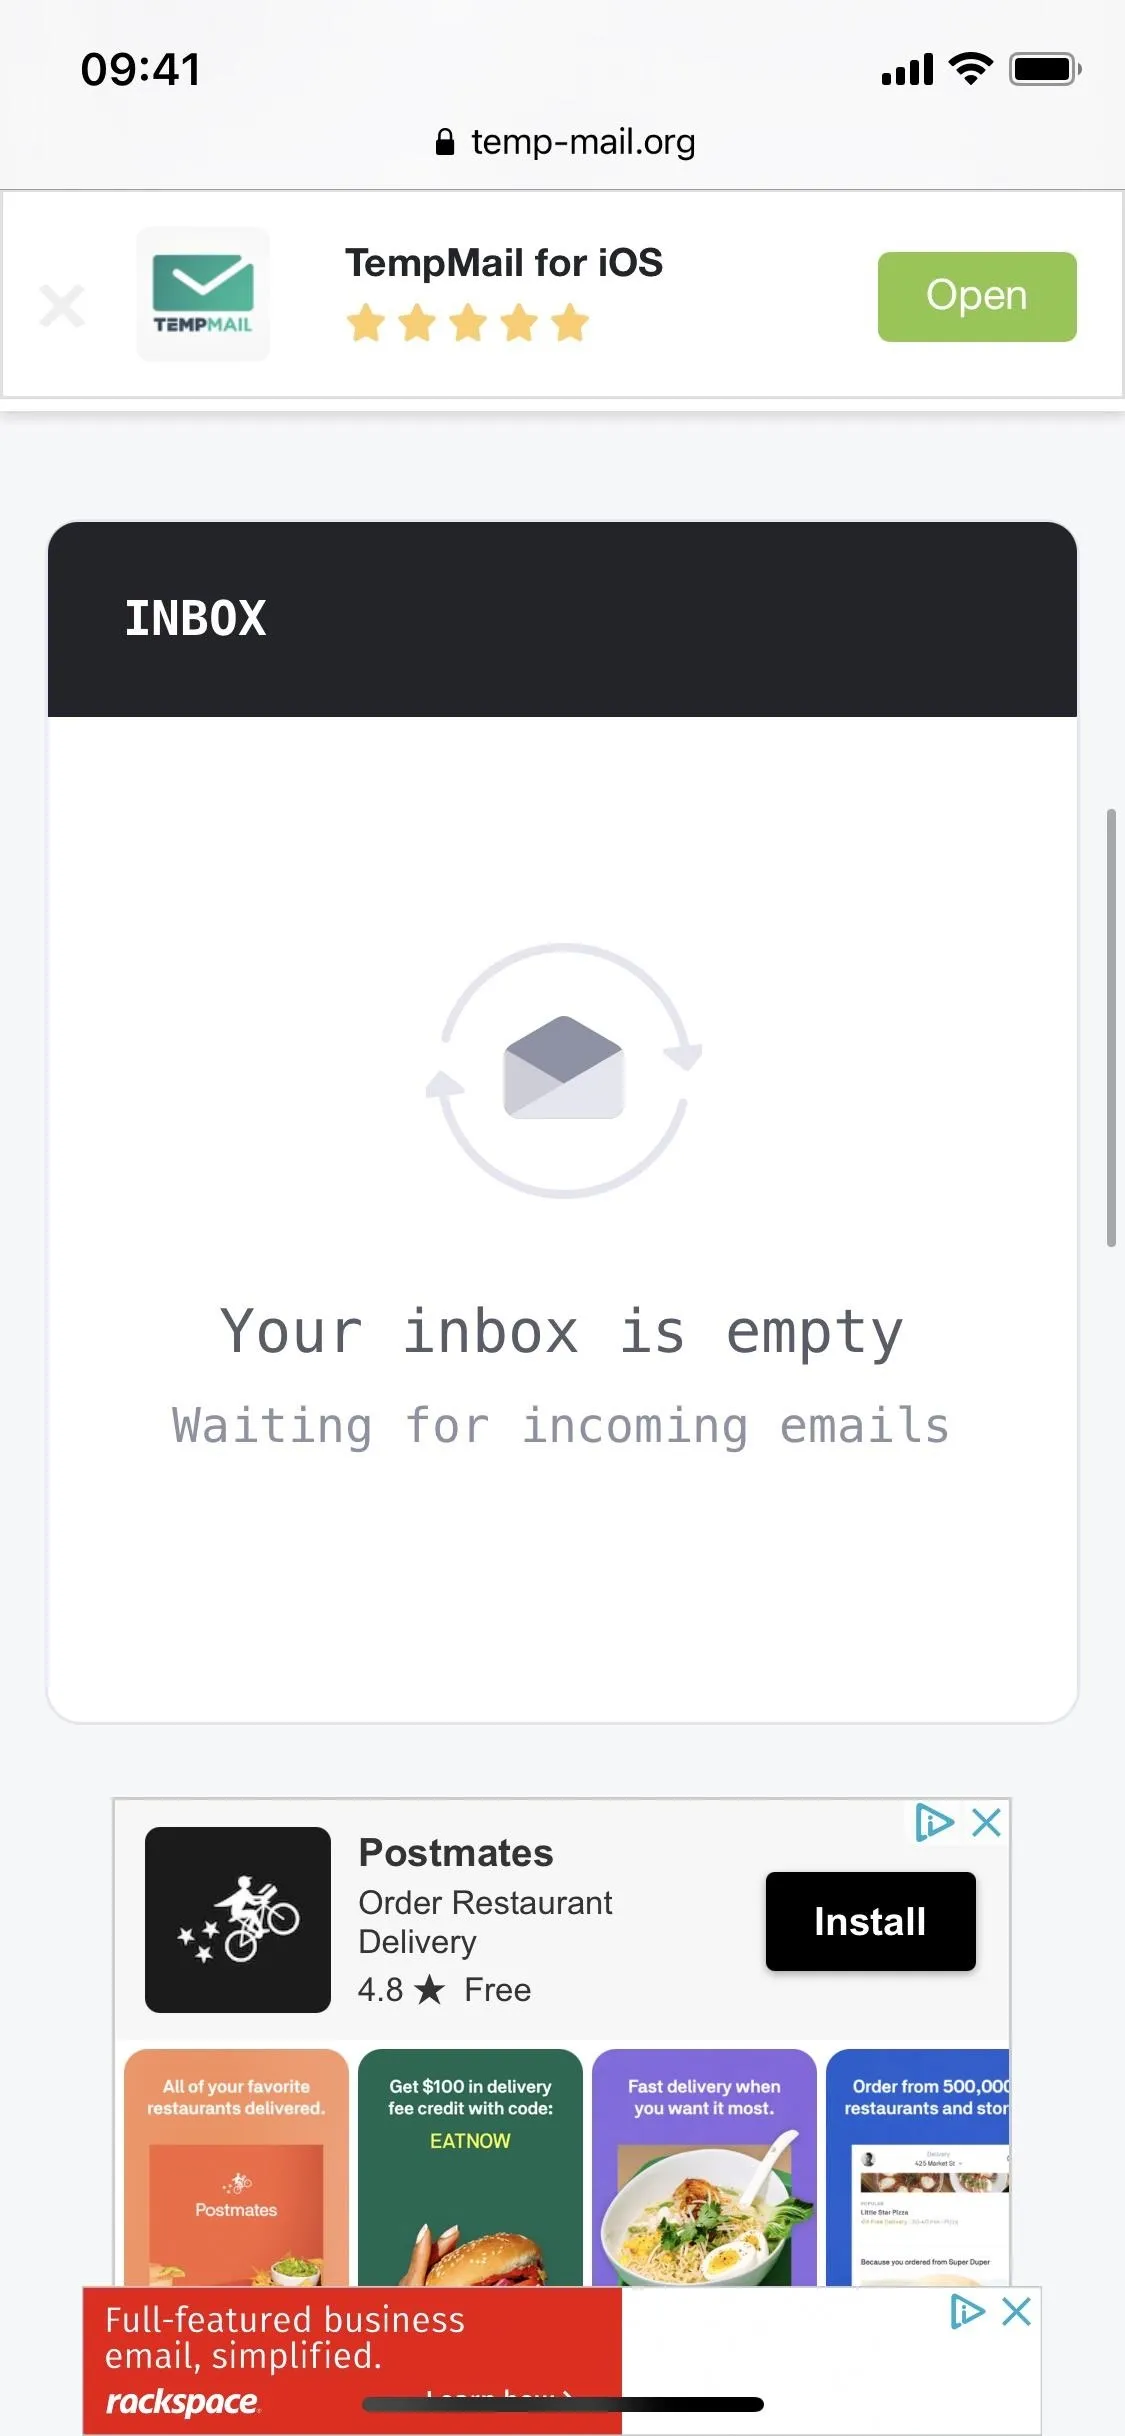
The third option allows you to view the mailbox for your current email address. Every email sent to this account will appear in the menu. You can then tap on the email you want to view, which will redirect you to the official Temp-Mail website in the built-in web browser.
Scroll down, and you can then view the email you selected. Underneath the email contents, you can view the source of the email (a pop-up will attempt to open), delete the email, and download the email to the Notes app. If you want to view the rest of your mailbox, tap on the arrow in the top left of the mailbox, which says, "Back to List."

Cover photo and screenshots by Nelson Aguilar/Gadget Hacks


Comments
Be the first, drop a comment!