


Auto-Correction only improves with time, but after 15 years of continuous development by Apple, it's still nowhere near perfect on the iPhone. However, a few hidden features in iOS can help avoid or mitigate future autocorrect failures, one of which warns you every time it's about to make a word change.
It may shock you, but the little-known feature I'm talking about has been around since iOS 3 in 2009. That's before iOS was even called "iOS," when Apple used the longer "iPhone OS" for its mobile operating system. The secret tool remains in place in iOS 15 and iOS 16 and will likely be available in future software updates.
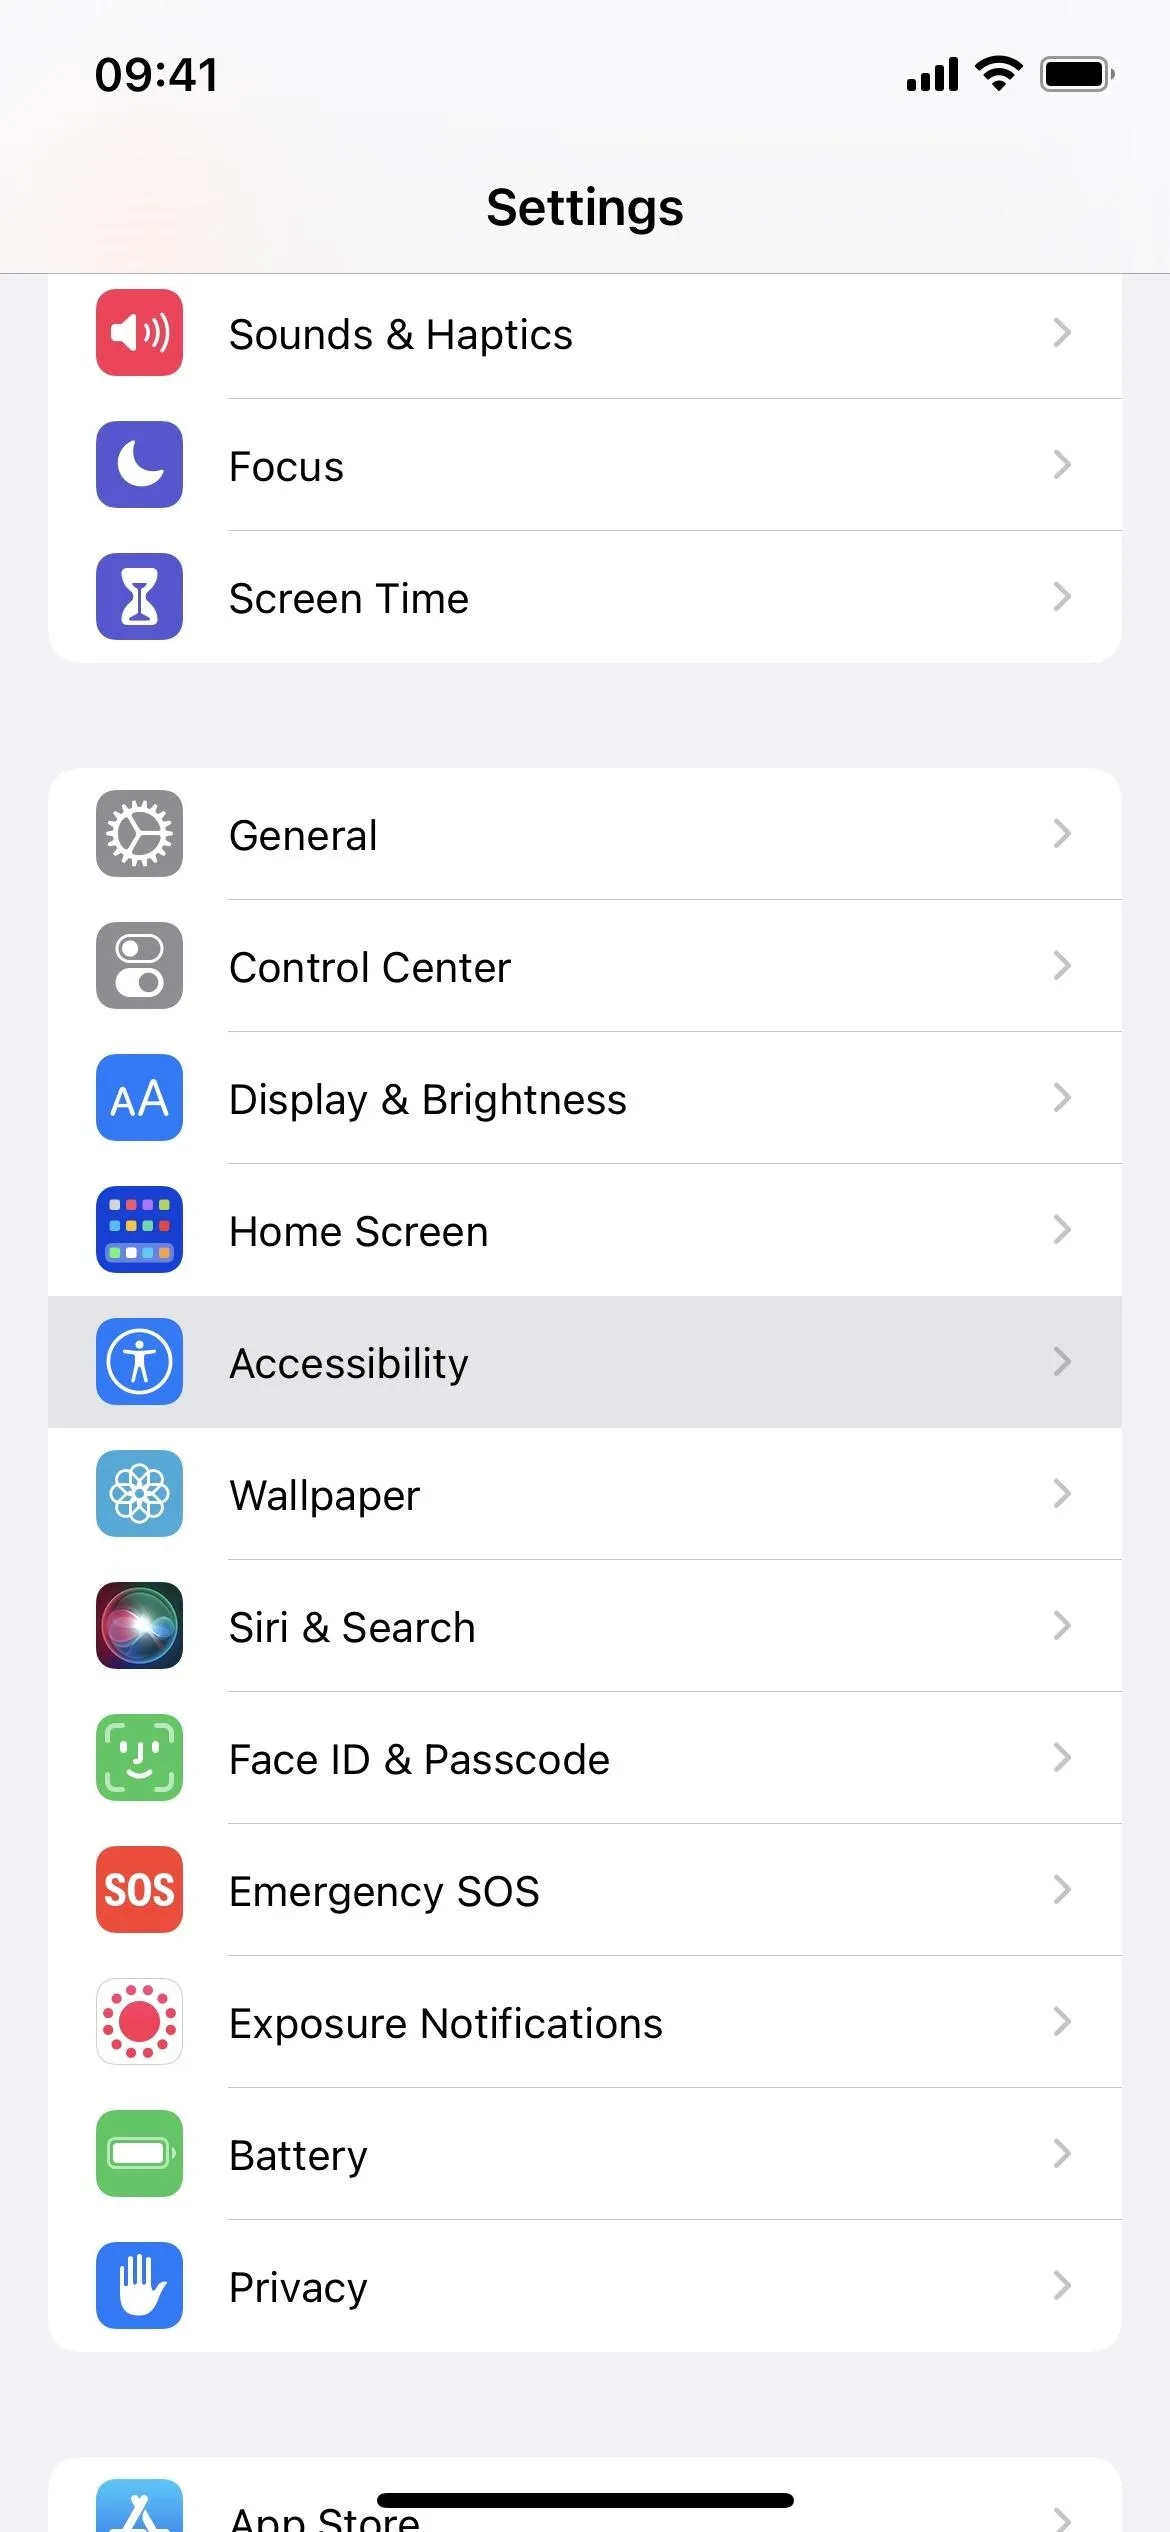
OK, history lesson aside, the feature that can help prevent autocorrect snafus in Messages, Mail, Twitter, and anywhere else you can enter text is nowhere near the Keyboard settings. If you go to Settings –> General –> Keyboard, you won't find it. Instead, hop into the Accessibility settings at:
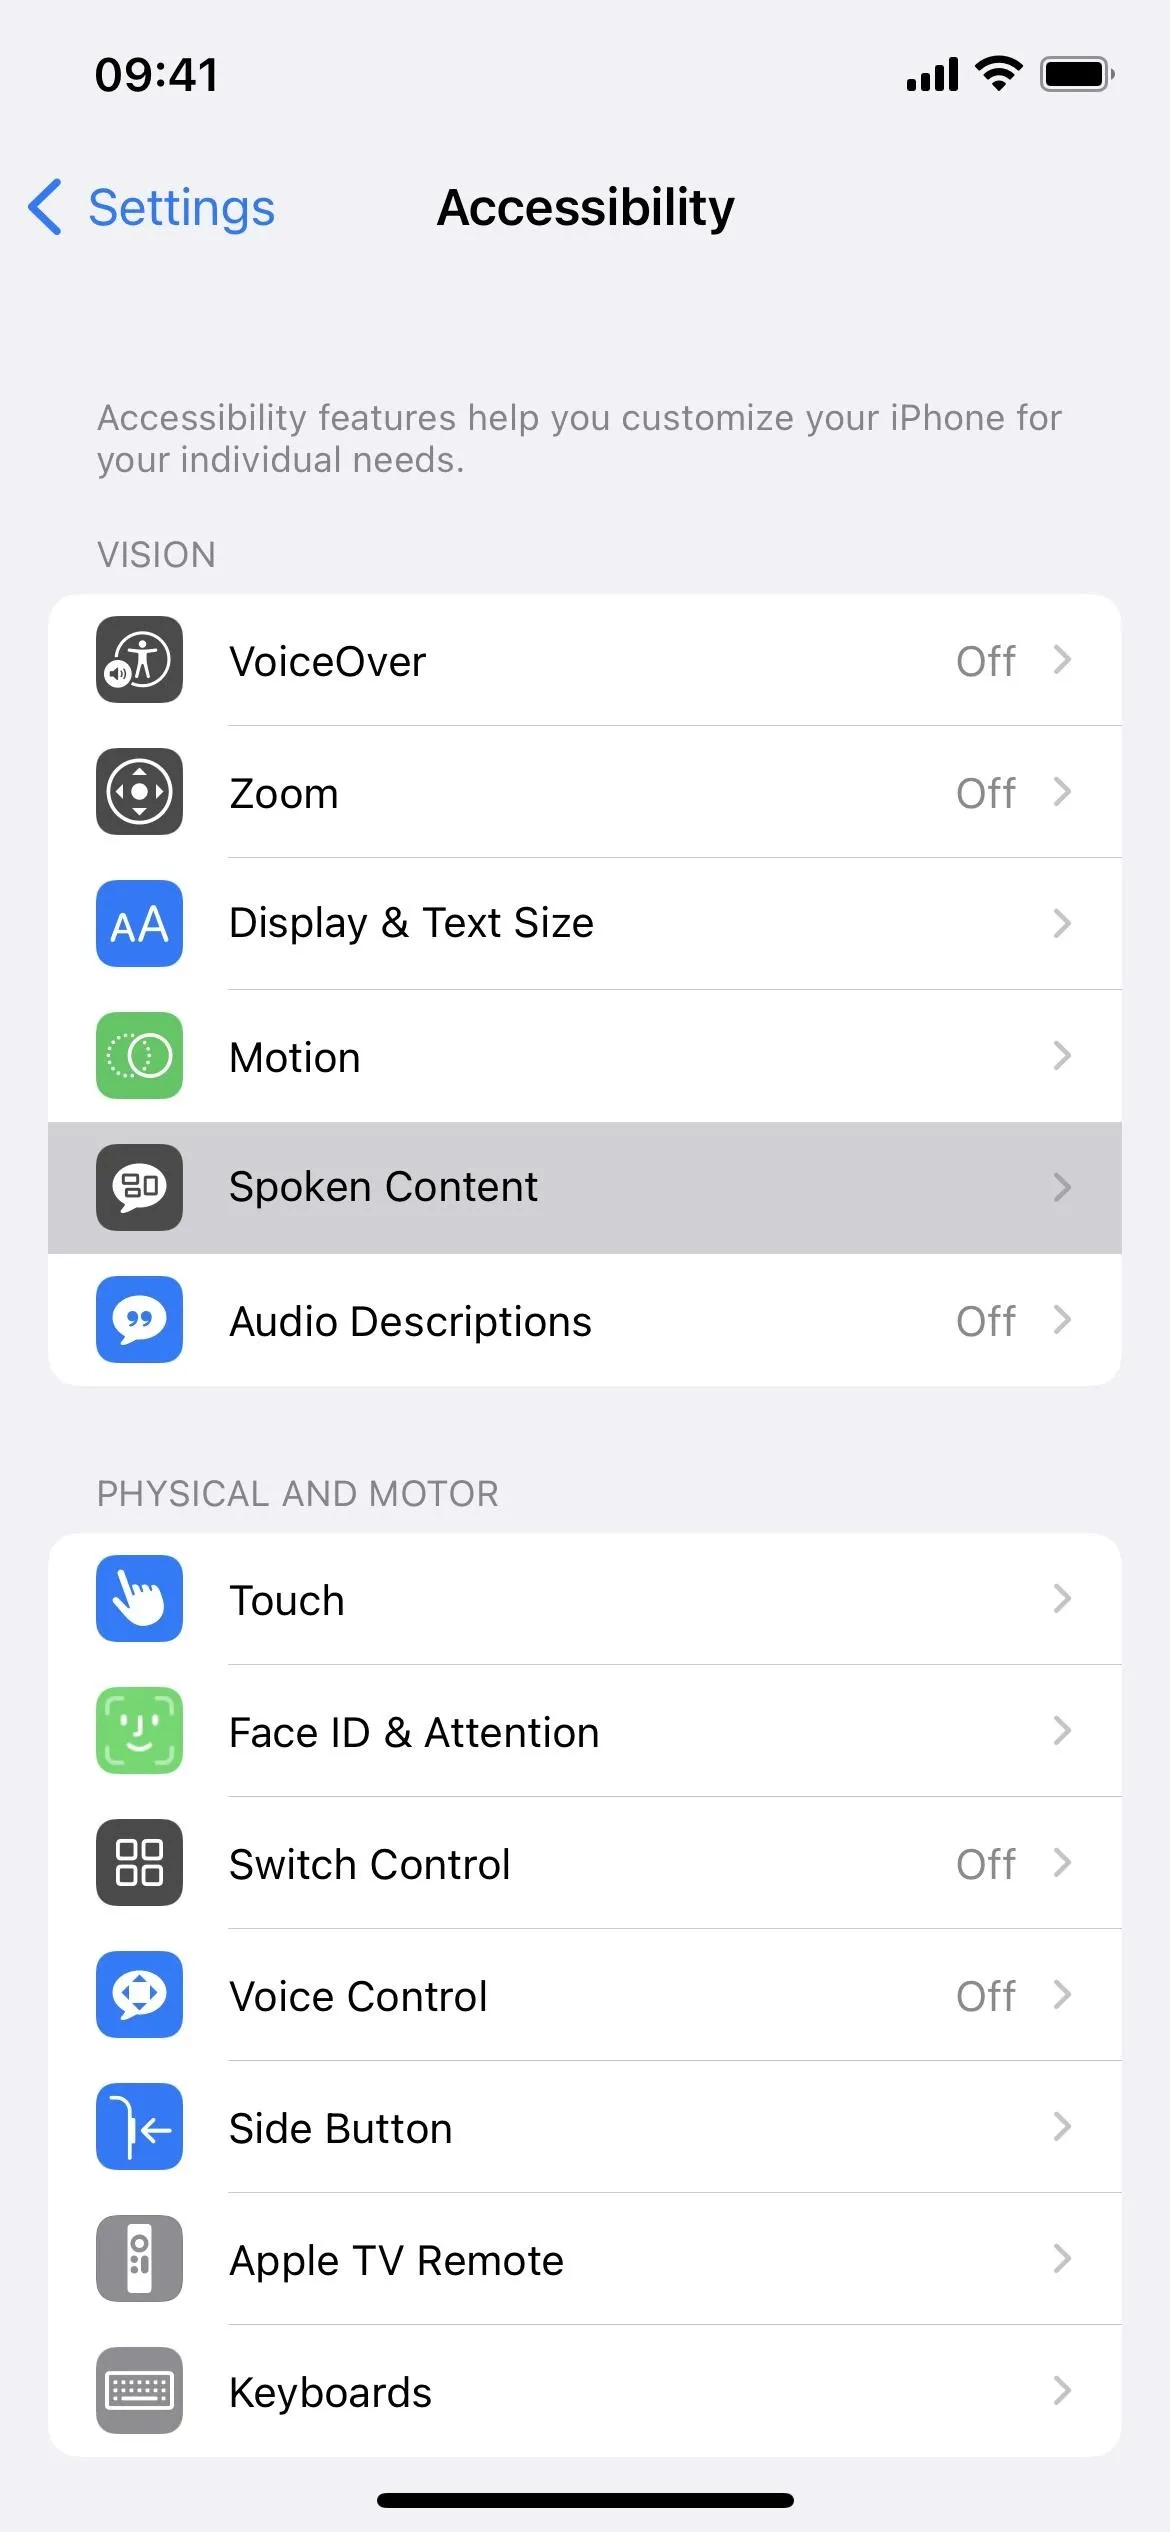
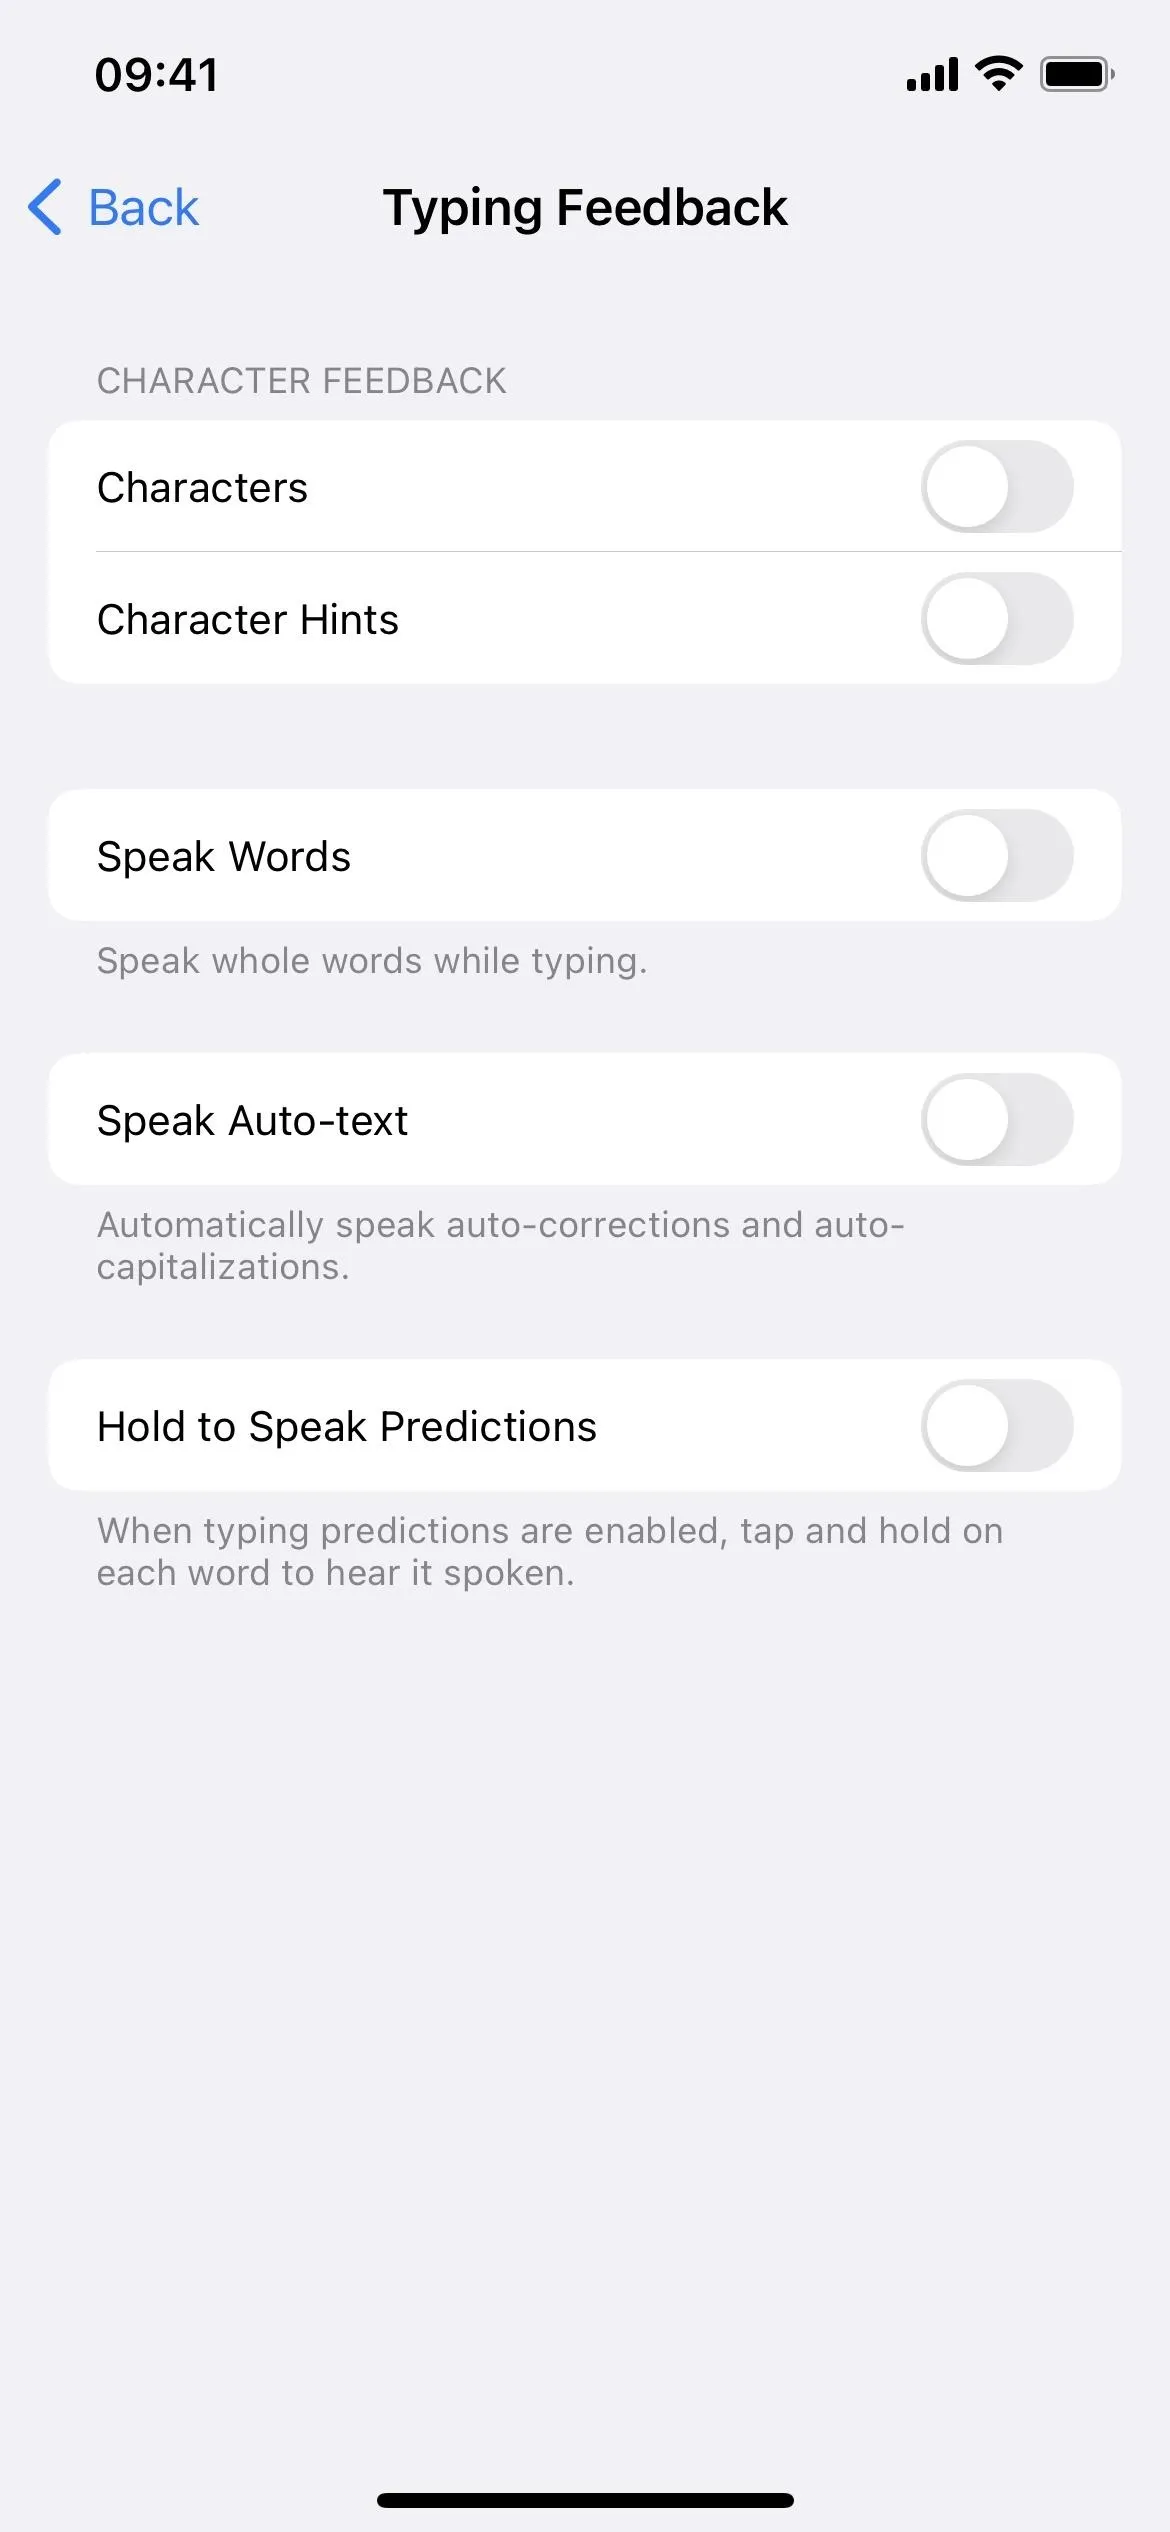
- Settings –> Accessibility –> Spoken Content –> Typing Feedback
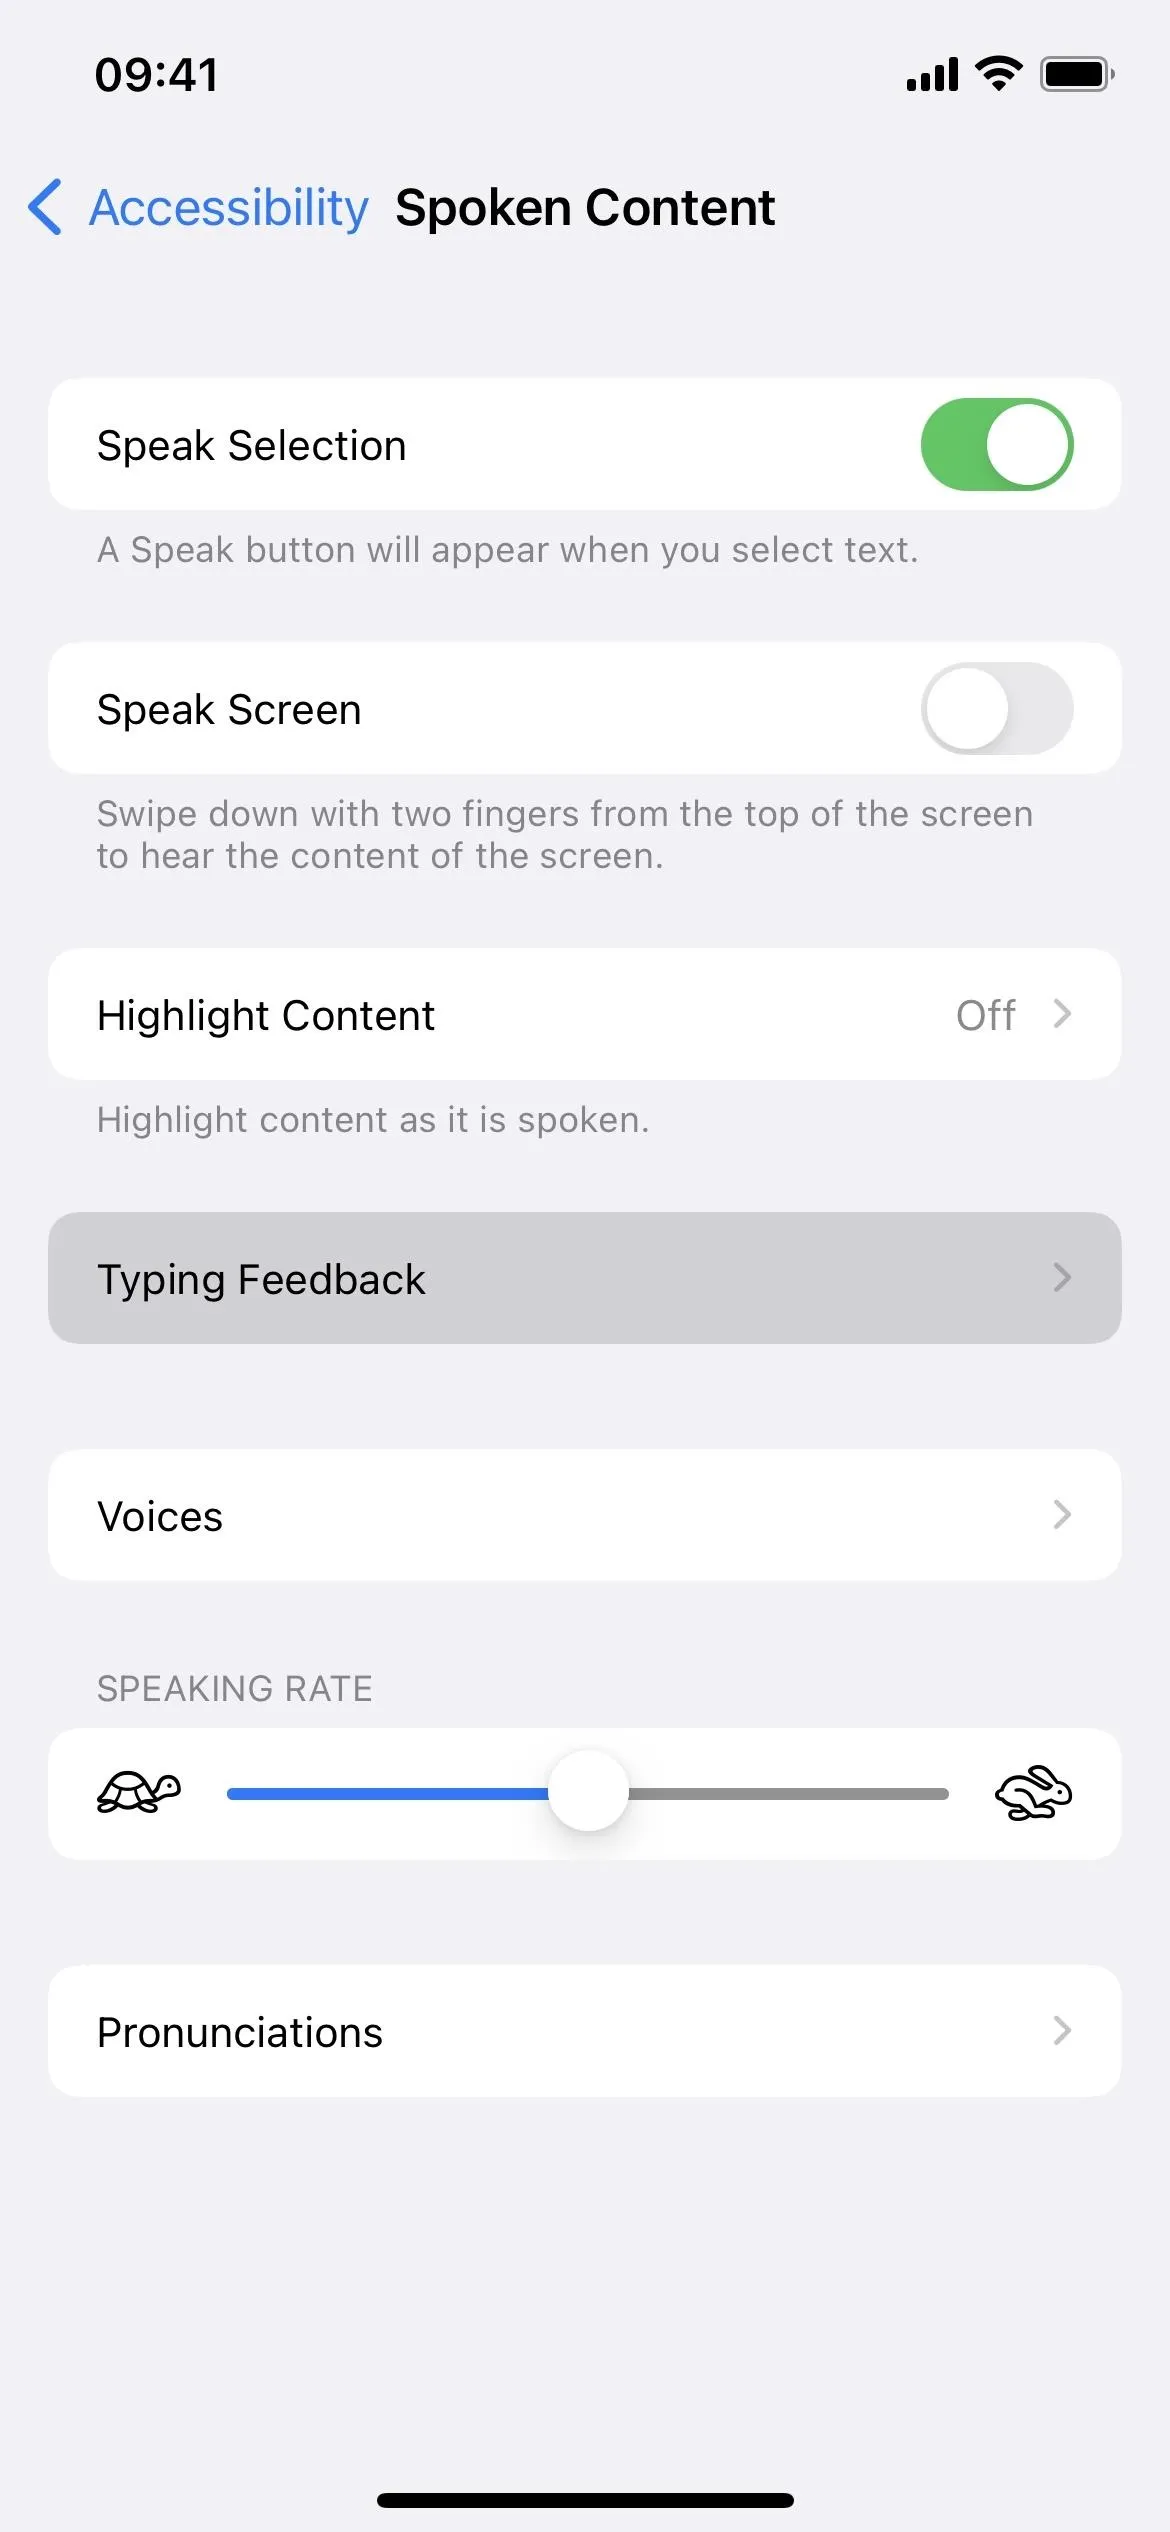
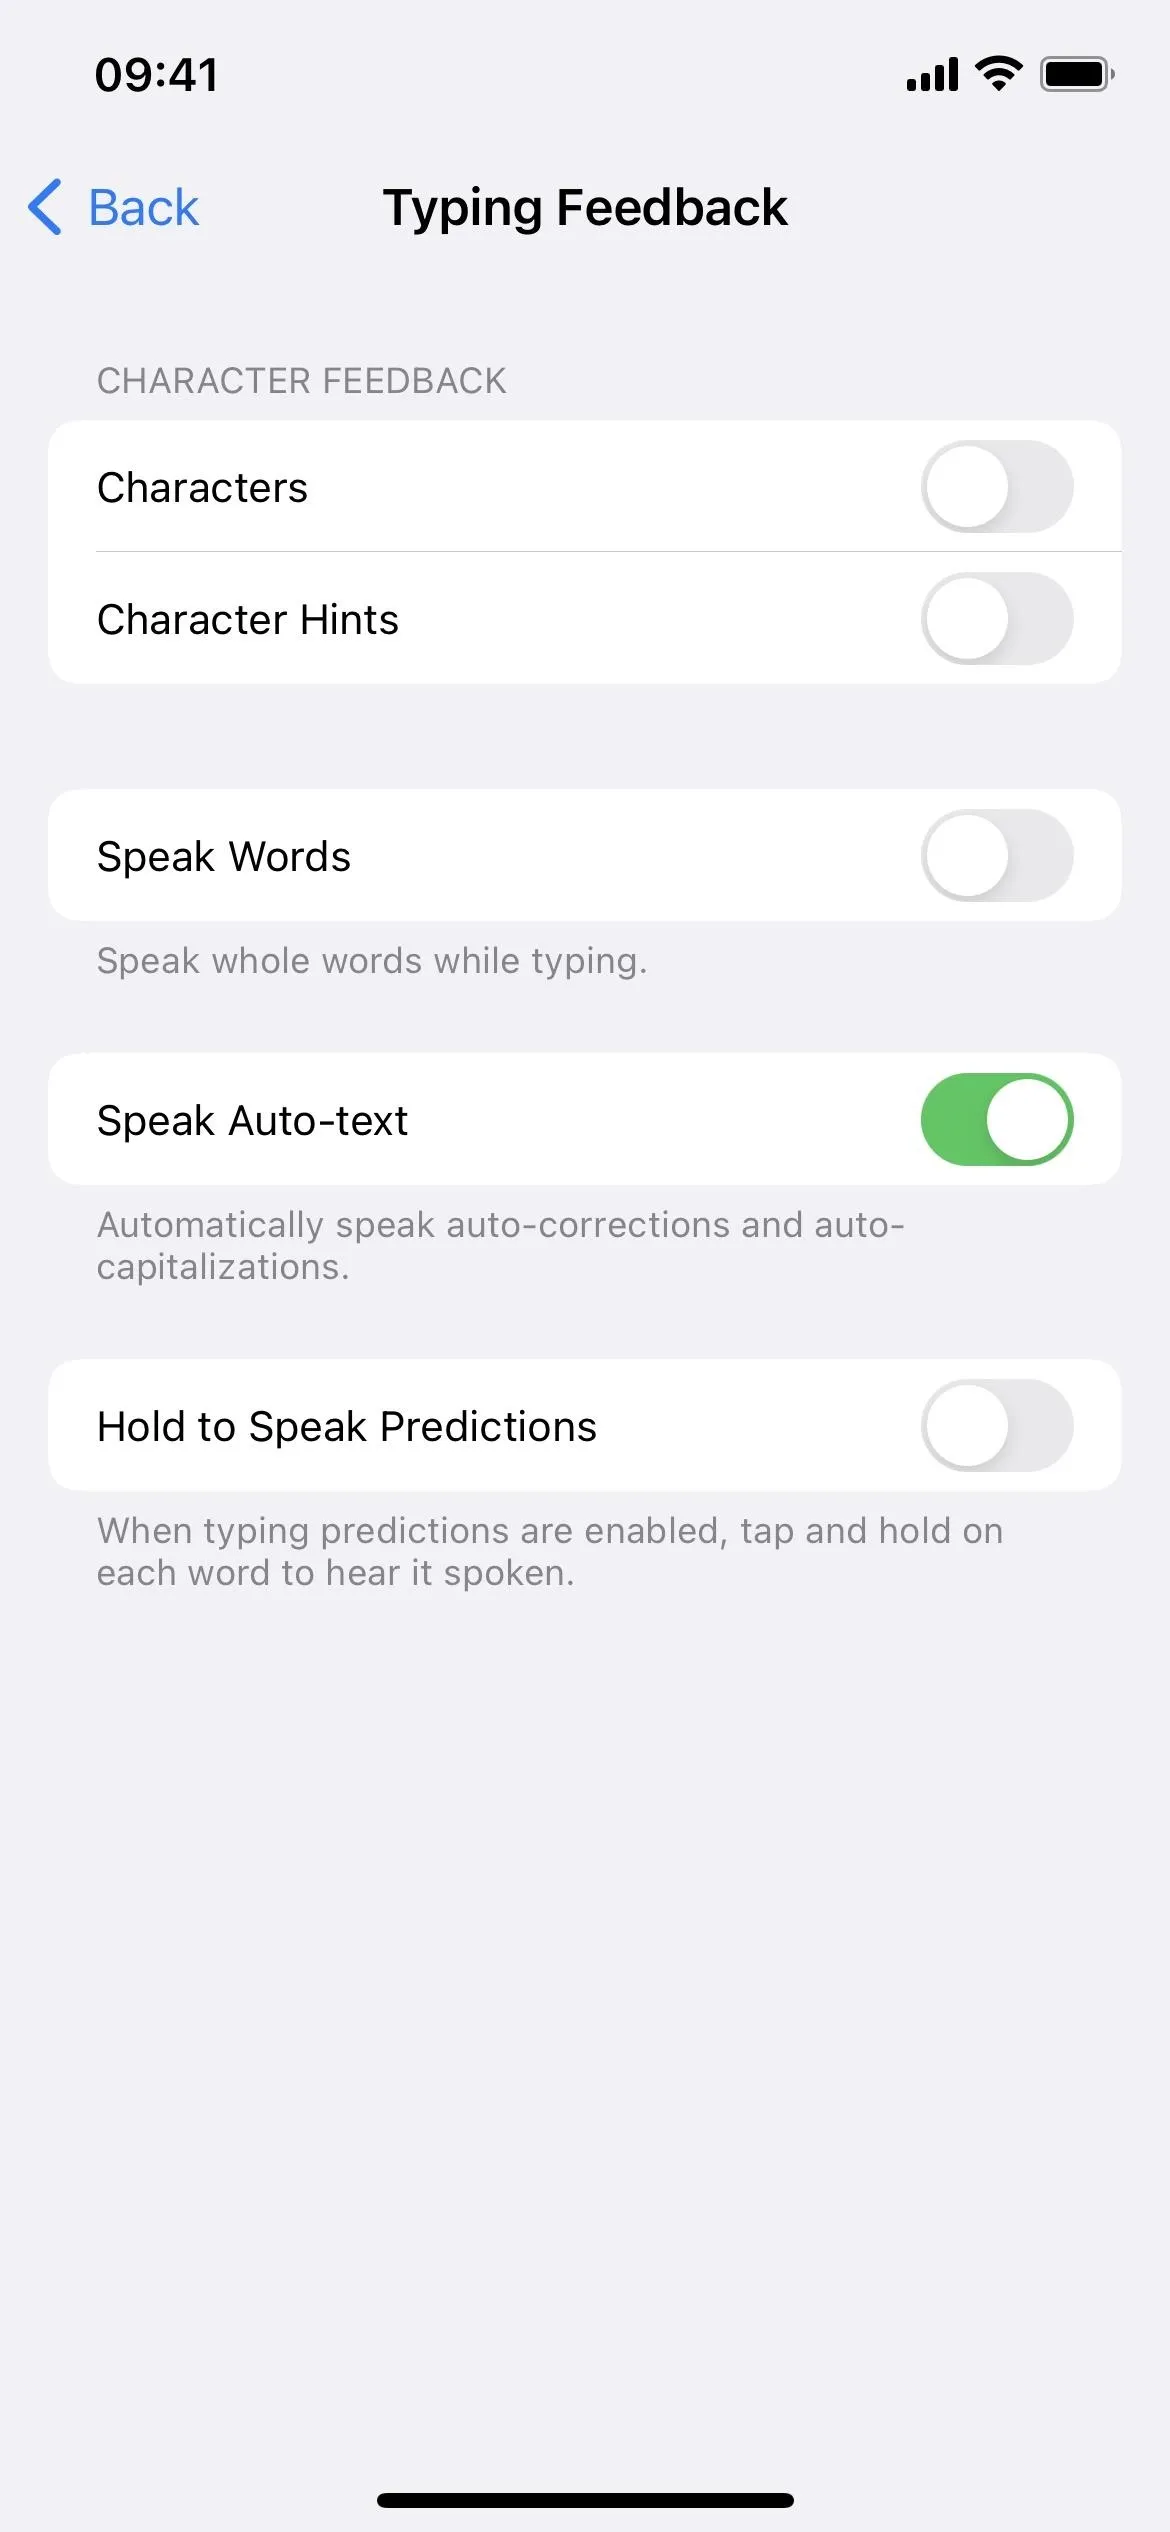
There are various tools in the Typing Feedback menu to help you when typing on your iPhone. There's "Speak Words," which is overkill since it'll speak every single thing you type out. "Hold to Speak Predictions" is cool, but that's mostly only useful when you're not sure of a word's spelling but know how it's pronounced. The one you want is "Speak Auto-text," so toggle that switch on.
This guide assumes you already have "Auto-Capitalization" and "Auto-Correction" enabled in Settings –> General –> Keyboard. At least one or the other should be on to use "Speak Auto-text."
Change the Speaking Rate and Voice (Optional)
Before you test out your autocorrect's new abilities, you may want to adjust the rate at which iOS says the word out loud. The default rate is likely OK if you're a very slow typer. For those who type a little fast, you may want to increase the speaking rate so that it doesn't slow you down too much.
Go back to the main "Spoken Content" settings and adjust the "Speaking Rate" slider accordingly. Your adjustment will apply to the "Speak Auto-text" feature and other Speak Screen and Speak Selection options. It will not affect VoiceOver's or Siri's rate of speech.

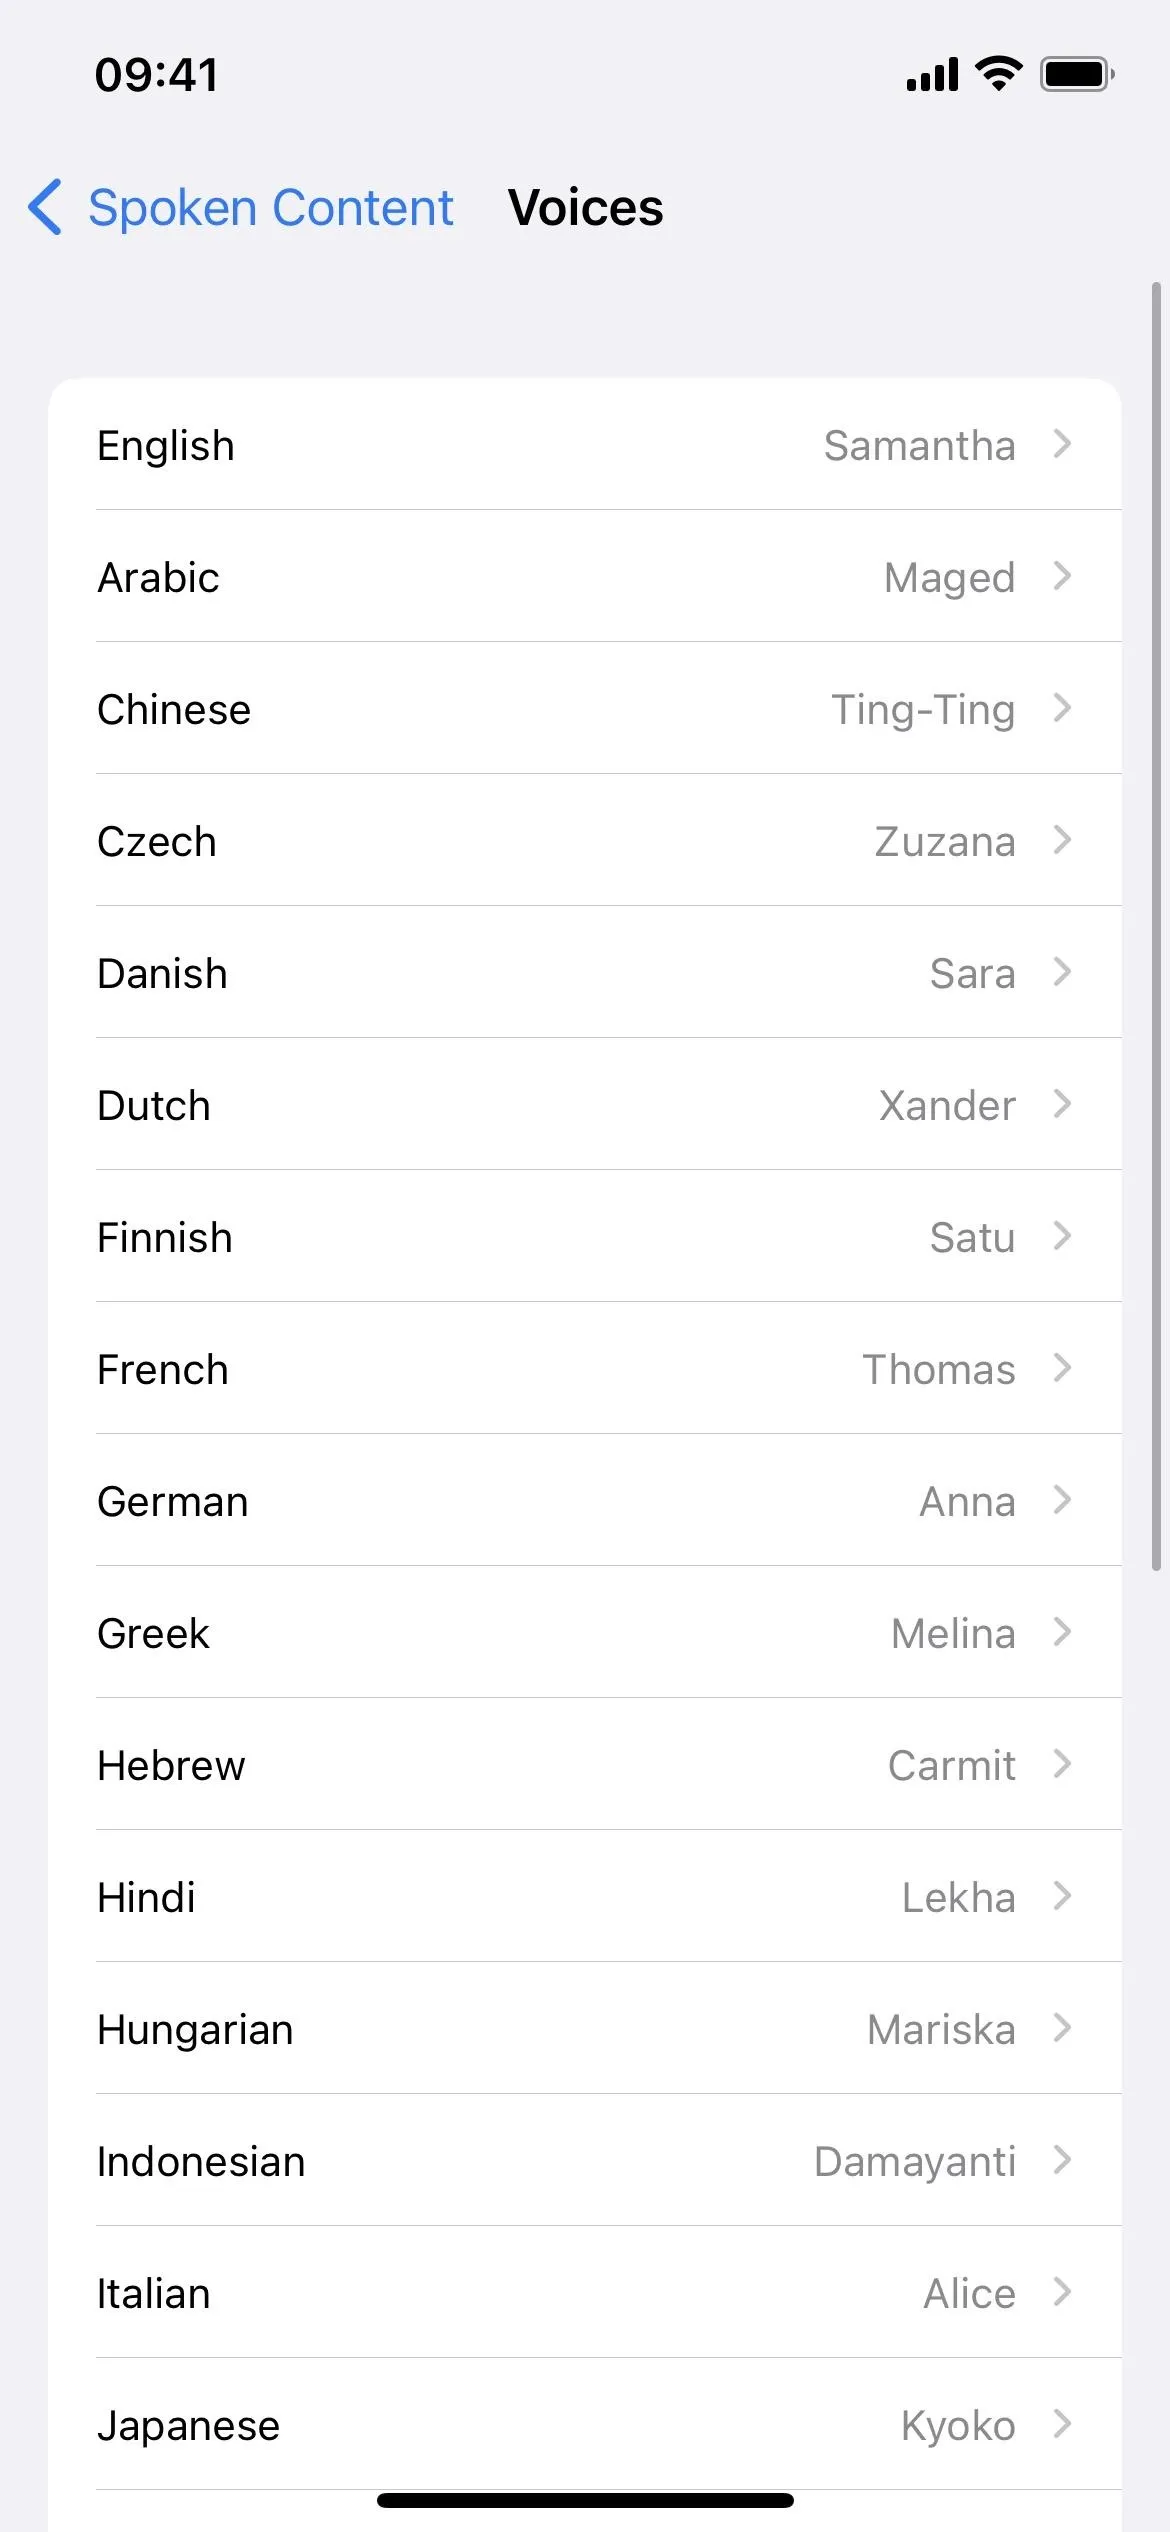
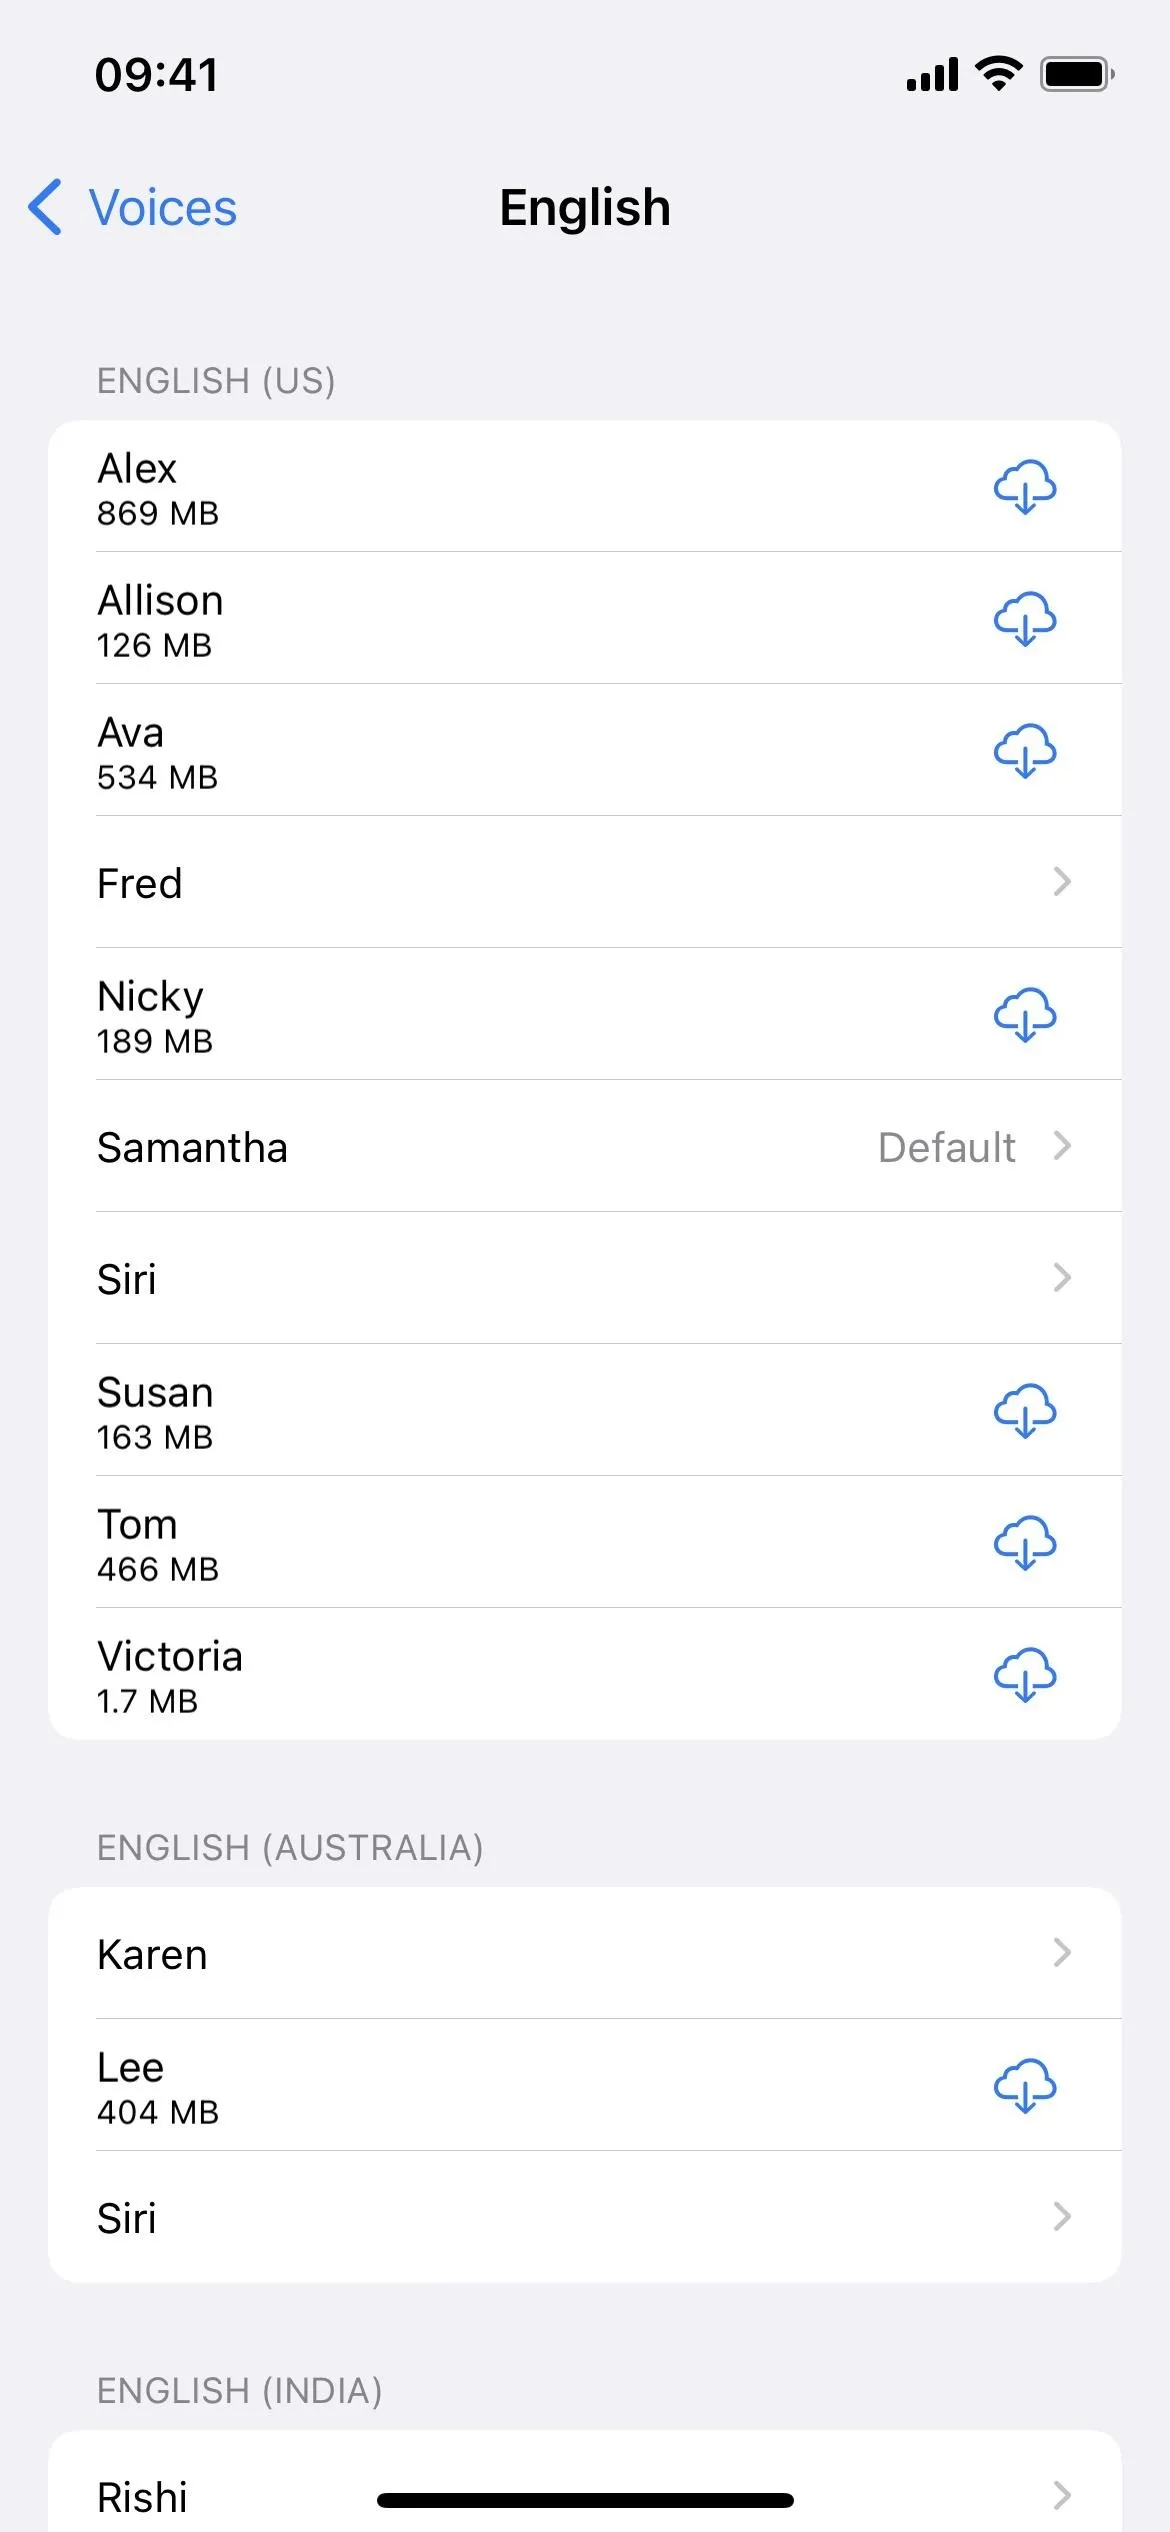
You can even change the voice that your iPhone uses to speak words to you. From the "Spoken Content" settings, tap "Voices," choose your language, and pick a voice. Before saving your choice, you may need to first download the voice file, which can be over 100 MB. Changing the voice here affects all Speak Screen and Speak Selection options but not VoiceOver or Siri.
Make Sure You Can Hear Your iPhone Speaking
To benefit from "Speak Auto-text," you need to be able to hear what it says. If you have your iPhone on Silent mode, it won't do you much good. Make sure the Ring/Silent switch on the side of your iPhone is set to Ring, then turn the media volume up for your headphones or built-in speakers.
Test Out the Speak Auto-Text Tool
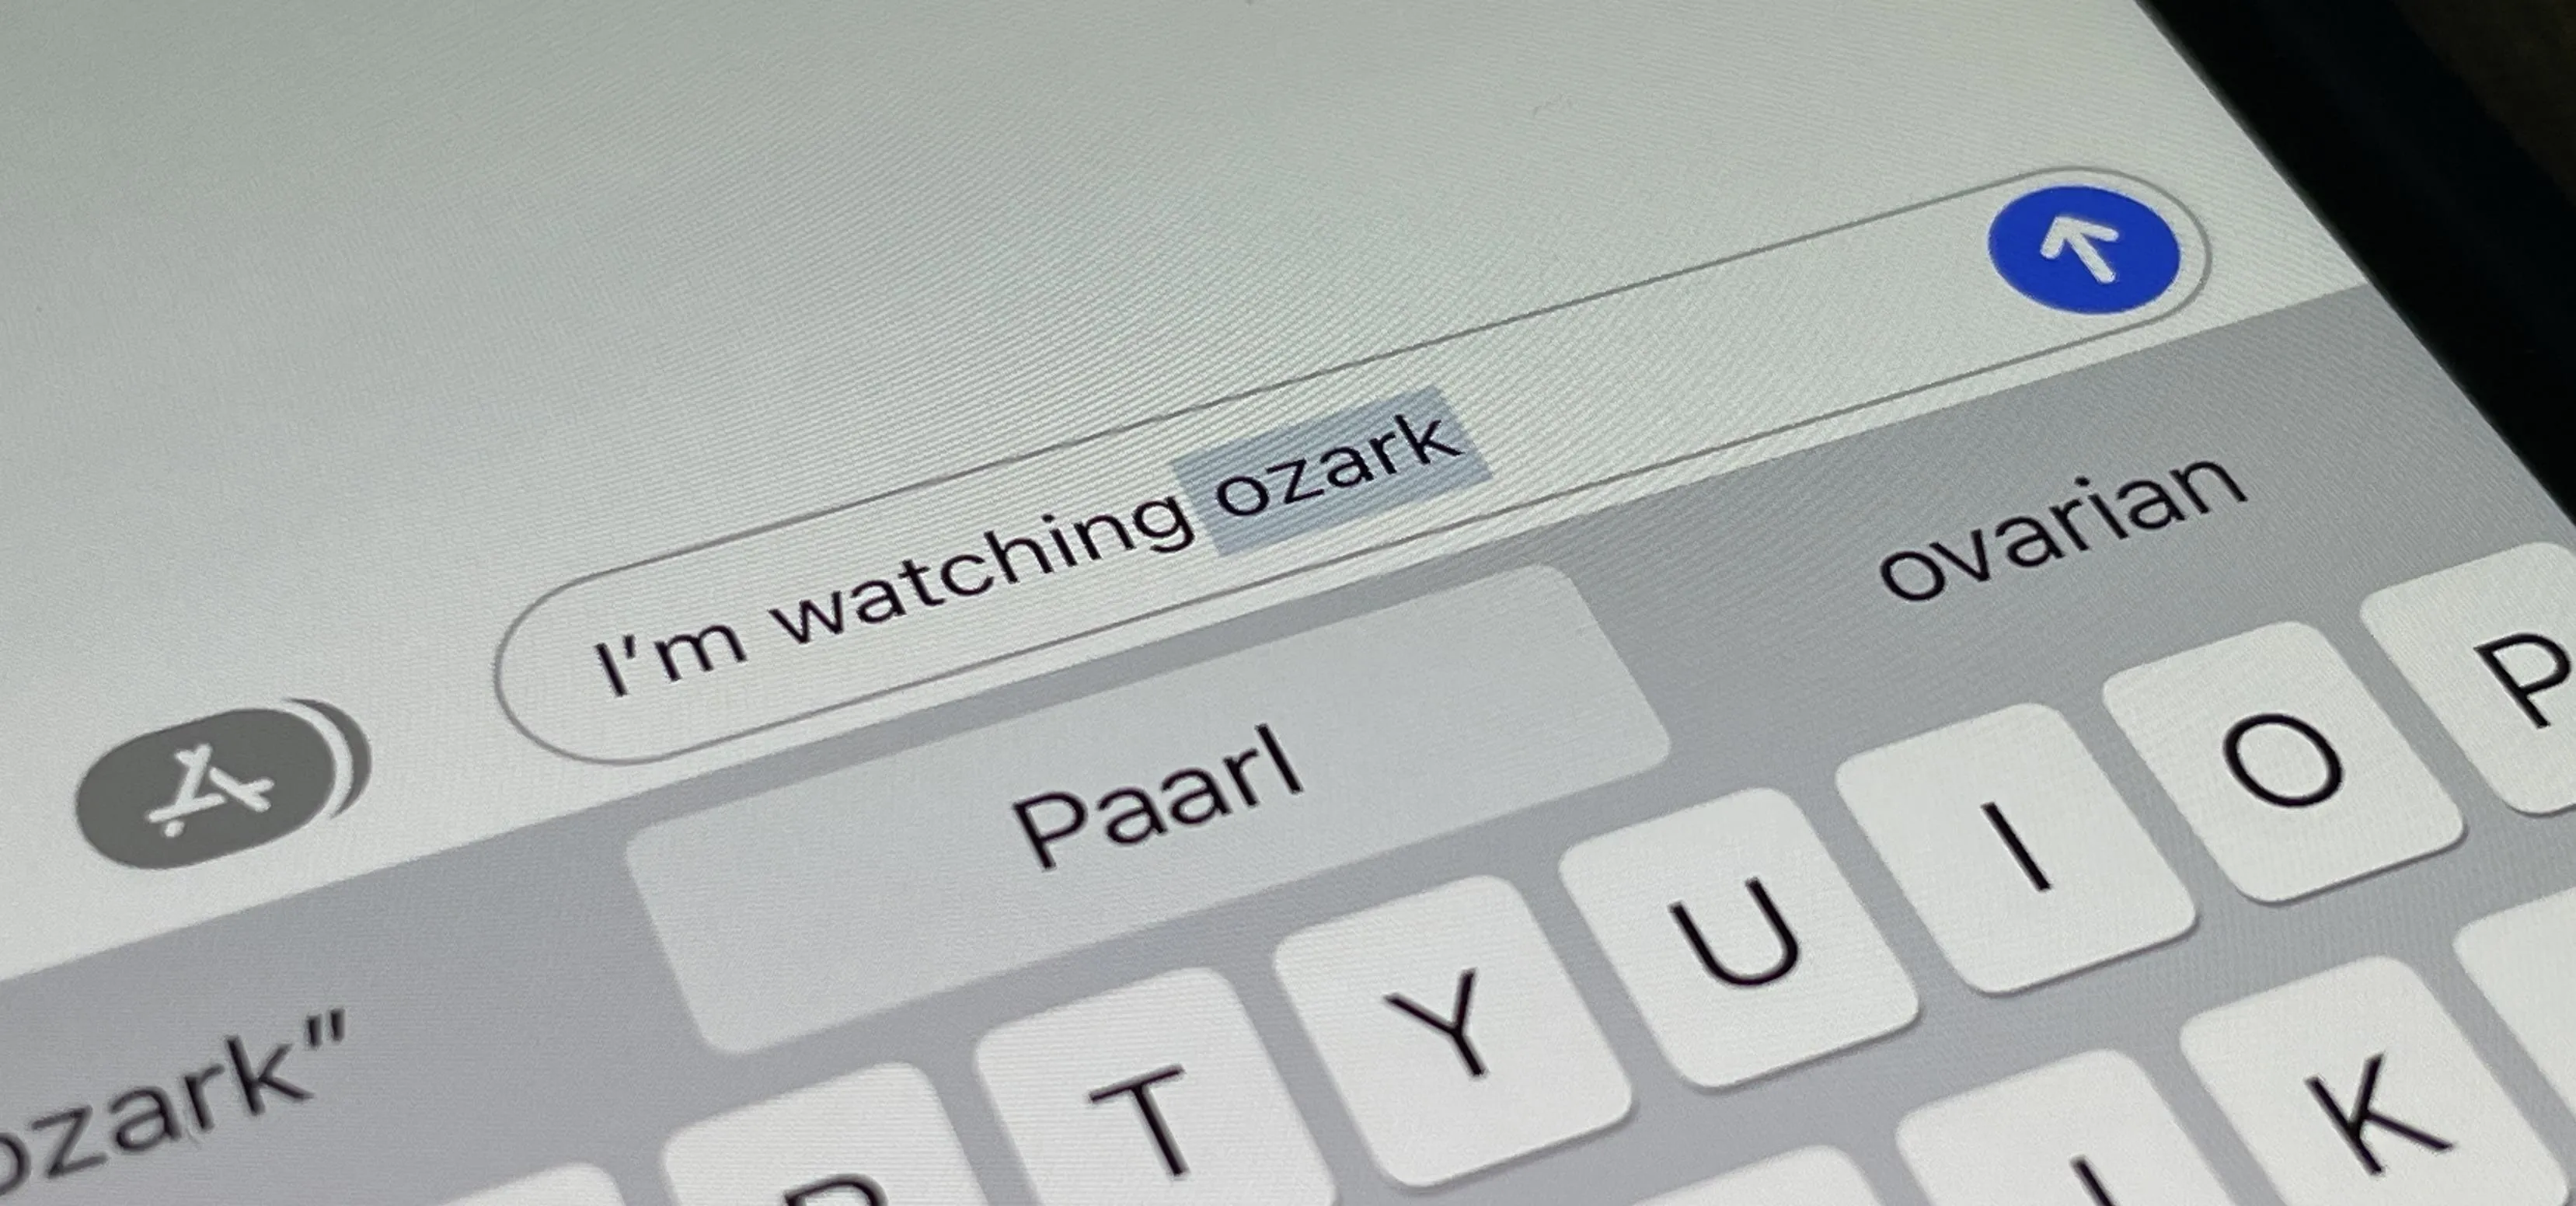
To test it out, type as your normally would. Whenever Auto-Correction has a word suggestion, it will speak it out loud as long as you haven't hit space, return, punctuation, etc. so that the suggestion takes the place of what you really typed. If you're a fast typer, you'll need to slow down a little so that your iPhone has enough time to speak the autocorrect suggestion before you accidentally approve it.
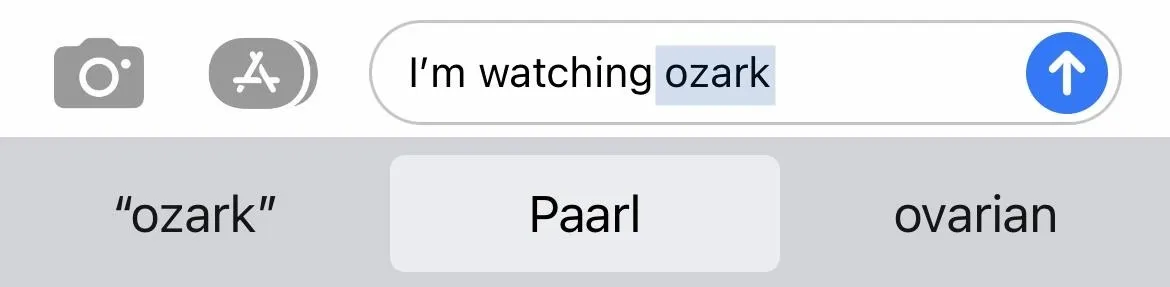
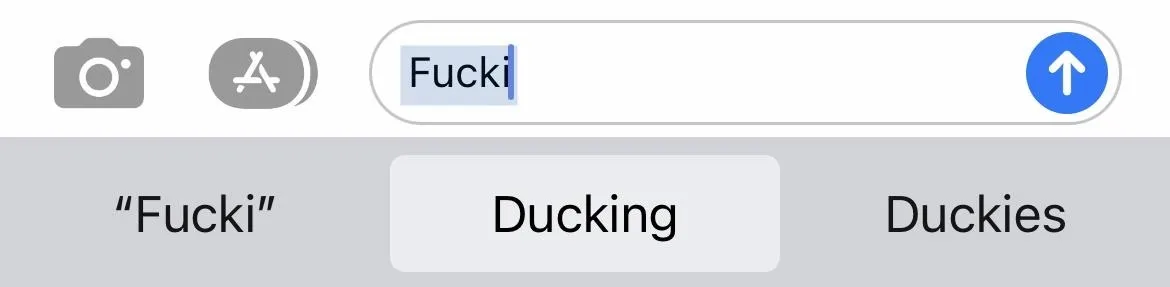
It will speak the word or auto-capitalization whenever the word in the Predictive text field is highlighted. If you have the Predictive text bar disabled, it will speak whatever appears in the Auto-Correction bubble. Below are a few examples of when it would be nice to hear when Auto-Correction will fail you, and it's only a tiny fraction of what is possible.


Cover photo and screenshots by Justin Meyers/Gadget Hacks


Comments
Be the first, drop a comment!