


Every home is a little different, and for a smart home app to work, it has to be able to be customized to work with each person's unique setup. With the iPhone's Home app, everyone can set up a smart home just how they want, including the number and names of rooms, and where those rooms are in the house.
The Home app lets you create as many rooms as you want, as well as give each of those rooms a unique name. You can then group rooms into zones, such as "upstairs" or "outside." All of these names are then used with Siri to control your home, so you can control specific devices easily even as your smart home grows.
- Don't Miss: What's New in Shortcuts in iOS 13
1. Editing Your Home's Name
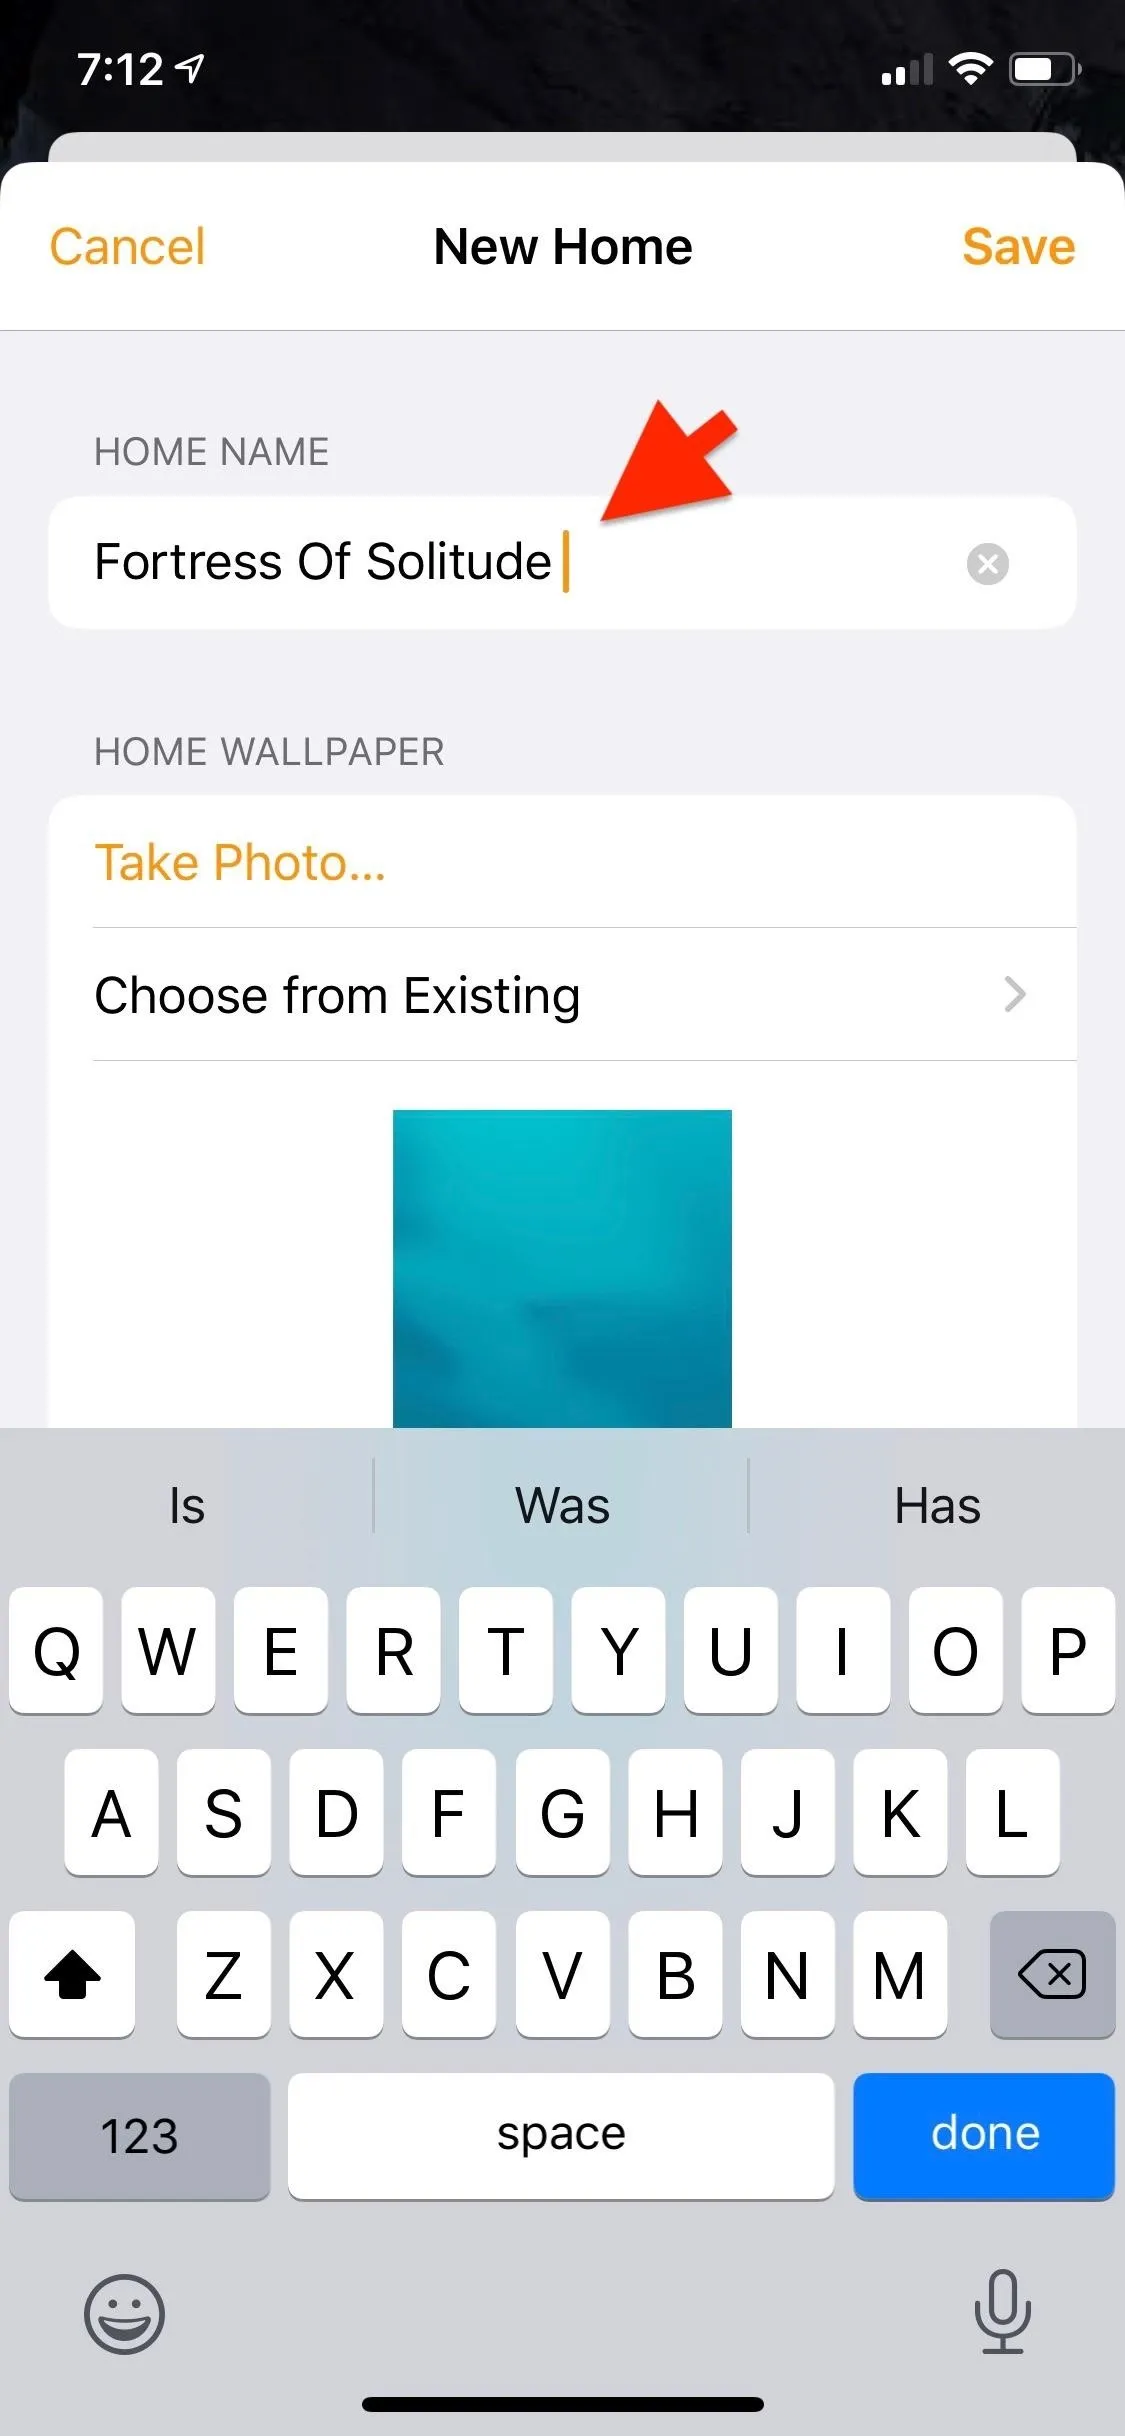
When you first open the Home app, your home will have the default name of "My Home." If you'd like to edit it, make sure you're on the "Home" tab, then:
- Tap the home icon in the top left (and then the "Home Settings" action followed by the name of your home if you have multiple dwellings) to view the home's setting screen. You can also tap "Edit" in the upper right, followed by the > button next to your home's name.
- Tap the "NAME" field, then edit the name.
- To save your changes, tap "Done" in the upper right.
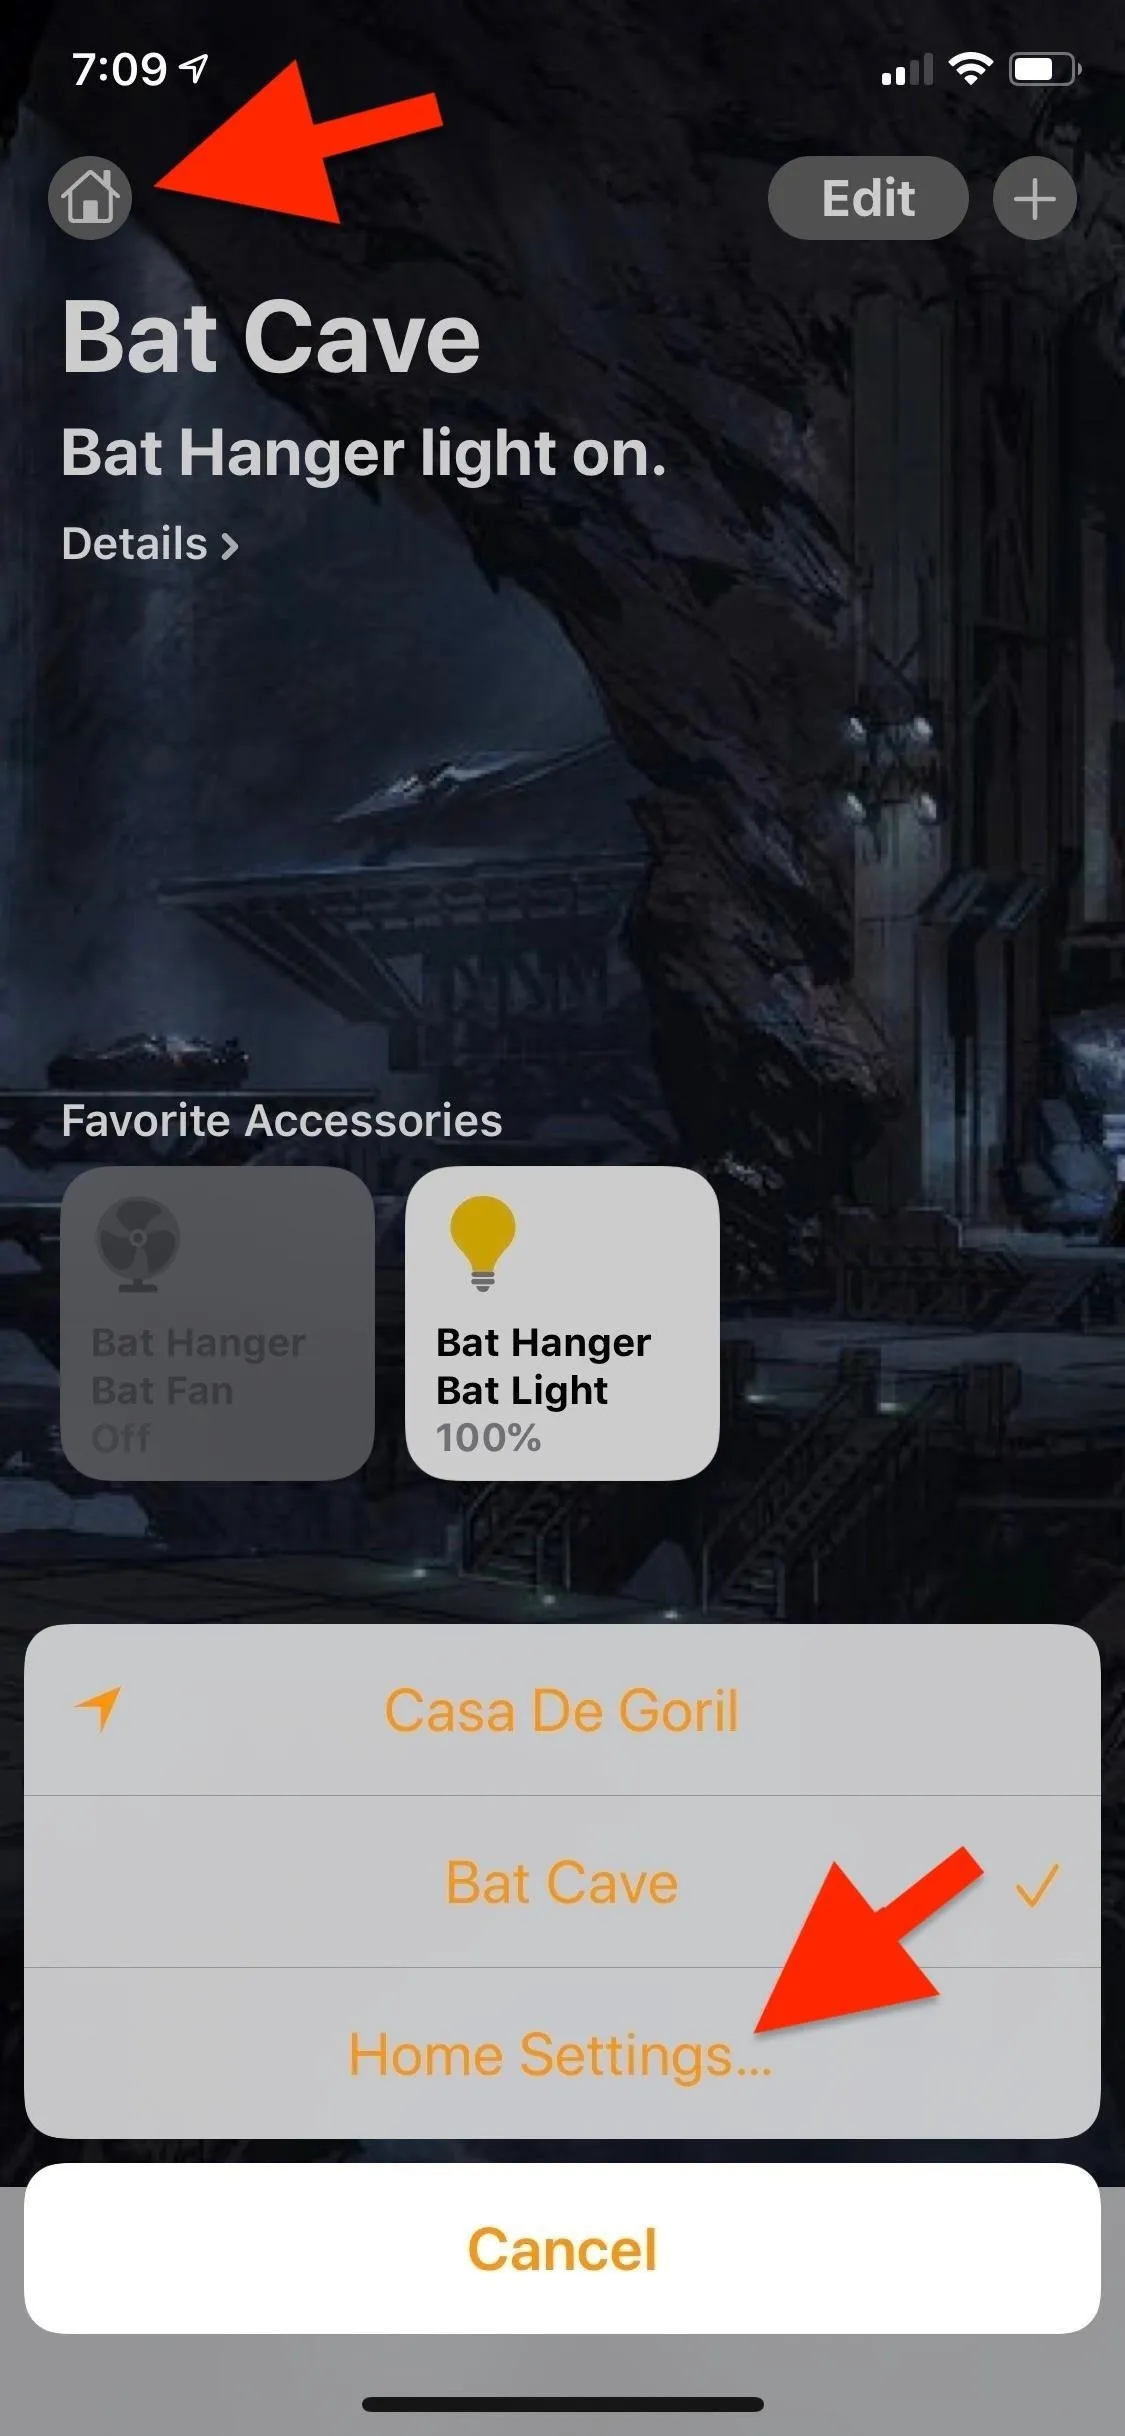
Use the home button (left) or the "Edit" button (right).
Use the home button (left) or the "Edit" button (right).
2. Adding or Removing Homes
To add more homes to your setup, make sure you're on the "Home" tab, then:
- Tap the home icon in the top left (and then the "Home Settings" action followed by the name of your home if you have multiple dwellings) to view the home's setting screen.
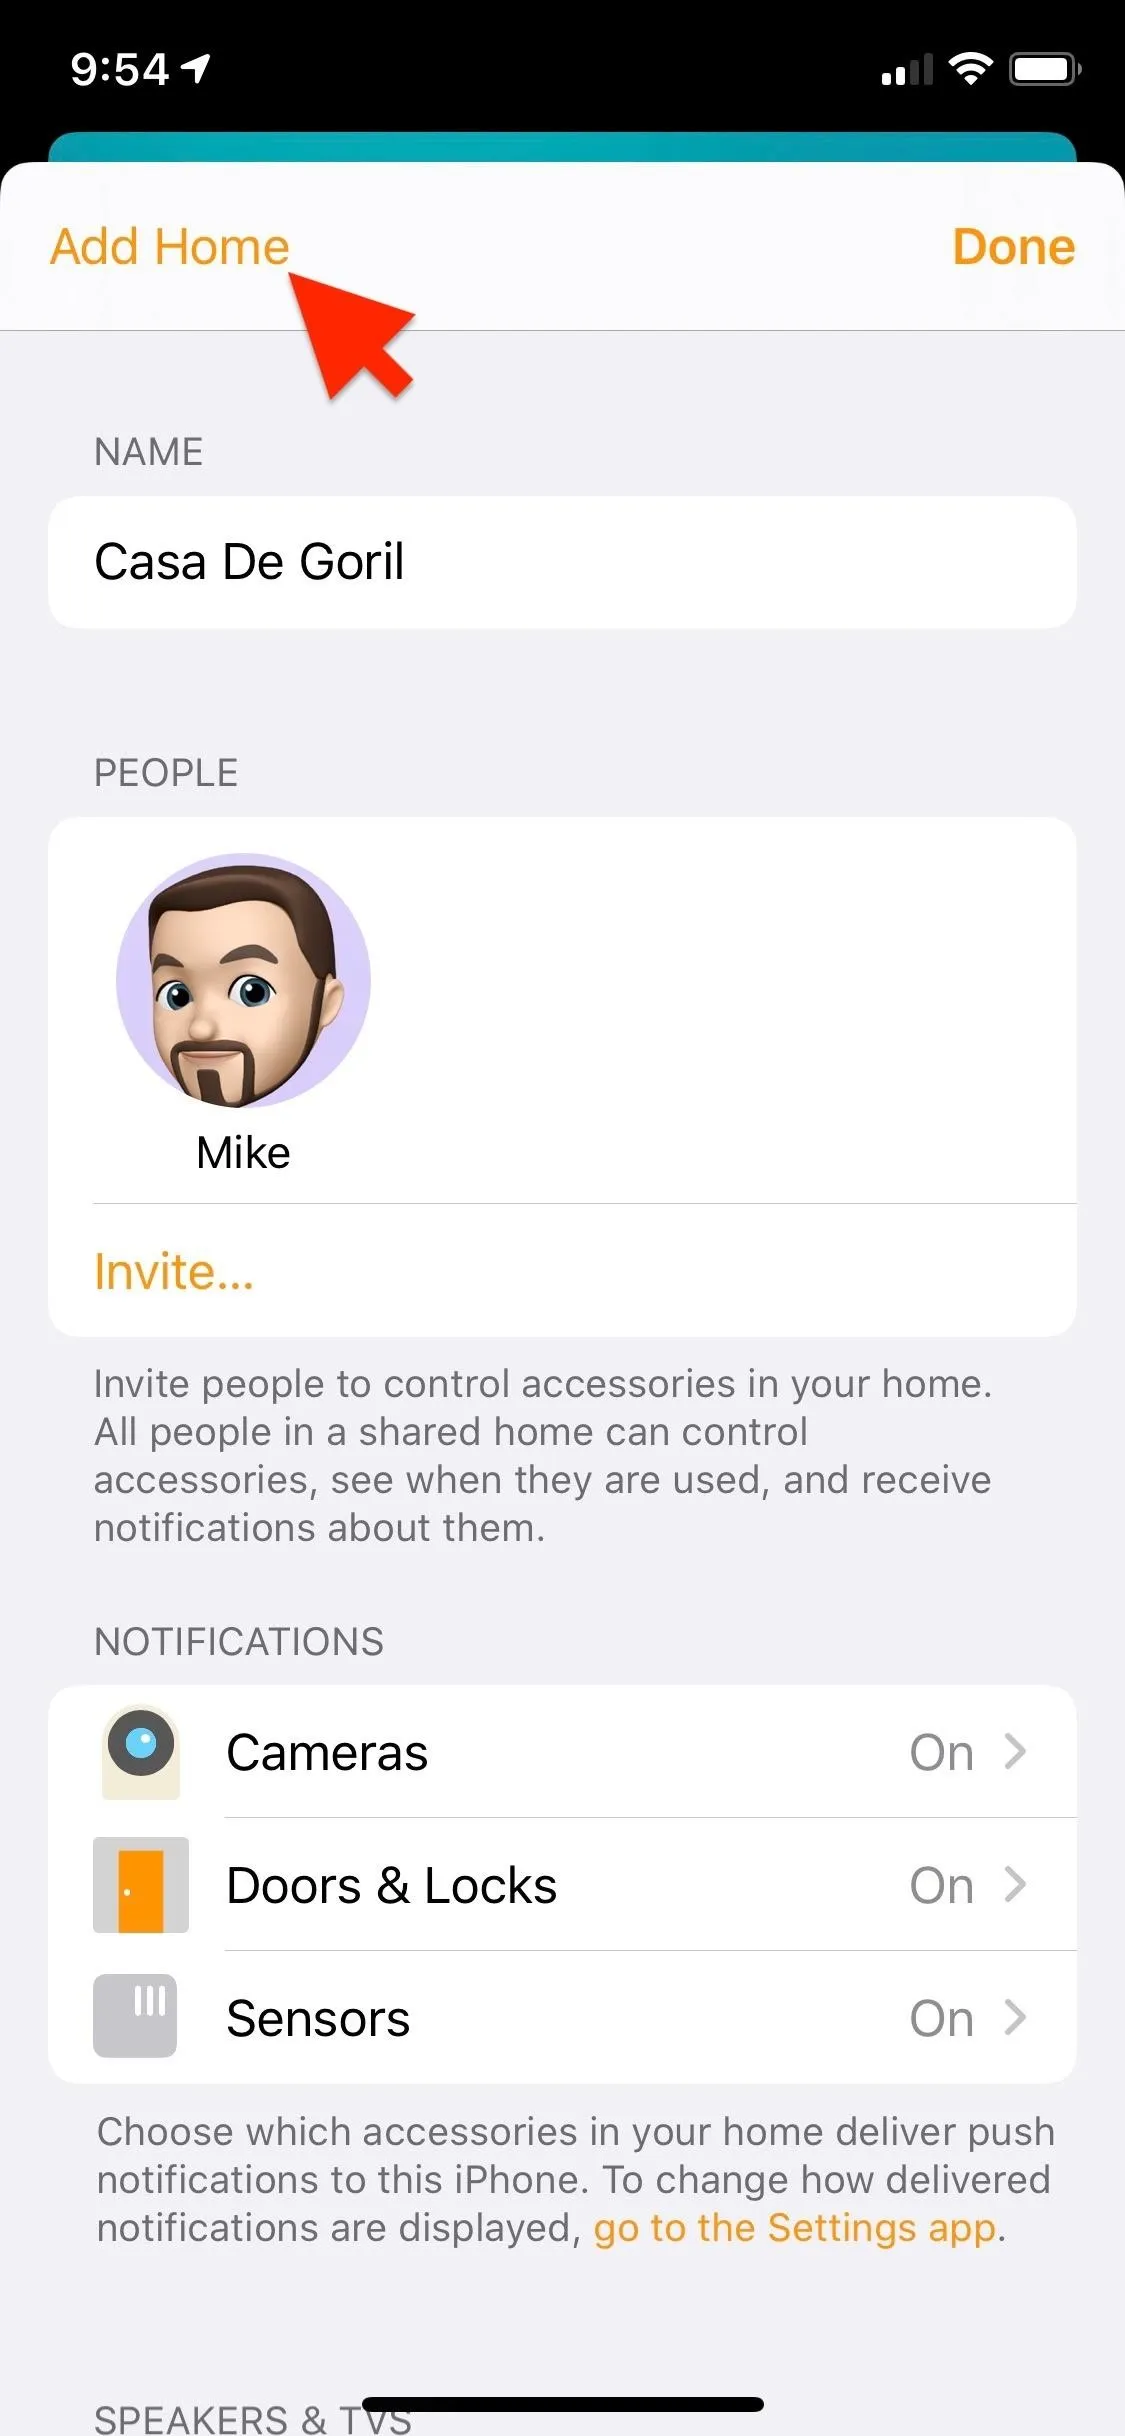
- Tap "Add Home" in the upper left (or the "Add Home" button in the Homes list if you have multiples).
- Type in a name for your new home in the Host Name field, and optionally select the wallpaper you'd like to use.
- Tap "Save" in the upper right to save your new home.
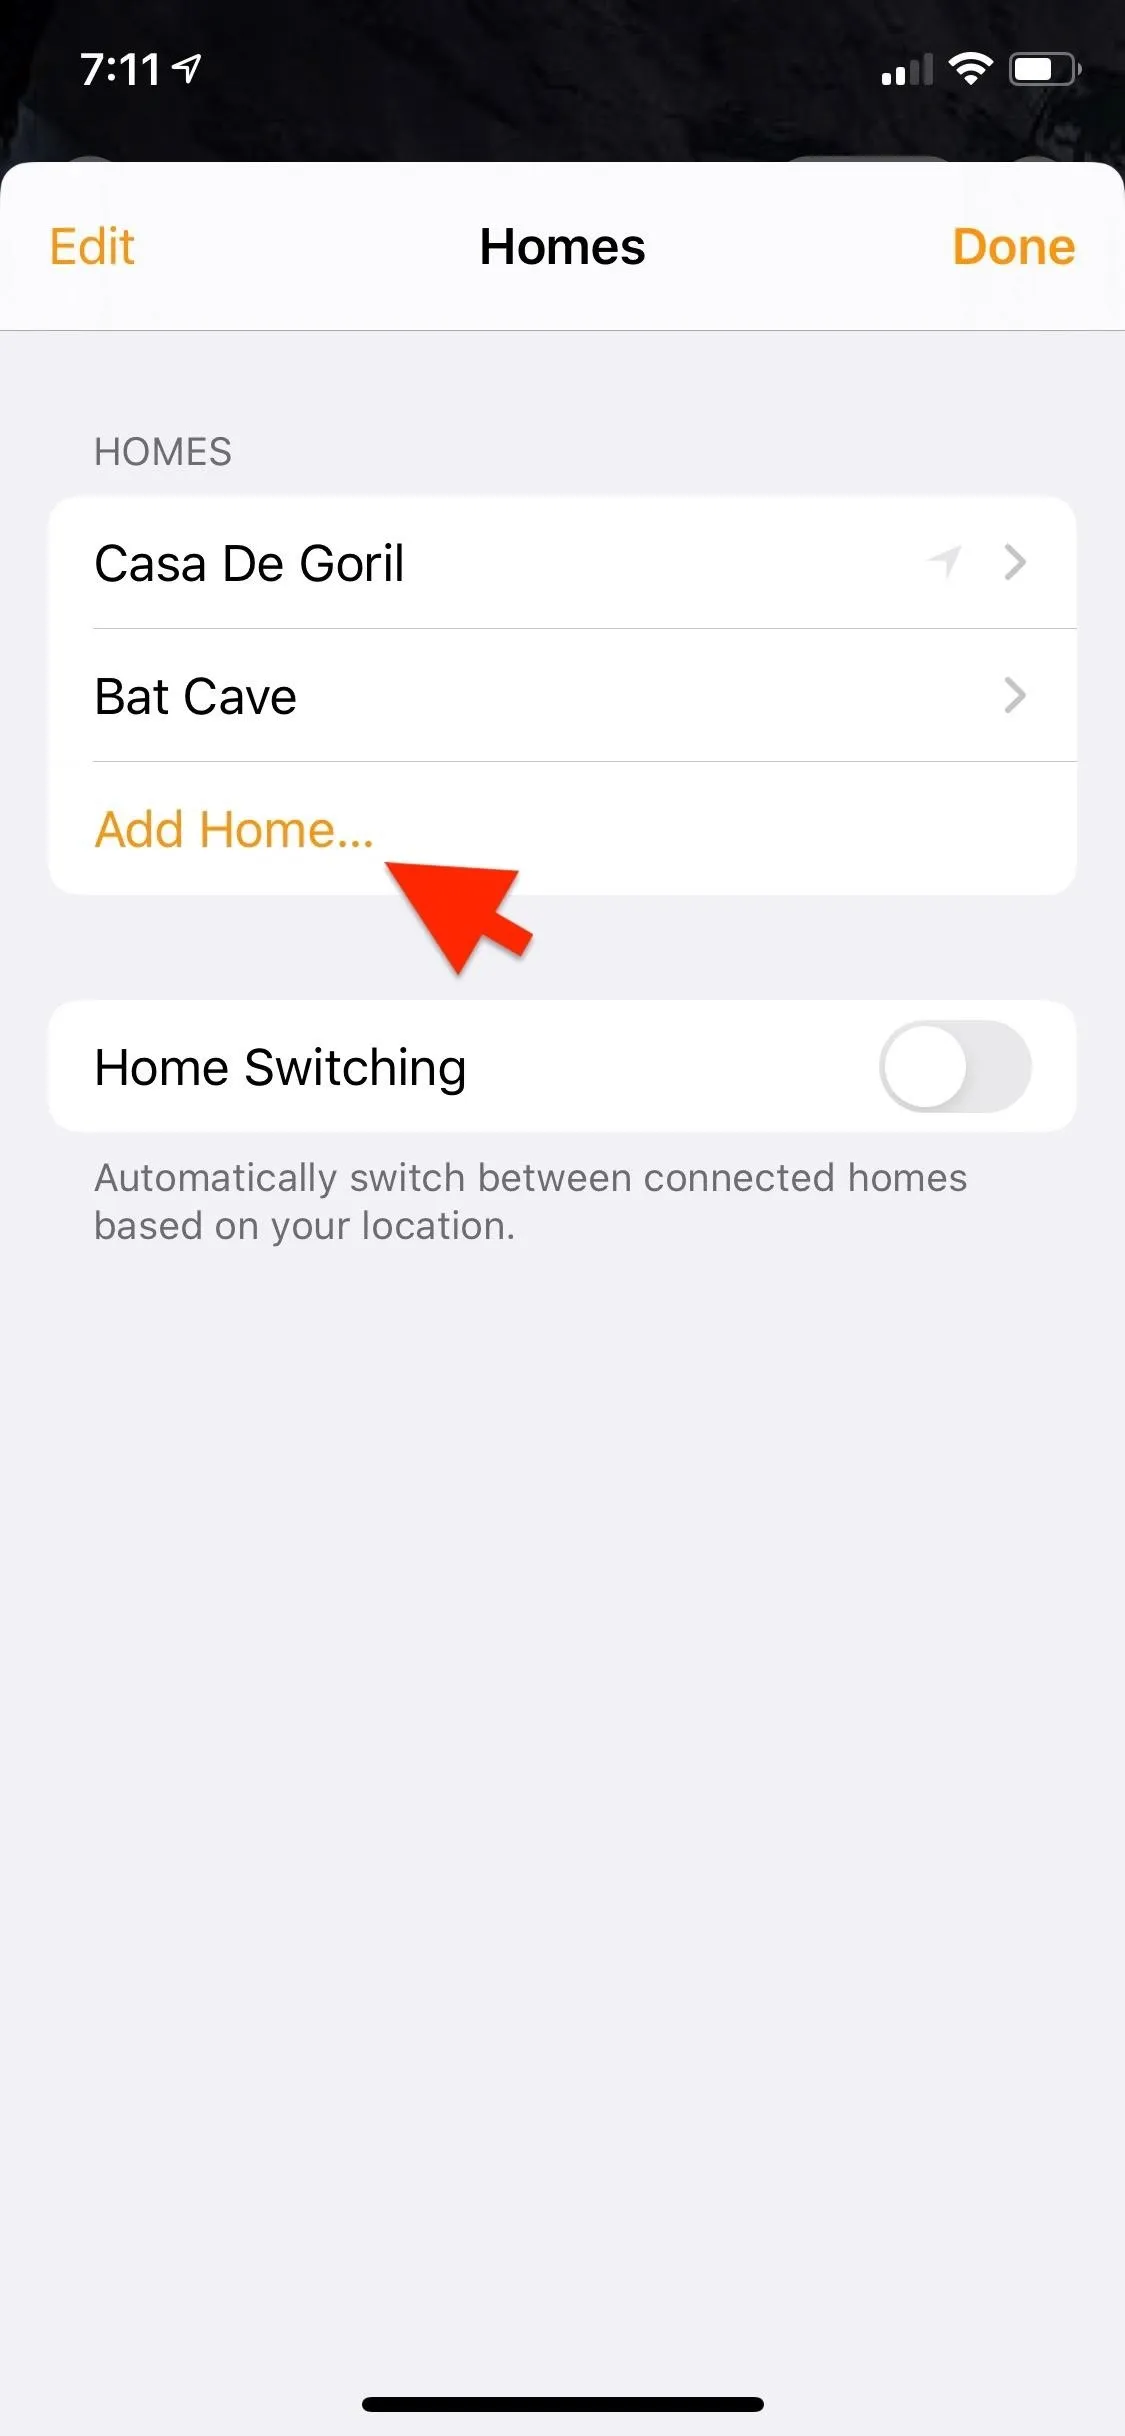
Once you have more than one home set up, you can switch between them by tapping the home icon in the upper left, then tapping the name of the home you want to control. To remove a home, open the home's settings screen, scroll to the bottom, and tap "Remove Home."
3. Adding a Room to Your Home
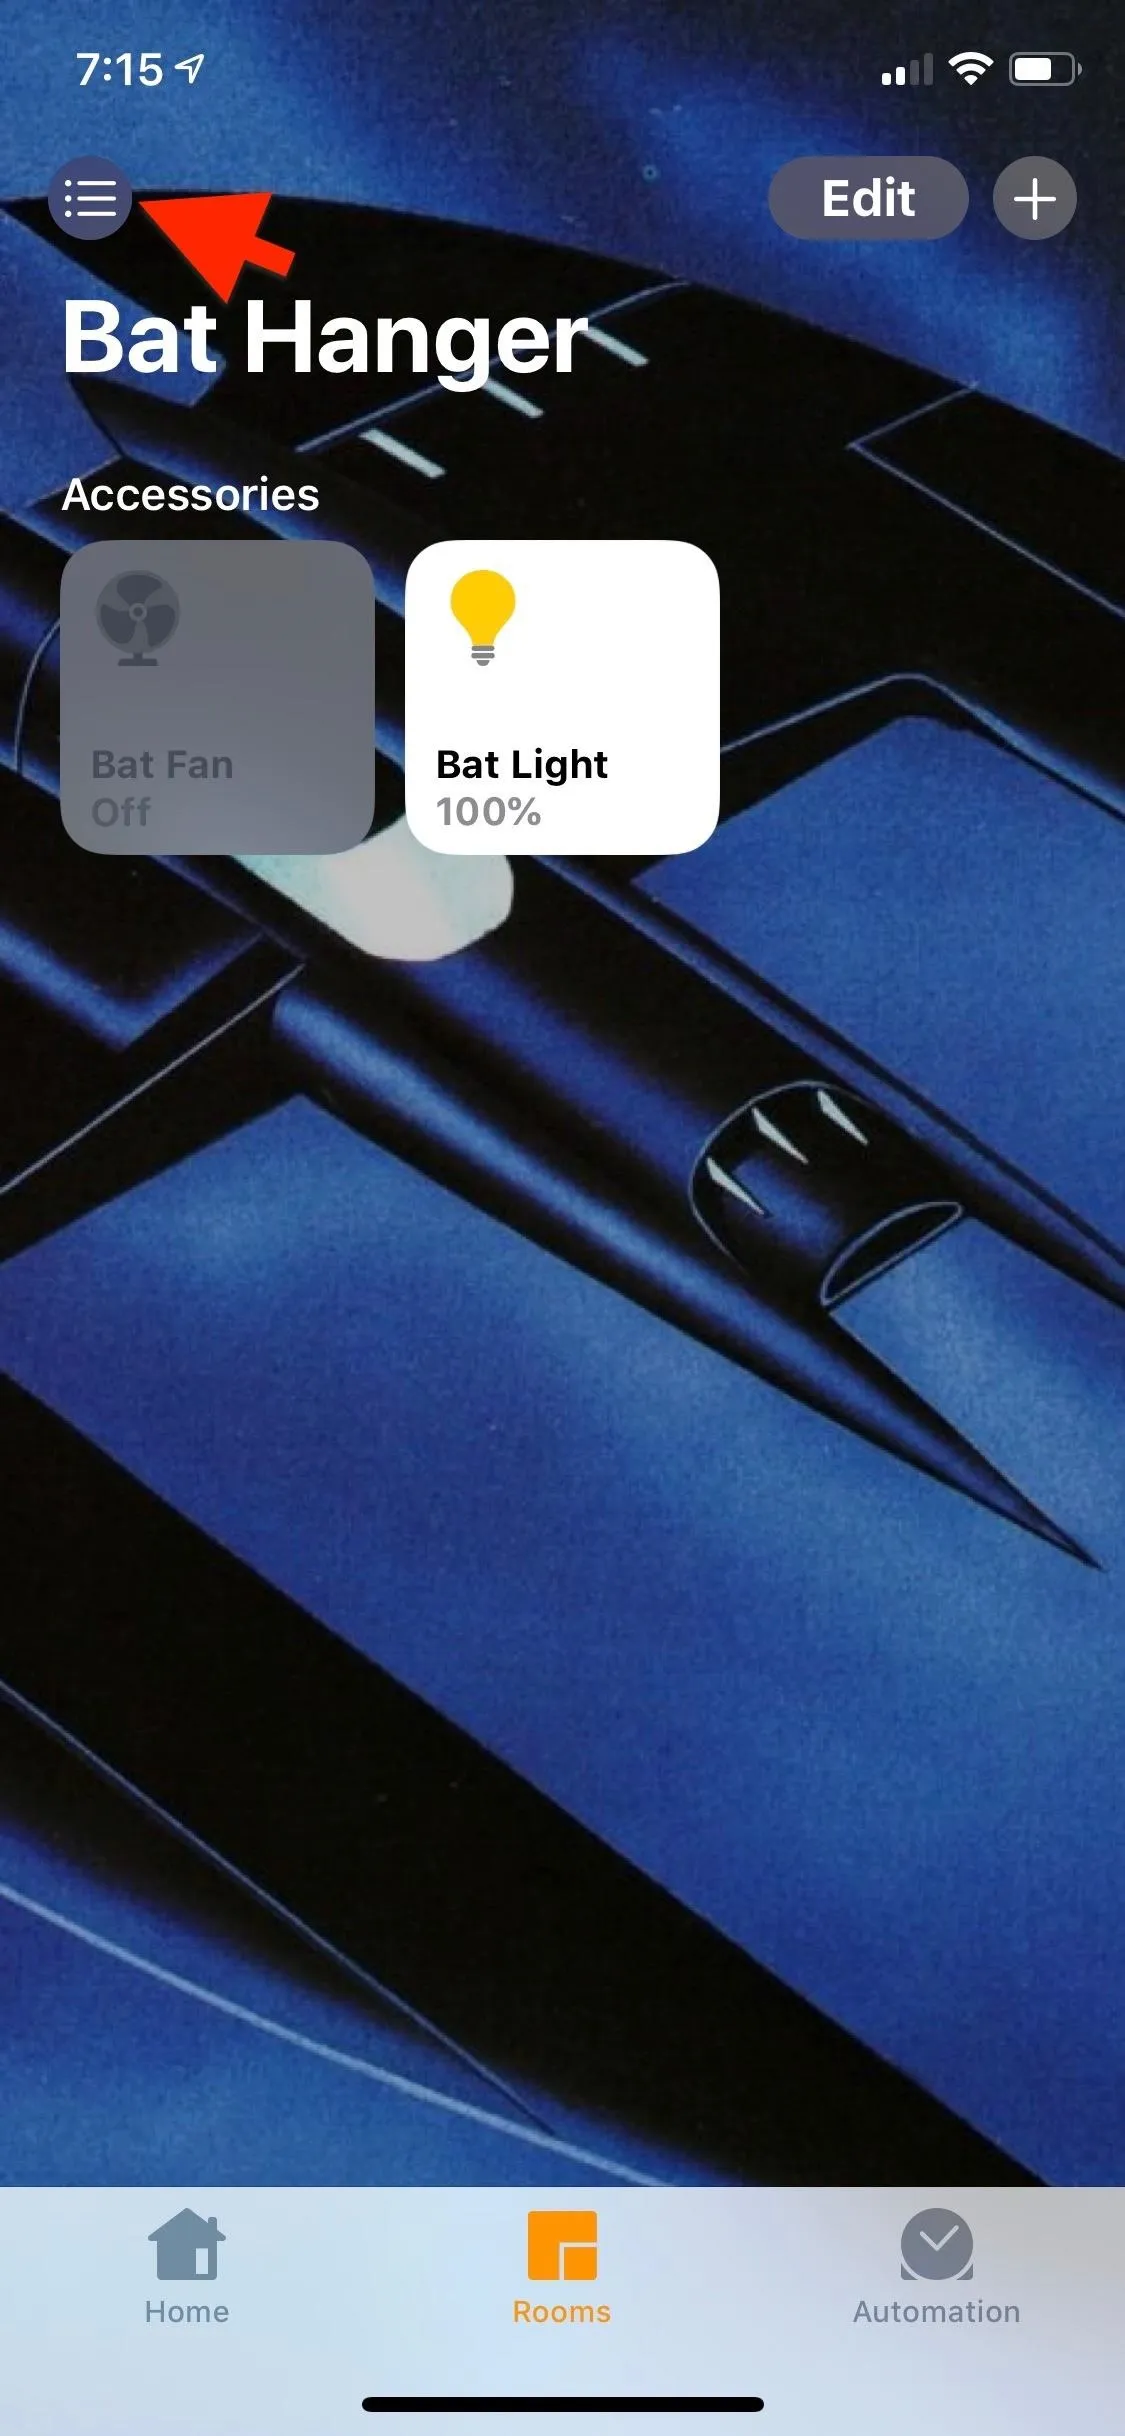
Once you have your home set up and have added some accessories, it's time to organize the rooms in it. Start by tapping the "Rooms" tab at the bottom. (Note: If you don't have any accessories yet, you'll have to add one first.)
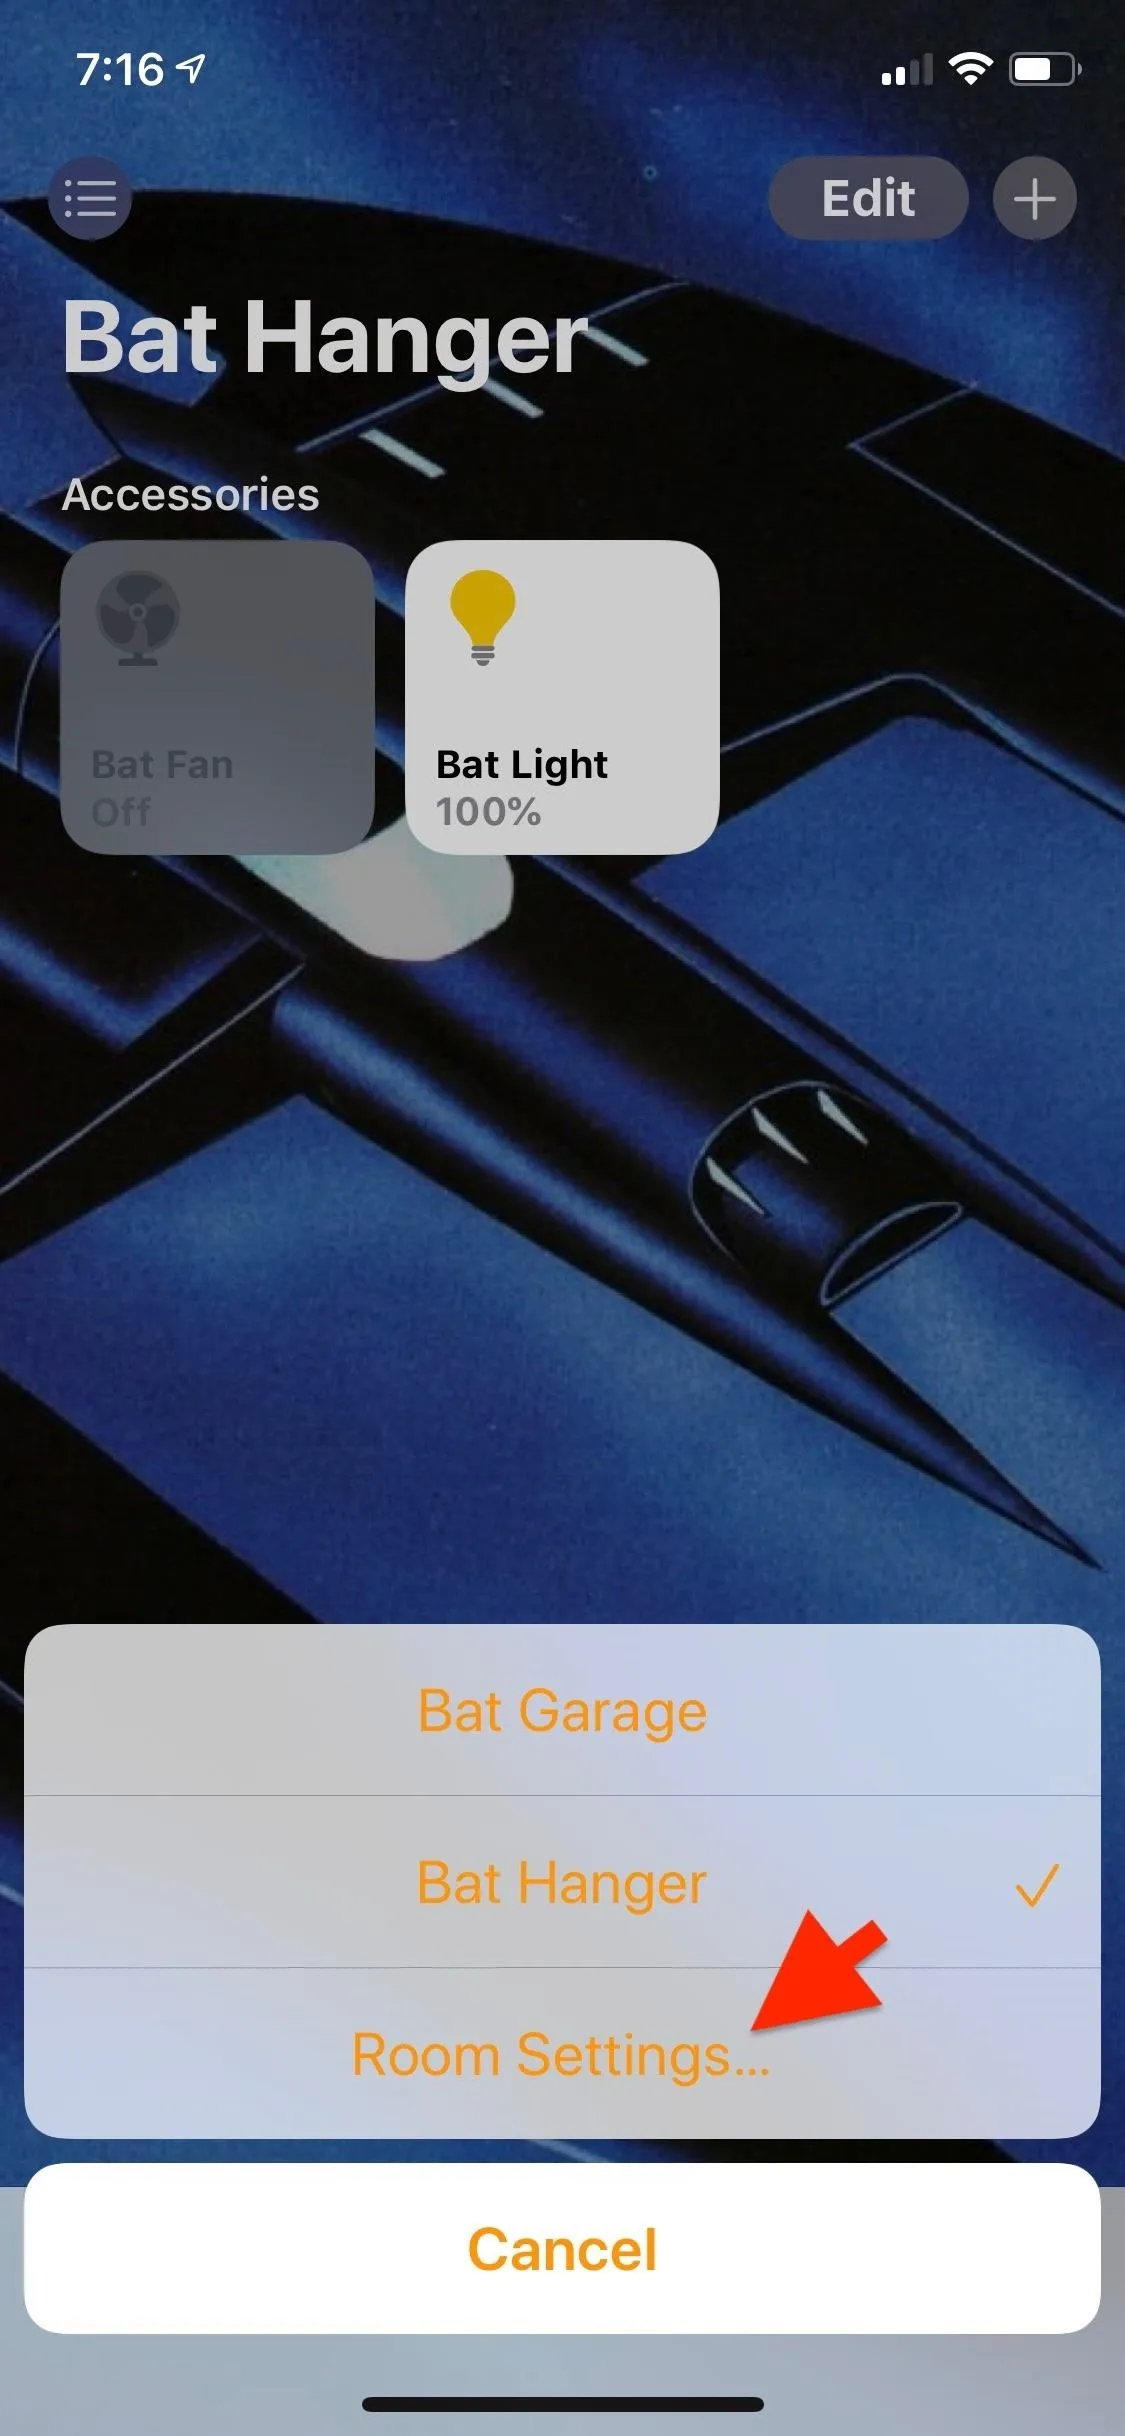
Next, open the room settings by tapping the list icon in the upper right. If you already have multiple rooms set up, you'll then have to tap "Room Settings" at the bottom of the list of rooms that appear.
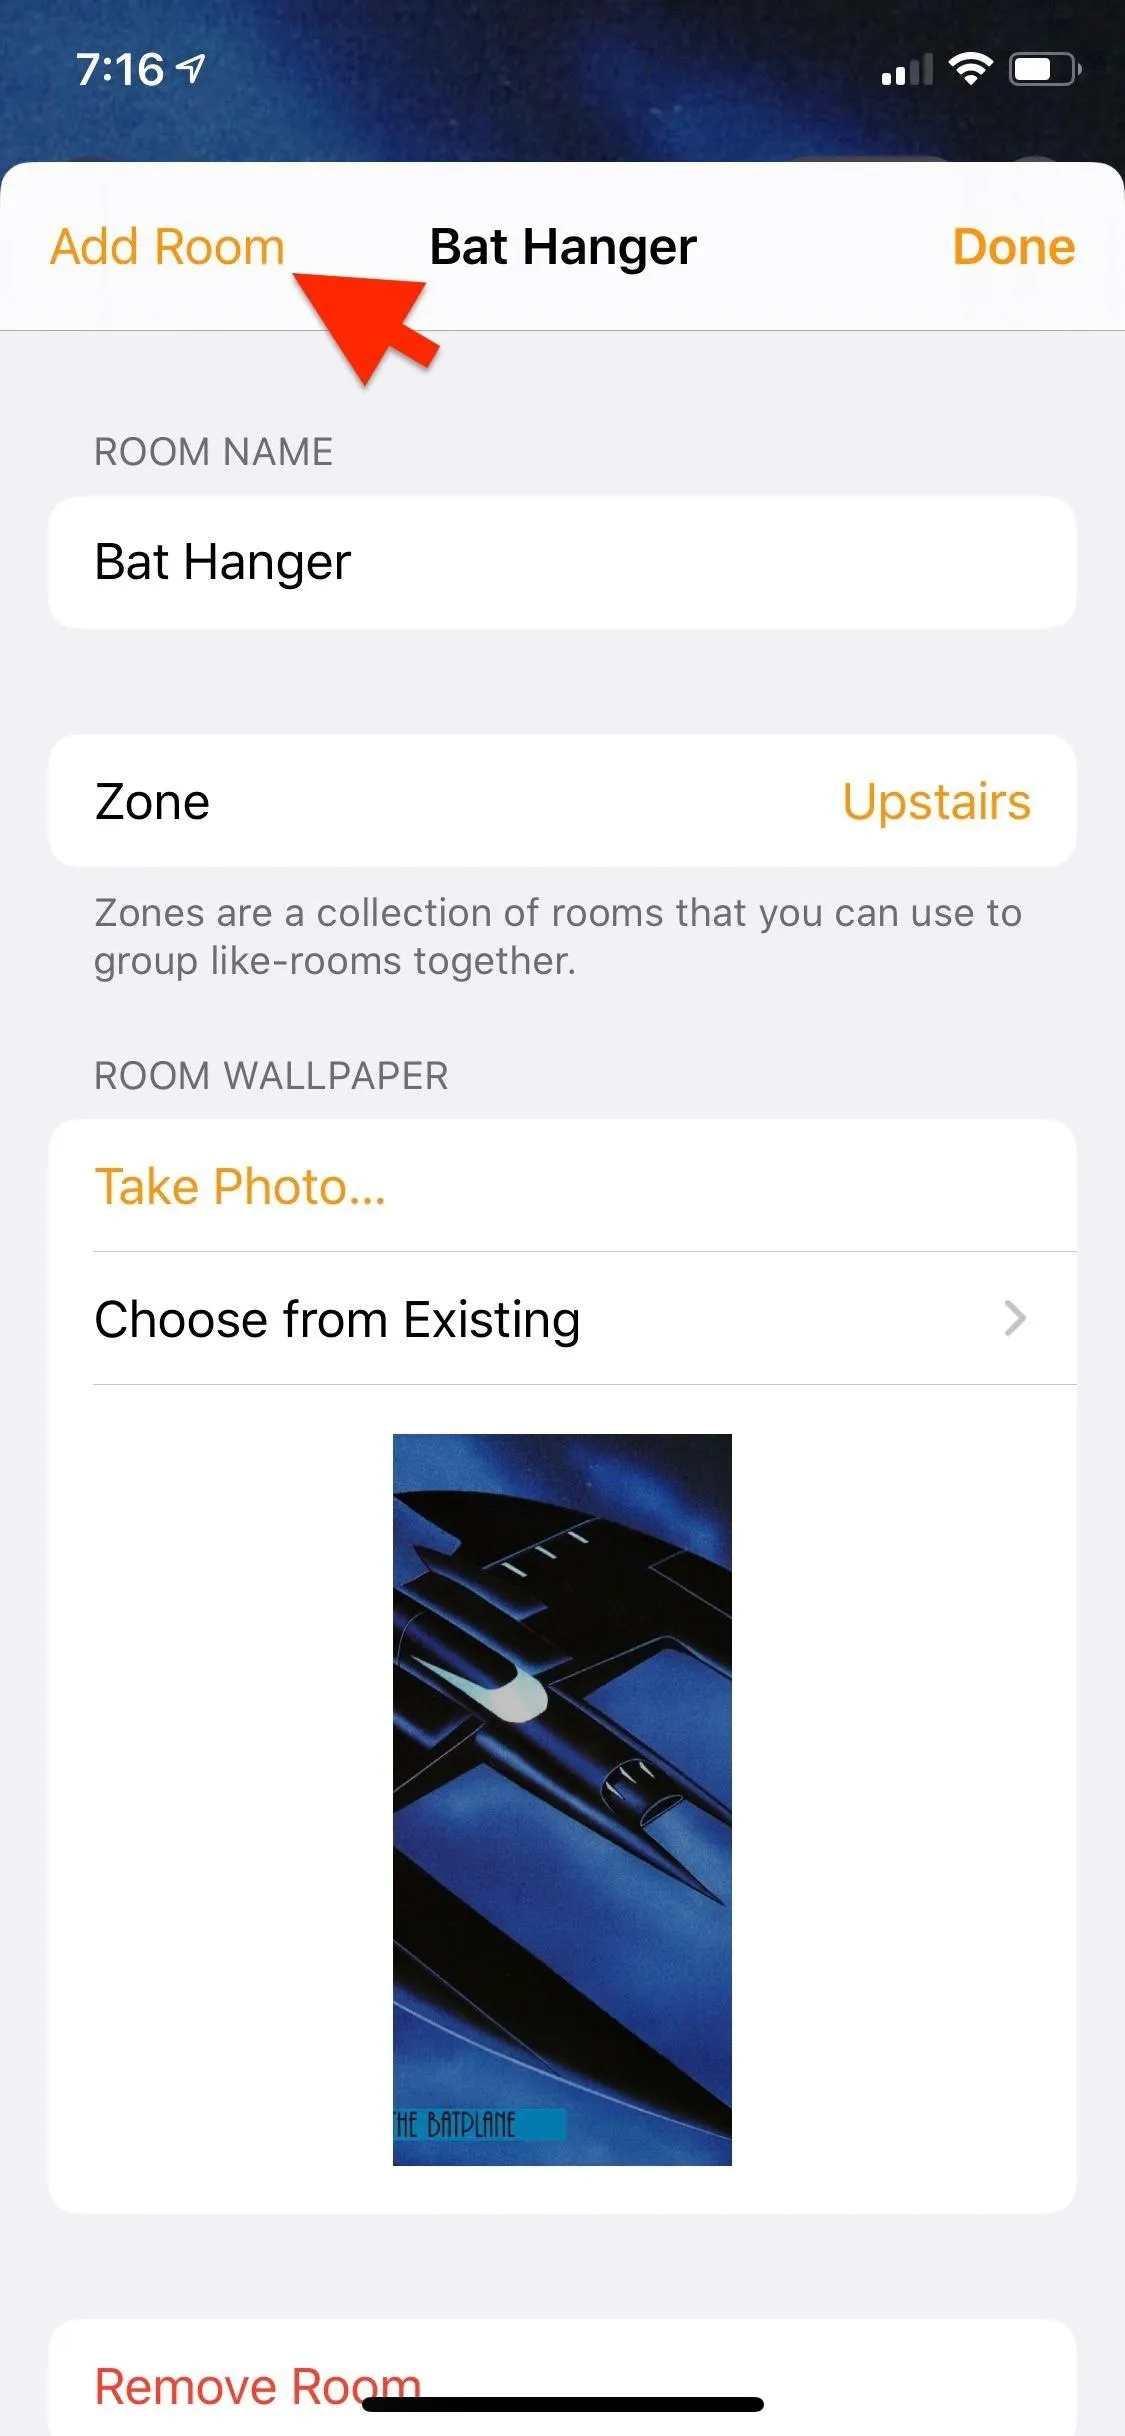
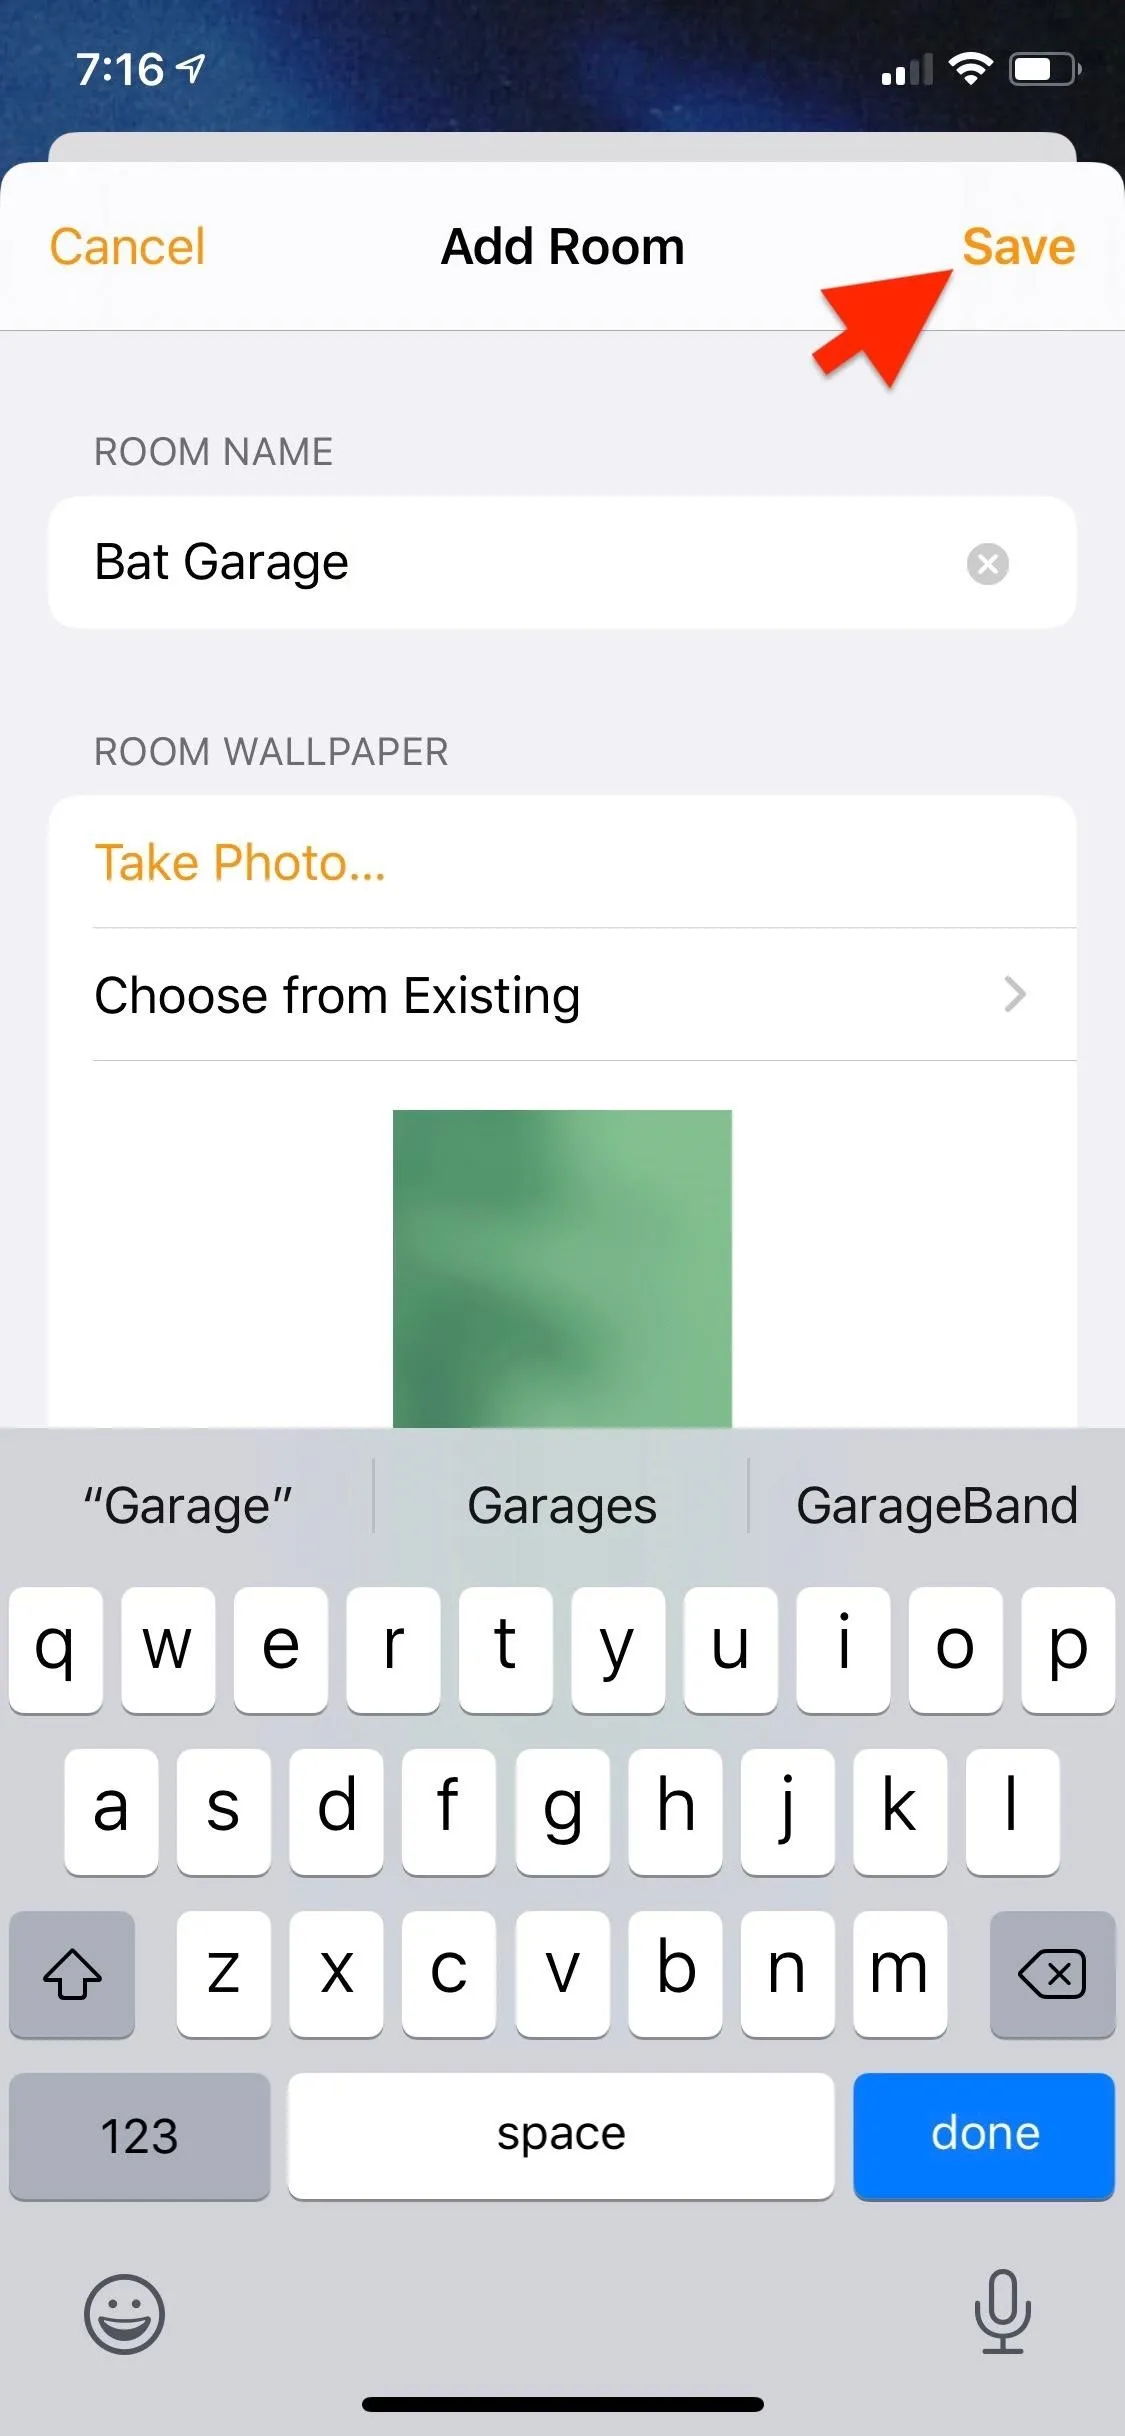
If you only have one room set up, tap "Add Room" in the upper left of the room settings. If you already have multiple rooms created, "Add Room" will appear at the bottom of the list of rooms. Next, give your room a name and choose a wallpaper for it. When you're done, tap "Save" in the upper right.

4. Rearranging Rooms in Your Home
Once you have a few rooms set up, you can switch between them either by tapping the list icon in the upper left and selecting the room or by swiping left/right between rooms when you're on the "Rooms" tab. To rearrange the order they appear in the list, as well as the order they are in when swiping:
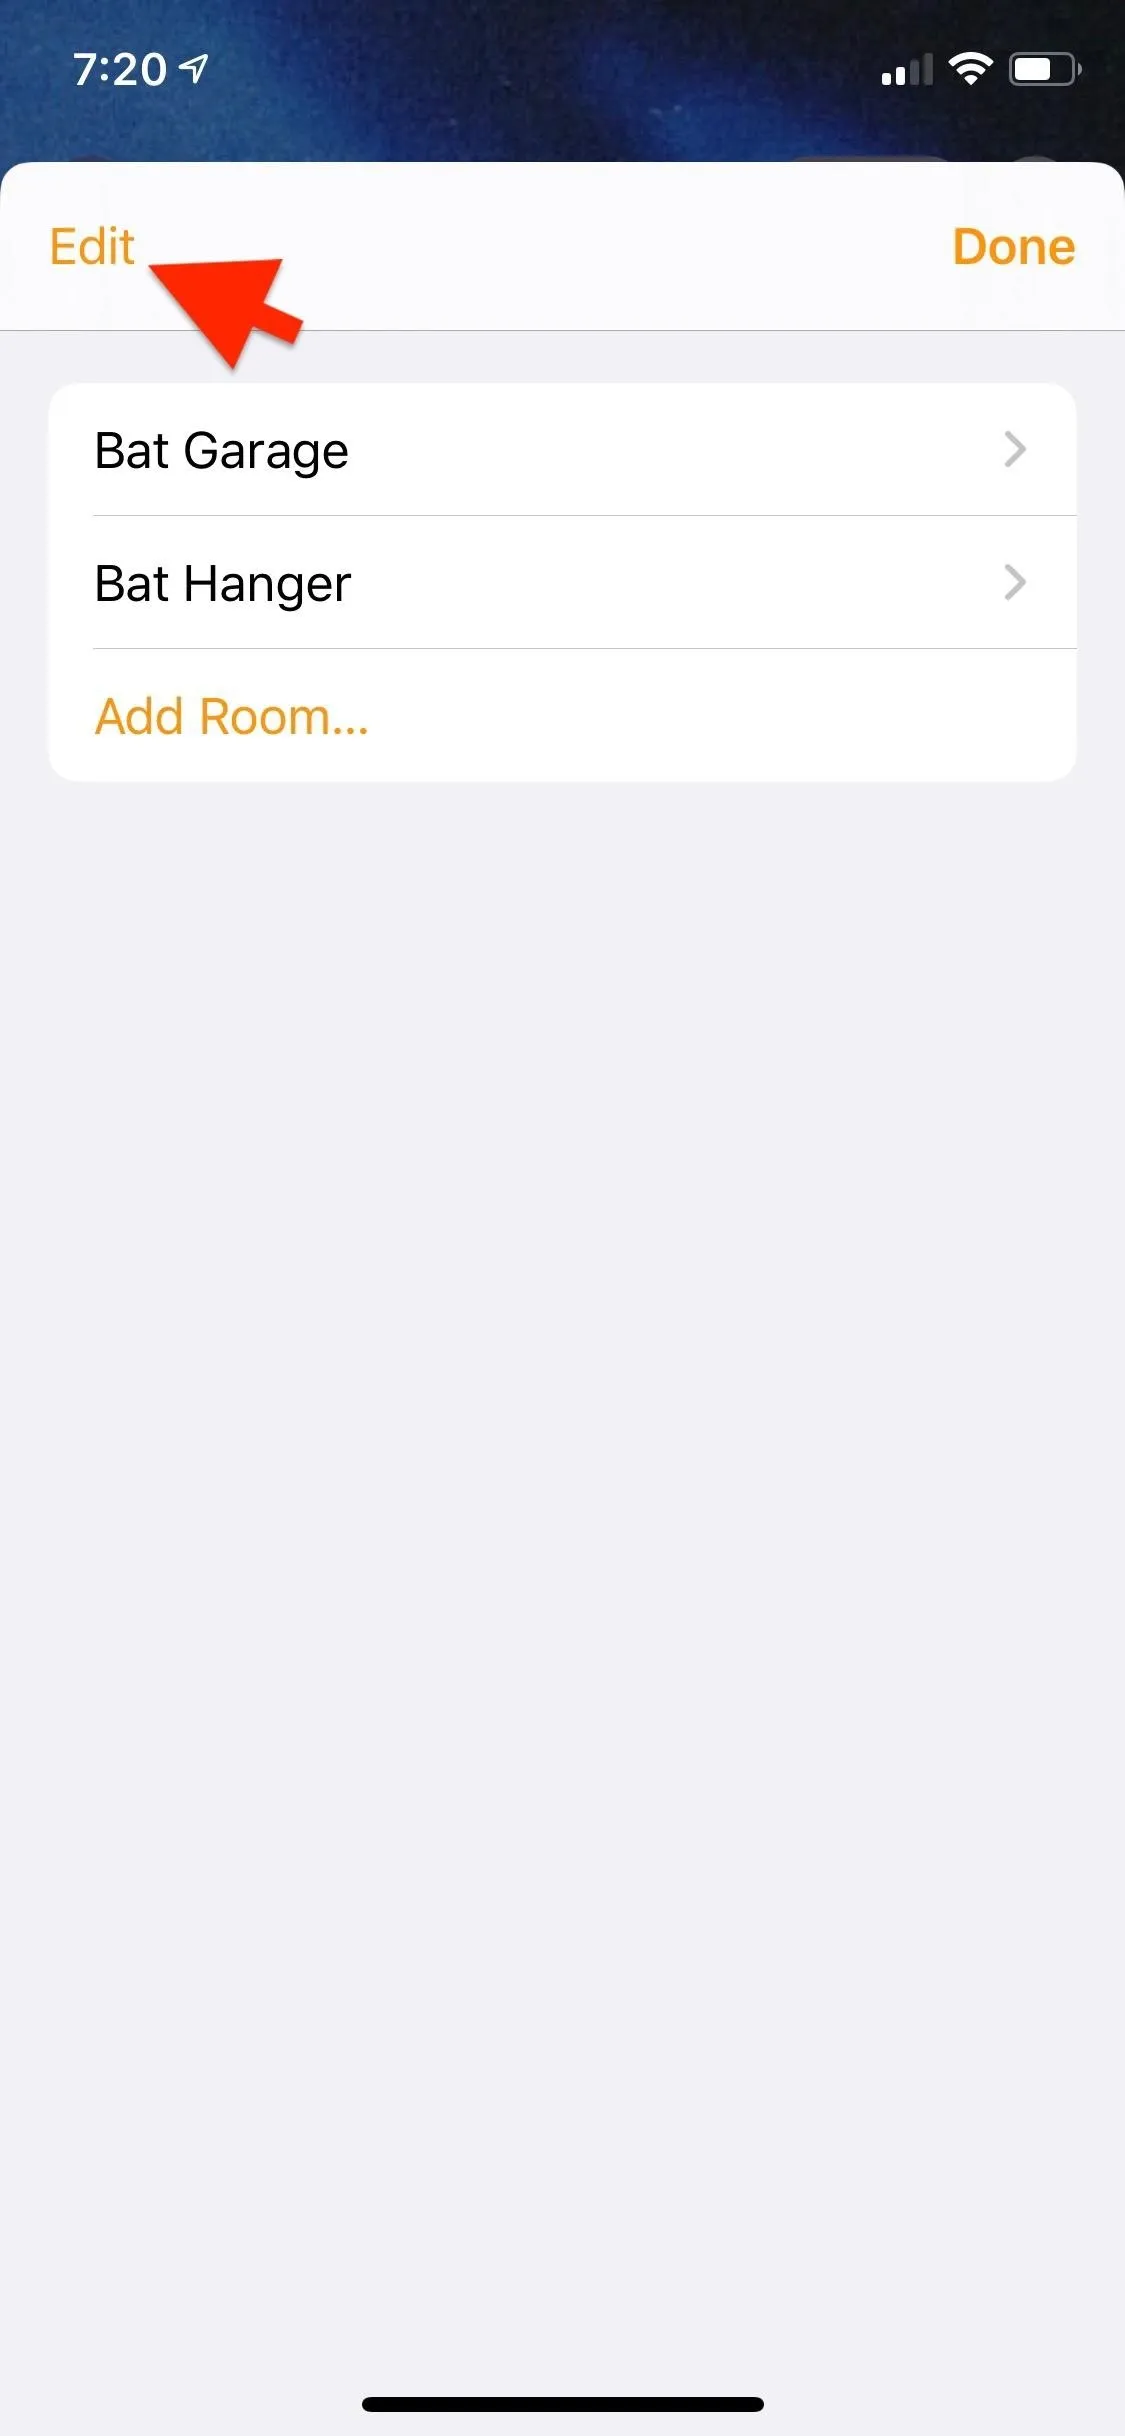
- Open the "Room Settings," as described above.
- Tap "Edit" in the upper left.
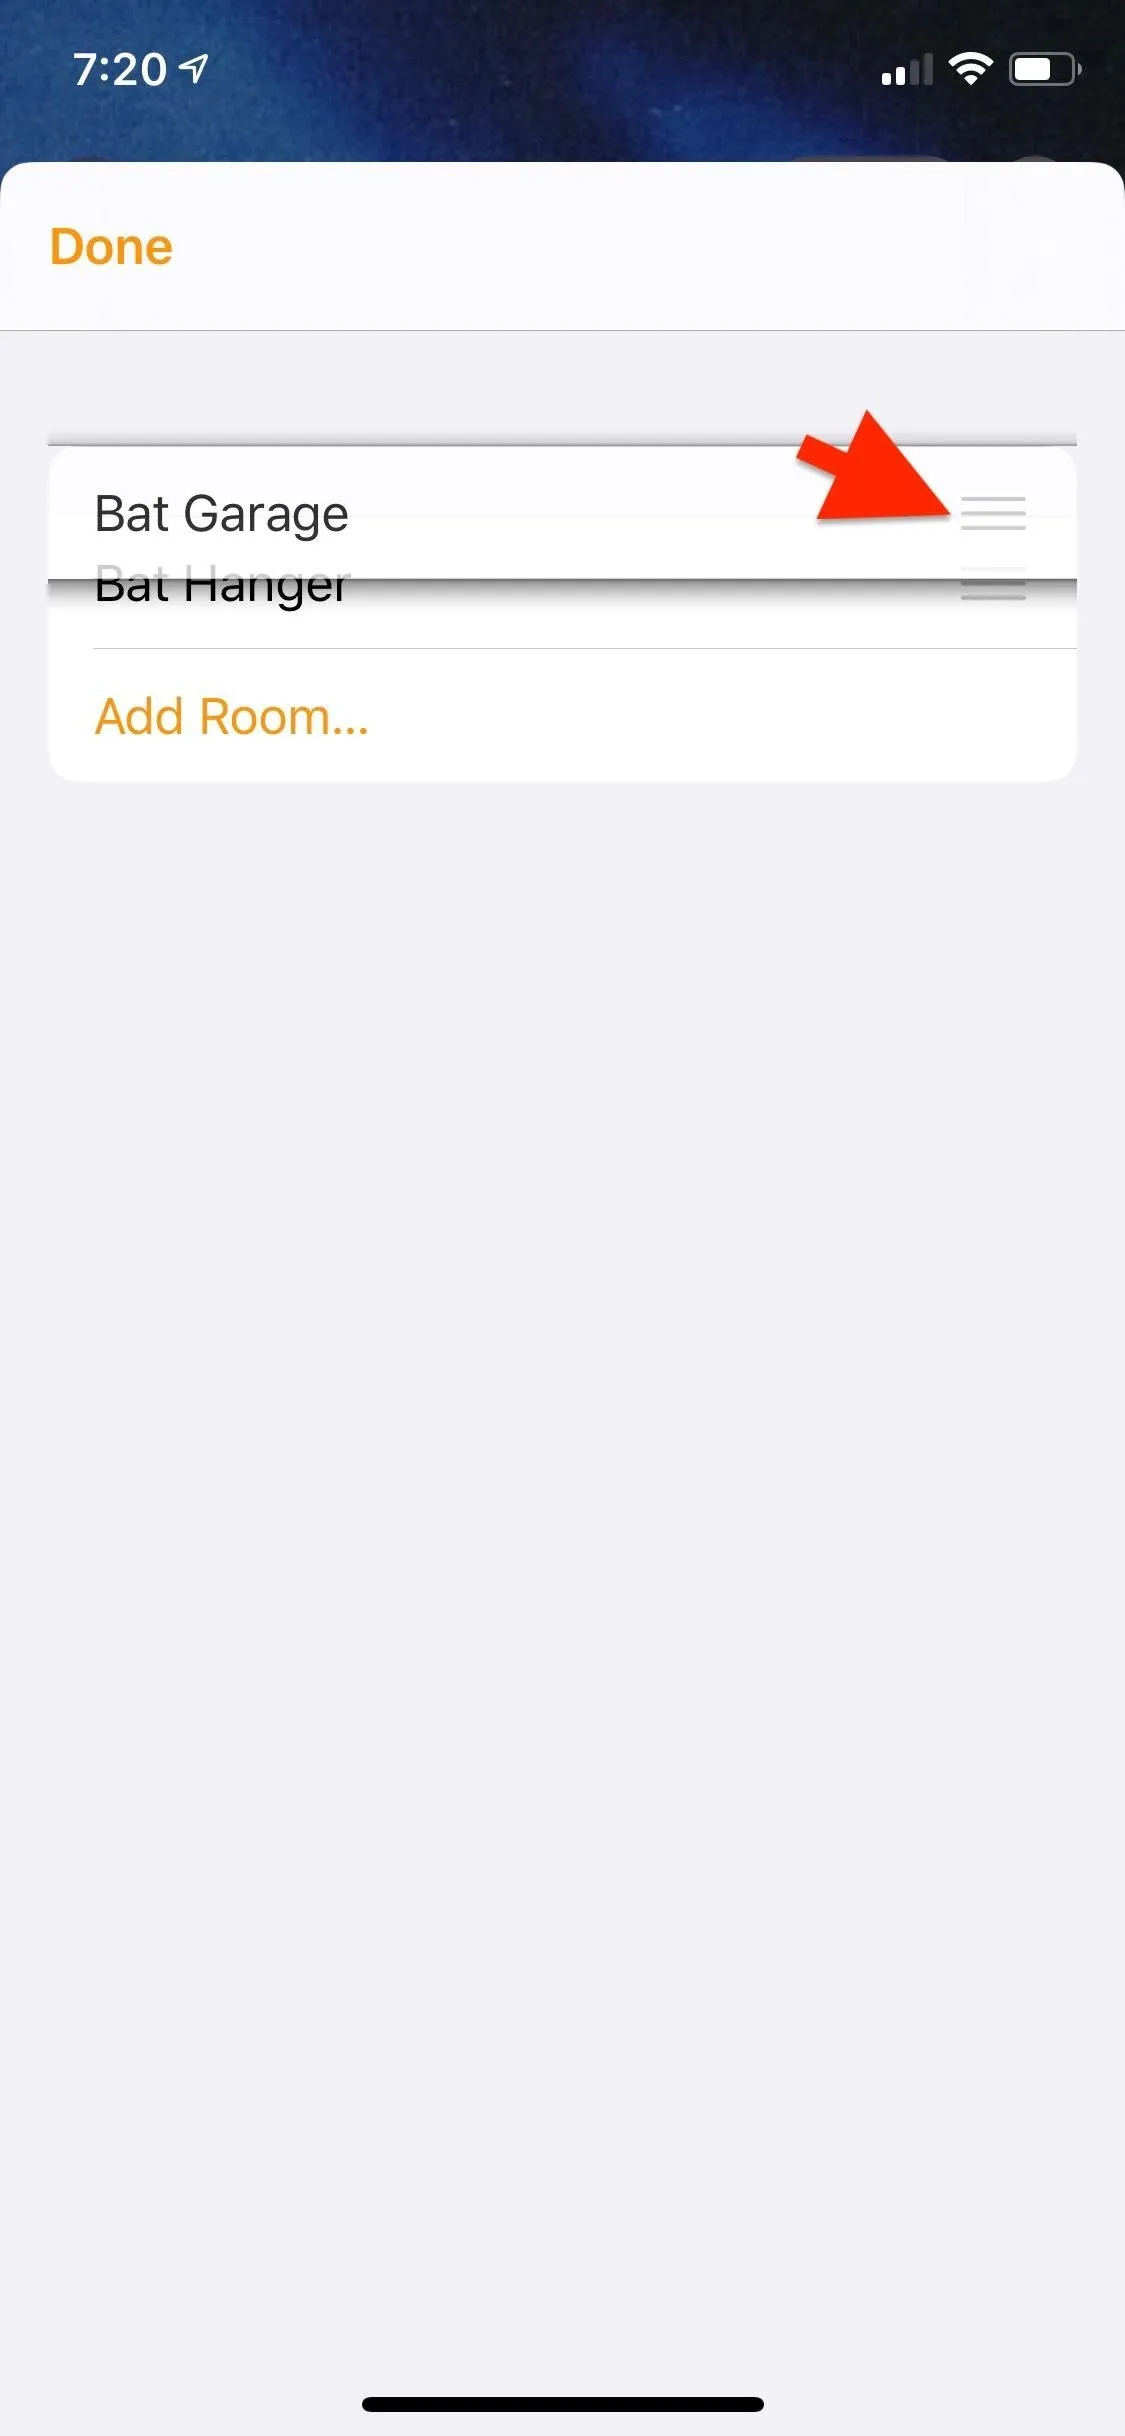
- Use the drag handles next to each room and rearrange them how you would like.
- Hit "Done" when finished.
5. Editing or Removing Rooms in Your Home
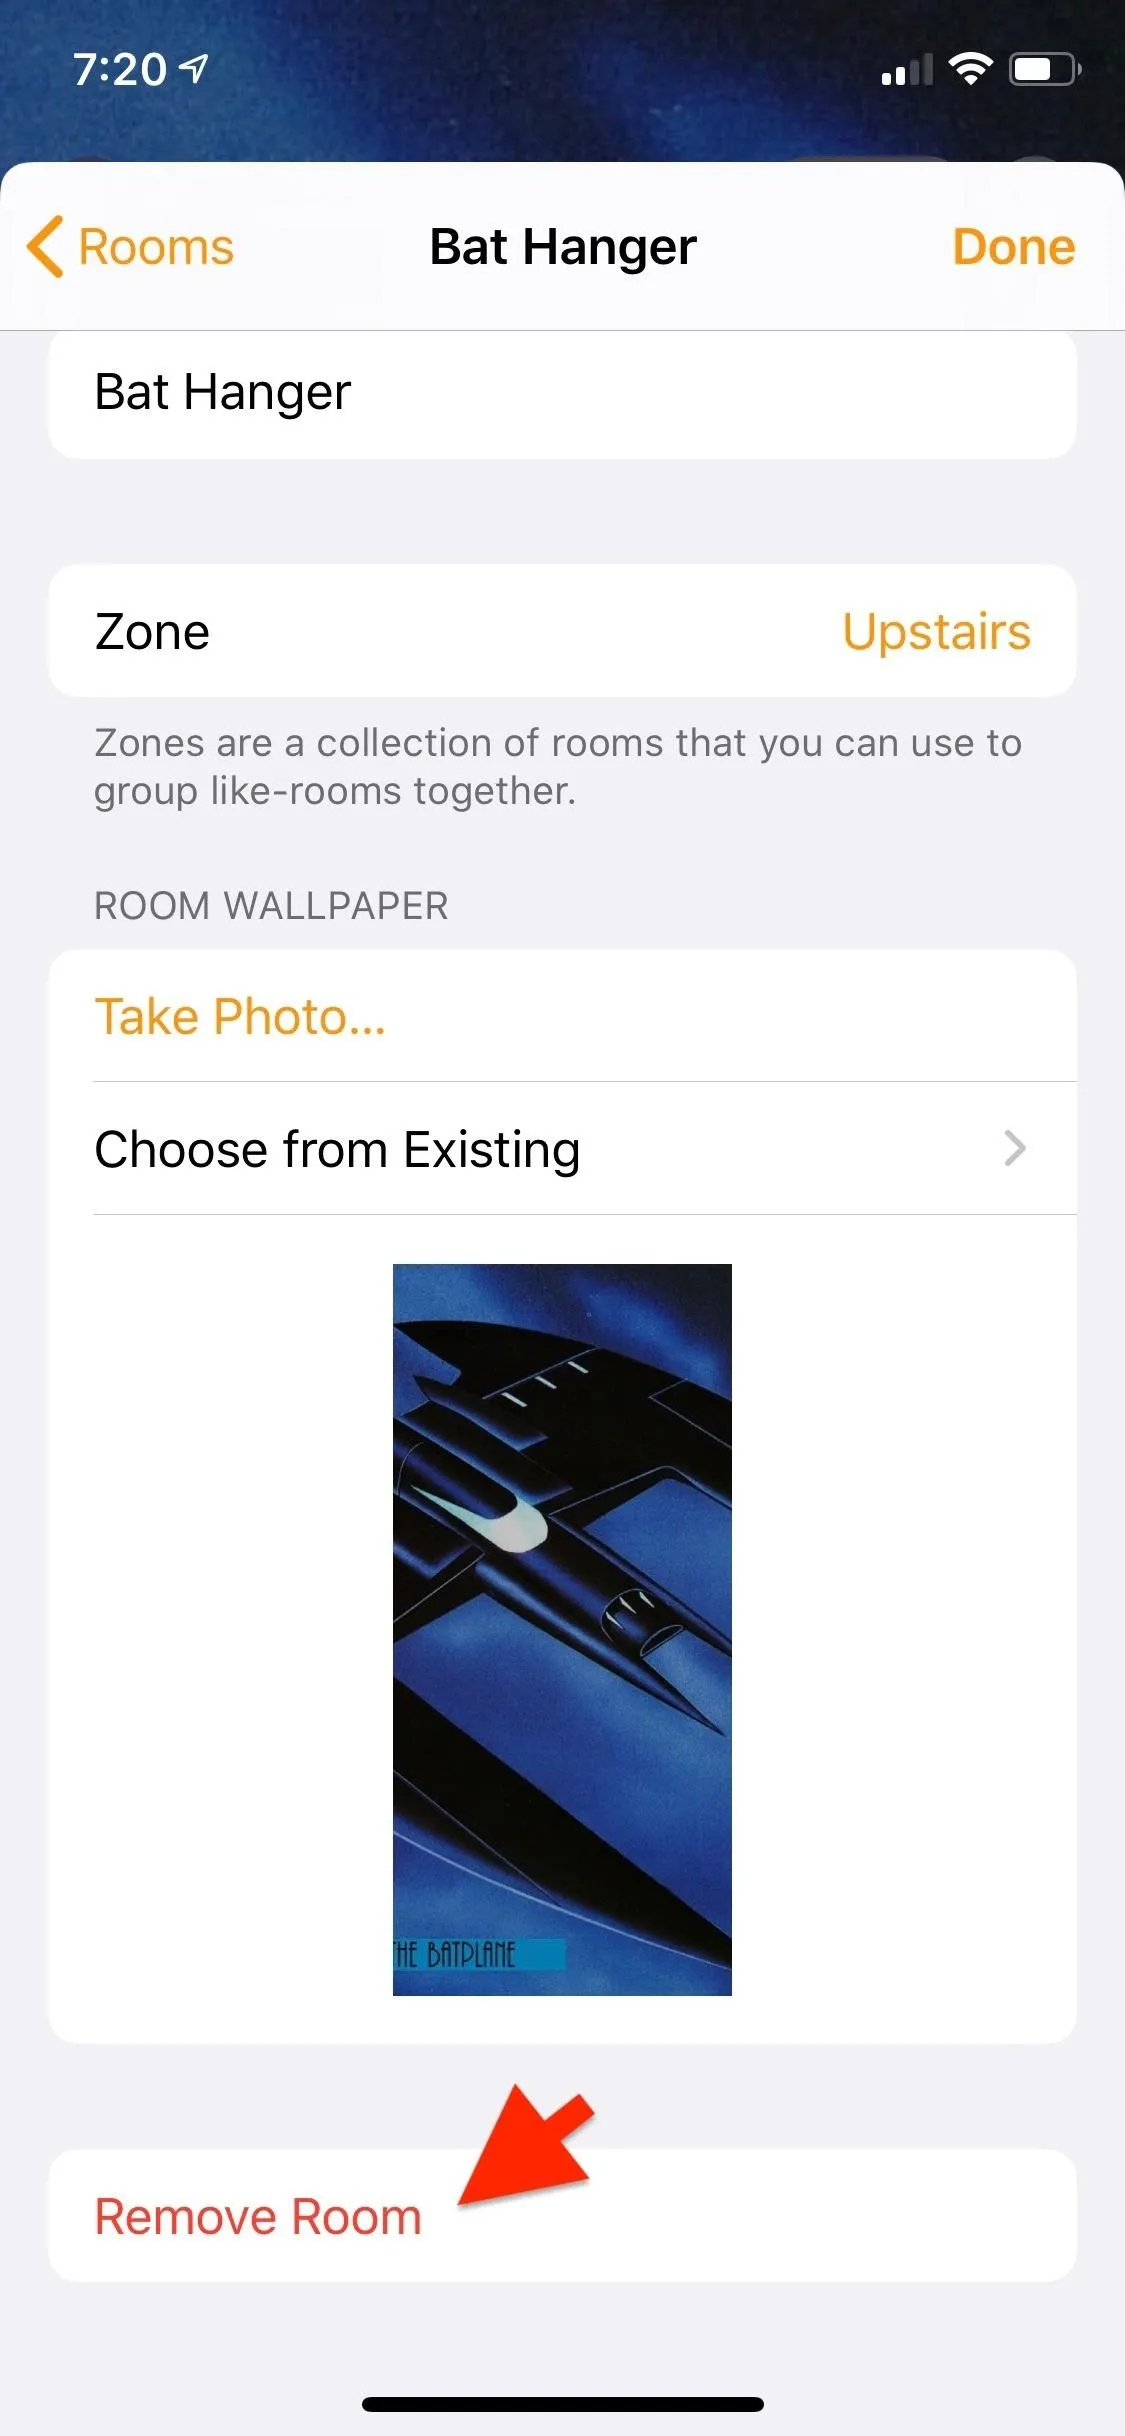
Once a room is set up, you can go back and edit its information at any time. That includes its name, wallpaper, and what zone it's assigned to (more on that below), as well as deleting it. To edit a room:
- Open the "Room Settings," as described above.
- Tap the room you would like to edit (if you only have one room, it'll already be selected).
- Tap the Room Name field to edit the name, tap "Zone" to change what zone the room is in, or tap the wallpaper to change it.
- When you're done making changes, tap "Done" in the upper right.
- If you want to delete the room, tap "Remove Room" at the bottom.
6. Setting Up Zones for Rooms in Your Home
As your home grows, sometimes it's helpful to group rooms so they can be controlled together. For instance, you could put several rooms in a zone called "Upstairs" or your porch and garage in an area called "Outside." To get started with zones:
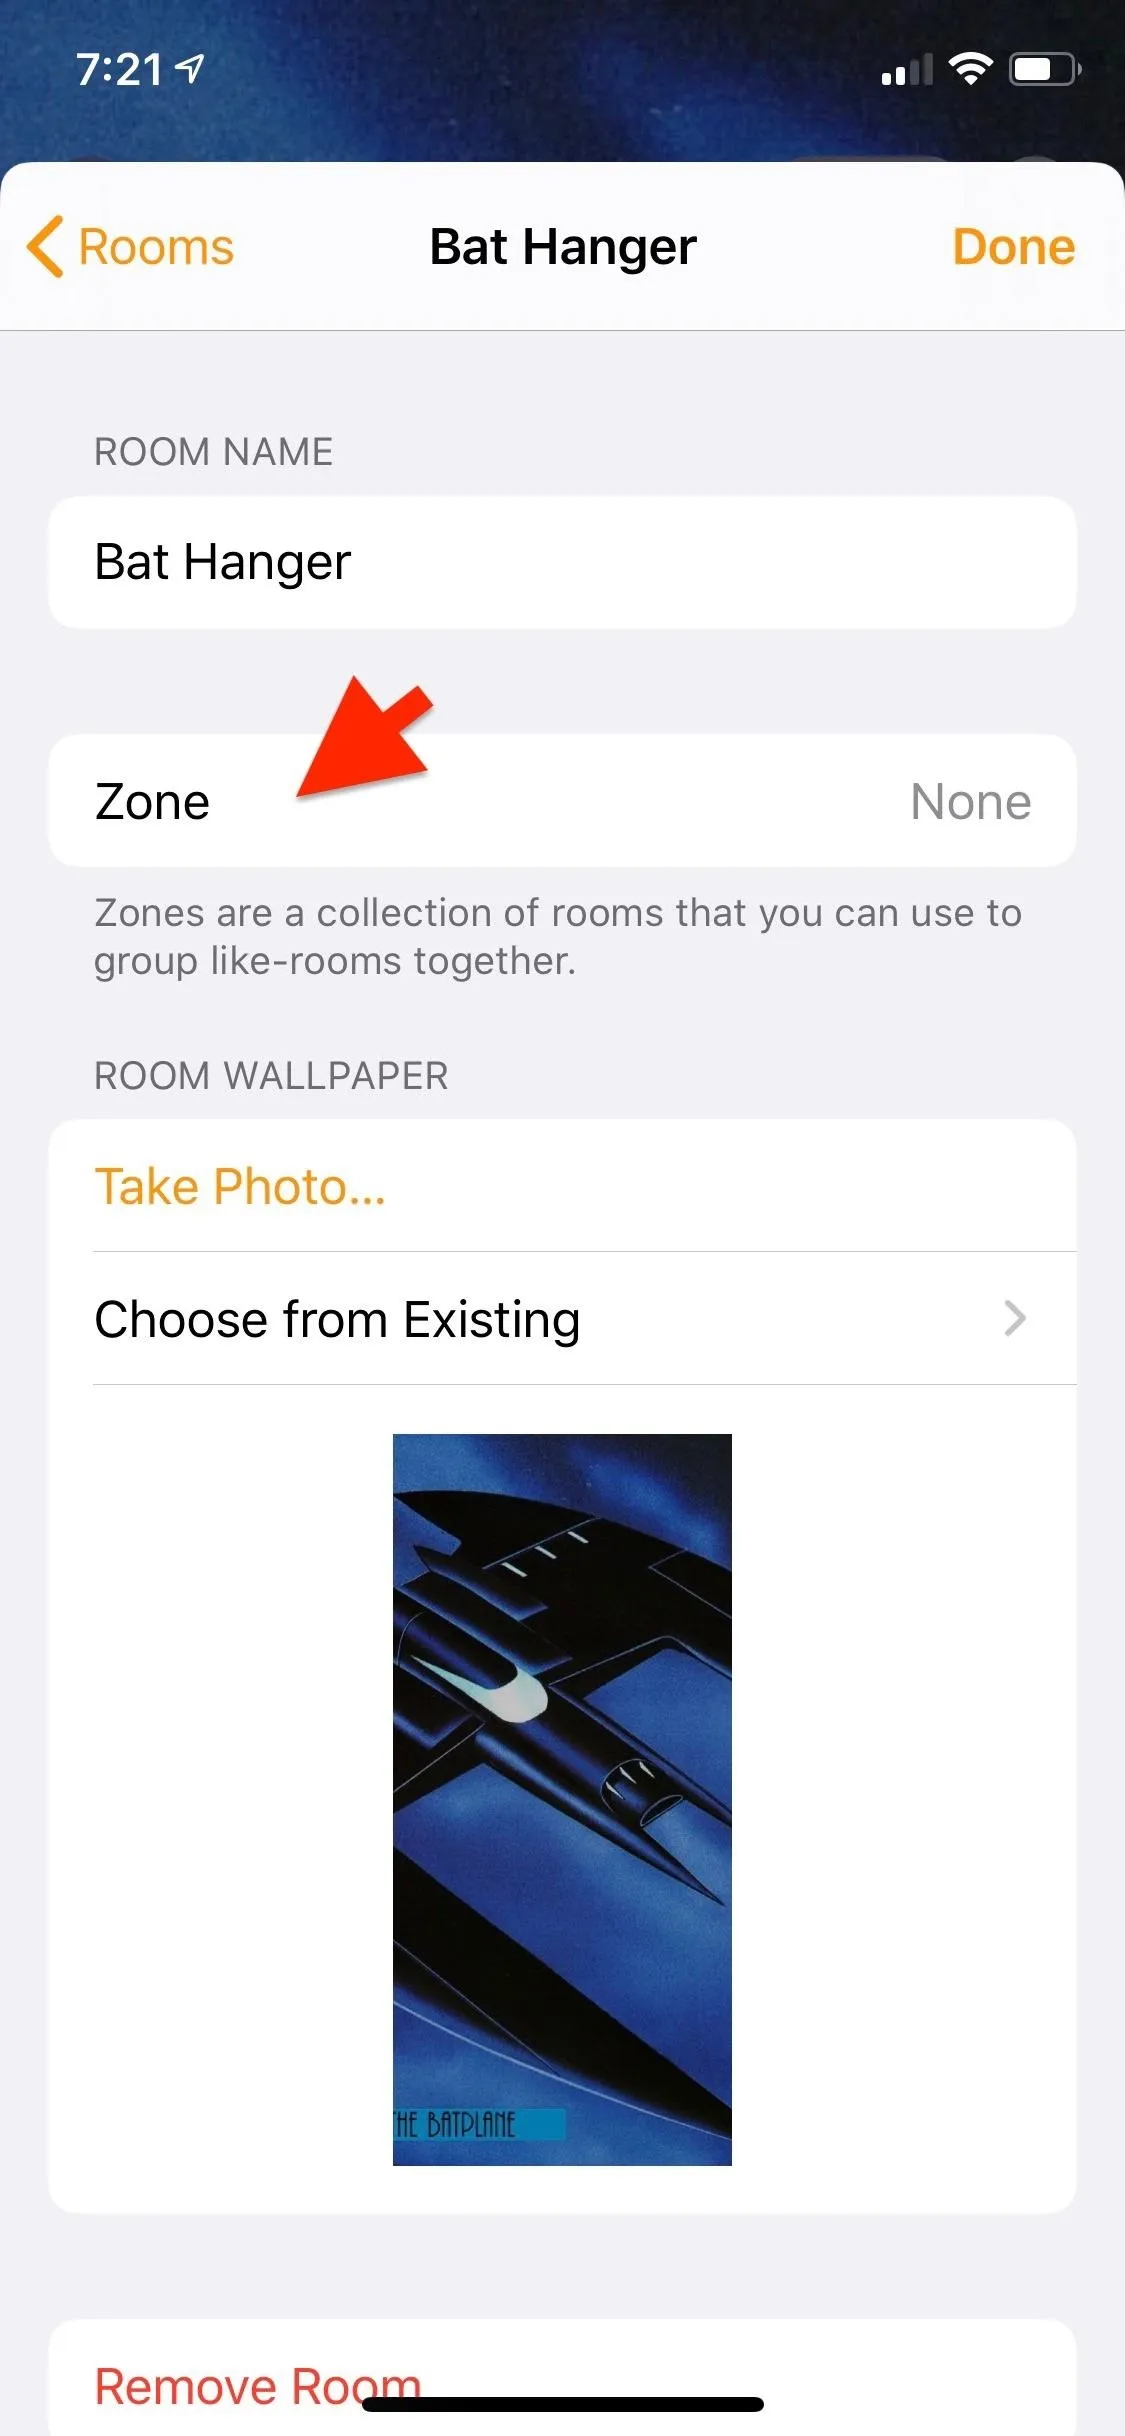
- Open the "Room Settings," as described above.
- Select the room you would like to assign to a zone.
- Tap "Zone."
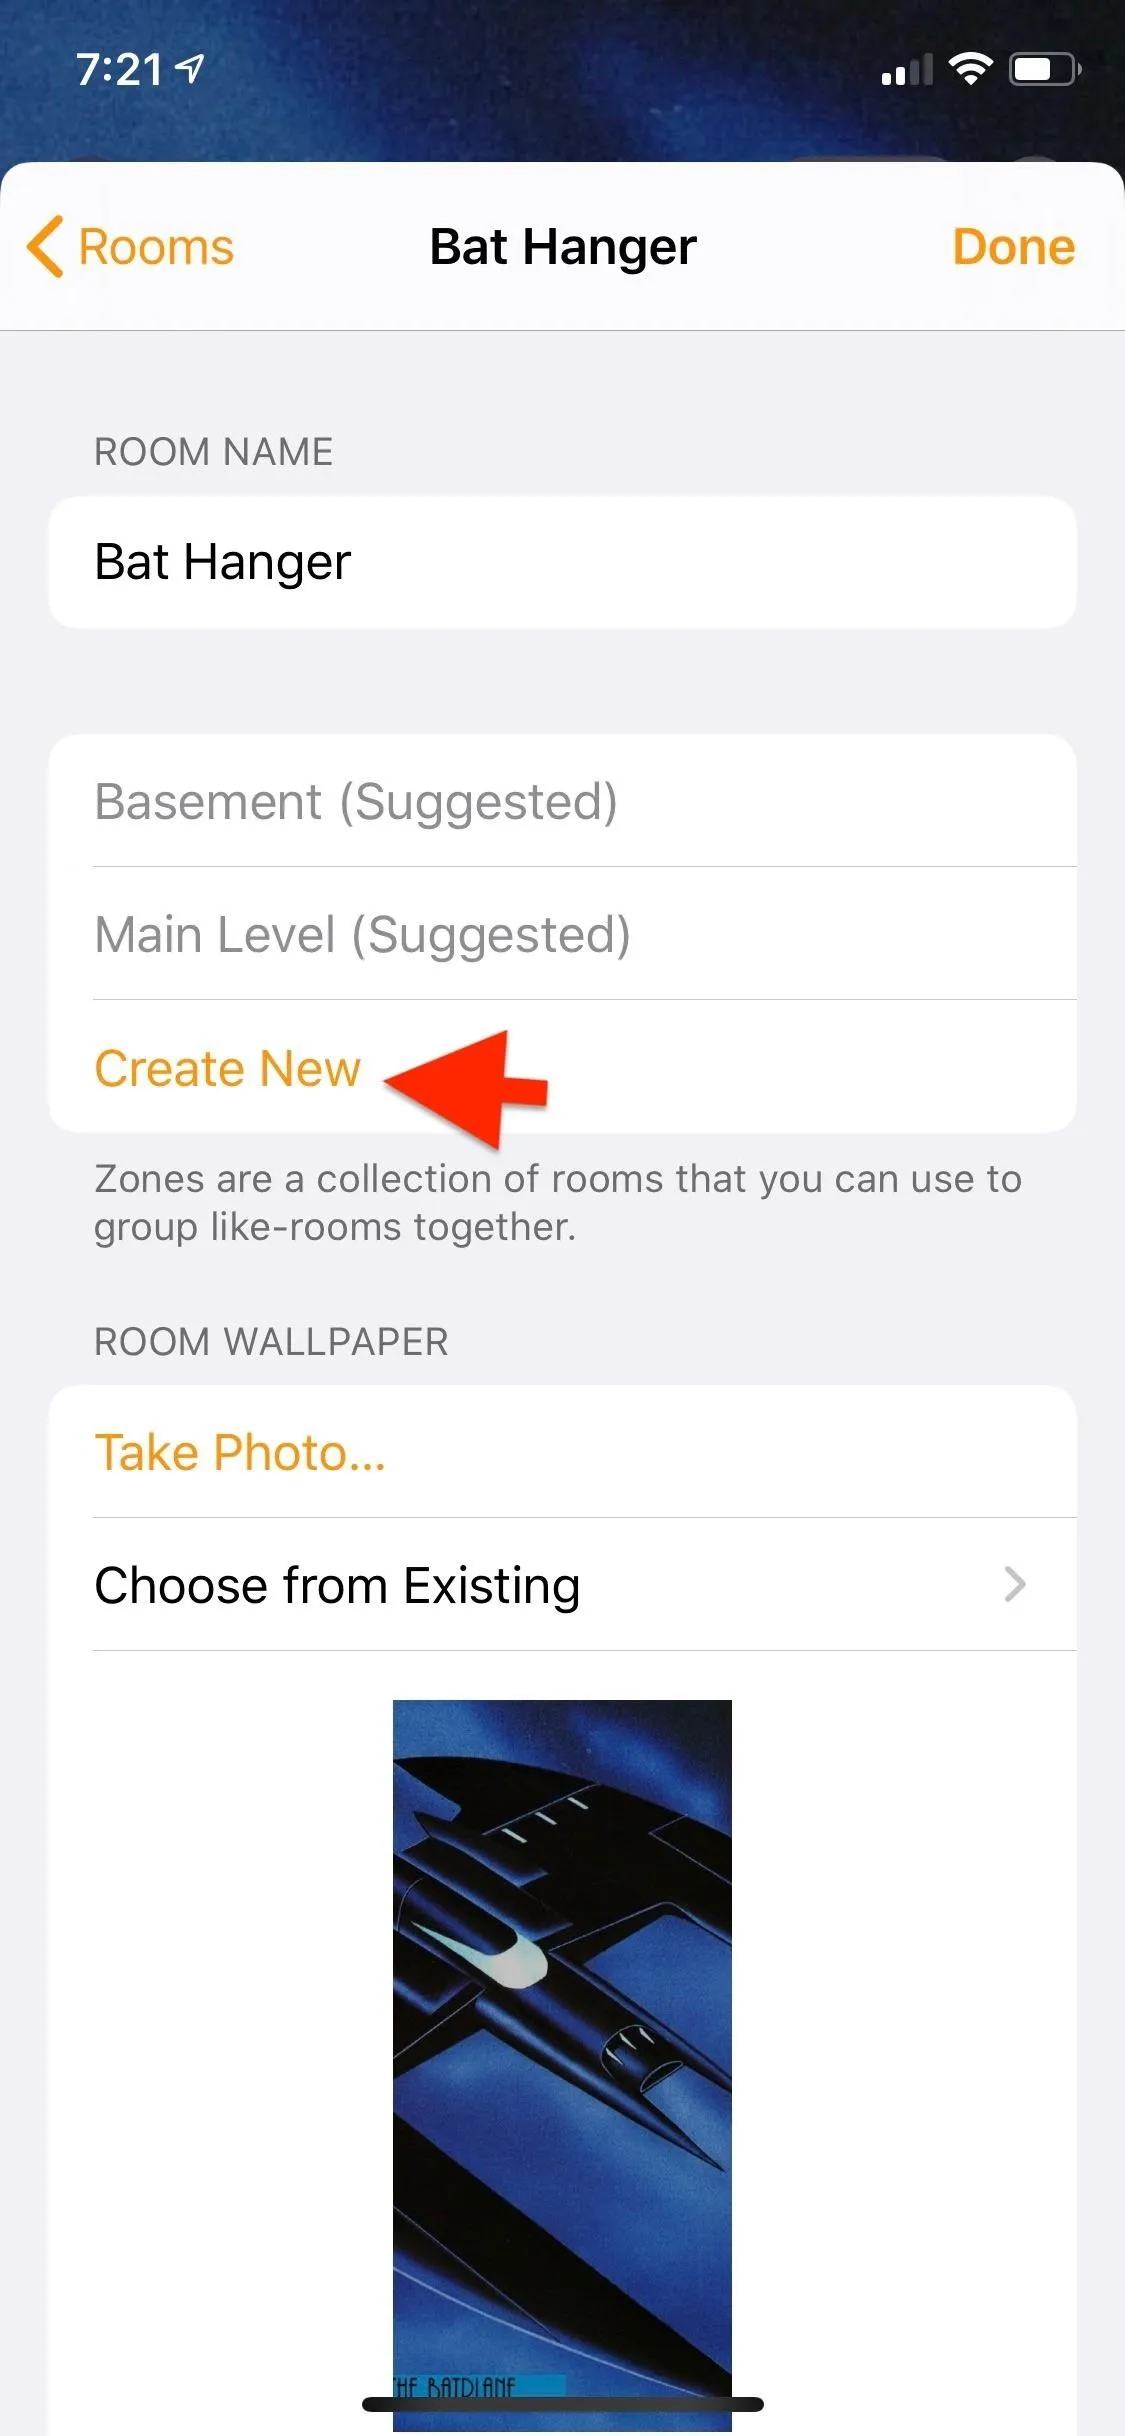
- Tap one of the suggested names, or tap "Create New" to make your own.
- Create a name for the new zone, then tap "Done" on the keyboard.
- Hit "Done" to finish up.
Now that the zone is created, you can go to any other room, and it will appear as an option in the list of zones. Additionally, a room can be assigned to multiple zones; for instance, a deck could be part of both a backyard and outside zone.
If you'd like to delete a zone, go back to the room's settings, tap on "Zone" to open the list of zones, then swipe to the left on the zone you'd like to remove and hit "Delete." Alternatively, long-swipe left to delete it immediately.

7. Using Rooms & Zones to Control Your Home
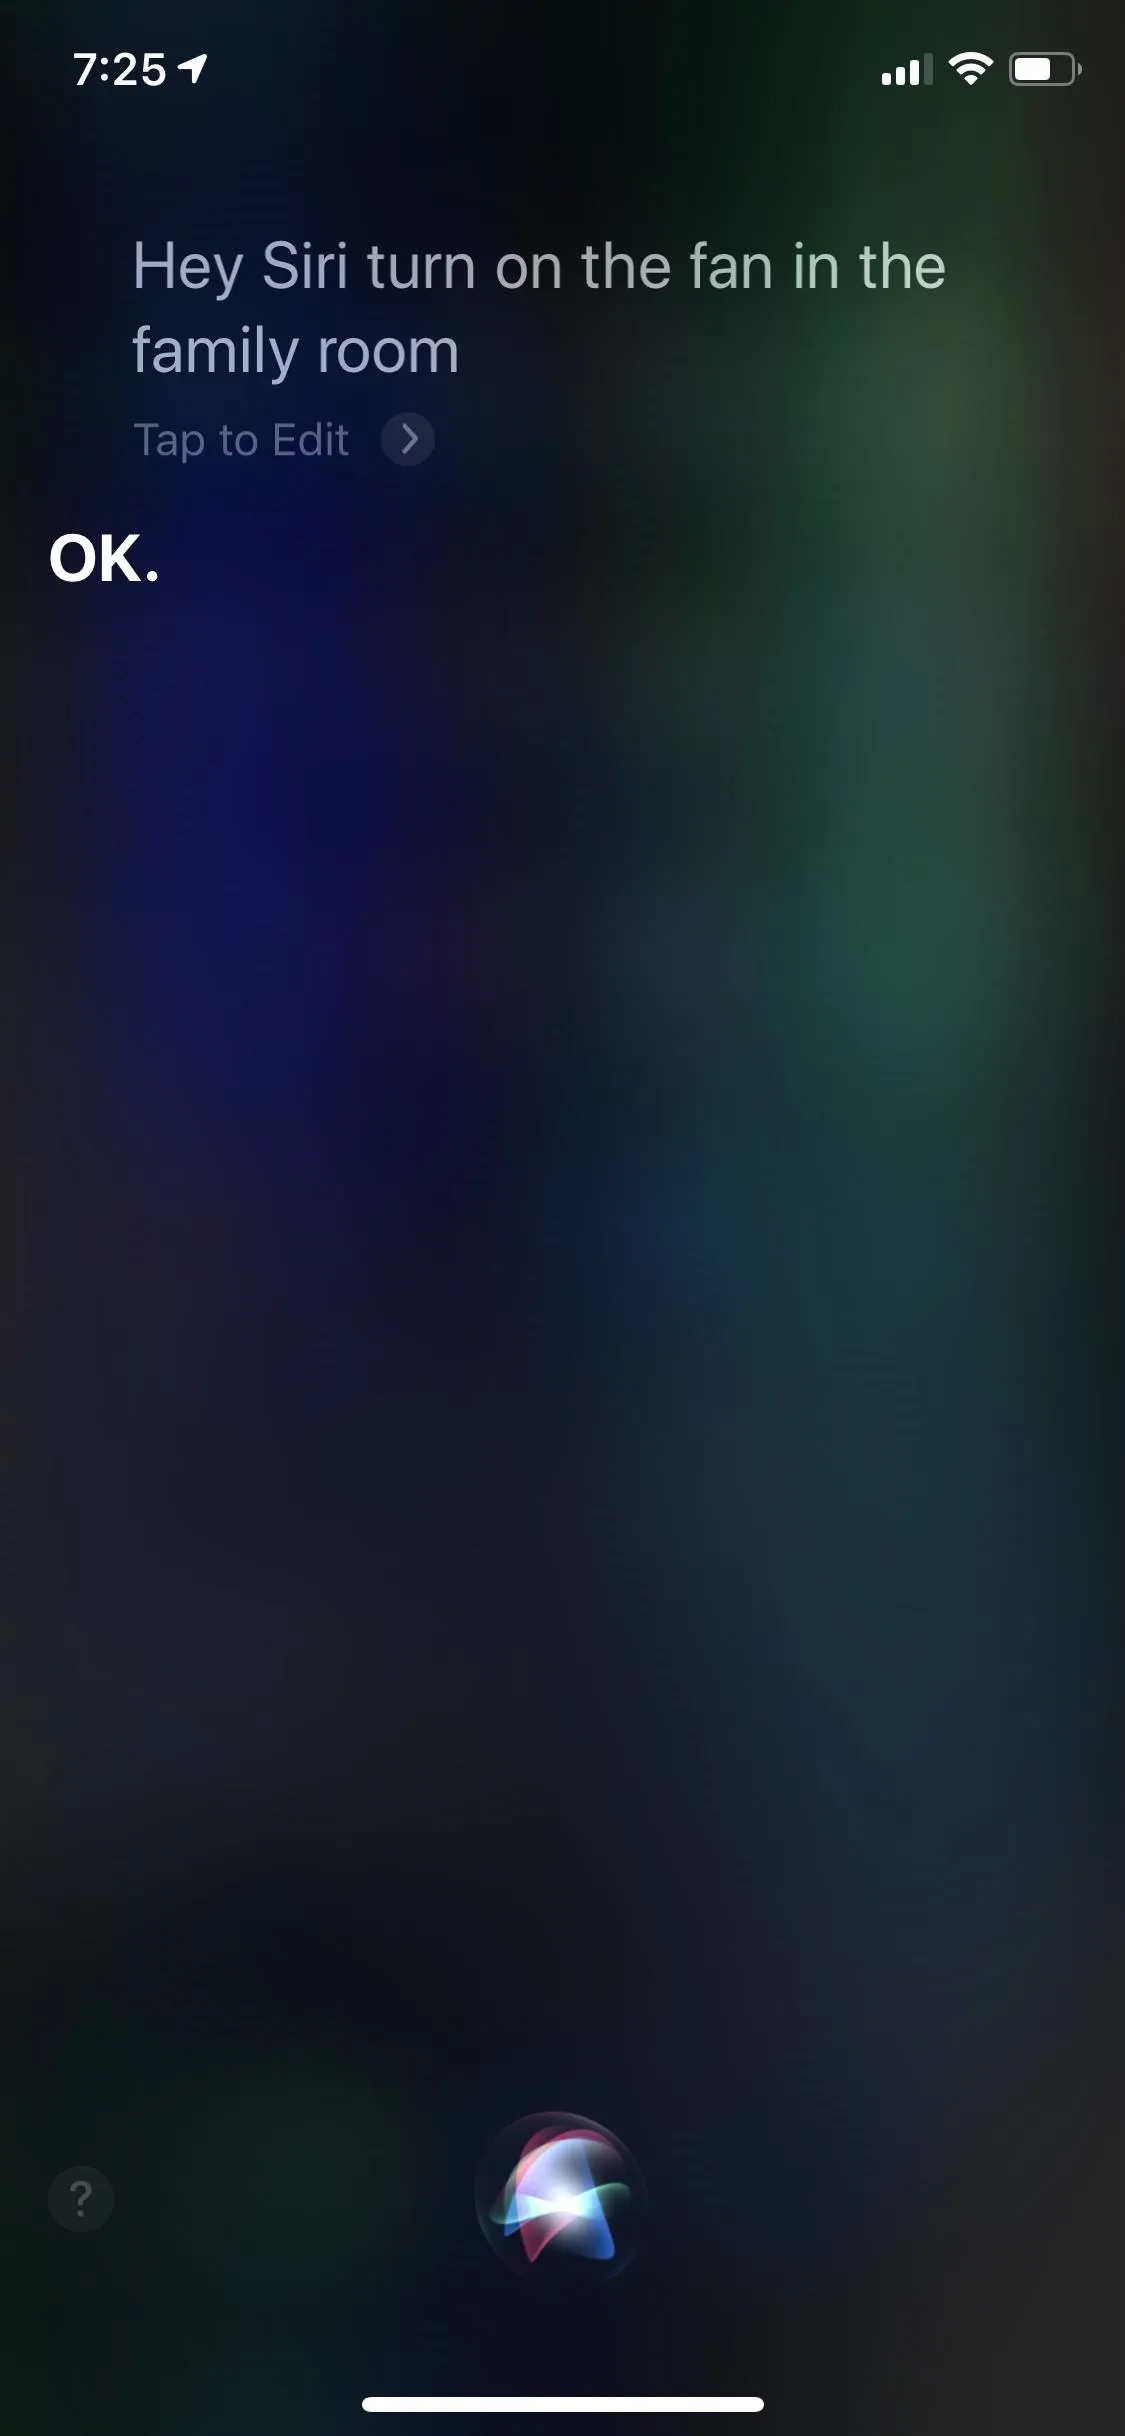
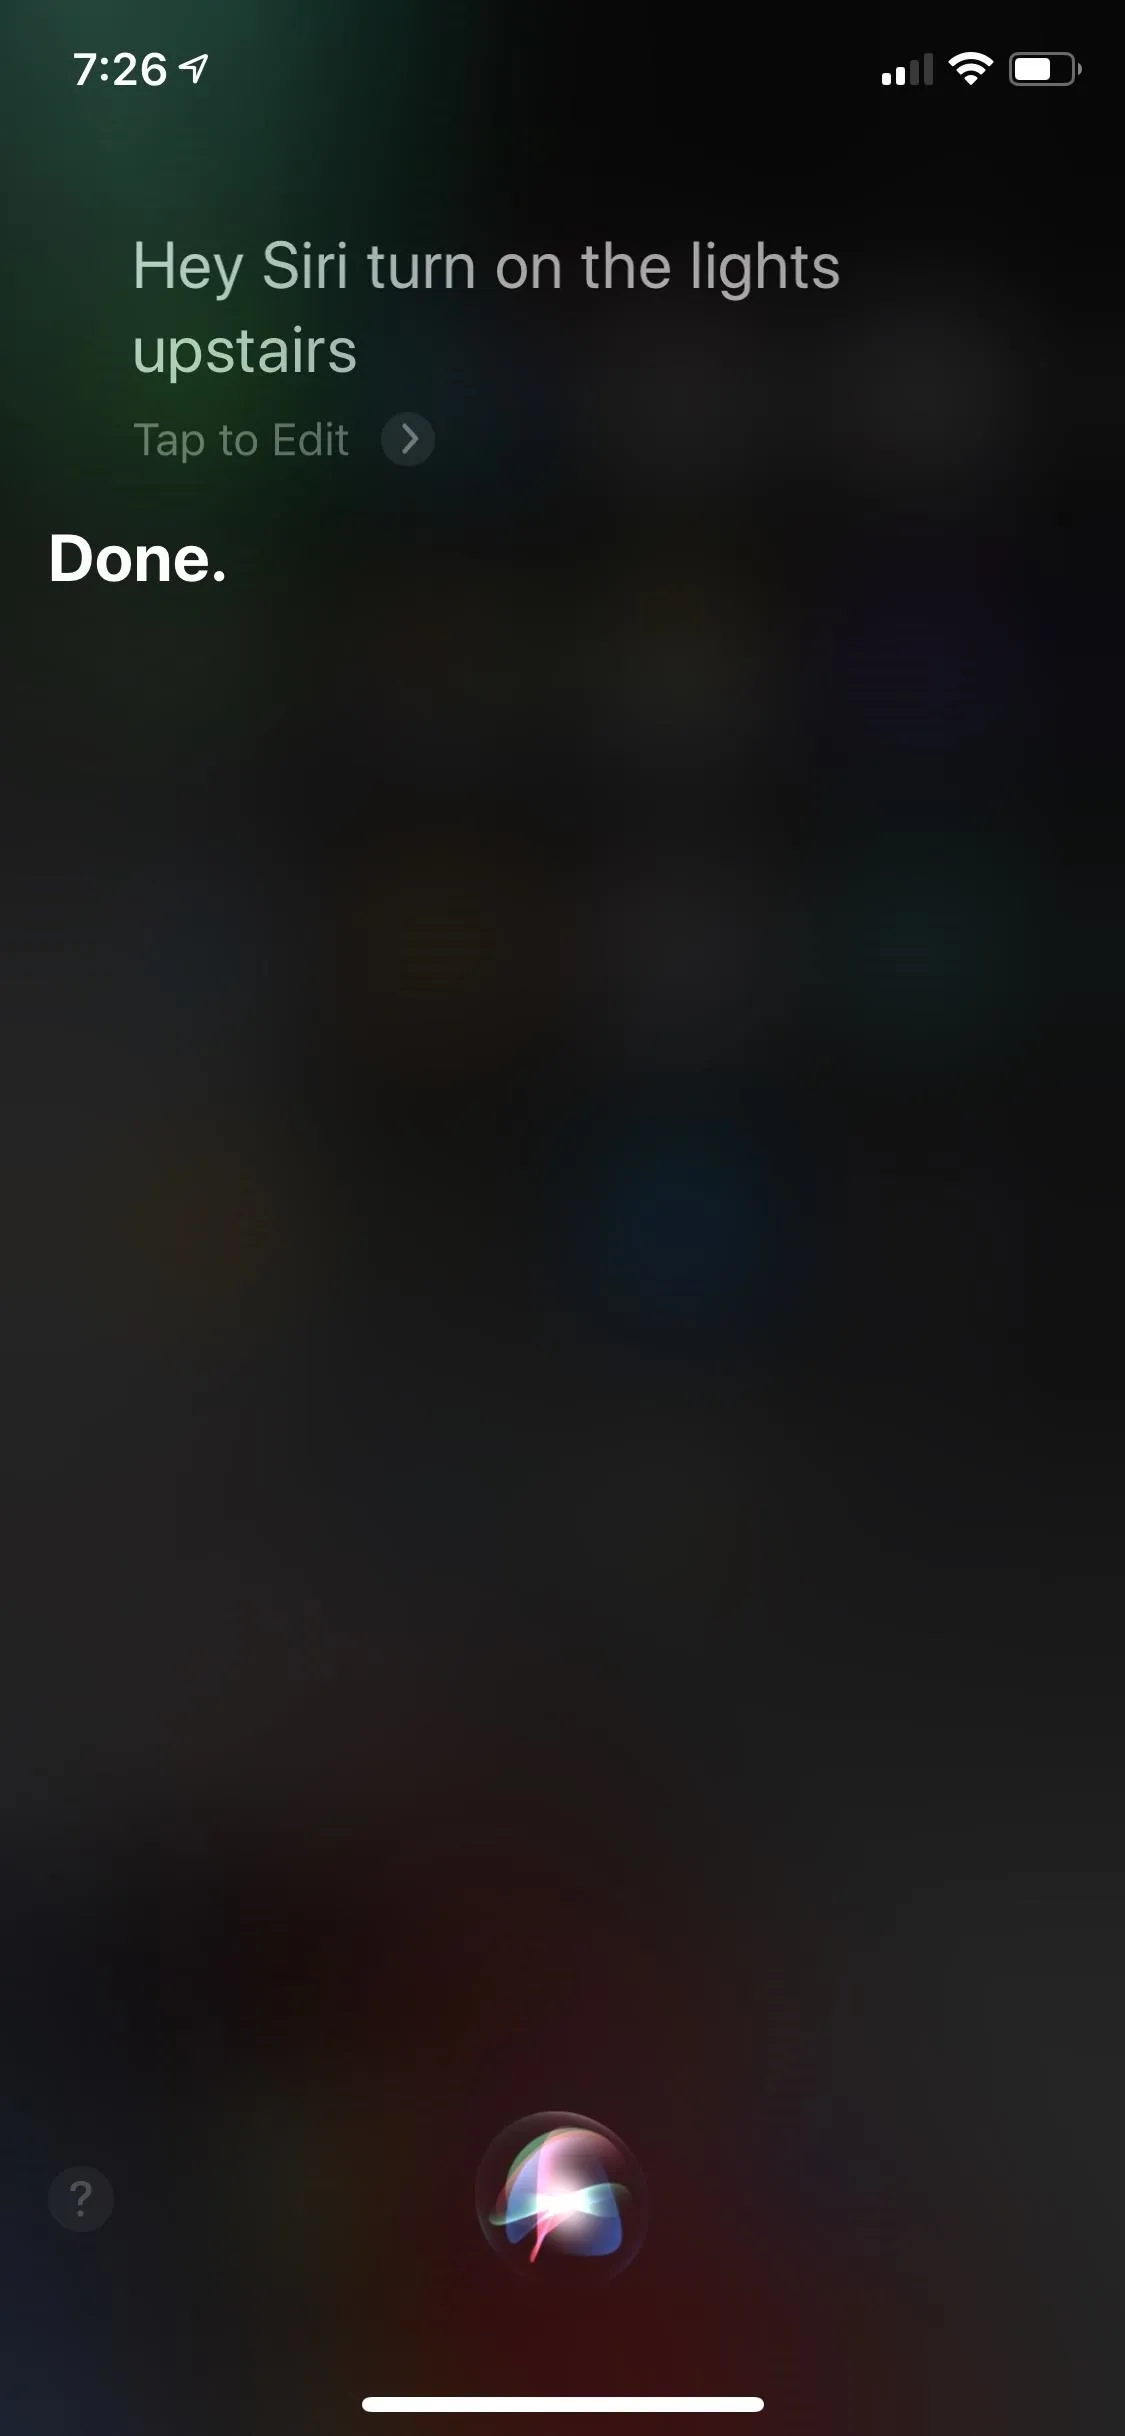
Once you have your home set up with rooms and zones, Siri will use these names to allow you to control your home. If you have multiple devices with the same name in different rooms, such as a ceiling fans or TVs, you can say "Turn on the fan in the bedroom" to specify which fan you want to control. Additionally, you can control multiple accessories in a room or zone. For instance, you can say "Shut off the lights upstairs" to turn off all lights that are in rooms assigned to the Upstairs zone.
Though getting rooms and zones set up takes a bit of work, once done, Siri and the Home app can become powerful tools to control your smart home. Additionally, by personalizing the names of each room and zone, it can truly be your own individual smart home sweet home.
Cover photo, screenshots, and GIFs by Mike Goril/Gadget Hacks


Comments
Be the first, drop a comment!