


When you need to drive somewhere unfamiliar, you probably use Apple Maps to get there if you're an iPhone user. But just getting there isn't enough sometimes. If you pull up to the location, and there's nowhere to park, it doesn't matter that you arrived on time since you'll be late trying to find somewhere to leave your car. That's where Apple's new Maps tool comes in handy.
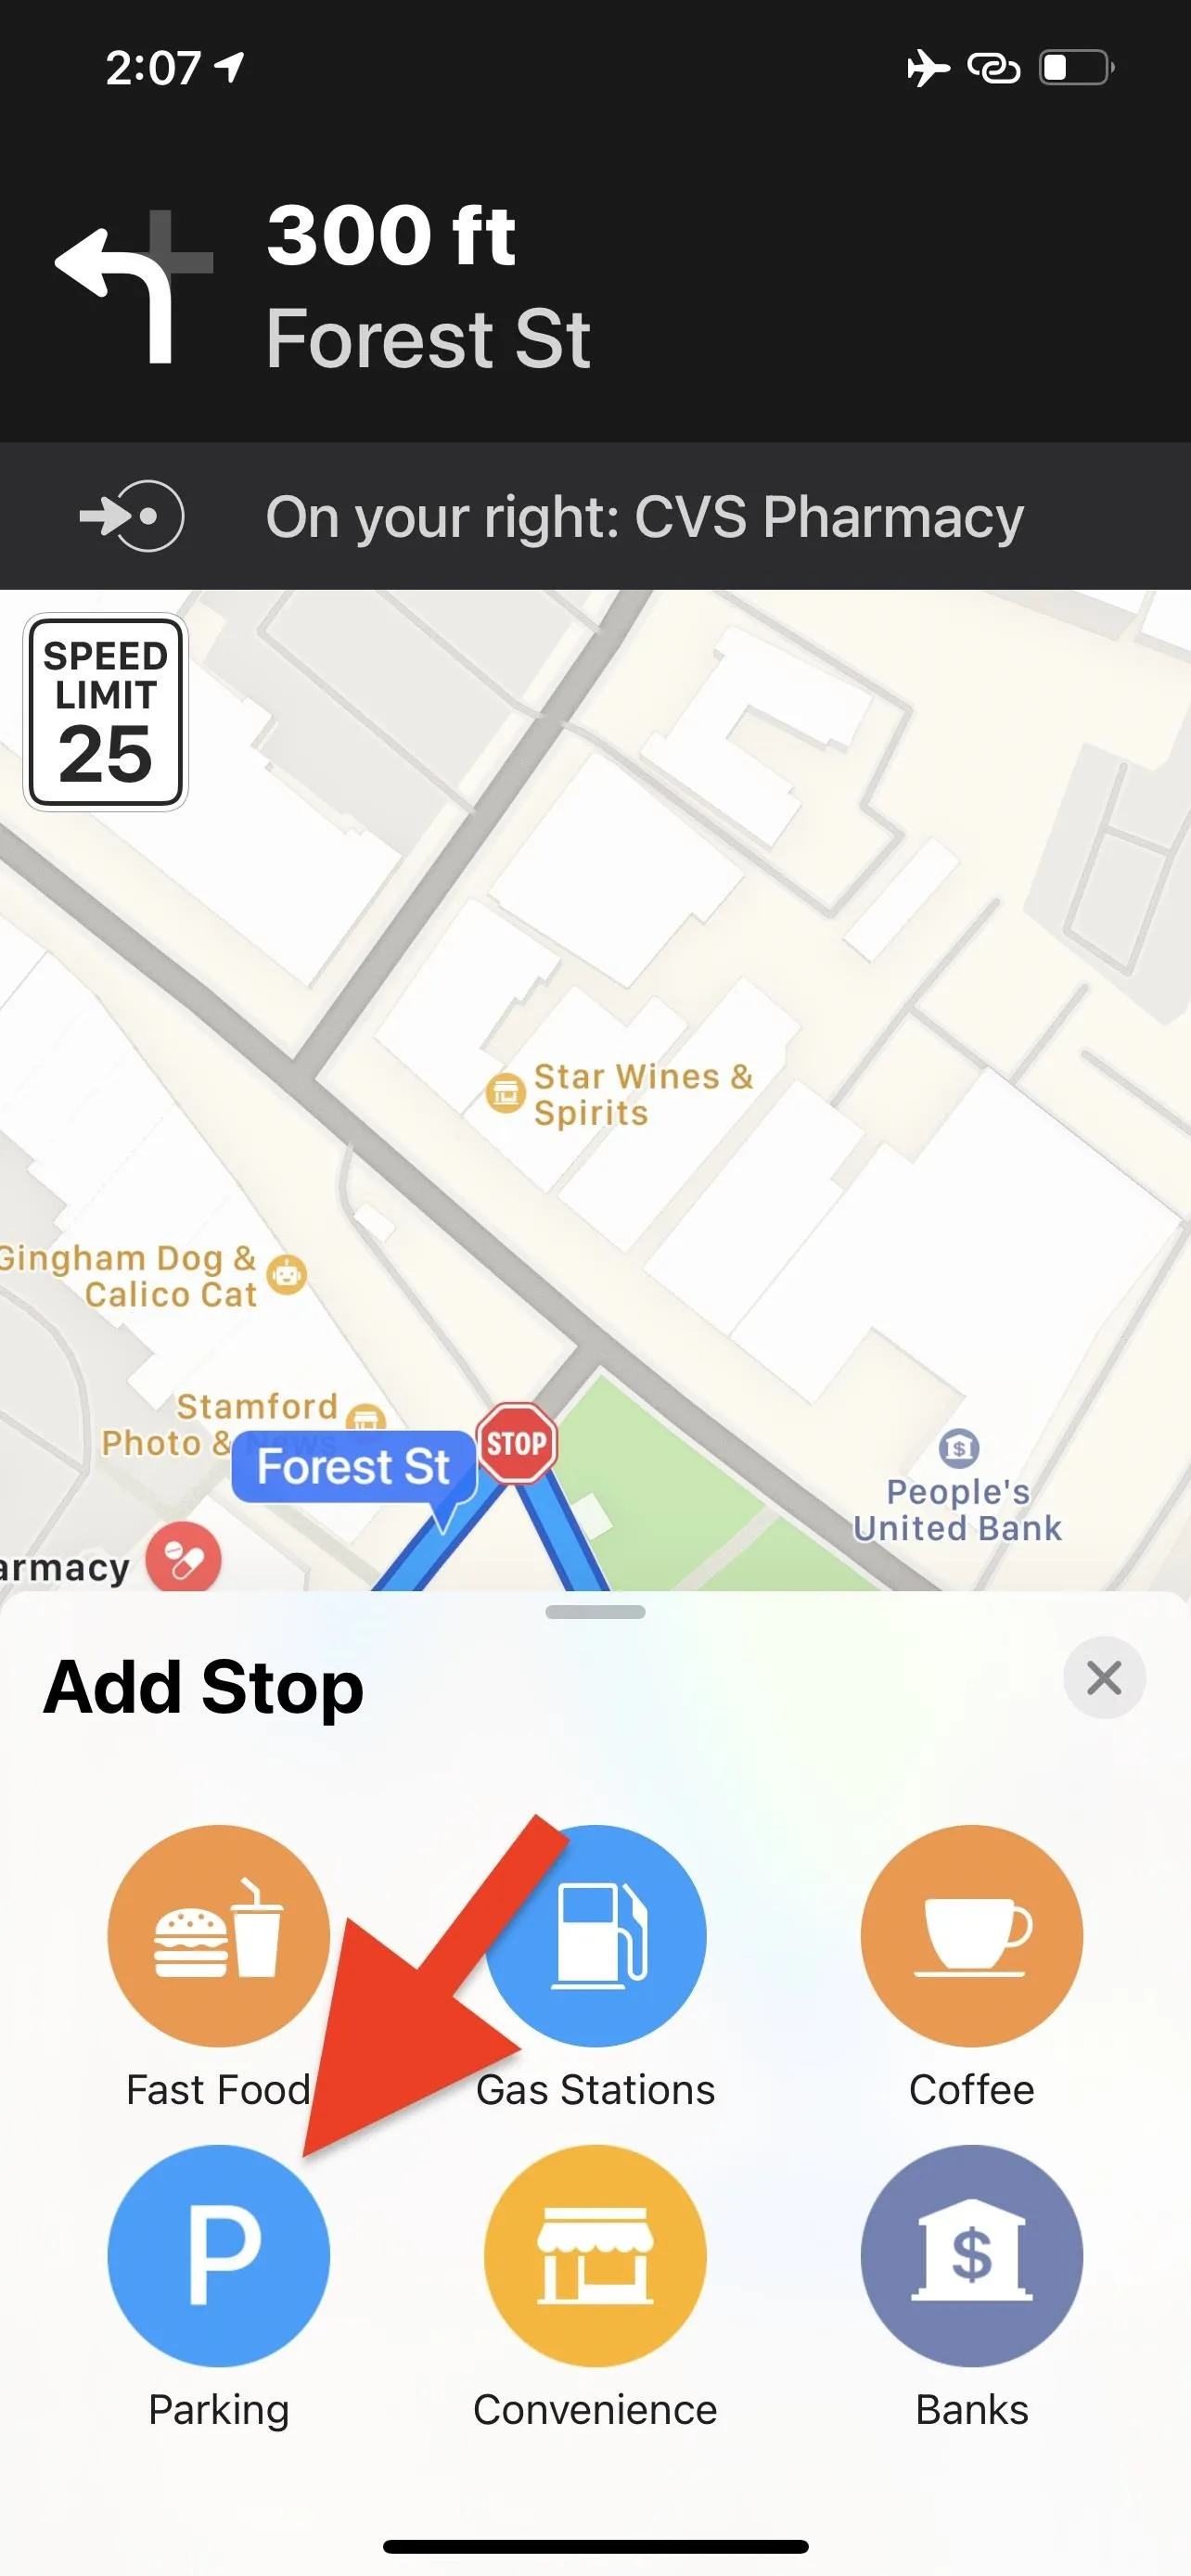
The iOS 14.5 update released April 26 added quite a few new features to Apple Maps. Among those include an expansion of the app's pit-stop options. Before, pit stops for food (Breakfast, Lunch, Dinner), refueling (Gas Stations), and pick-me-ups (Coffee) would appear on the menu itself. Now, they're under a new "Add Stop" button, and there are six different stops to choose from, which may include Convenience, Charging Stations, Banks, and, you guessed it, Parking.
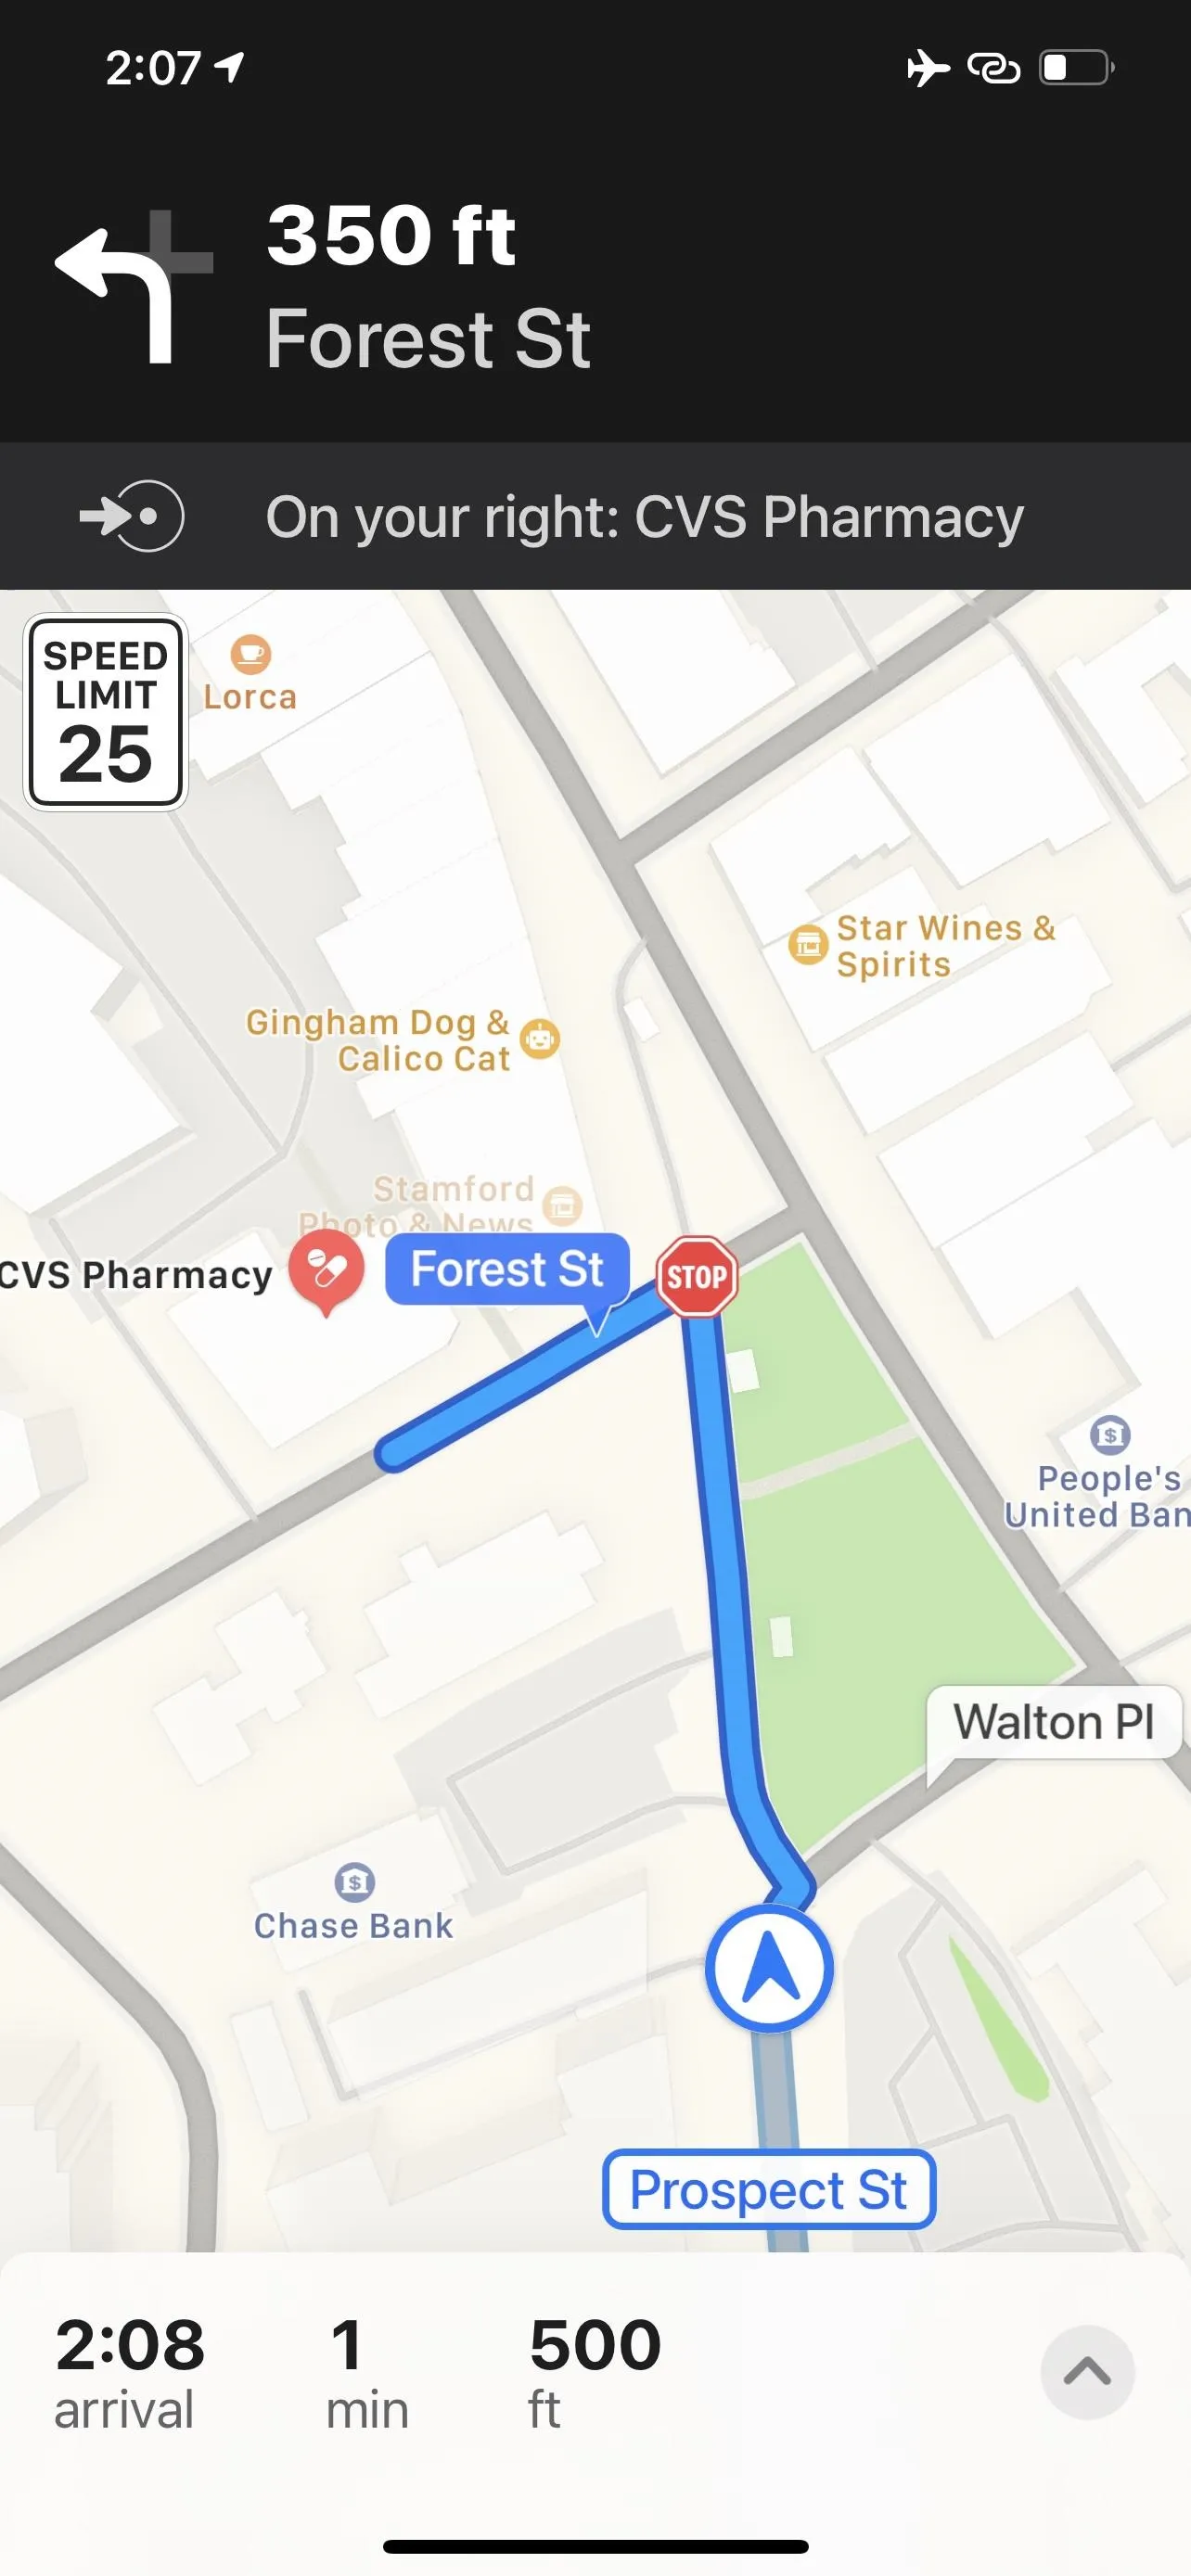
When it comes to helping you find a parking spot at your destination, you'll need to make sure you use the pit stop tool during navigation when you're close to the route's end. If you try to use it mid-route, it'll show you parking options for that current area, not for around your target coordinates. That's not so useful. So, make this feature work for you by using it only when you're close to your final destination.
To start, you'll need to be heading to your destination with driving directions. When it comes time to find somewhere to park, tap the arrow on the menu card or swipe the card up, select "Add Stop," then hit "Parking."

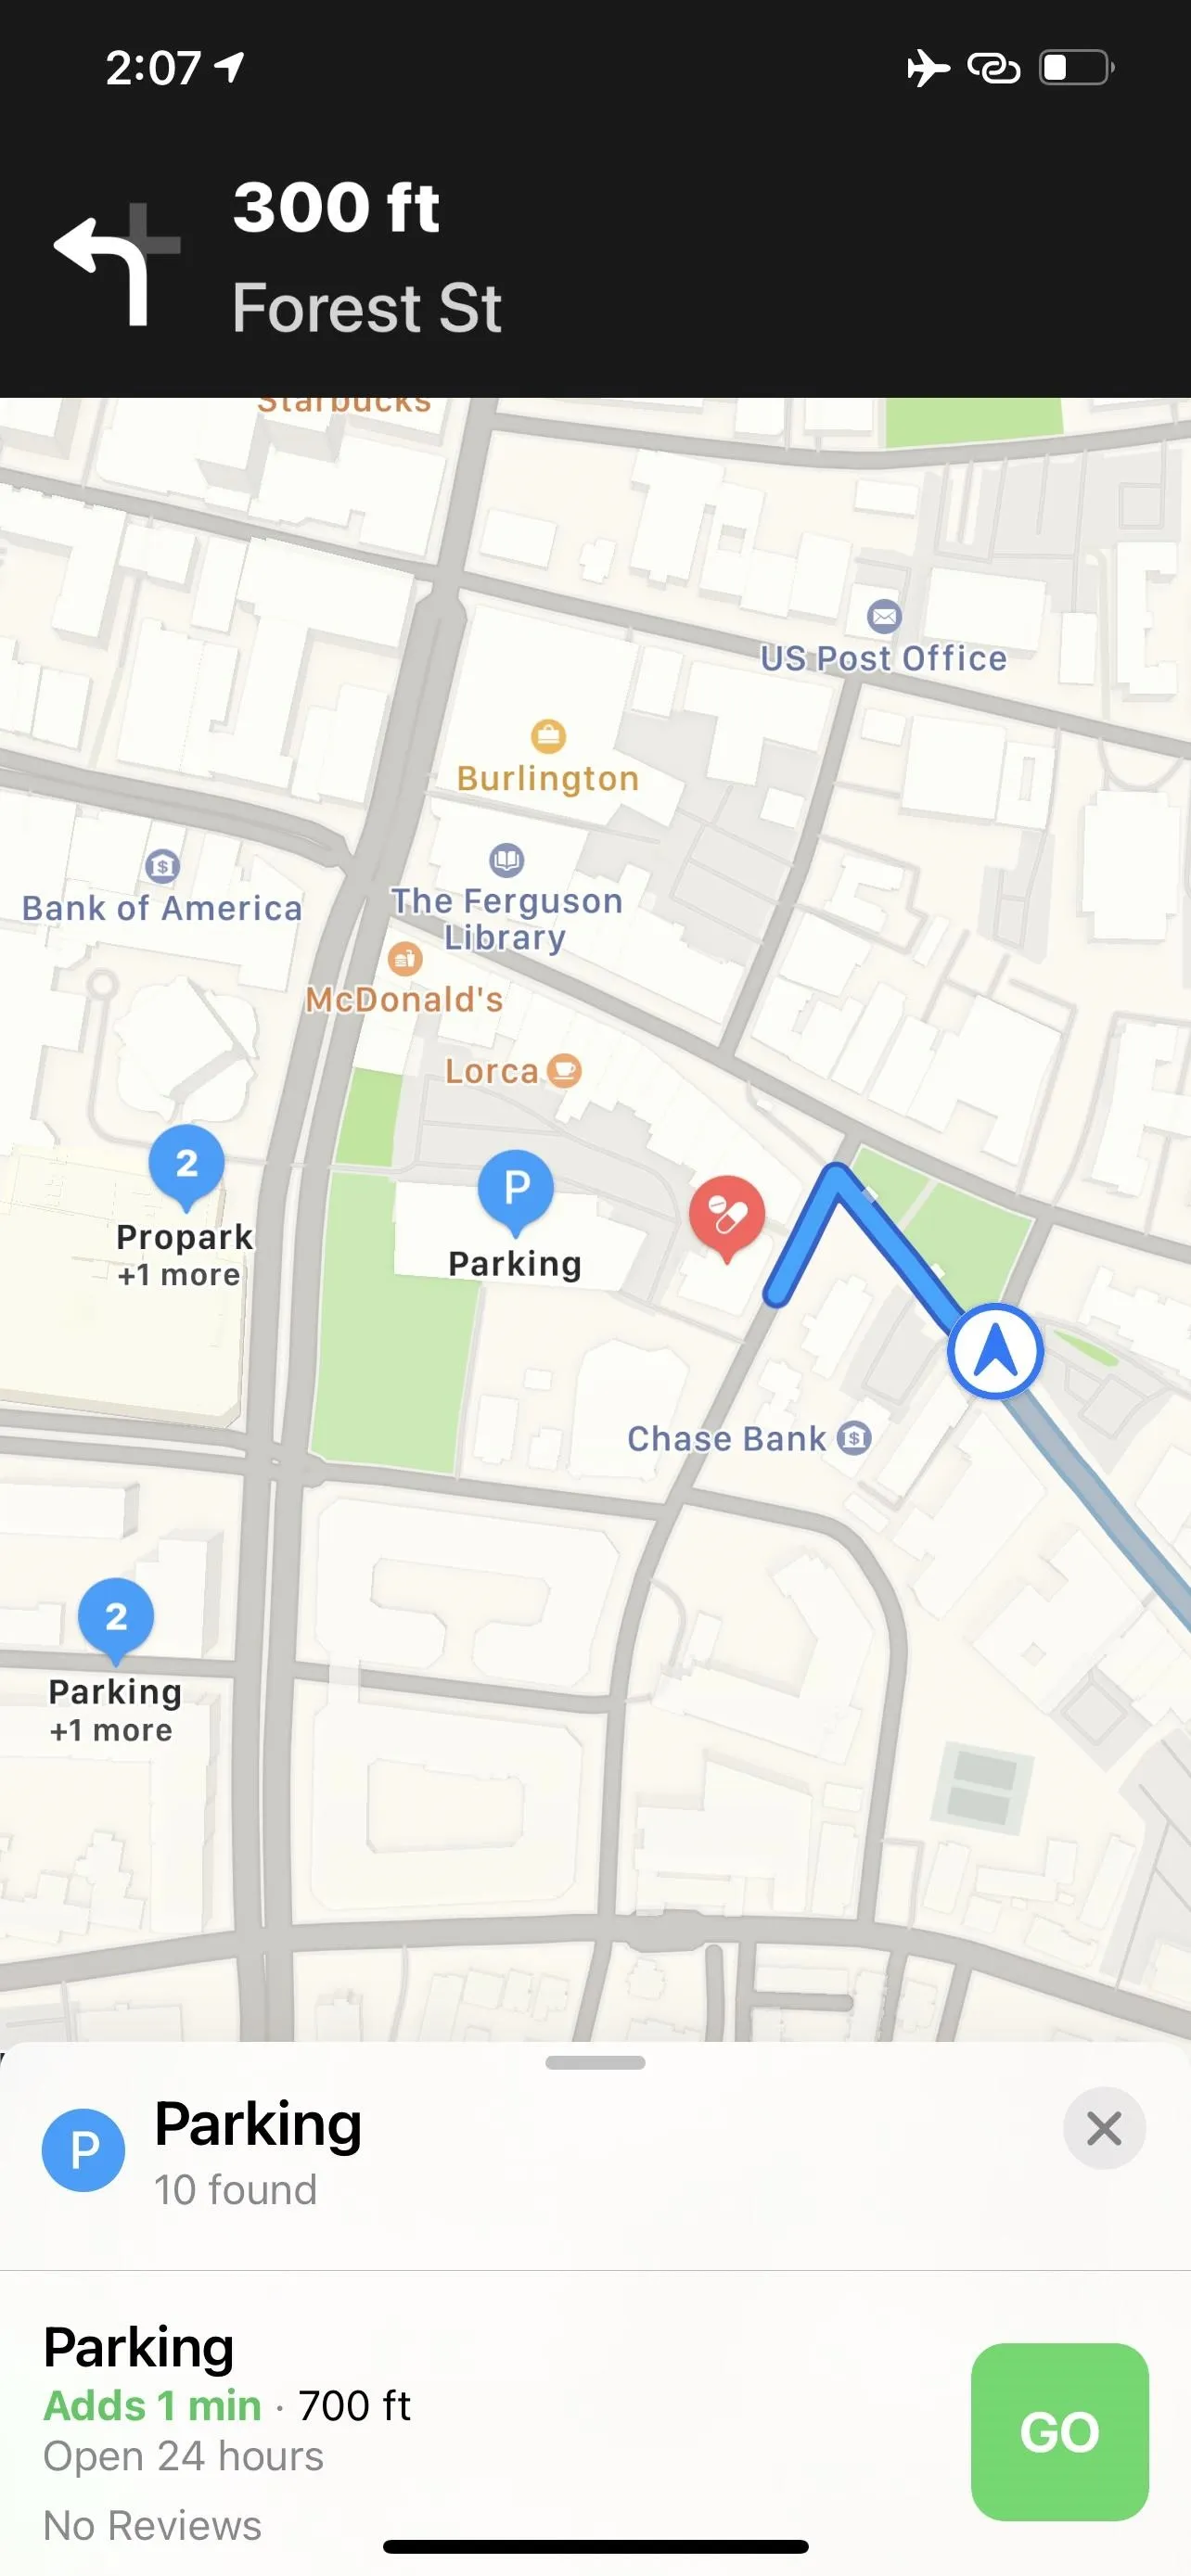
Now, Apple Maps will show you all available parking locations in your area. You can pull up on the card menu to view all options in a list, each of which tells you the amount of time going there adds to your trip, the distance from your current location, and the hours of the parking lot if available. Just tap "GO" next to the option you want.
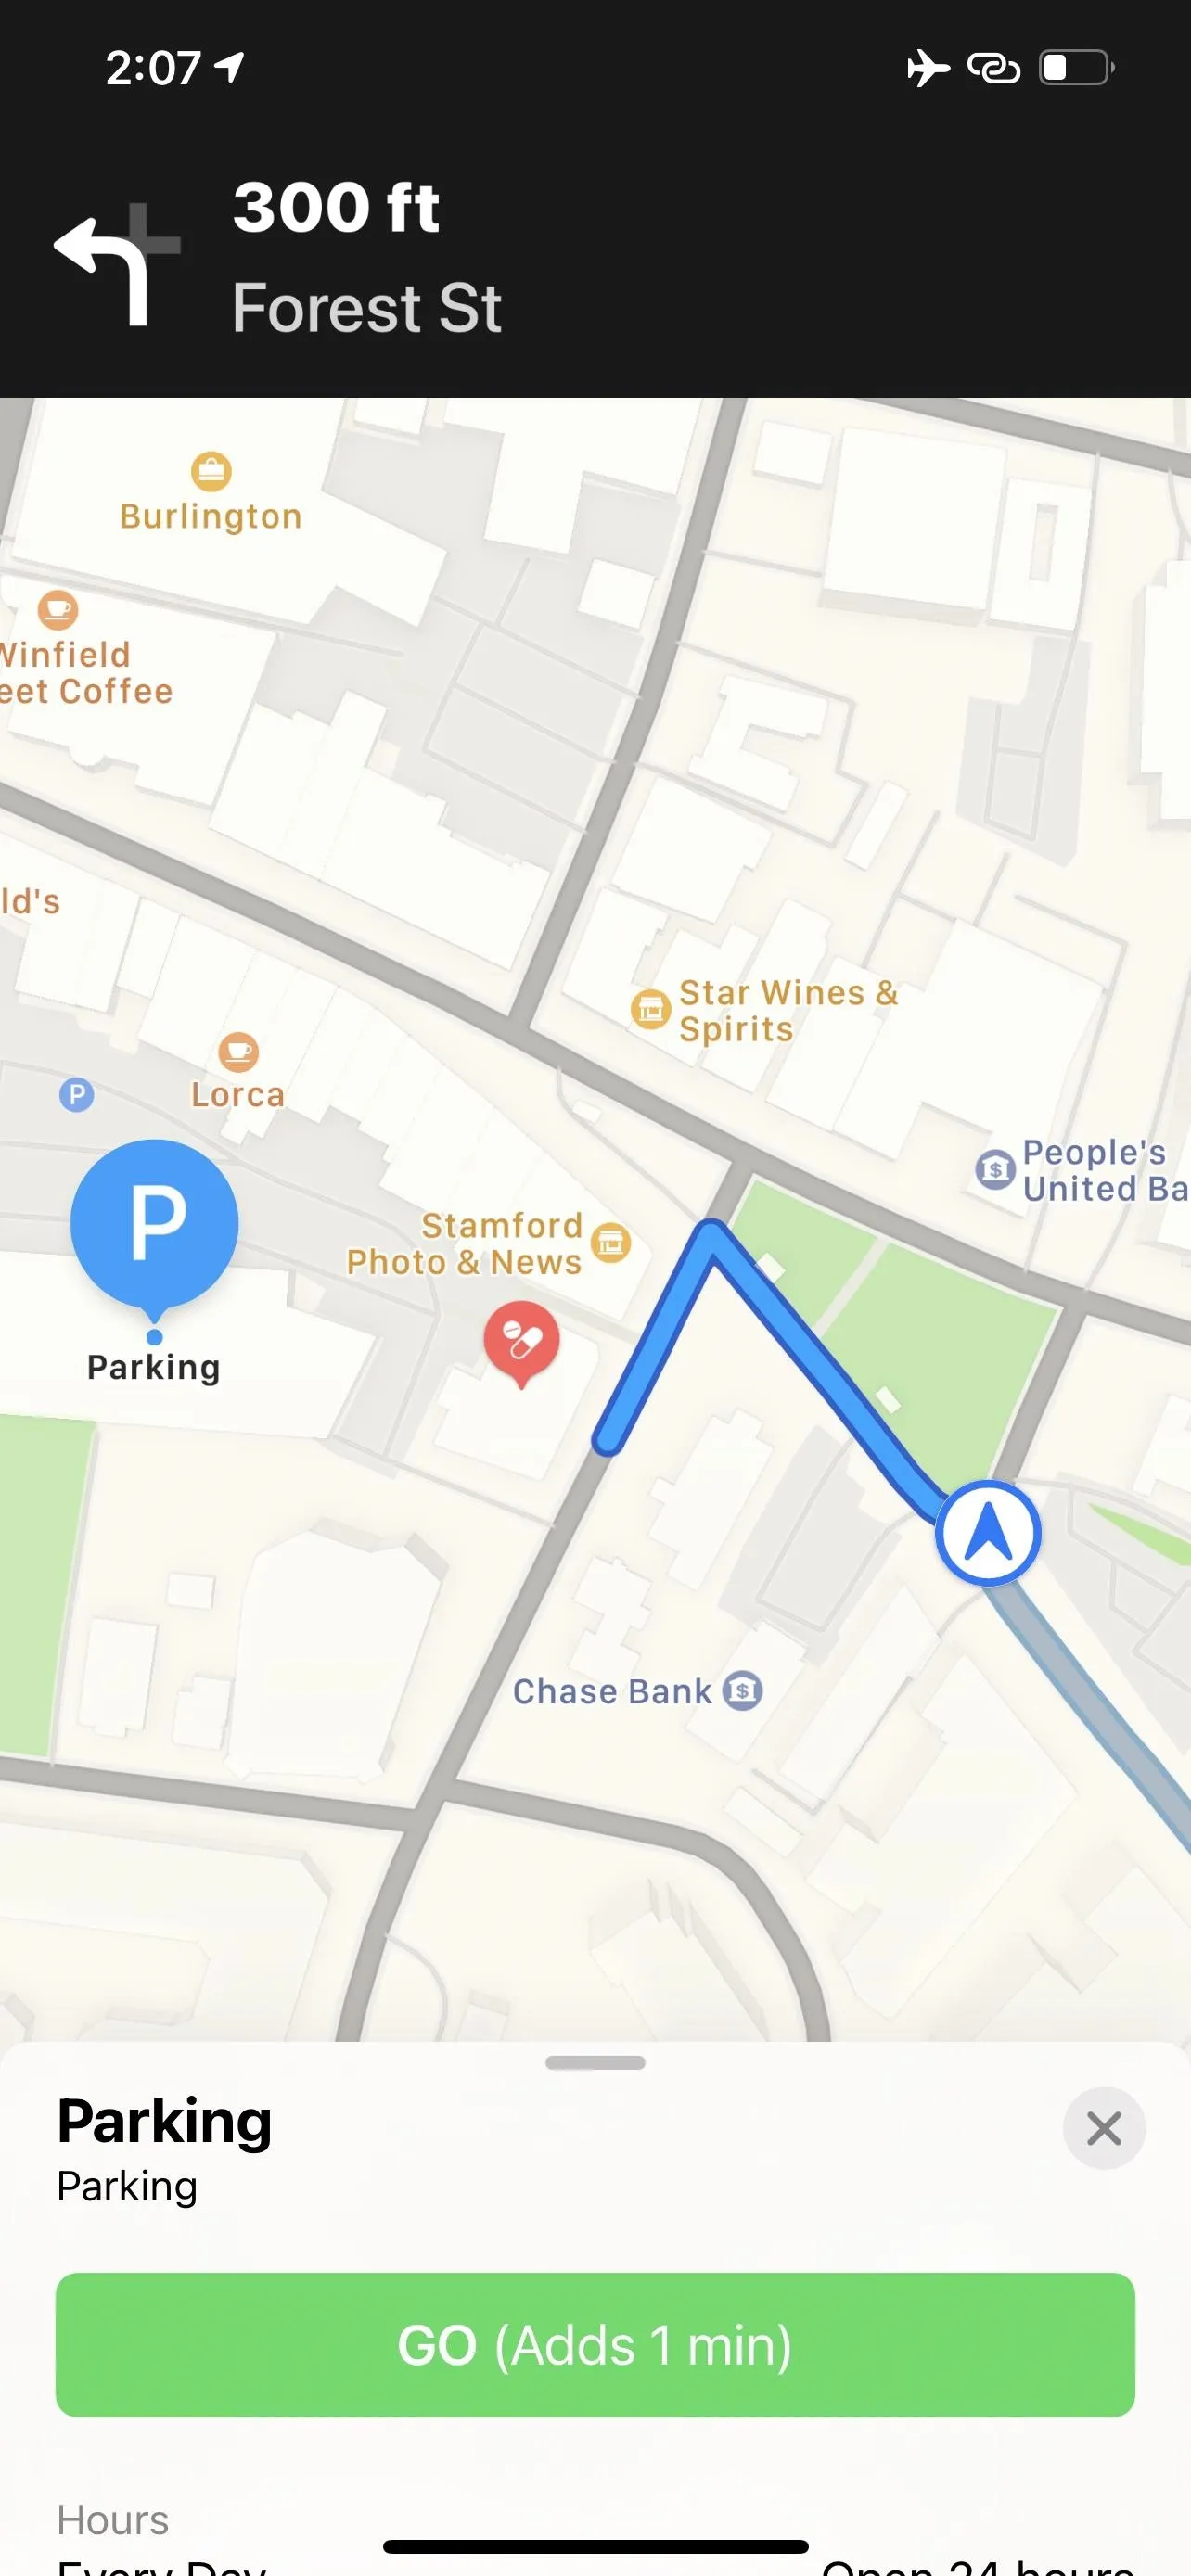
Alternatively, you can tap a location on the map to pull up that option's information. If it's the one you want, tap the green "GO" button, which will also feature the amount of time this stop will add to your trip.
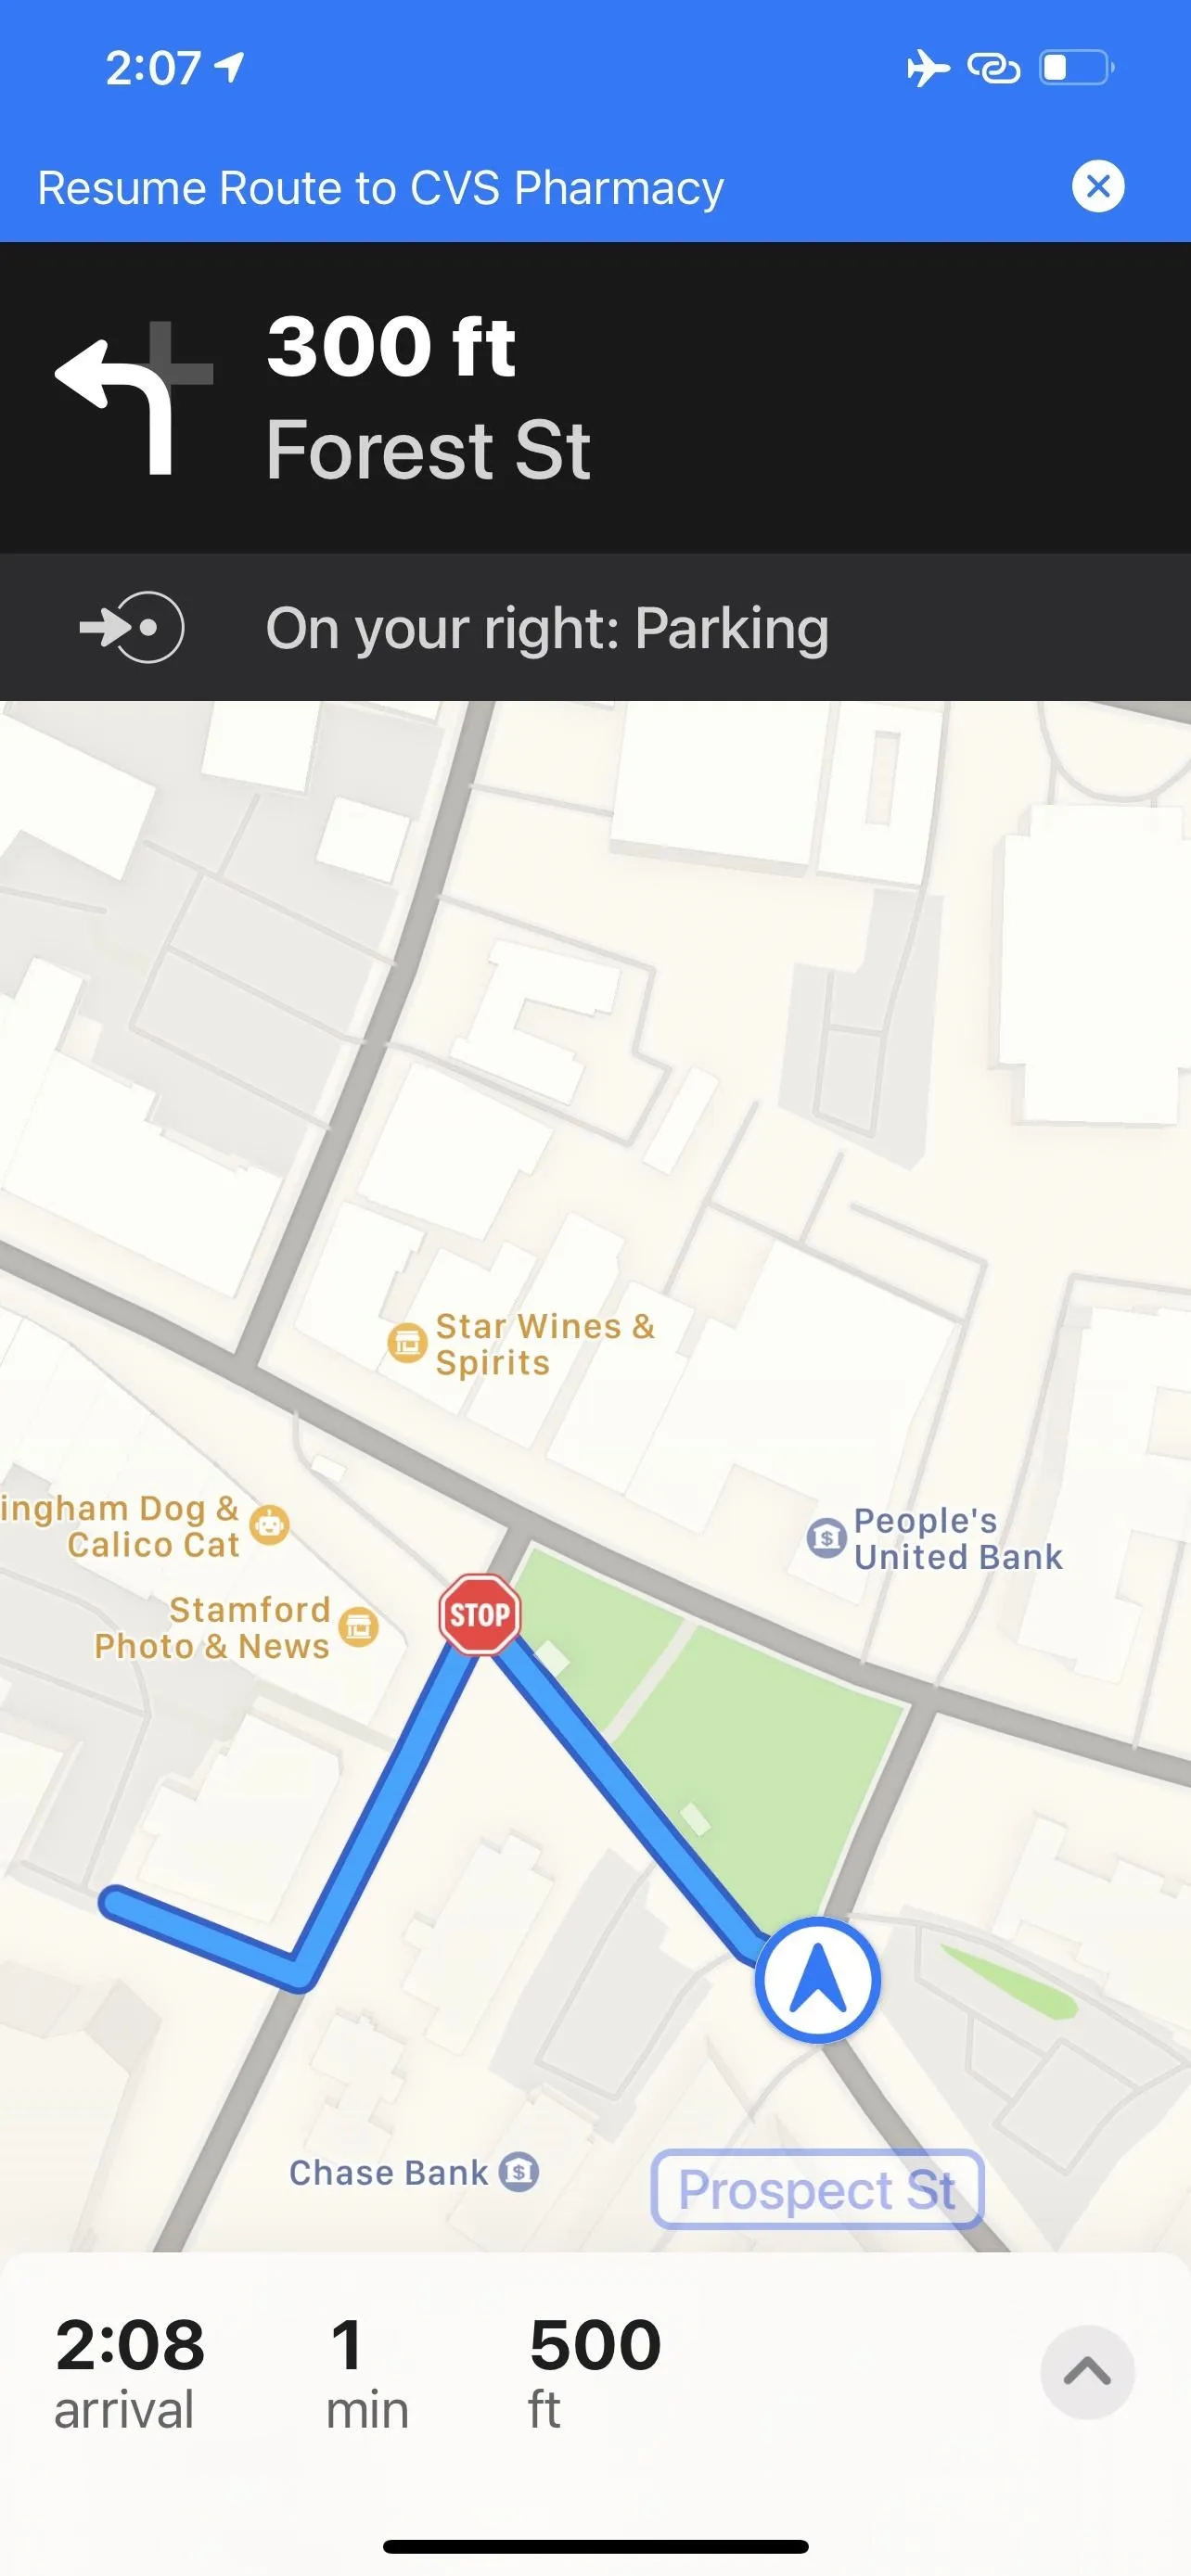
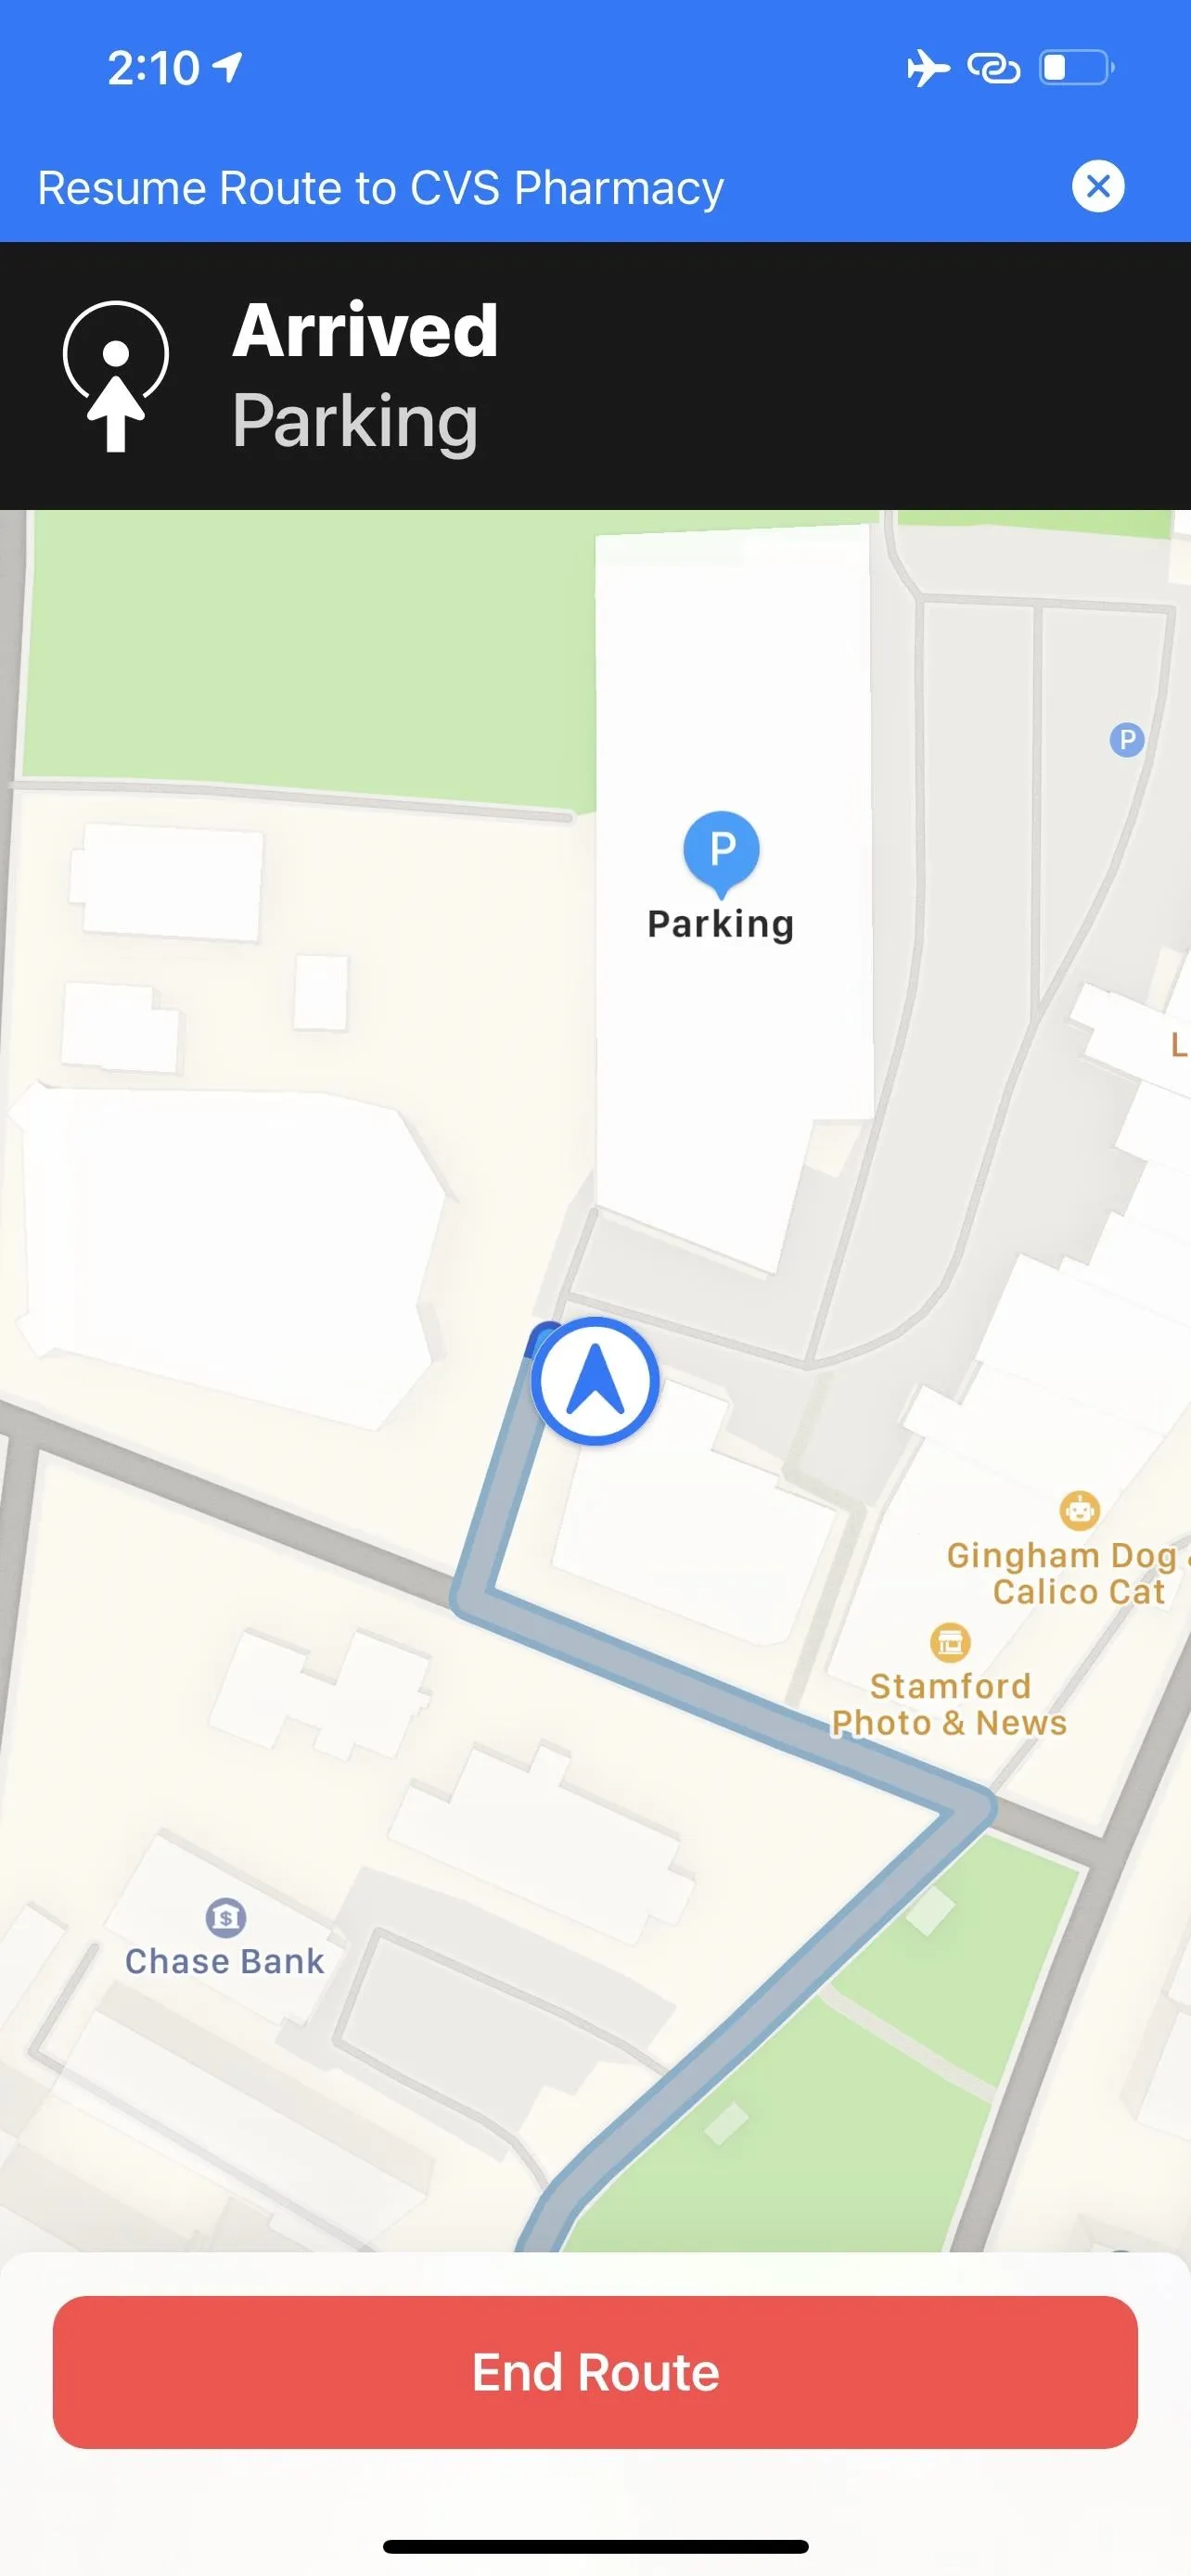
Once you have your parking destination locked into your directions, you can follow them until you reach that destination. When you arrive, you'll see the same "Arrived" screen you normally do, but now you have two options.
If you know how to get to your original destination from the parking location, tap "End Route." However, if you still need directions to that original destination, tap "Resume Route to [Your Original Destination]" at the top of the display. Doing so will bring back the driving directions for the original location so that you can find your way there on foot.
We'd love for a future version of iOS to make this a smart feature, where tapping "Resume Route" after parking within a certain radius of the final destination would automatically switch from driving directions to walking directions. After all, you've parked your car, so you aren't driving to that destination any longer.
By making this feature smarter, you could avoid driving-only scenarios that could add a headache to your walk, like one-way streets and pedestrian-restricted roads. That said, in most cases, driving directions will be just fine for you to guide yourself from a parking location to the destination.
Cover image and screenshots by Jake Peterson/Gadget Hacks


Comments
Be the first, drop a comment!