If you've ever used the Find My iPhone and Find My Friends apps in iOS 12 and below, you may be surprised to hear that those apps have joined forces in iOS 13. Now, instead of two separate apps, they're combined into one convenient package. But what does that mean for you and your privacy and security?
Overall, Apple has greatly improved iOS privacy and security in its latest mobile operating system. There are granular location data controls for apps, notifications when apps are using your location in the background, an option to remove geotags from photos you share, and a new way to sign in with apps and websites. And those are just a few of the latest enhancements, alongside the new "Find My" app.
Because Find My combines two of Apple's services into one place, things function a little bit differently than they did in iOS 12 and below. Plus, there are some new features you'll want to know about, and we've laid everything out for you so you can dive right in without any issues or concerns.
Jump to a section:App Name & Icon | Using Find My iPhone (Viewing the Map | Device Info & Tools | Lost Mode | Map Settings | Helping Friends | Settings | Offline Finding) | Using Find My Friends (Settings | In-App Options | Viewing the Map)
The New Name & App Icon
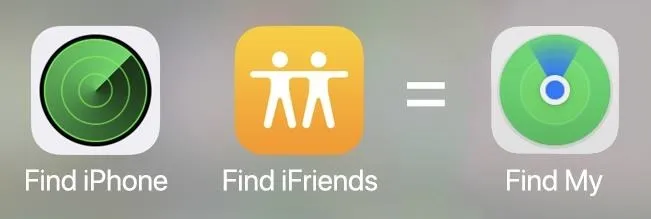
The new "Find My" name is a pro in and of itself, as there's no more need to refer to either "Find My iPhone" or "Find My iPad" or "Find My iPod" anymore. Or shortened app names like "Find iPhone." It's just "Find My." Simple, right? However, at its core, the "Find My iPhone" service is still called that, just found in the "Find My" app.
Its new icon looks like an improved radar system, only with fewer details, brighter greens, and the location symbol that appears on Apple Maps to show your current location and direction.
Using Find My for Your Devices
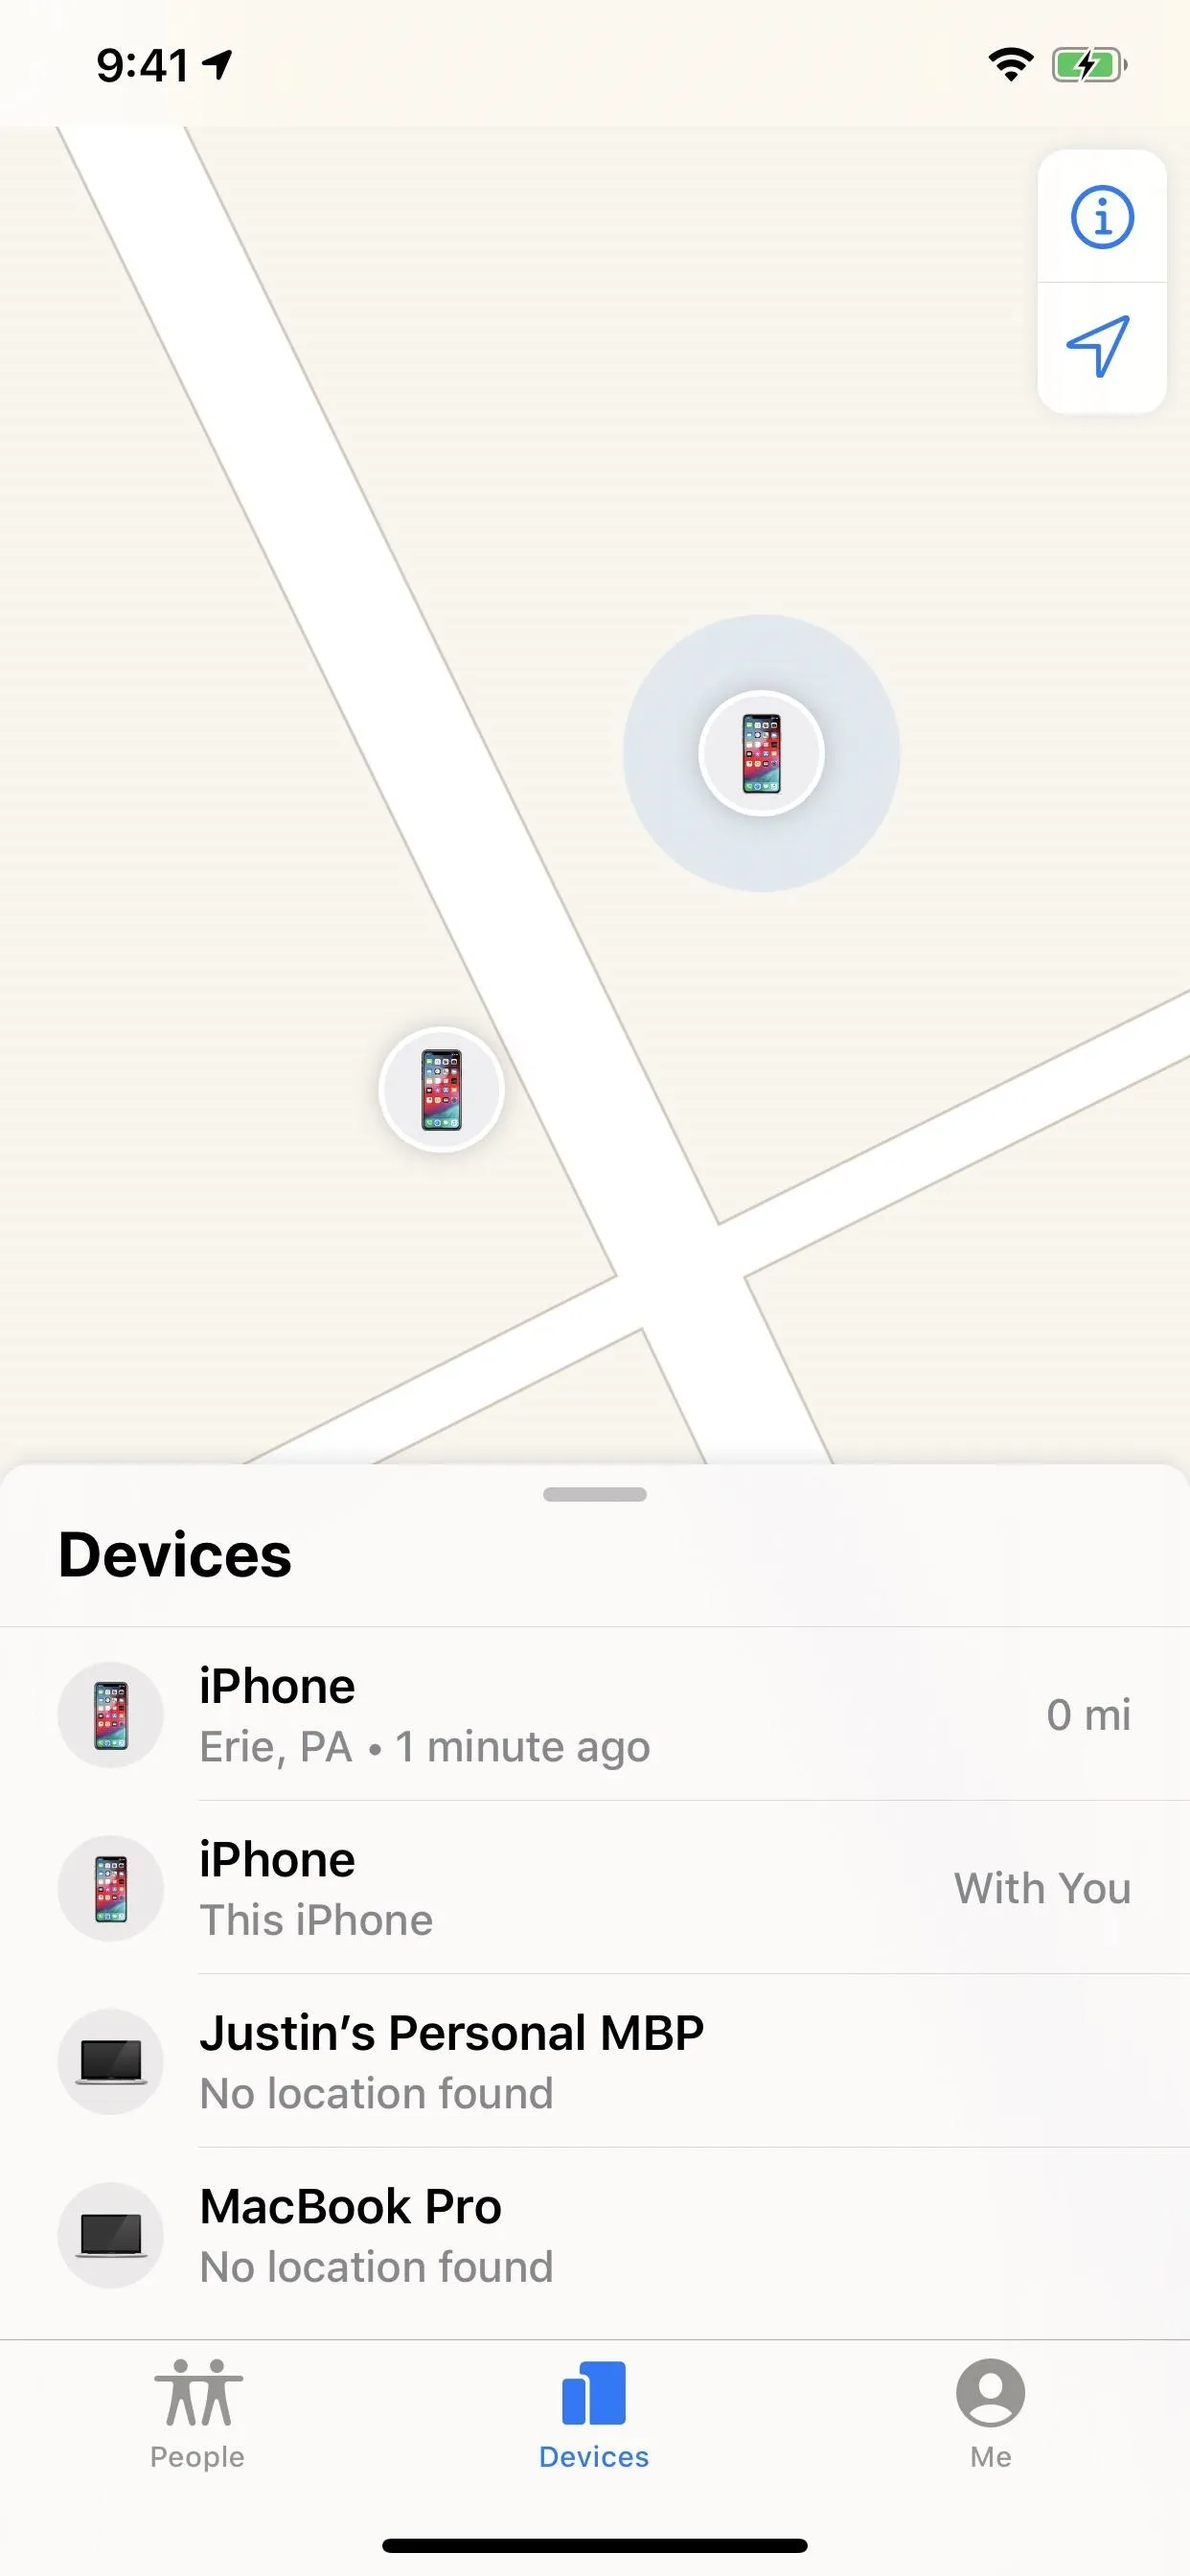
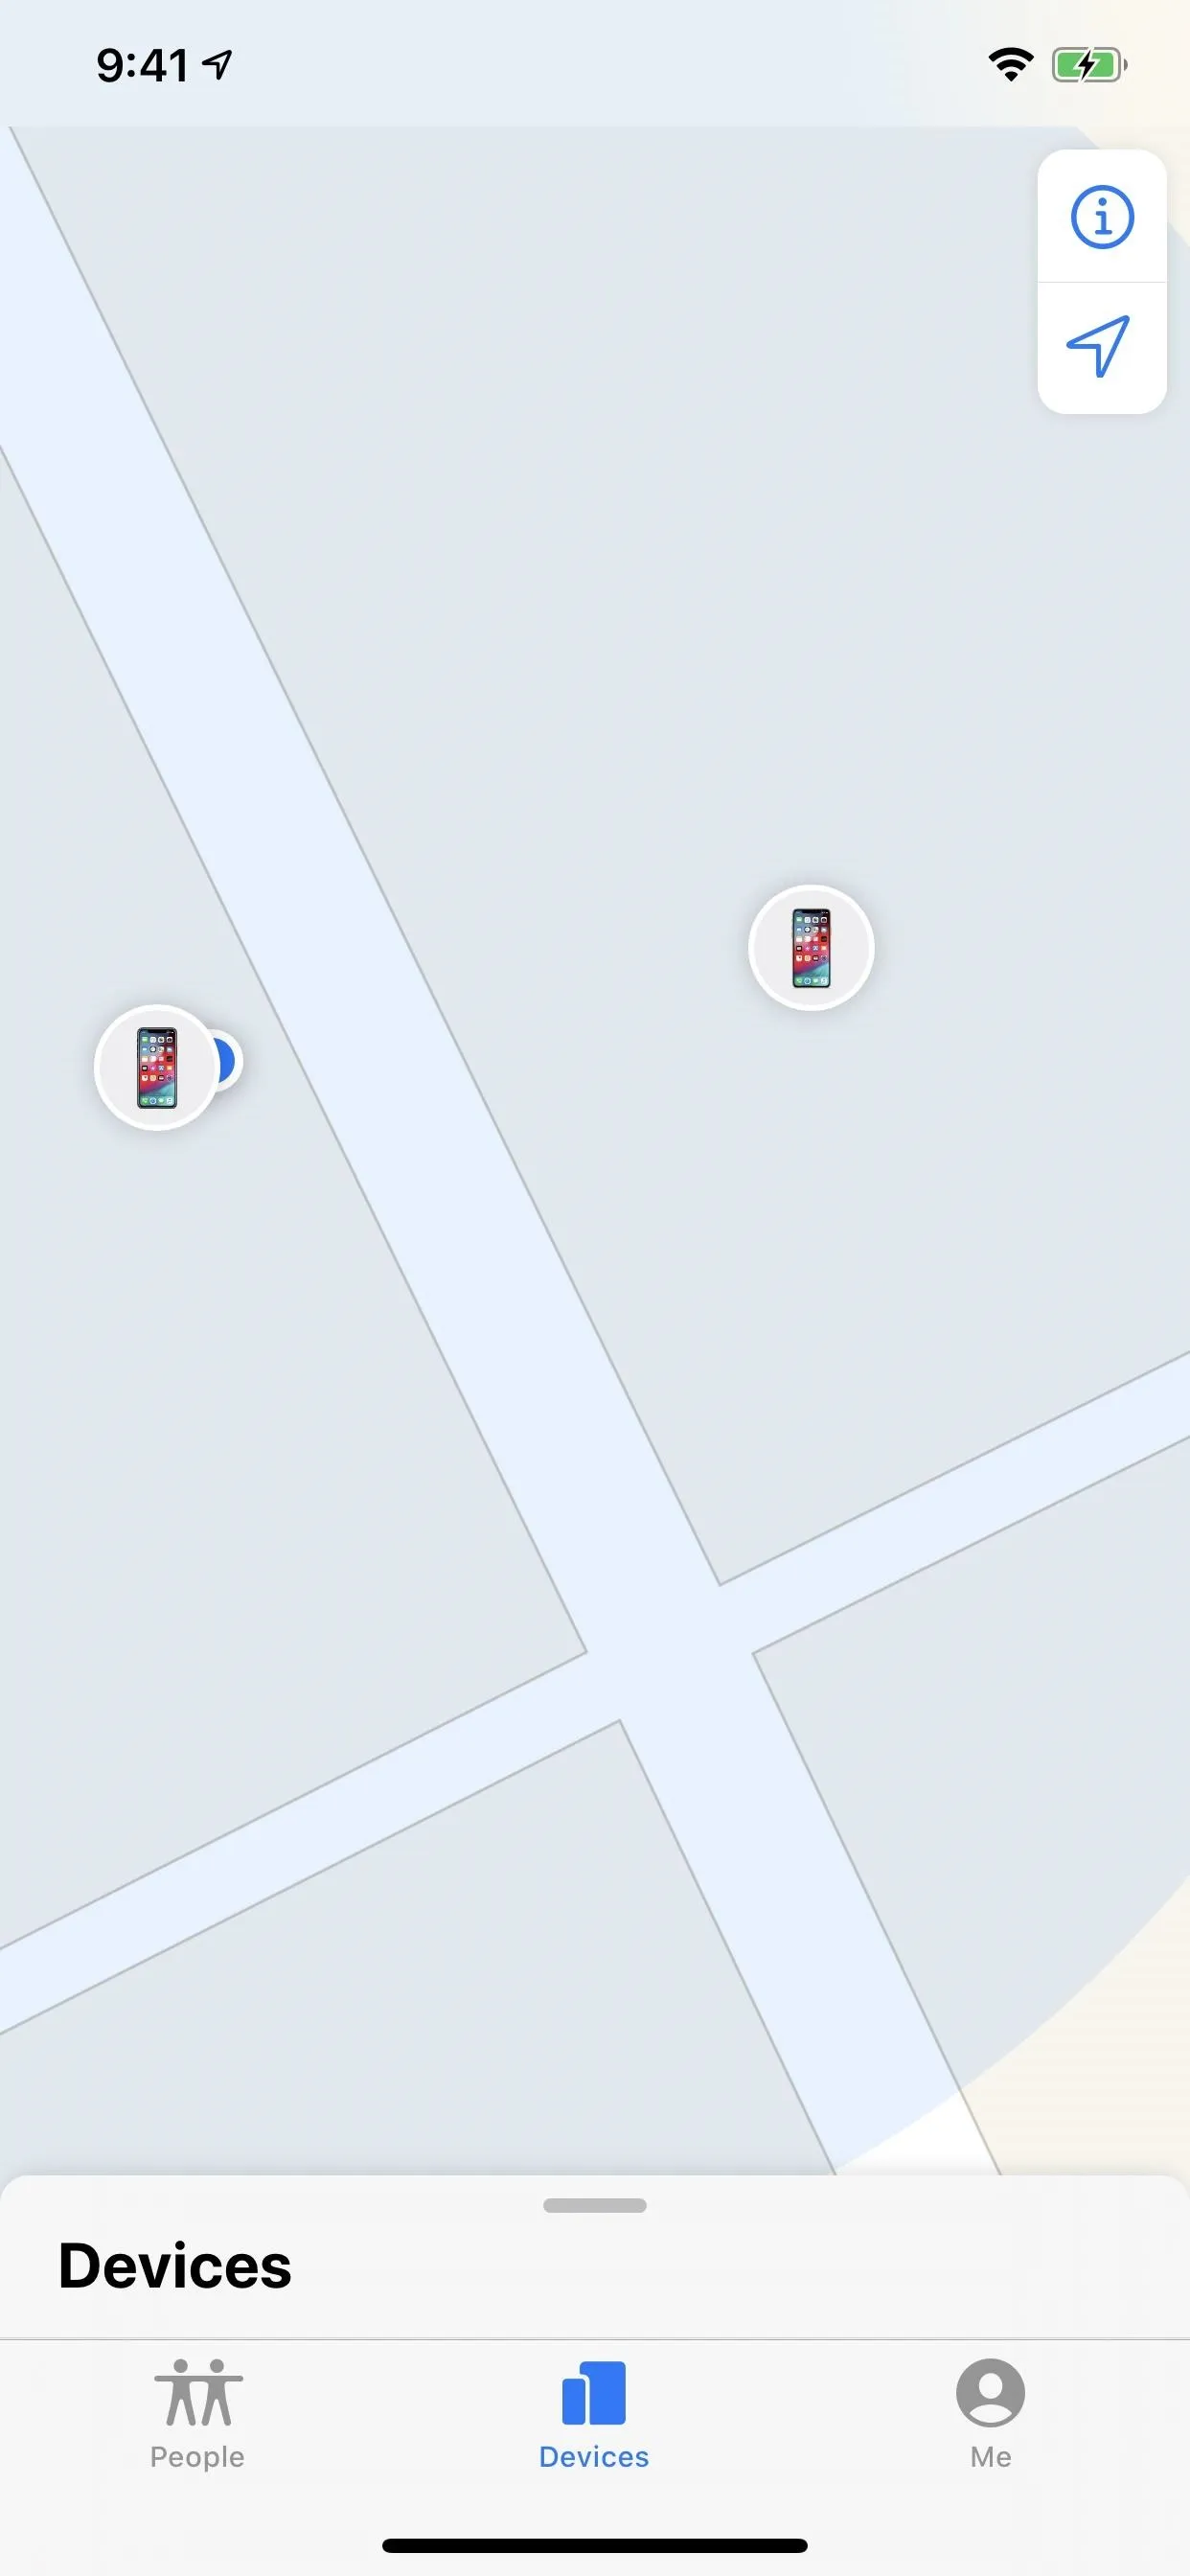
To access the Find My iPhone features, select the "Devices" tab from the navigation menu at the bottom. All of the options you were used to before exist here as well. The Apple devices connected to your iCloud account will show up on the map if their location is known.
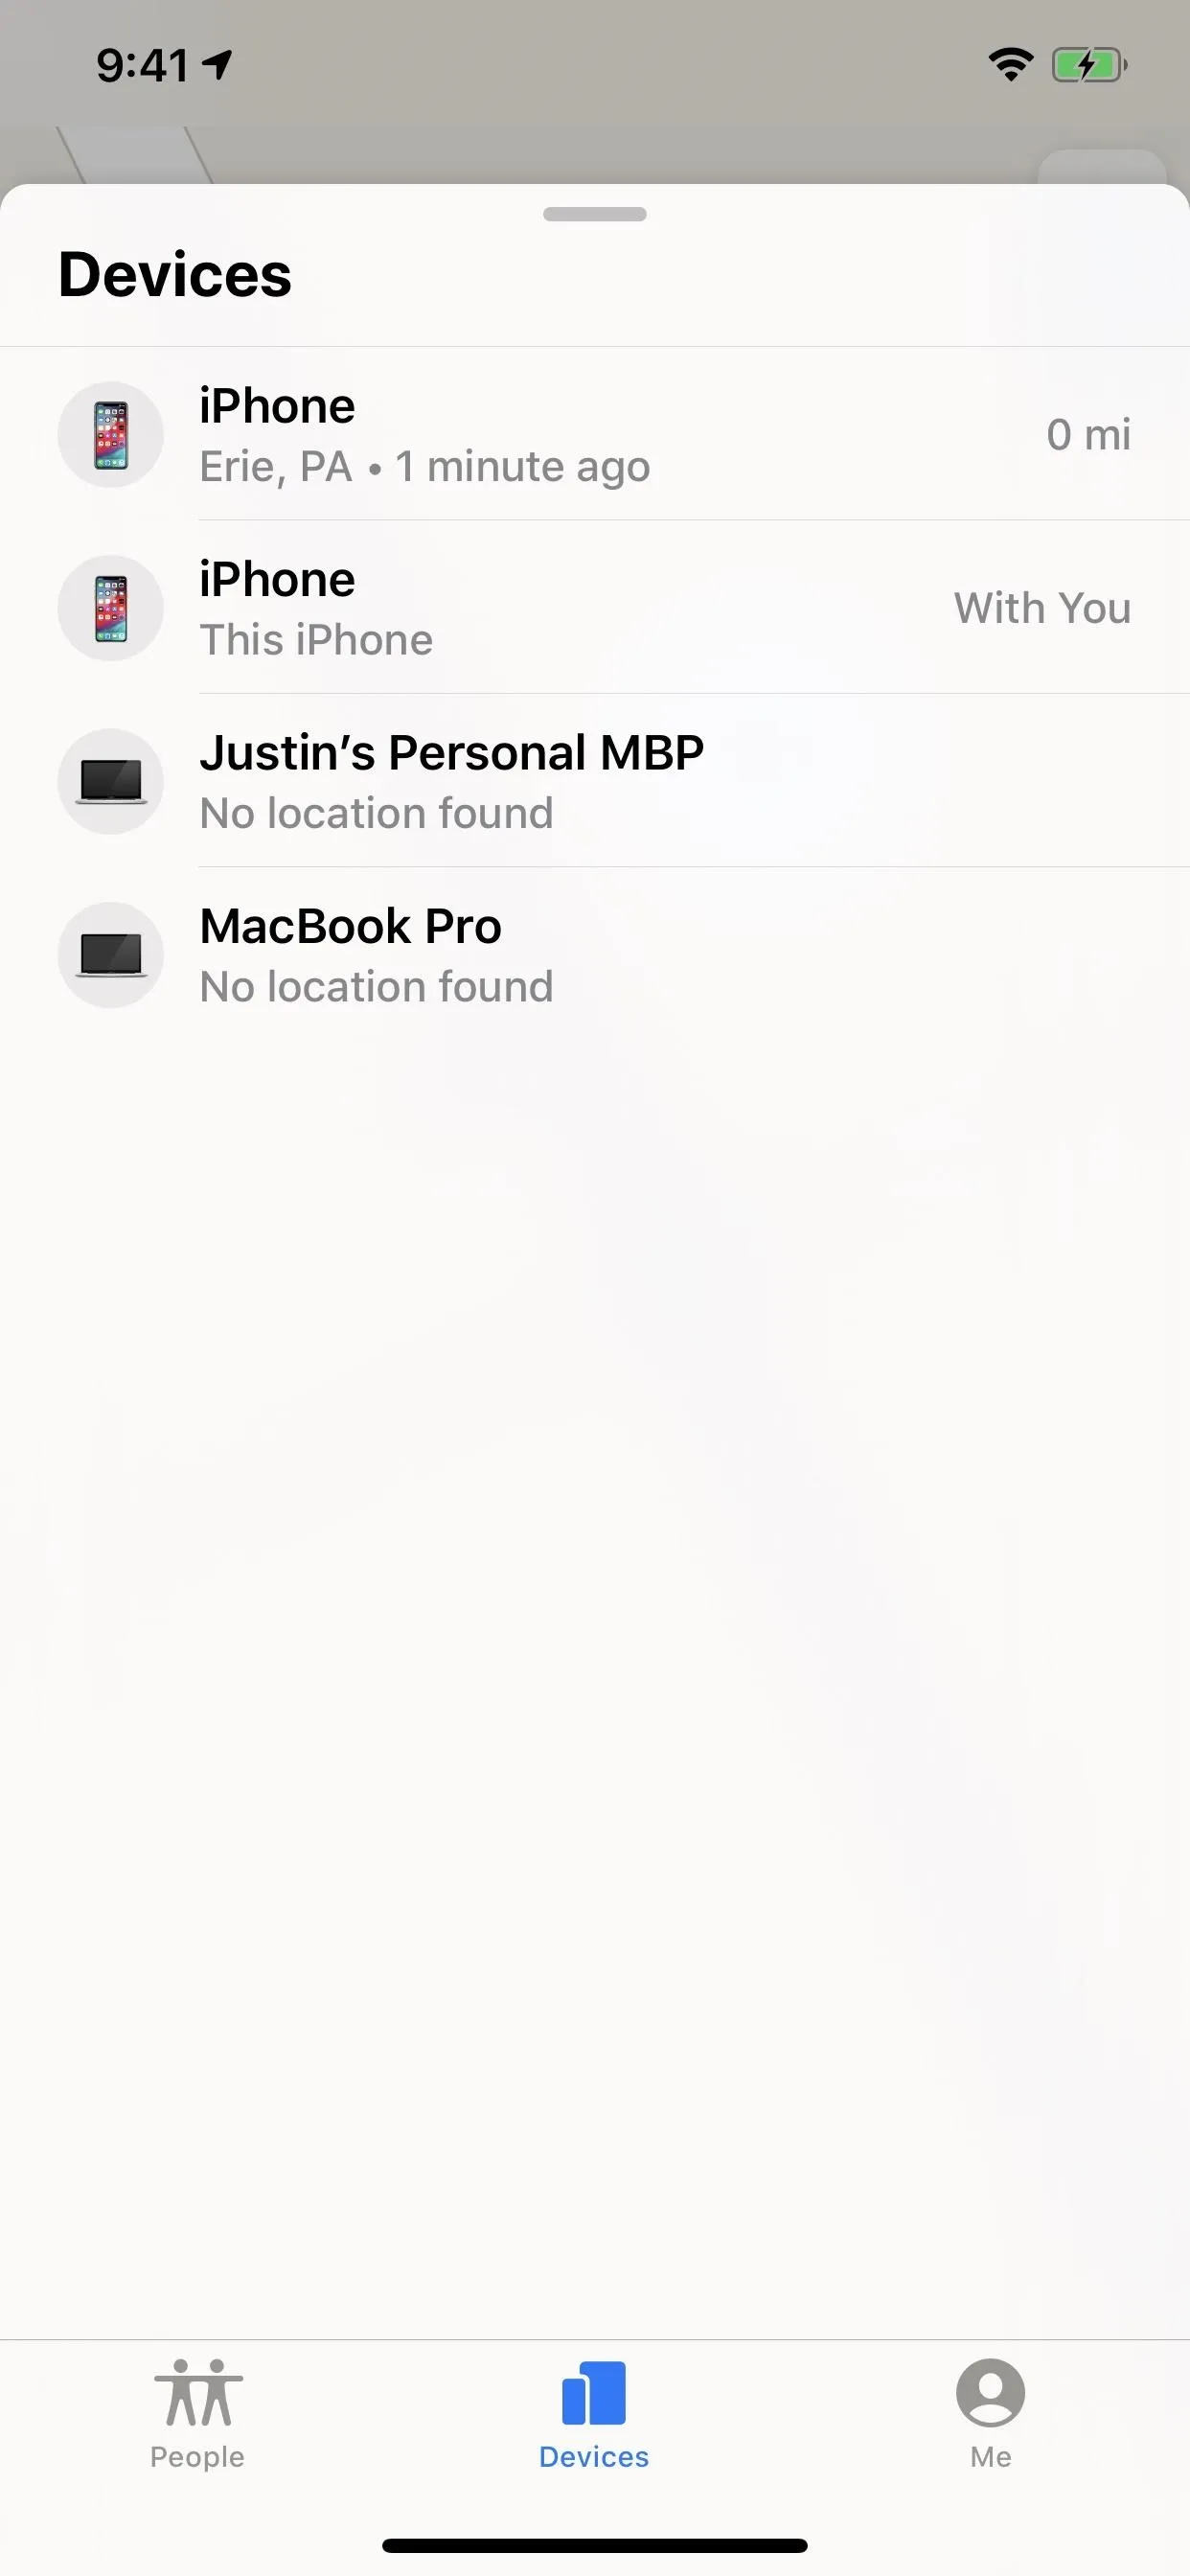
Below the map, you'll see the list of all of the devices, location or no location, and you can swipe up to view more if hidden or swipe down to close the card. Previously, you could not expand or hide the list of devices.


Viewing Device Information & Using the Tools
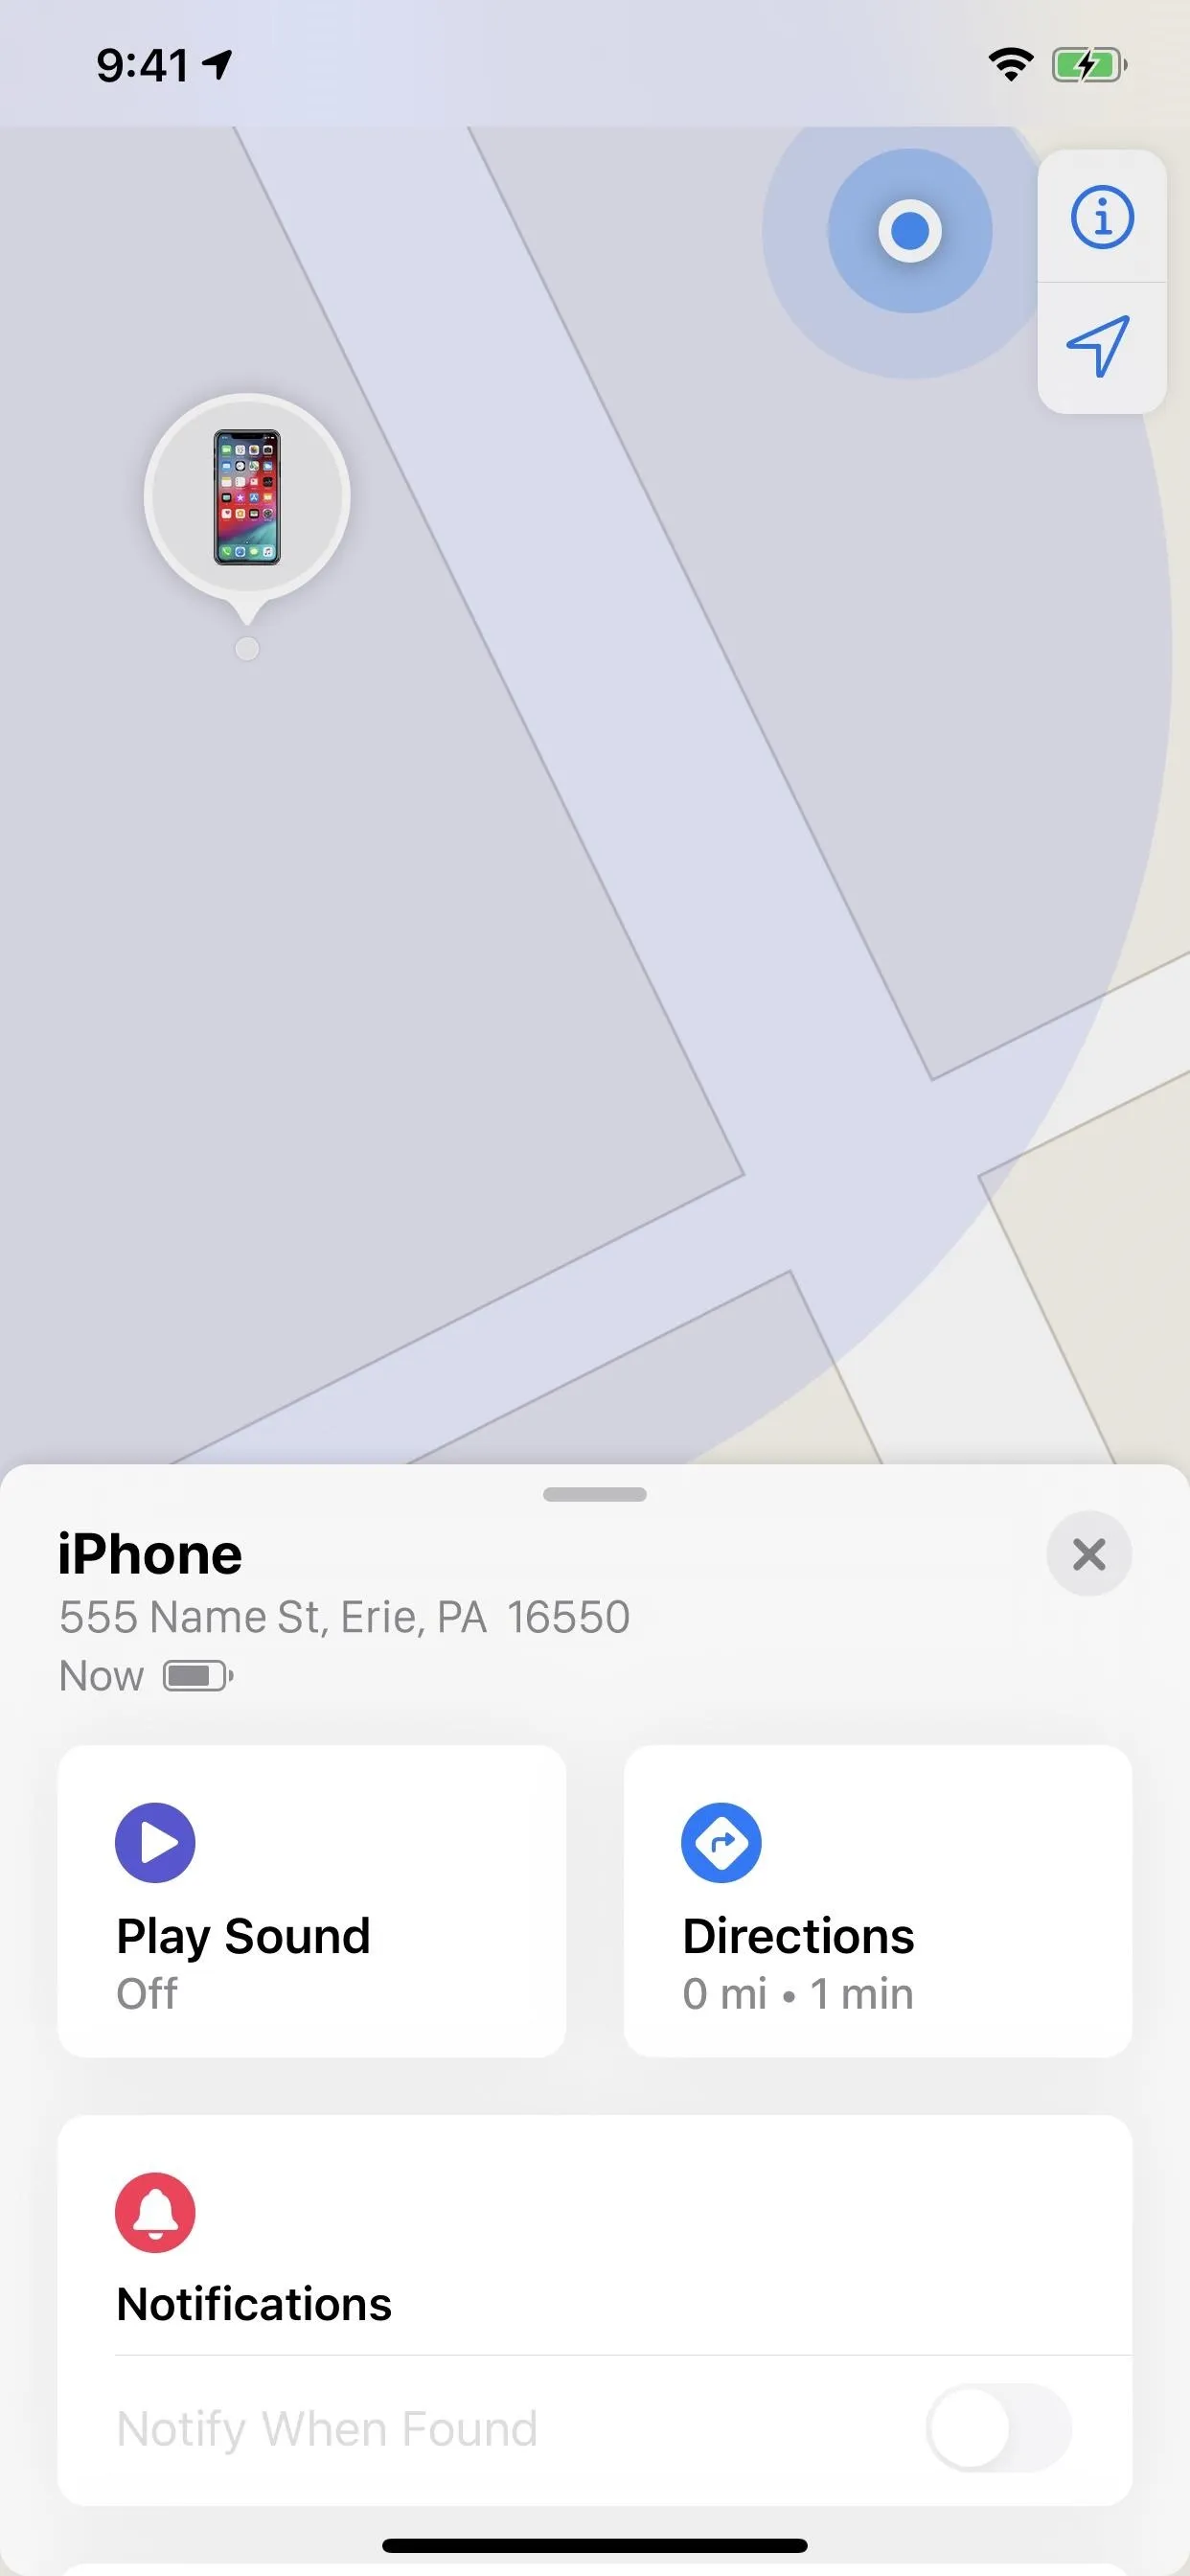
When you tap on a device name or icon, a card appears with all of the information you need such as device name, location, battery life, and when it was last located. Also, for offline devices, you can set it so that you get a notification when they come back online. Previously, tapping a device would not show its exact address or battery levels.
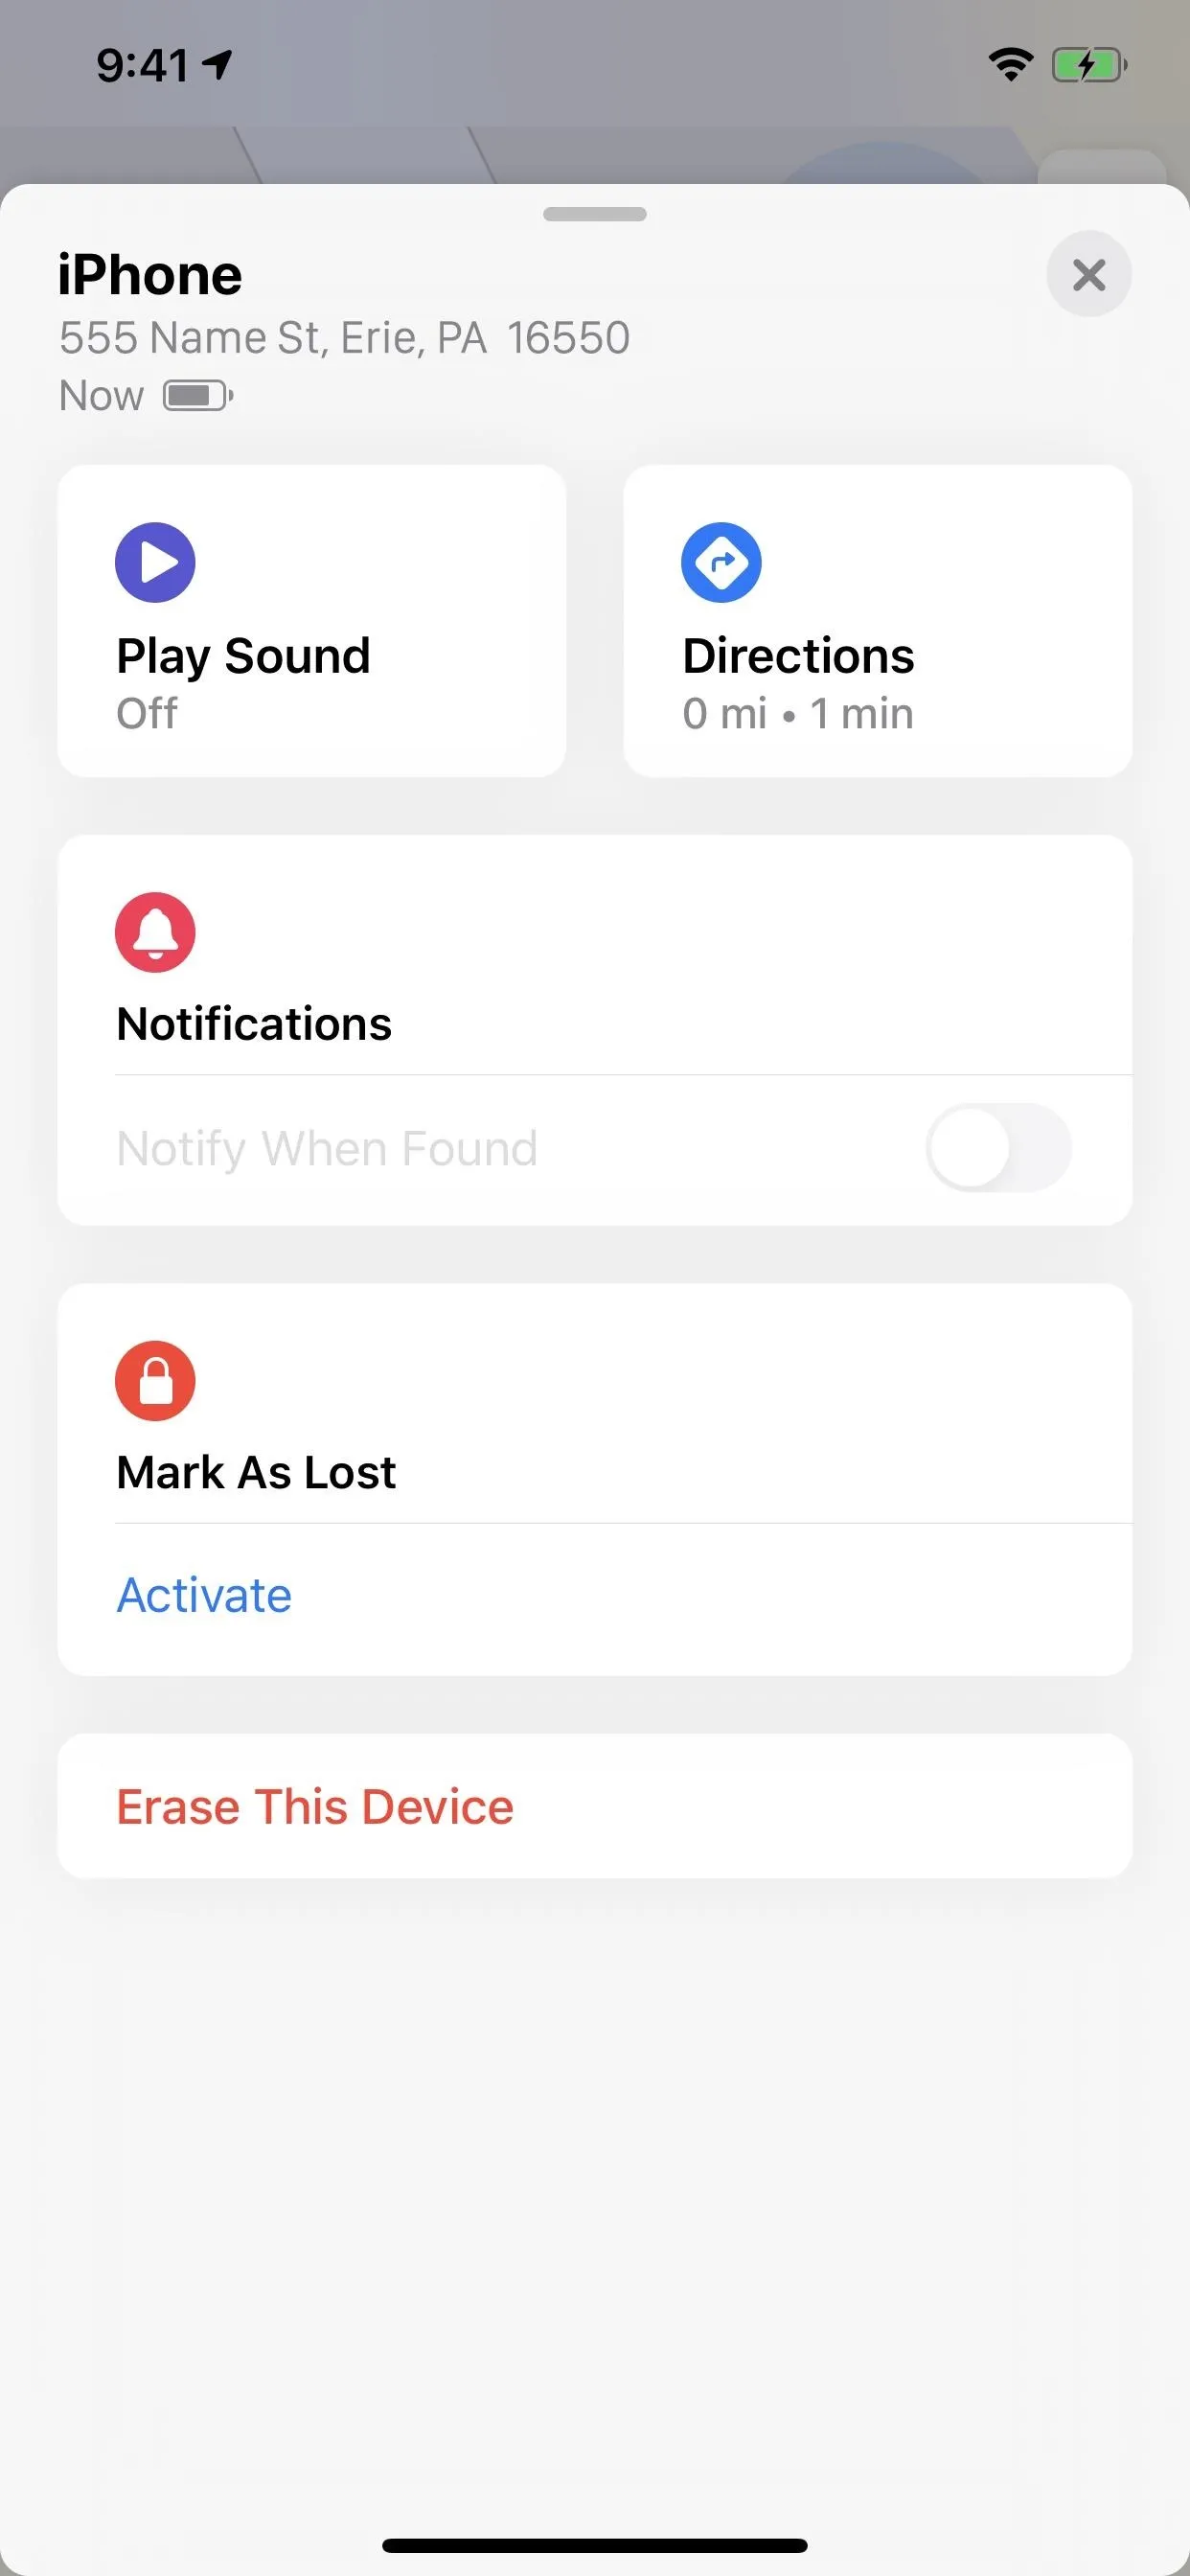
In iOS 12 and under, you had to tap "Actions" to see the list of tools available, but in iOS 13, it's all right there on the card immediately. Swipe up on it to view them all. You can play a sound on the device to help you find it in the immediate area, get directions to its coordinates with Apple Maps, and erase the iPhone if you need to. Also, there's "Mark As Lost," the equivalent of the old "Lost Mode."


The Lost Mode Differences
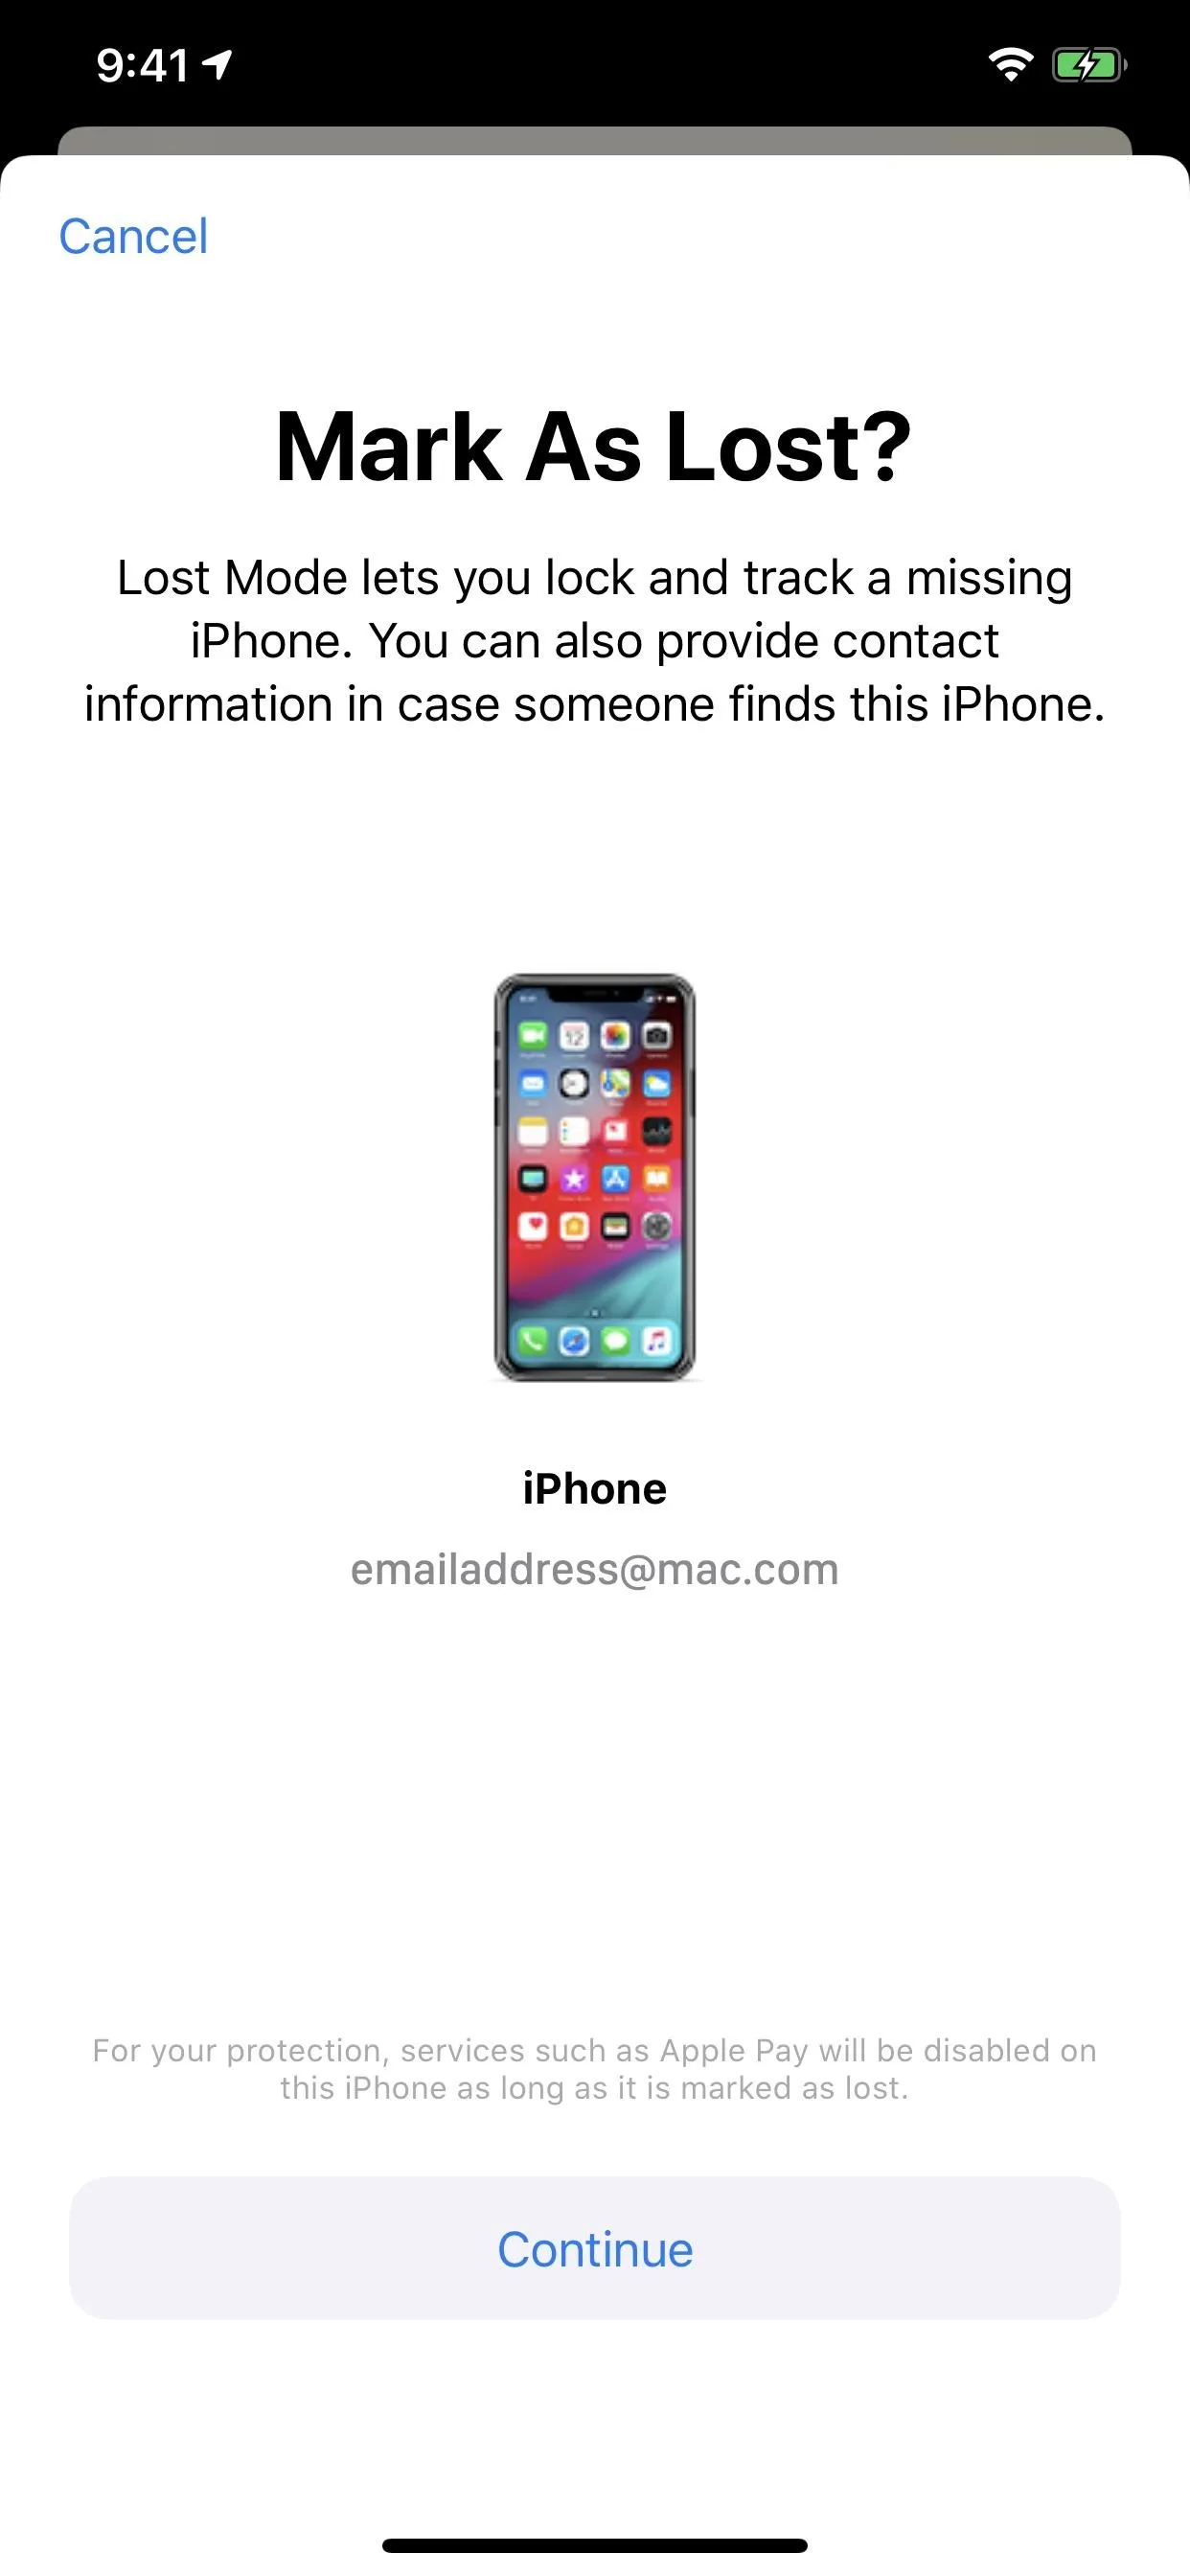
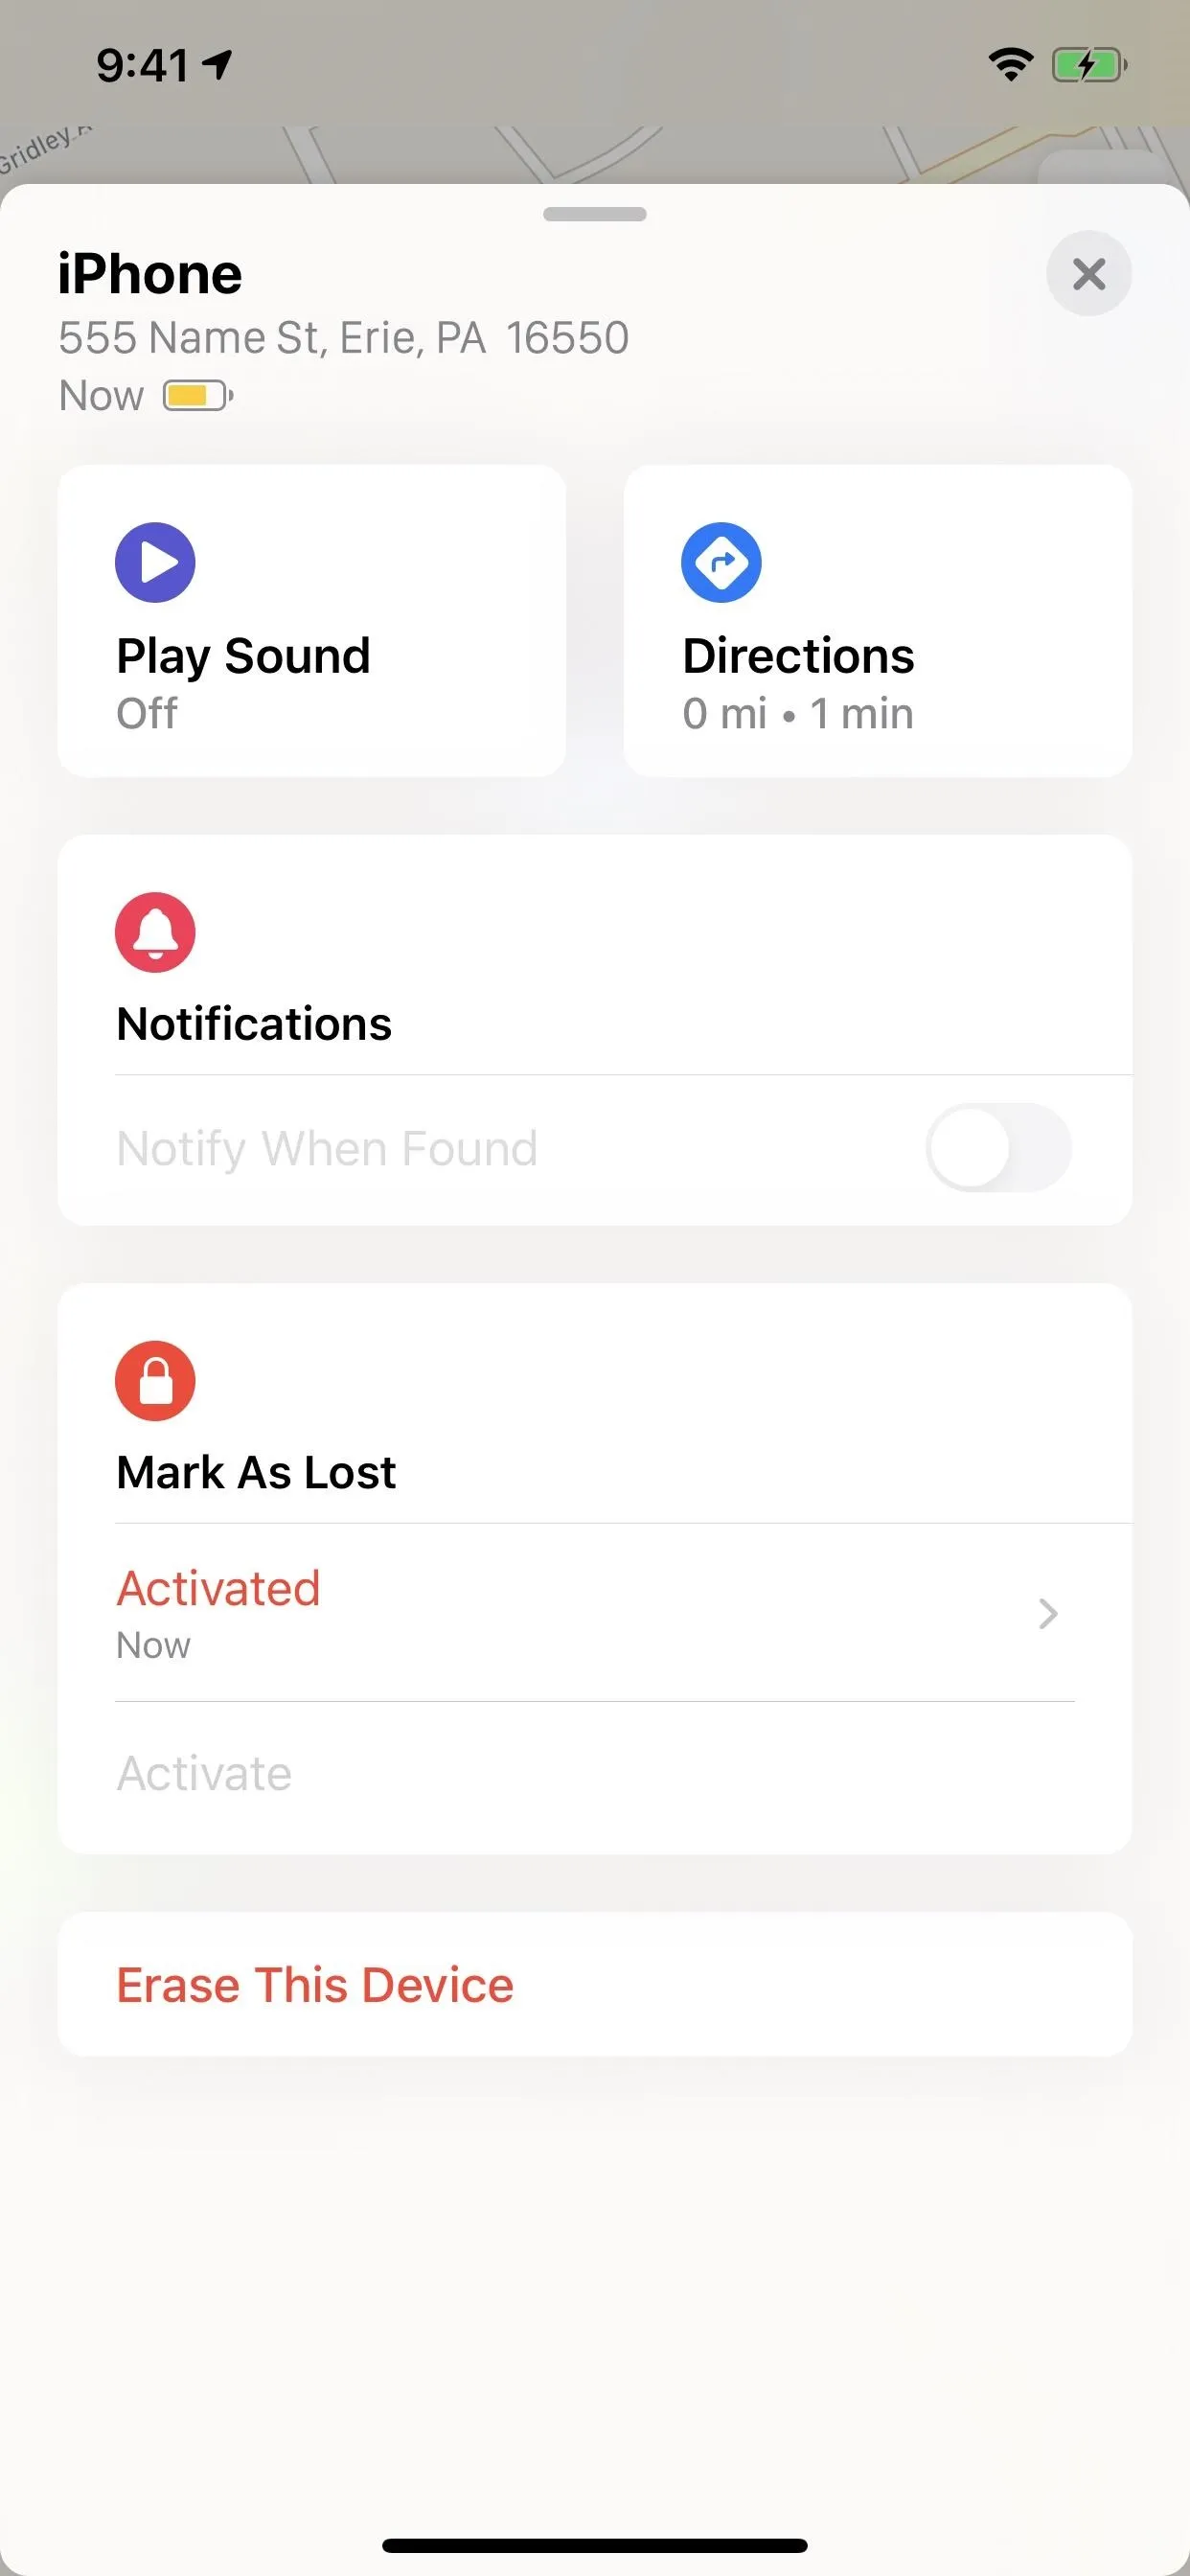
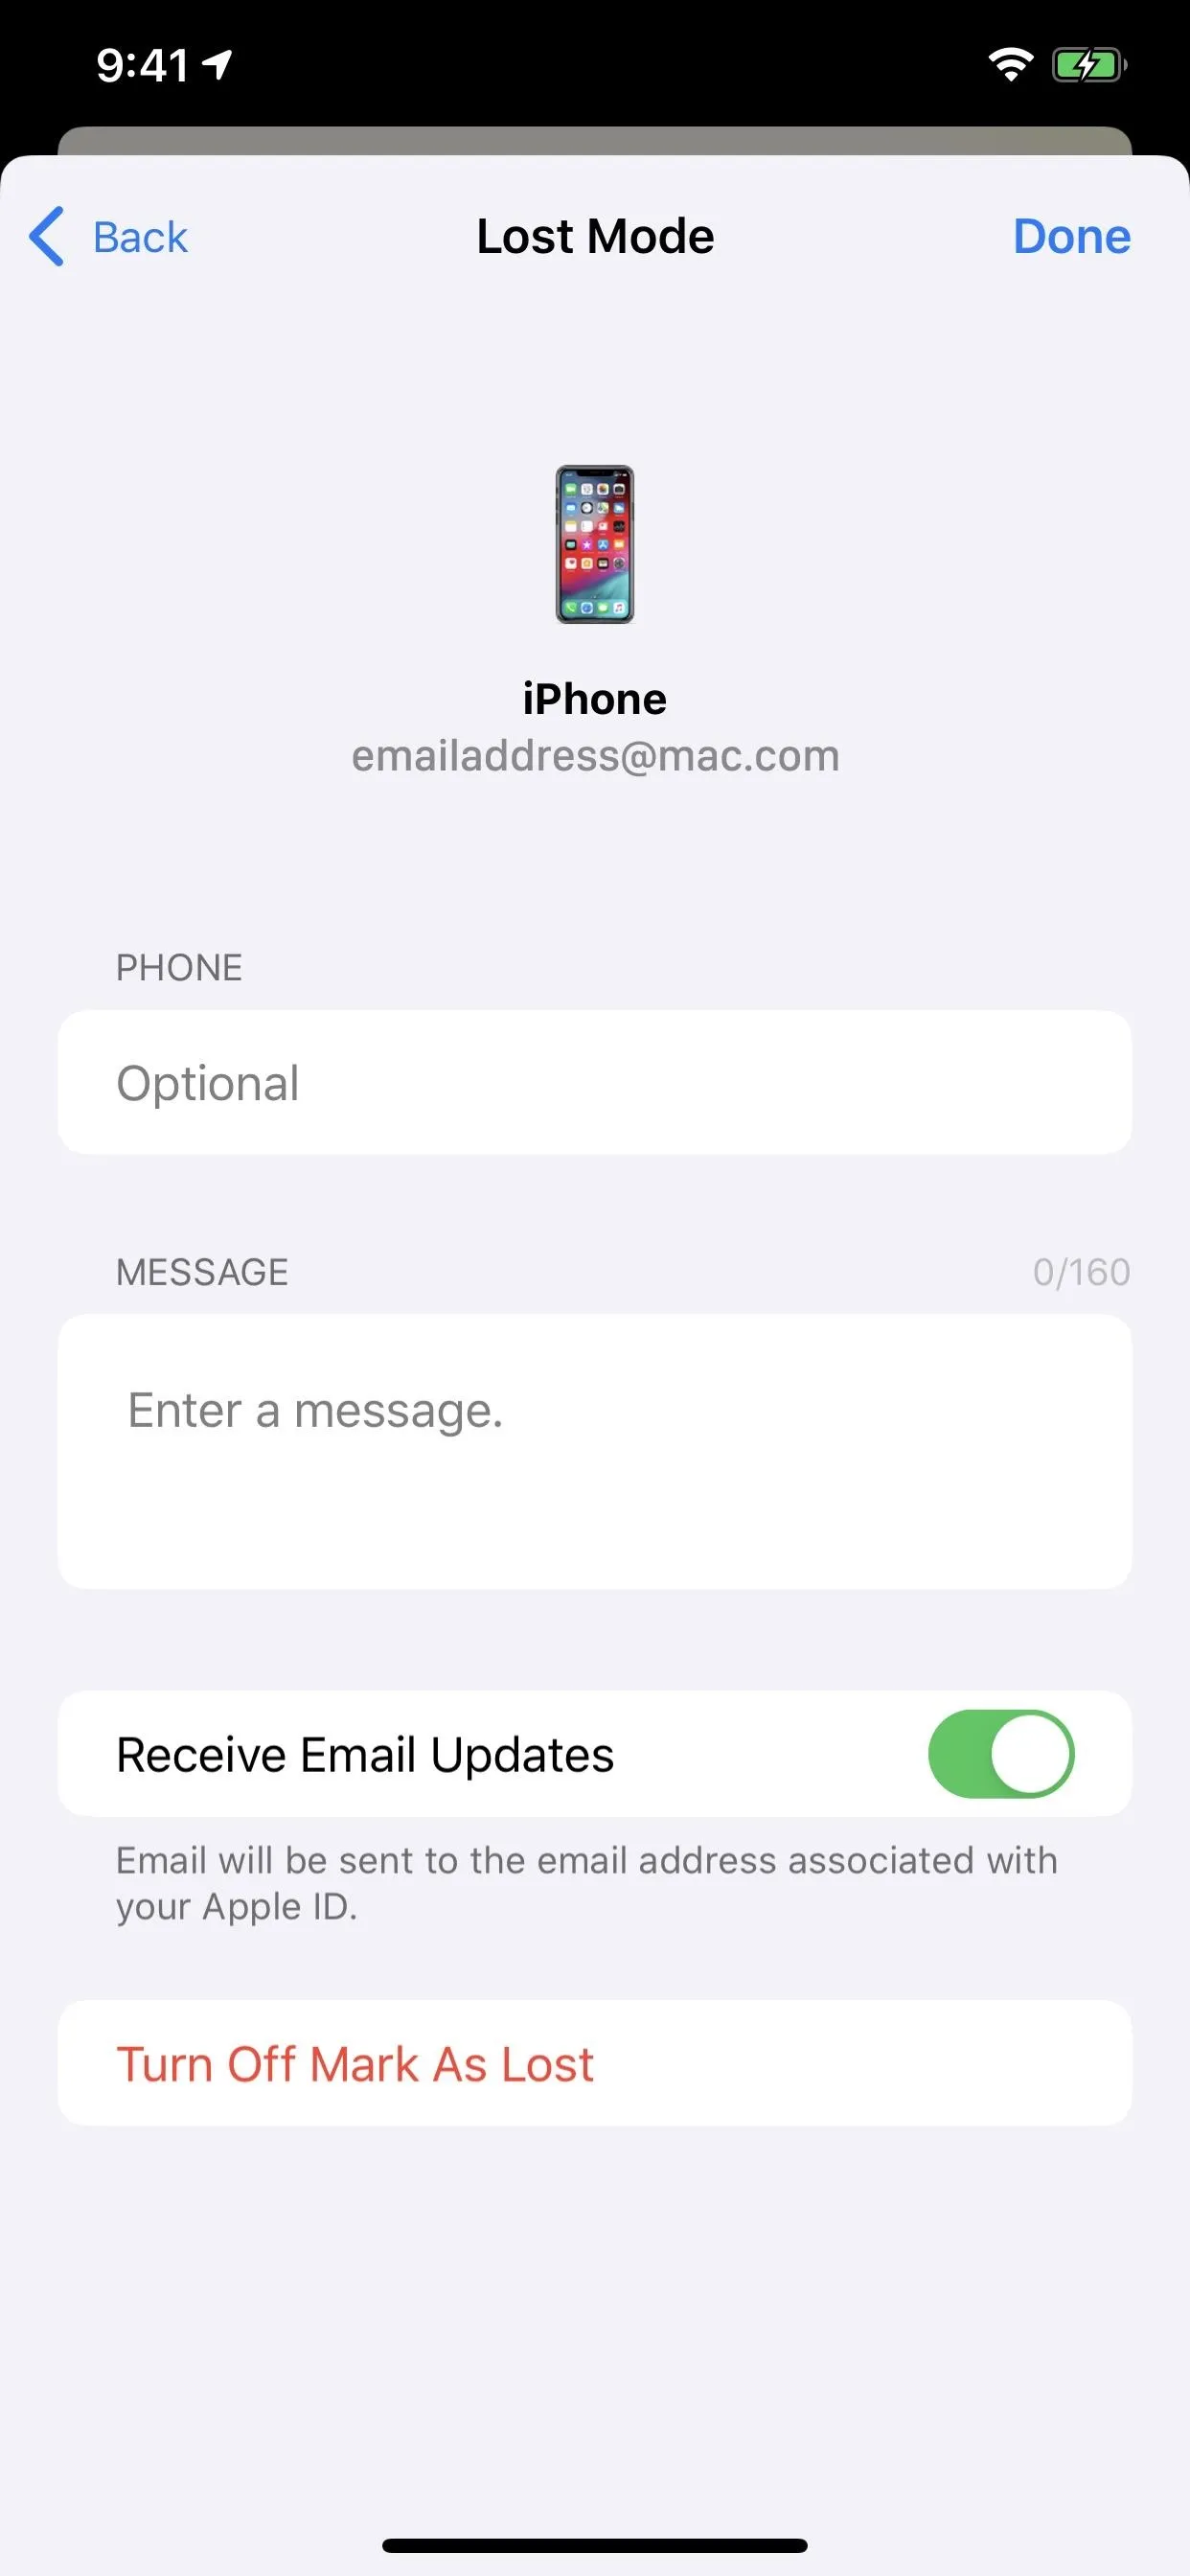
Lost Mode looks slightly different now. Before, you'd tap "Lost Mode," turn it on, enter a phone number and message to show on the device's screen, then hit "Done." Now, you select "Activate" under Mark As Lost, turn it on, enter a number and message, then touch "Activate." However, you can quickly go back in and update the number or message, disable email updates, and turn off Lost Mode, just like before.


Viewing Map Settings & Helping a Friend
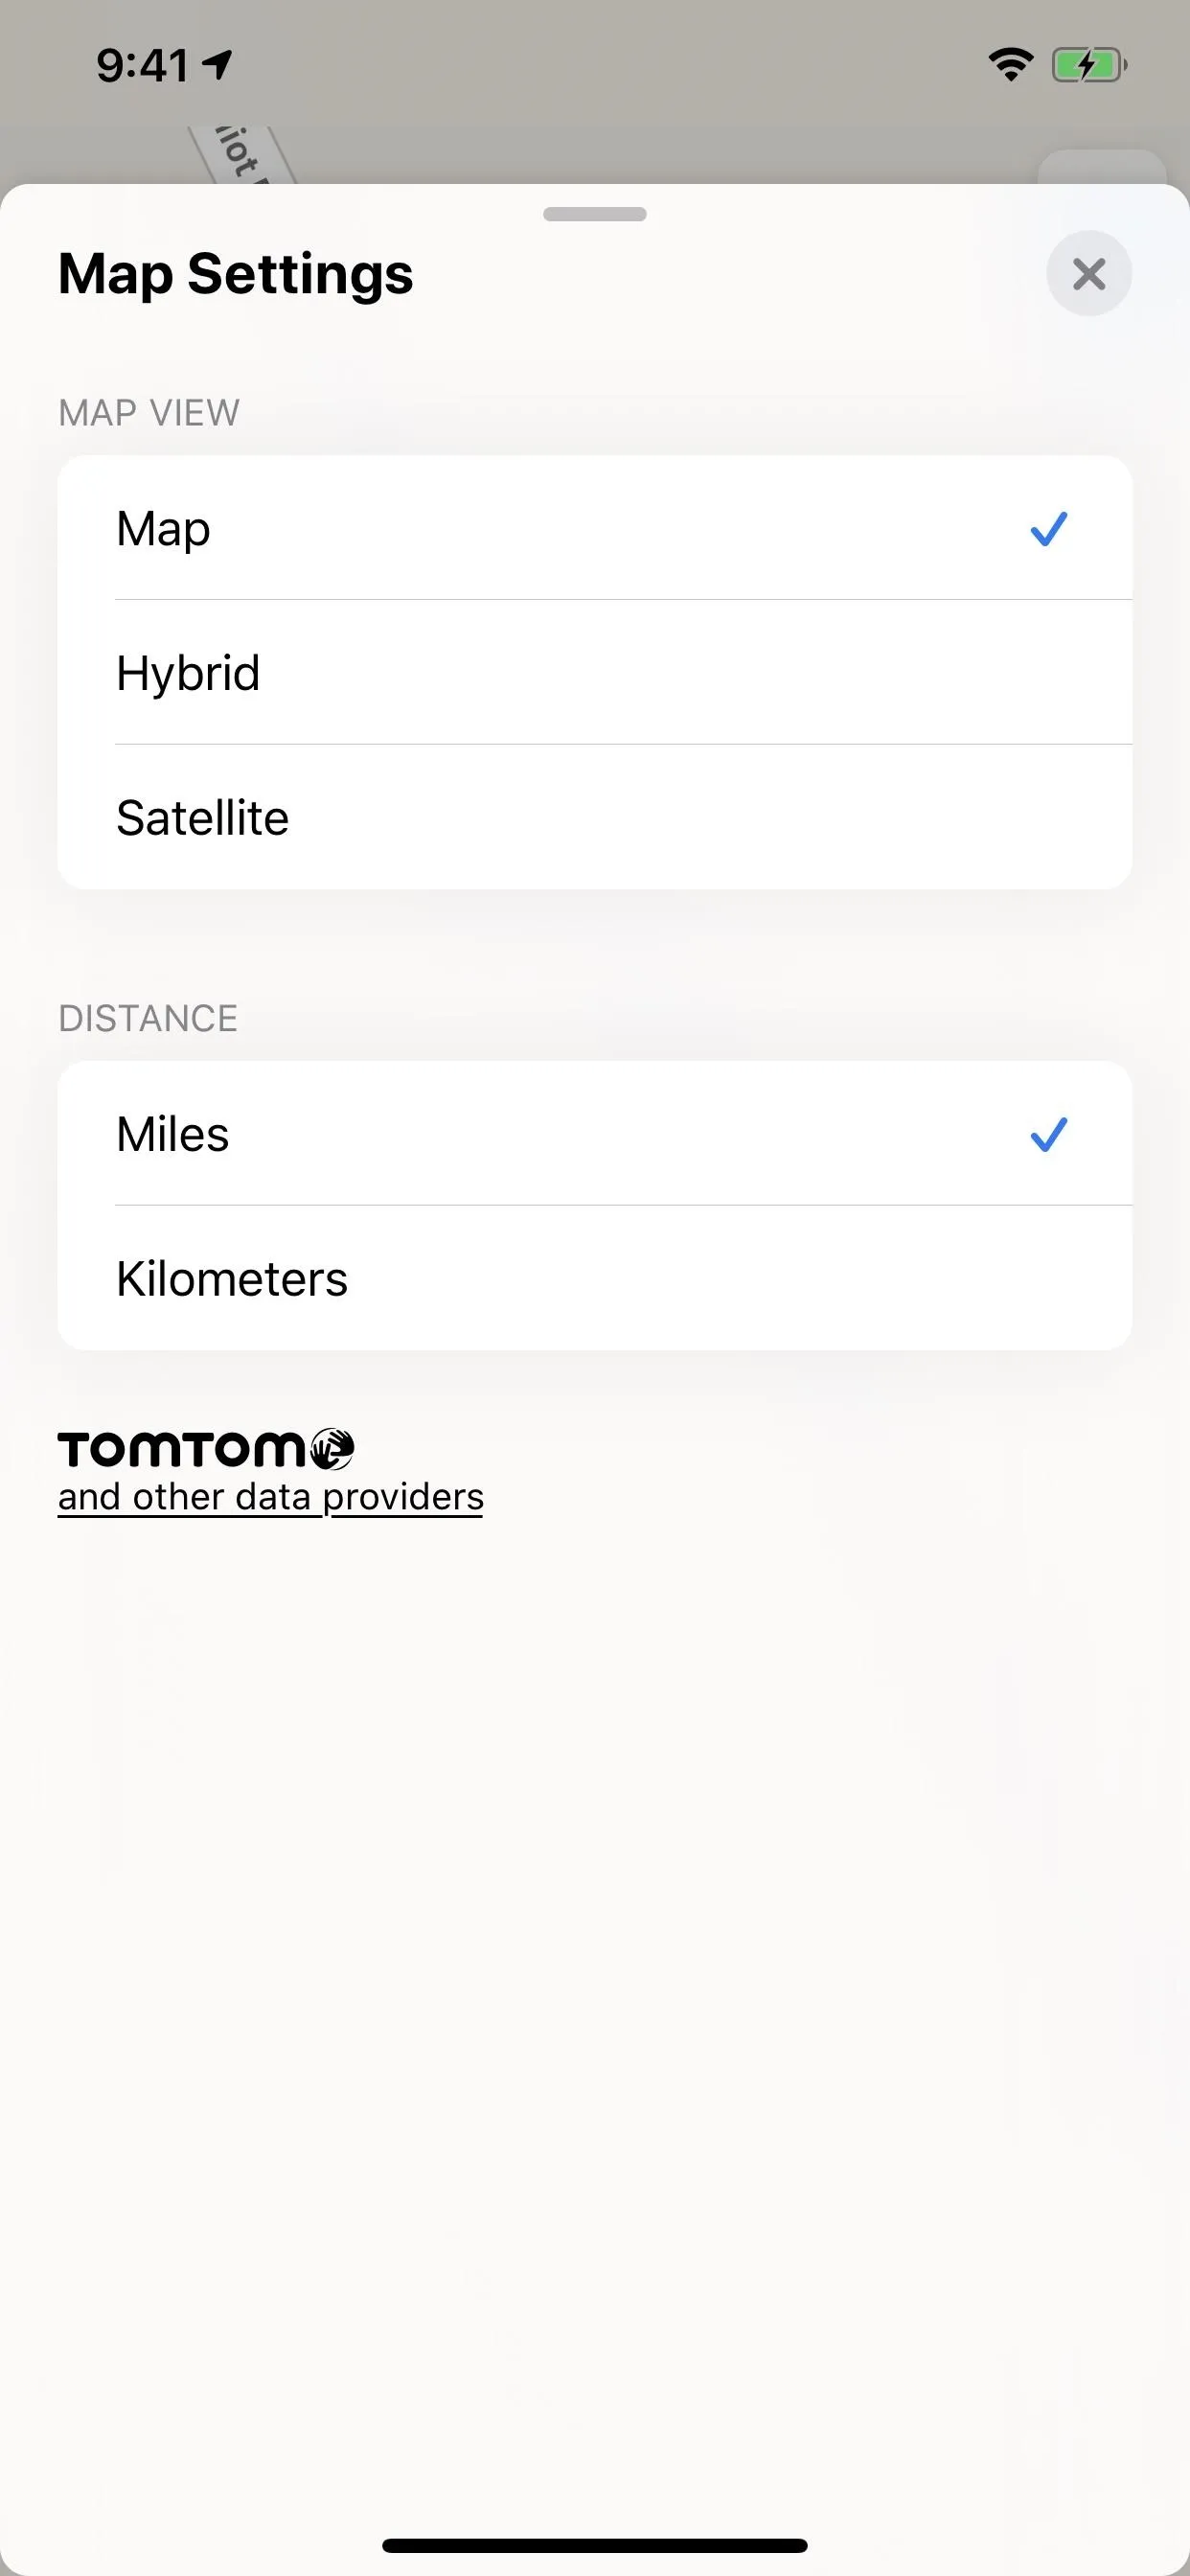
As you could before, you can choose between different map settings to switch from standard to hybrid or satellite, as well as change the measurement unit for distance.
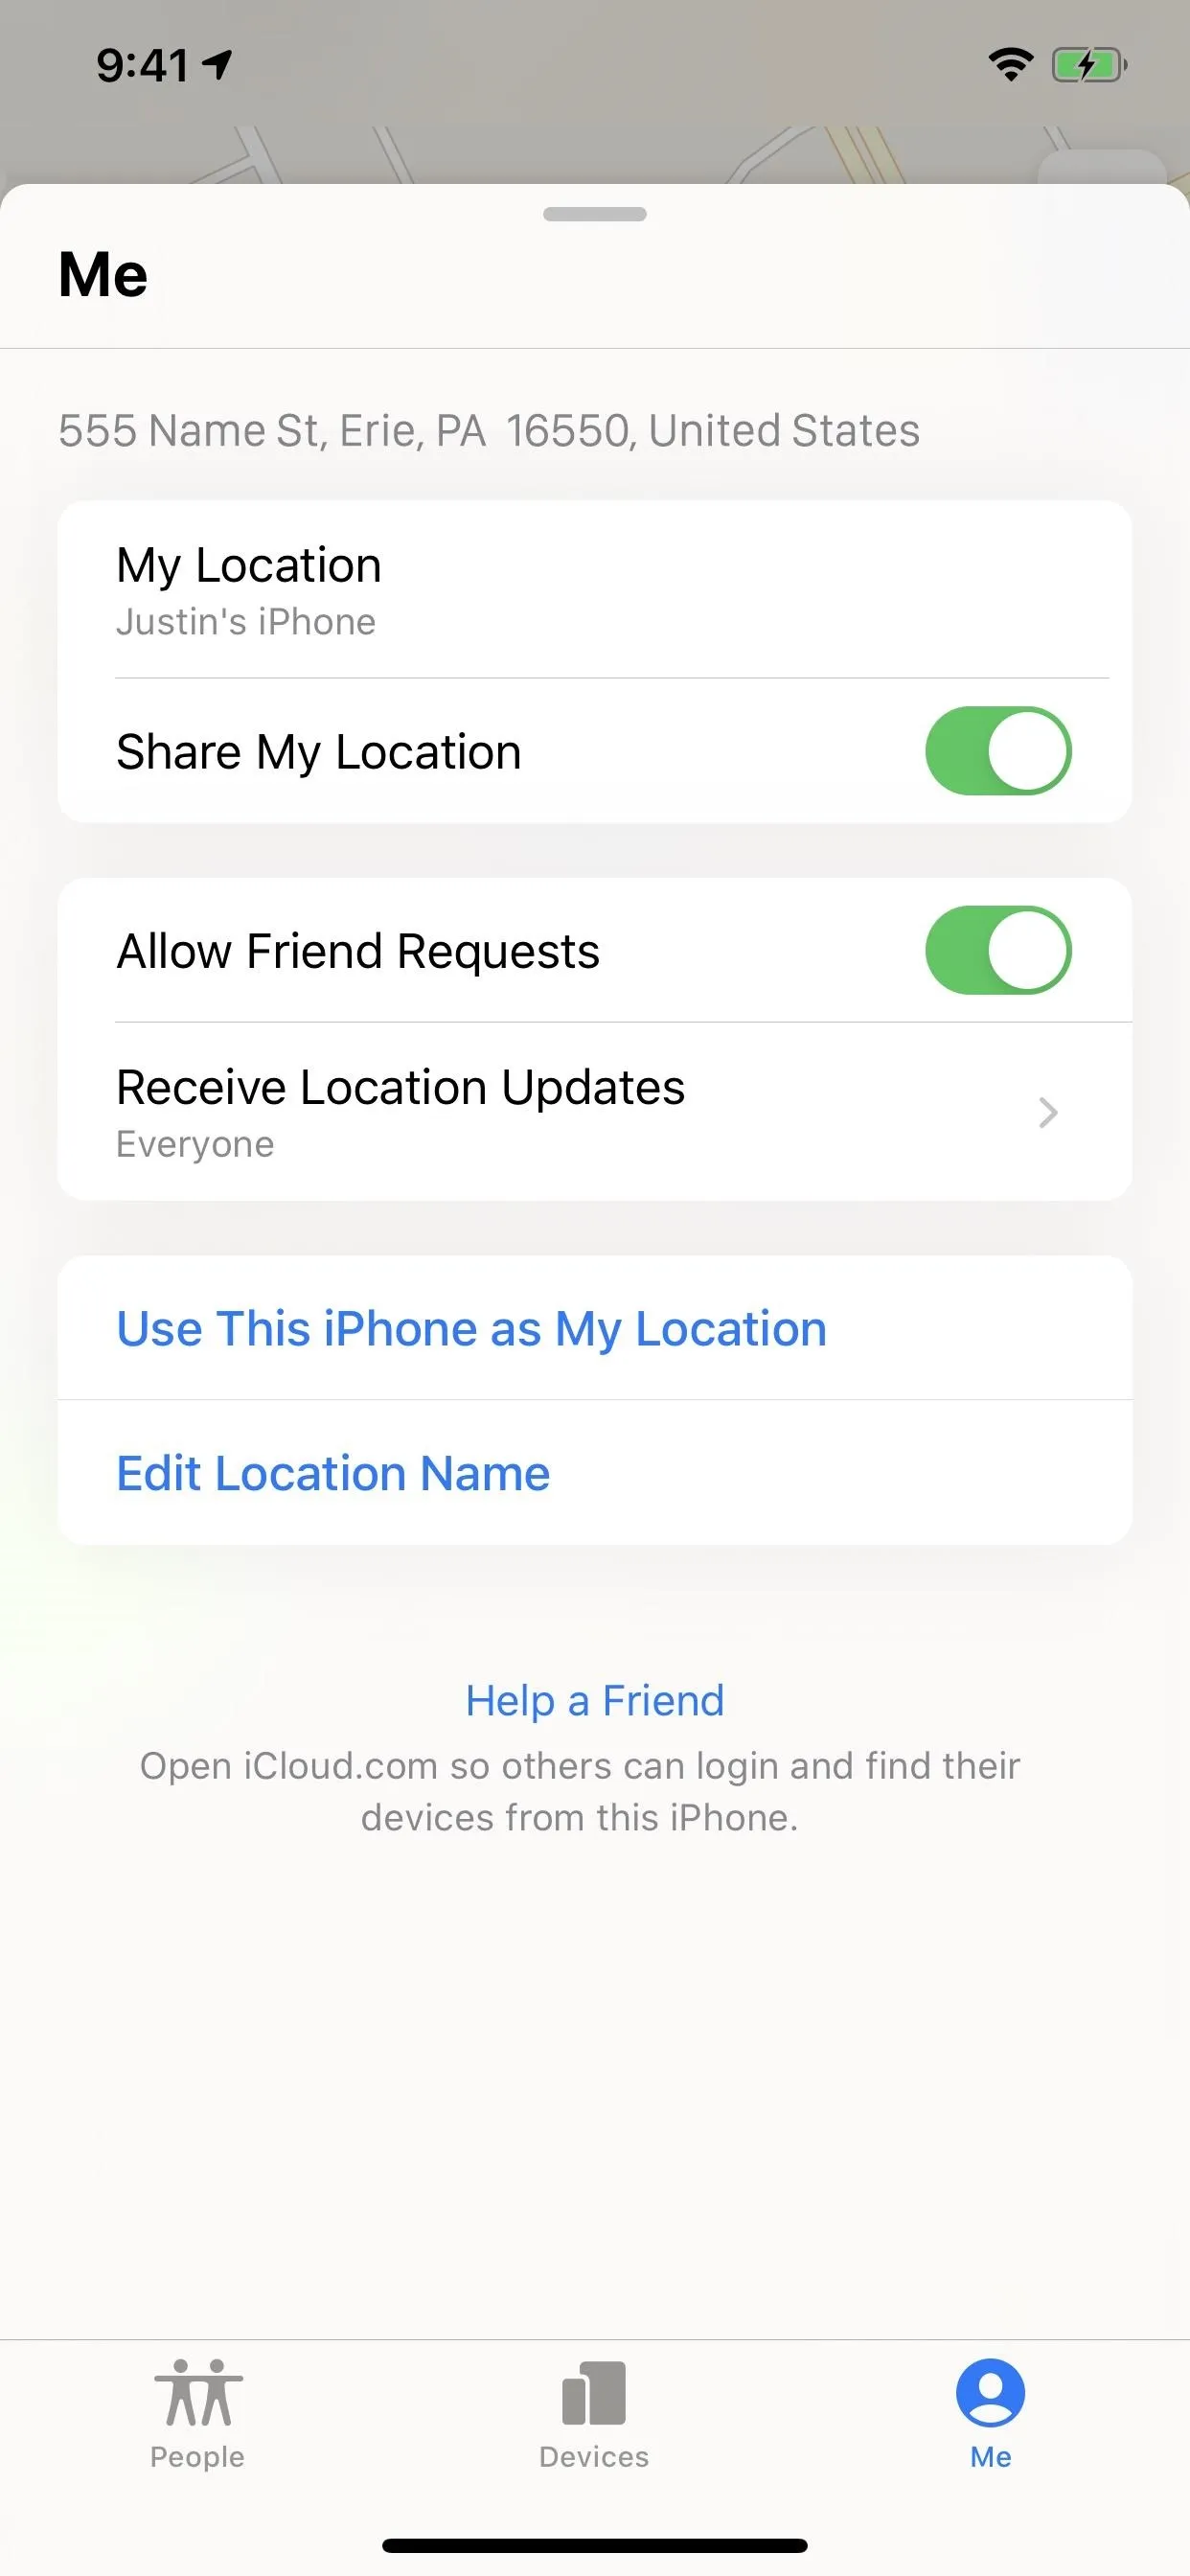
From the "Me" tab, you can also tap "Help a Friend" to open up the Find My app on iCloud in Safari. That way, if a friend lost his or her device, they can log in from your iPhone. Before, you would have to either "Sign Out" of Find My iPhone and let them sign in or type in the iCloud URL in Safari yourself to let them log in.


Changing Settings for Find My iPhone
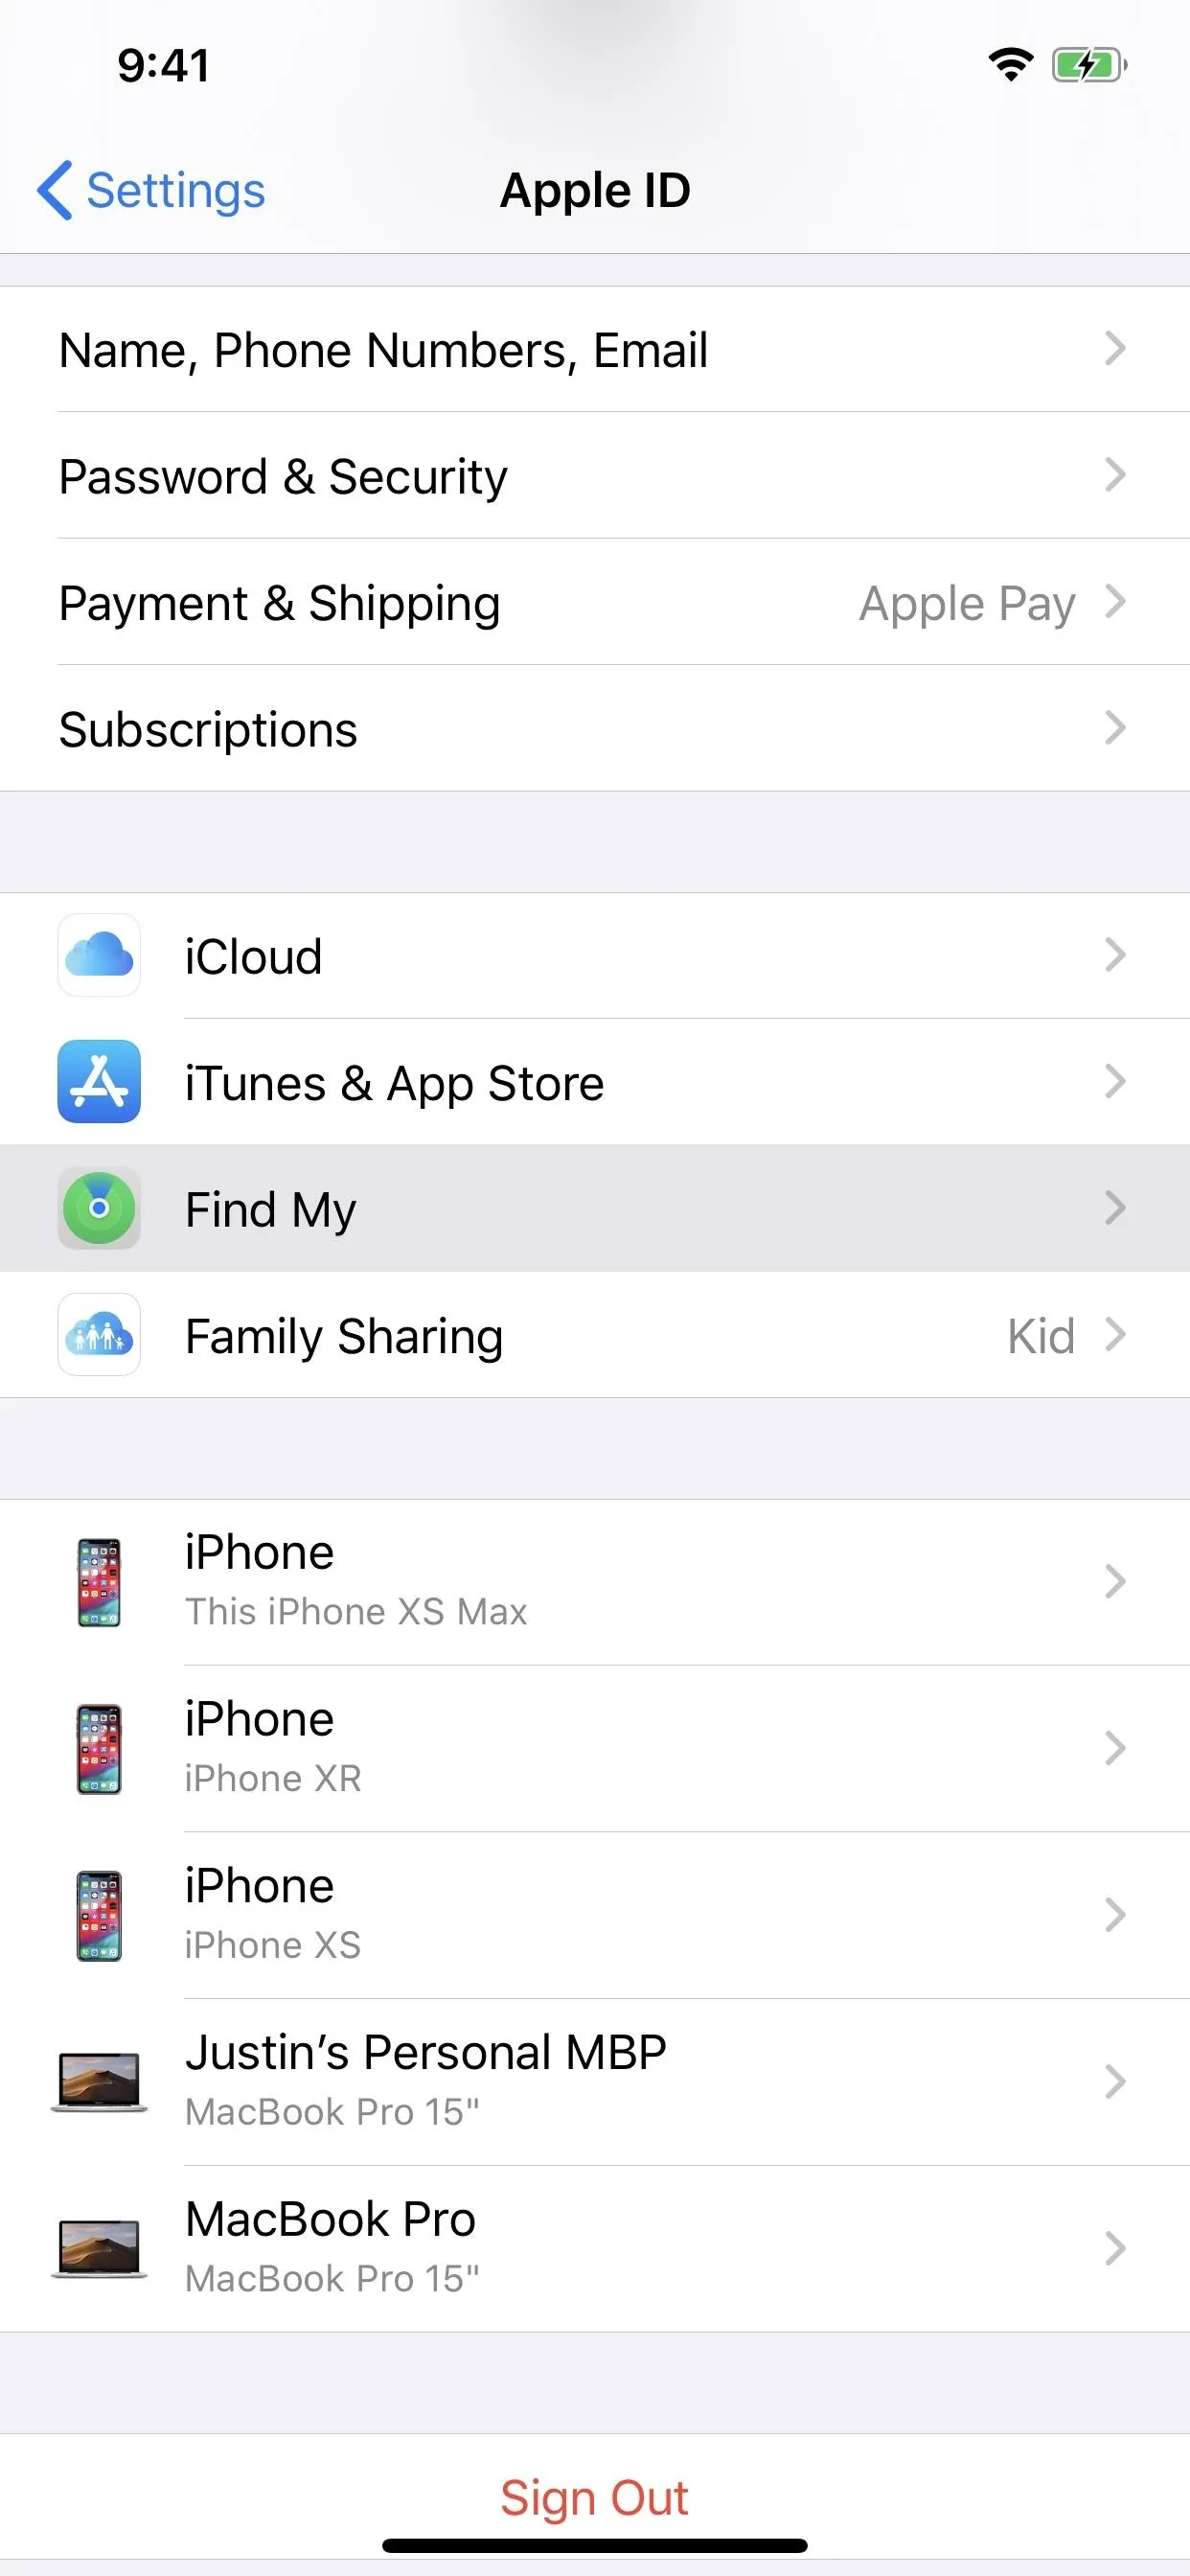
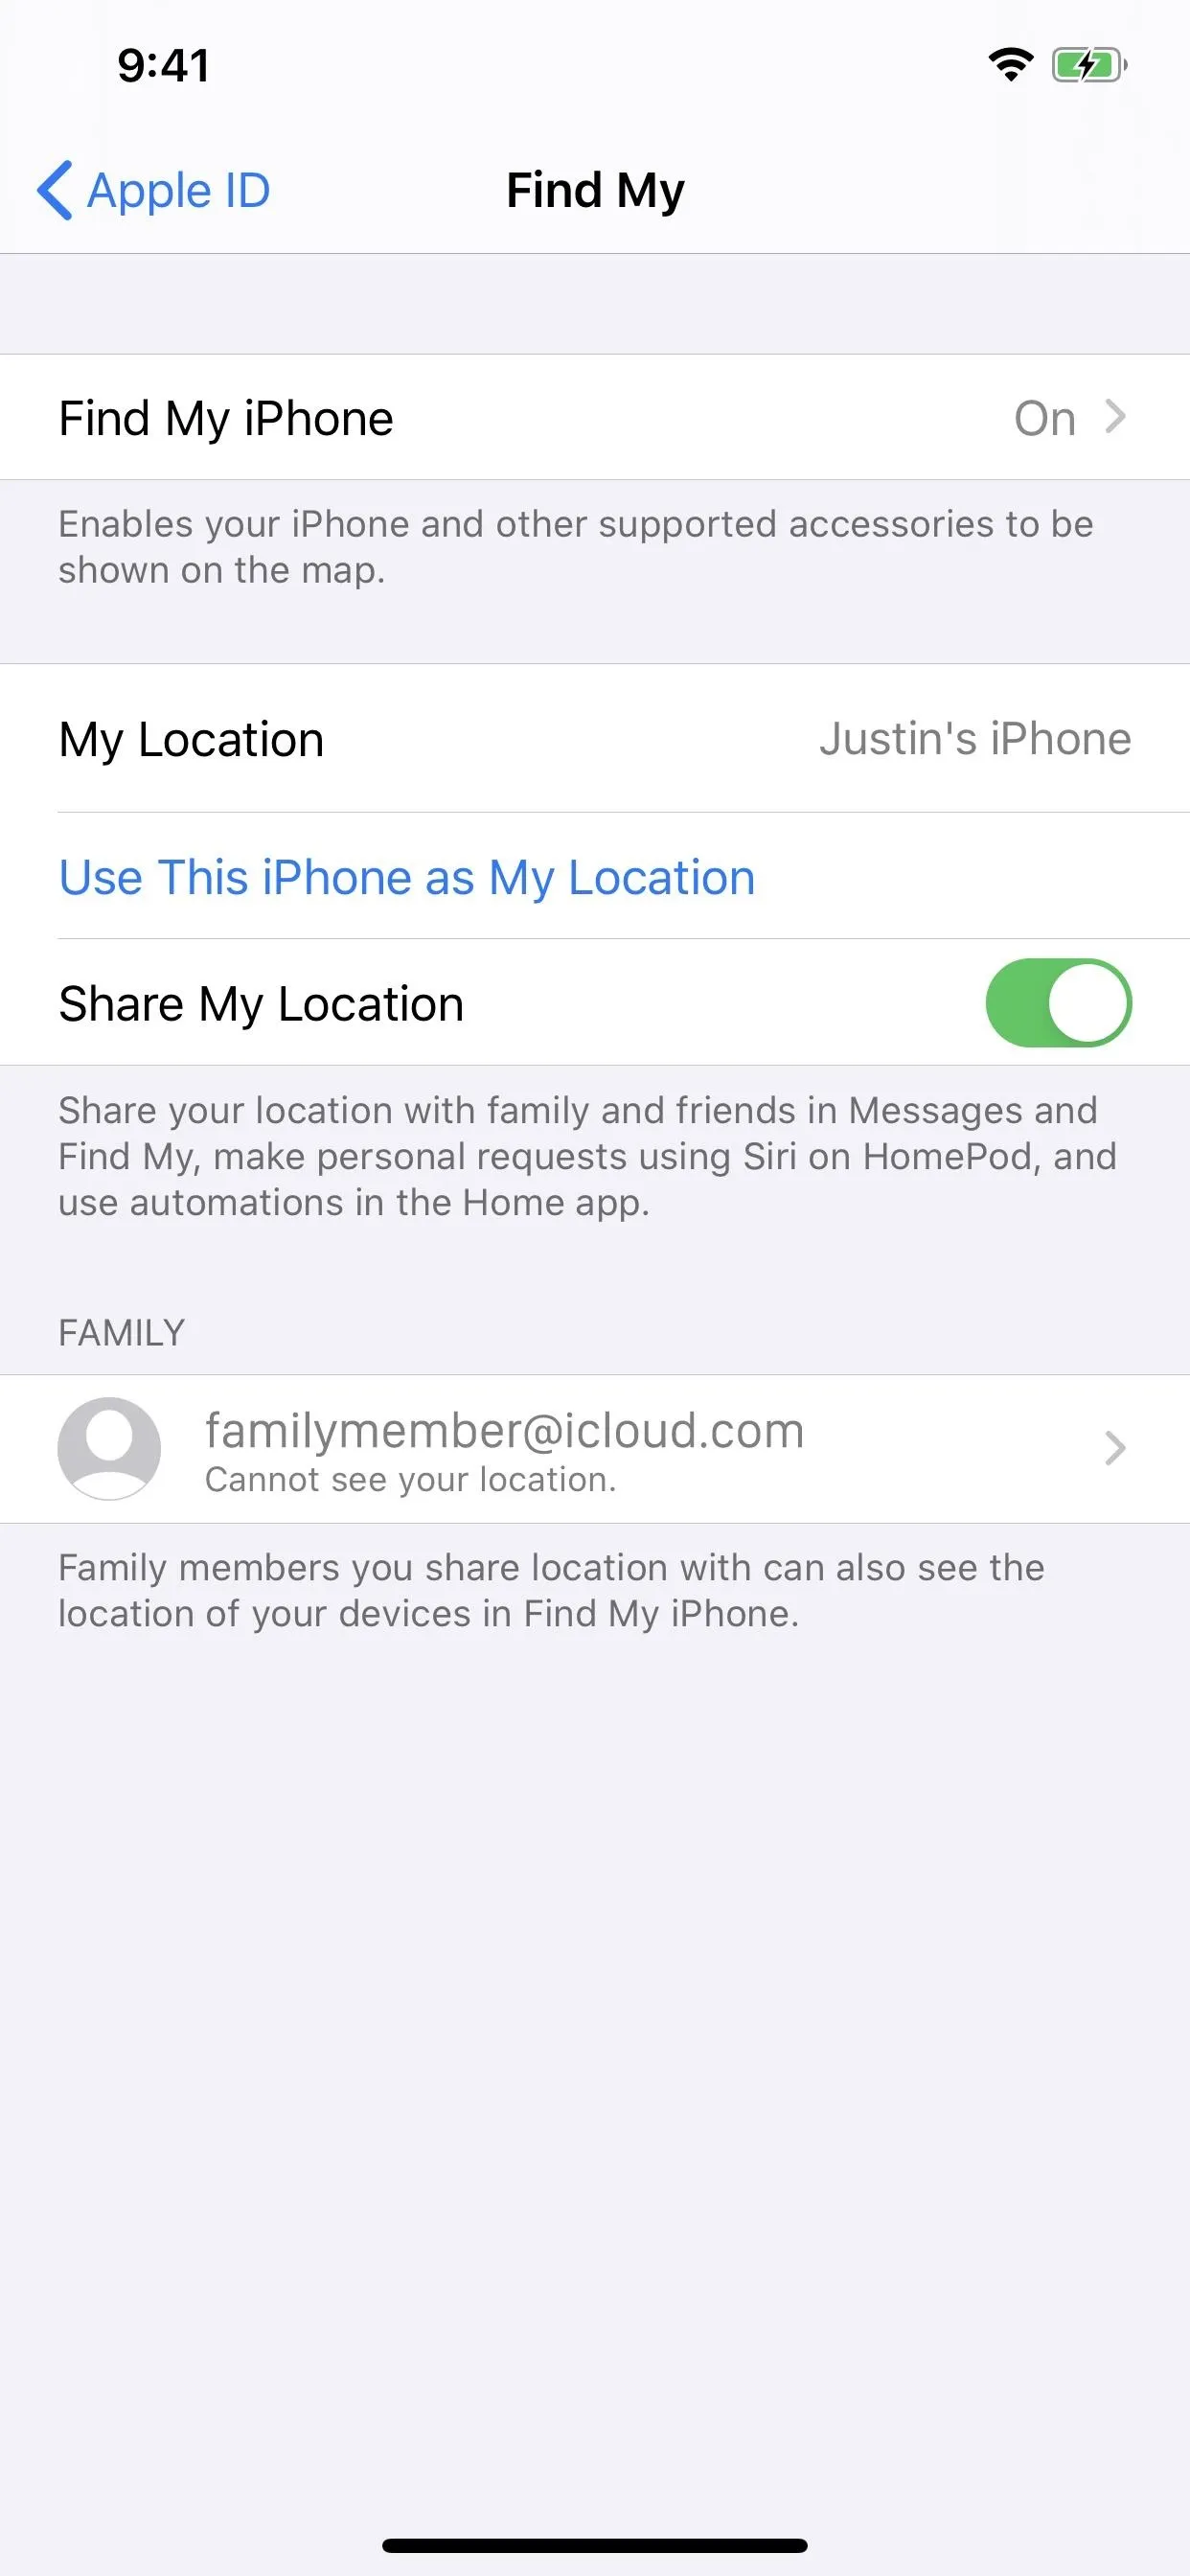
In the Settings app, you can access more options for Find My iPhone, just like you could before. Just tap on your name up top in the Settings app, "Find My" on the next page, then "Find My iPhone." Previously, you'd tap your name, hit "iCloud," then "Find My iPhone," so it's different but not any faster.
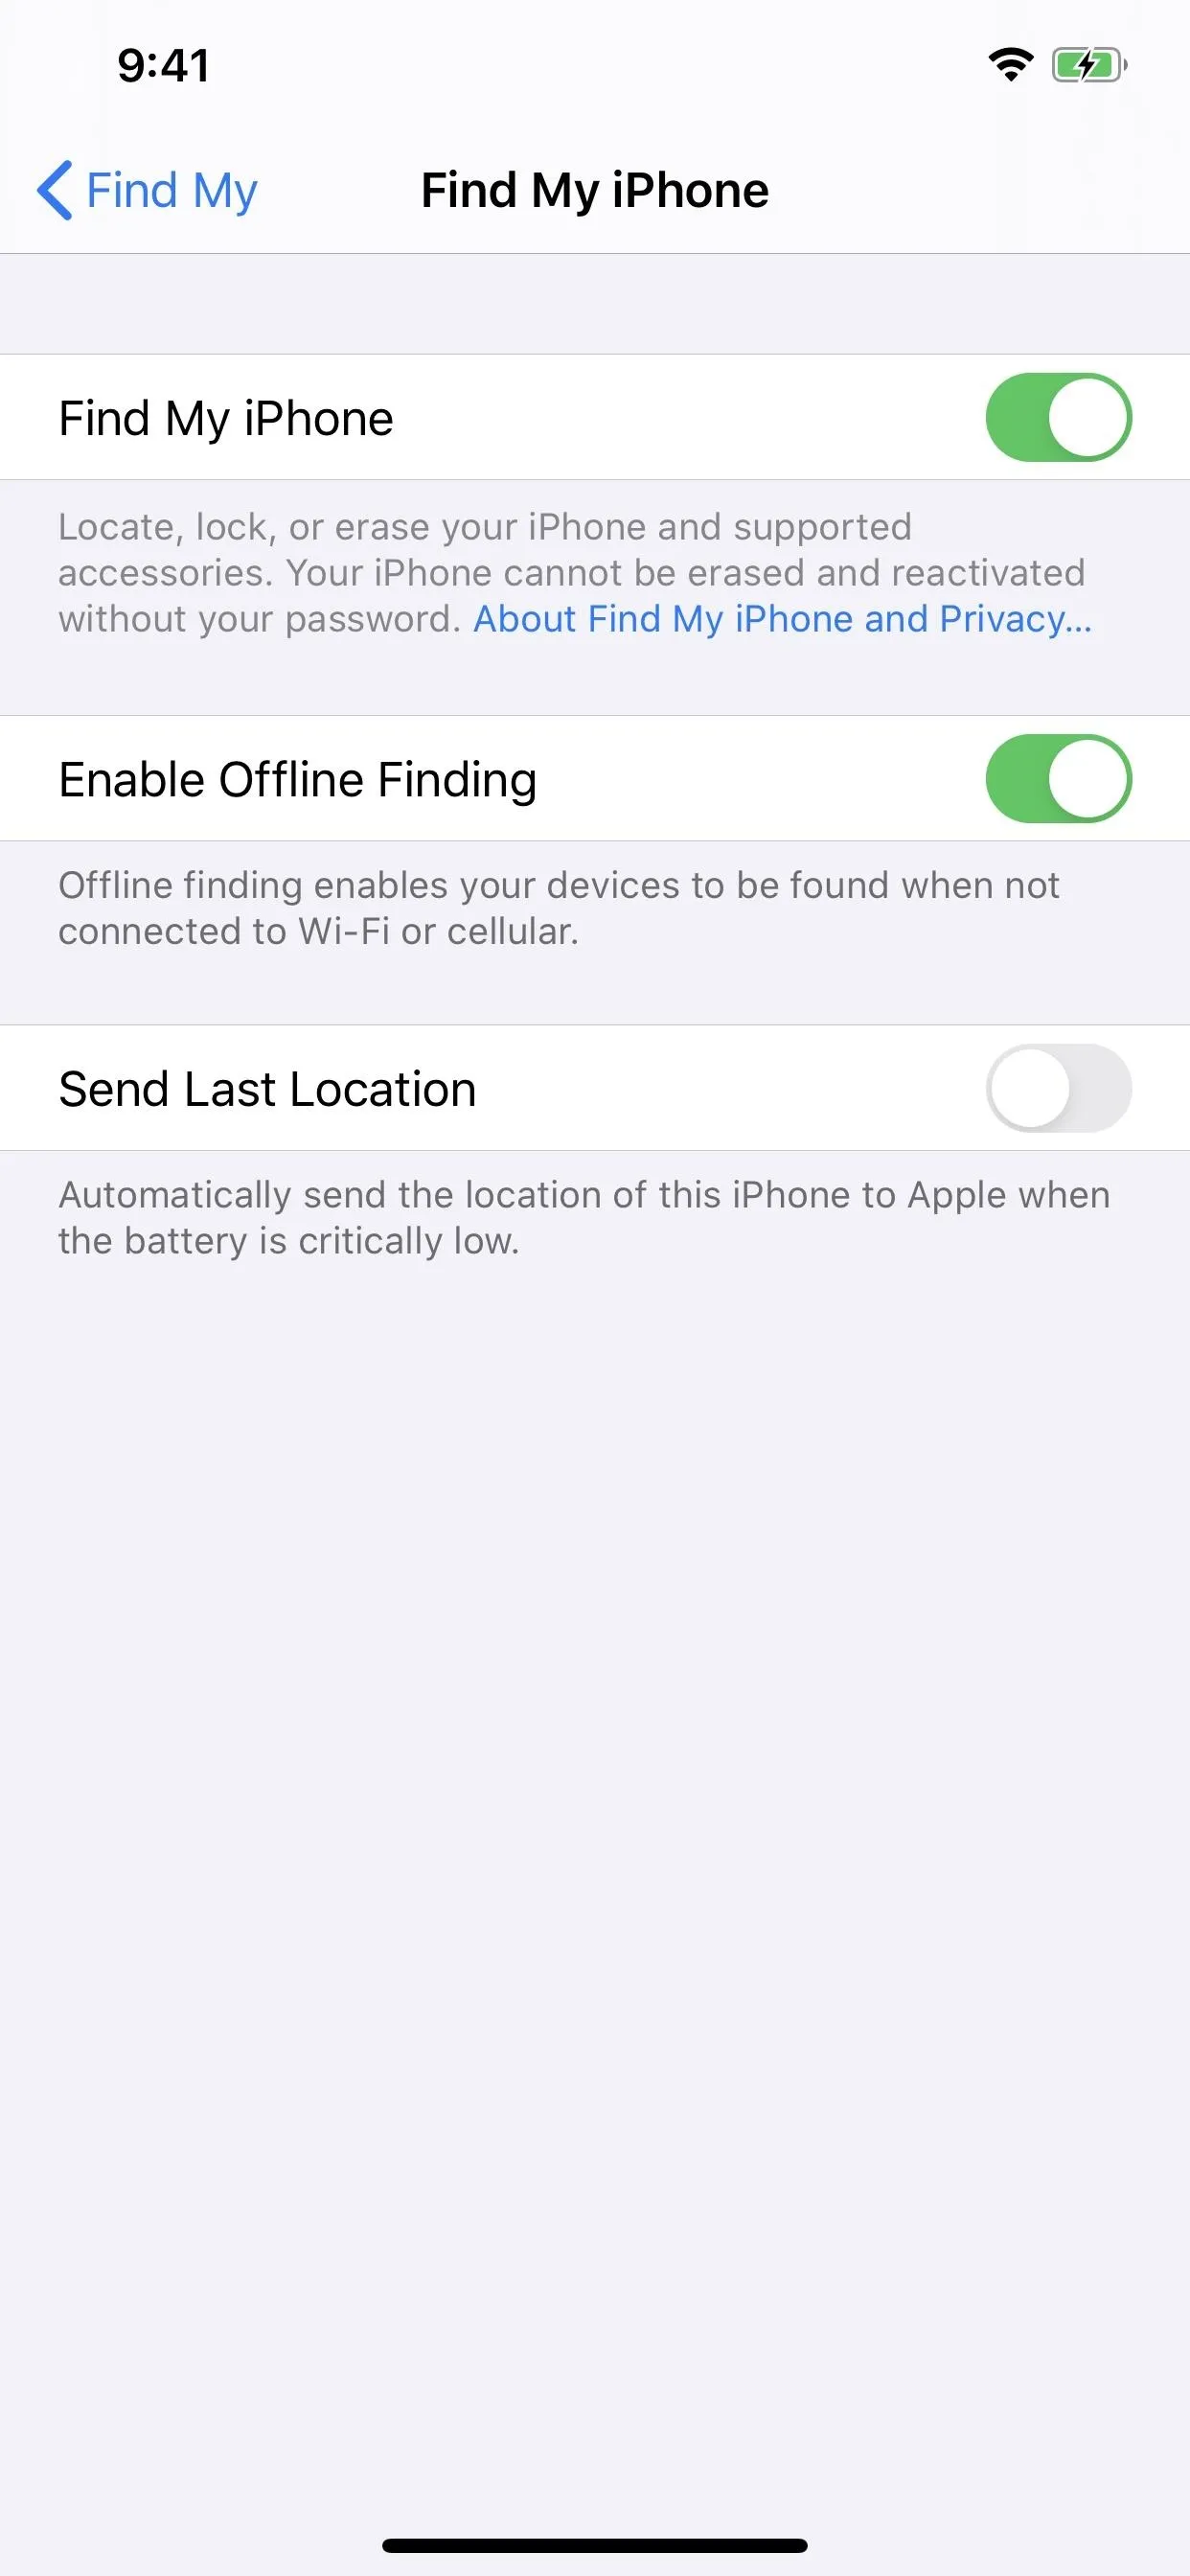
As for the options, you can disable Find My iPhone just like before, as well as enable or disable "Send Last Location," which automatically sends the location to Apple when your device gets low on battery. That way, you can find a more accurate last location for it should you need to. After 24 hours of the device going offline, however, the coordinates are deleted by Apple for security reasons.


Using Offline Finding Without an Internet Connection
New to iOS 13 is "Offline Finding," one of the best new features in the Find My app. In previous versions of iOS, if your device had no internet connection or a thief turned off cellular data and Wi-Fi, it would prevent you from tracking it since it has no way to send its location.
With the new "Enable Offline Finding" switch on, your iPhone will also use its Bluetooth signal to report the device's location to any nearby Apple devices using end-to-end encryption. So if a thief turns off cellular data and Wi-Fi but leaves Bluetooth on, or more likely, if you forget your iPhone somewhere and there's no mobile reception or hotspot to connect to, Bluetooth can still save the day.

If another Apple user with an iPad, iPhone, MacBook, or whatever comes within Bluetooth range to your lost iPhone, your iPhone will transmit your (ever-changing) public key to it. Then, their device would upload your encrypted location to Apple's servers. Next, whenever you go to view its address with Find My iPhone, your private key will decrypt that location and show it on the map so you can track it.
Pretty cool, right? And Apple makes it work without any sacrifice to your privacy or security. The encryption system prevents abuse by hackers so that nobody can intercept and use Bluetooth to track your device's location — not even Apple. The only catch is that you have to have two Apple devices signed in to the same iCloud account with two-factor authentication enabled for it to work at all since you need one of those devices where the private key is held.
The only downside to the new feature is that it won't help you out if your battery dies or when a thief turns it off or puts it in Airplane Mode (unless Bluetooth was still on somehow). For the battery-dying aspect, just make sure that "Send Last Location" is enabled.
Using Find My for Location Sharing with Friends
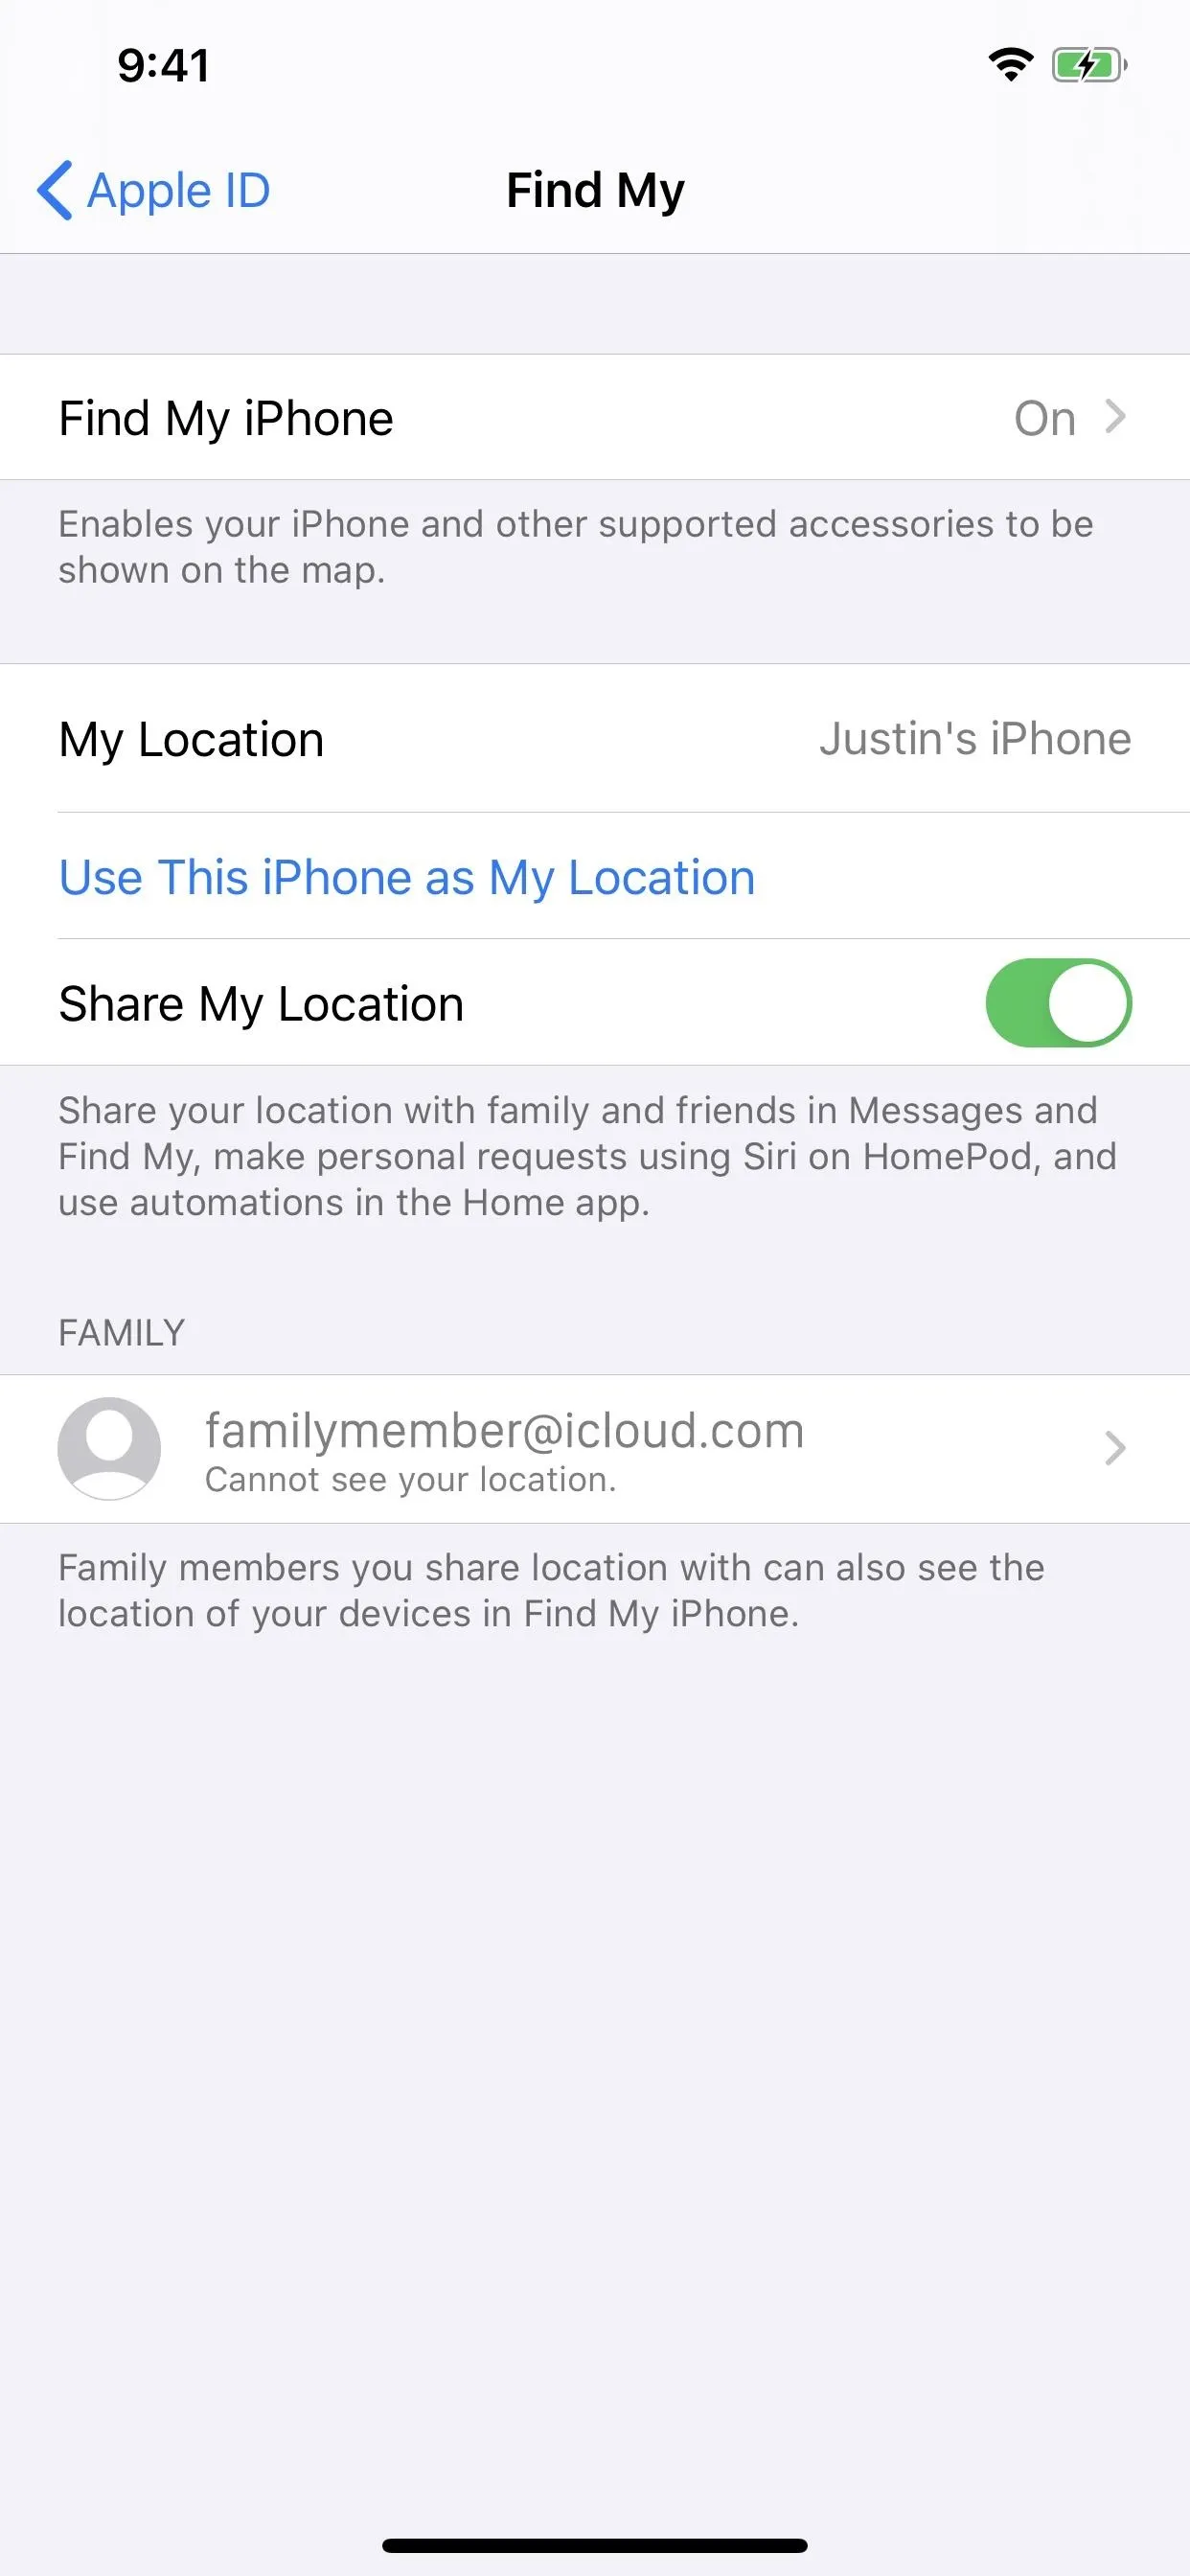
Since we left off in the Settings app, let's pick up from there for Find My Friends features. Instead of selecting "Share My Location" from your Apple ID in the Settings app, you use "Find My." From here, just like before, you can toggle on or off "Share My Location."
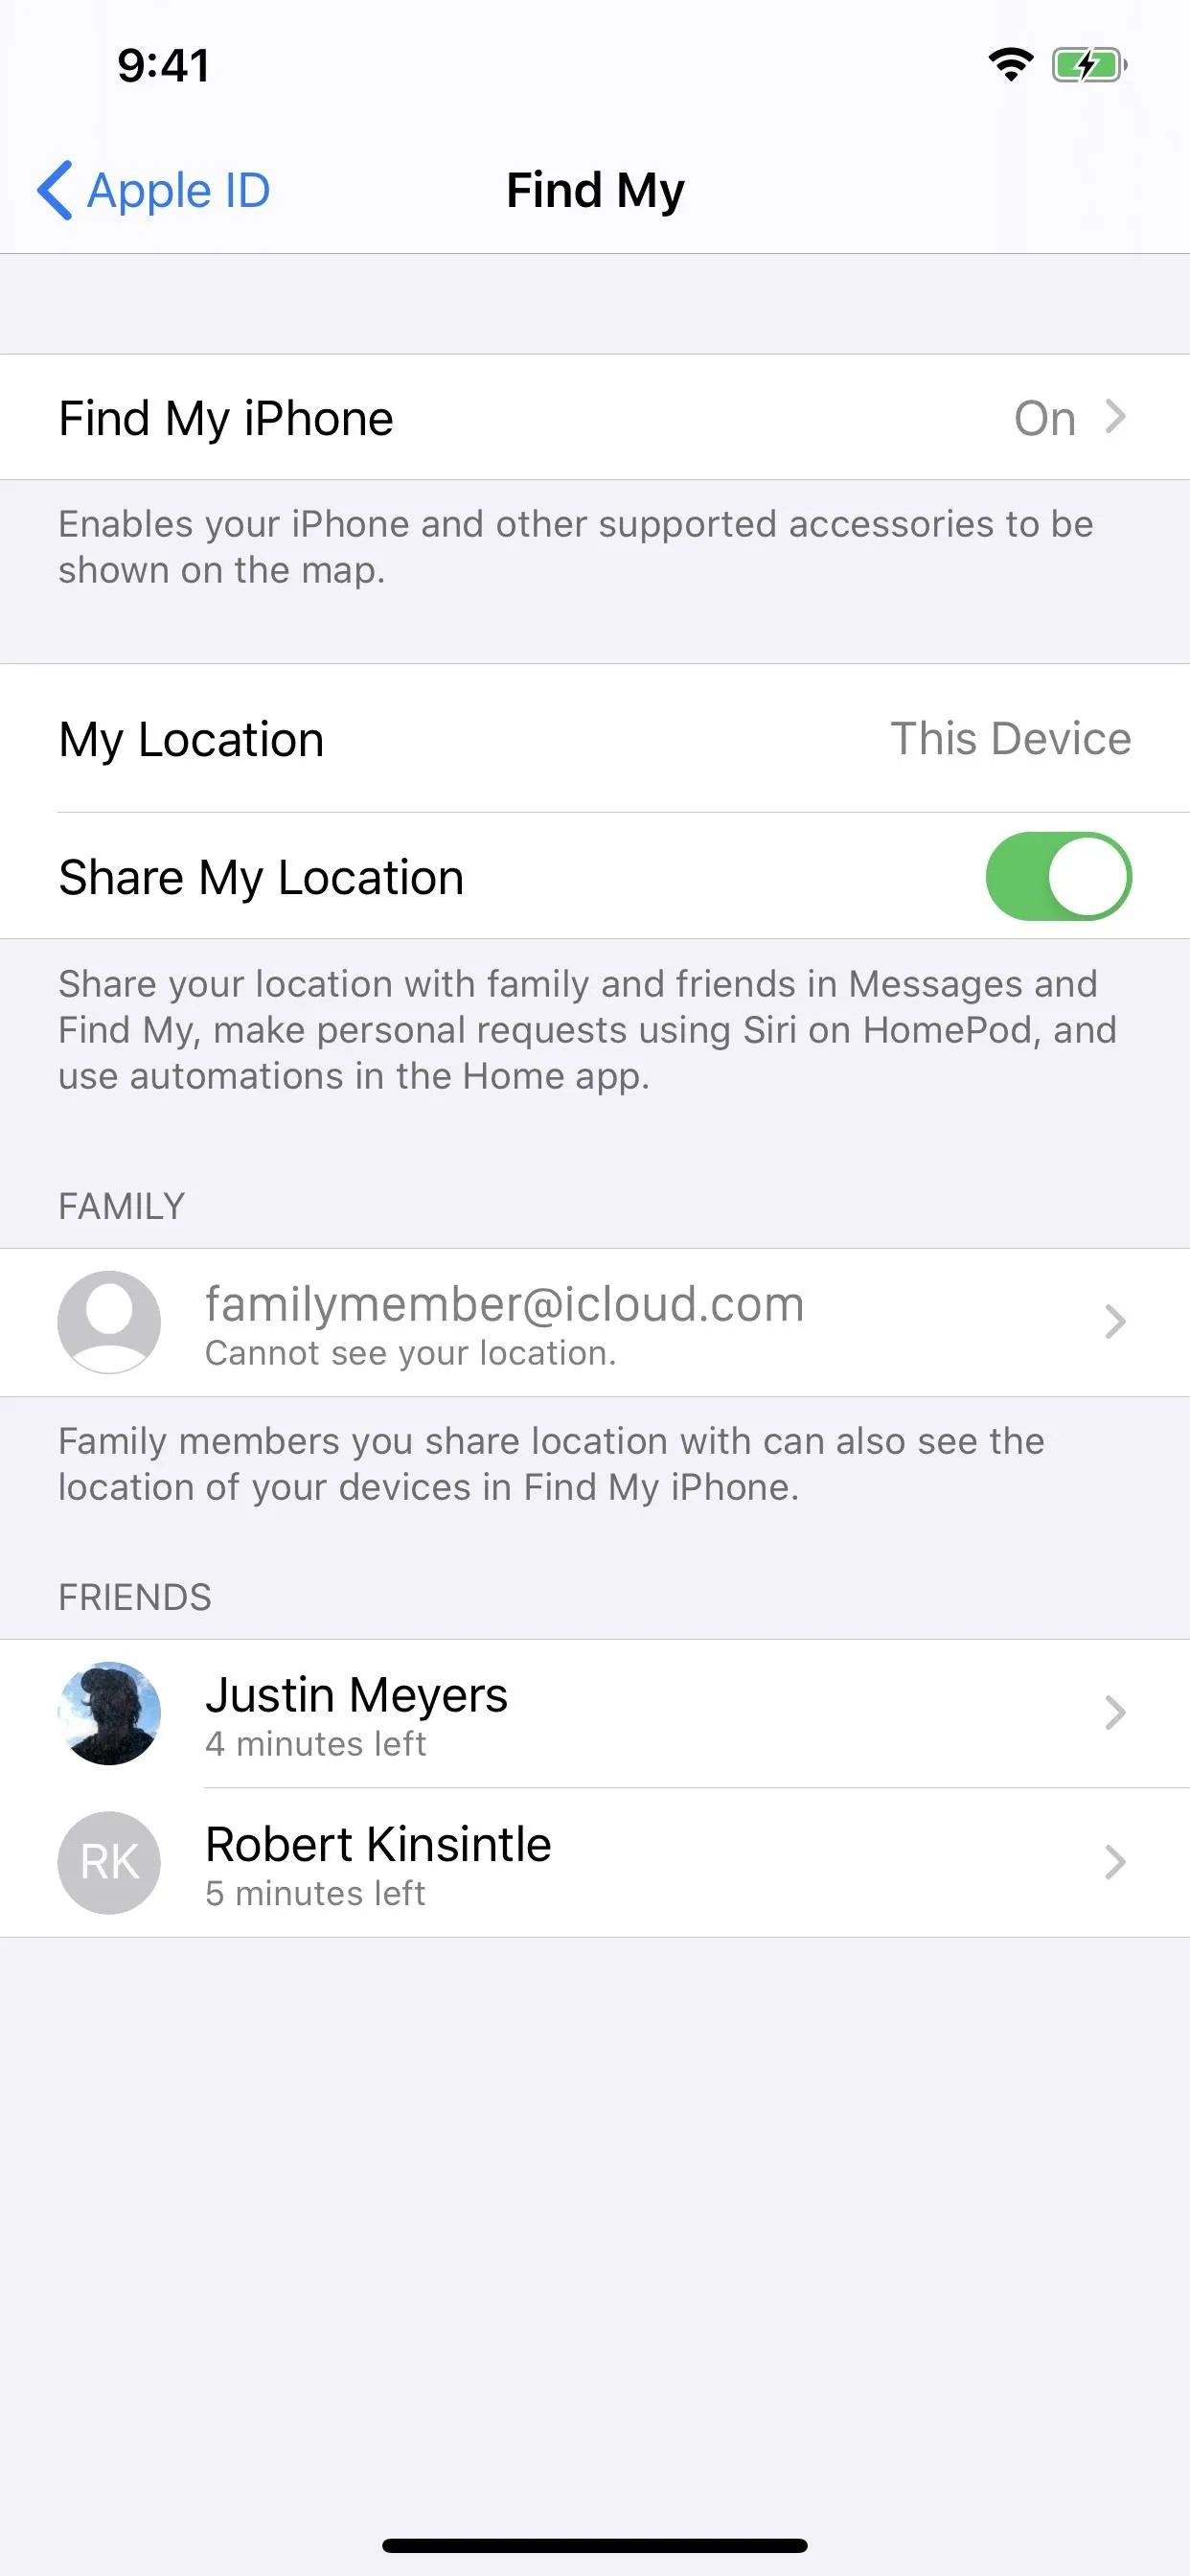
And if friends are sharing their location with you, you'll see them here as well, just like before. Tapping them will give you options to share or stop sharing your location with them.
In iOS 12 and below, you could also tap "From" to choose a different device to use when sharing your location, but in iOS 13 that's done directly in the Find My app. Instead, if you're using another device, it will name it, and you'll have an option to switch to the device you're using instead.


Changing Your Options In-App
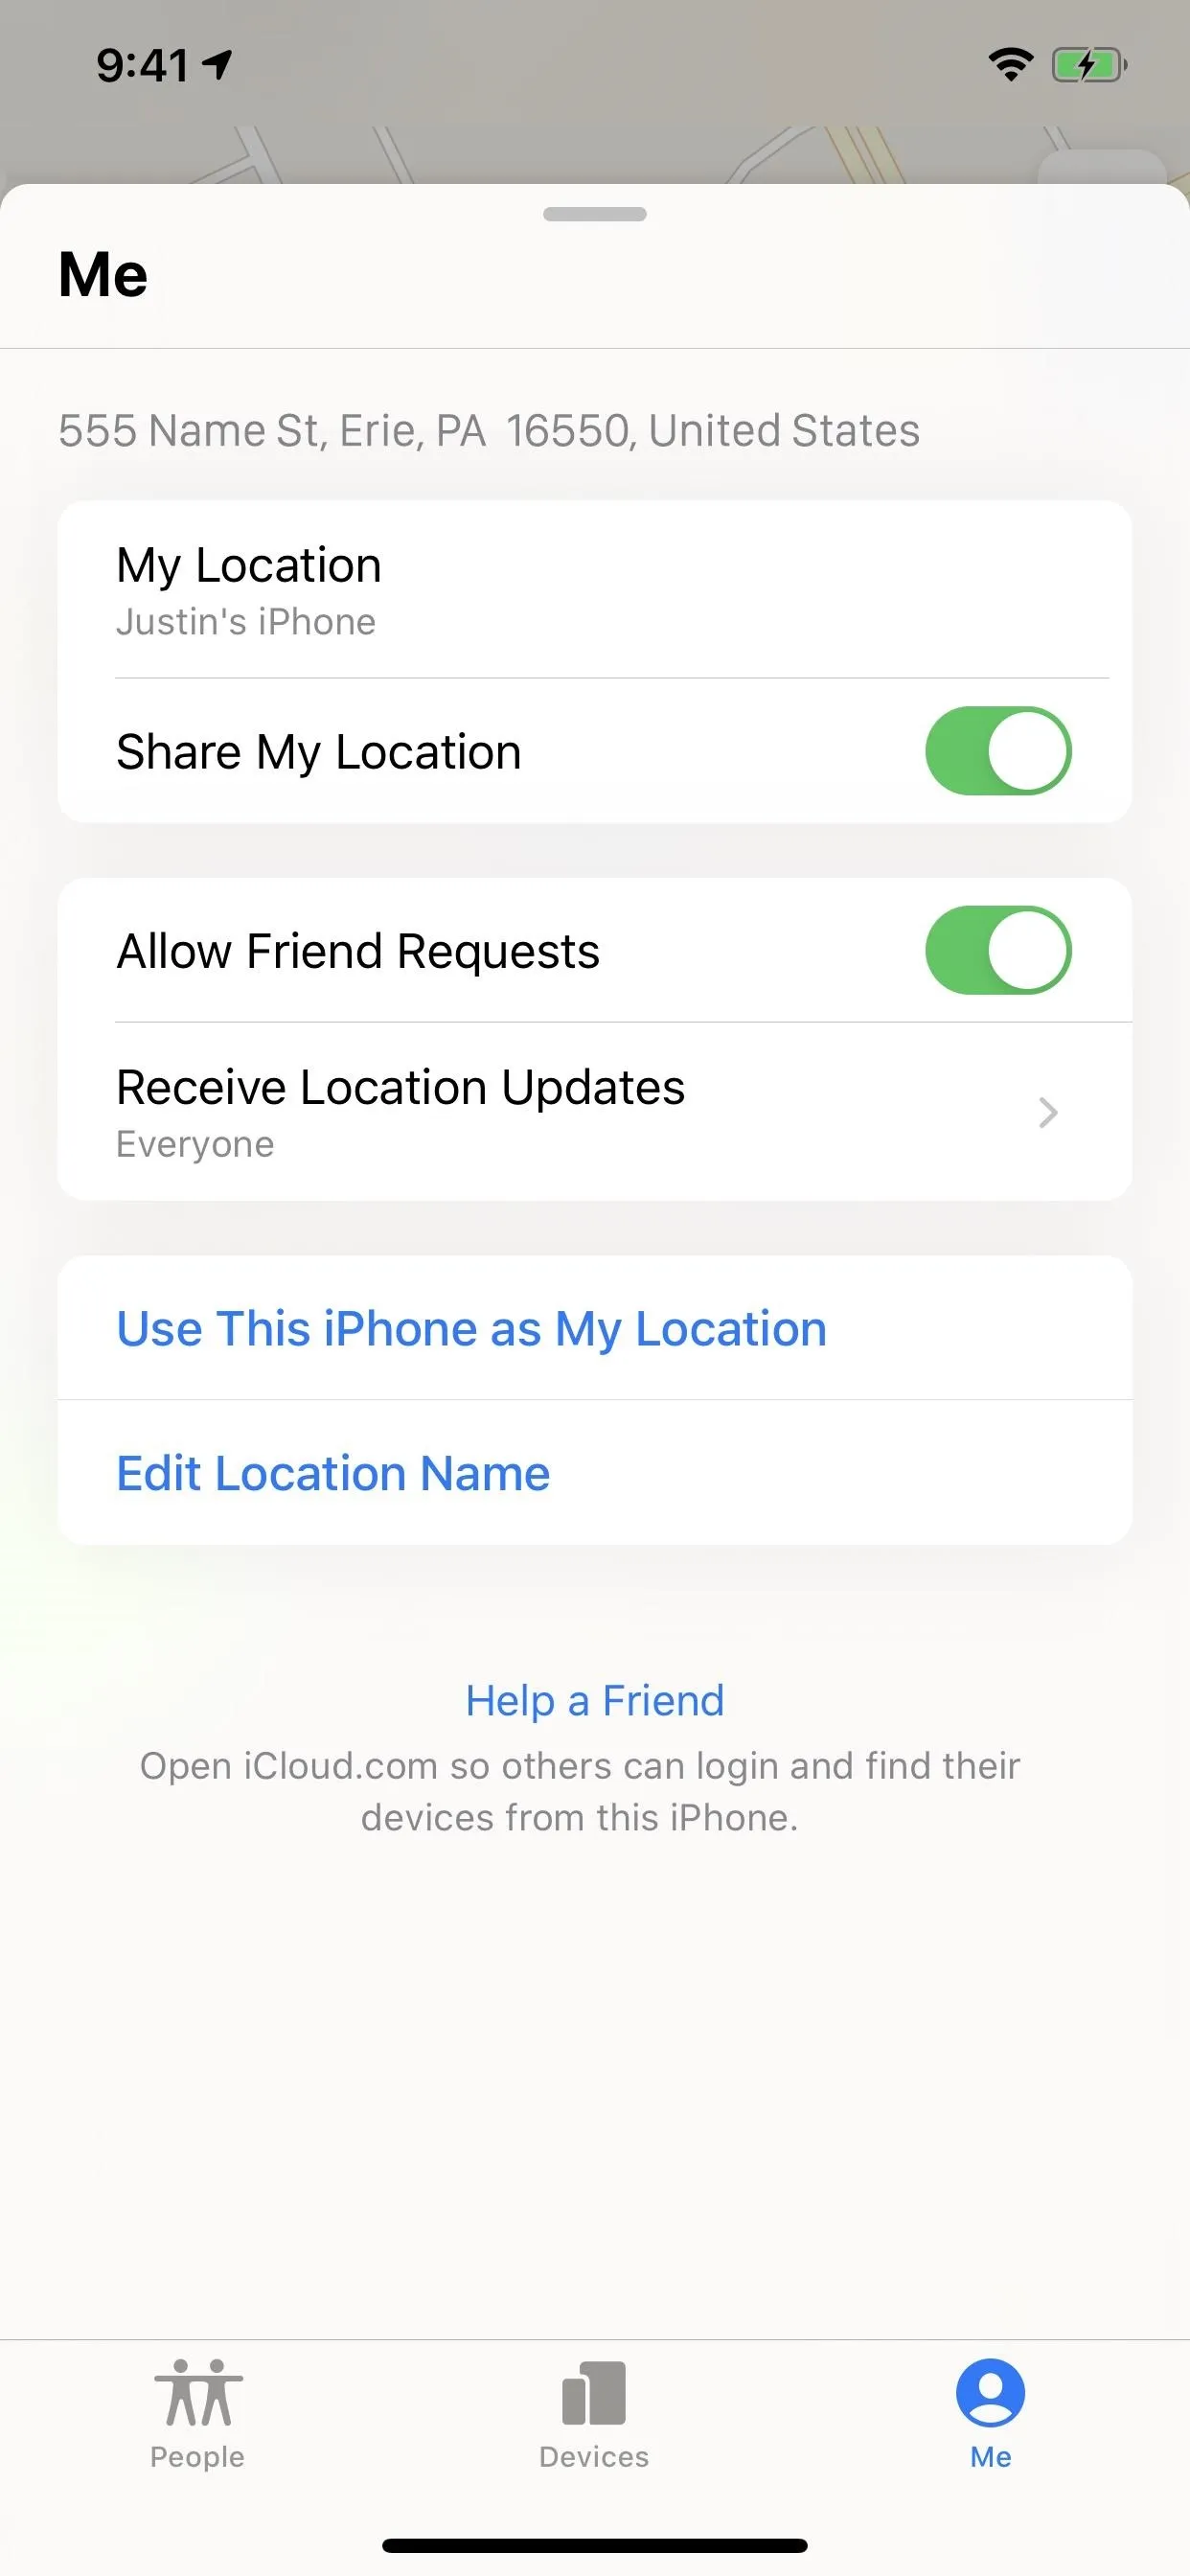
Back in the Find My app, select the "Me" screen to view more options. Here, you can also enable or disable "Share My Location," allow or block friend requests, and change location updates from everyone to just people you share your location with.
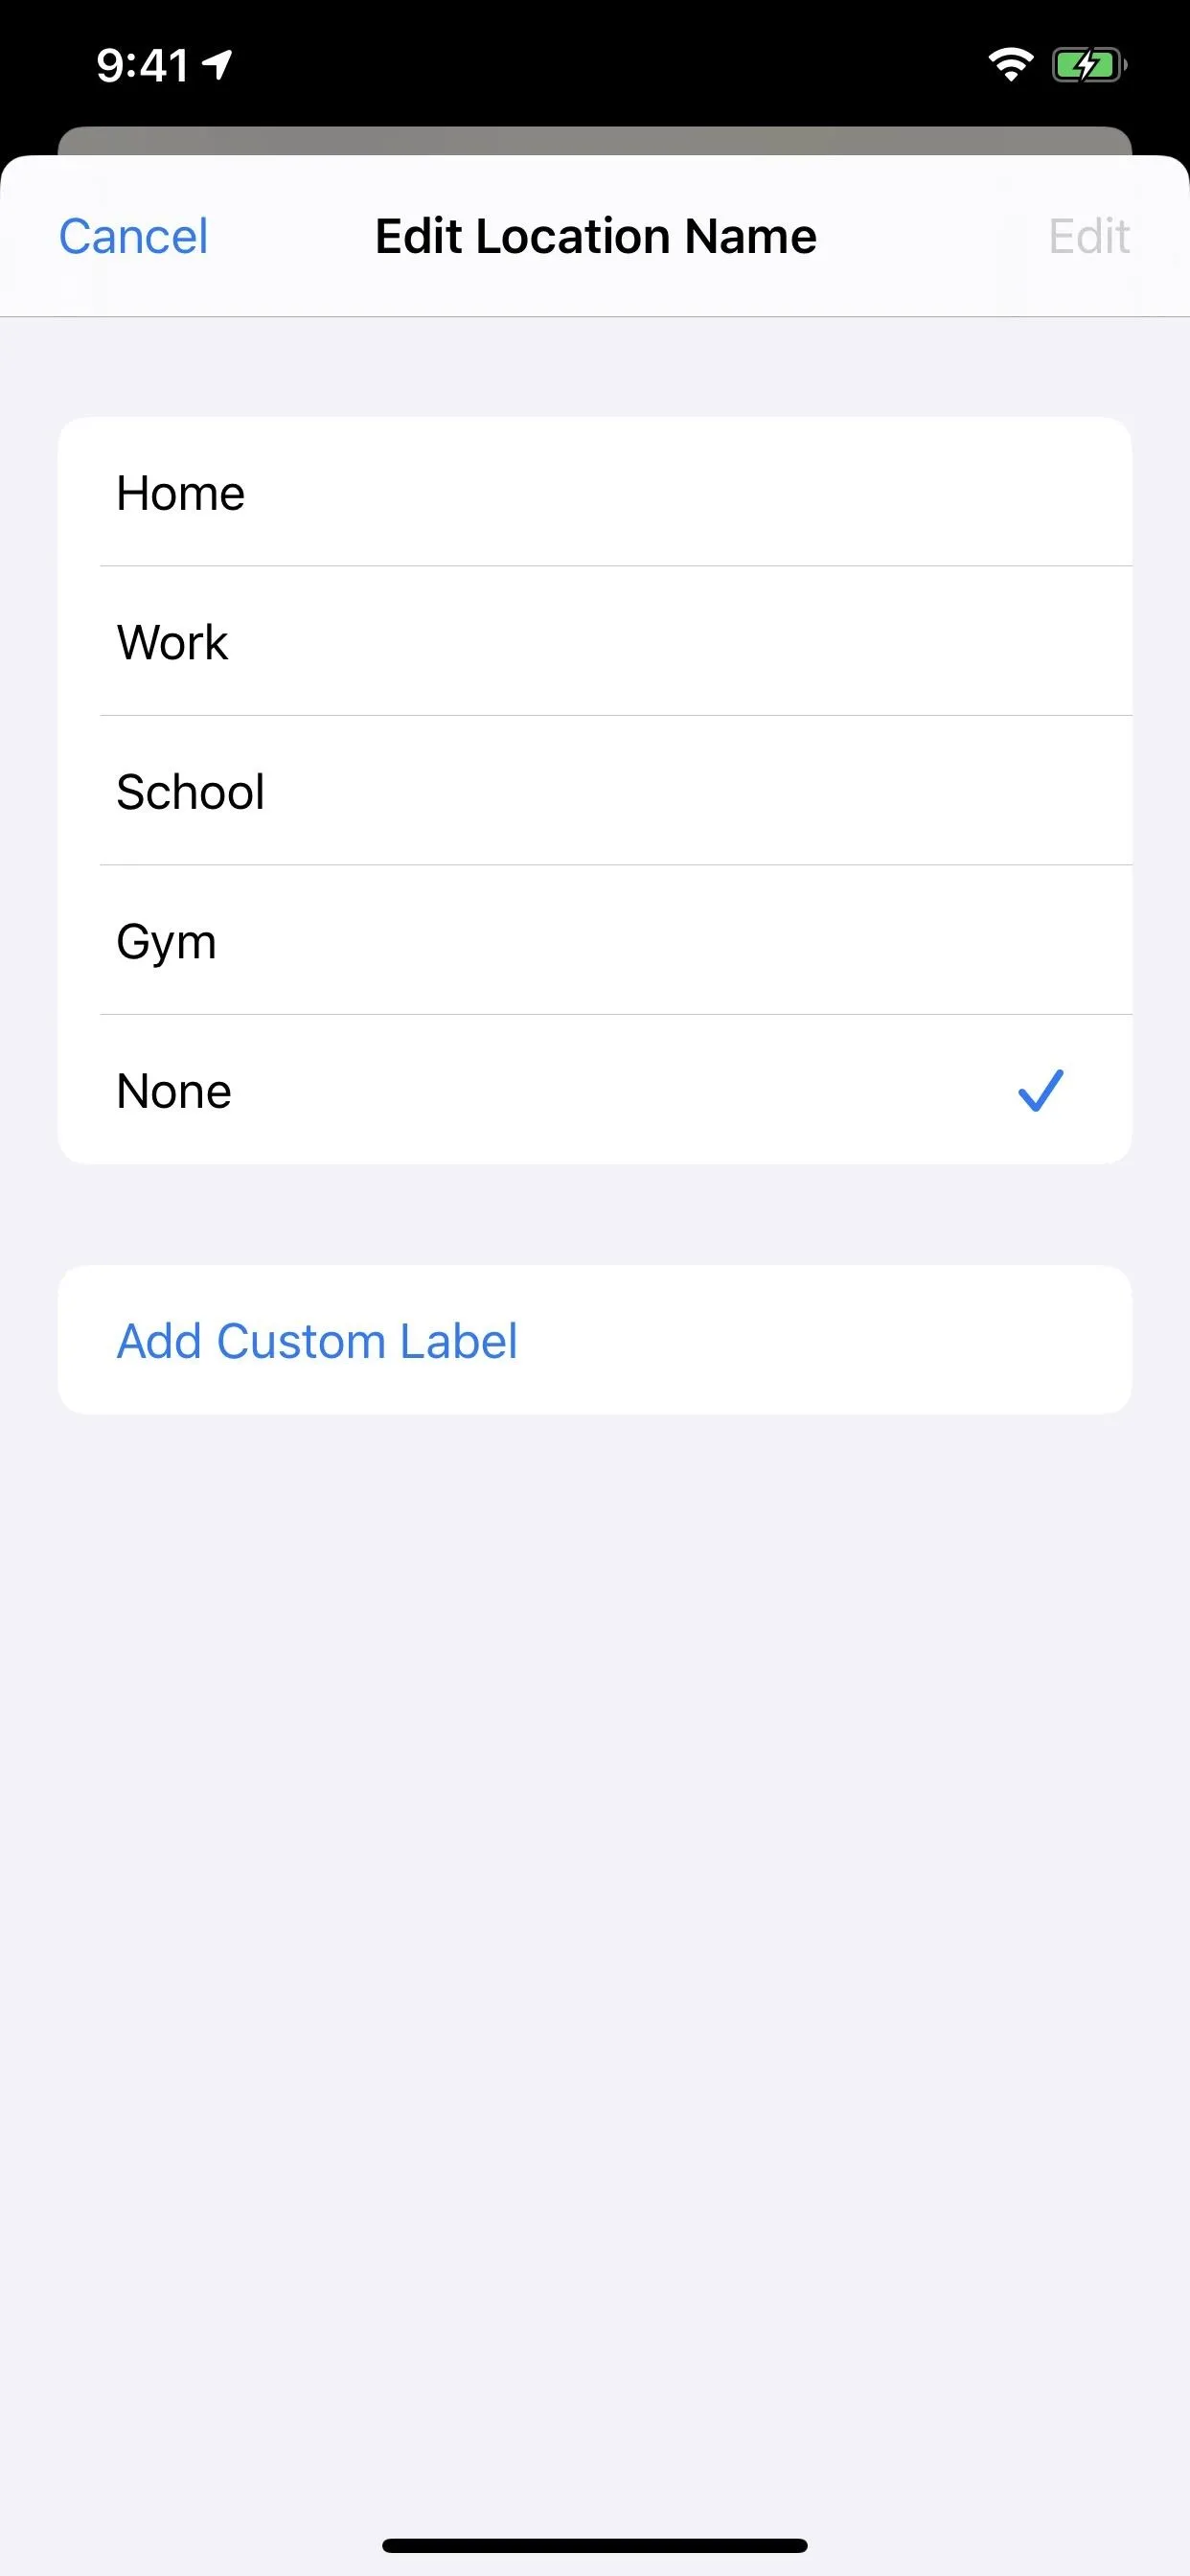
Additionally, you can hit "Edit Location Name" to change "iPhone" or whatever your device is called to something like "Home" or "School" or a custom label, which other users you share your location with will see. And you can quickly switch your location to the current iPhone just like in Settings.


Using the Map to View Locations
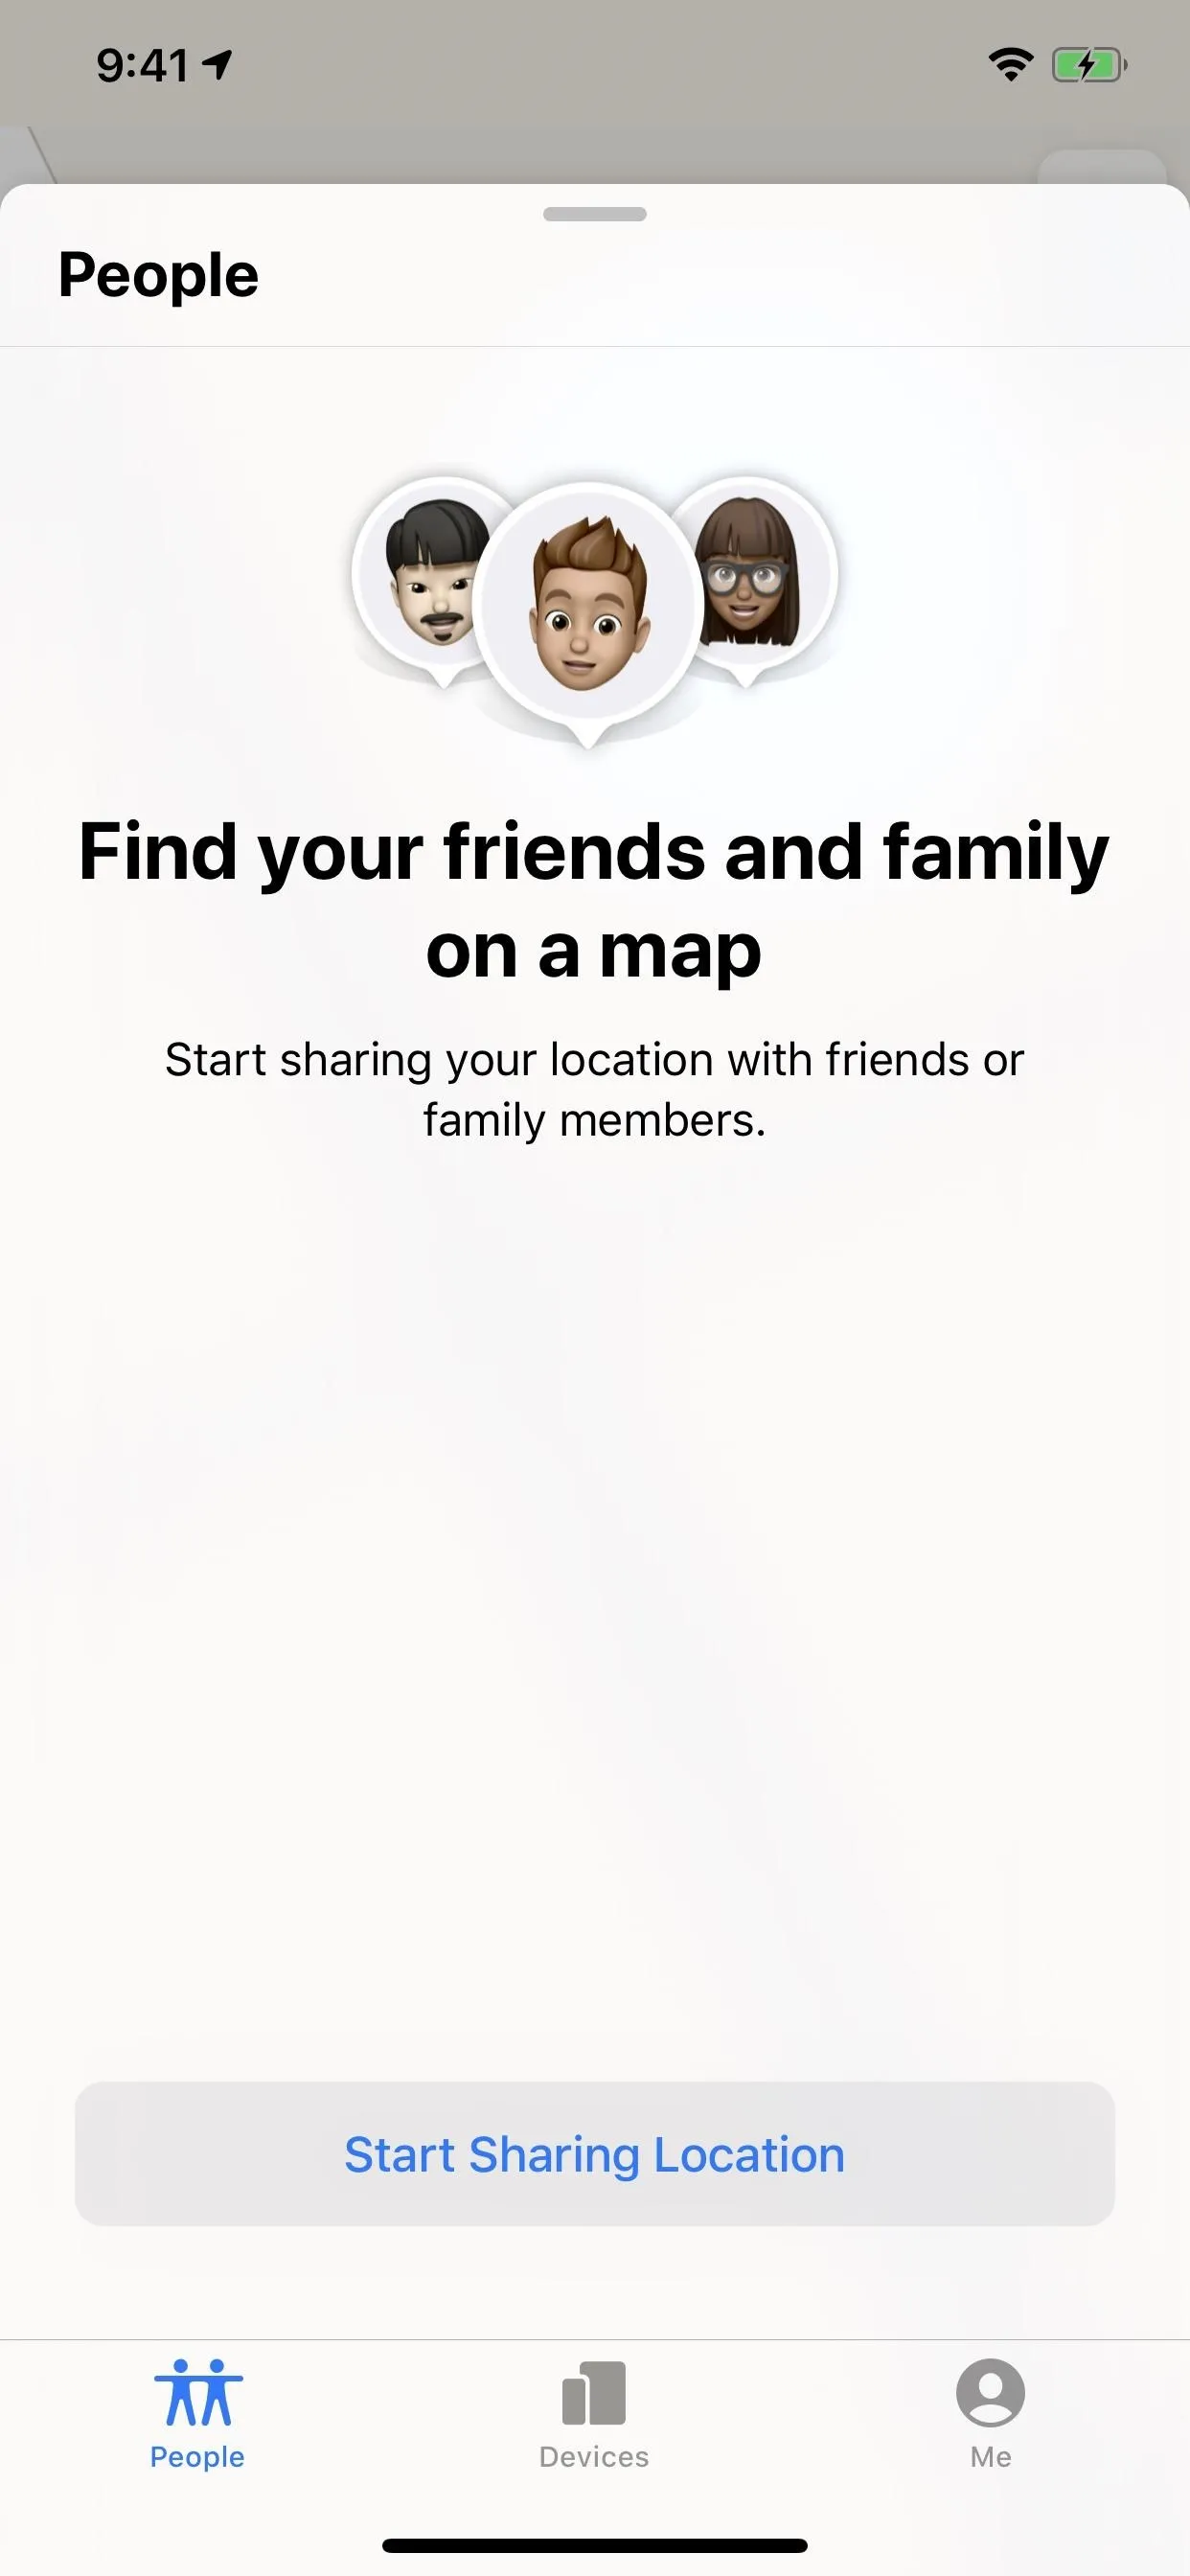
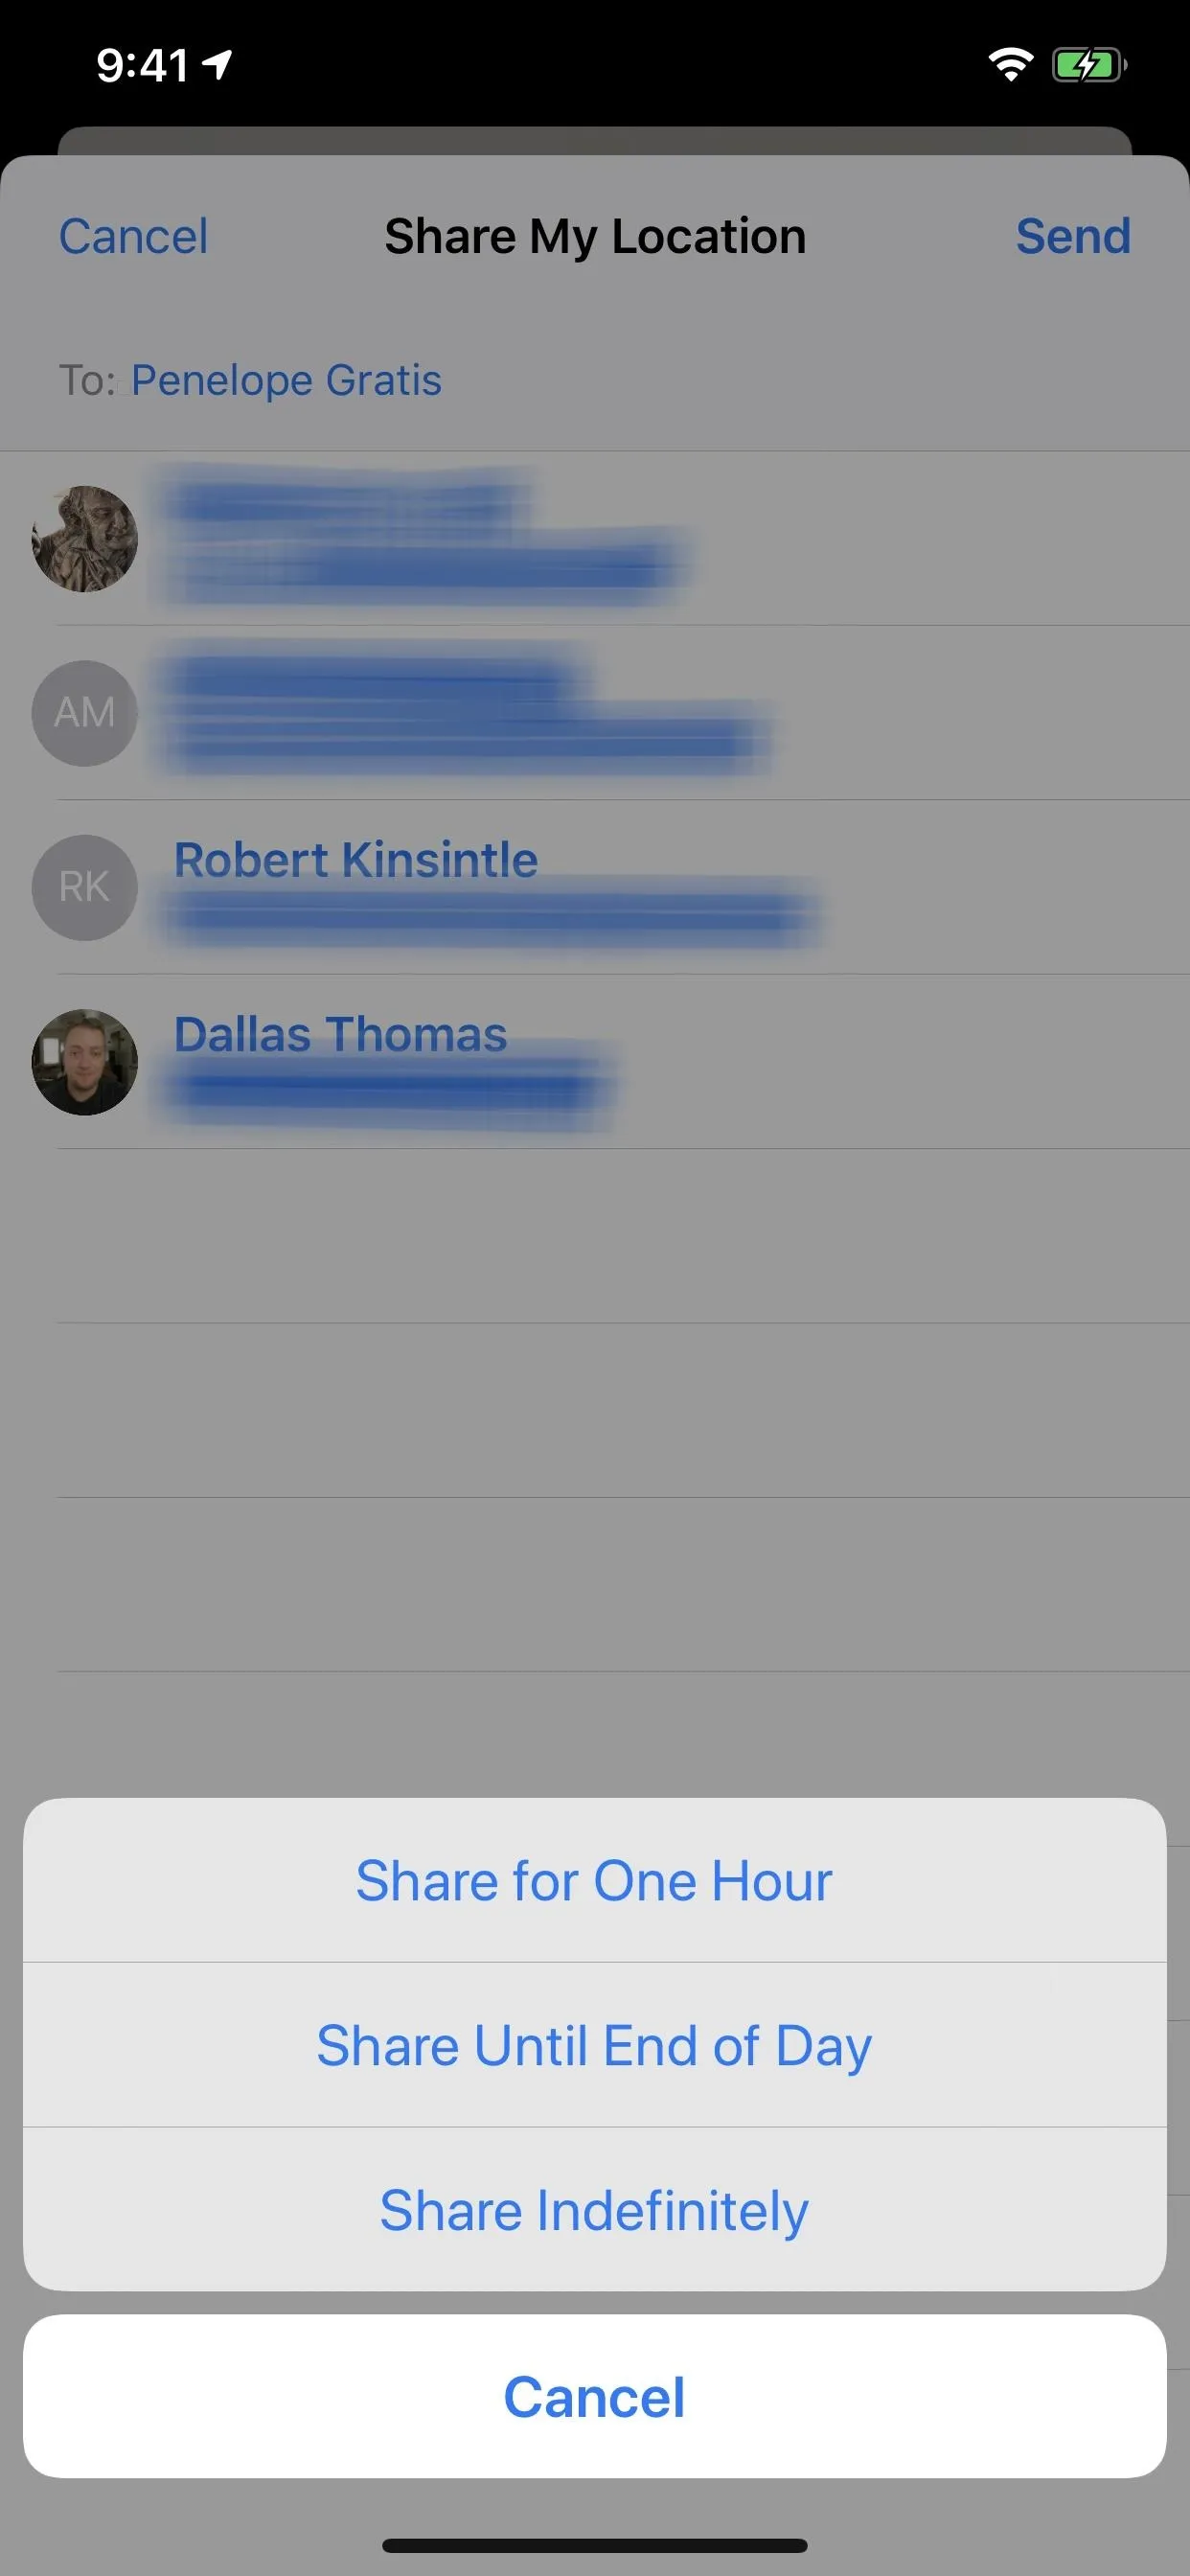
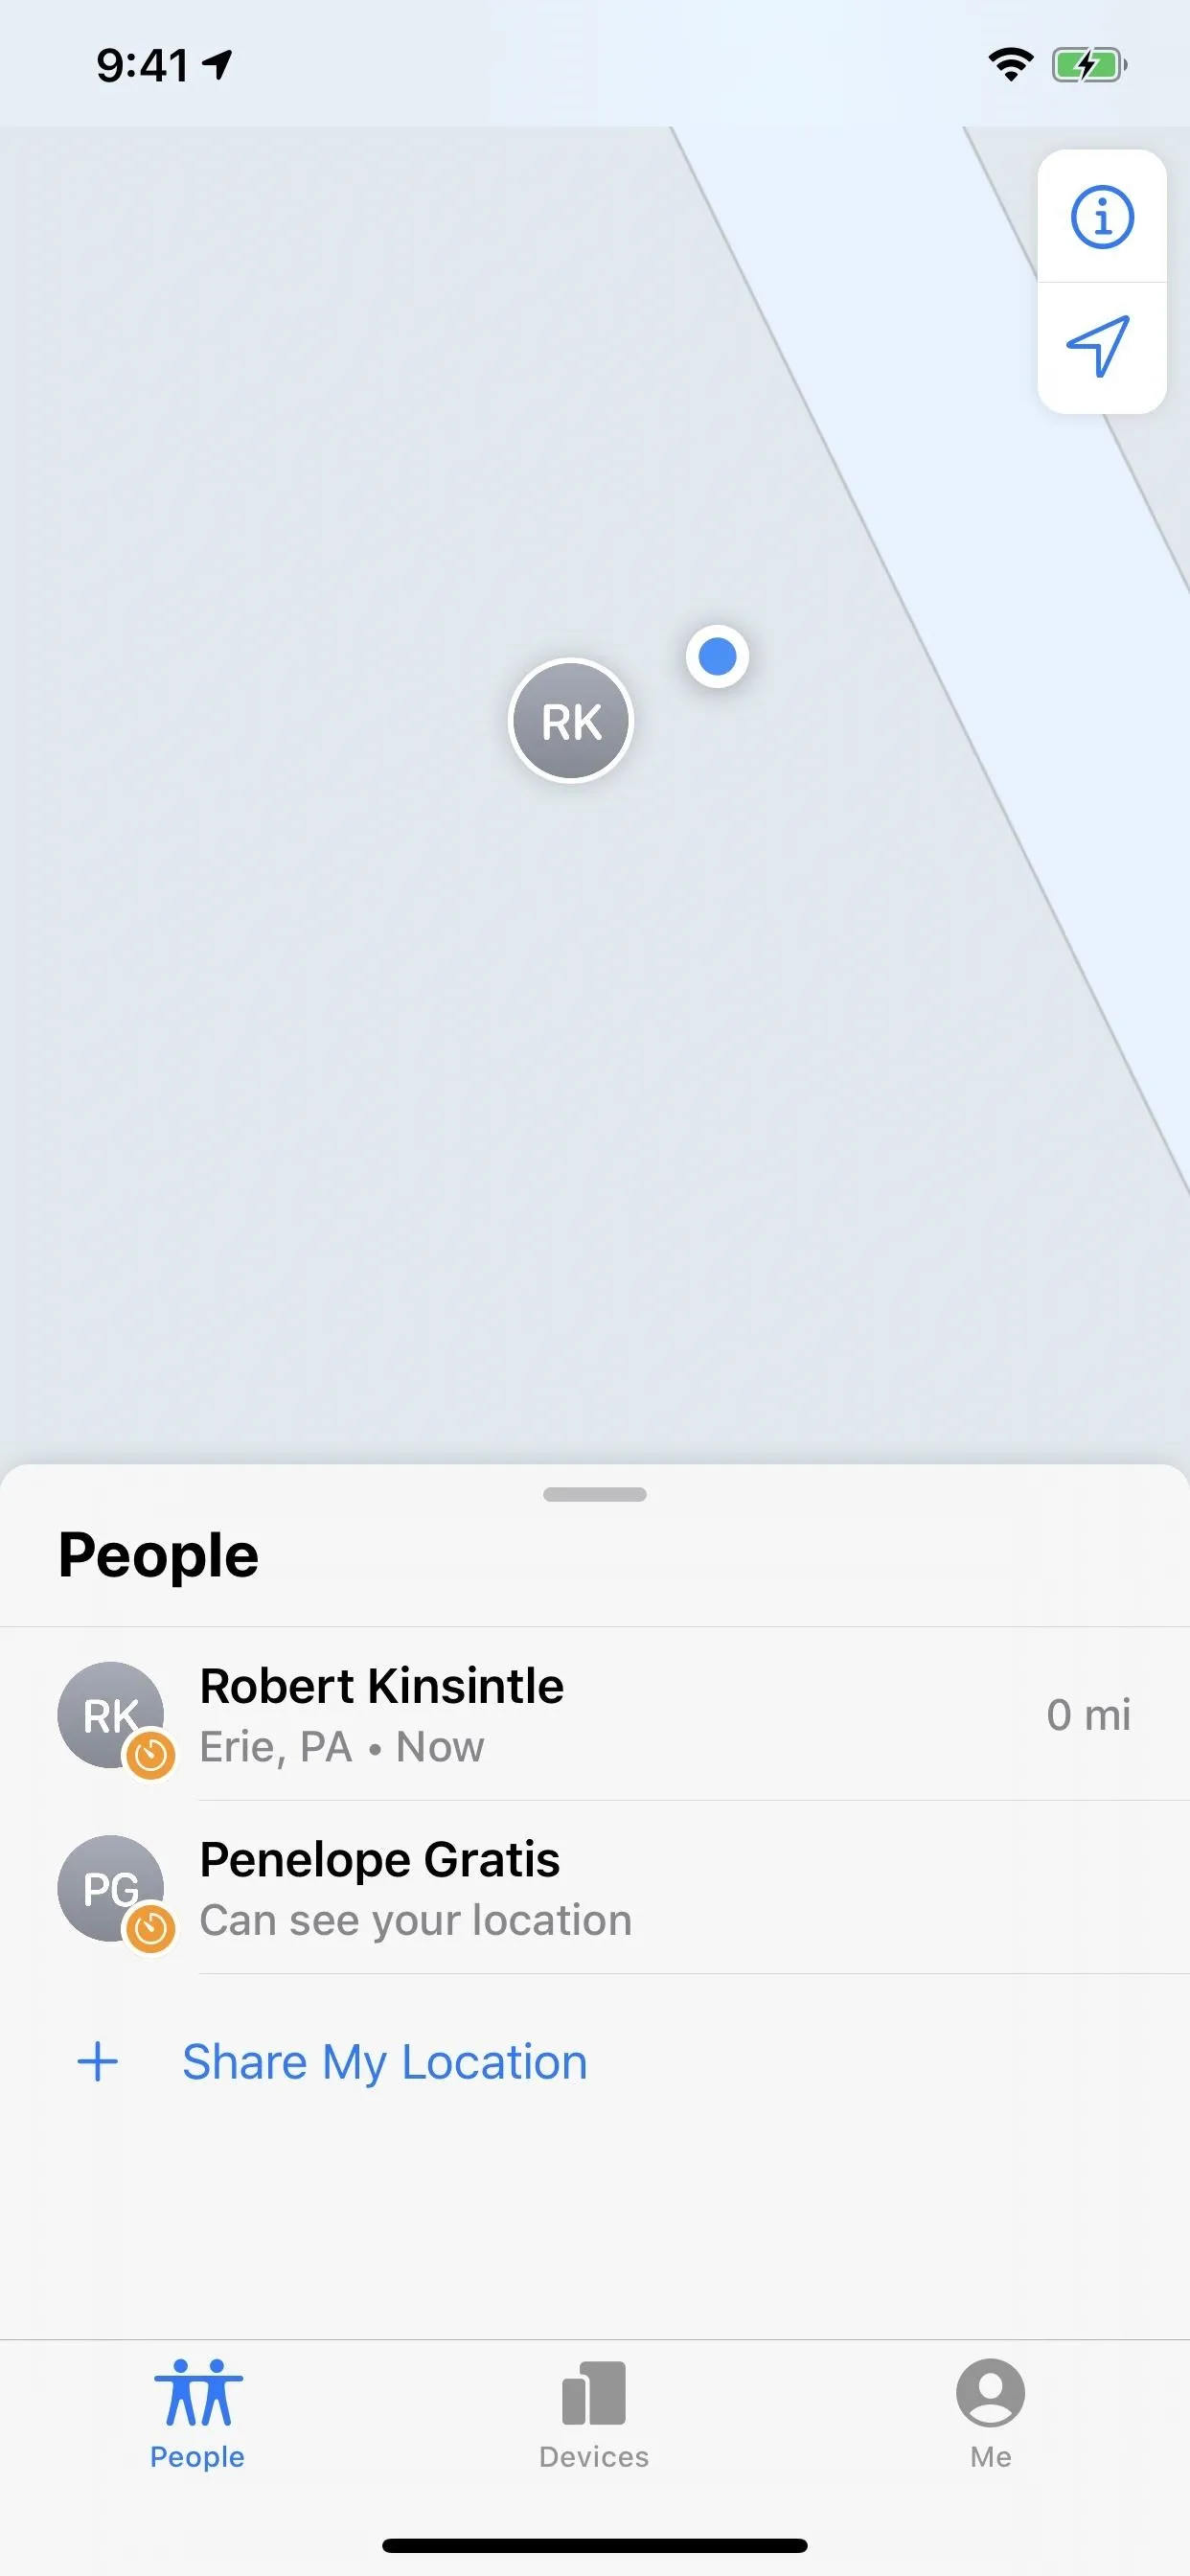
Now, from the "People" tab, if you're not already sharing your location, you can tap "Start Sharing Location" to begin. Then, you can choose from your contacts and whether they can see your location for one hour, until the end of the day, or until you manually stop sharing your location with them.
As with Find My Friends, the recipient must have the app installed and agree to share their location. Once they agree, their position will show up on your iPhone, and your location will show on their device.


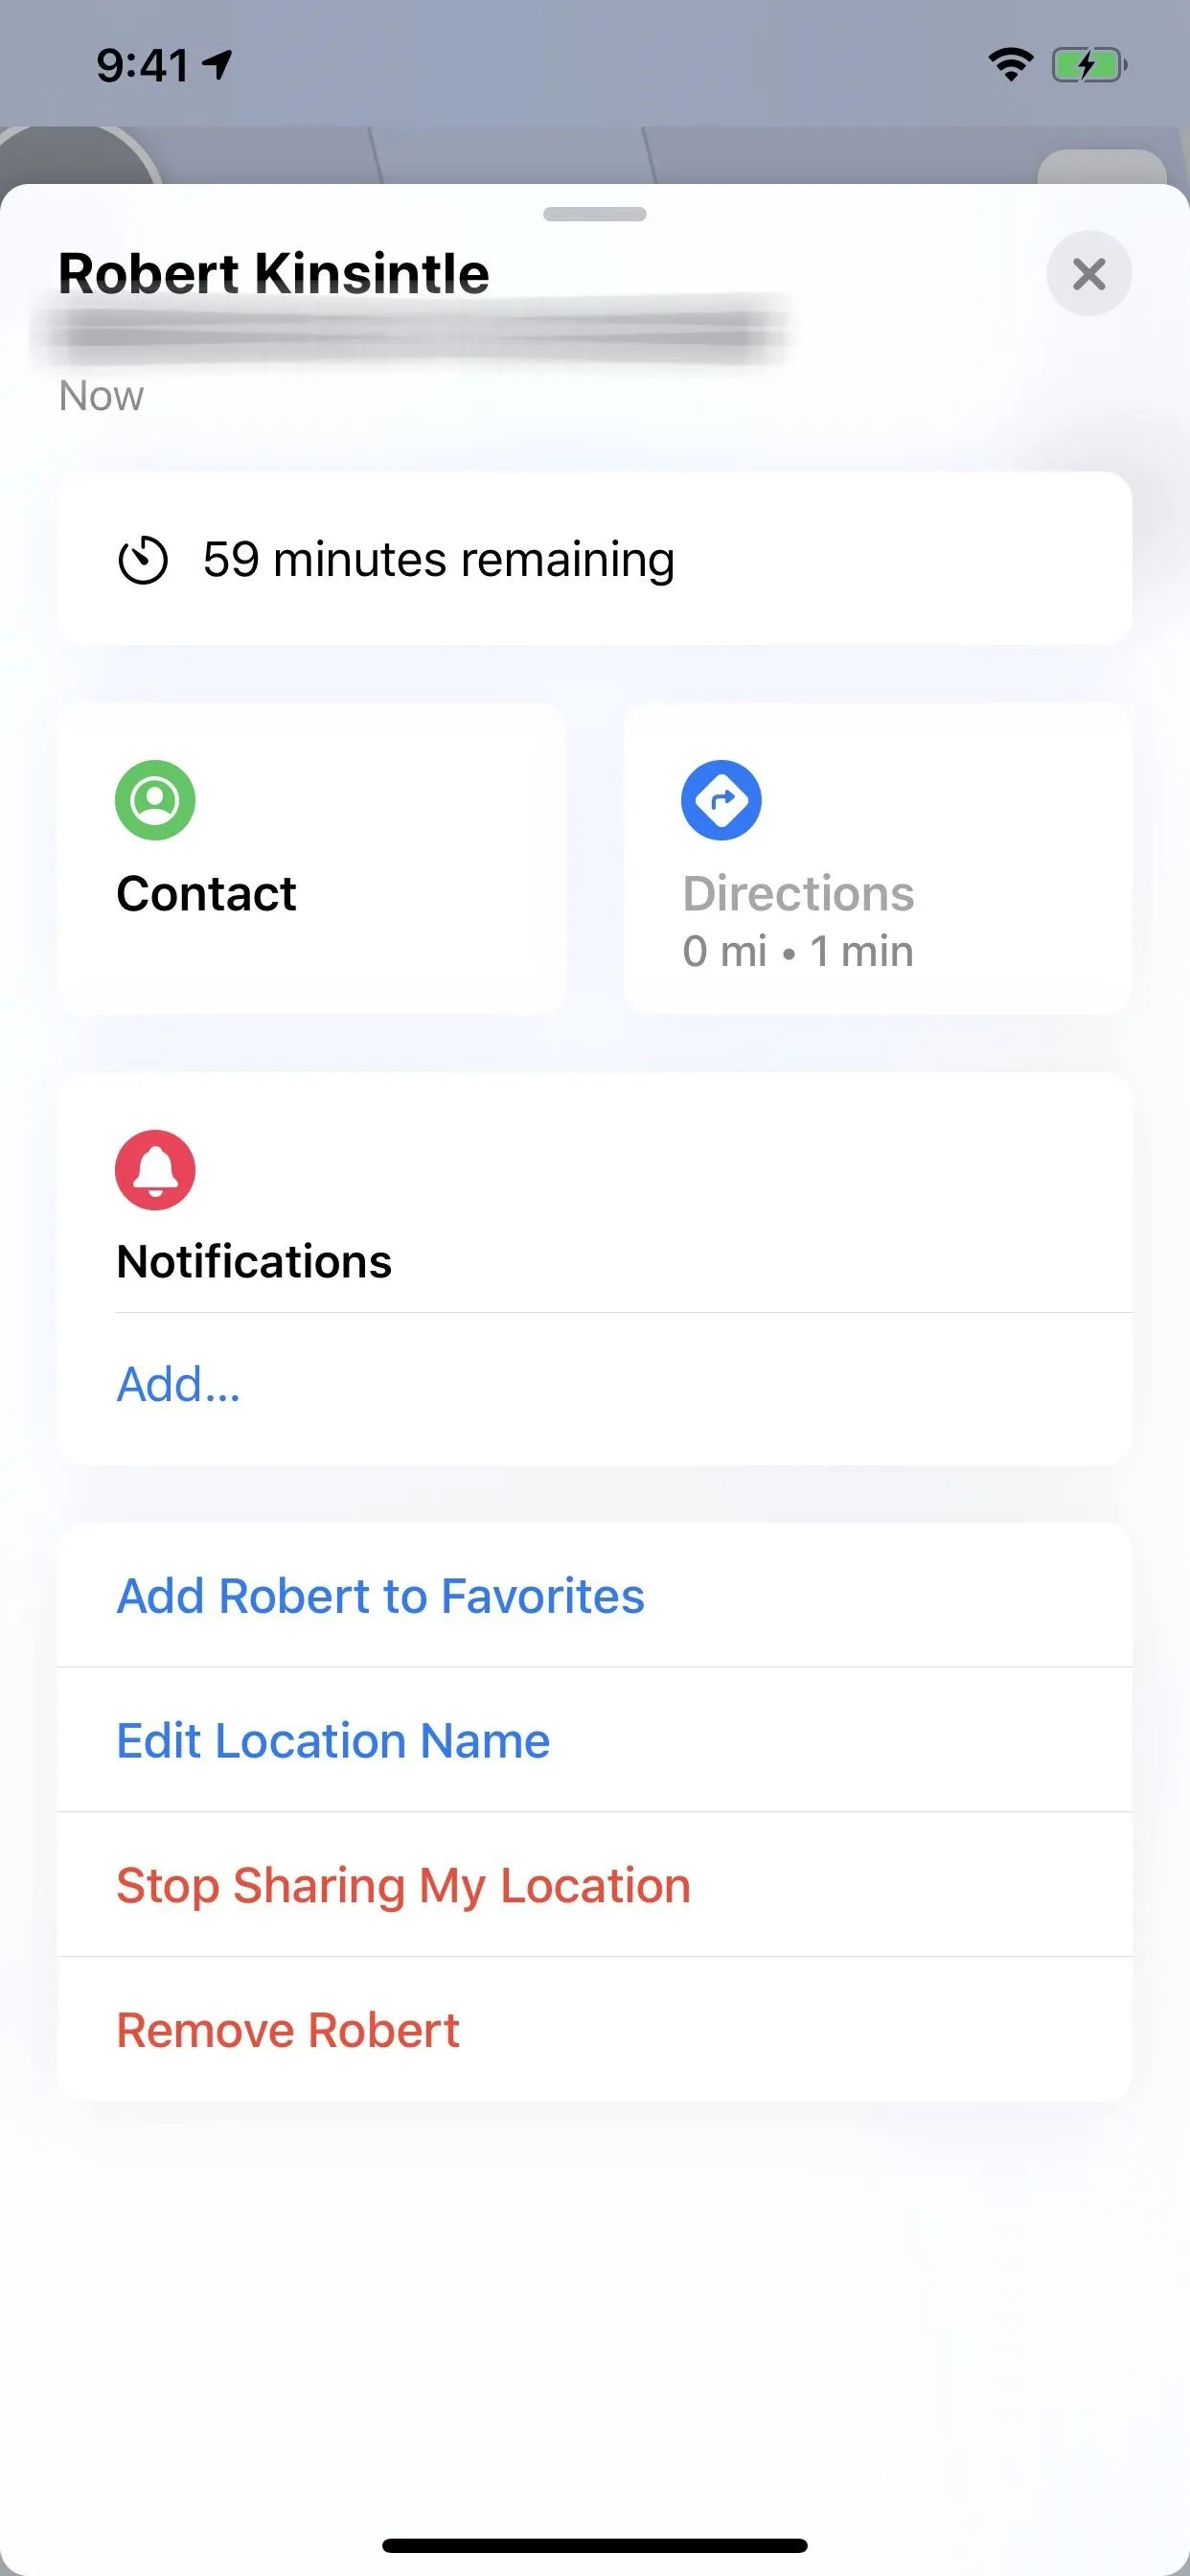
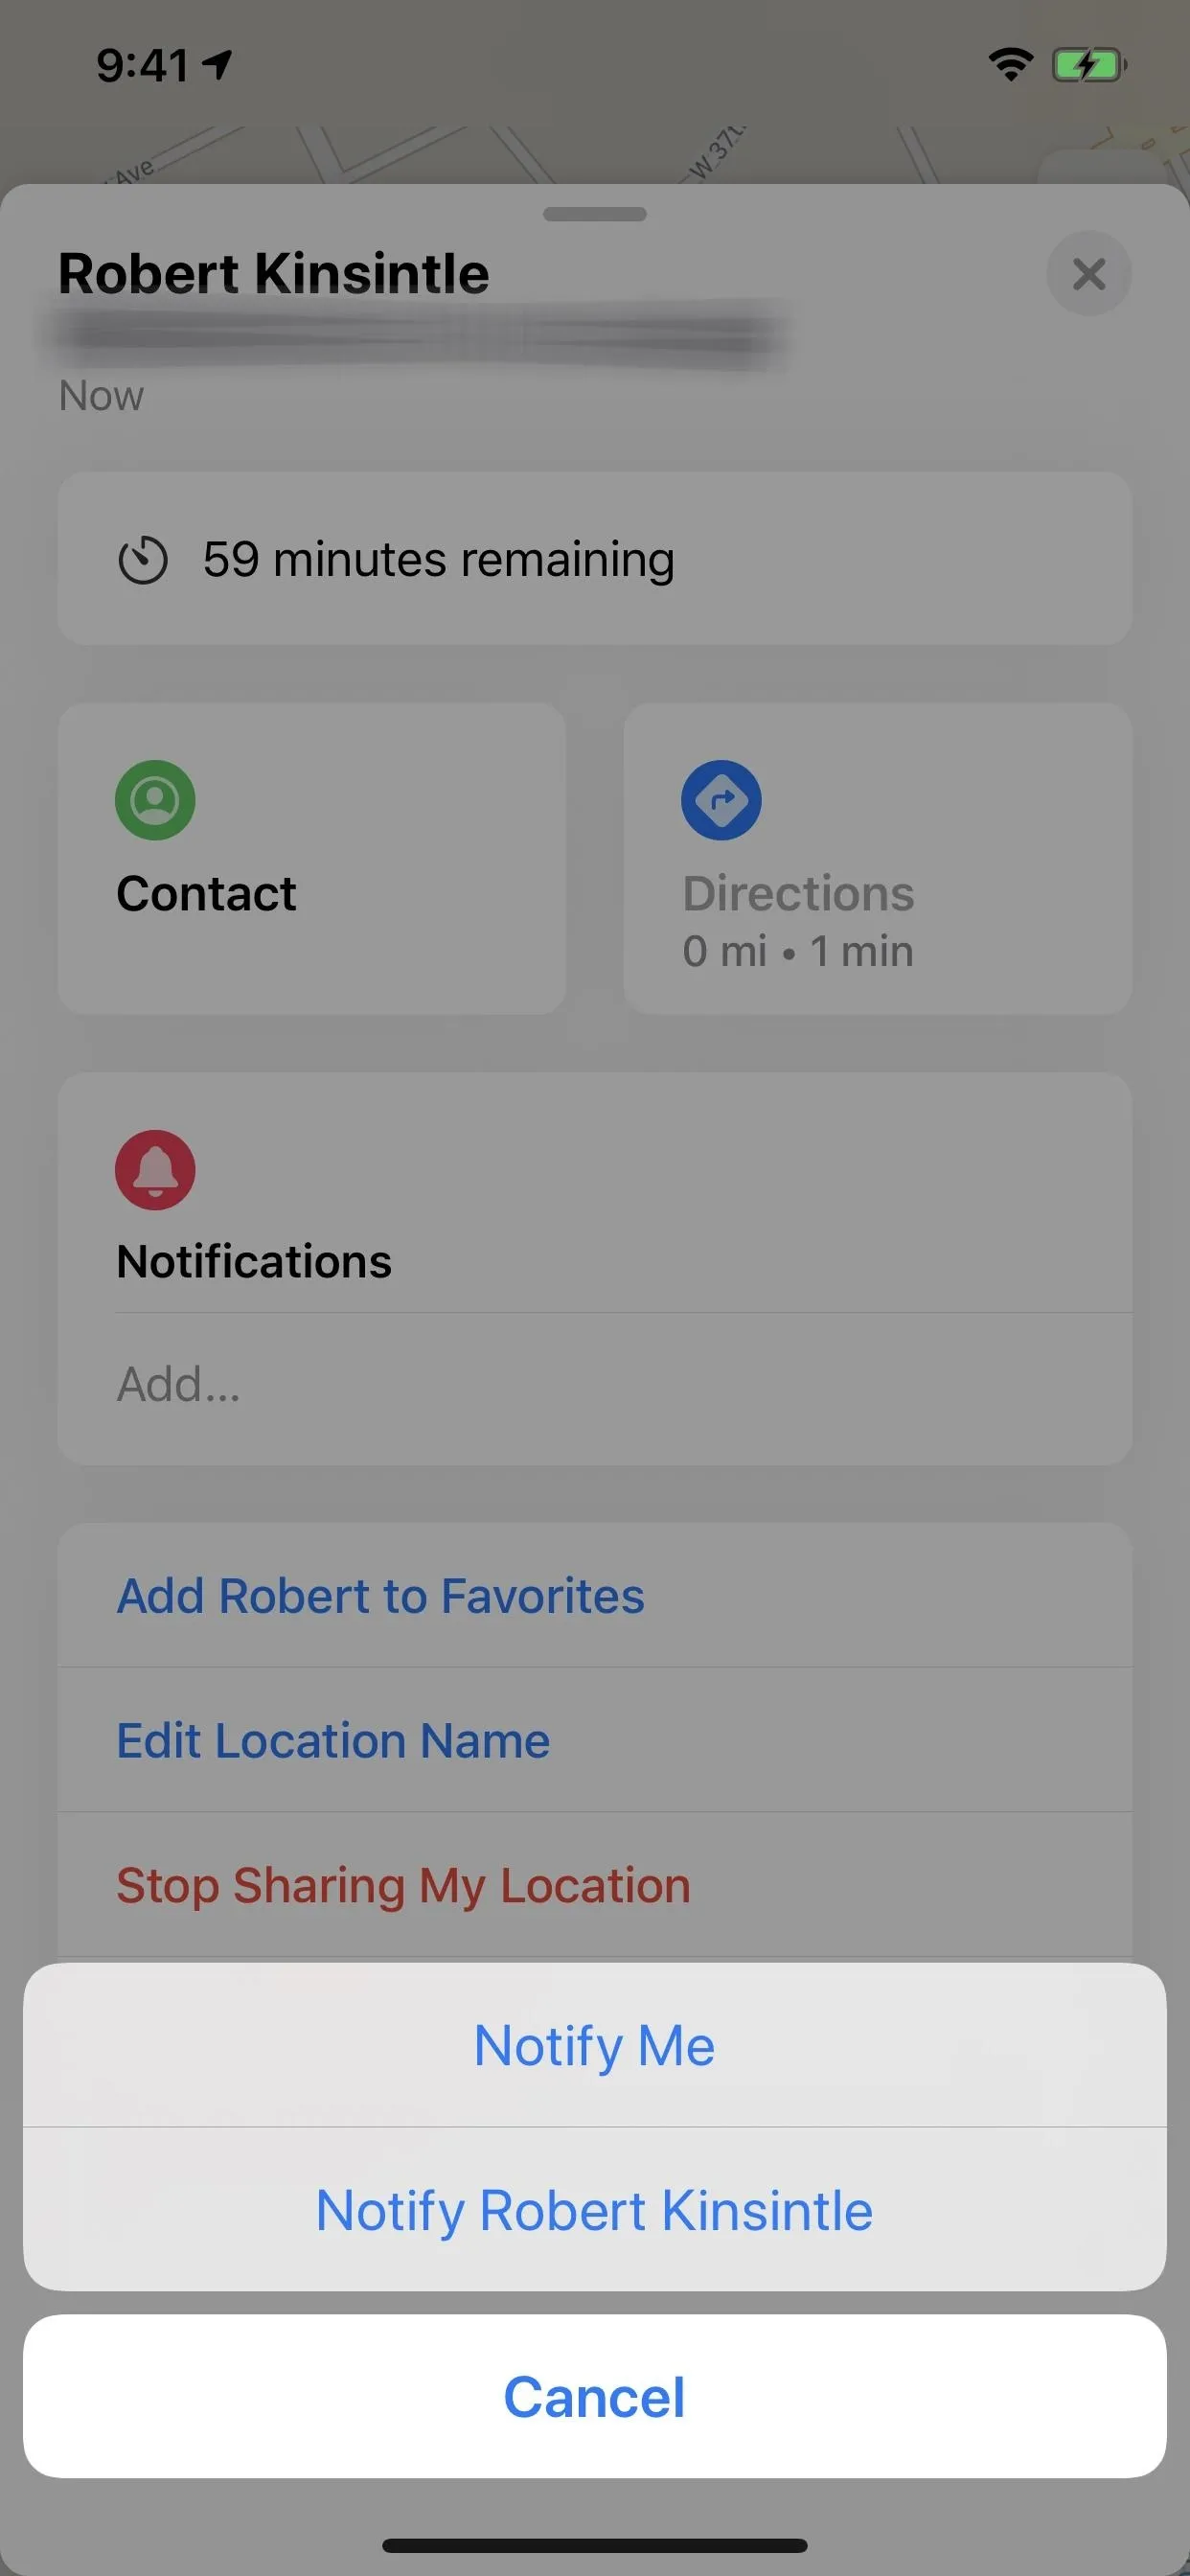
You can view people from the card or their icon on the map, and tapping a name will show you options to interact or alter settings with that person. You can see how much time that person has left to view your location (not how long you have to view theirs), contact them, get directions to them, set notifications, and more. You can also stop sharing your location and remove the user from your list.


Cover photo by Jon Knight/Gadget Hacks; Screenshots by Justin Meyers/Gadget Hacks


Comments
Be the first, drop a comment!