


The rear cameras on iPhones have remained at 12 megapixels since the iPhone 6s, but with each new iPhone model, more data is going into photos. That means larger file sizes. If you're running into issues with your pictures being too large, whether you're sharing or uploading them, there's an easy way to resize an image or group of images using a shortcut.
You could tackle it preemptively by changing how you take pictures with your iPhone, such as changing your shooting mode, file format, lighting conditions, and exposure. But that's working harder than necessary since your camera should let you take pictures without thinking too much about configuring anything.
Apple did build a few things into iOS that makes sharing larger images easier. For instance, you can lower an image's size when adding it to an email in Mail. And in Messages, you can opt to send low-quality images all the time, which can help you save on data and prevent sending errors. But if you're using any other app, you likely won't see any options like that.
That's where a shortcut comes in handy. You can quickly make copies of selected photos with the right one, changing the resolution for one image or even dozens. This is good for whenever you want to share an image or group of photos with others, upload pictures to a website or app, or just give people lower-quality versions of your media so that you remain the keeper of the originals. You can then delete all of the smaller copies in Photos when you no longer need them.
Prerequisites
Make sure you're running iOS 14 or later. It may work in iOS 13, but we have not tested it. You'll also need the Shortcuts app, so if you deleted it for some reason, you can get it back from the App Store. In Settings –> Shortcuts, make sure that "Allow Untrusted Shortcuts" is toggled on to add user-built shortcuts.
The shortcut we're using also uses UpdateKit, so you'll want to get that too to make sure the shortcut remains up to date. If you have it and are having issues with UpdateKit, you can delete all of the UpdateKit stuff from the image-adjusting shortcut to prevent that.
Add the Shortcut
Image Resizer, aka Bulk Resize, is a shortcut created by RoutineHub user jacro__edu. With it, you can resize dozens if not hundreds of images from the Photos app. The original images will remain untouched, but it will create newer versions at the top of your Photos app using your chosen resolution. You can get the shortcut directly from the link below or from RoutineHub, which regularly updates the shortcut.
- iCloud Link: Image Resizer (Bulk Resize) v1.5 (free)
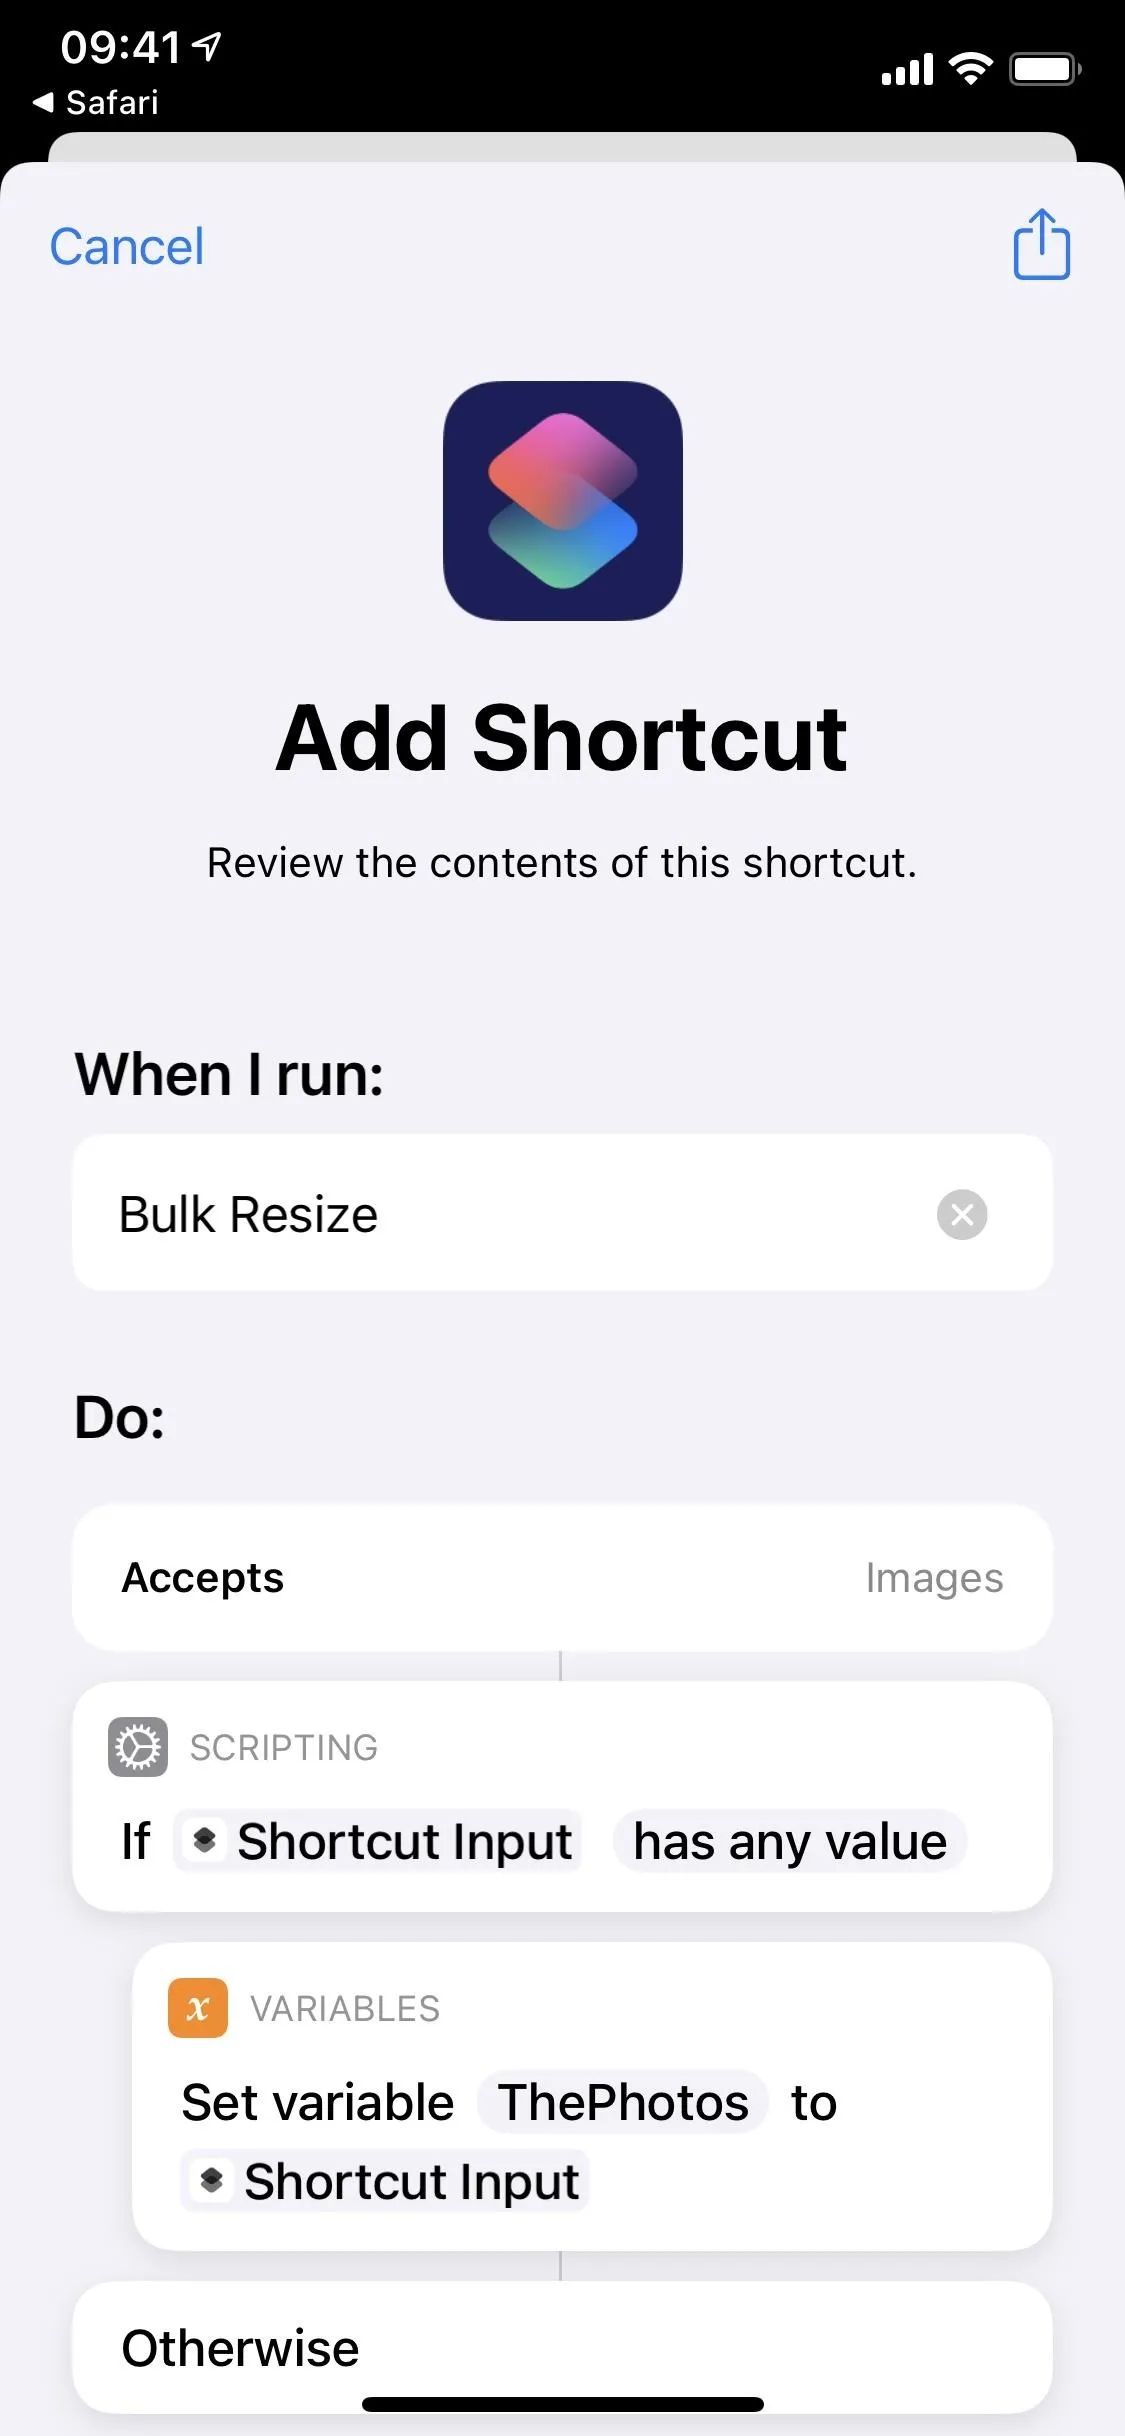
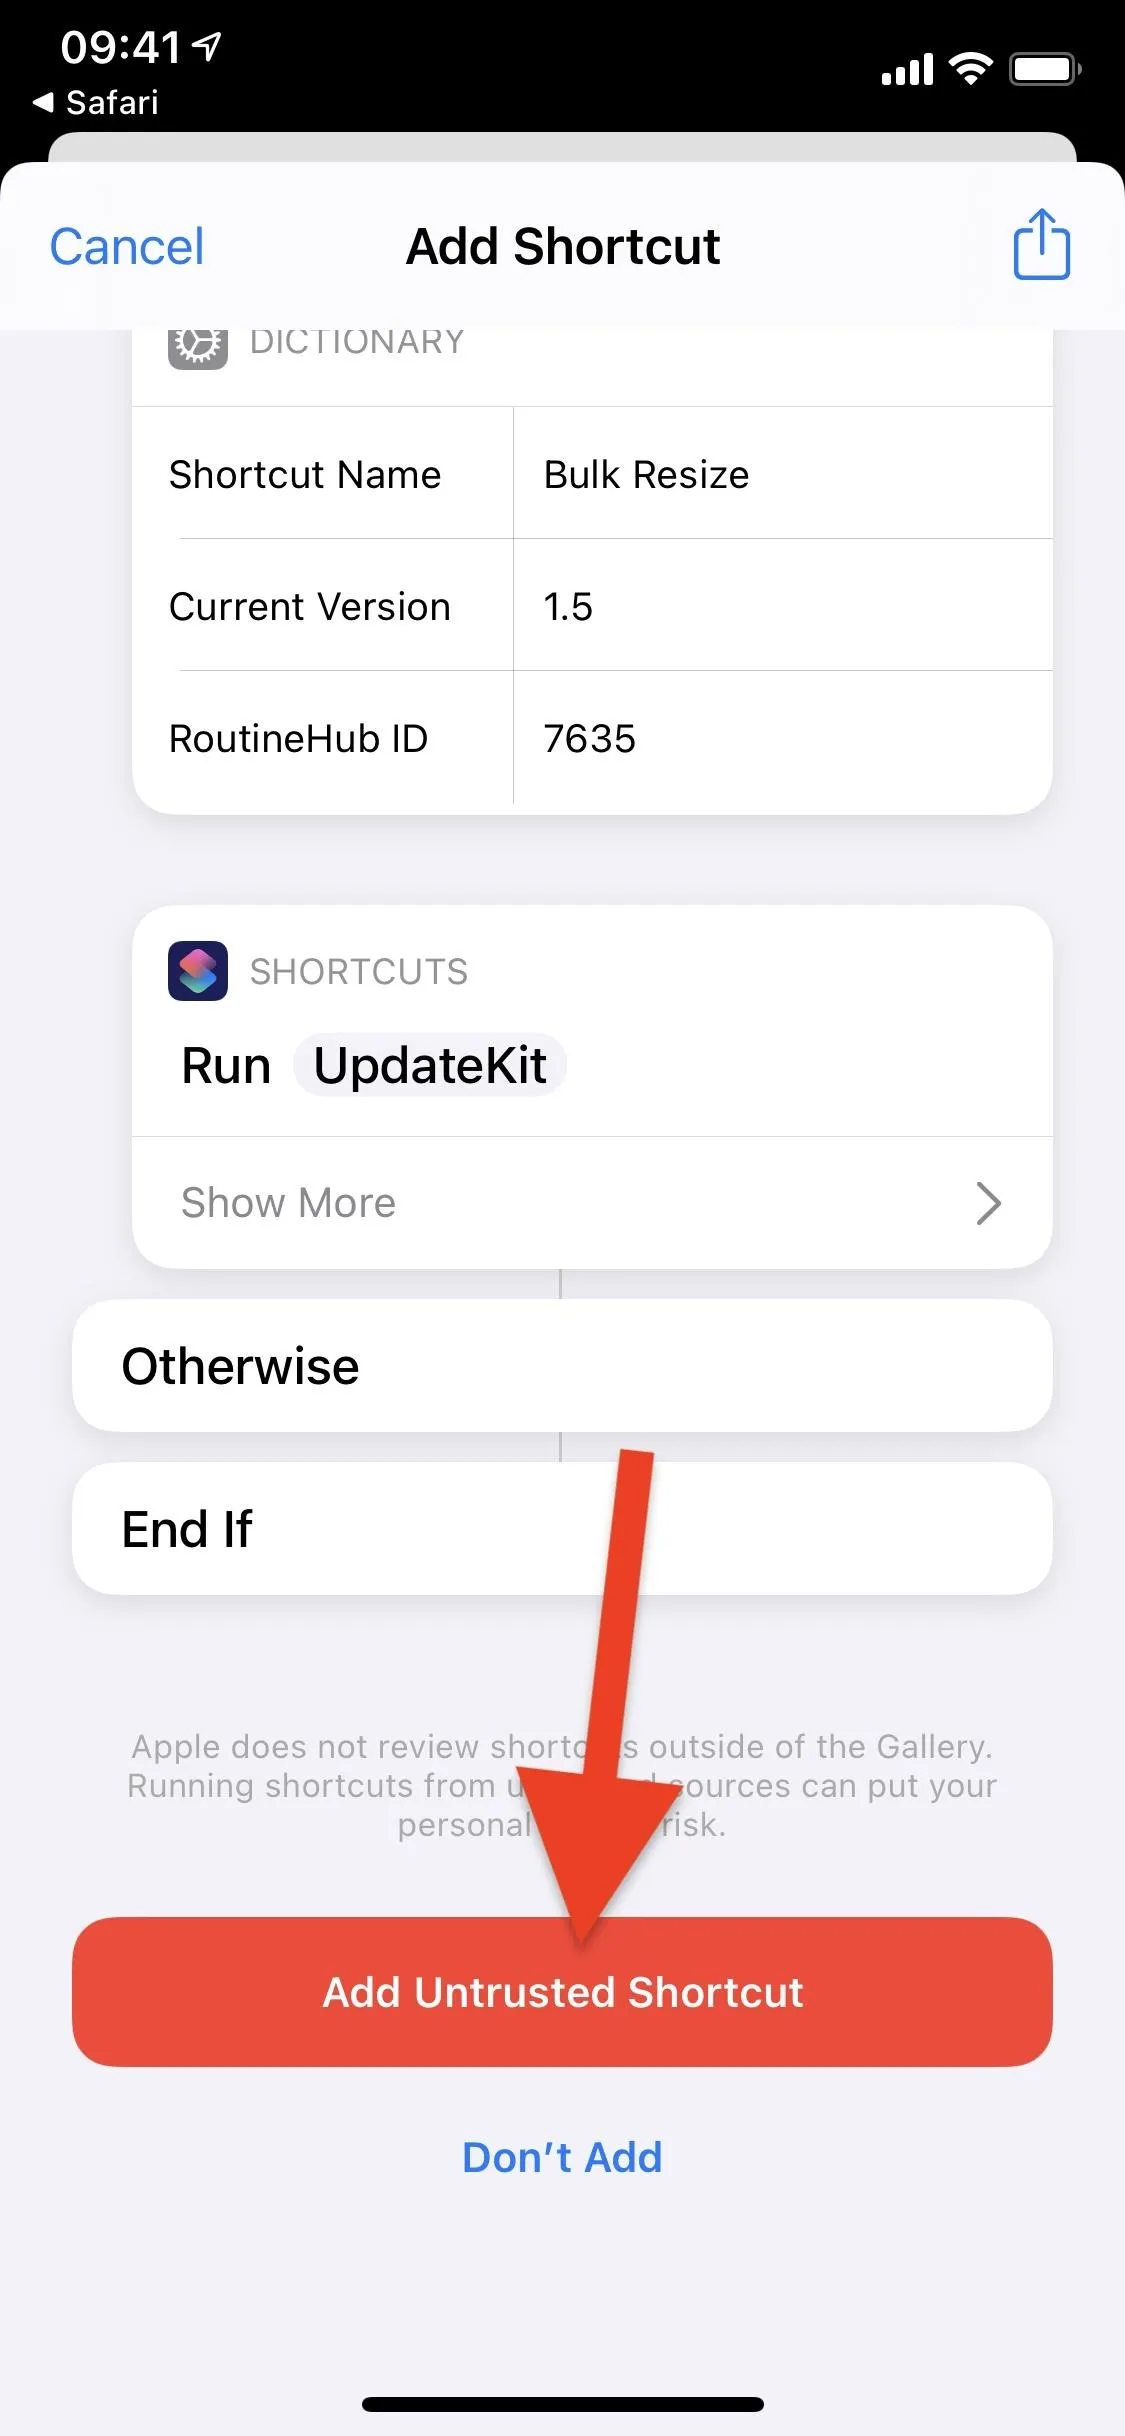
After hitting "Get Shortcut," you can review the shortcut's contents in the Shortcuts app. Scroll down through these actions until you get "Add Untrusted Shortcut." Tap that to add it to your library. If it asks you to configure the shortcut, tap on "Done" because there is nothing to configure.
Resize Your Photos
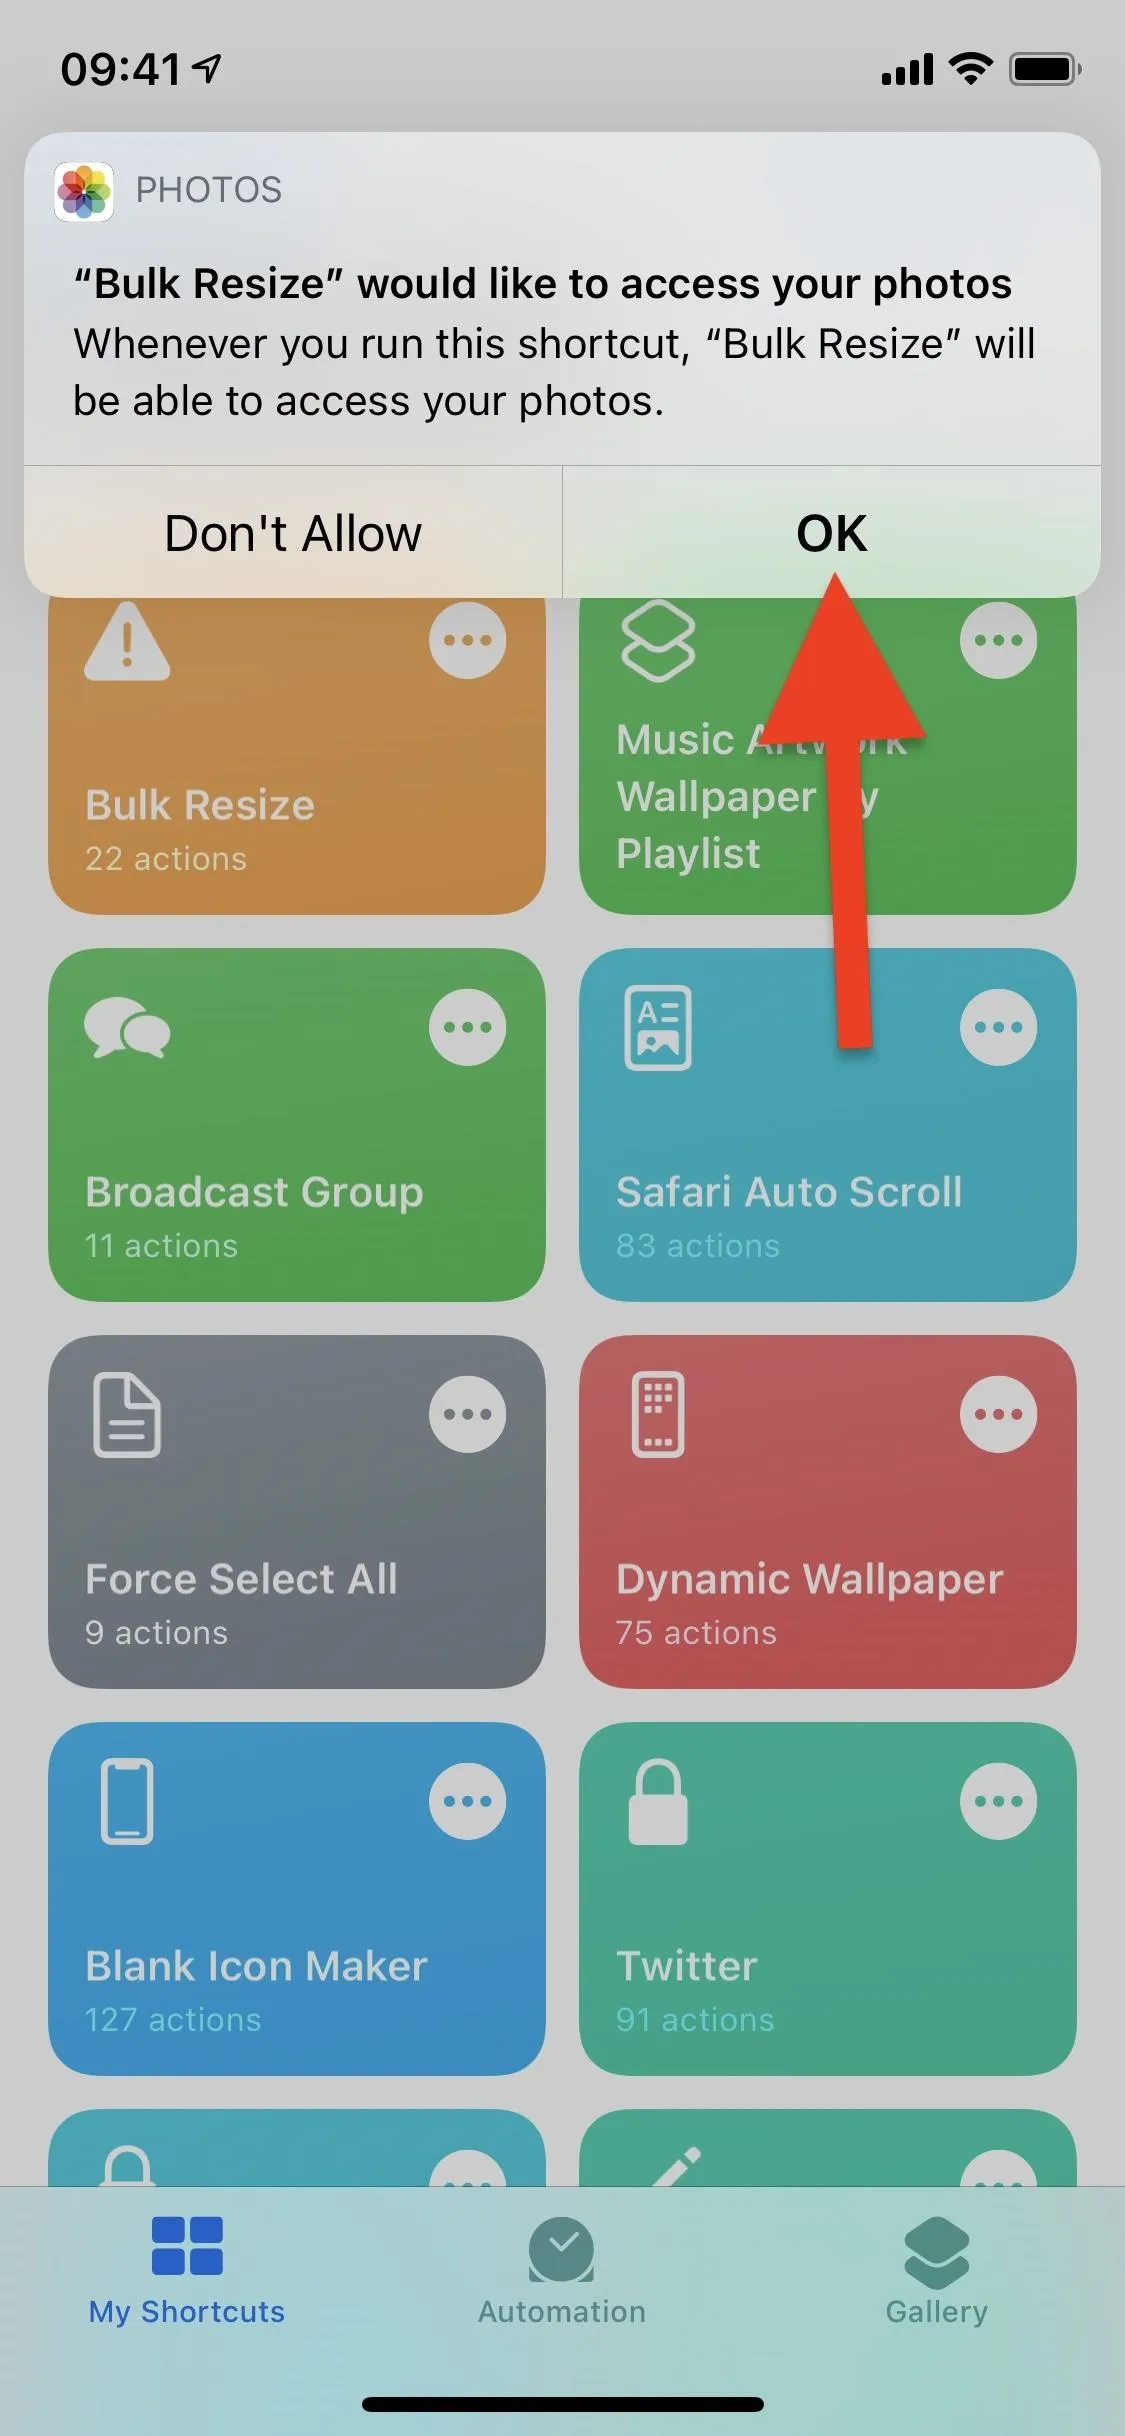
In the "My Shortcuts" list, tap on "Bulk Resize" to begin resizing images. The first time you run the shortcut, you'll need to give it access to the Photos app — tap on "OK" to do that.

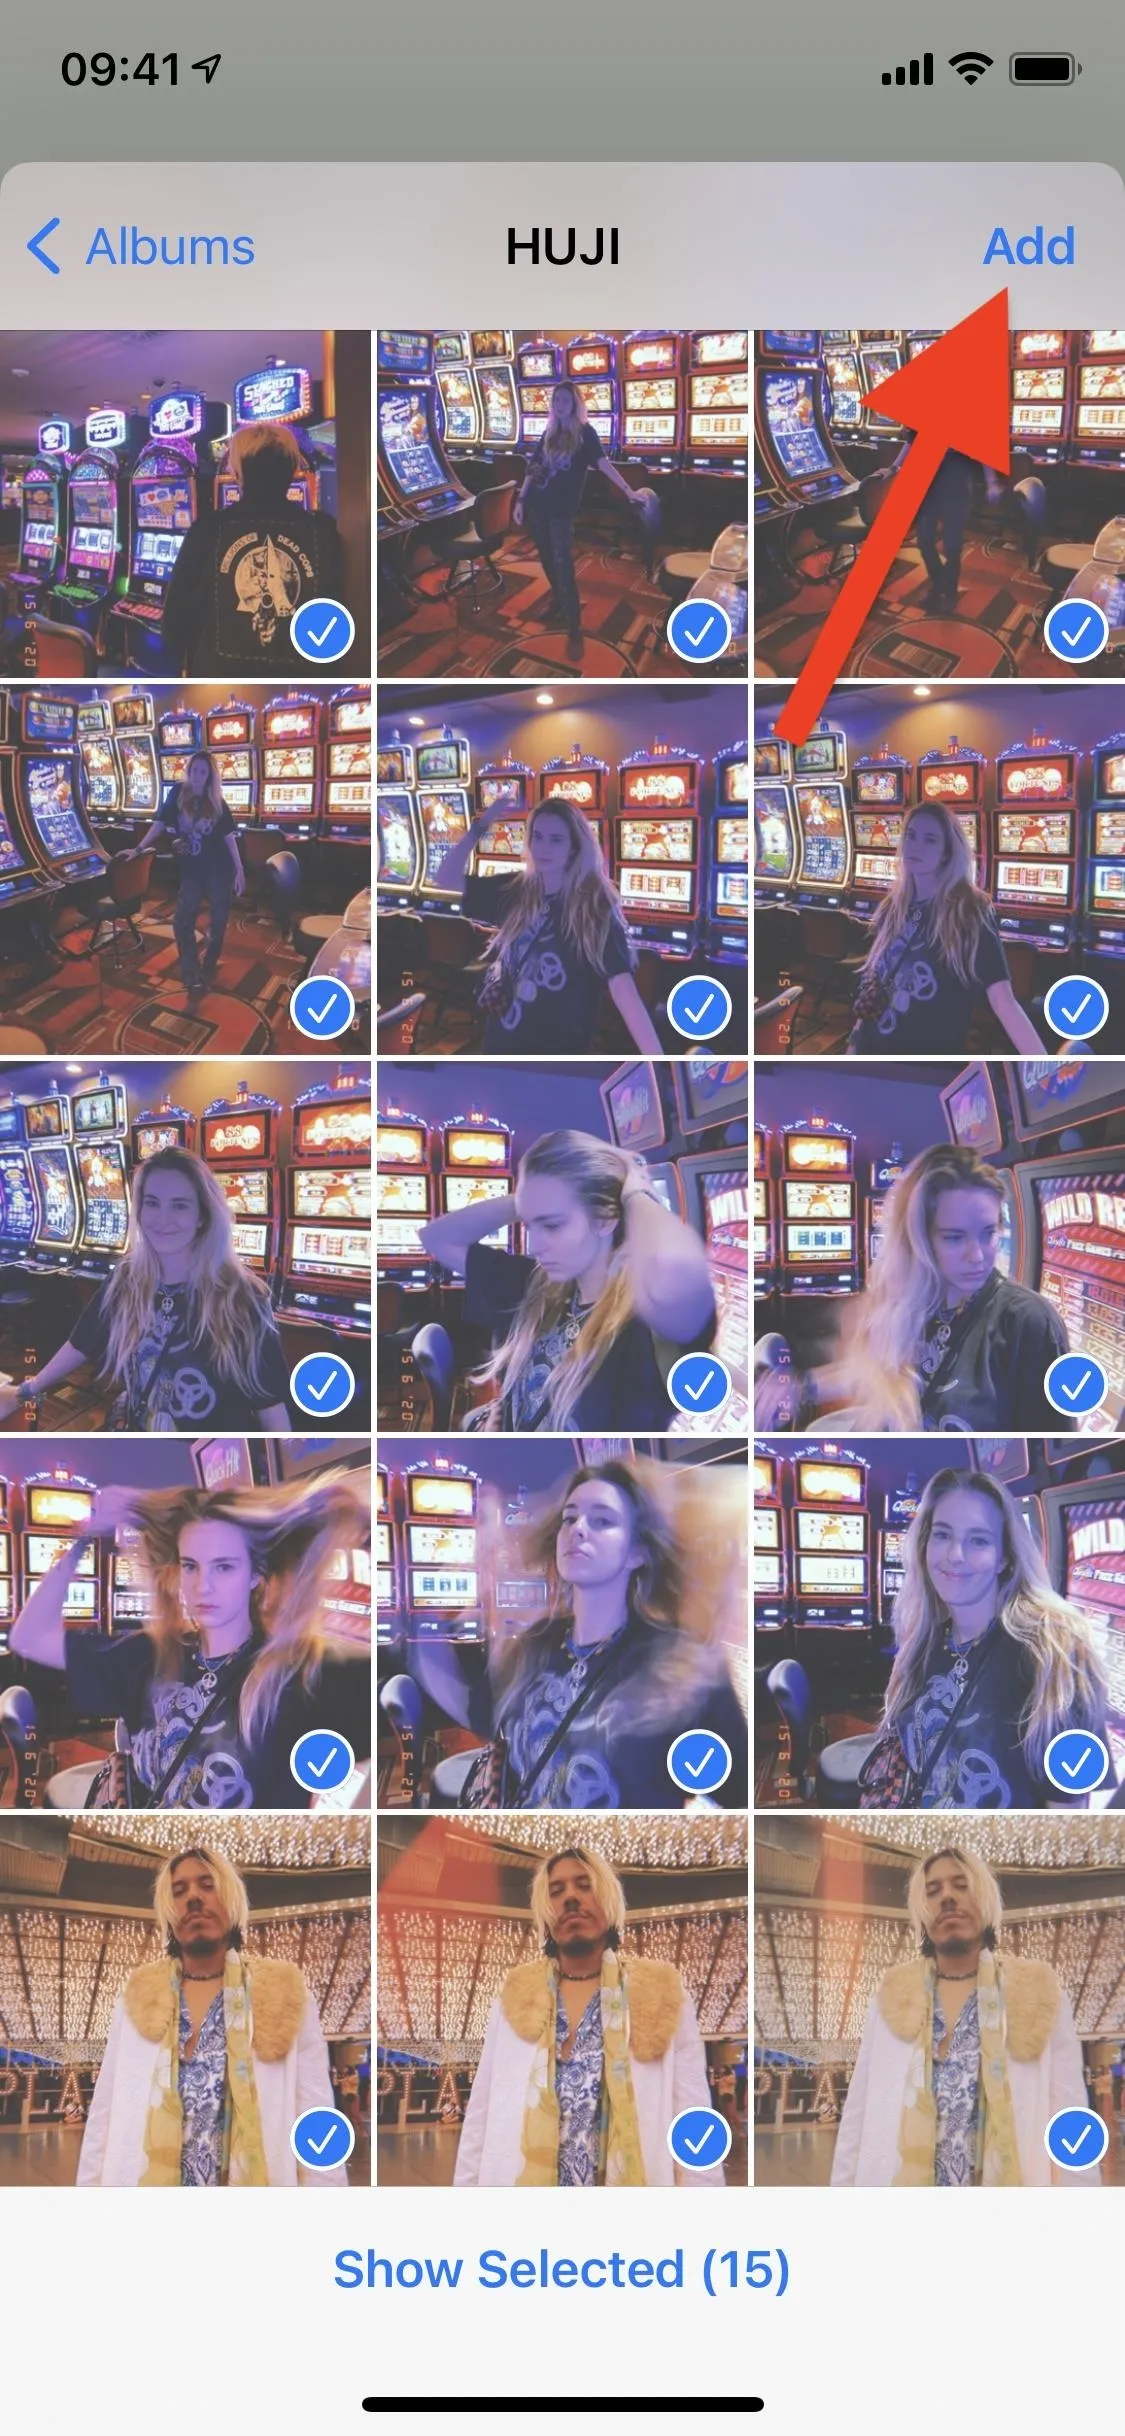
Now choose all of the photos you want to resize, including Live Photos, portraits, panoramas, animations, and more. Unfortunately, videos cannot be resized using this shortcut. Once you select all of the images you want to resize, tap on "Add" in the top right. Next, you'll be asked to resize the images you selected.
Depending on your settings, the dimensions of your original photos may vary depending on your shooting mode and any crops you've made. Regular-sized photos for most iPhones with 12 MP shooters will be 3,024 by 4,032 pixels. Screenshot sizes will vary depending on your iPhone's display resolutions. For instance, my iPhone 11 Pro's screenshots are 1,125 by 2,436 pixels.
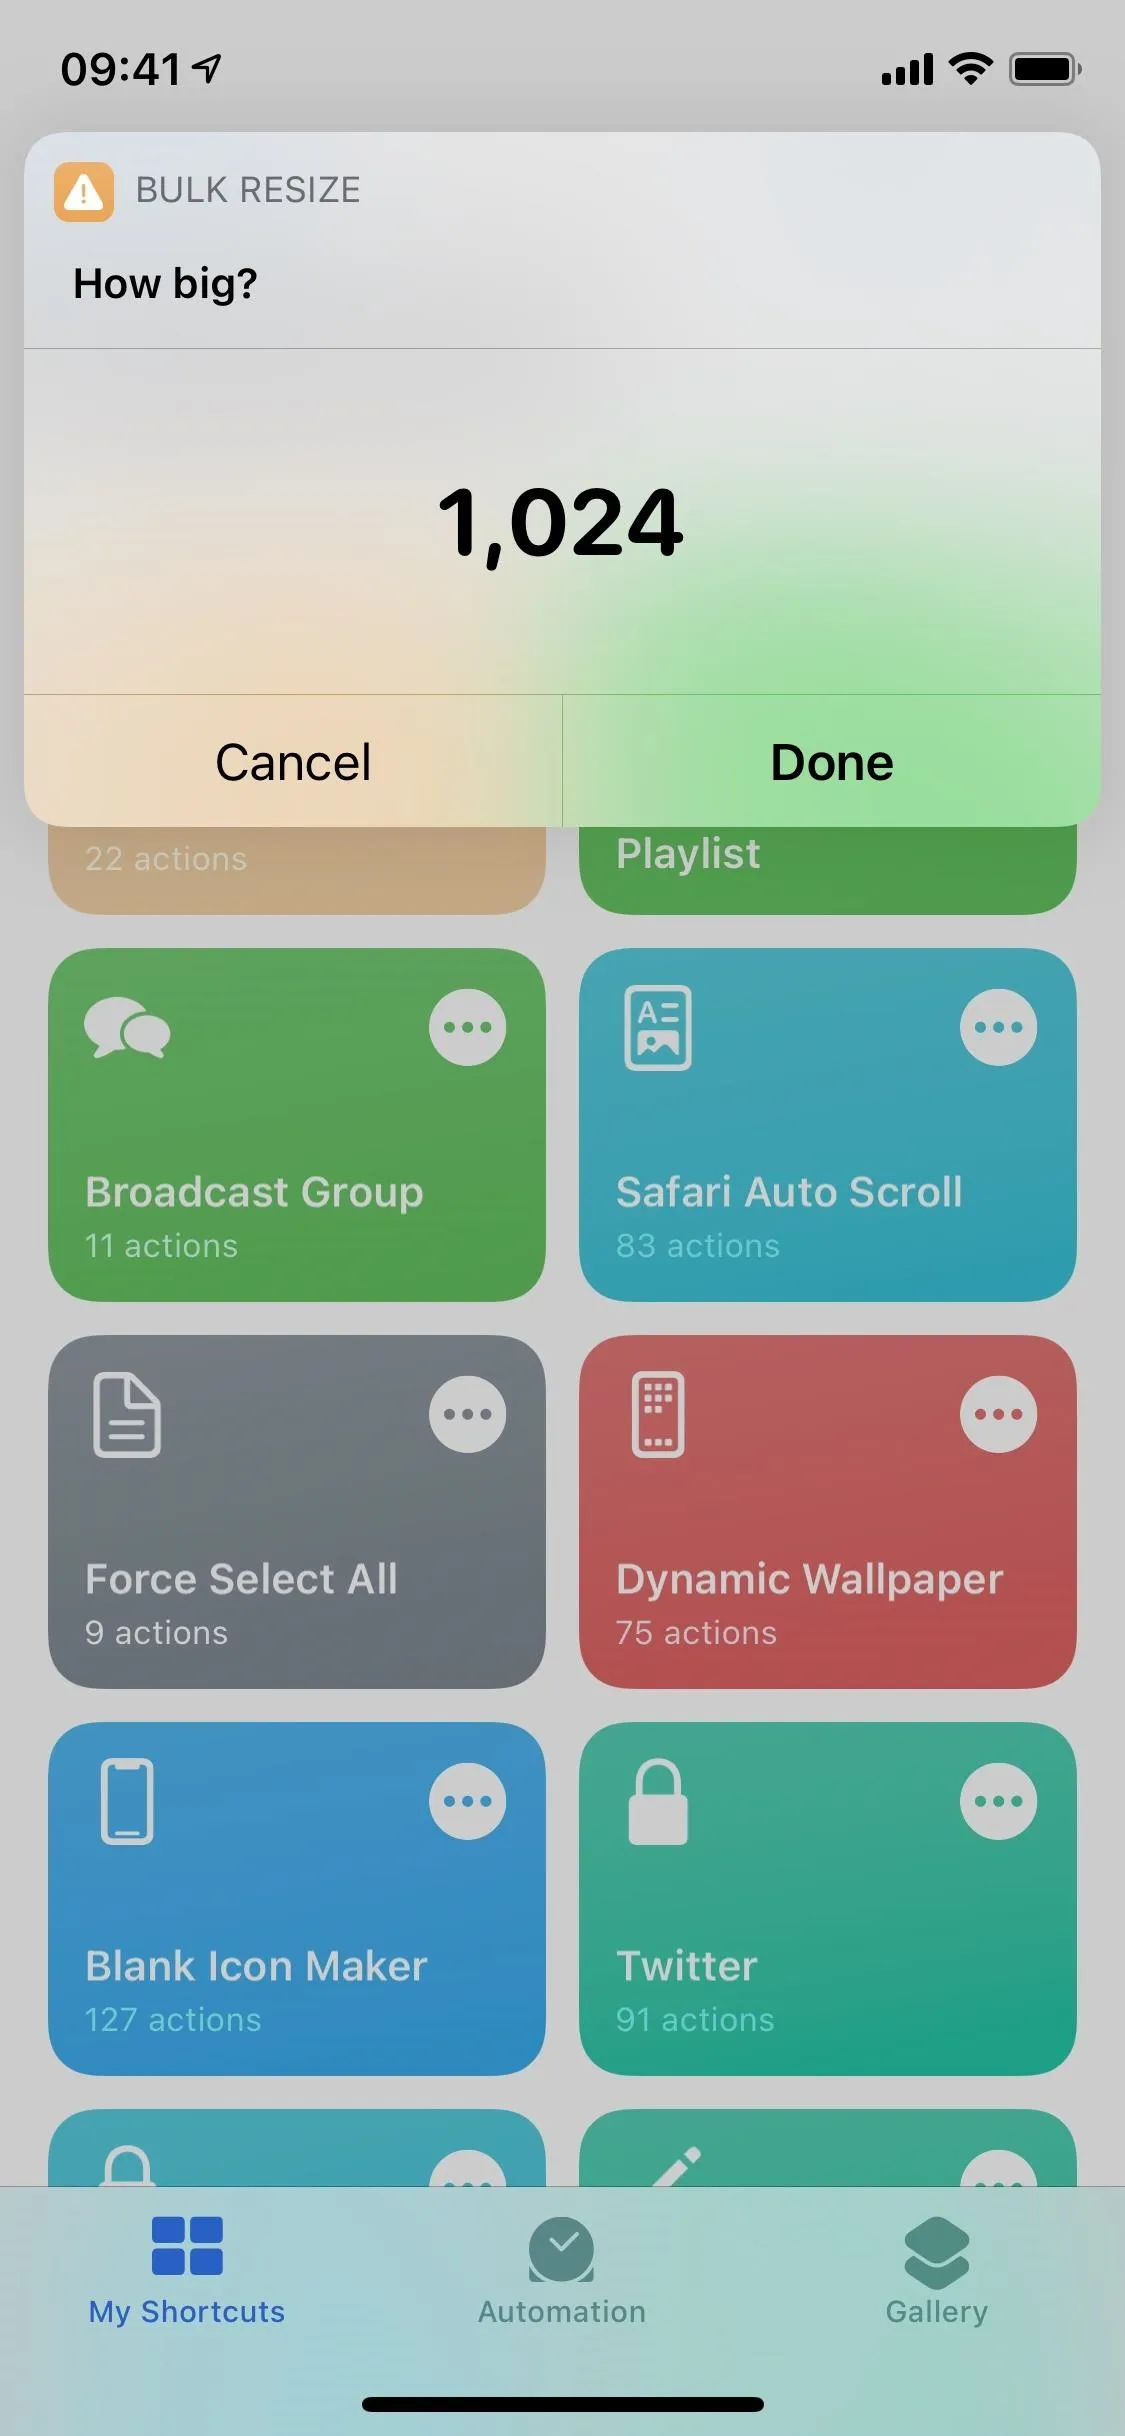
Image Resizer only changes the dimensions of photos, but that will reduce the file size as well. When Image Resizer asks you, "How big?" it's referring to the longest side of the image in pixels. By default, it always shows 1,024 as the size to reduce the images to, but it can be anything you want, even 20 if you want it that small.
1024 pixels is a good starting point, where you won't sacrifice much quality, but you can obviously go lower. No matter what number you choose, the longest side will automatically be adjusted to that, and the shorter side will be downsized in relation. Once you choose a size, tap on "Done" to begin the compression process.
You can also increase the size of your photos, but there is no reason to do that. If you choose some outlandish pixel amount, like 5,000, the photo will increase in pixels but shouldn't increase in file size all that much, especially if the photo is already good quality. You may even degrade and pixelate the image.
Before the process starts, the shortcut may ask to access your other shortcuts. It does so to use UpdateKit to update automatically in the background. But again, as said before, if you run into issues with UpdateKit, you can delete that part of the shortcut's workflow. Tap on "OK" to continue.
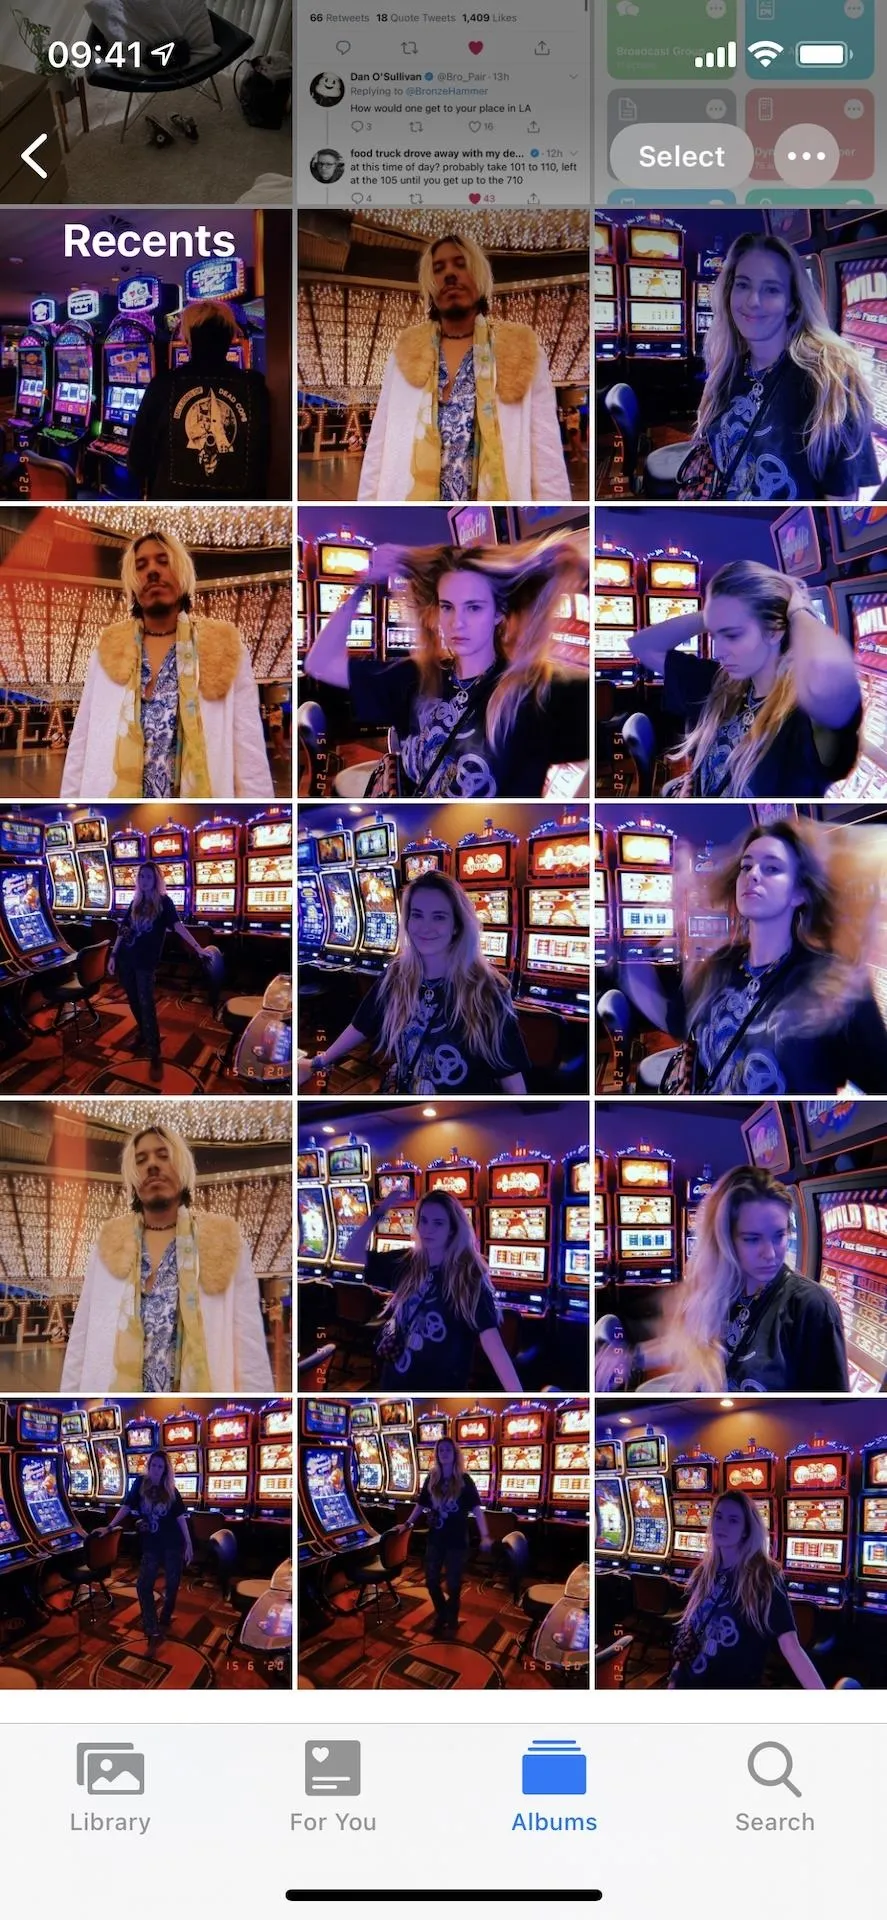
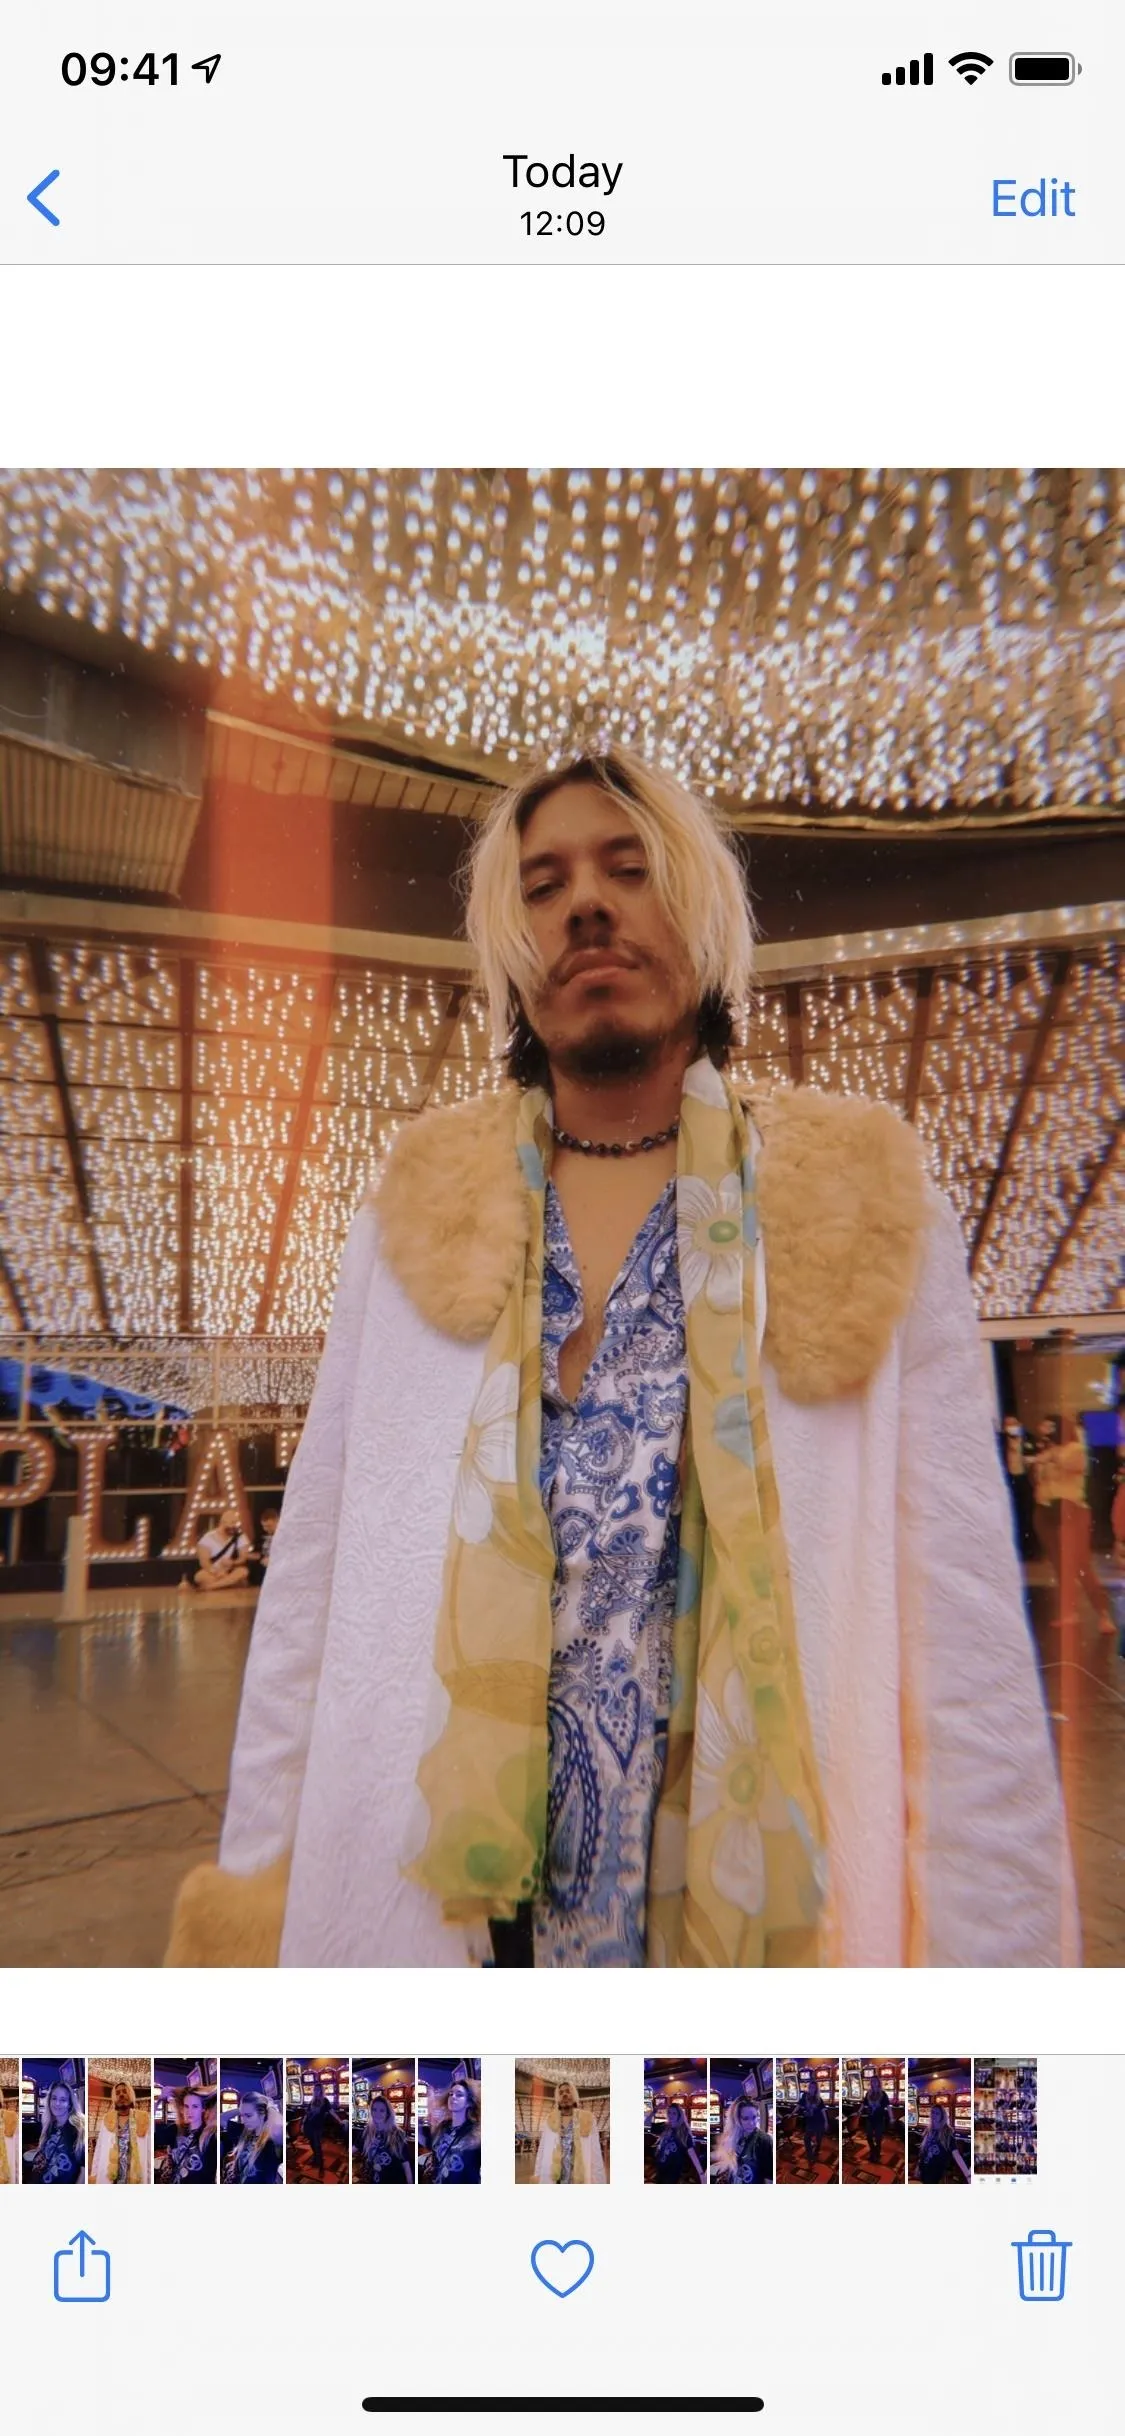
After some time, which can be several minutes if you're resizing hundreds of photos, a checkmark will appear on the shortcut, indicating the resizing process is finished. Then you can go into Photos and check out your newly resized and compressed photos, which should appear as new recent photos. Tap on a picture to view its quality, which might not even be discernible if you kept it at 1,024 pixels.
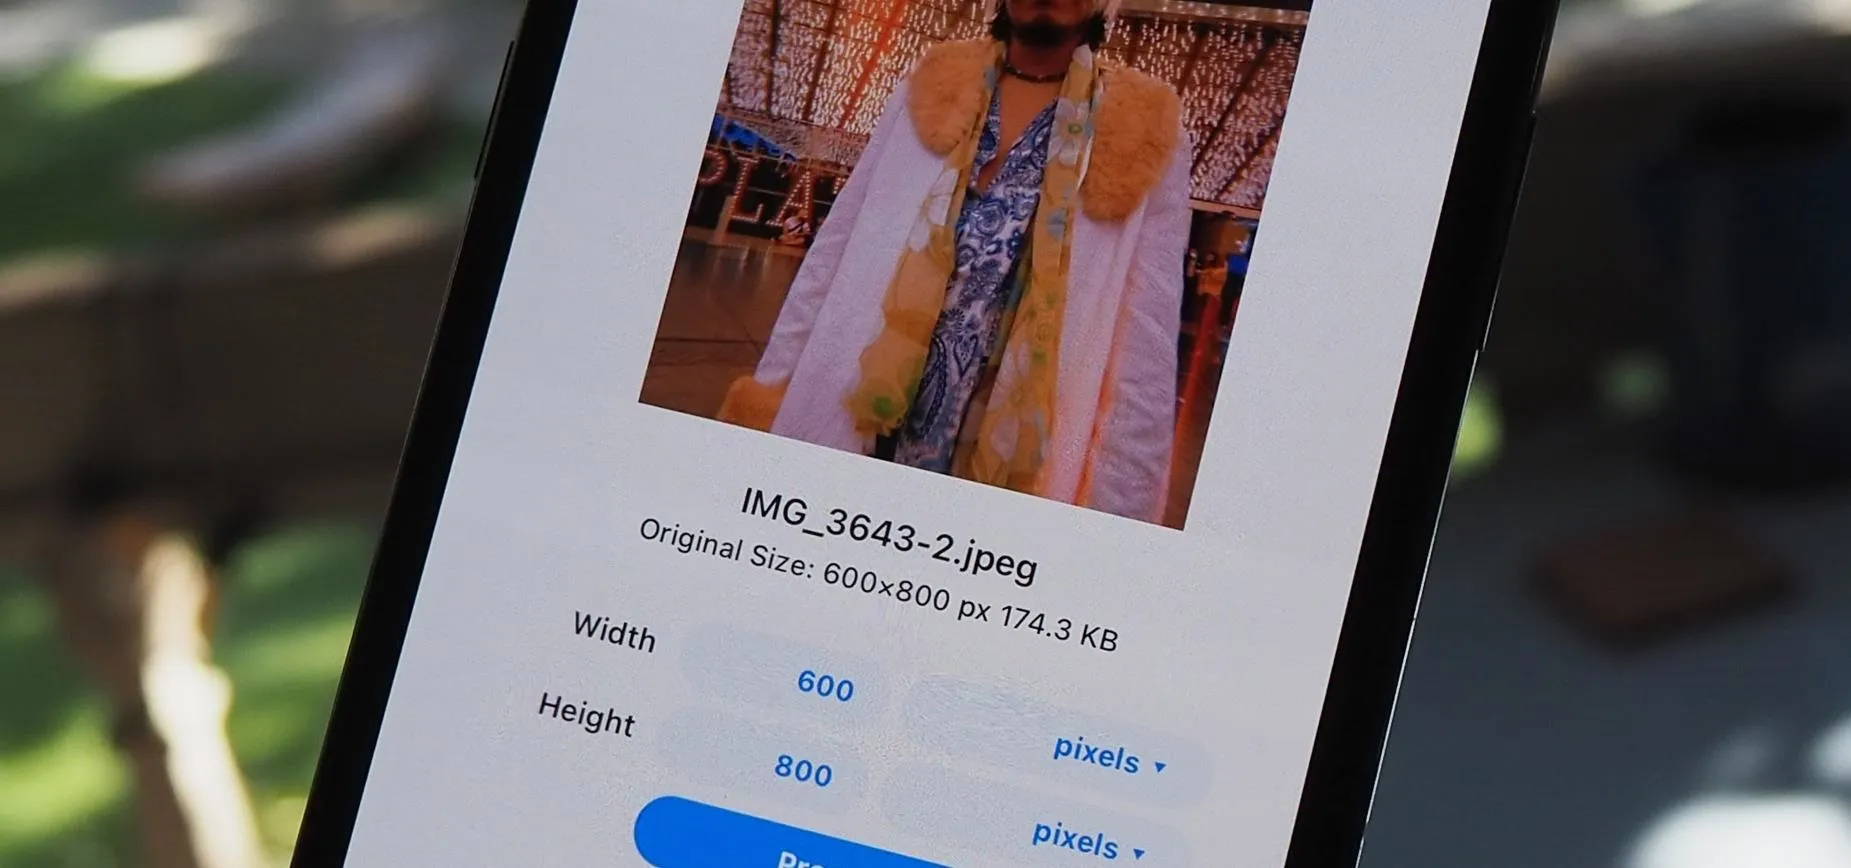
Verify the Dimensions of Resized Images (Optional)
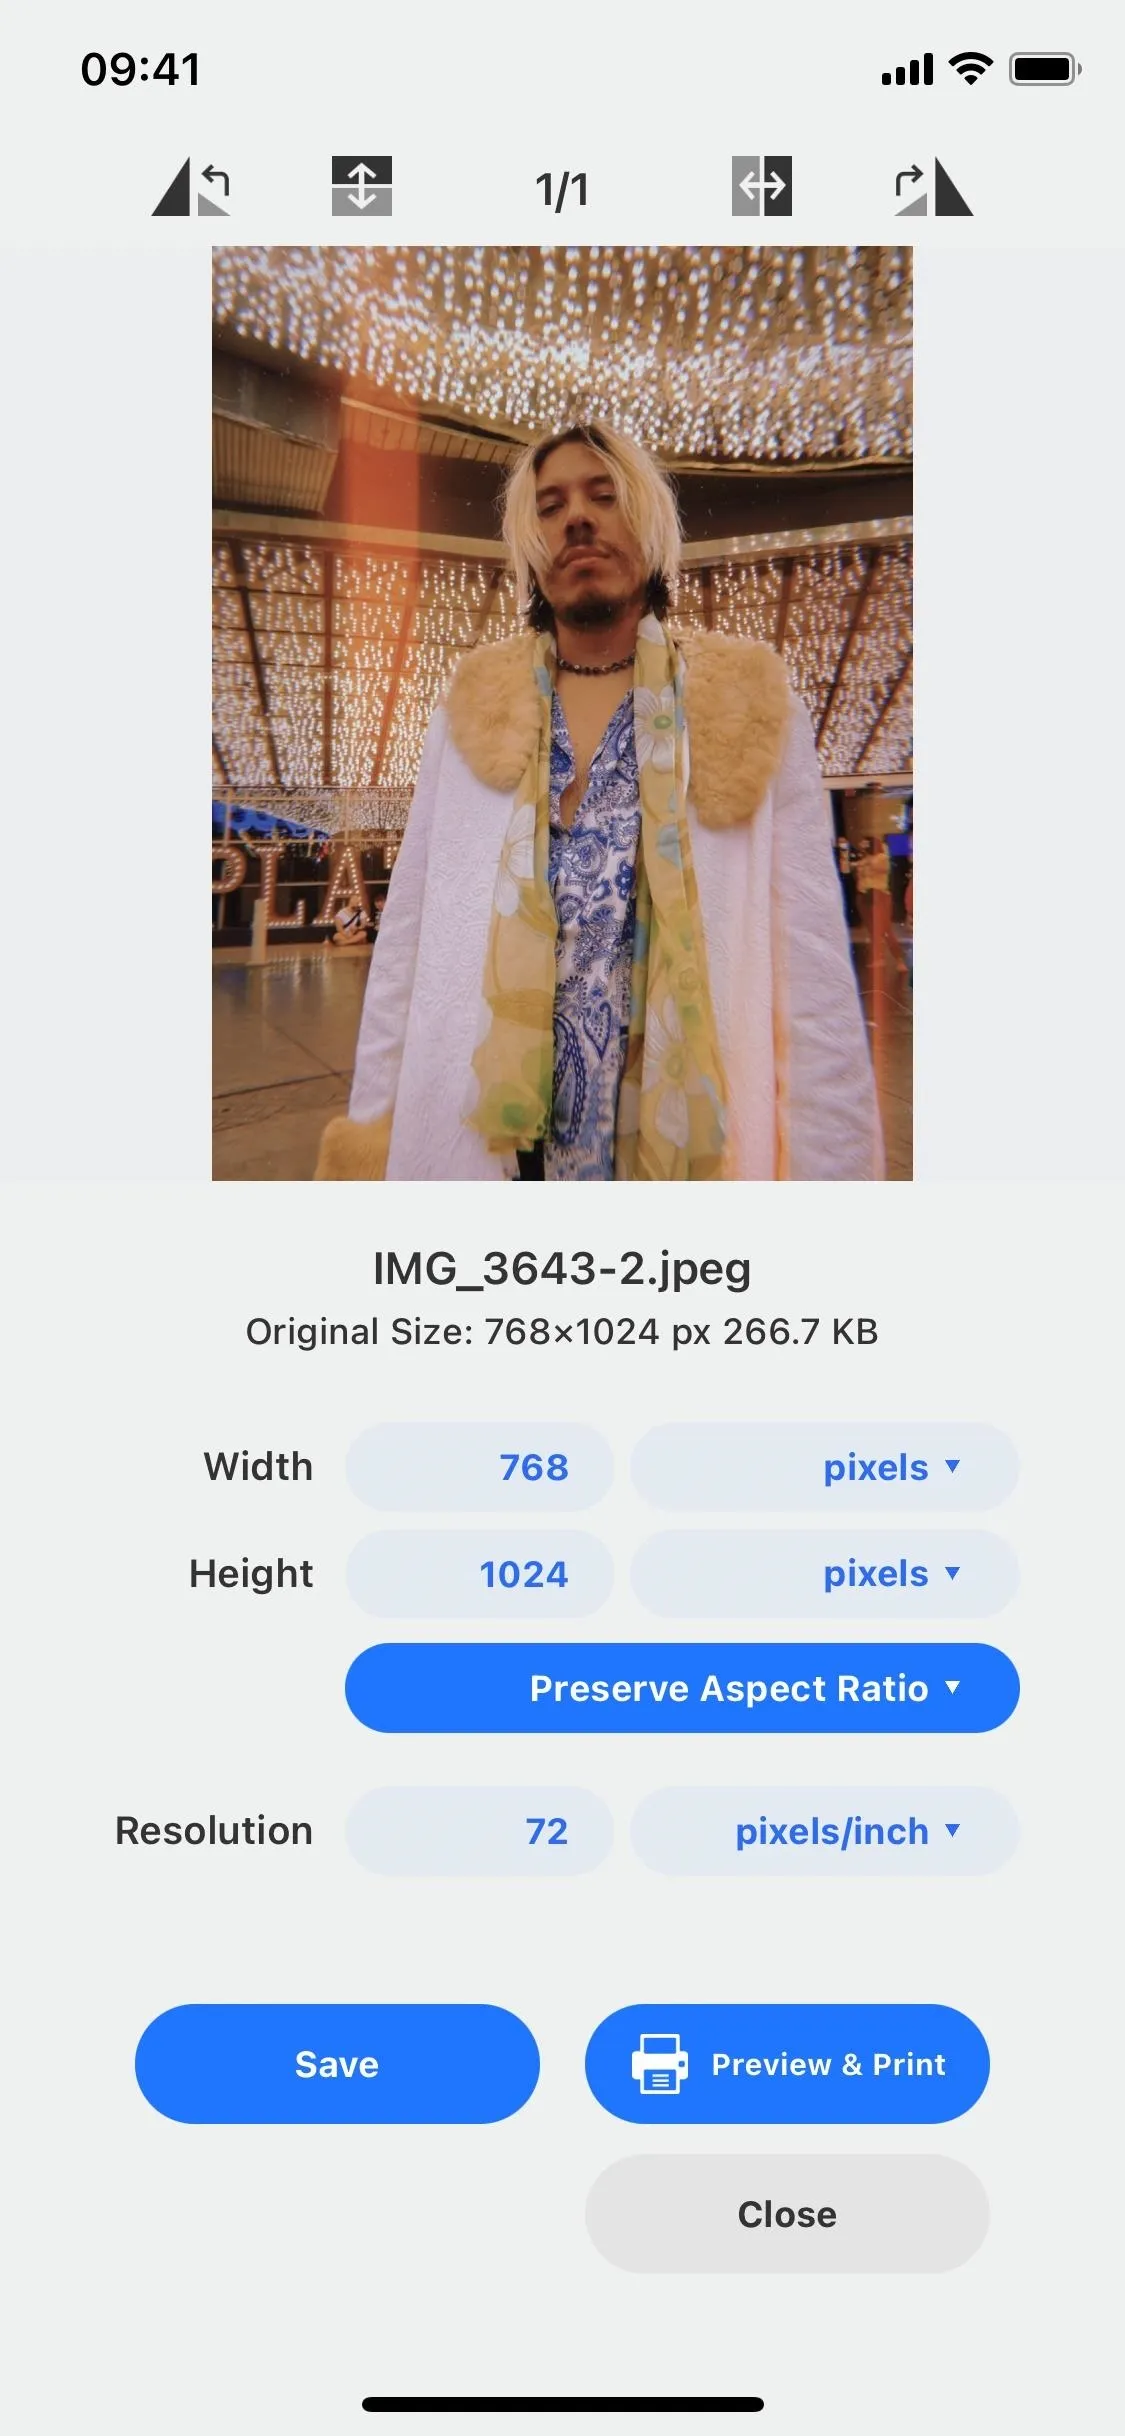
Using an app like Image Size or Photo Size Editor (seen below), you can check out the difference between your normal iPhone photos and the ones resized using this shortcut. Below, you can see the image on the left, not resized, with a size of 2,448 by 3,264 pixels at 9.2 MB. The photo on the right has been resized using the Image Resizer shortcut and now comes in at 768 by 1,024 pixels at 266.7 KB. Looking at the photos closely on the iPhone, you can hardly tell that they're different sizes.

Cover photo and screenshots by Nelson Aguilar/Gadget Hacks


Comments
Be the first, drop a comment!