


Have you ever taken a photo to share with a friend, only to realize it was actually a Live Photo? Maybe you said something embarrassing in the background, or perhaps you moved the camera out of frame onto a subject you don't want your friend to see. Luckily, making a Live Photo a regular still photo is a breeze.
There are two different ways to disable the "live" part of a Live Photo. Why two? Well, one of these ways is a one-time-use when sharing, and the other is a more permanent fix (at least until you decide to undo the action). If you're looking to disable a Live Photo when you're in the process of sharing it already, check out Method 1. Otherwise, try Method 2 to keep the "live" part out for future occasions.
Disable a Live Photo When Sharing
To start, open a Messages chat with a friend, then hit the Photos icon in the iMessage app drawer at the bottom. If you don't see the drawer, tap the App Store button next to the message field. Next, locate the Live Photo in question and tap it.
Now, you should see a Live Photos icon on the image in the message field. Tap the icon, and iOS will disable the "live" part of the Live Photo, just for this instance. If you're sharing multiple Live Photos, make sure to disable the live portion for each.
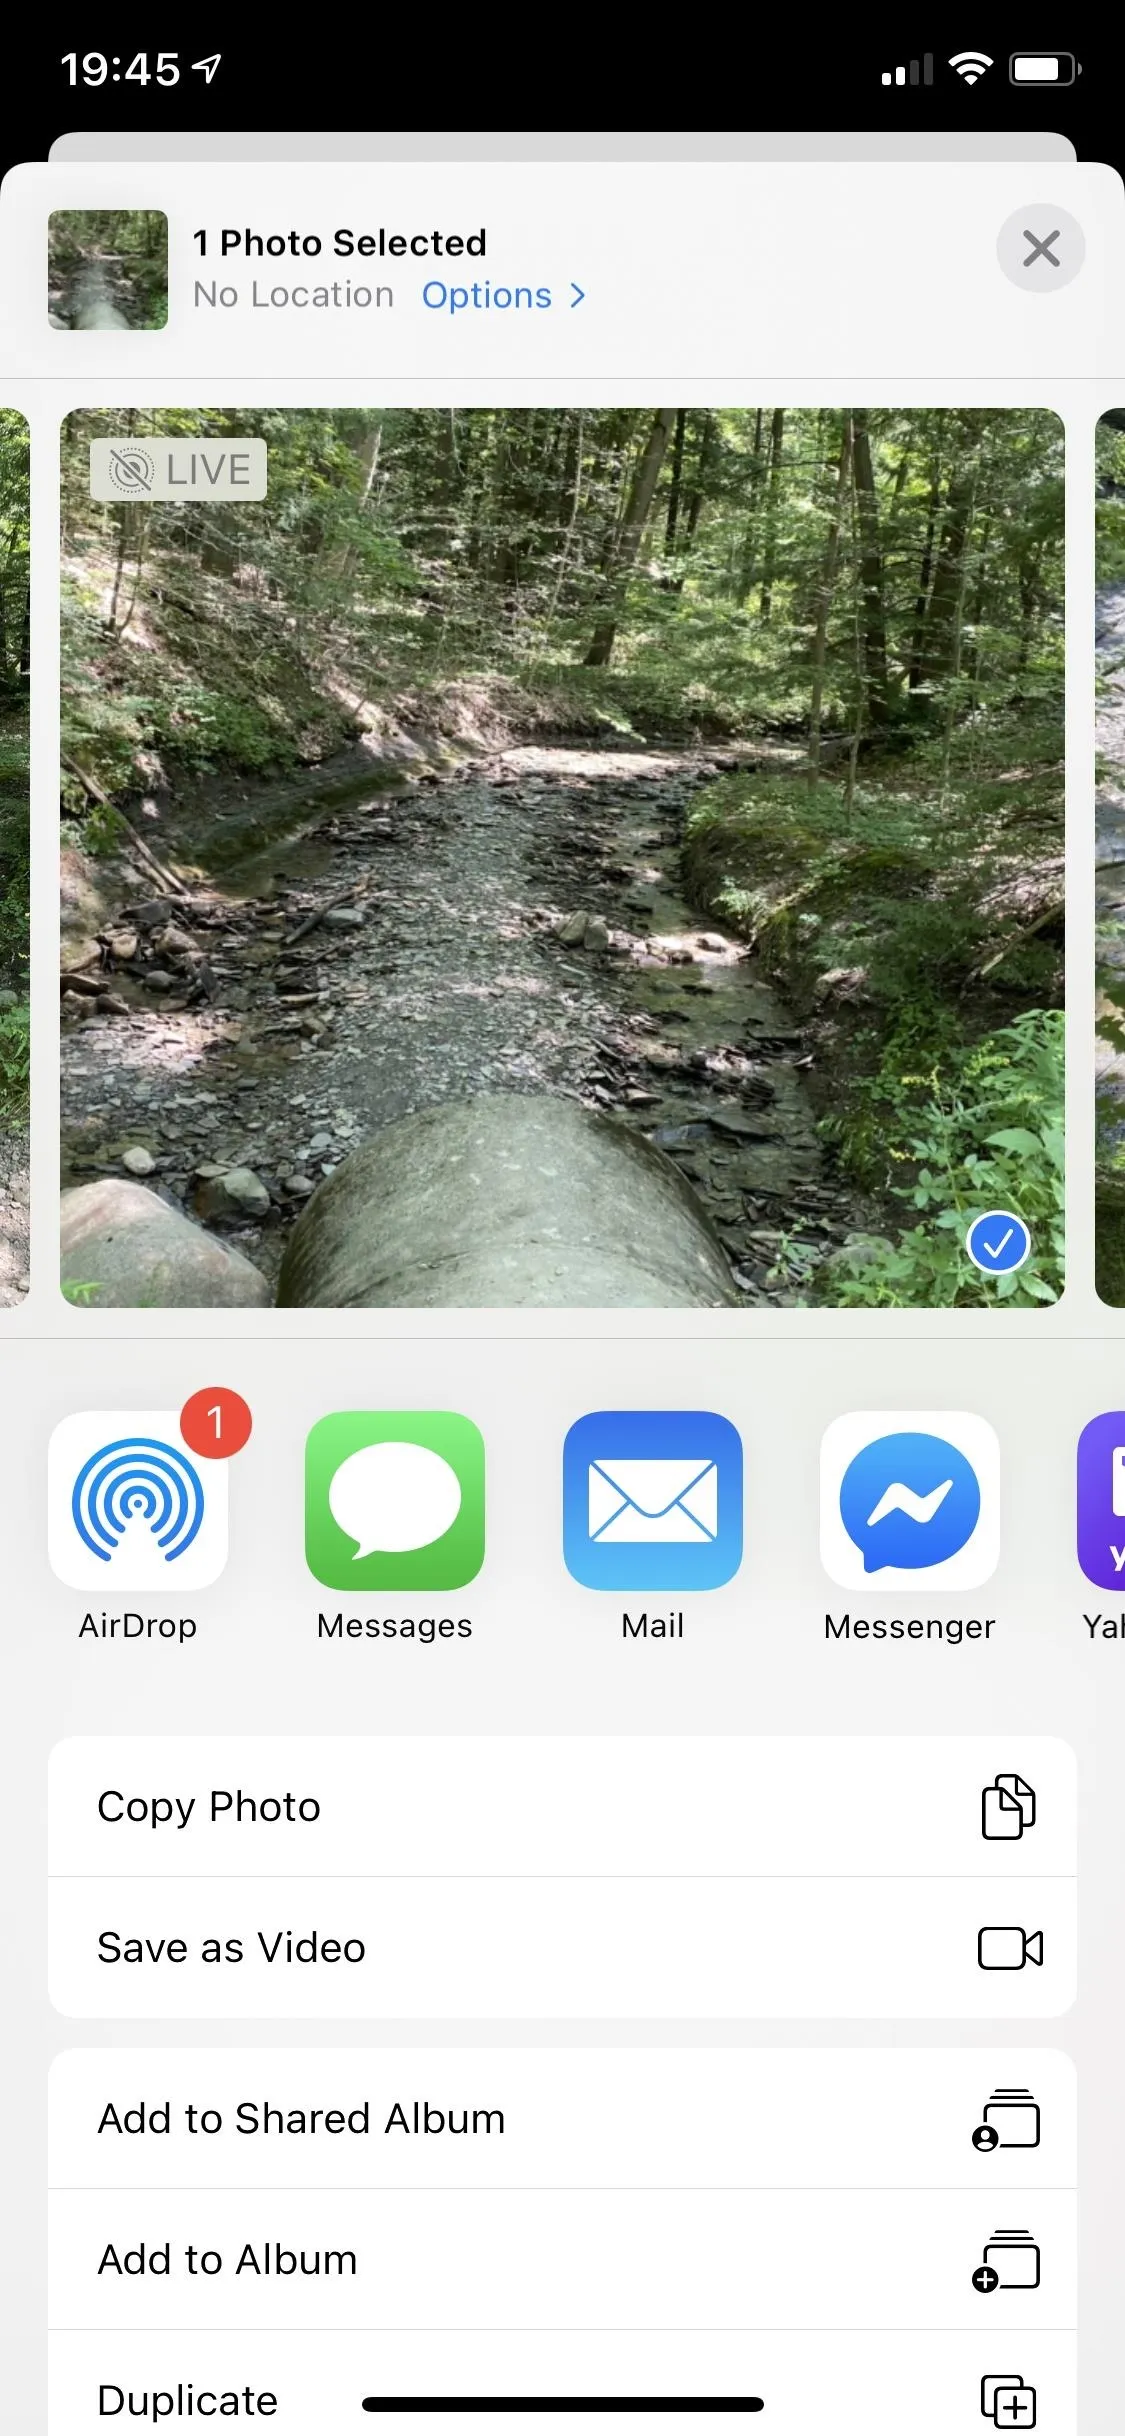
If you're in the Photos app and hit the Share button for a Live Photo, the process is similar. When the Share sheet opens, the image will appear with the Live Photo button in the corner. Tap that before sending in Messages or another app. If you're sharing multiple pictures, make sure to disable Live Photos for each.
It's worth noting that most apps will only ever use the still image portion of a Live Photo, including Apple's own Mail service.

There are a few other apps that support Live Photos, but they aren't as easy to accidentally share the live version of the image. For instance, Instagram supports Live Photos in stories, but you have to long-press the screen after uploading it to turn it into a Boomerang video. Otherwise, it stays a still image.
Disable a Live Photo Permanently
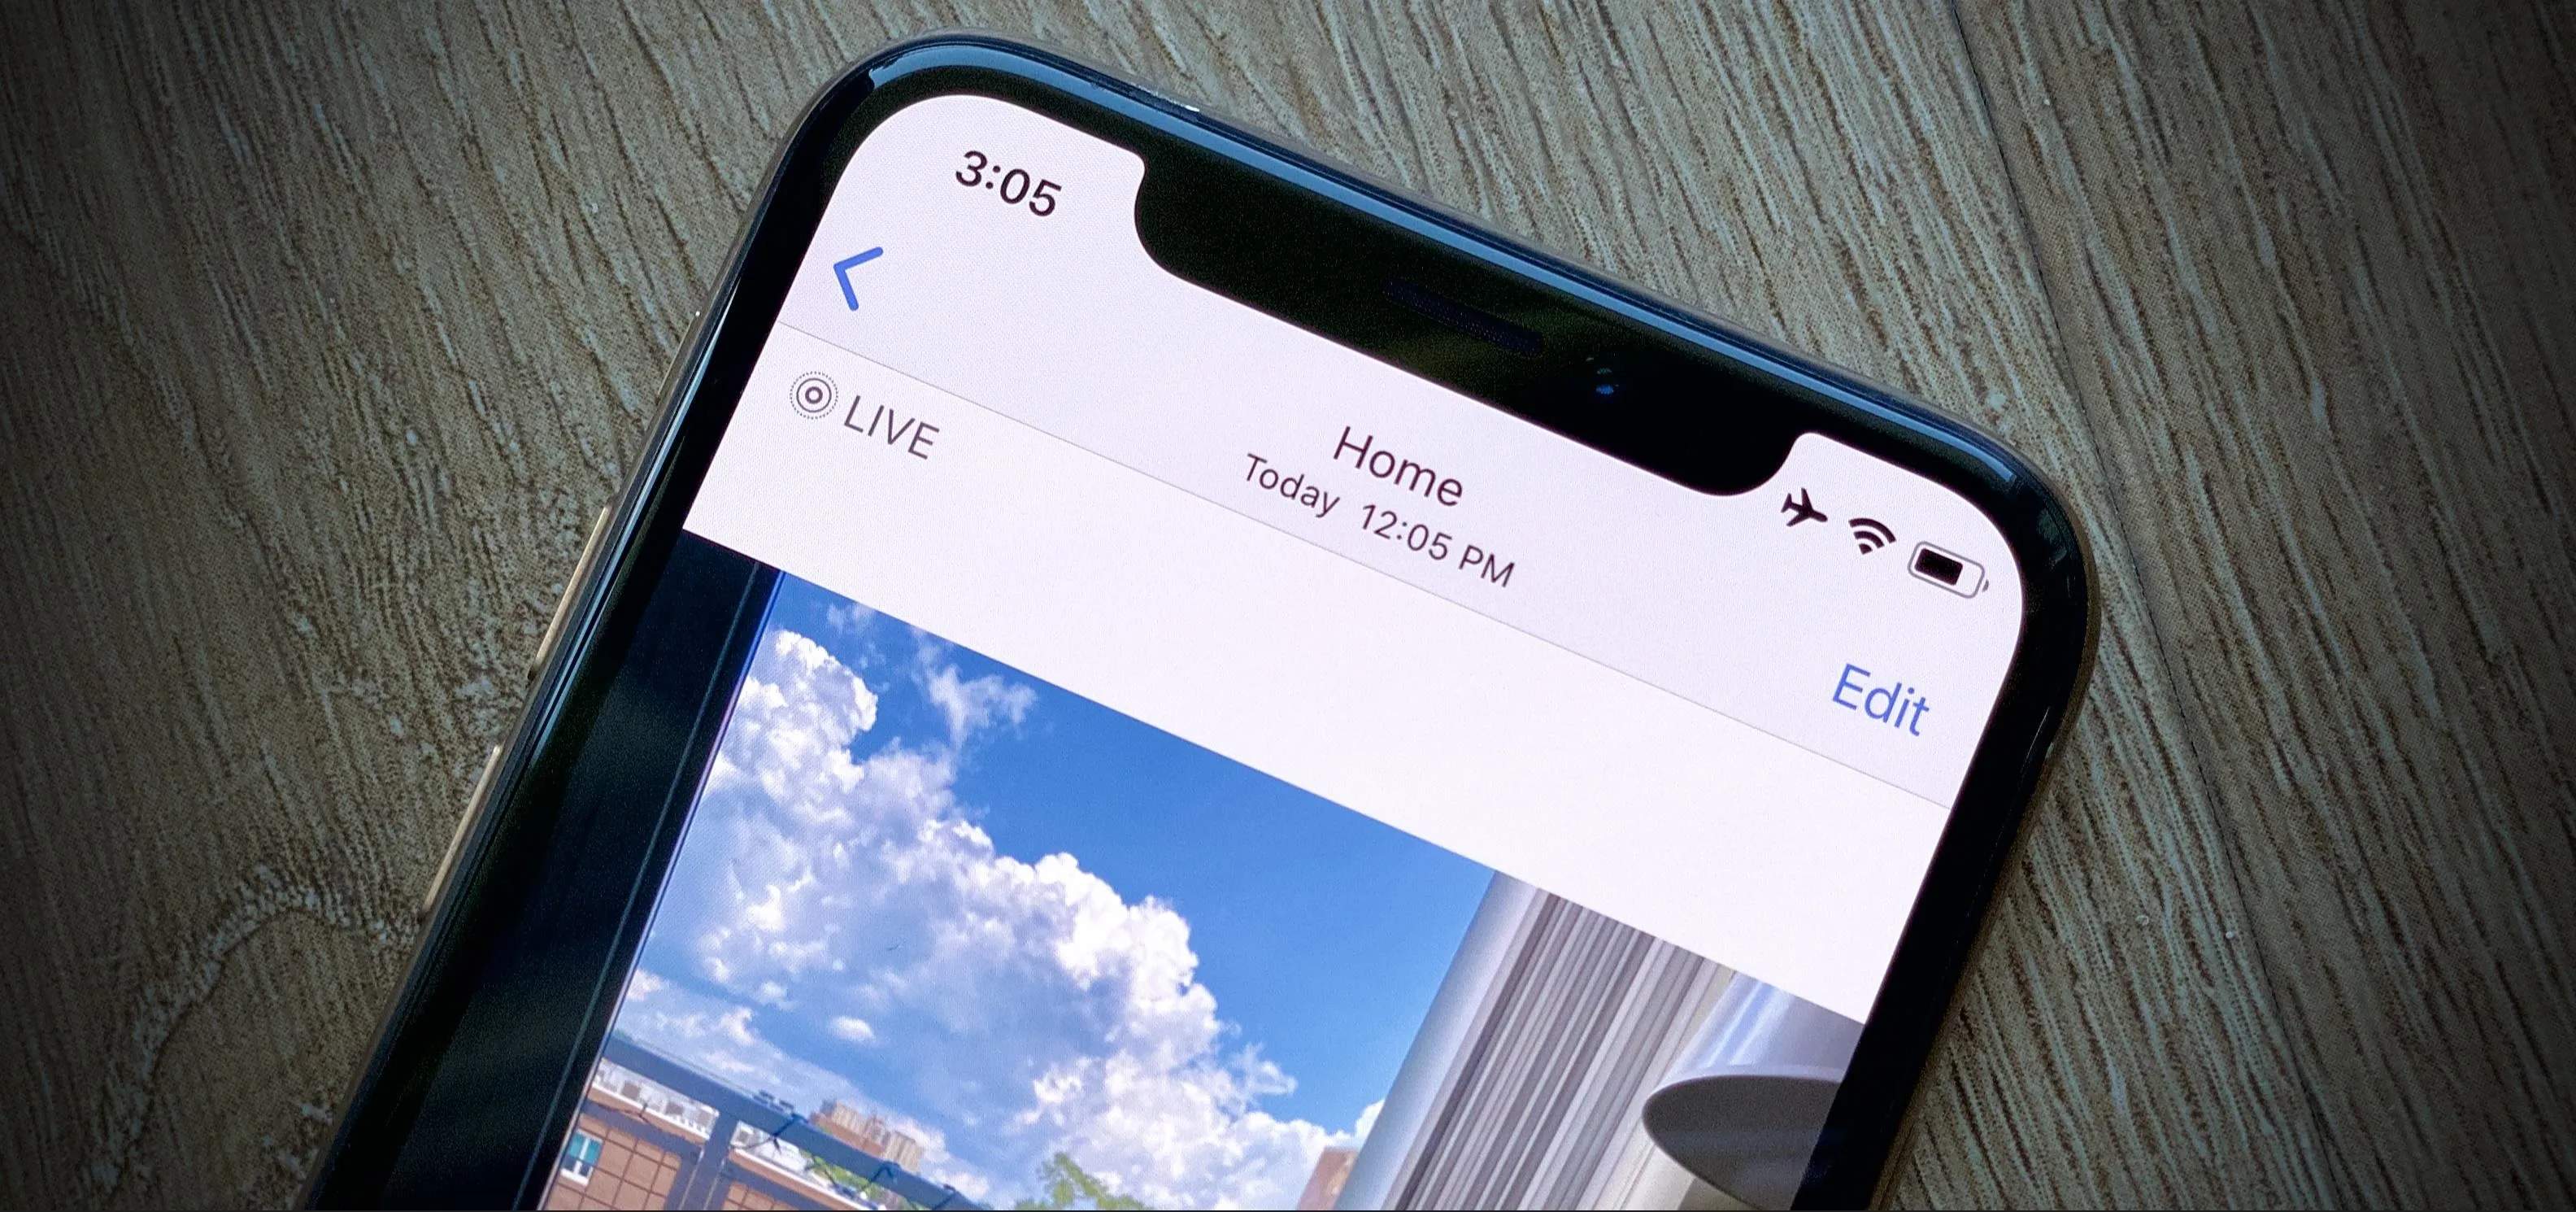
For a more permanent fix, you'll need to open Photos. Pull up the Live Photo in question, then tap "Edit." Now, tap on the Live Photo icon in the toolbar, which will reveal the Live Photos editor. To freeze your photo in place, all you need to do from here is tap the yellow "Live" button at the top, then tap "Done" to finish.
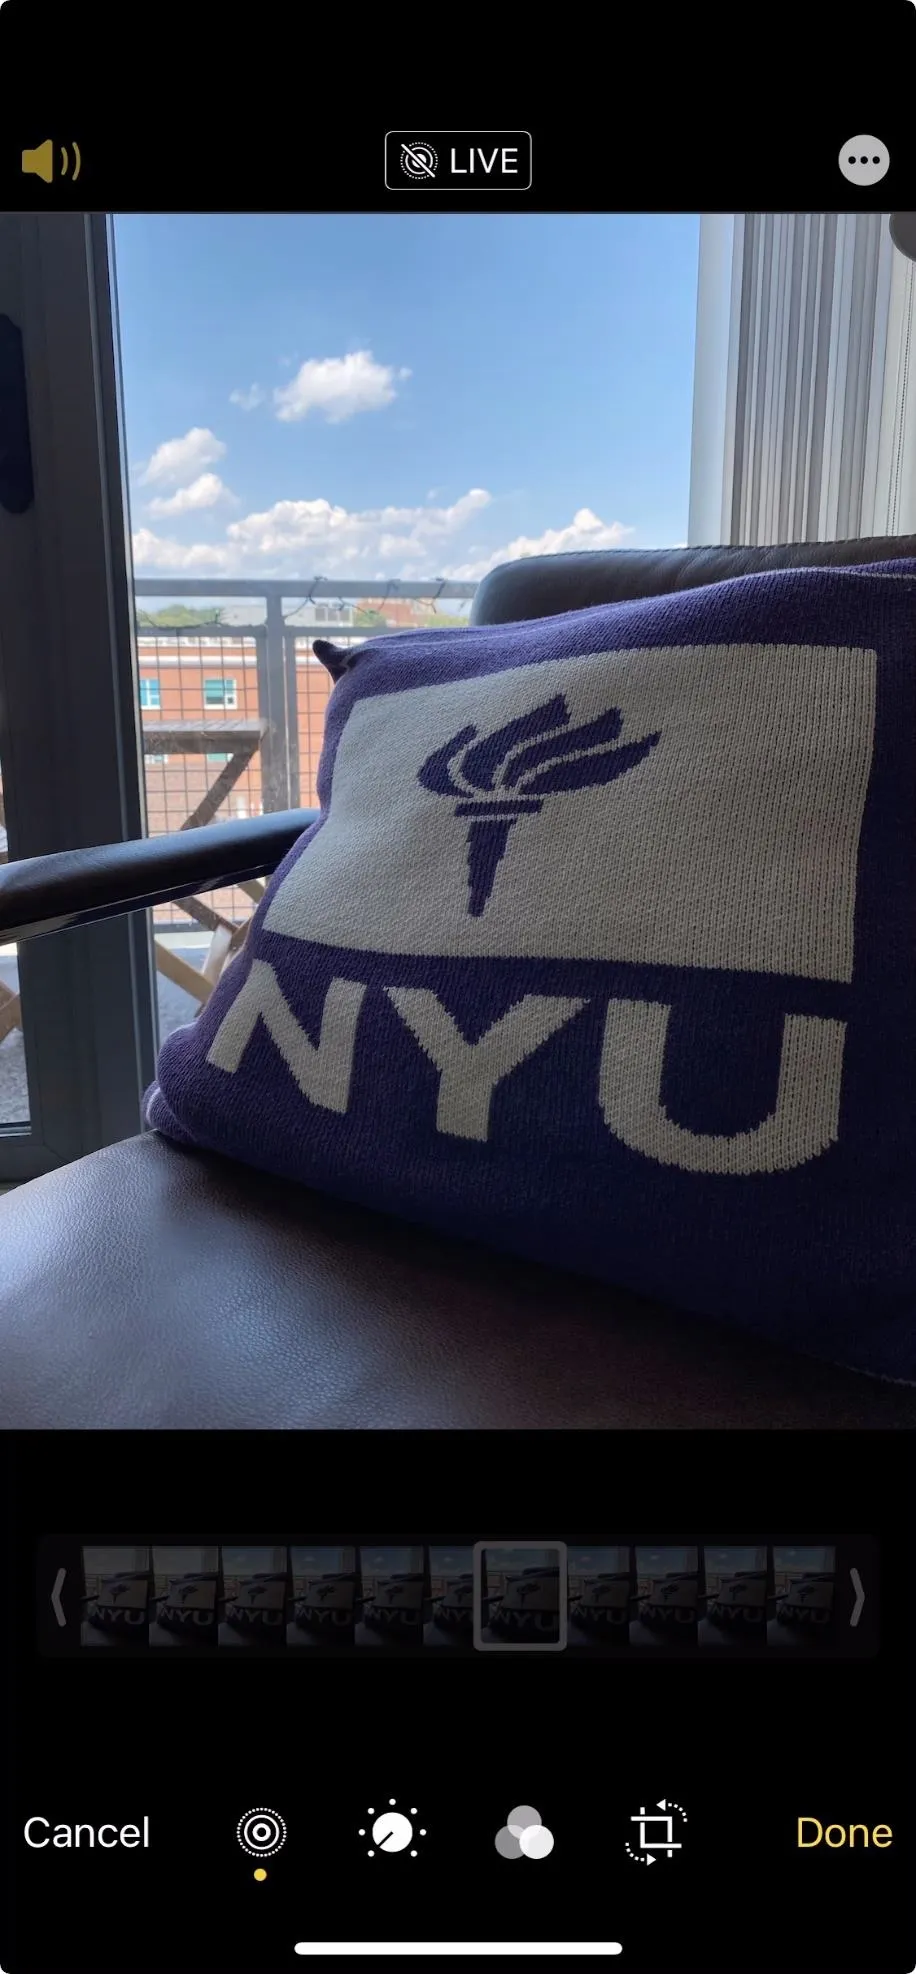
As you might guess, reversing this decision is just as simple. All you need to do is follow the steps above, tap "Live" again, and ensure it returns to yellow before tapping "Done." Alternatively, you can tap "Revert," then "Revert to Original." However, that option will also undo any other edits you've made to your photo.
Another Solution
There is no way to disable the sharing of Live Photos altogether on your iPhone, but there is a way to disable shooting in Live Photos. But that's if you hate Live Photos. In the Camera app, you would just disable Live Photos while you're shooting, then hit up your Camera settings to preserve that preference.
Cover image, screenshots, and GIFs by Jake Peterson/Gadget Hacks


Comments
Be the first, drop a comment!