


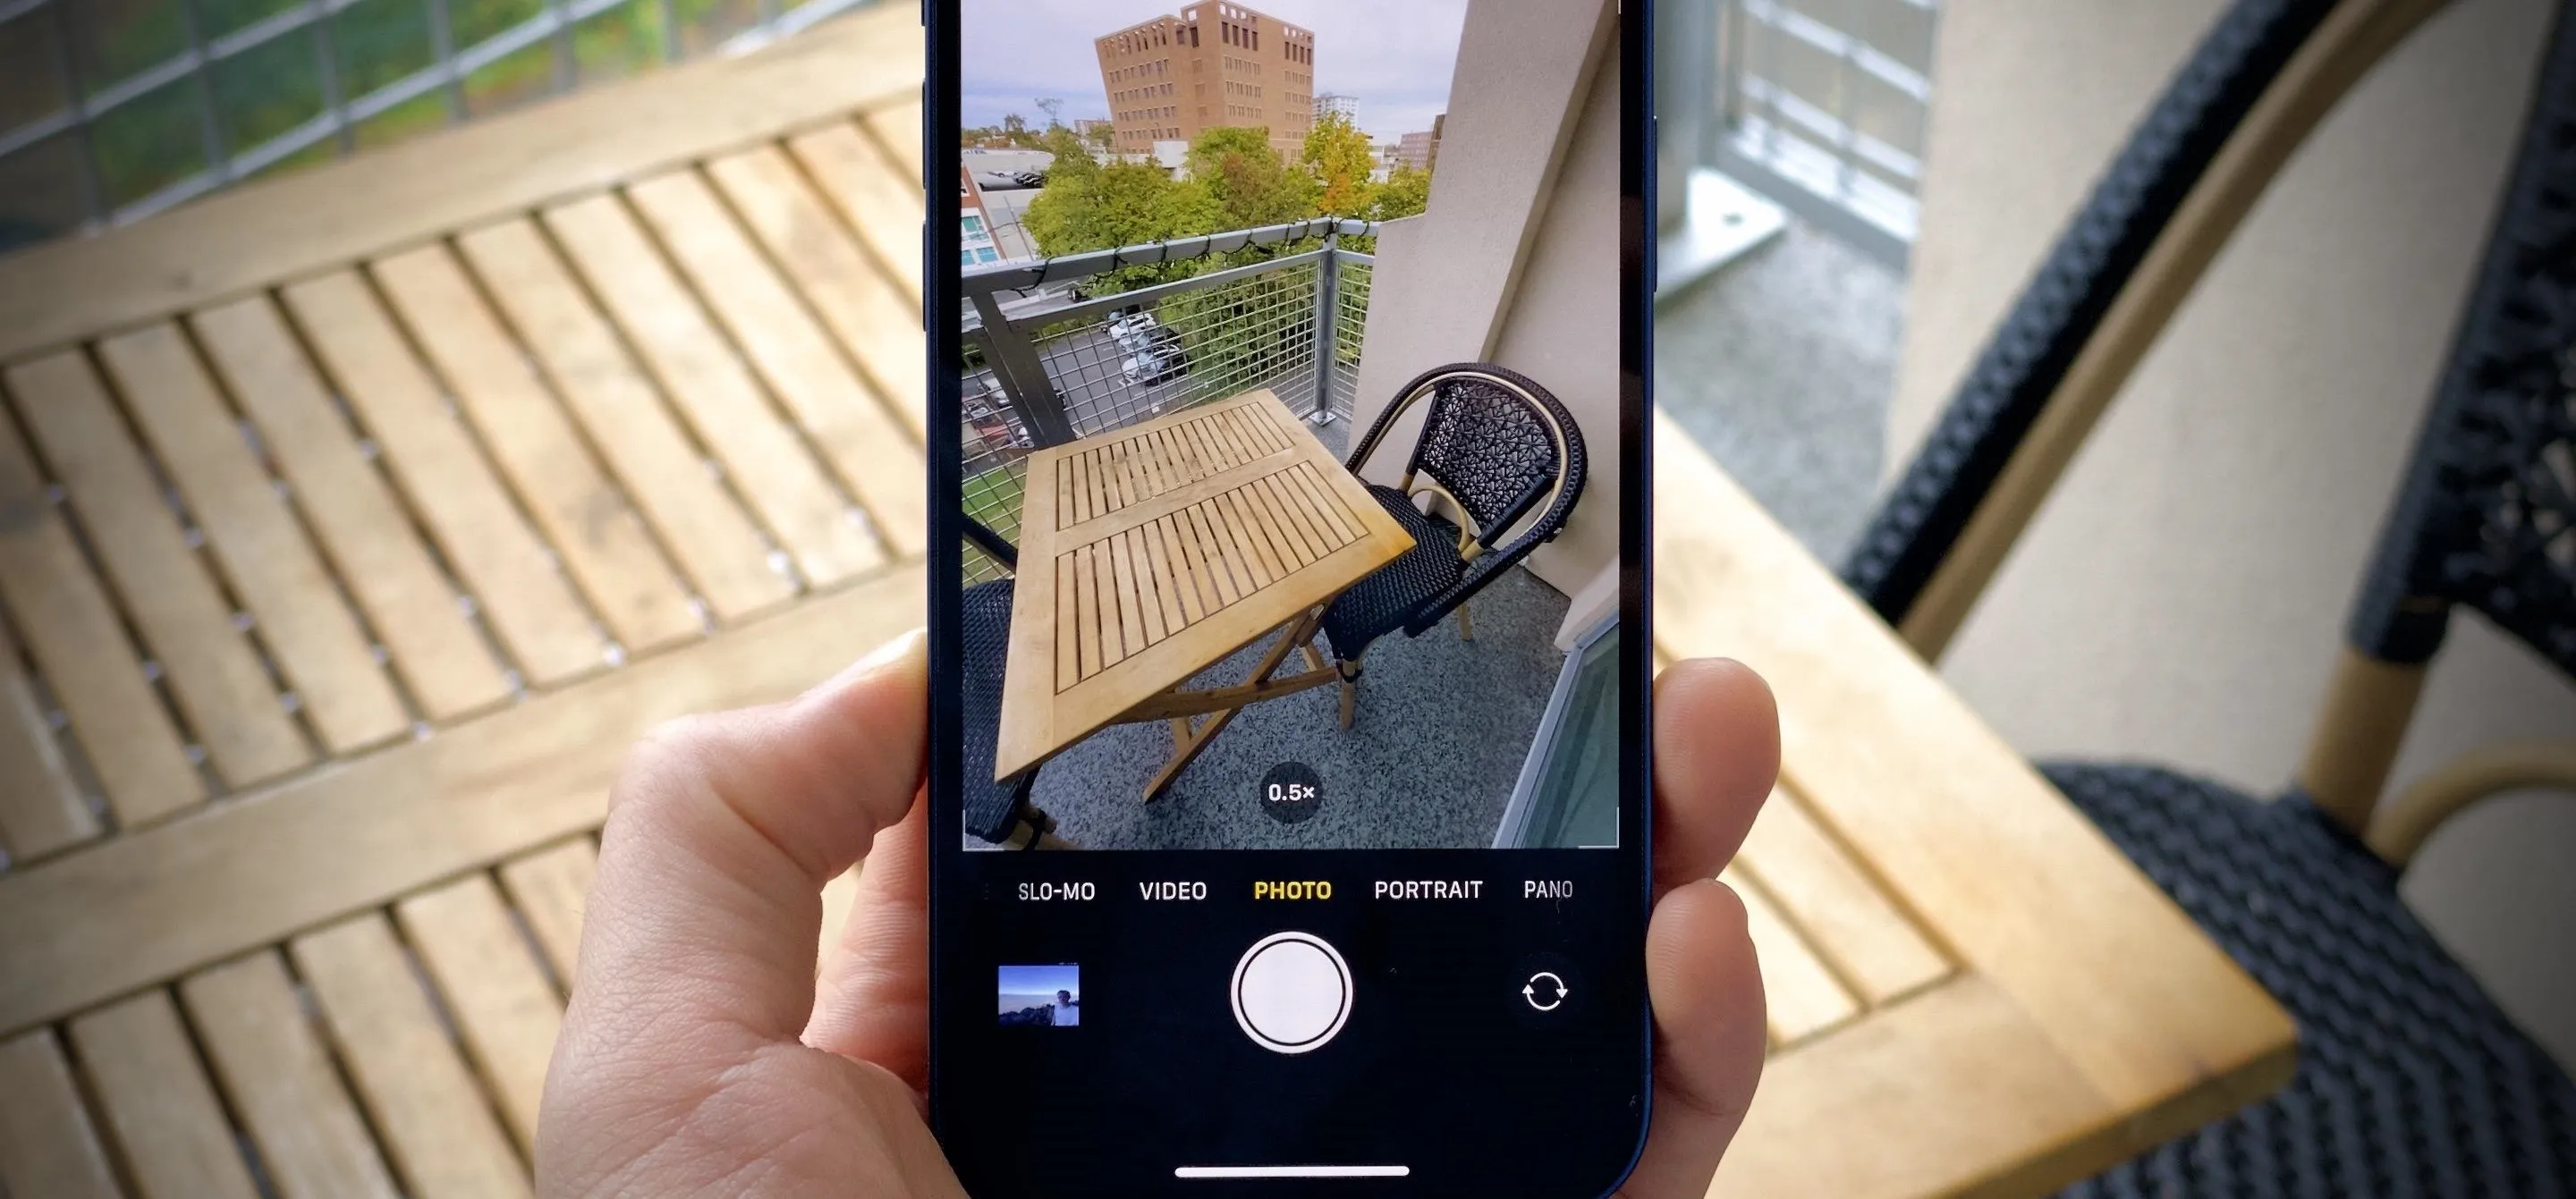
The new iPhone 12, 12 mini, 12 Pro, and 12 Pro Max are equipped with some great cameras, but not perfect cameras. The ultra-wide lens is known to cause distortion at the edges of the frame, so people and objects look slightly warped. To compensate for the skewed edges, Apple incorporated "Lens Correction," but that fix isn't perfect either.
Like many under-the-radar iOS features, Lens Correction is enabled by default. It's one of those things that Apple thinks will make the iPhone camera experience for most of its users better, so why make it something we need to opt into? While the logic is sound, Lens Correction doesn't always get the shot right.
- Don't Miss: All You Need to Know About iPhone 12 & 12 Mini
When Lens Correction Works Well
This certainly isn't every shooting scenario, of course. Lens Correction is there for a reason. Take the image below, for example. In side-by-side comparisons, Price.com HK shows us that an iPhone 11 really messes up the bottom of the shelves and the top line above the shelves, creating an almost fisheye effect. On the other hand, the iPhone 12 corrects the curvilinear issue so that everything looks straight. The iPhone 12 Pro version looked almost identical to the iPhone 12's.
If you prefer the curved, somewhat fisheye look of the ultra-wide lens without Lens Correction enabled, you'll obviously want to change your settings. But if you prefer to hide that curve as much as possible, you can keep your settings at the default.
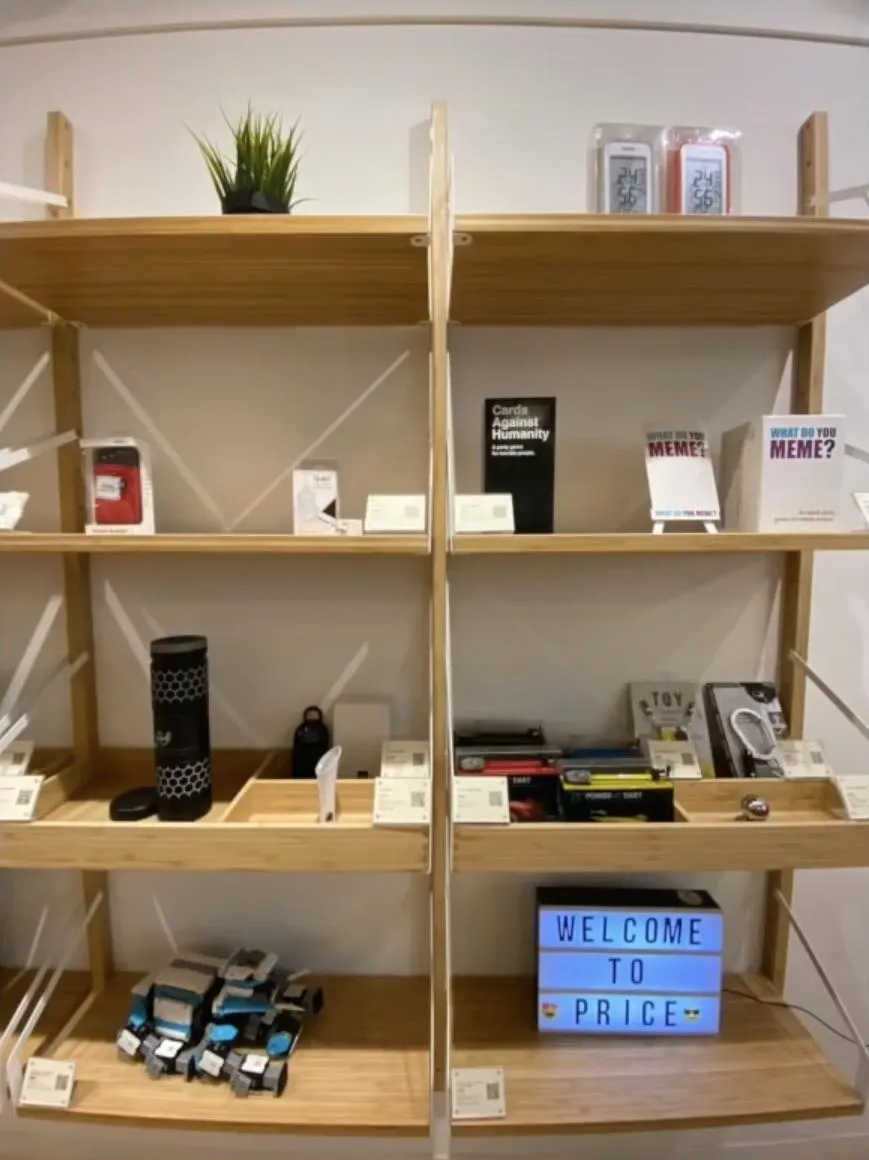
Photo taken with an iPhone 11's ultra-wide angle lens (left) vs. an iPhone 12's (right).

Photo taken with an iPhone 11's ultra-wide angle lens (left) vs. an iPhone 12's (right).
And When It Doesn't
Lens Correction is really inconsistent. As you can see from The Verge's test below, the Golden Gate Bridge is all kinds of messed up. It looks more like the Leaning Tower of Pisa than the straight bridge it was designed to be. People also look strange, even with all of the work Lens Correction is supposed to be doing.
So even if you like the Lens Correction feature straightening things out, for the most part, you might want to disable it temporarily in certain instances where it's not giving your the results you want. When Lens Correction gets it wrong, it sometimes just looks better to take it again with it off.


Photos (cropped to the right side) taken with an iPhone 12 using the ultra-wide lens.
Photos (cropped to the right side) taken with an iPhone 12 using the ultra-wide lens.
Apple has made some amazing strides in computational photography, but sometimes its automated features just don't get the job done. It might be better for you, as the photographer, to understand the limitations of the lens you're shooting with and act accordingly, rather than let iOS choose to manipulate the image as it sees fit.
Turning Off Lens Correction
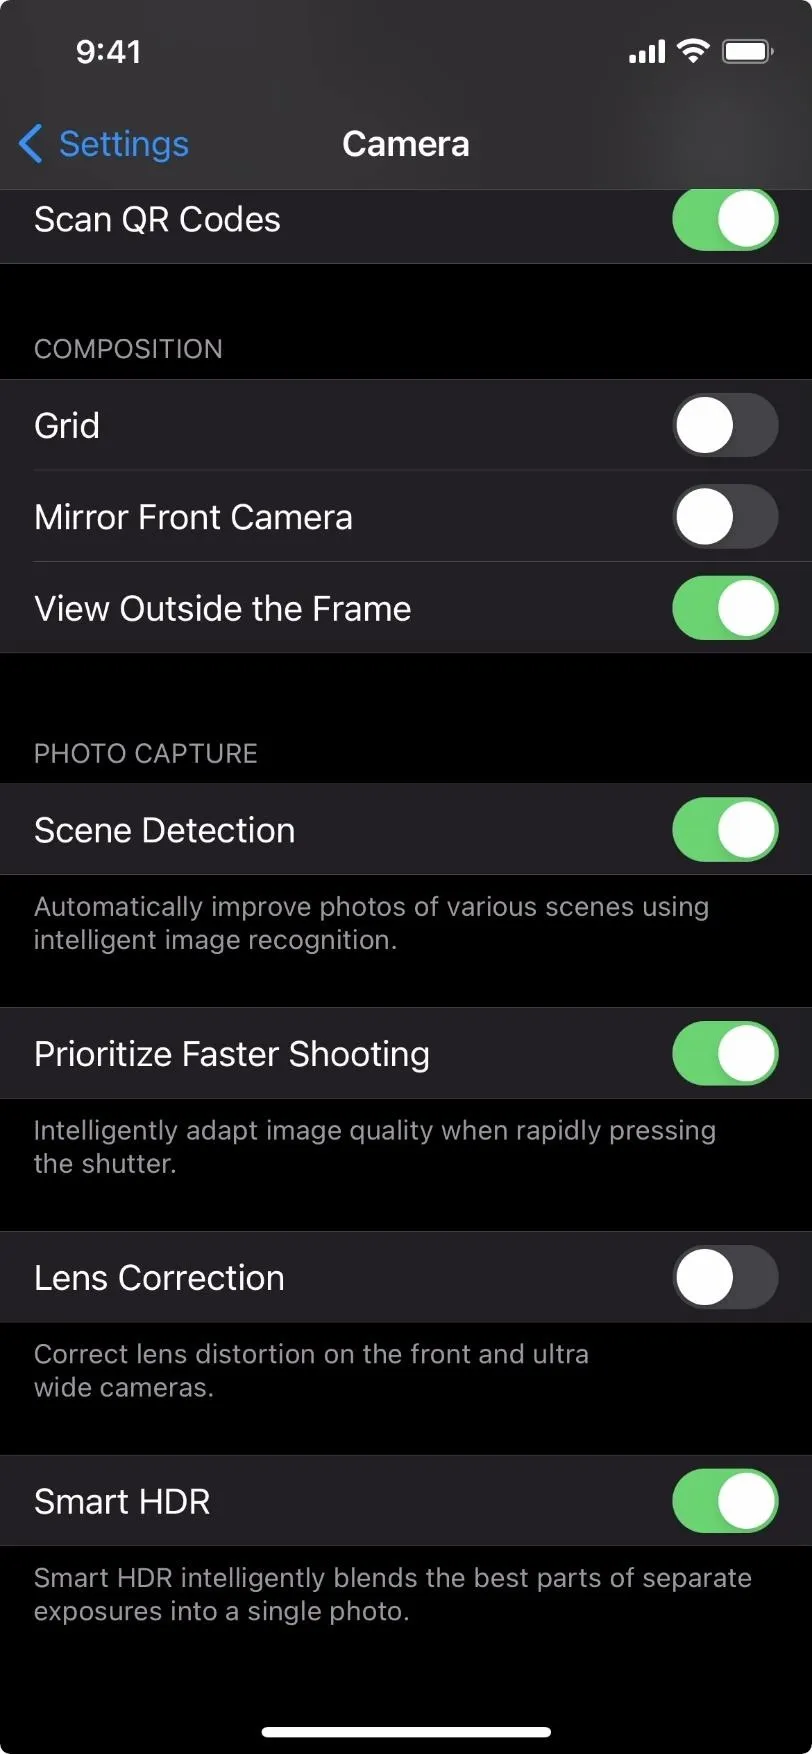
If you decide Lens Correction isn't right for you, know that disabling it is simple. Just open Settings, tap "Camera," then scroll down and toggle off the "Lens Correction" switch. Doing so will disable it for both the ultra-wide lens on the rear camera system and the front TrueDepth camera.
Cover image, screenshot, and GIF by Jake Peterson (unless otherwise noted)


Comments
Be the first, drop a comment!