Like an overbearing mother, Apple will constantly nag you through annoying red bubble alerts about iOS updates that are ready to install. Fortunately, you don't have to take this issue lying down, as there are ways to prevent your iPhone from receiving OTA updates and their corresponding prompts, regardless of whether your device is jailbroken or not.
Avoiding iOS updates is a must if you've jailbroken your device, as these will remove your precious jailbreak, and can also lead to data loss in the event of a snag during the update process. And while good for overall security, holding off on updates can be useful even if you're not jailbroken; Maybe your older iPhone is running at its best in its current version, or maybe you're simply waiting for a jailbreak to become available for your current firmware, or maybe you just like updating after you know the software is free from major bugs.
To help you get rid of iOS update prompts for good, we've rounded up two methods to keep software updates at bay. The first method will work on both jailbroken and stock iOS devices, while the second one will only work for those that are jailbroken. That said, keep reading further to learn more about disabling OTA updates and notifications on your iPhone — jailbreak or not.
Non-Jailbroken Devices
Disabling over-the-air software updates on your iPhone is a relatively simple procedure where you install a tvOS beta software profile to "enroll" your iPhone into the Apple TV beta software program. As a result, your iPhone will automatically find only tvOS betas as it automatically searches for iOS updates, and it will assume no iOS updates are available.
Bear in mind that Apple is notorious for patching any holes it finds, so if this hack isn't already in its crosshairs, it's just a matter of time before they focus their attention to fixing this issue. As such, we've decided to go with a slightly older tvOS beta profile, as you'll see below.
Download & Save Apple's tvOS Beta Profile
To get started, tap on the link below to download the tvOS 11 beta profile for Apple TV. This particular profile was sourced from Beta Profiles, and while tvOS 12 beta profile is available and can be installed on your iPhone to perform the same task, we don't want the risk of it becoming nonfunctional in the event that Apple patches it in the future.
- Download Link: tvOS 11 Beta Software Profile
Upon hitting the link from your iPhone, a pop-up prompt will appear notifying you that the profile will open through your Settings app to show its details. Hit "Allow" to confirm, and proceed to the next step.
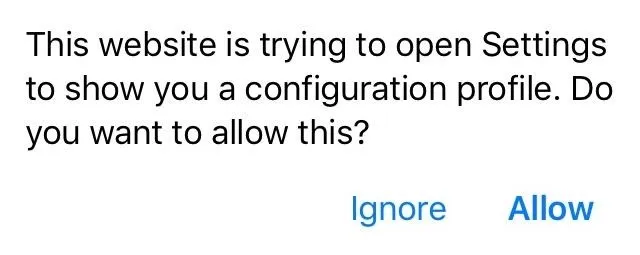
Install the tvOS Beta Profile
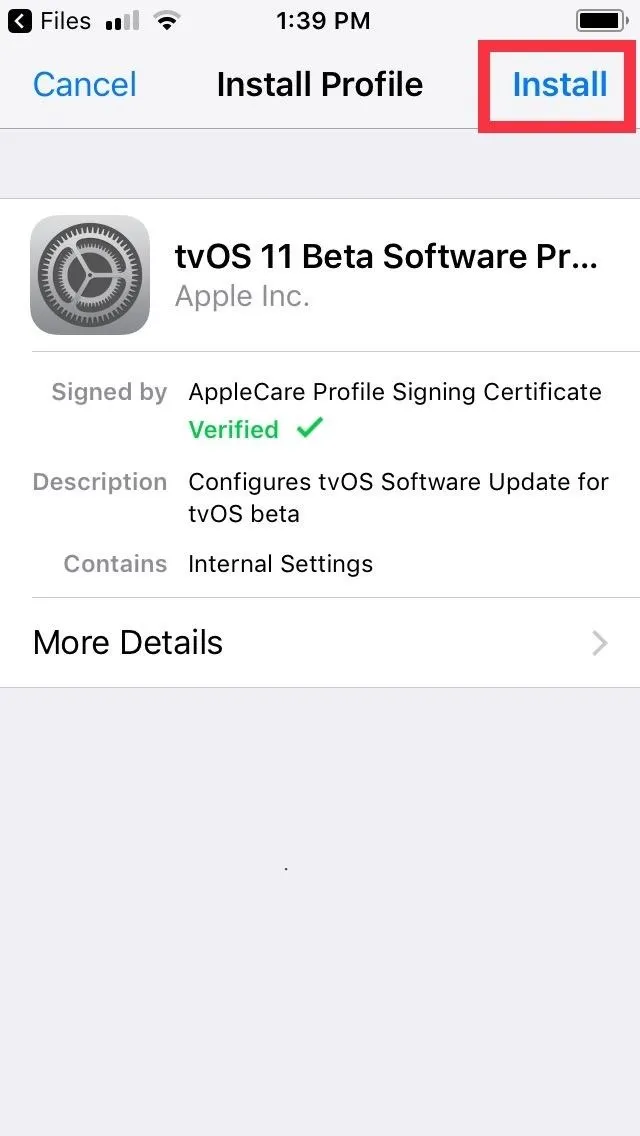
Upon hitting "Allow" on the prompt highlighted above, you'll instantly be taken to the Install Profile page for the tvOS 11 beta profile you just downloaded. Tap on "Install" in the upper right, then hit "Install" once again on the following page.
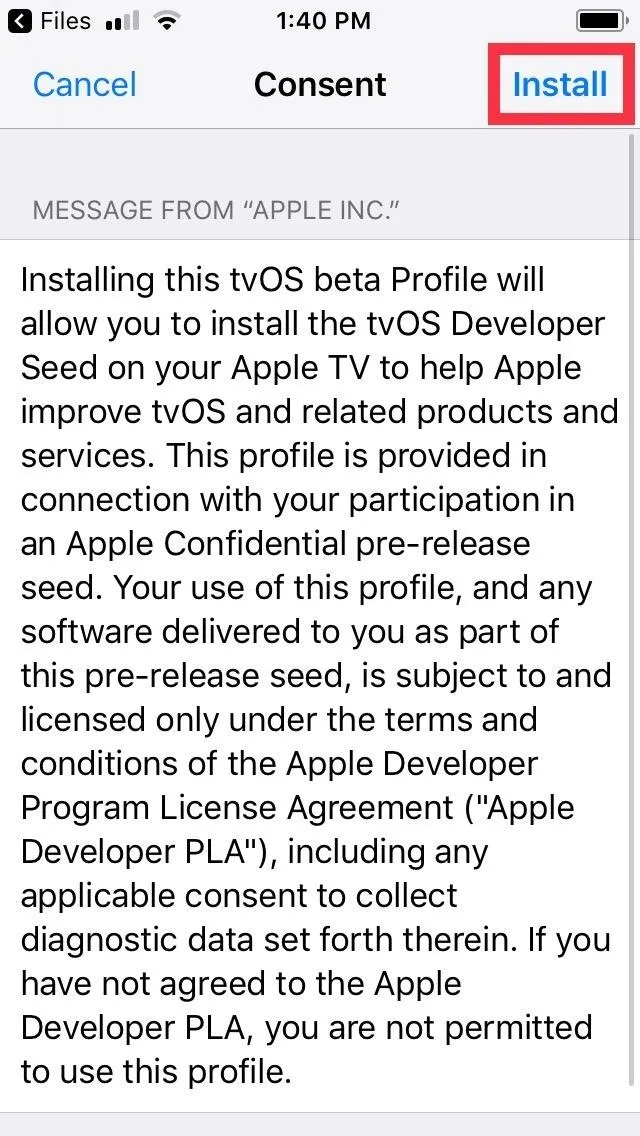


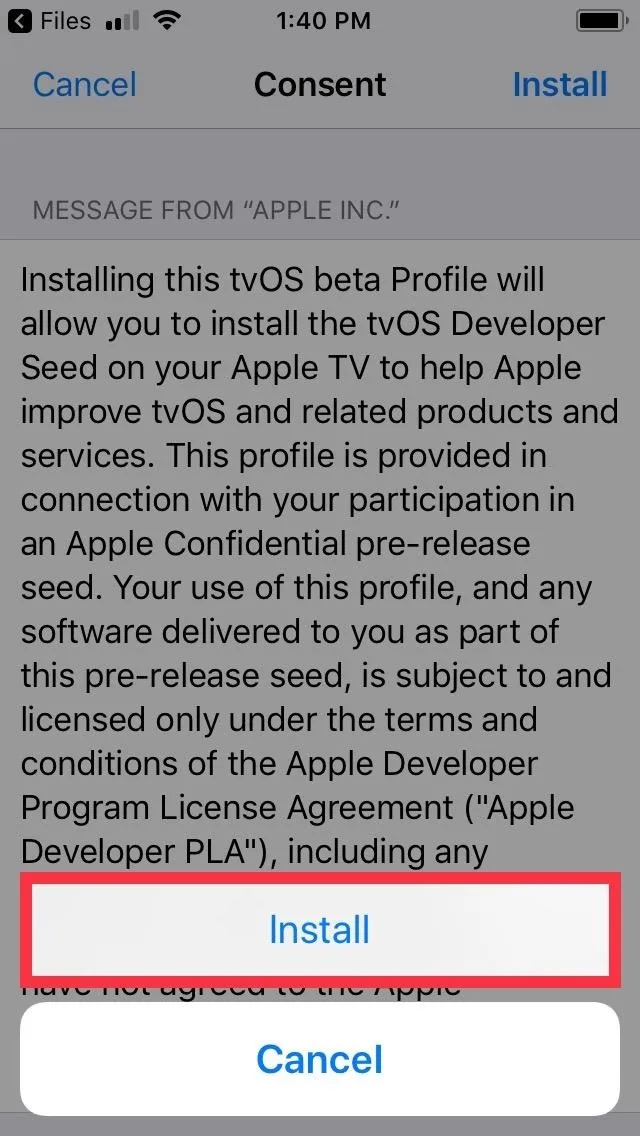
A final confirmation prompt will appear on the bottom of the screen, so tap on "Install" for the last time to finalize your selection. Once you do, you'll be required to restart your iPhone to apply the changes, so hit "Restart" on the prompt that appears.
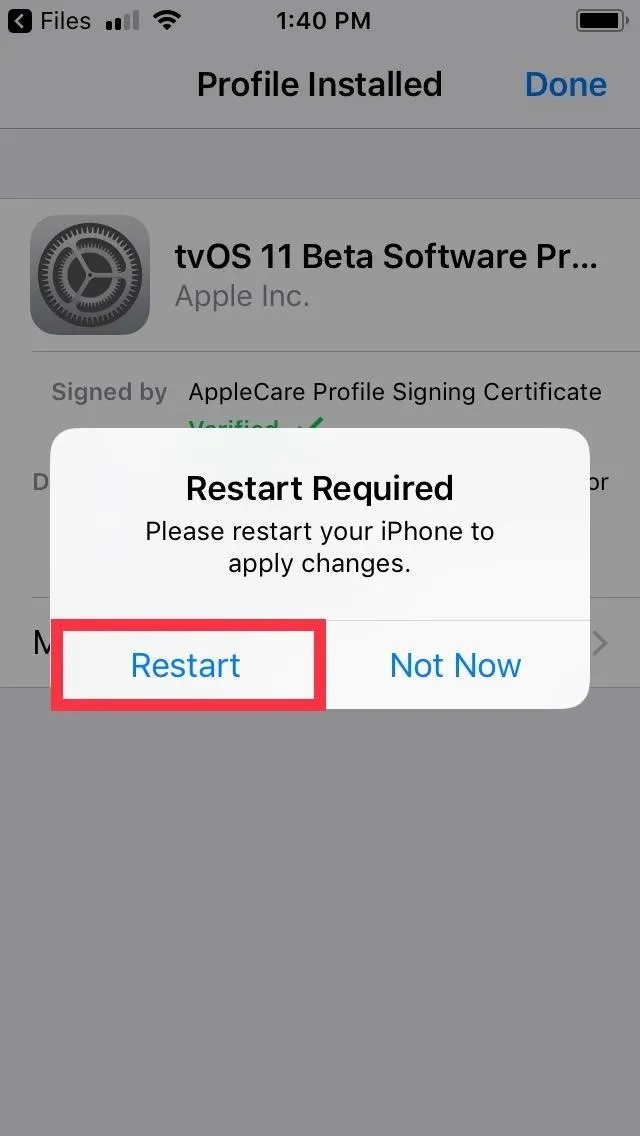


It's worth noting that having the tvOS beta profile installed on your iPhone doesn't interfere with other profiles you may have installed. If you're on iOS 12 beta, for instance, the tvOS beta profile can still be installed without having to remove the former, and your iPhone will still run normally, with the exception of no longer being able to detect any iOS updates, including beta ones.
Verify Installation
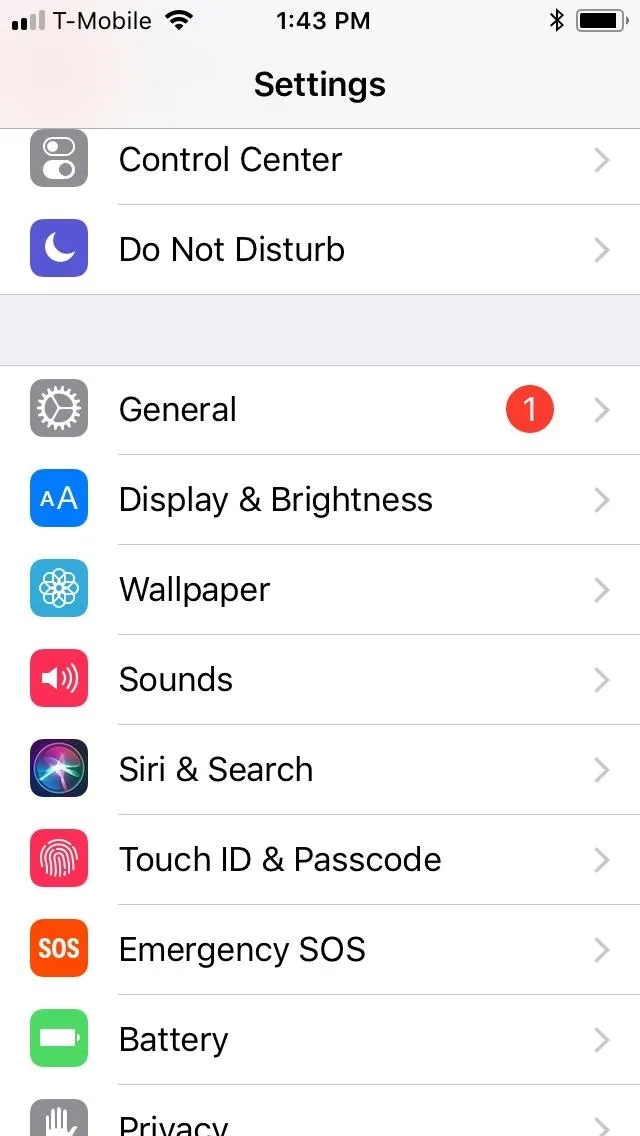
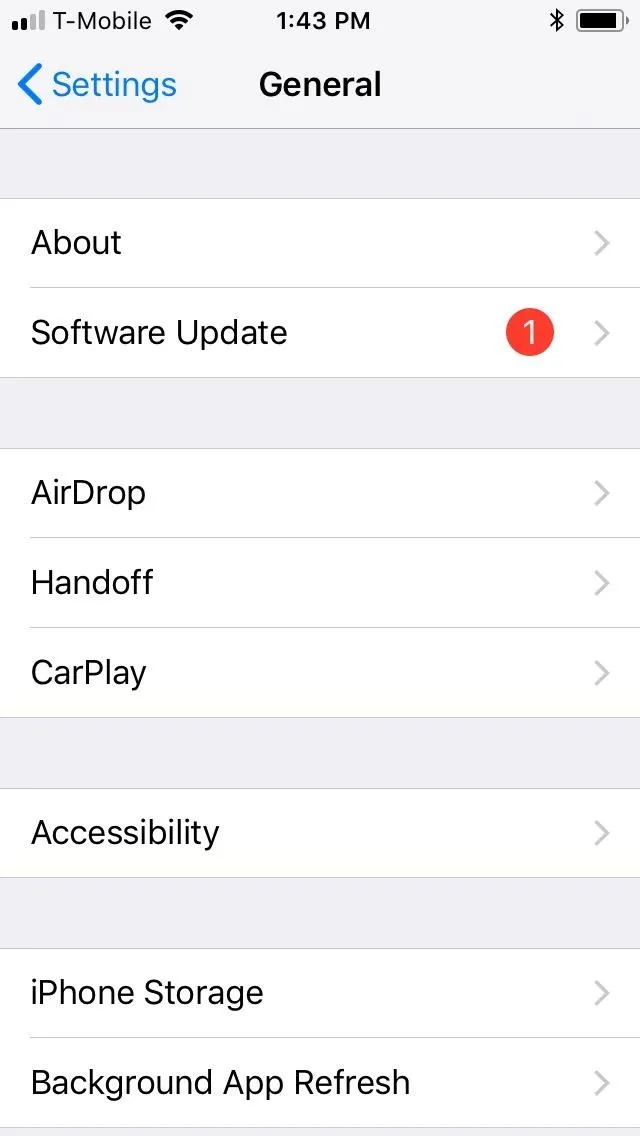
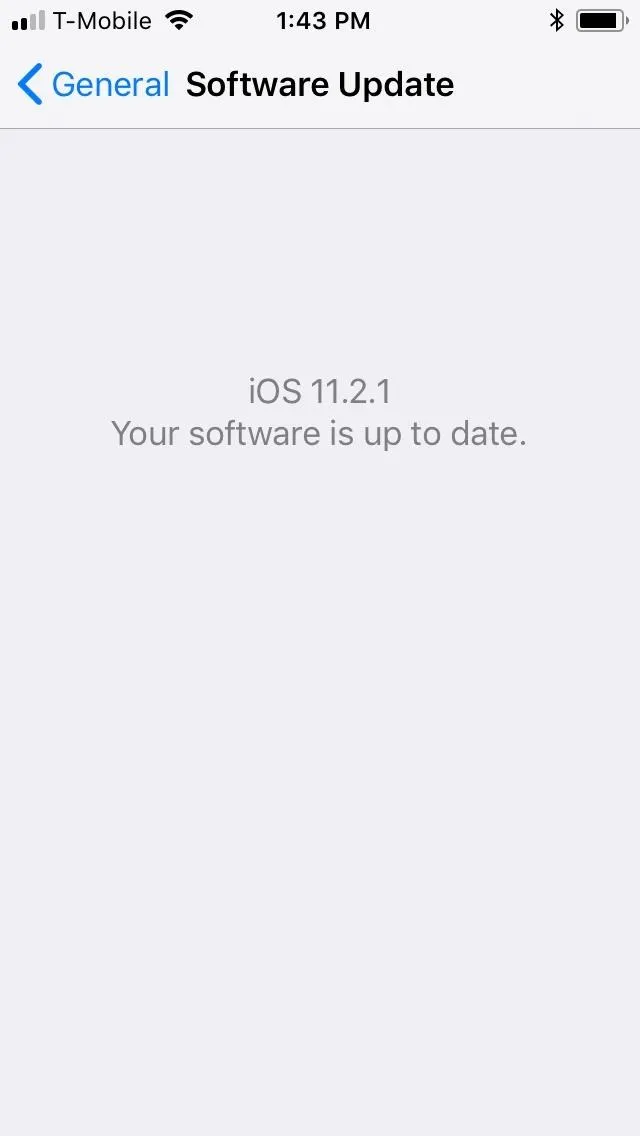
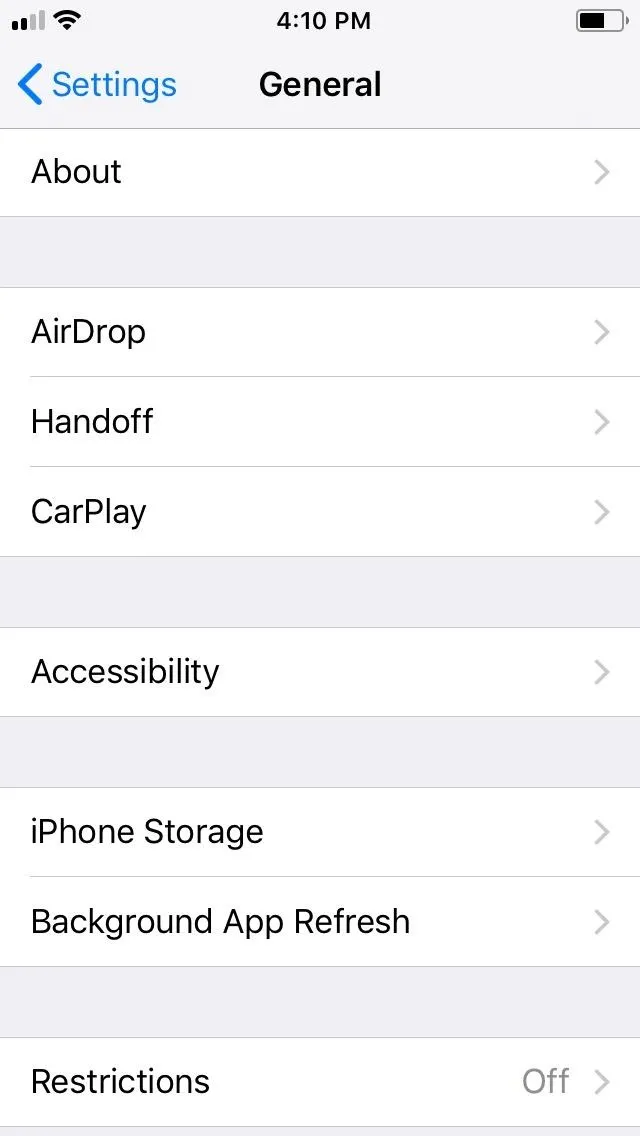
After your iPhone successfully reboots, you'll want to make sure that the tvOS profile has kicked in and disabled your device's ability to receive iOS update notifications. To do so, open the Settings app and hit "General," then tap on "Software Update" on the following page.
At this point, you may still get the annoying red notification reminders within the Settings app. Upon getting into the "Software Update" page, however, you'll now be greeted with a blank page that displays your current firmware, along with a notification saying that your software is up to date. From this point on, you'll no longer receive any OTA updates even as new iOS software updates become available.


Re-Enable OTA Updates
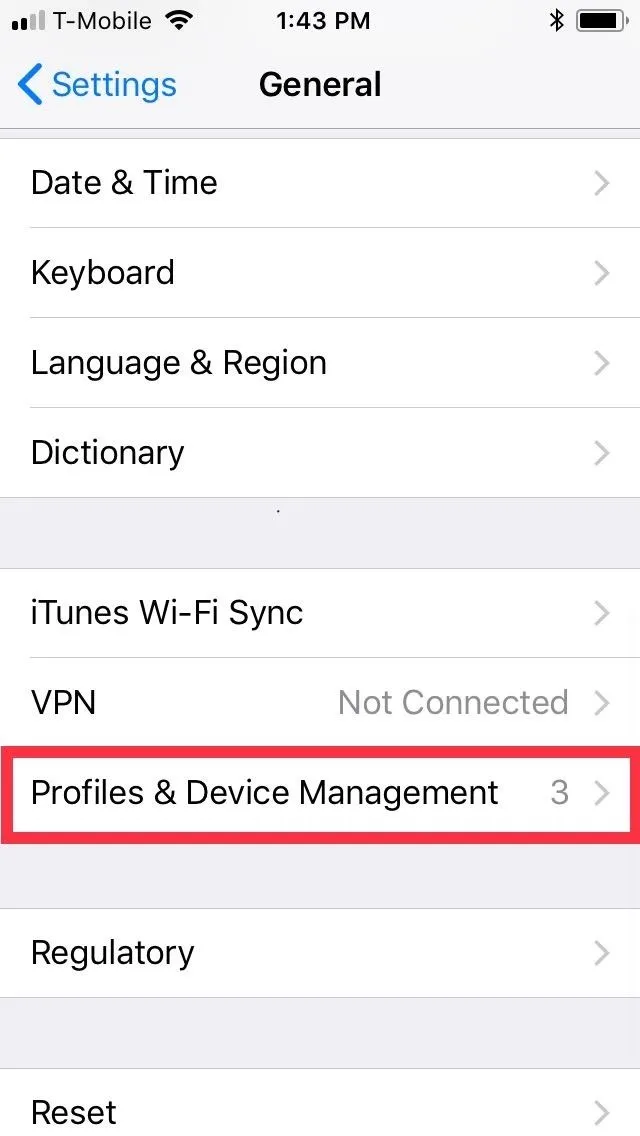
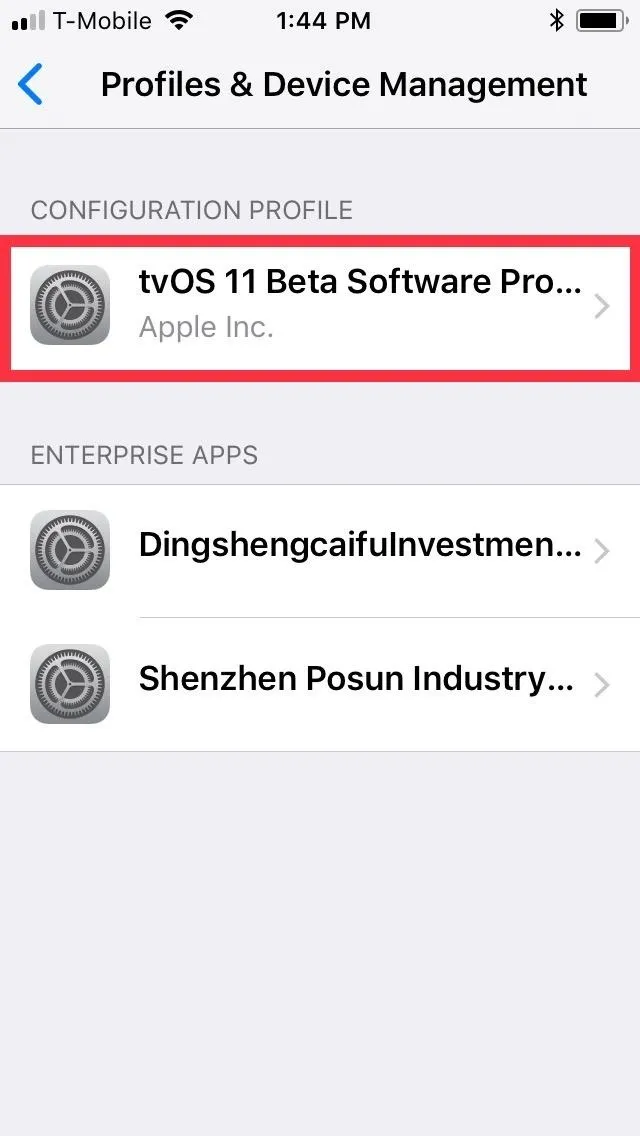
It couldn't be easier to undo OTA blocking should you ever decide to update your iPhone to the latest iOS software as you were able to do before. Simply head to the "Profiles & Device Management" page under "General" within the Settings app, then select "tvOS 11 Beta Software Profile."
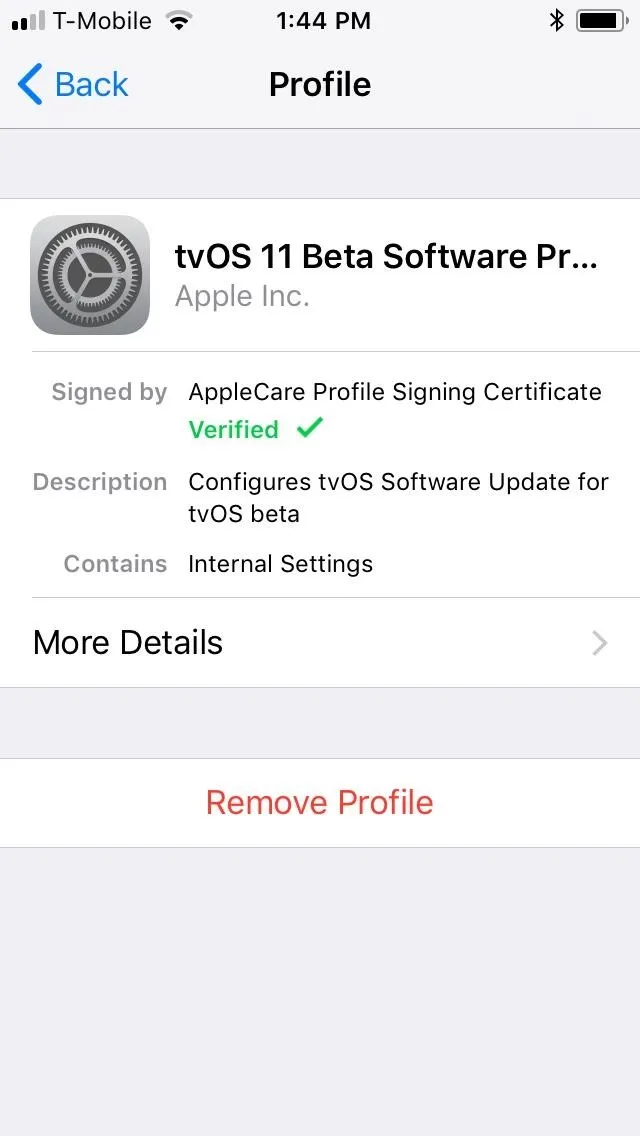
From there, tap on "Remove Profile," and follow the prompts to proceed with its deletion. Unlike its installation, you won't be prompted to reboot your device after removing the tvOS profile, so you'll need to power down your device manually and turn it back on for the settings to kick in.


Installing a Jailbreak Tweak
If you have a jailbroken device, you have the additional option of installing a tweak to keep OTA updates at bay. There's a little more to it than just opening Cydia and installing a tweak, however, as you'll see below.
Add Karen's Repo
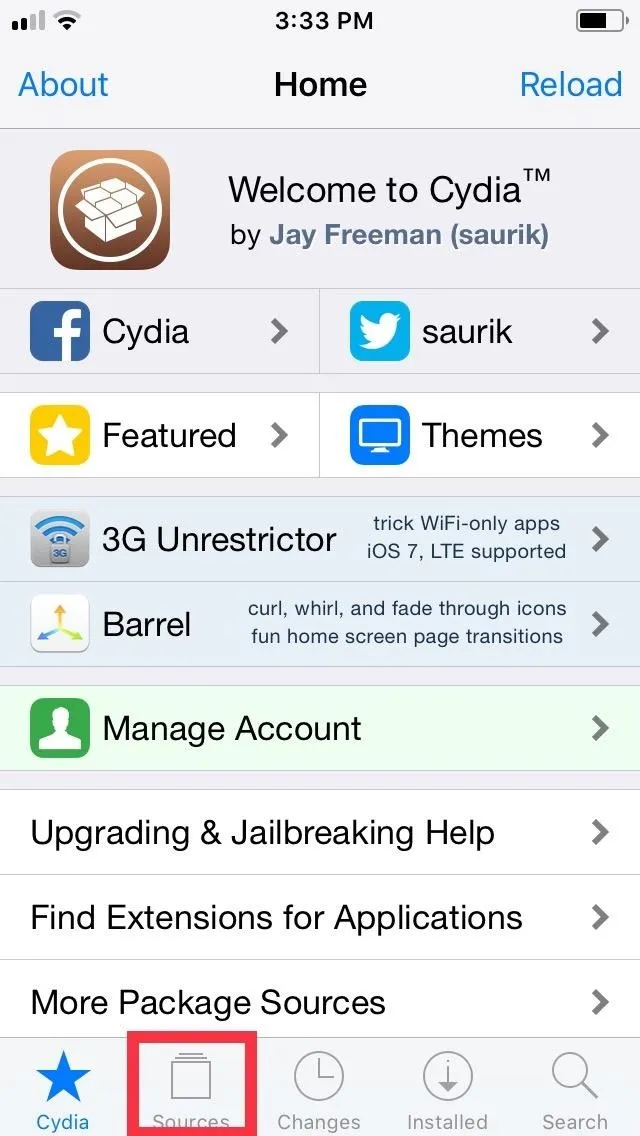
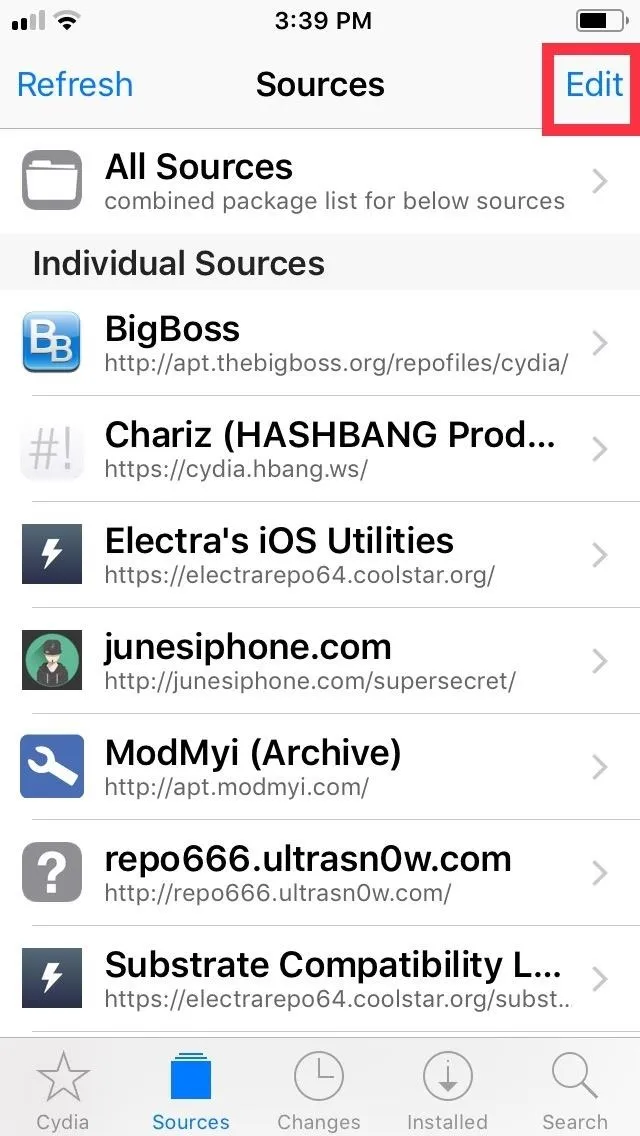
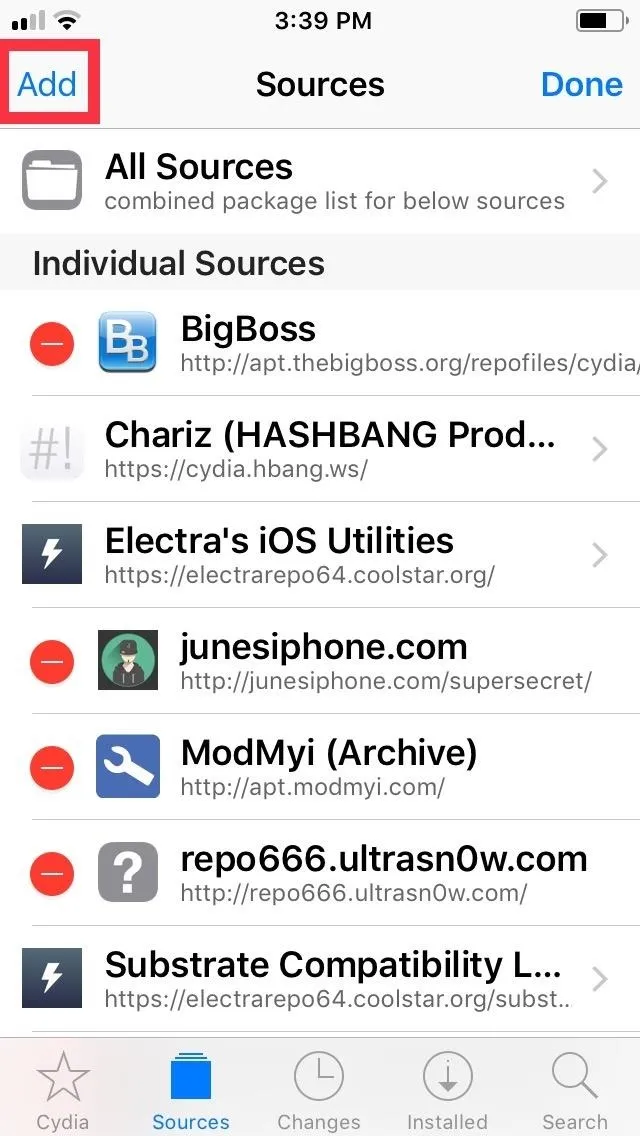
The tweak in question, Mikoto by Karen/angelXwind, isn't available in Cydia outright, so you'll first have to add a separate repo in order to get it. To do so, open Cydia and tap on "Sources" along the bottom of the screen to go to the repository page. From there, tap on "Edit" on the upper-right corner, followed by "Add" on the upper left.


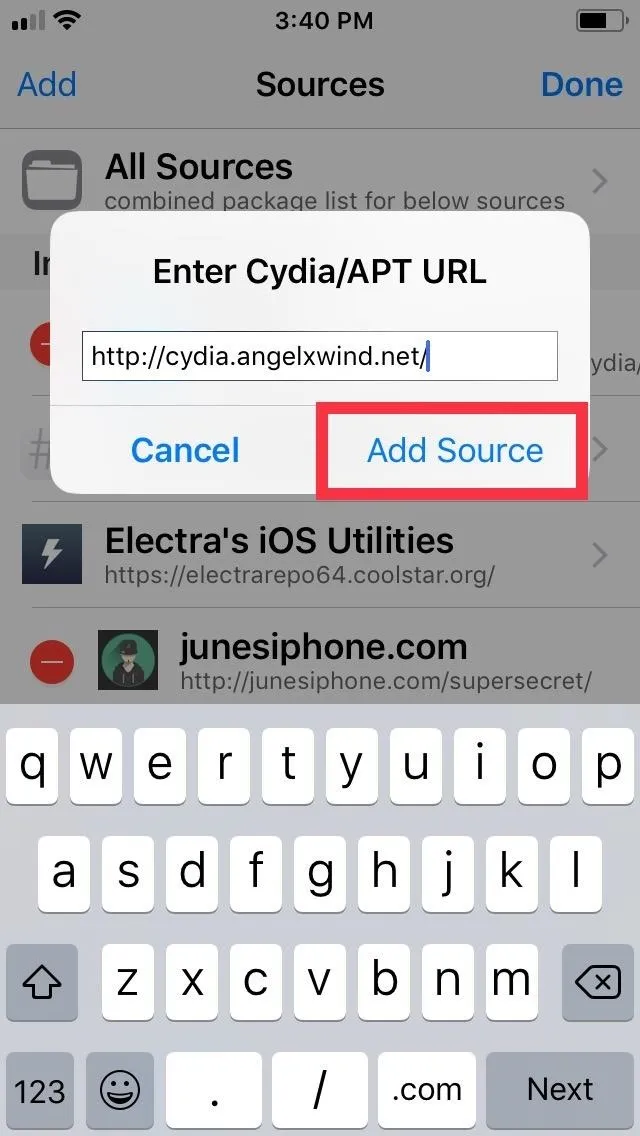
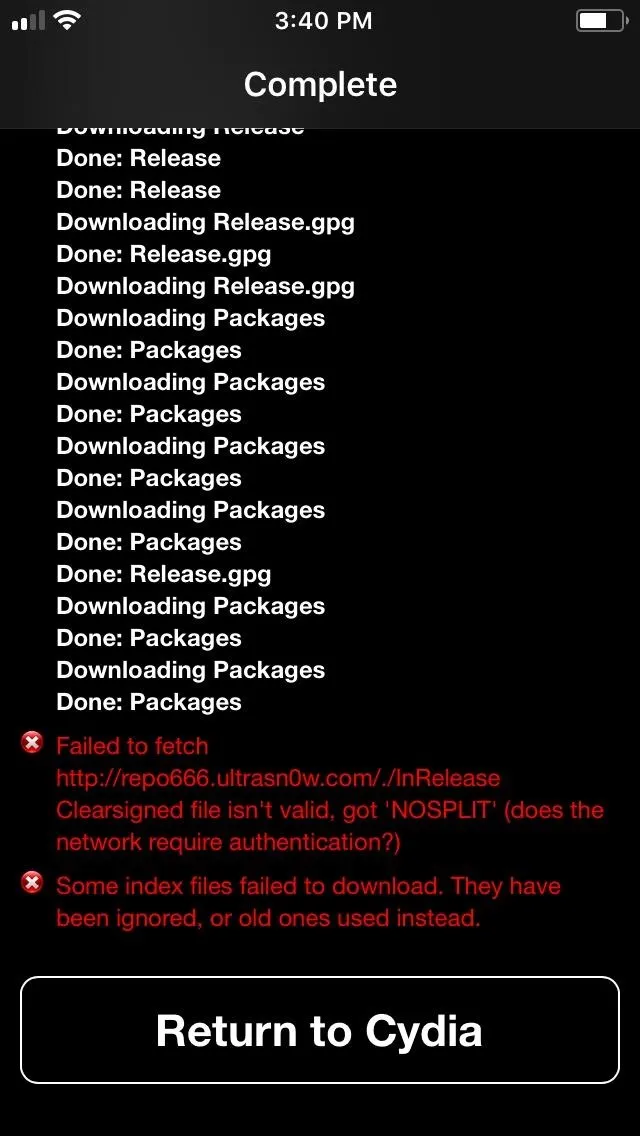
Upon hitting "Add", a URL prompt will appear, so input cydia.angelxwind.net into the empty field. Tap on "Add Source" once you're done, and sit back and wait for the repo to install. Hit "Return to Cydia" once the process completes, and proceed to the next step.
- Full Rundown: How to Add Repos in Cydia to Find More Jailbreak Tweaks


Install Mikoto
With Karen's Repo successfully added on, open Cydia's search function by tapping on the magnifying glass icon on the lower right of the screen. Next, type "mikoto" in the search bar, and tap on the tweak once it appears in the results field.
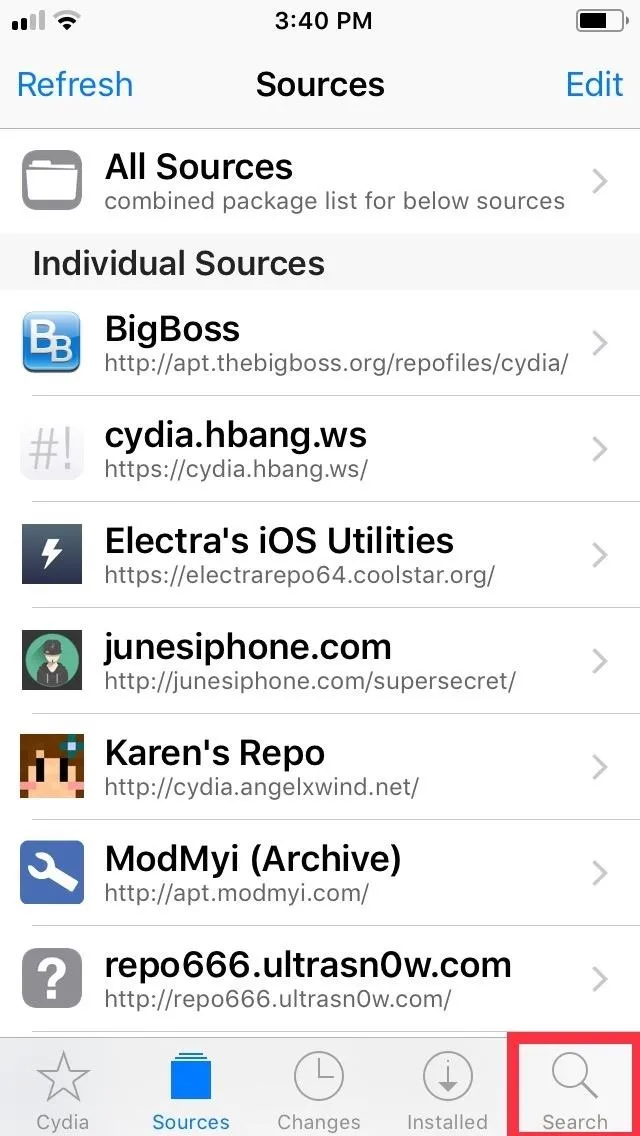
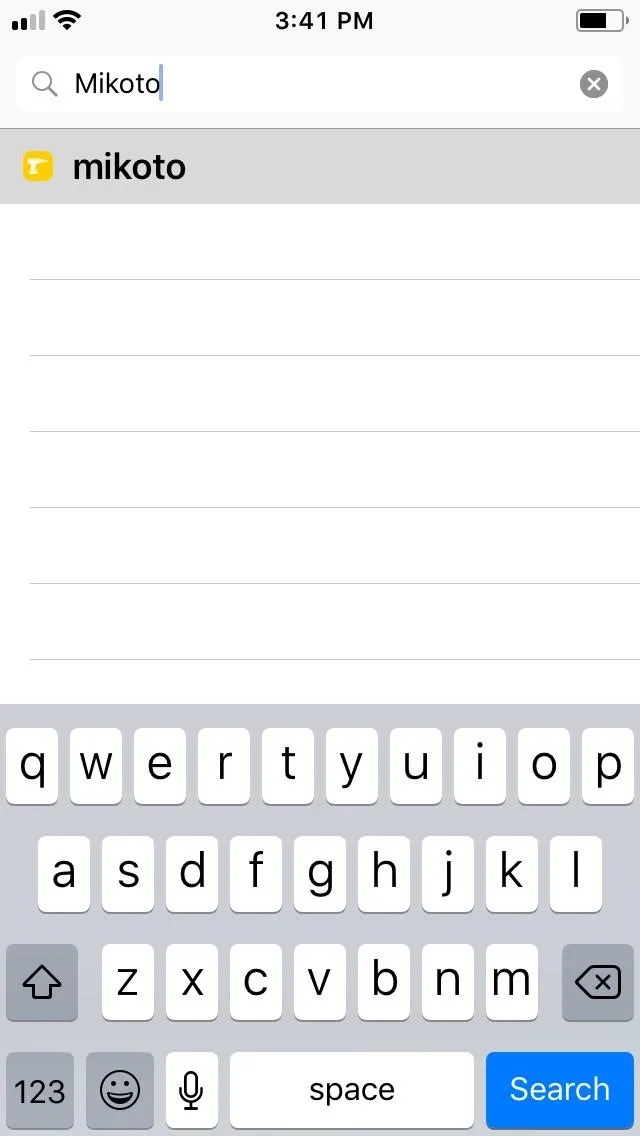


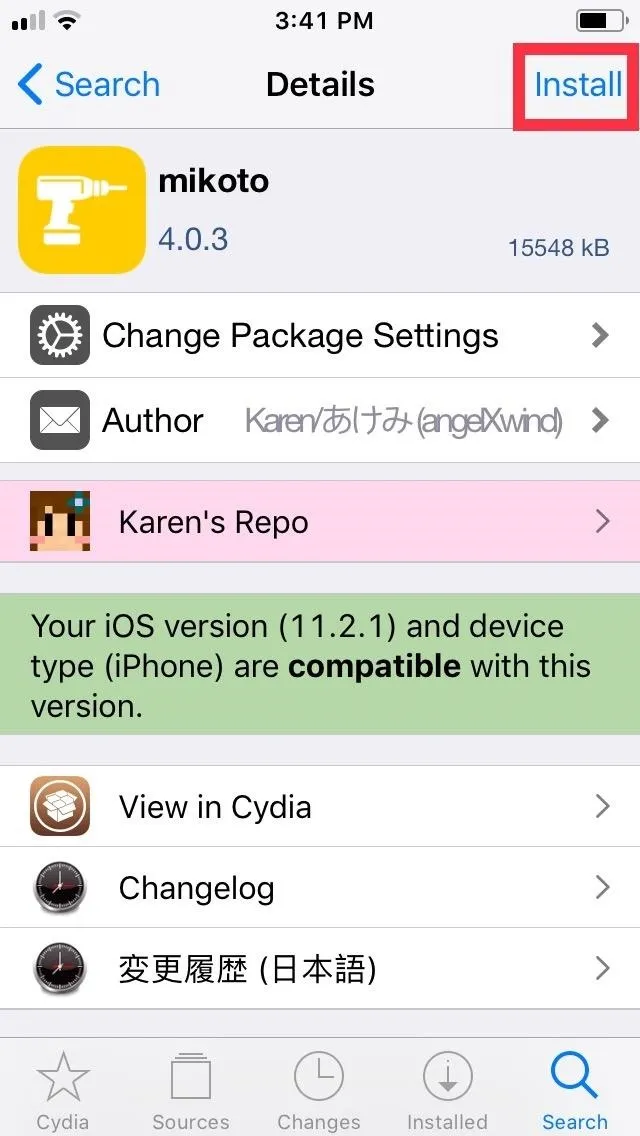
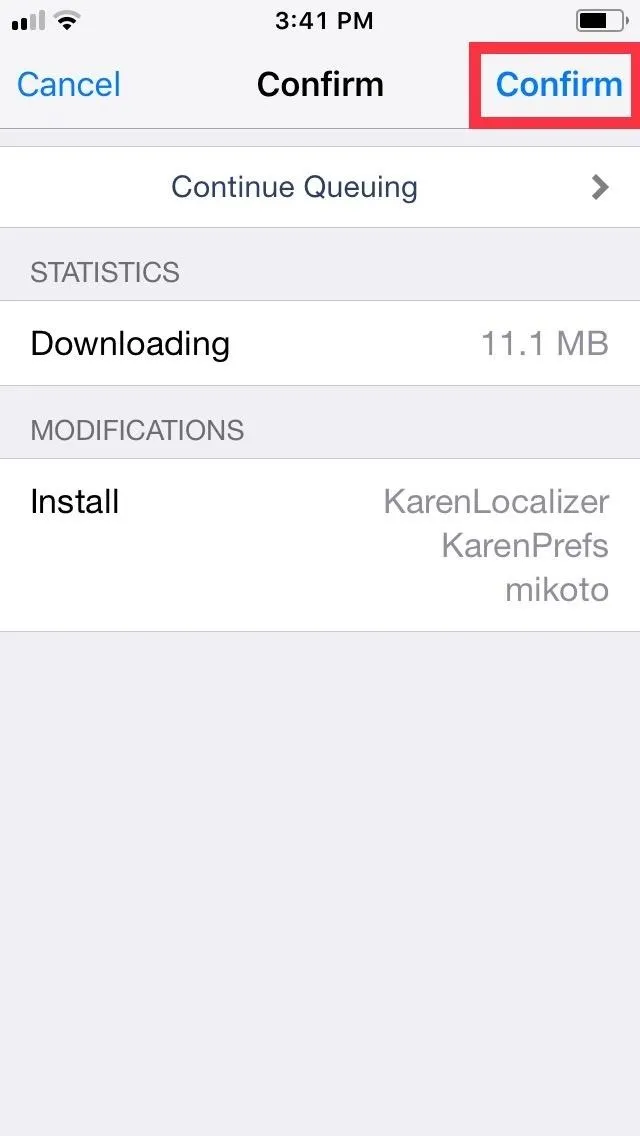
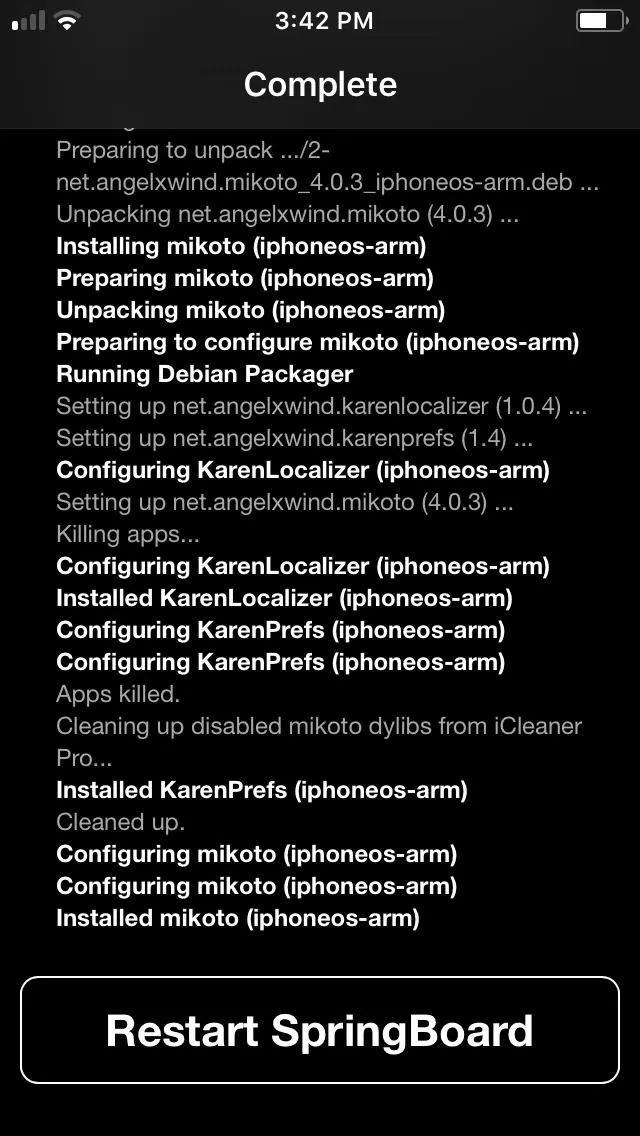
You'll be taken to the Details page for Mikoto, so tap on "Install" in the upper right to proceed to the tweak's confirmation page. Once there, select "Confirm" in the upper right to finalize its installation. The tweak will now be downloaded onto your device, so wait a moment for the process to complete. Hit "Restart SpringBoard" after it's done to respring your iPhone and wrap up with the installation.


Verify Installation
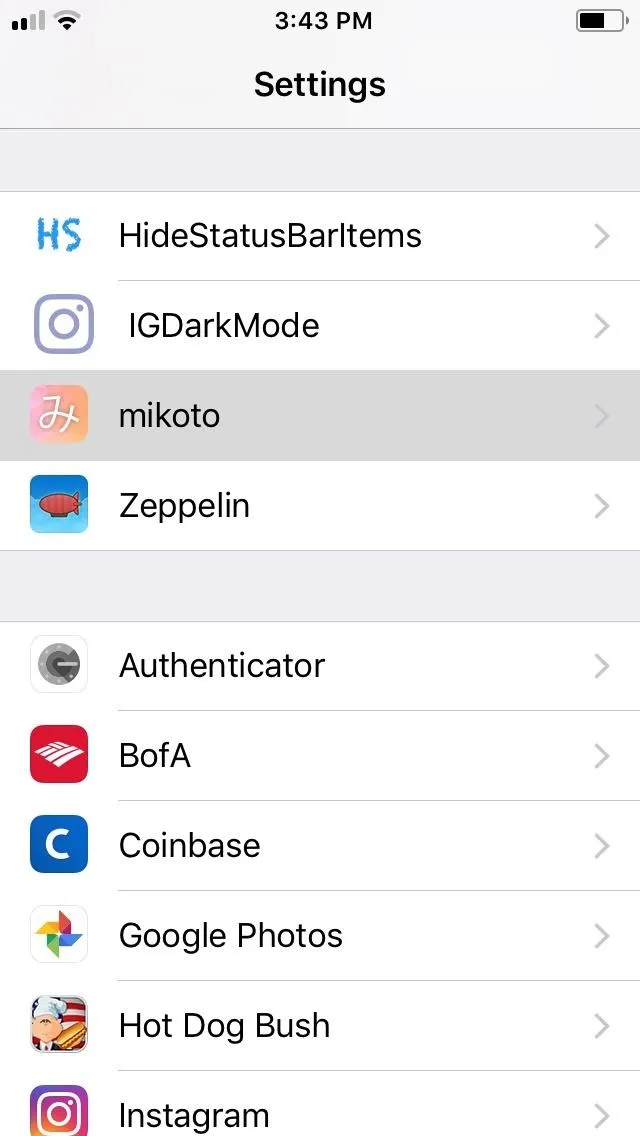
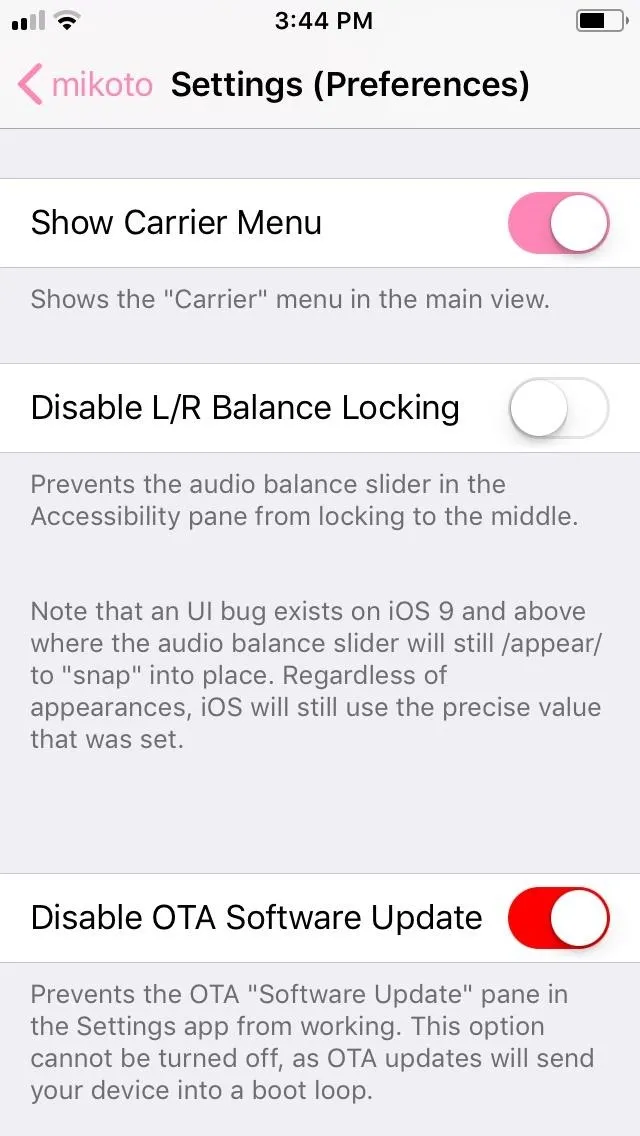
Once your iPhone resprings, you'll want to make sure that Mikoto has installed successfully, so open Settings and tap on "Mikoto" to access its settings page. From there, you'll notice that "Disable OTA Software Update" is on by default — and cannot be switched off. This is a safety measure, as performing an OTA update on your jailbroken iPhone will cause it to malfunction resulting in a perpetual boot loop.


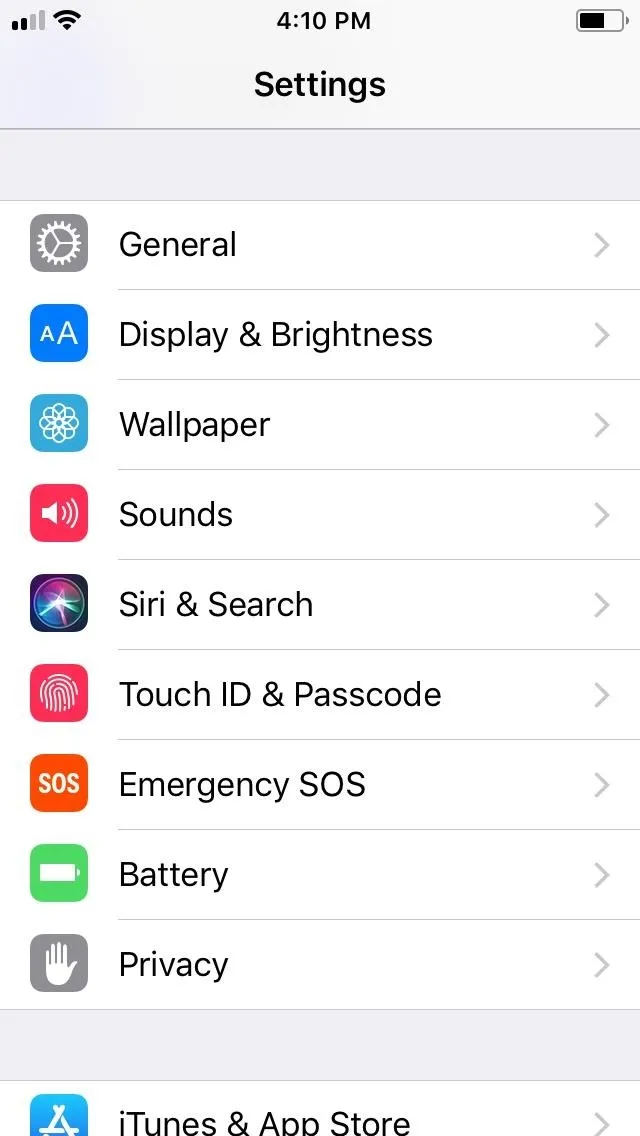
Unlike the first method, which basically sends your iPhone on a wild goose chase with regards to updates, Mikoto completely blocks your iPhone's ability to search for and receive OTA updates. The tweak also completely gets rid of the "Software Update" tab within the "General" page in the Settings app, along with the red bubble alerts that appear to notify you of available updates.


Re-Enable OTA Updates
Unfortunately, reenabling iOS software updates on your iPhone isn't as straightforward as the first method that only requires you to remove a beta profile. While you can uninstall Mikoto to get back the ability of receiving update notifications, going ahead with the OTA update can be risky on a jailbroken device and result in a soft brick.
That said, you'll have to un-jailbreak your iPhone if you want to safely update to the latest iOS firmware — whether over-the-air or through iTunes. This can be done in numerous ways, ranging from installing a tweak from Cydia to perform the task, to entering DFU Mode and restoring your iPhone through iTunes on your computer. Be sure to hit the link below for a more detailed guide about un-jailbreaking your iPhone.
- Follow Gadget Hacks on Facebook, Twitter, YouTube, and Flipboard
- Sign up for Gadget Hacks' daily newsletter or weekly Android and iOS updates
- Follow WonderHowTo on Facebook, Twitter, Pinterest, and Flipboard
Cover image and screenshots by Amboy Manalo/Gadget Hacks


Comments
Be the first, drop a comment!