


Aside from the occasional "creative" collage, most of your friends on social media are content with pretty basic image and video posts. You can easily one-up them with celebrity cameos or awesome time-lapse videos, but to truly outshine them, try your hands at some creative double exposures.
Essentially, a double exposure image is two images merged or blended together into a single surrealistic photograph. They can be created either by stacking negatives in a dark room, using the multiple exposure mode on a DSLR camera (or snapping multiple photos onto the same negative with a regular SLR), or blending multiple images together in Photoshop.
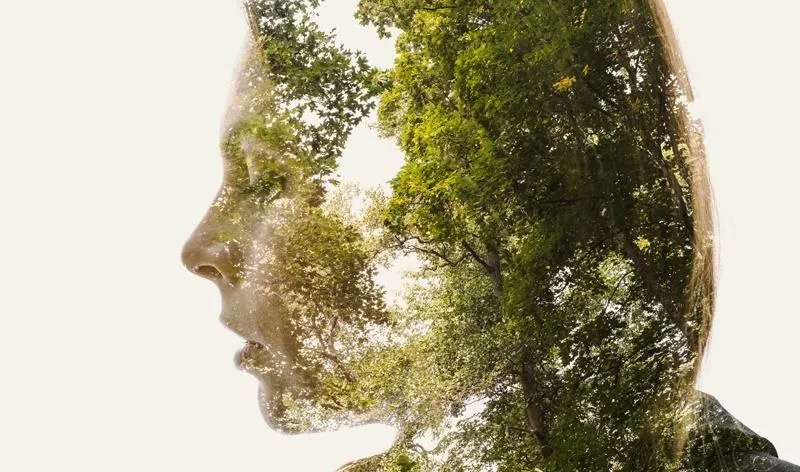
An example of a double exposure shot with a Nikon D800E and tweaked in Lightroom.
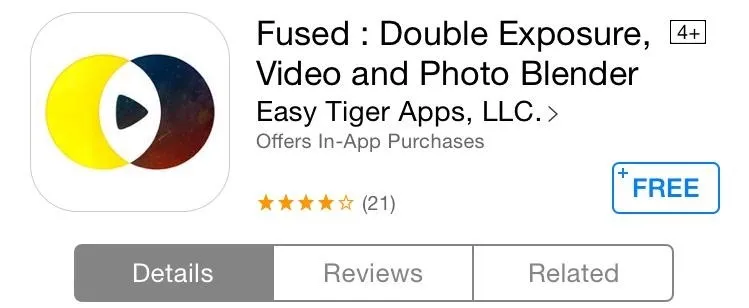
On mobile devices, creating a double exposure effect is even easier, thanks to the number of photo apps available dedicated to the task. Today, I'm going to show you the Fused app from Easy Tiger Apps, one of these easiest ones to use on an iPhone. Not only does it do its magic on photos, but it works with videos, too!
Install Fused
In order to begin creating your awesome double exposure images and videos, install Fused : Double Exposure, Video and Photo Blender for free from the iOS App Store.
For the purpose of this article, I'll be highlighting how to create a double exposure photograph, but creating a video with a photo blended is a similar process.
Select Your Images
One of the greatest things about the app is its uncomplicated interface that makes it extremely simple to use. Start by selecting two images, videos, or a combination of both. (You will have to grant it access to your iPhone's camera roll.)
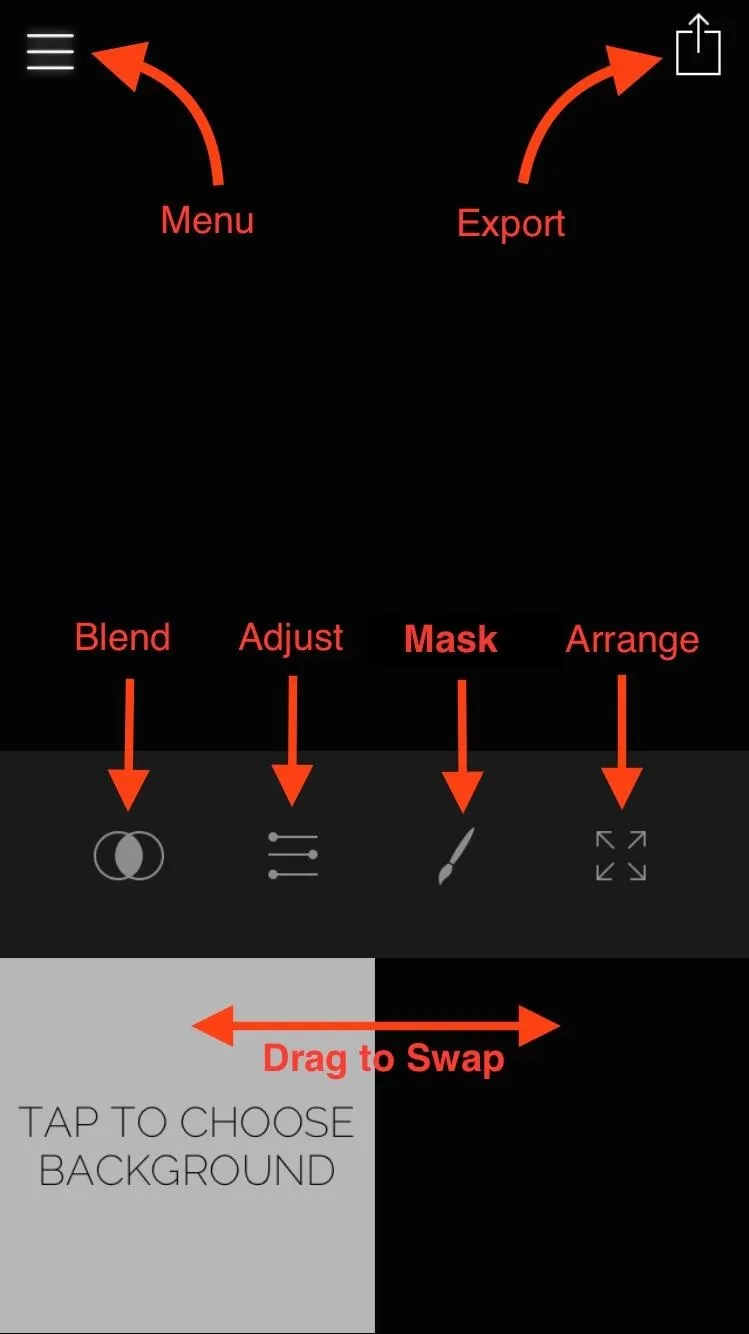
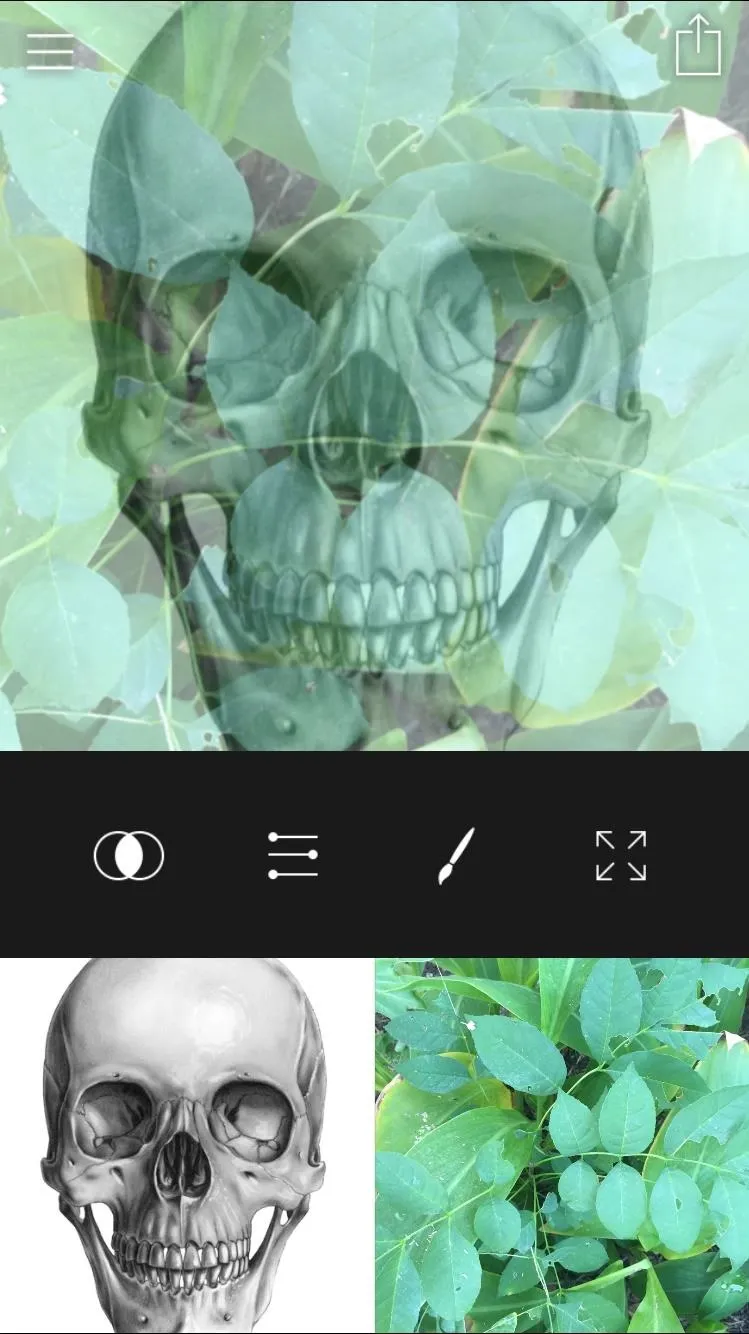
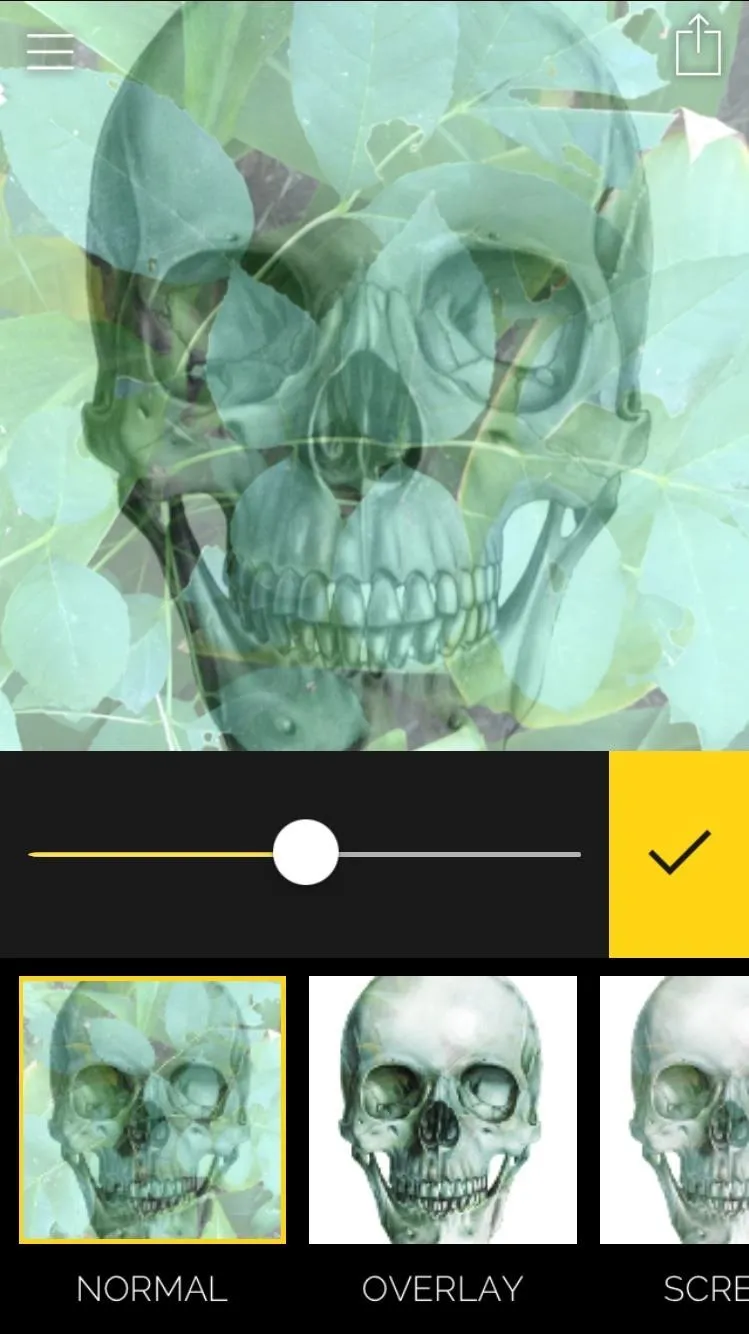
Blend Your Images
Once you've chosen your images, select the Blend tool and choose a filter to apply. You can adjust the intensity of the effect using the scale.

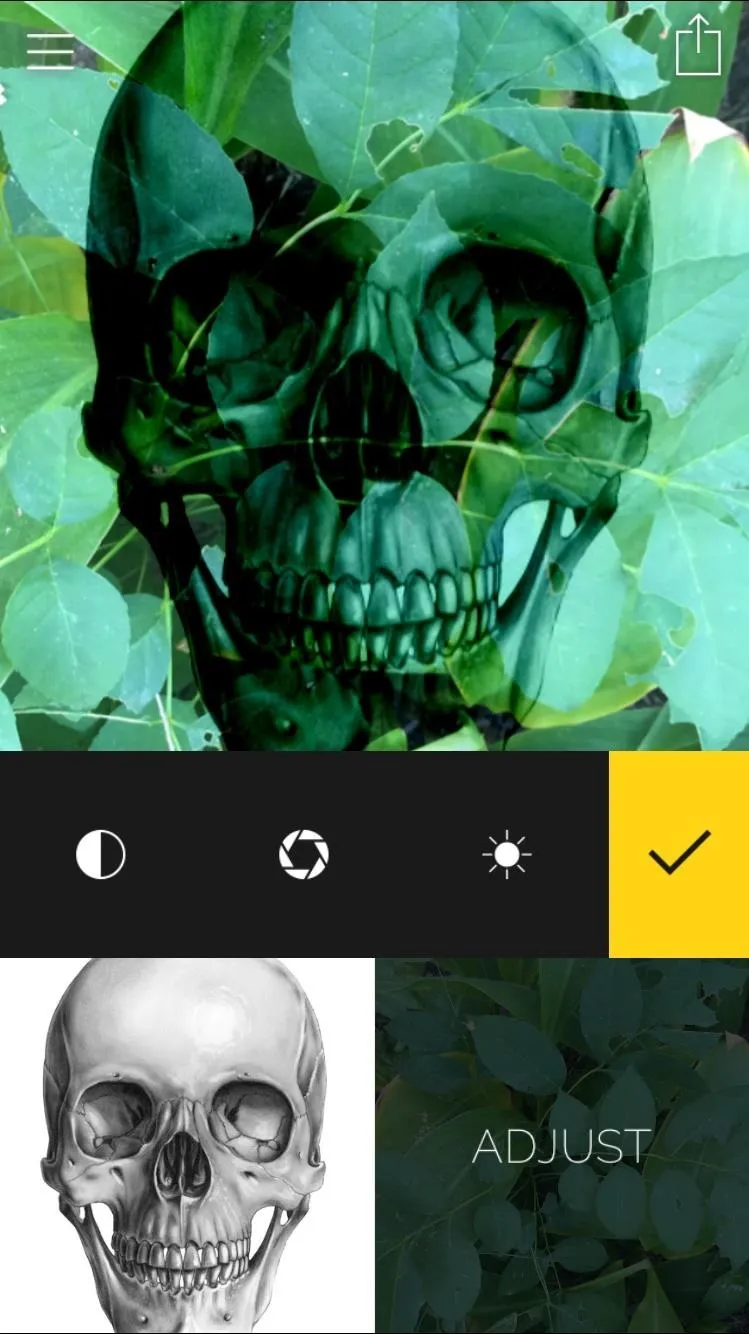
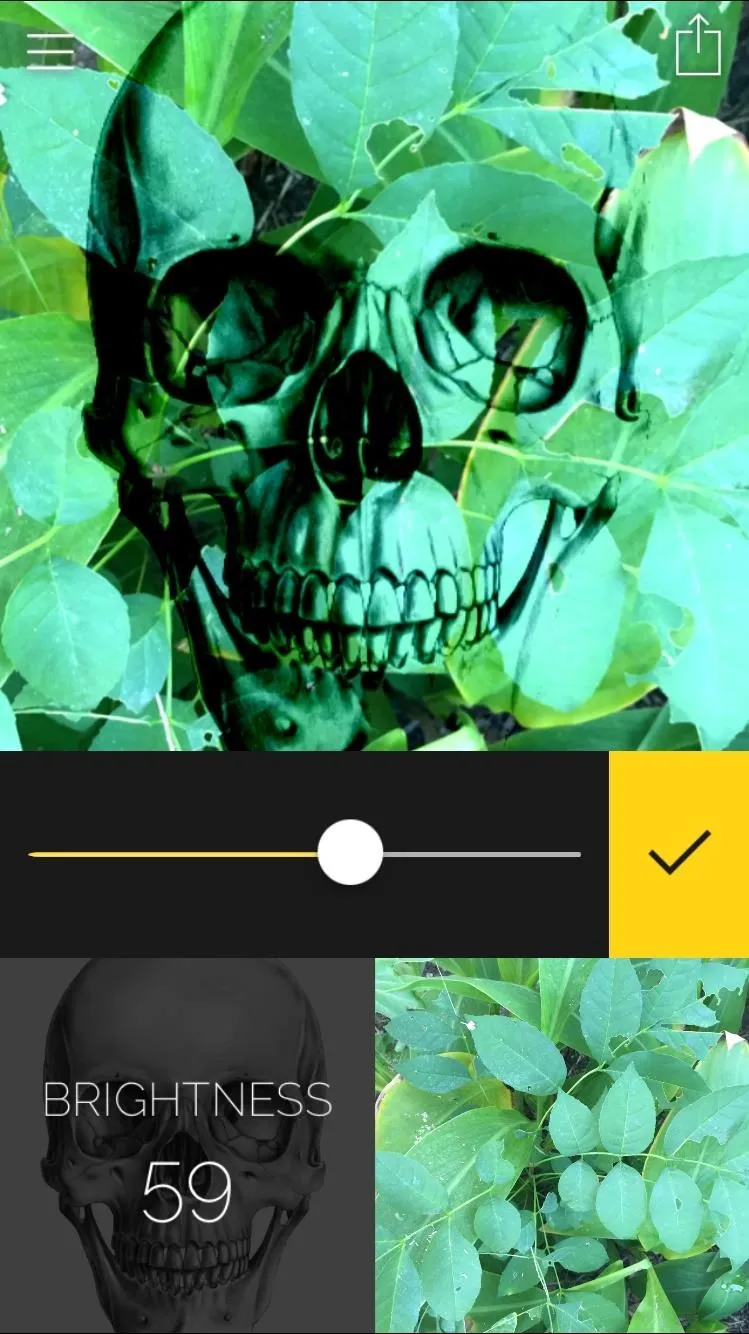
Adjust Your Images
If you need to, you can select the Adjust tool to edit the contrast, exposure, and brightness of the individual images. It's not always necessary, but it does sometimes help improve the filters you apply.
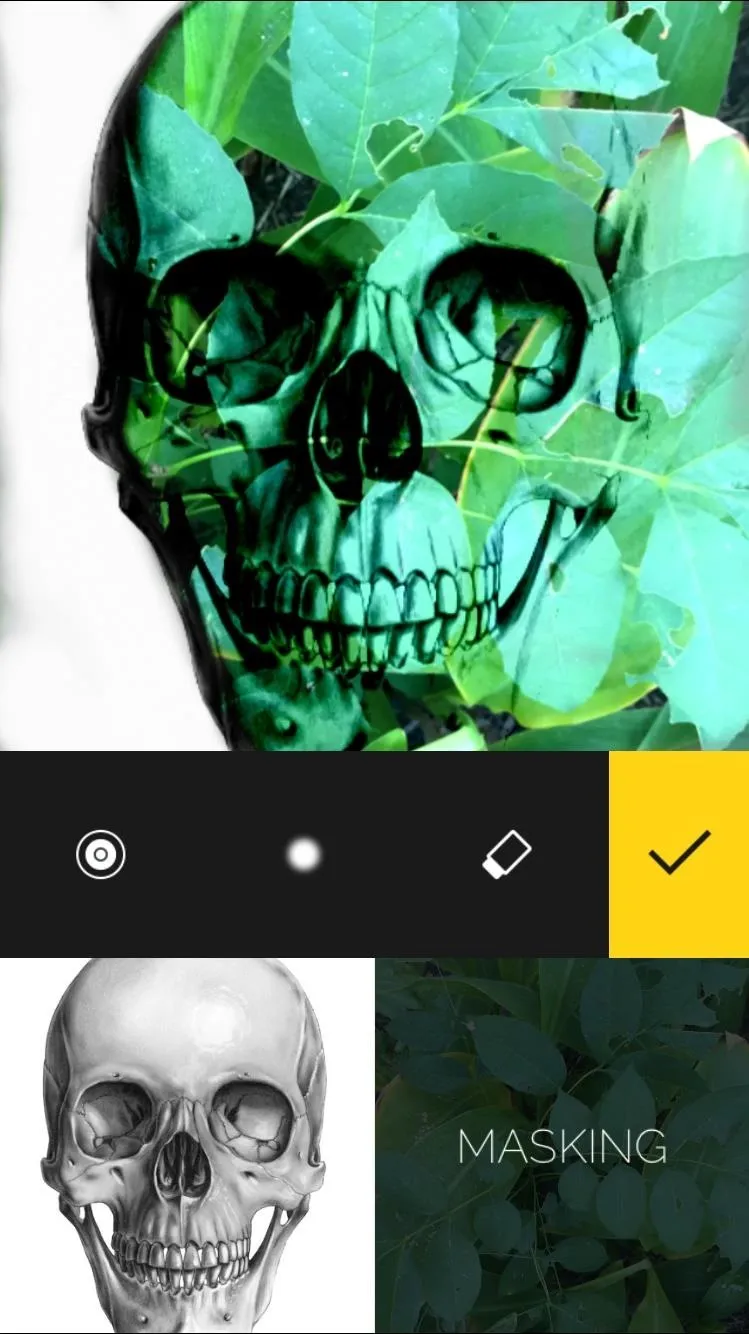
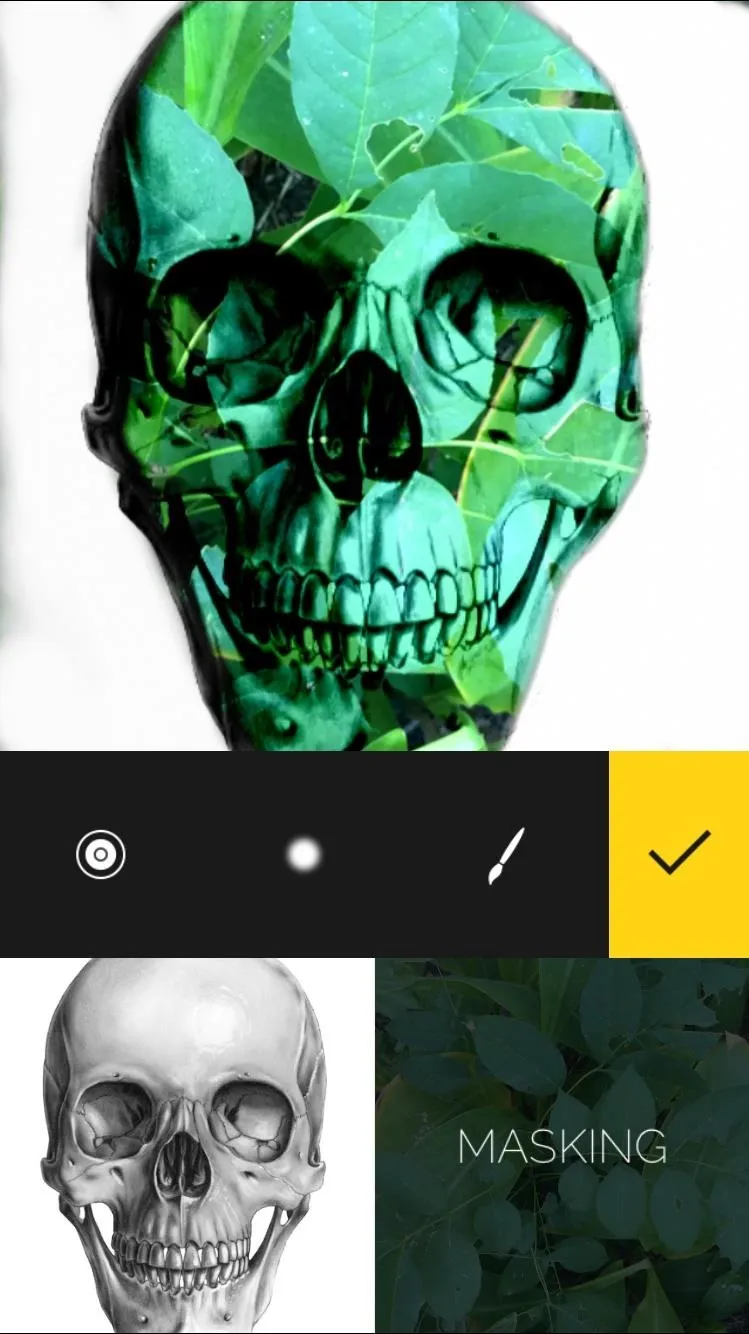
Tighten Things Up with the Mask Tool
The Mask tool can potentially bring the entire image together, if used correctly. With it, you can erase areas of the foreground or paint it back in if you screw up.
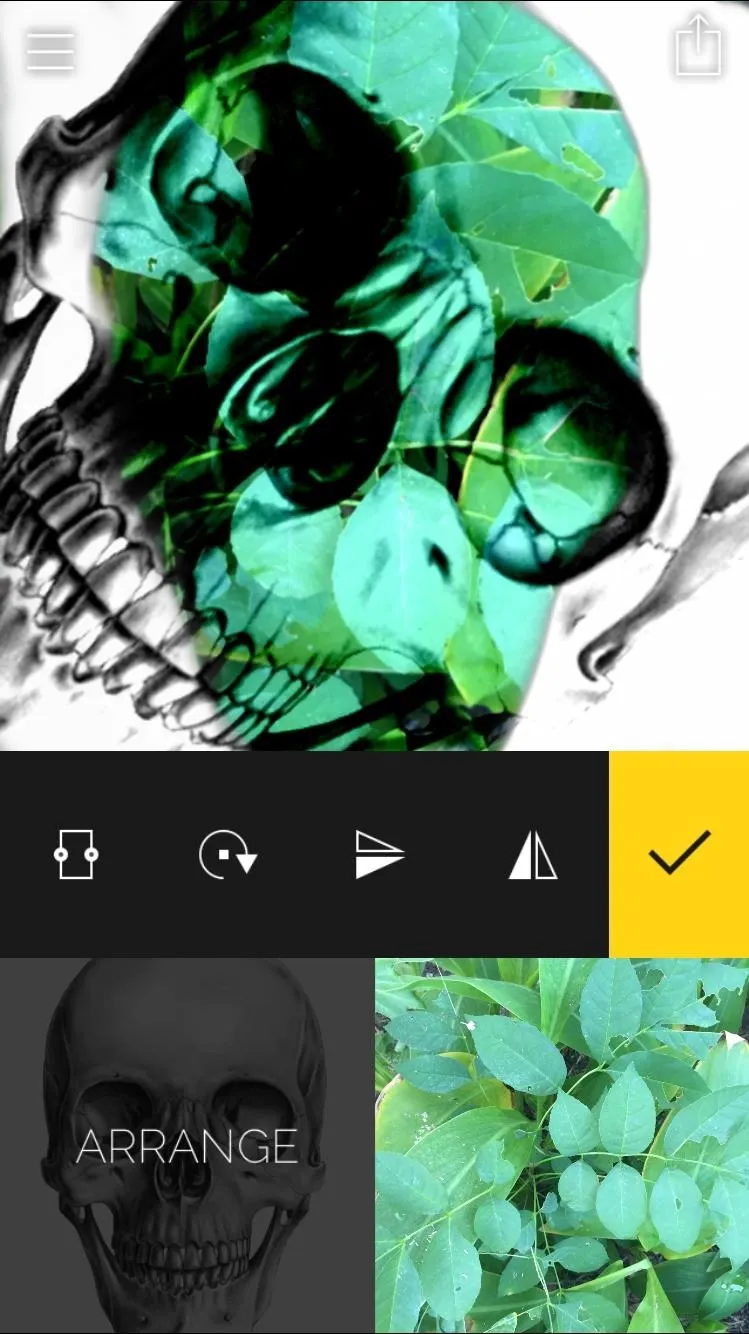
Arrange Your Images
Use the Arrange tool quickly flip, rotate, or mirror your images. If you're getting really creative, definitely give this tool a whirl.

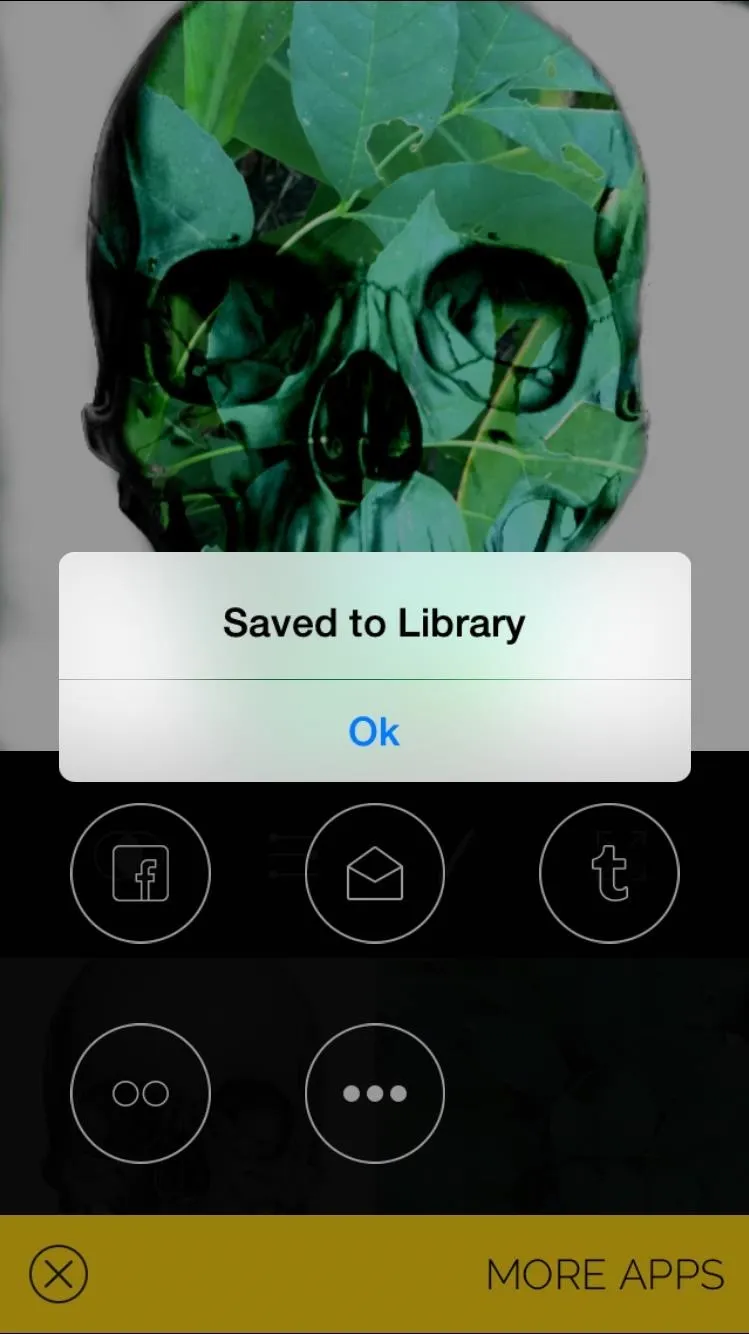
Save, Share, & Do It Again
Once you feel happy with your product, save it and share it with friends, then open the menu to start a new project.
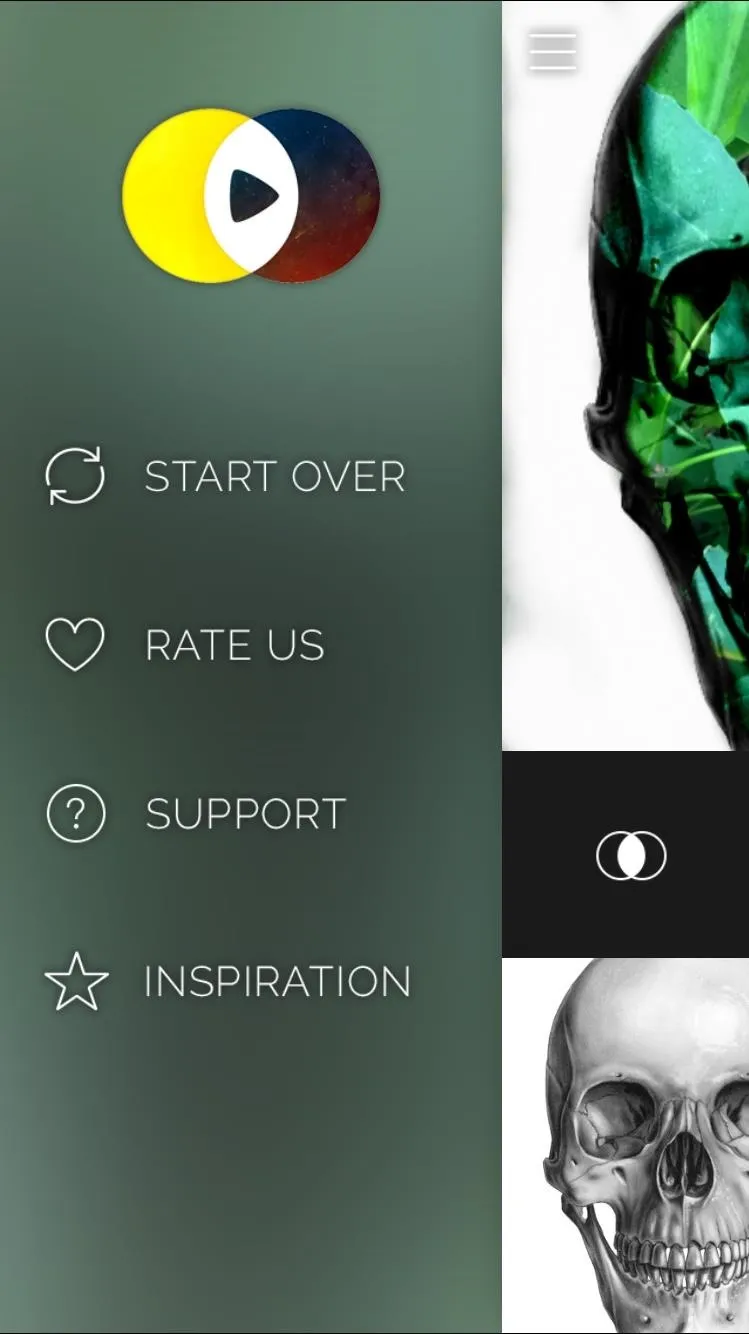
You can do a lot with this application; it just depends on how you utilize each of the tools. Check out the Inspiration section to see some pretty awesome videos, blended with still images.
Get creative and share your double exposure photos with us in the comment section below, or post them on our Facebook or Twitter feed.


Comments
Be the first, drop a comment!