Apple might not have been the first to add a night camera mode to its suite of smartphones, but it's pretty impressive nonetheless. With "Night" mode, your iPhone can shoot photos with incredible detail in some horrendously dark lighting conditions. But when you open up your new iPhone to try it out, you might be wondering how you turn it on.
First, if you're trying to find Night mode on any iPhone model other than the iPhone 11, 11 Pro, and 11 Pro Max, you can stop right here. Your iPhone doesn't yet support Night mode, and it might not ever. Even though the iPhone SE (2nd generation) has the same A13 chip that the 11 series uses, there is no Night mode because it only has one rear lens. And it's reasonable to say that Night mode might not appear on older iPhone models either, even if they have two rear lenses.
Now, if you have an 11 series model but still can't find Night mode, that's because Apple did something very "Apple" with its software take on "bulb" mode. Rather than allow you to enable the feature as other Android OEMs do, Apple calls the shots when it comes to shooting in the dark with the default Camera app.
When Night Mode Will Appear
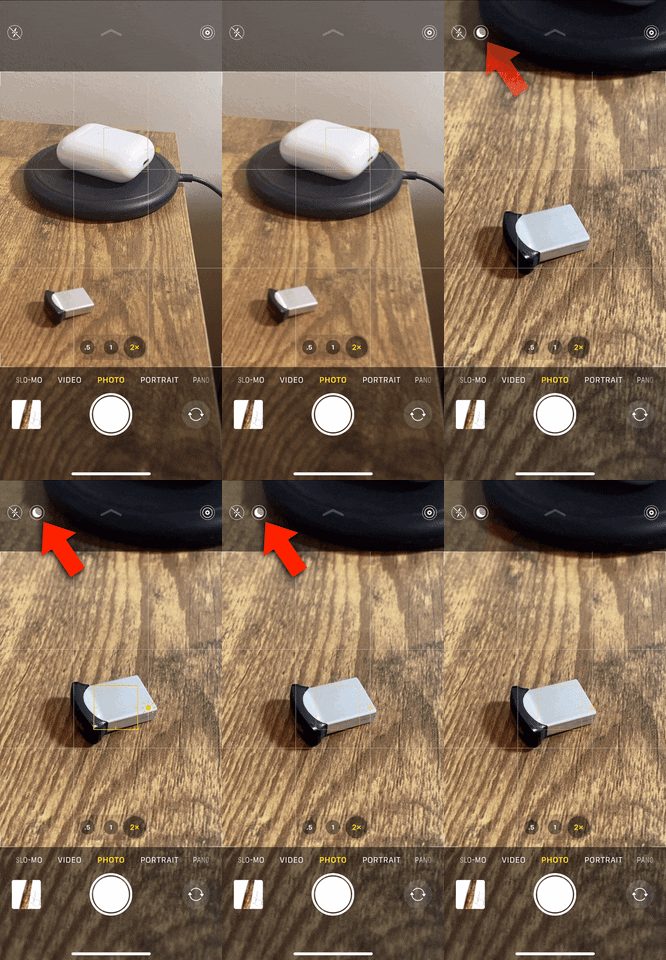
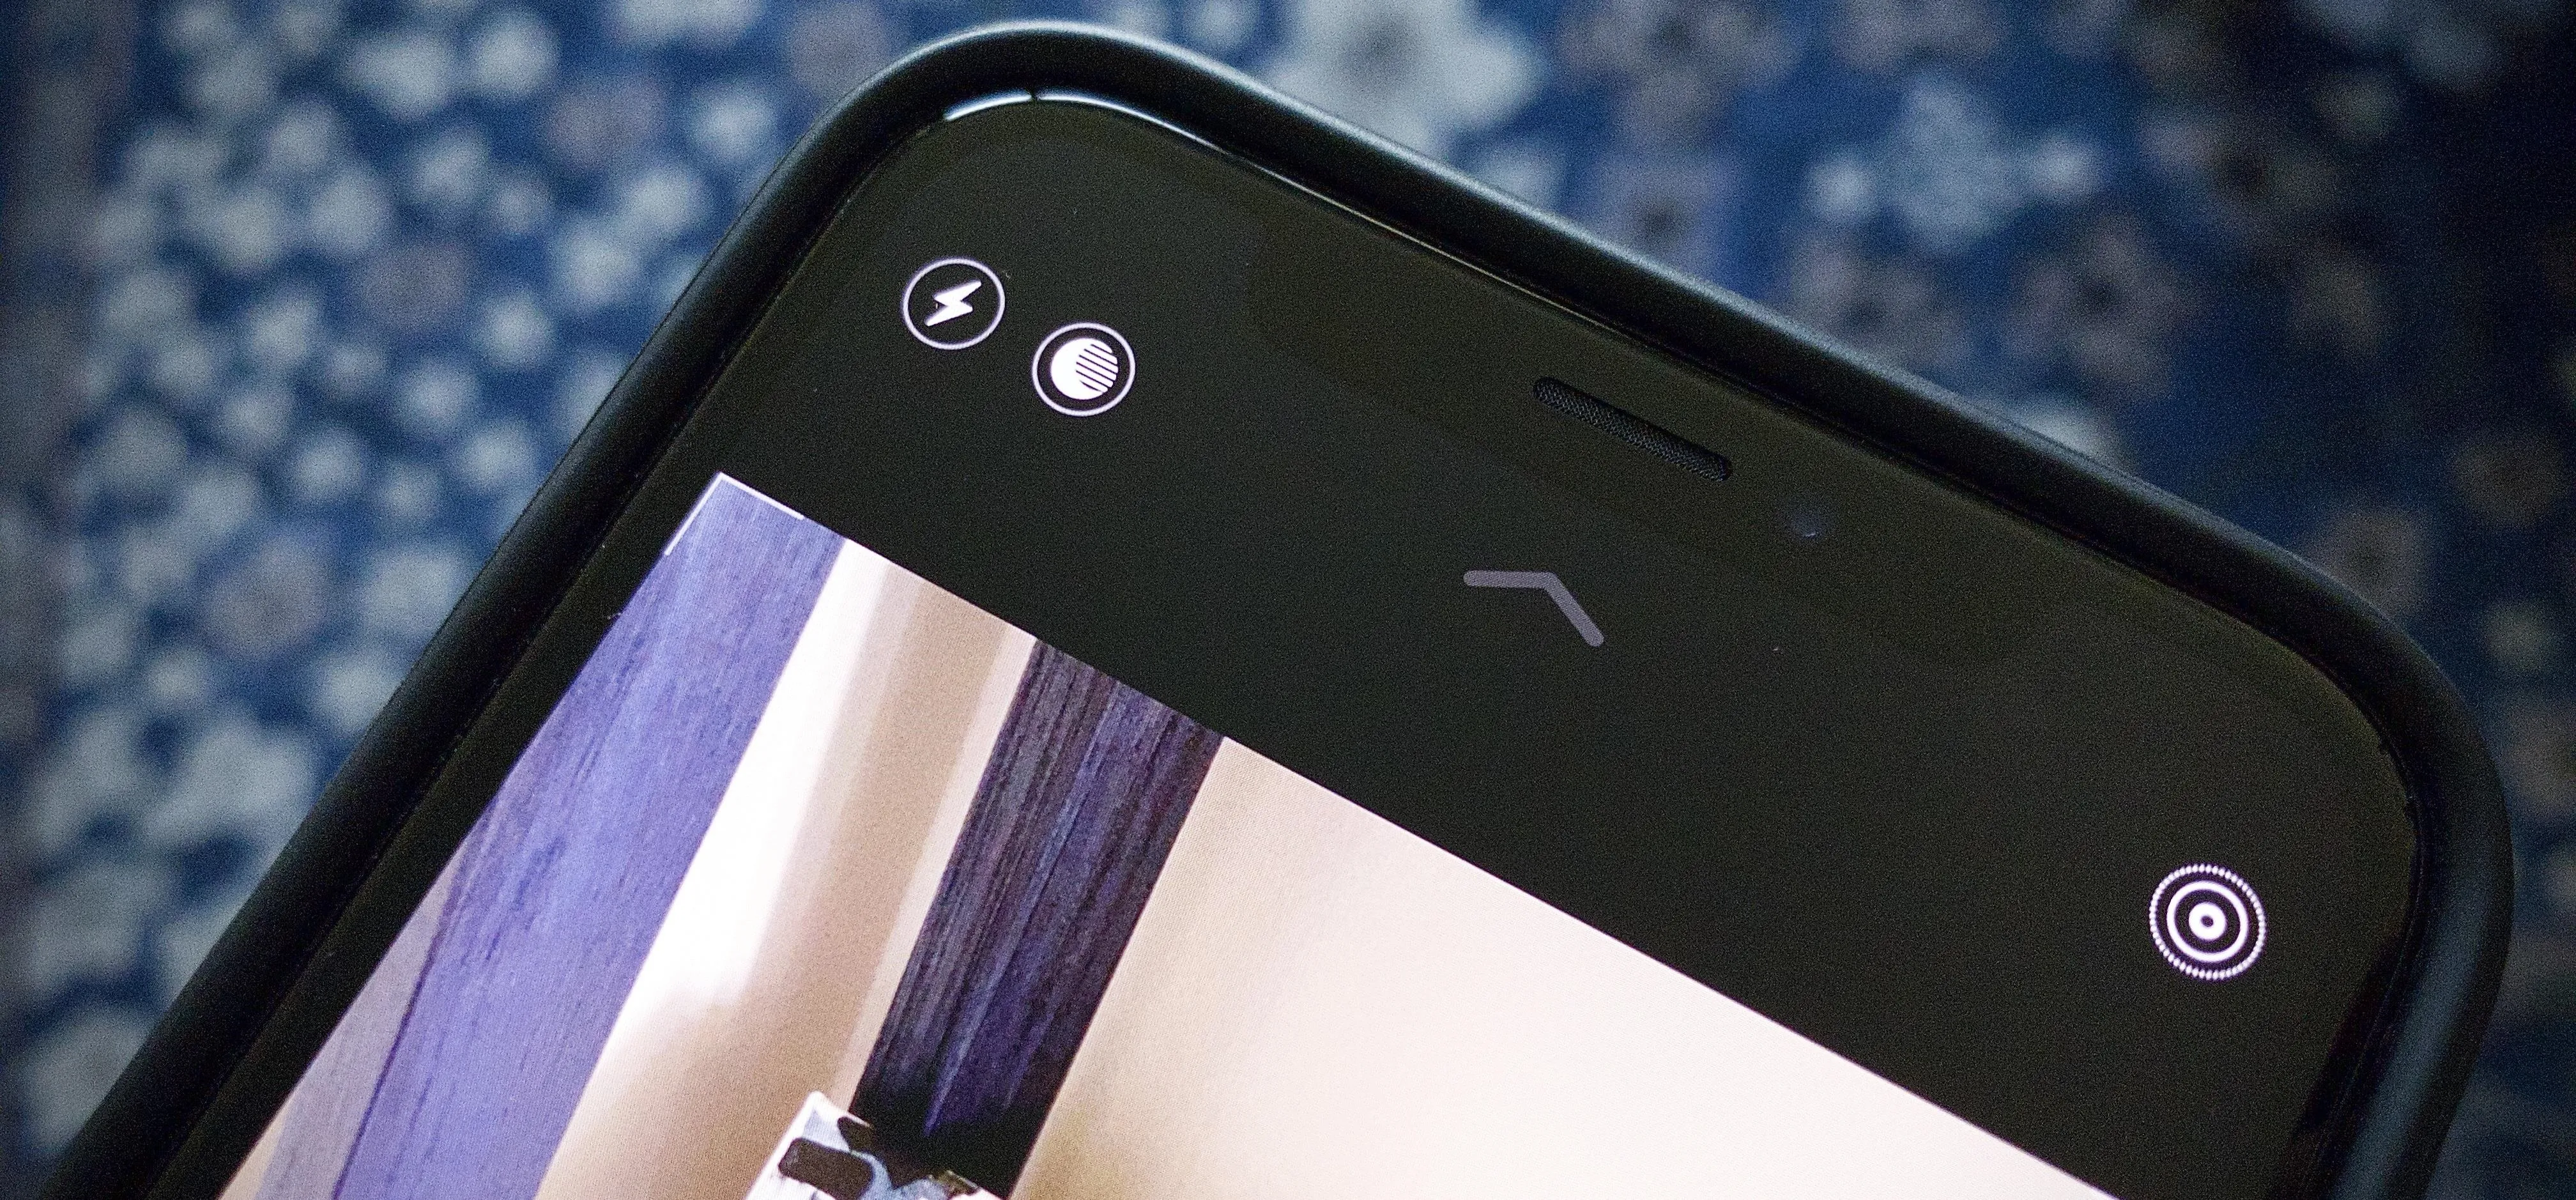
You see, when using the wide lens or telephoto lens, your iPhone 11, 11 Pro, or 11 Pro Max analyzes the lighting conditions in your environment. If the iPhone doesn't believe the situation calls for Night mode, it won't activate the feature. If the device decides it is dark enough for Night mode, the option appears in the top left of the display when in portrait orientation or the bottom left in landscape.
Tapping on the Night mode icon, hitting the chevron up top pointing upwards, or swiping the viewfinder away from the shutter will open the expanded settings. These take over the shooting mode menu by the shutter button. You can hide the options by hitting the Night mode icon, the downward-facing chevron, or swiping on the image toward the shutter.


Using Night Mode When Available
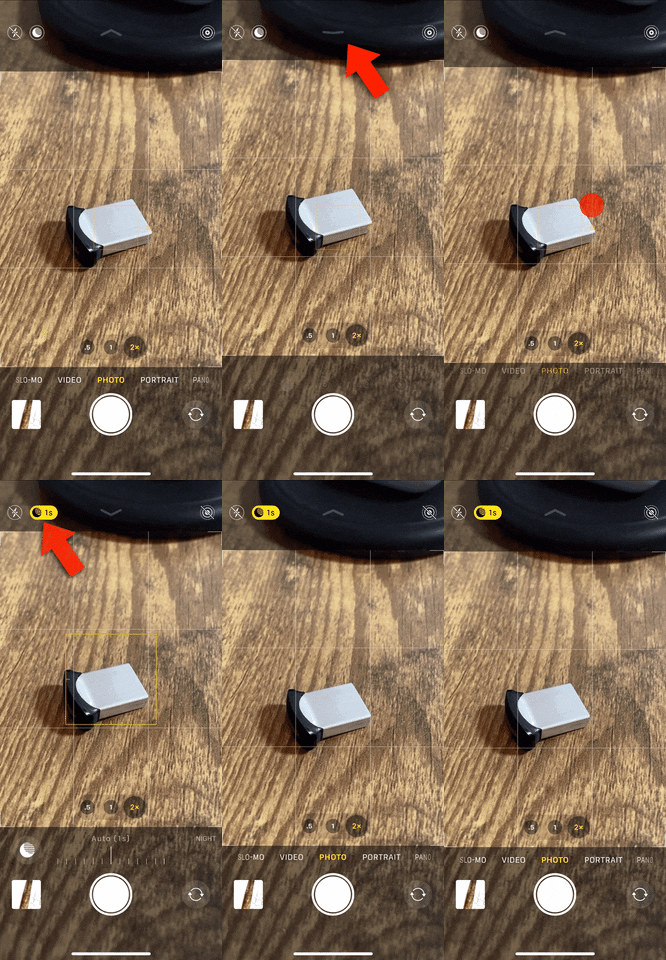
If Night mode is available during dimly lit conditions, it's easy to use. If it's super dark, it'll kick it right away with an exposure time set based on how dim it is, with that time stated where the icon is in the corner.
When it's dark but not super dark, the option won't be enabled right away, but you can manually turn it on and adjust the exposure. Just tap the Night mode icon in the corner or from the expanded settings menu. Night mode will automatically choose a default exposure time, which you can see reflected in the Night mode icon in the corner. Use the slider in the settings menu to increase or decrease the time in seconds.
When ready, just snap the photo as you usually would. Just make sure to stay still until the picture is completely exposed, especially if it's a higher number you have it set to. The slider will turn into a countdown to let you know when it's safe to move again.

In most use cases, iOS will be right on the money when it comes to activating Night mode. But it can be frustrating not having the option whenever you want it. However, in iOS 14, there's a crosshairs indicator on the image to help you stabilize the shot during the exposure, and you can stop the capture in action if necessary, so at least Night mode continues to improve overall.
Cover image and GIFs by Jake Peterson/Gadget Hacks


Comments
Be the first, drop a comment!