


Let's say you wake up in the middle of the night and check your phone to see the time. As soon as you do, you're greeted by a wall of notifications on your lock screen. You just wanted to know how much longer you could sleep, but now your mind's racing after seeing all of the messages you need to deal with. Thankfully, iOS 12's new Bedtime Mode has a solution for this problem.
Previously, you could use Do Not Disturb mode to mute alerts on a schedule when you needed peace, but this didn't stop the notifications from piling up on your lock screen. While DND mode is still present on iOS 12, Bedtime Mode builds on it to help minimize night-time distractions. The feature is only available on iOS 12 and higher.
Enable Scheduled Do Not Disturb
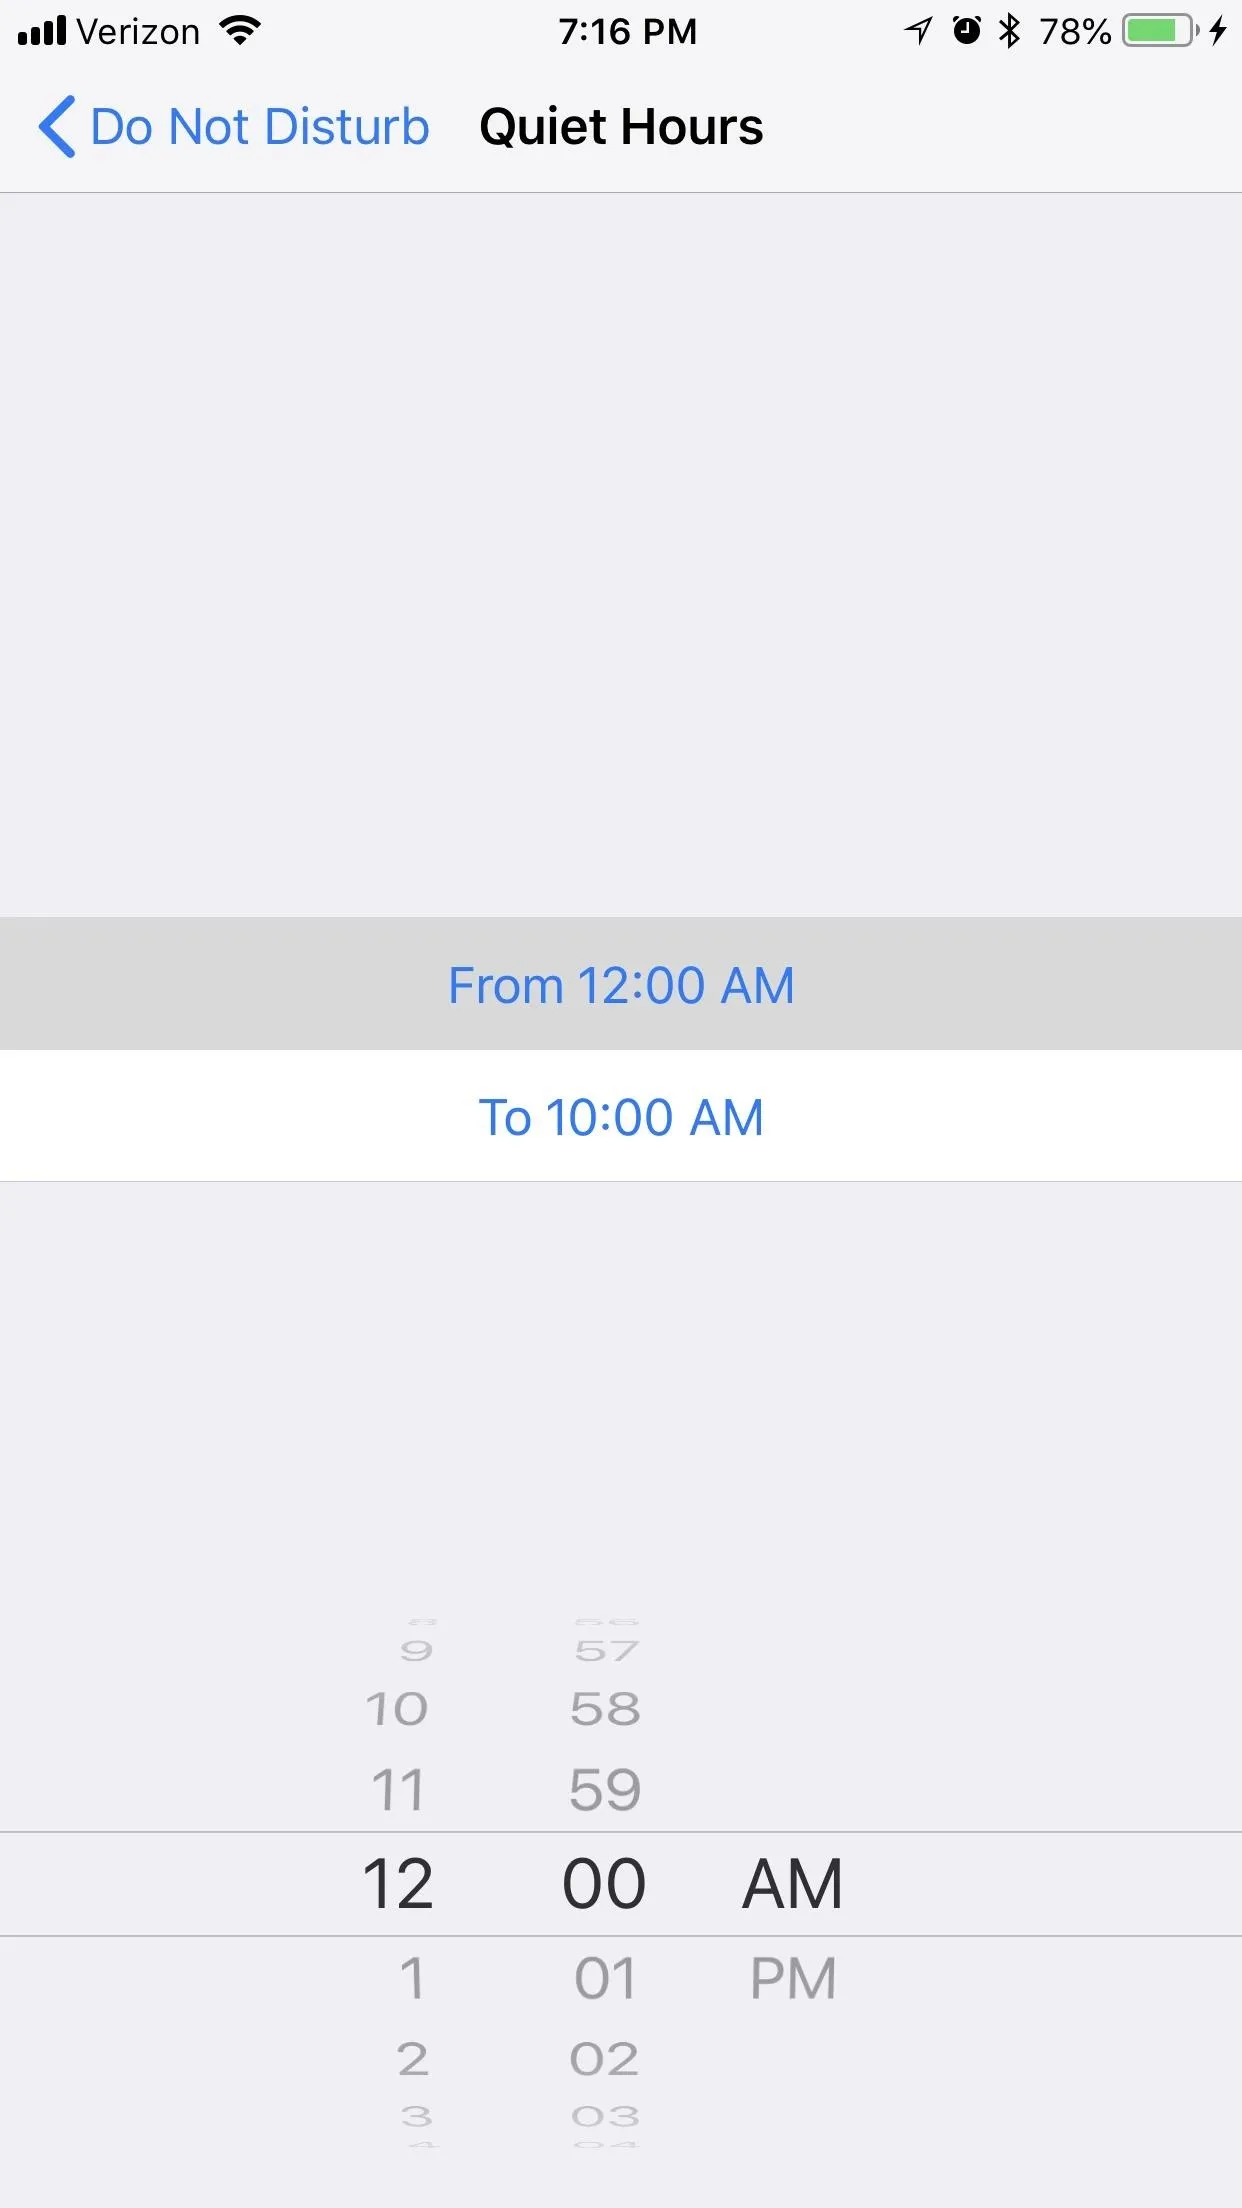
Bedtime Mode will only work if you have Do Not Disturb mode's "Scheduled" setting enabled — otherwise, you won't see the Bedtime Mode option. So to start, head to Settings and select Do Not Disturb, then enable the toggle next to "Scheduled." From there, tap the From/To field and use the next menu to set up quiet hours.

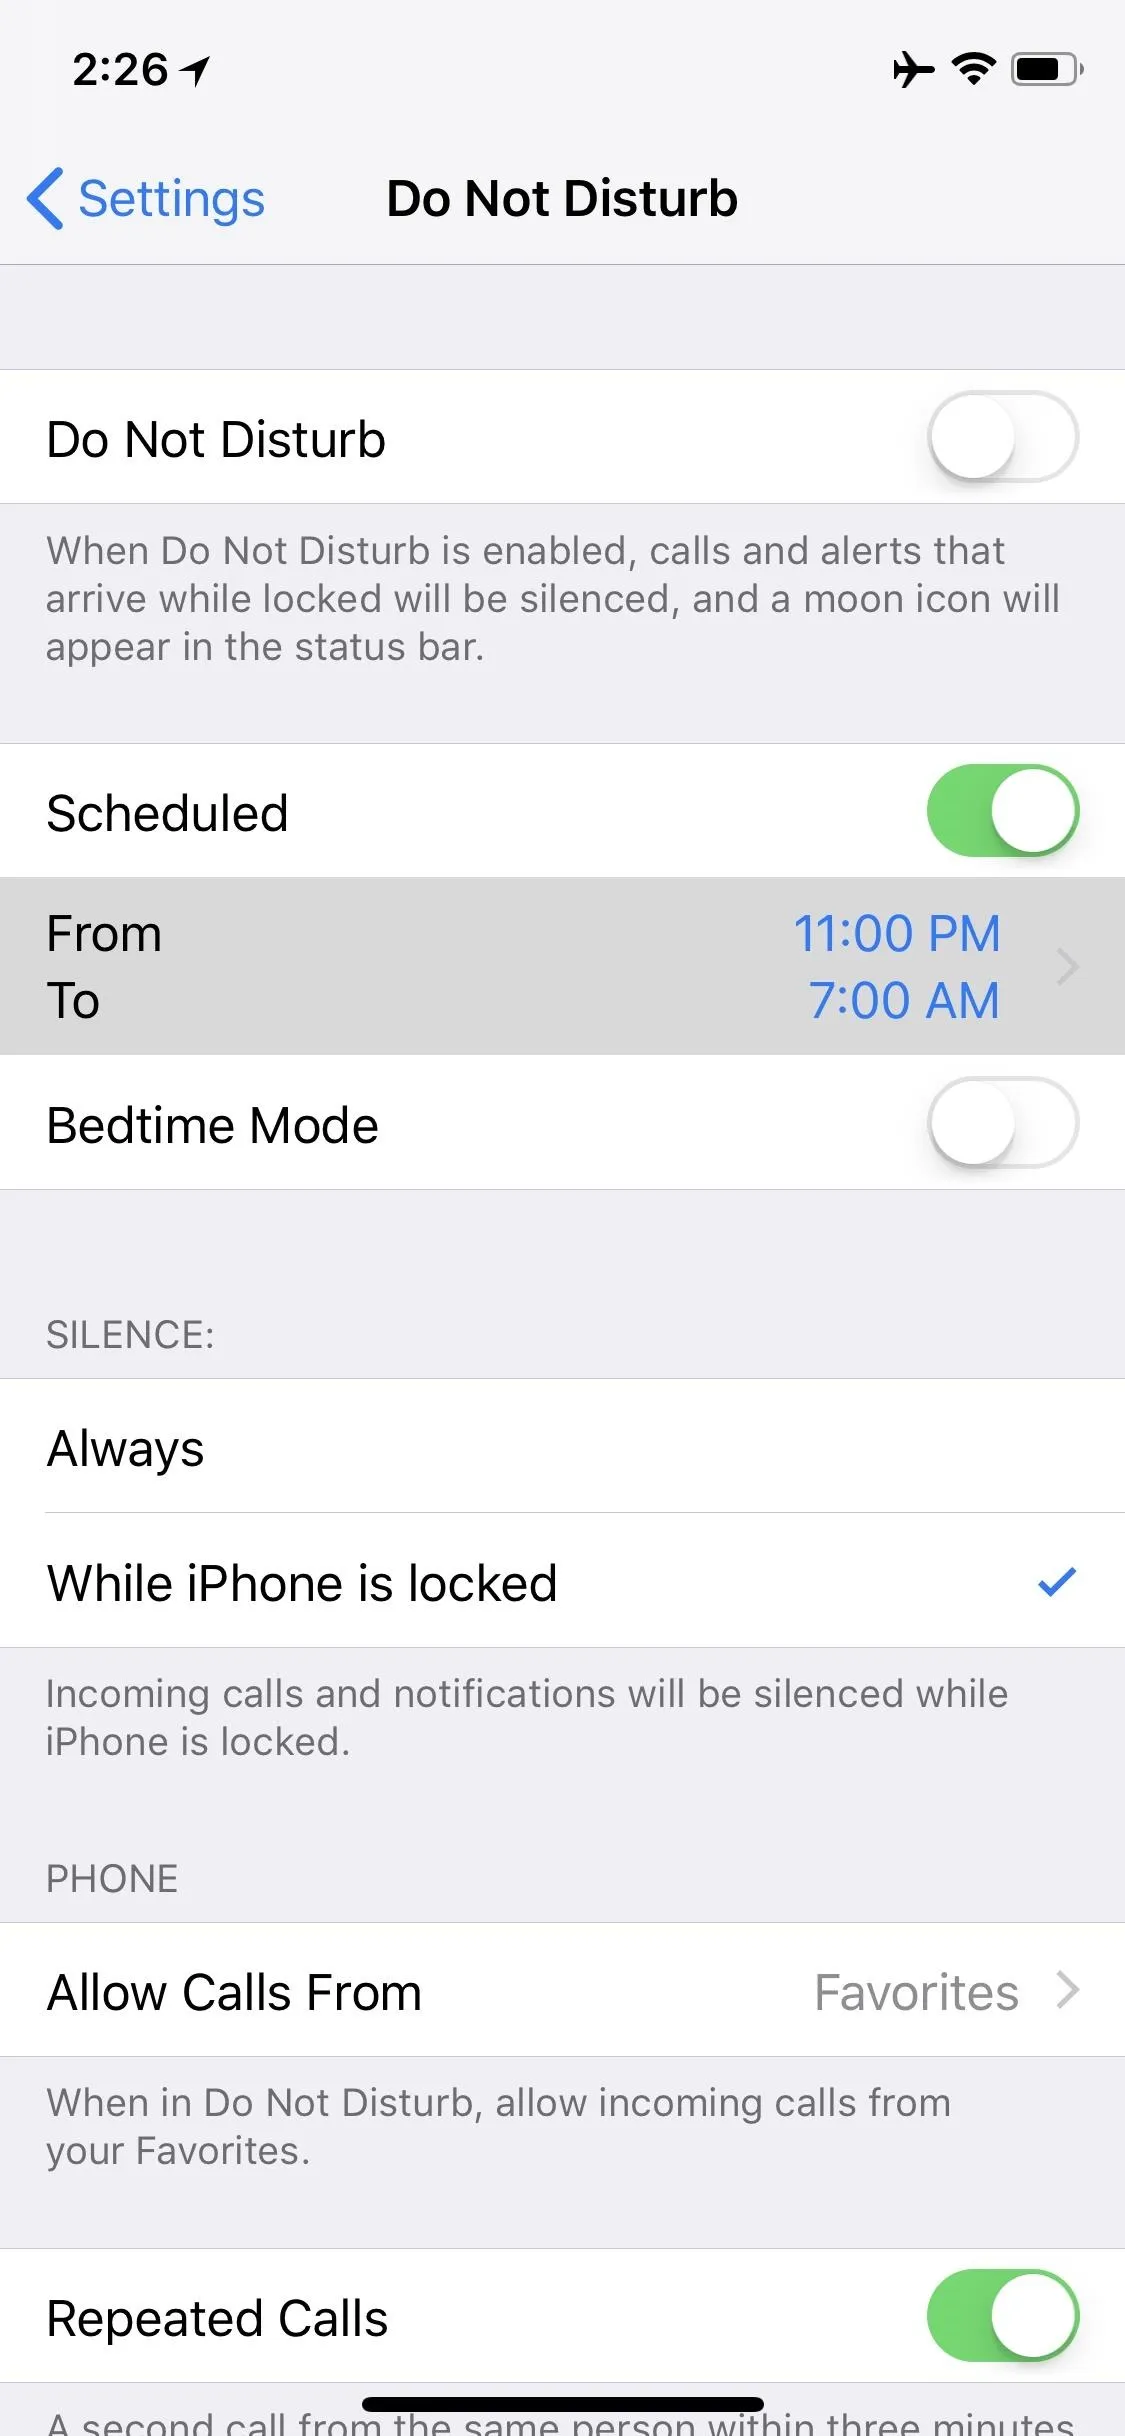
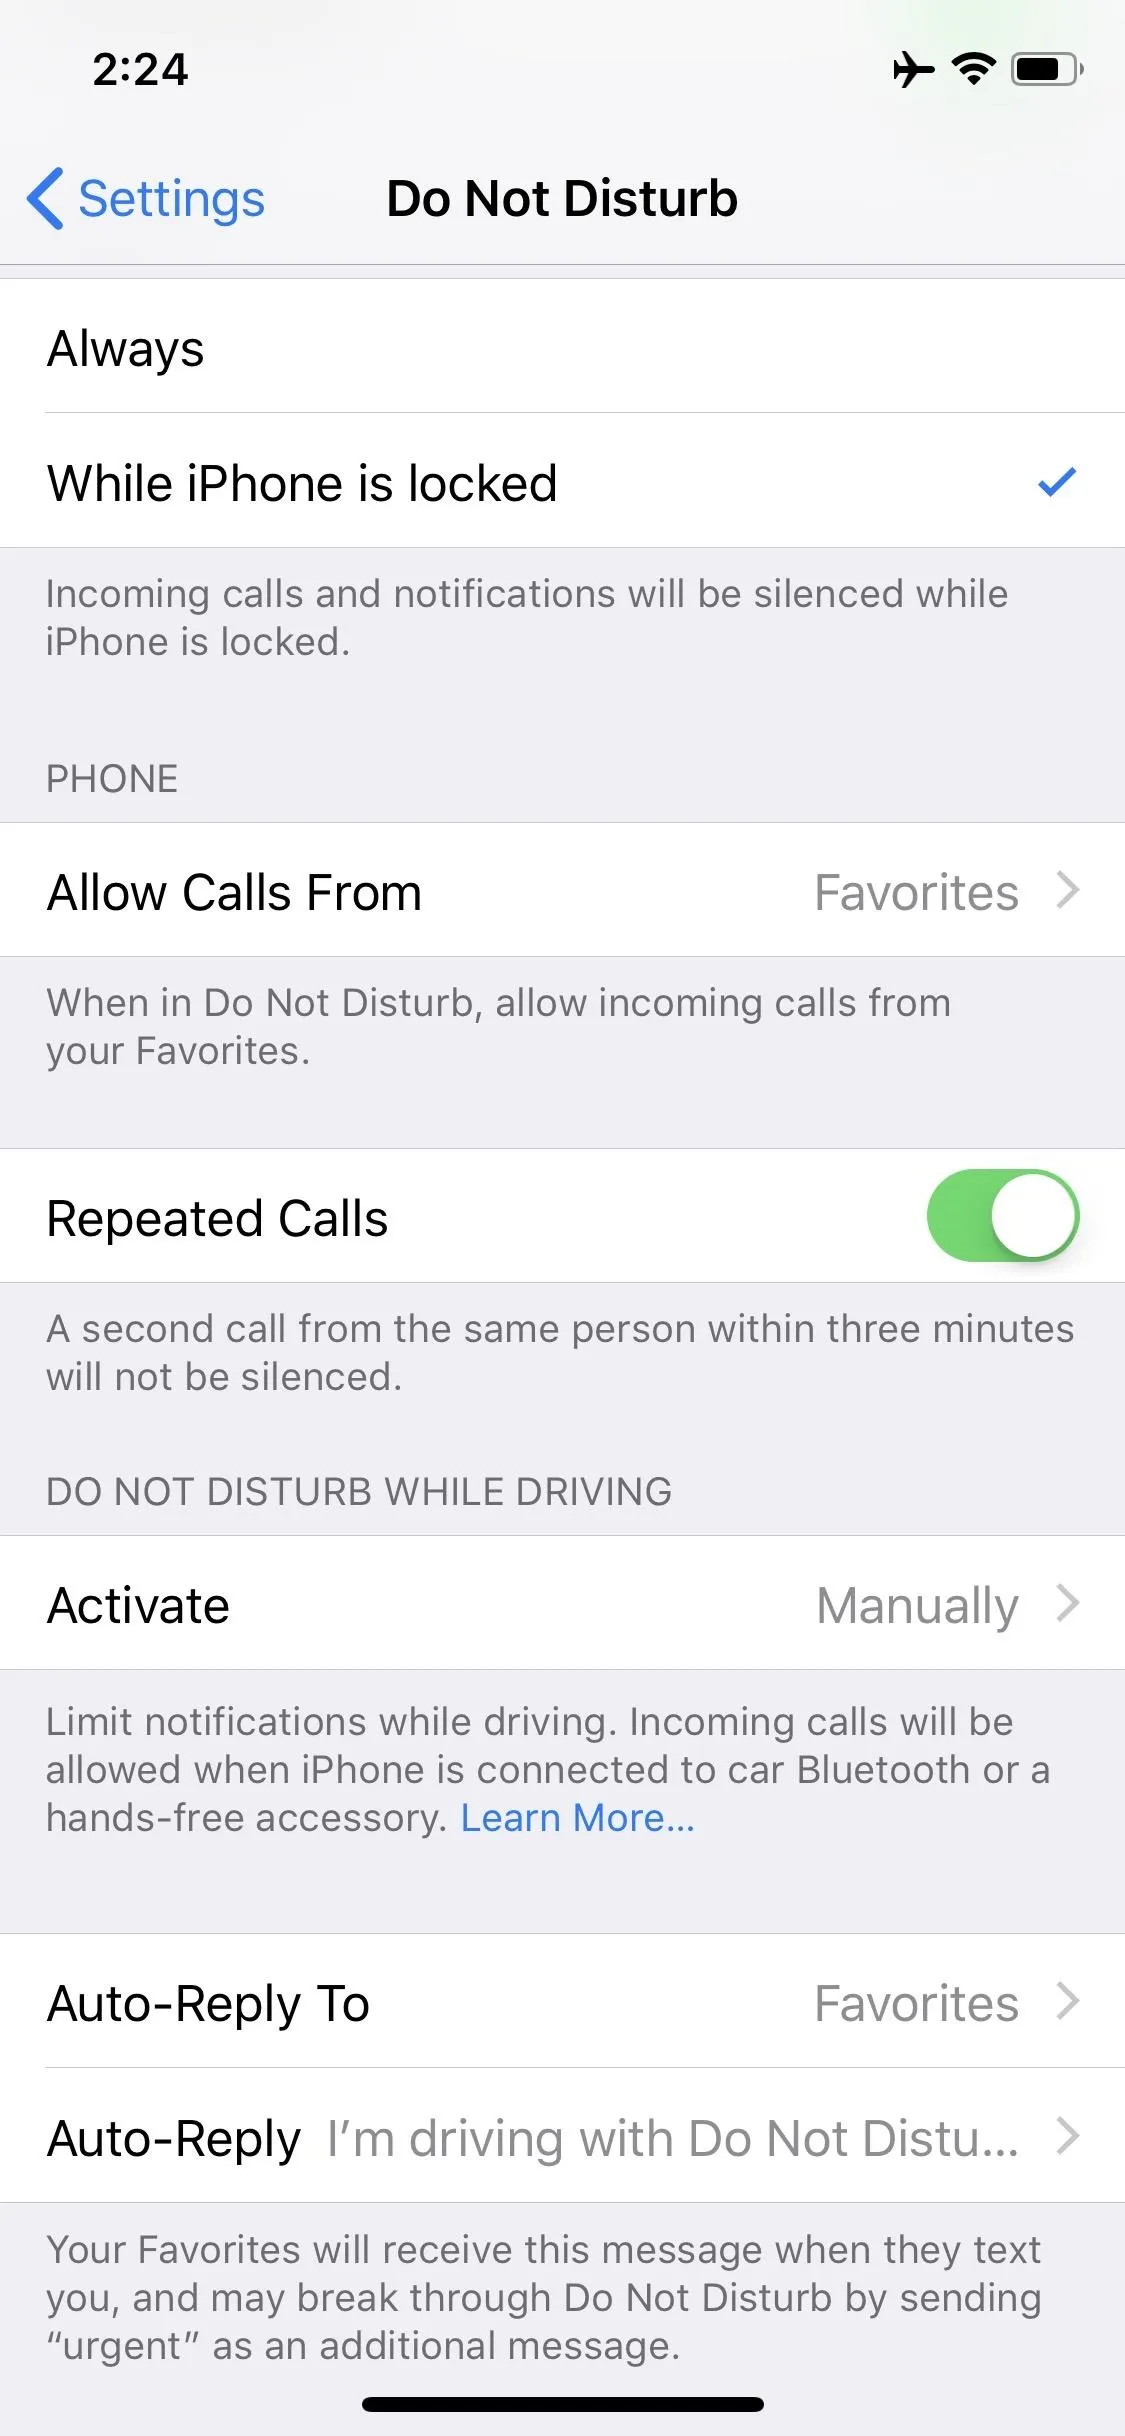
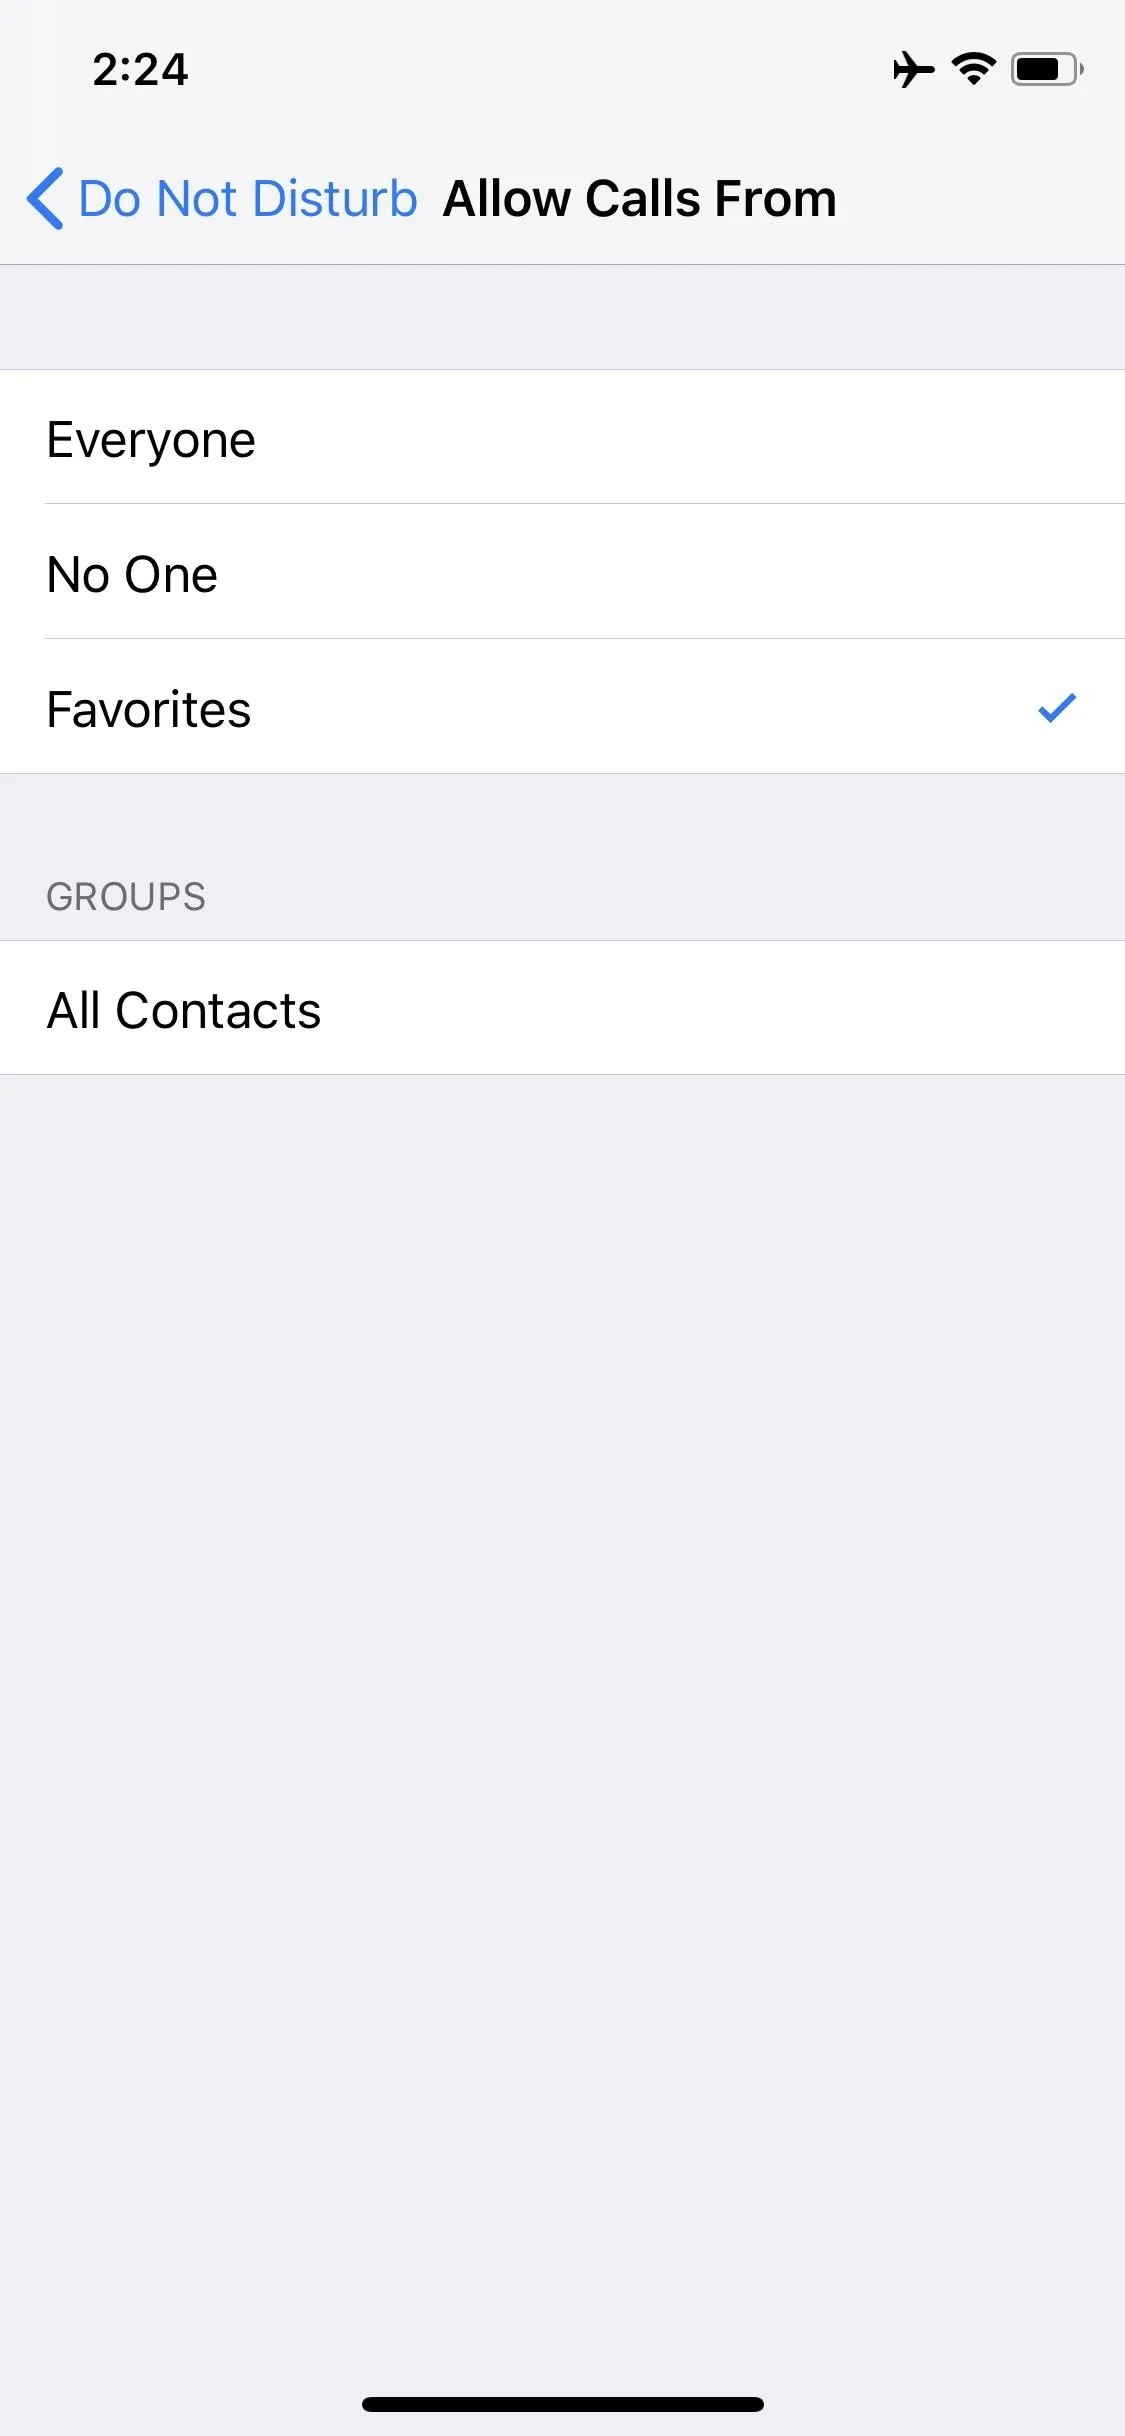
Note that with scheduled Do Not Disturb mode enabled, your phone won't make sounds or vibrations when you get notifications during your quiet hours. There are settings further down on the Do Not Disturb menu that let you choose whether or not alerts will sound when your phone is unlocked, or if repeated calls from the same number or a number in your favorited contacts list will ring through.
If these options won't cut it for you and you'd rather use DND mode manually instead of on a schedule, it's still possible to use Bedtime Mode. But for now, make sure the "Scheduled" toggle is enabled so that you can proceed to the next step.
Enable Bedtime Mode
Now that you've set up a DND schedule, it's time to enable Bedtime Mode. From the same "Do Not Disturb" menu in Settings, enable the switch next to "Bedtime Mode."
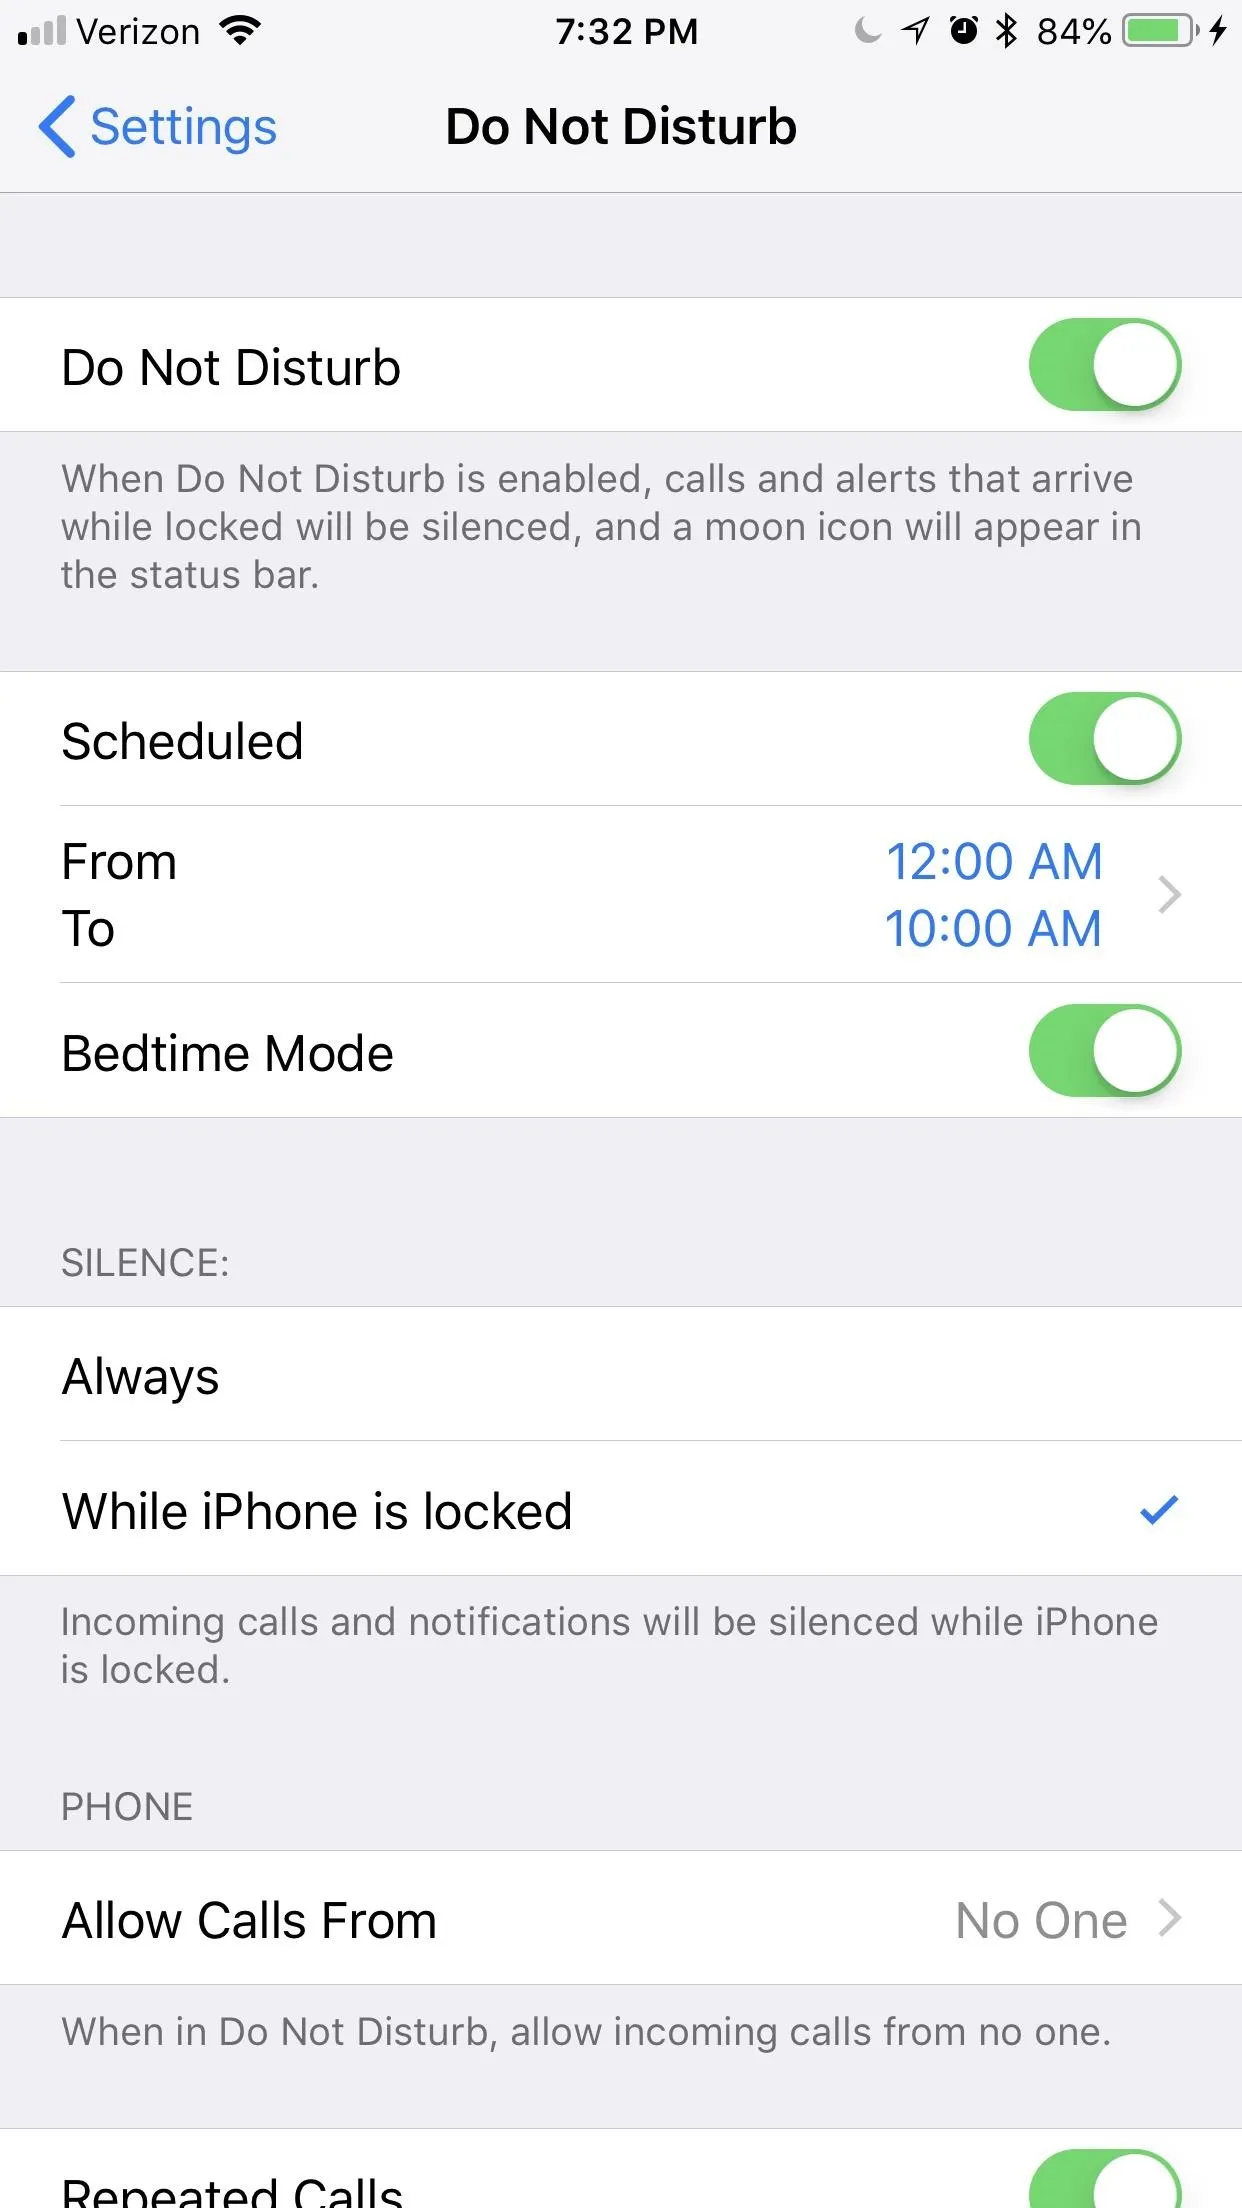
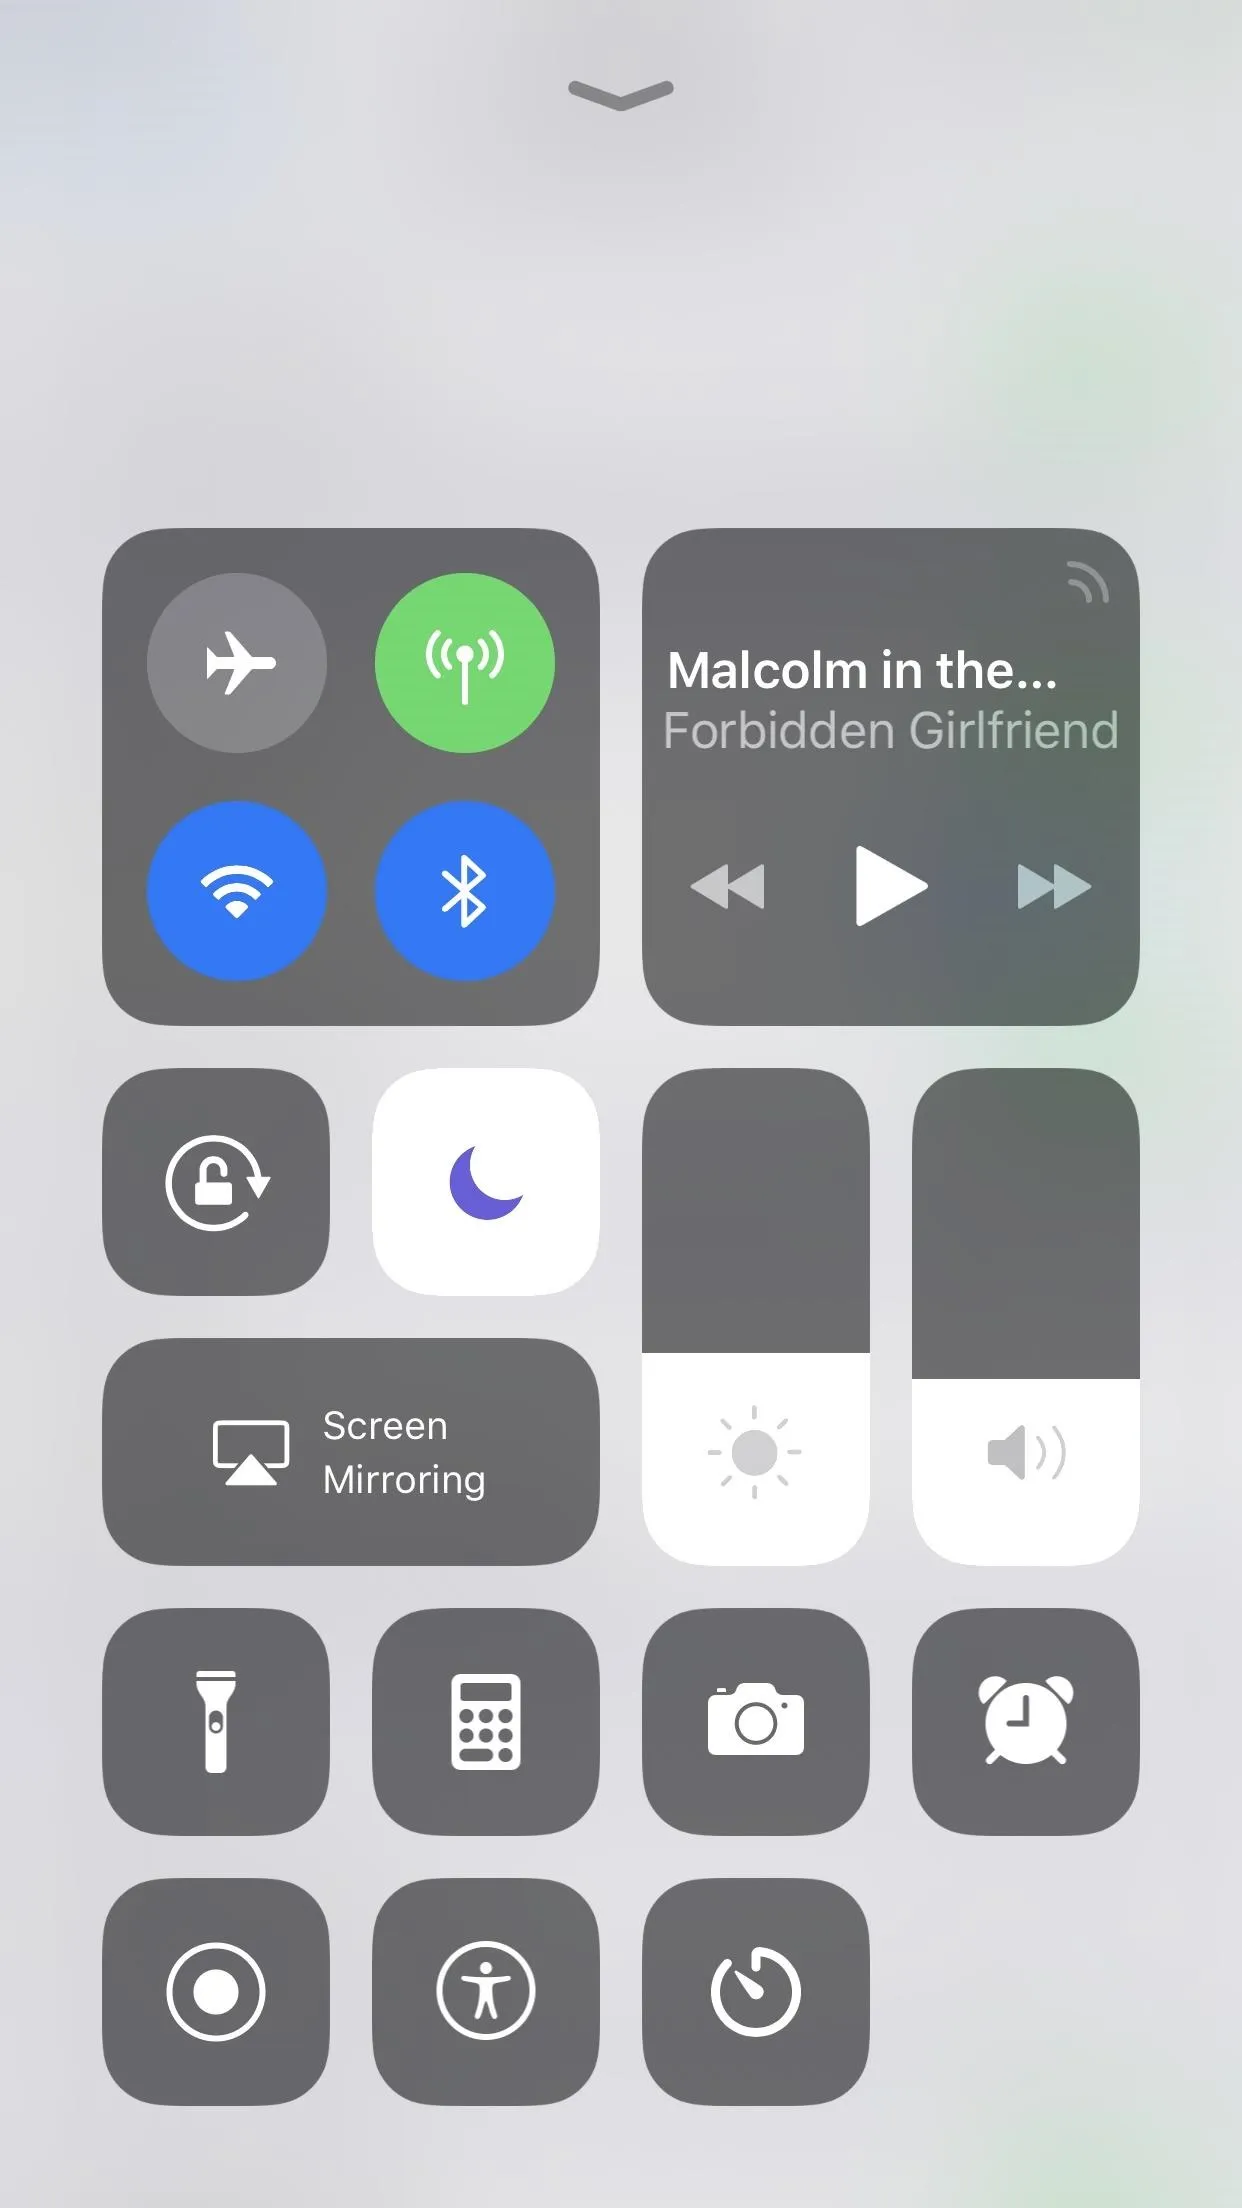
At this point, if you don't want to use scheduled DND mode, but you do want to use Bedtime Mode, you can turn off the toggle switch next to "Scheduled." You'll still be able to engage Bedtime Mode by manually enabling the "Do Not Disturb" toggle at the top of this menu or by tapping the moon icon in your Control Center.
On the other hand, if you intend to keep the "Scheduled" toggle enabled, Bedtime Mode will kick in automatically during the quiet hours you set up in Step 1.
Sleep Soundly Without Disturbances or Distractions
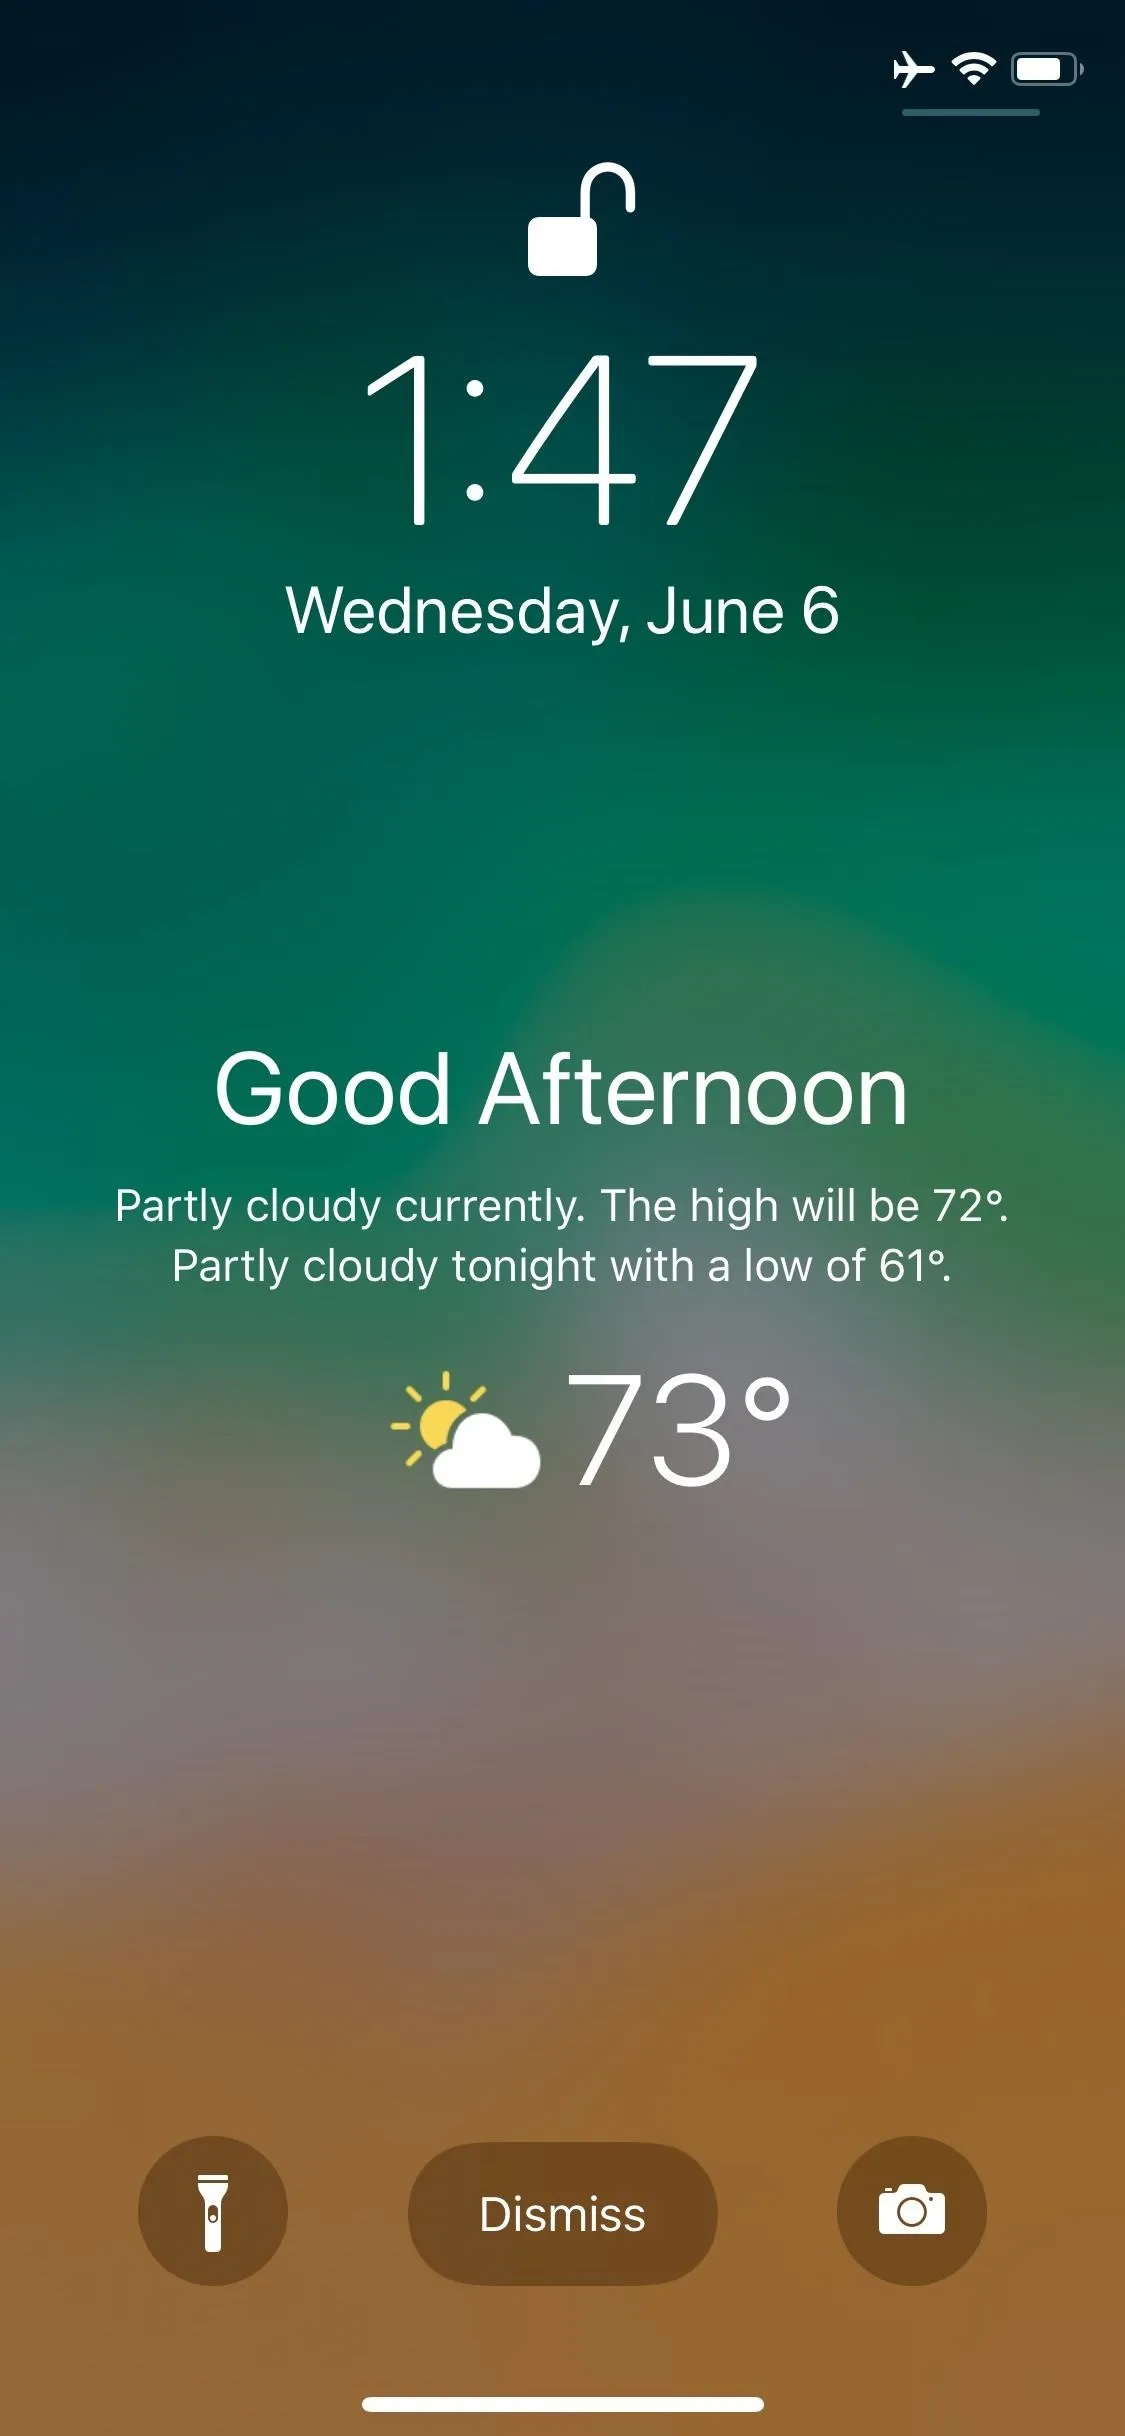
Now, whenever your phone is in Do Not Disturb mode, Bedtime Mode will also kick in. This will cause your lock screen to dim, and that wall of distracting notifications will be replaced by a message saying "Calls and notifications will be silent."
If you kept the scheduled quiet hours enabled, your lock screen will greet you with a message at the end of your quiet hours showing you today's forecasted weather.
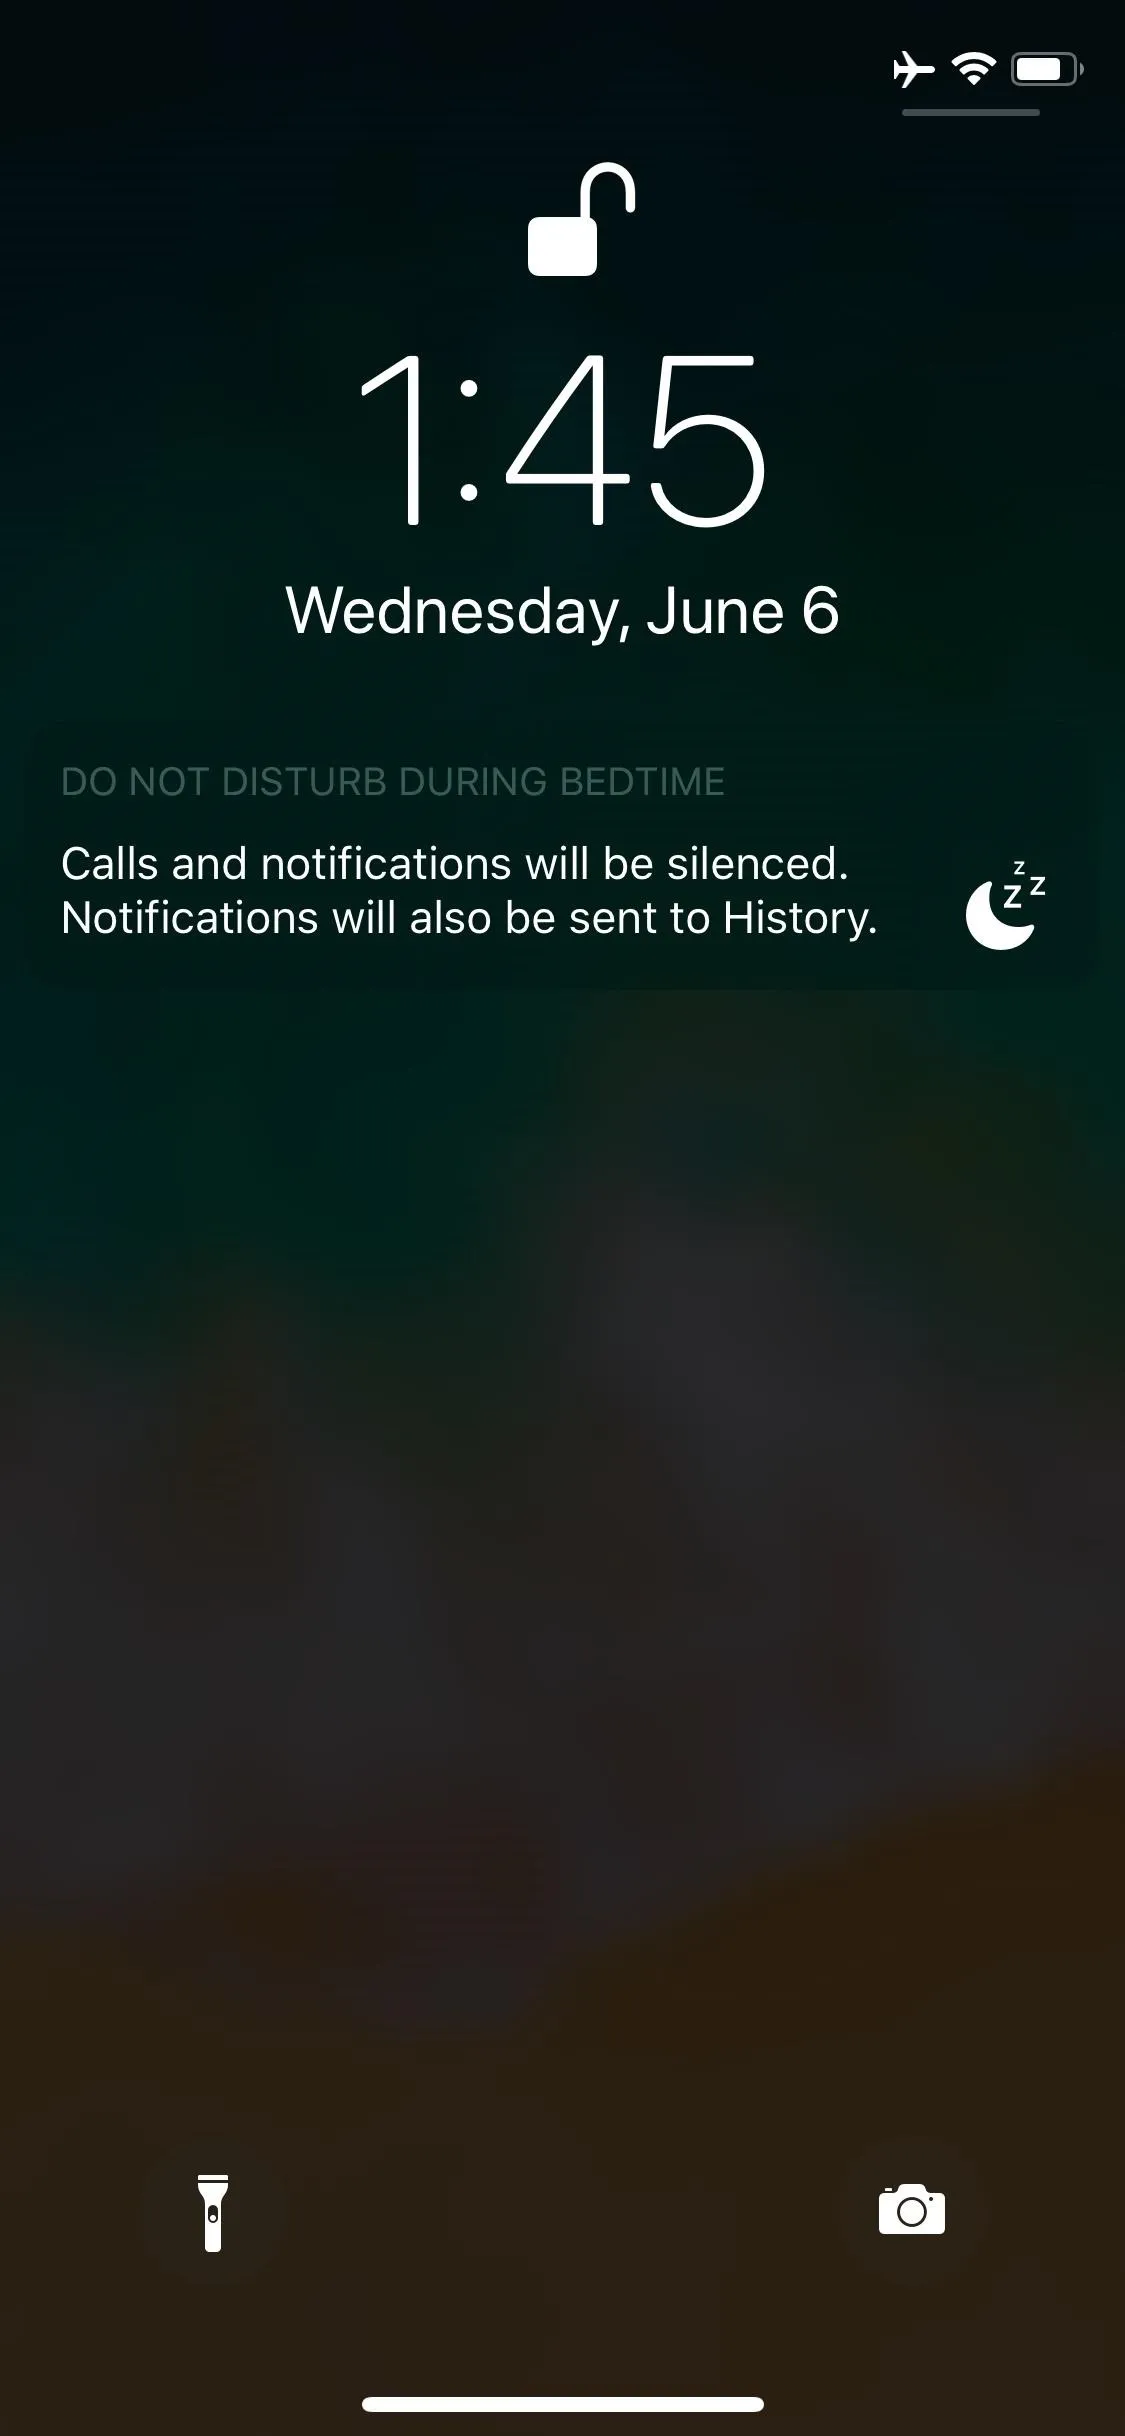
If you must view your notifications while Bedtime Mode is engaged, you'll have to swipe up on the lock screen or notification center to see them. Notifications that came in while Bedtime Mode was on will show up under a header labeled "During Bedtime."
Aside from that, exceptions that you set up on the Do Not Disturb menu in Settings will also apply to Bedtime Mode. So if you opted to allow calls to ring through if a contact calls you or someone calls multiple times, it will still ring through in Bedtime Mode.
It's worth noting that the physical alert slider on the side of your iPhone won't cause Bedtime Mode (or DND mode) to kick in — it simply mutes notifications.
Now you should be able to set your phone's distractions aside and get a restful night of sleep. How did you set up your Bedtime Mode? Let us know in the comment section below.
- Follow Gadget Hacks on Pinterest, Twitter, YouTube, and Flipboard
- Sign up for Gadget Hacks' daily newsletter or weekly Android and iOS updates
- Follow WonderHowTo on Facebook, Twitter, Pinterest, and Flipboard
Cover image and screenshots by Brian Lang/Gadget Hacks


Comments
Be the first, drop a comment!