One major problem in previous iOS versions is that there was no way to keep messages in sync between an iPad, iPhone, iPod touch, and Mac. If you deleted a message in the Mac app, it would not be deleted on your iPhone, and vice versa. Apple finally fixed this issue in iOS 11.4 by storing all of the messages in iCloud, not on individual devices.
By storing messages in iCloud, Apple is solving a huge issue. If you wanted to permanently delete a bunch of incriminating messages of your iPhone, you risk having them still reside on your Mac computer since deleting them on an iPhone will not delete them from the Messages app in macOS. Those messages can be hiding everywhere without you even knowing it.
This feature was first introduced at WWDC 2017 and even appeared in an early iOS 11 beta, as well as the iOS 11.3 betas. It reappeared in the iOS 11.4 betas before finally being released to everyone in the stable iOS 11.4 update.
- Don't Miss: 6 Cool New Features in iOS 11.4 for iPhone
While this feature is fantastic for keeping Messages across your Apple devices synced, as well as saving you plenty of storage space, Apple doesn't make it entirely clear if text (SMS) and MMS messages are also stored and synced across devices. Apple's iCloud Backup help page makes it seem like all messages, not just iMessages, are stored in iCloud and synced across all devices, so things are looking good.
Update to iOS 11.4
First things first, your iPhone needs to be running iOS 11.4 in order to take advantage of Messages in iCloud. The update was released on May 29, 2018. You can access the update from Settings –> General –> Software Update, then follow the installation instructions.
Enable Two-Factor Authentication
Two-factor authentification (2FA) is a security measure that uses one of your trusted devices to confirm your identity. In Apple's case, any time you sign in to service that uses two-factor authentication, one of your trusted devices receives a code that you must enter into the device using the service. If you only have one Apple device, that code is sent to that device.
You don't need to enable this security feature before activating Messages in iCloud, as Apple will walk you through the steps when you attempt to activate the new Messages feature (see Step 4 below). However, if you want to preemptively set up two-factor authentication. If you've ever used Apple Pay or Apple Pay Cash, you likely already have this done, since it's also a prerequisite for that.
Verify How Much Space You'll Use in iCloud
Before proceeding, make sure to see how much free space you have on your iCloud account. If you have a free plan and a ton of attachments in your messages, it might not all fit.
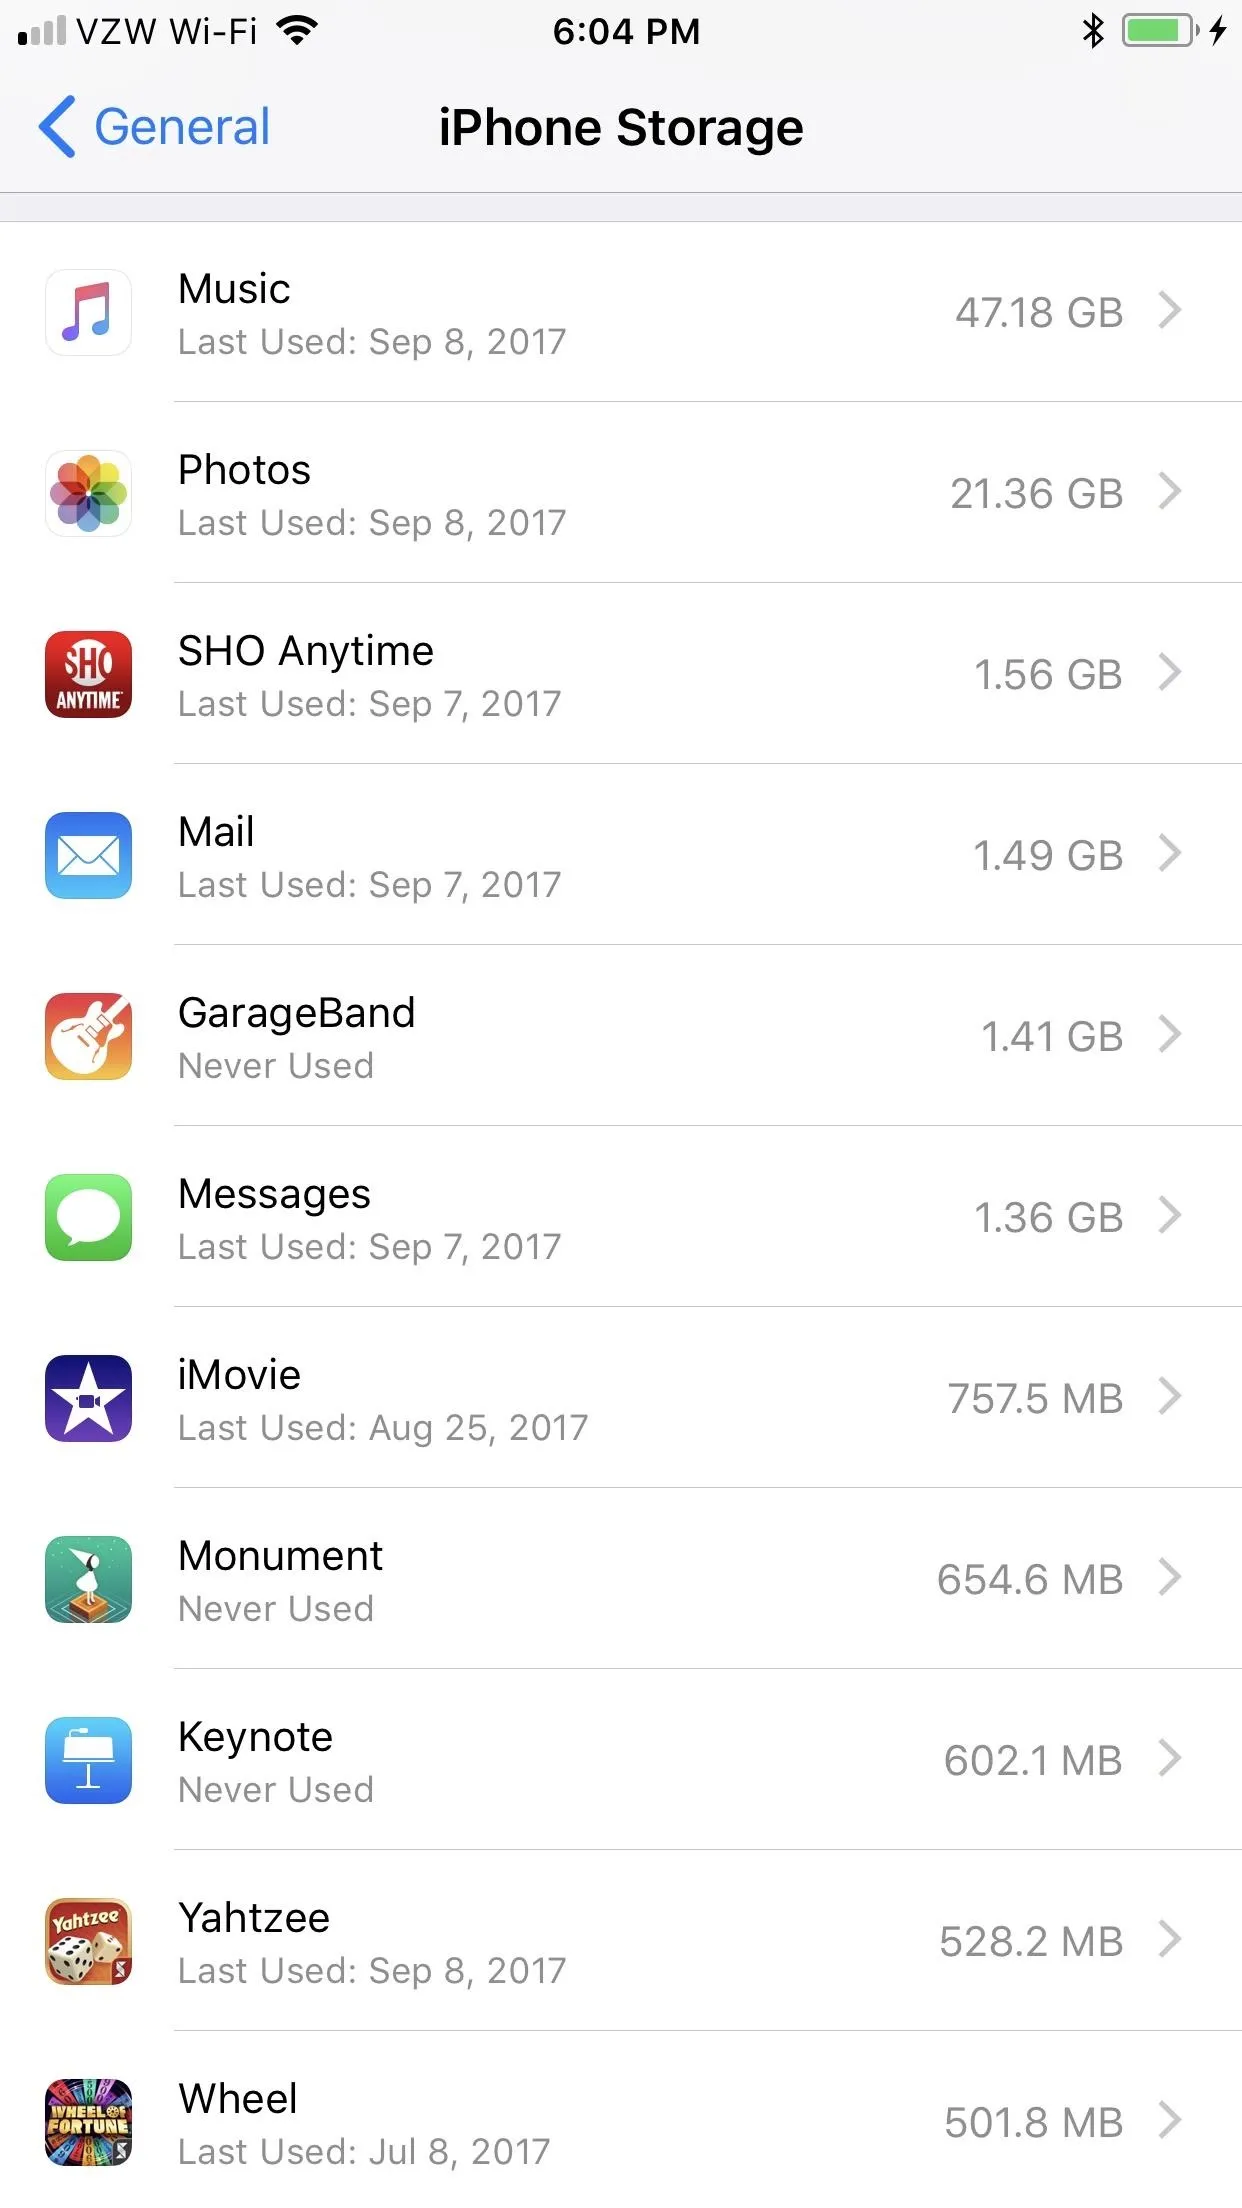
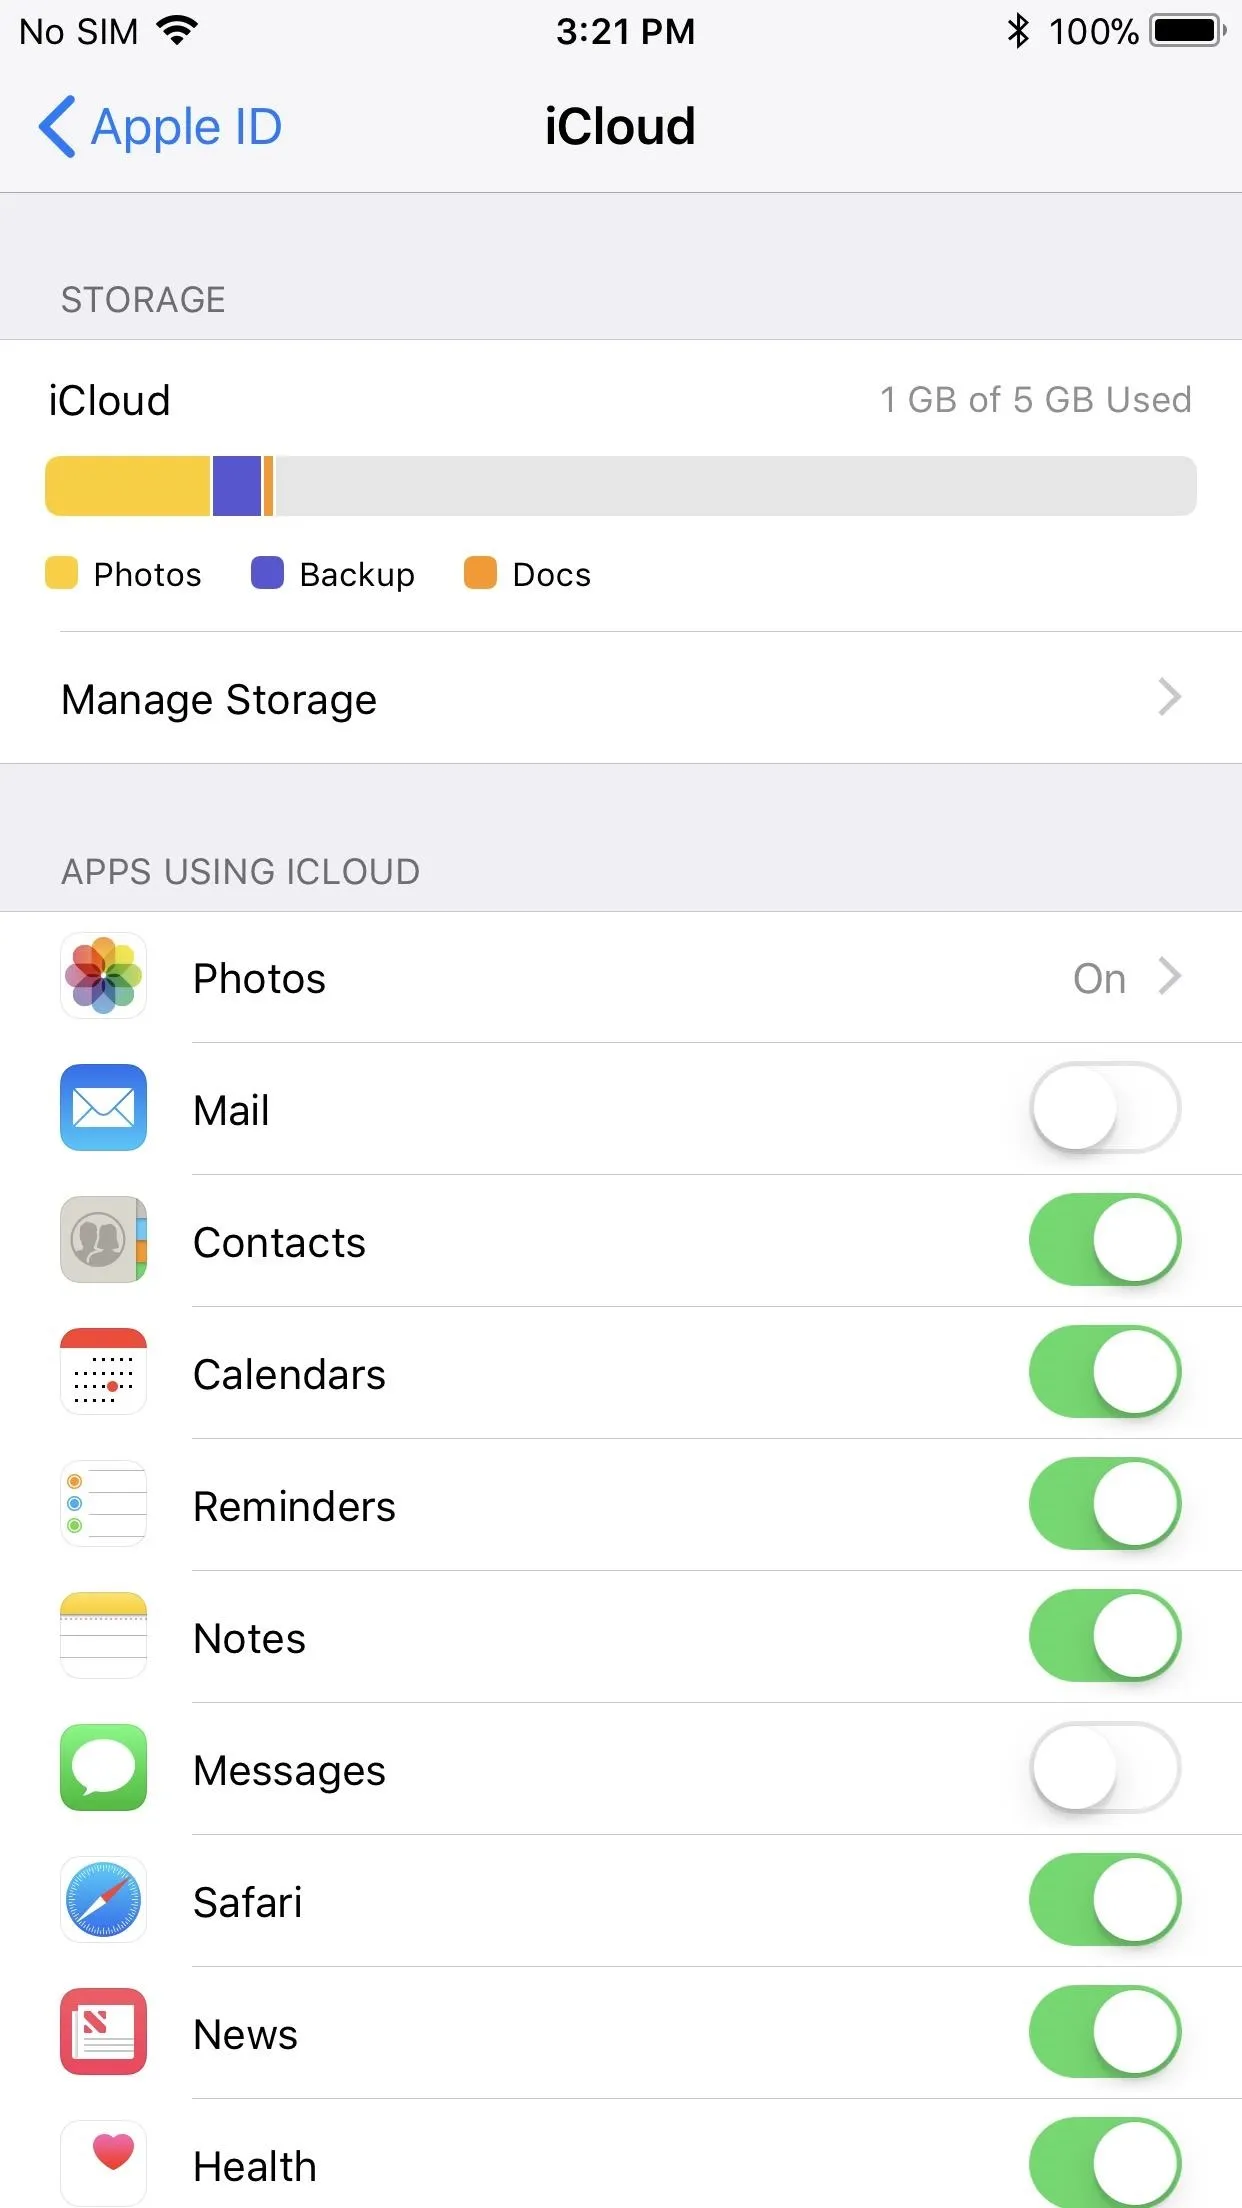
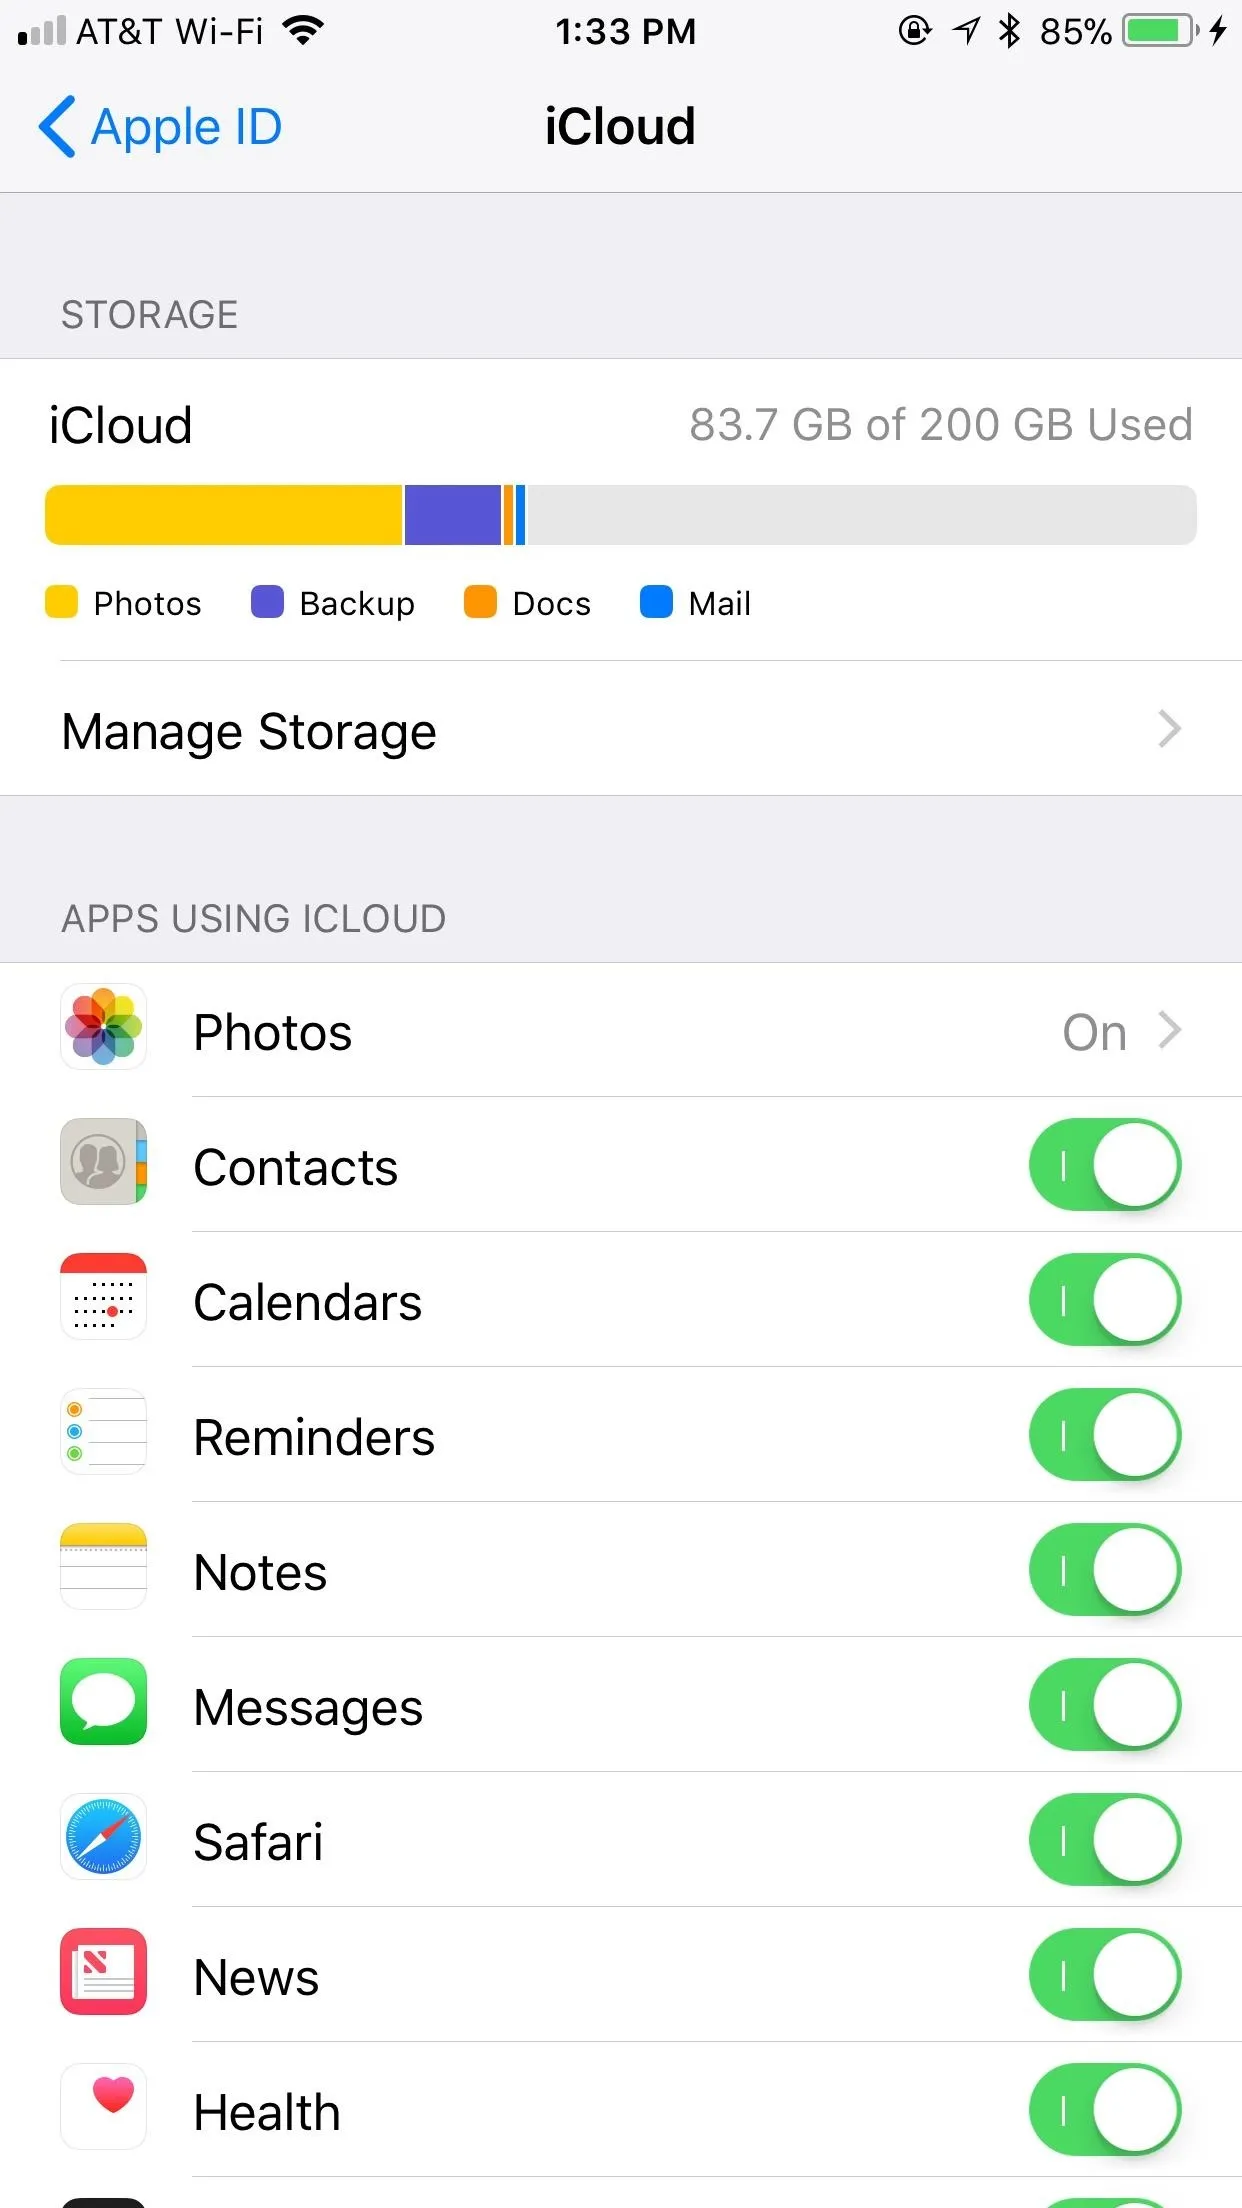
To view how much space your Messages app is currently taking up, open Settings and go to General –> iPhone Storage. Once there, you can see how much storage "Messages" is taking up. Then, go back to the main Settings page and tap on your name up top, followed by "iCloud." There you will be able to see how much space you have available in iCloud.


Enable Messages in iCloud
Enabling this feature is simple. Open the Settings app, then tap the Apple ID settings with your name at the top of the page. On the Apple ID page, Tap "iCloud," then toggle on "Messages." If you have not set up two-factor authentication, Apple will walk you through the process here.
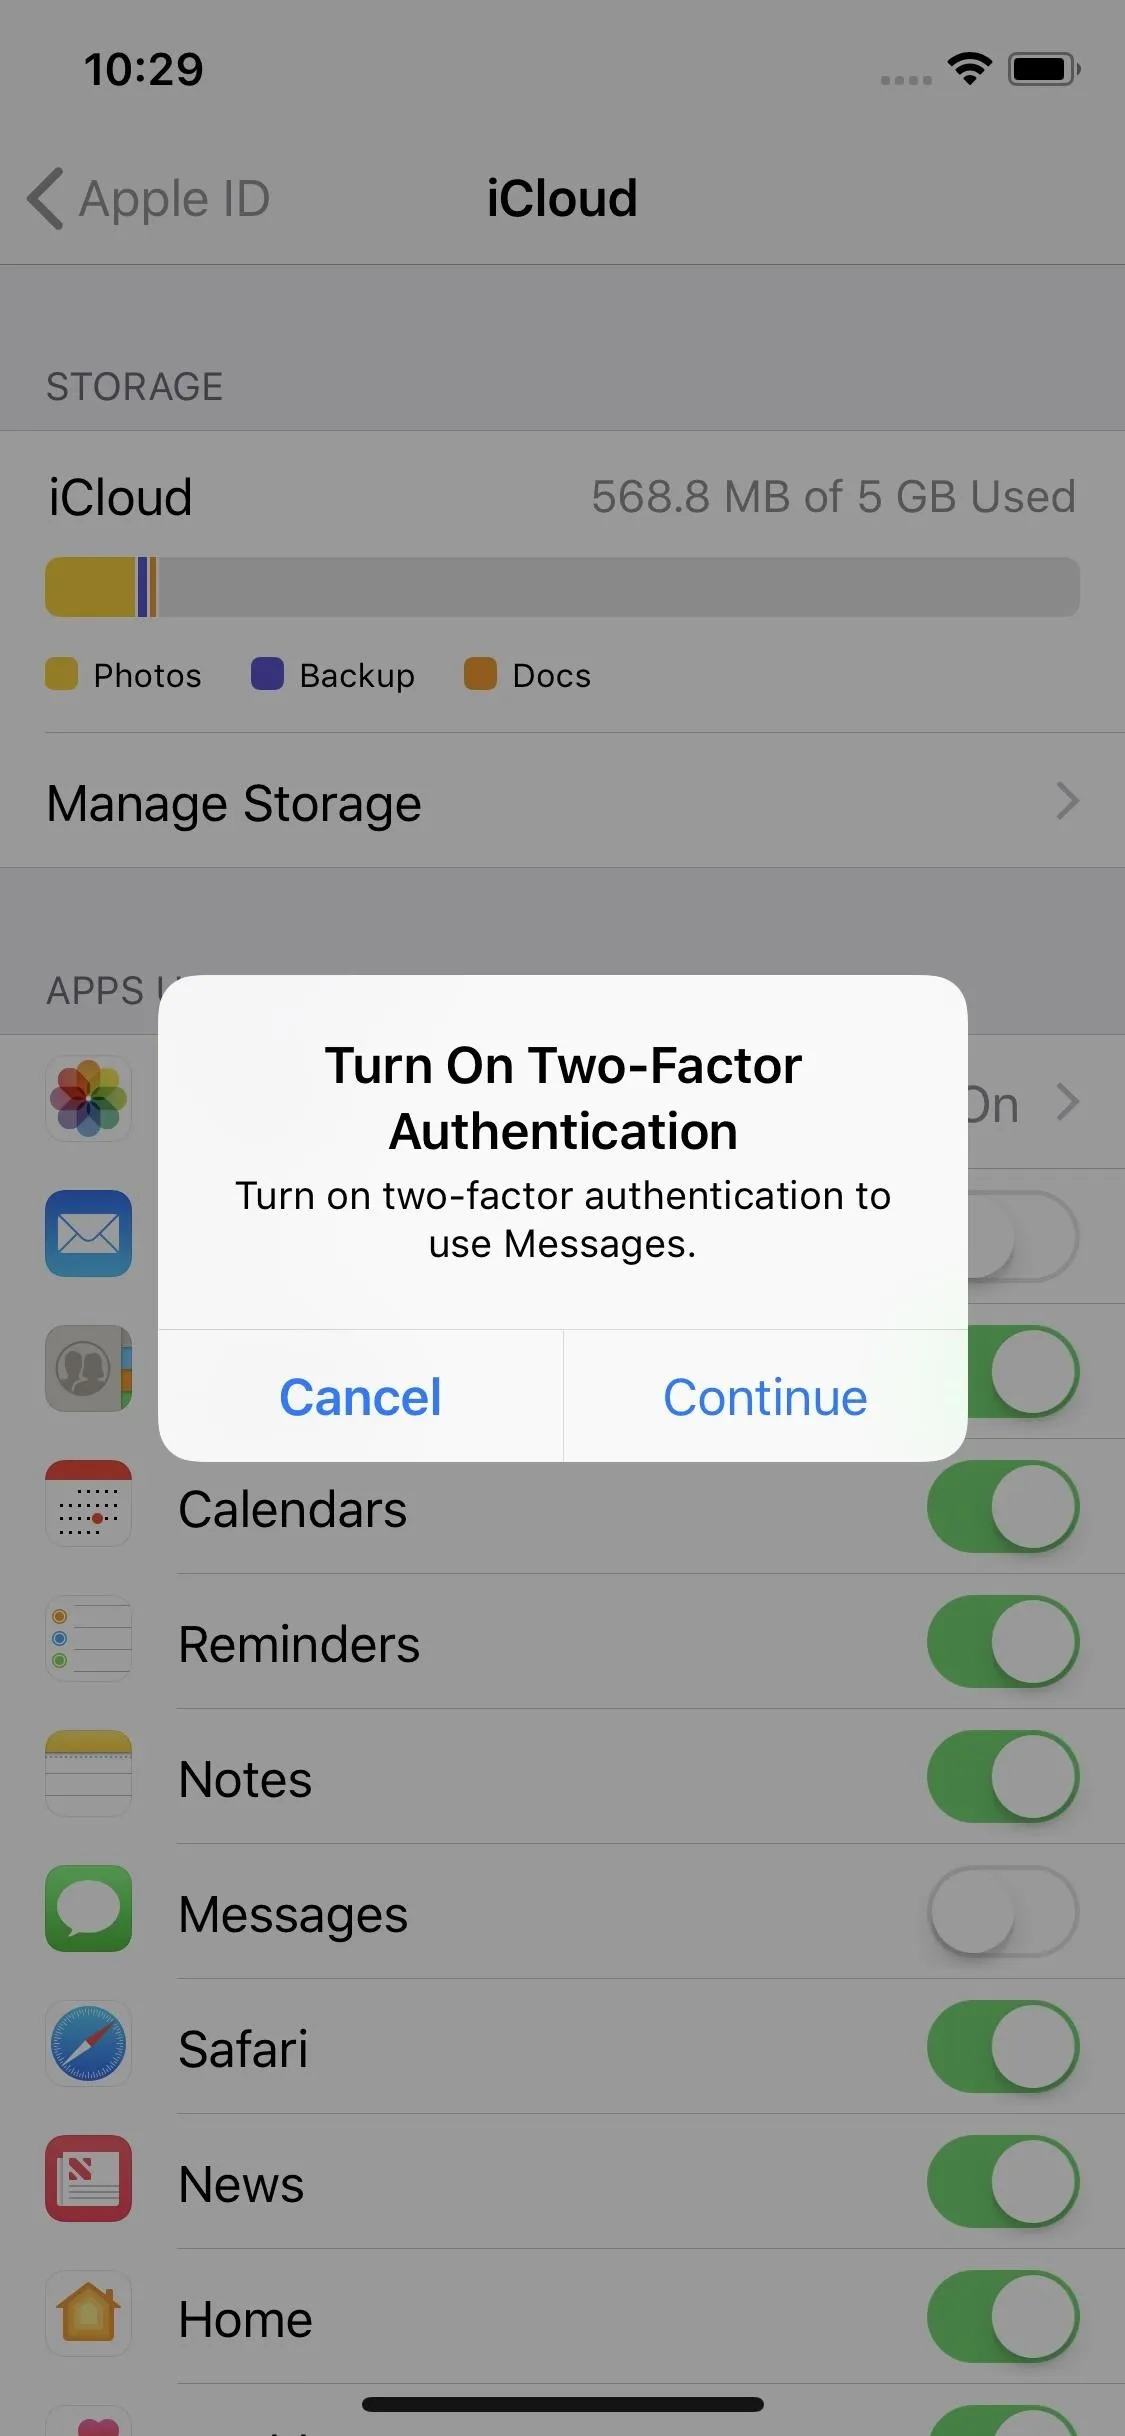
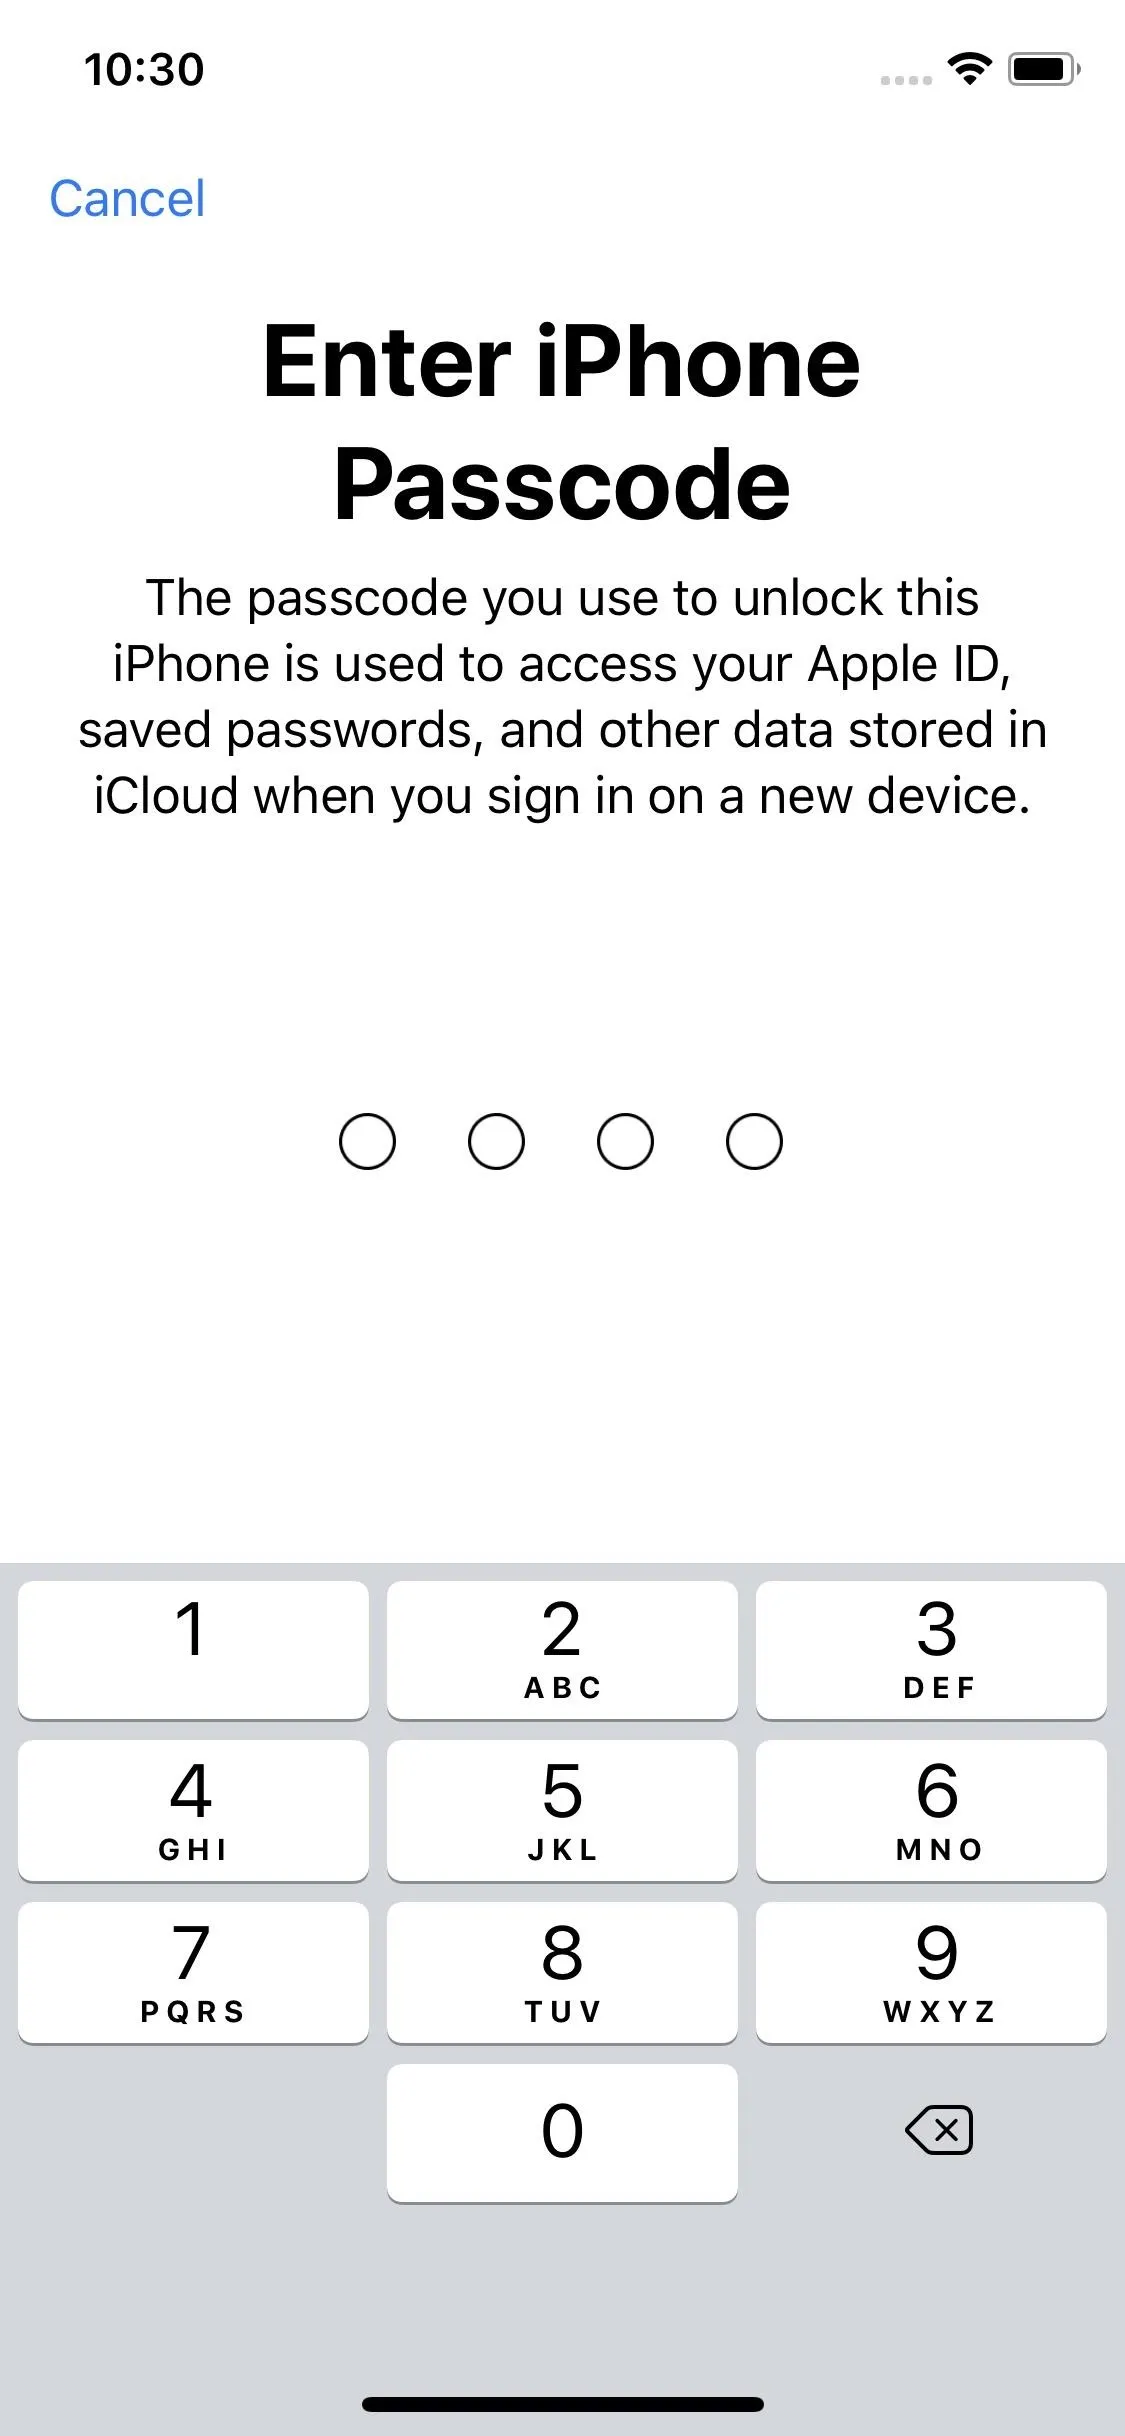
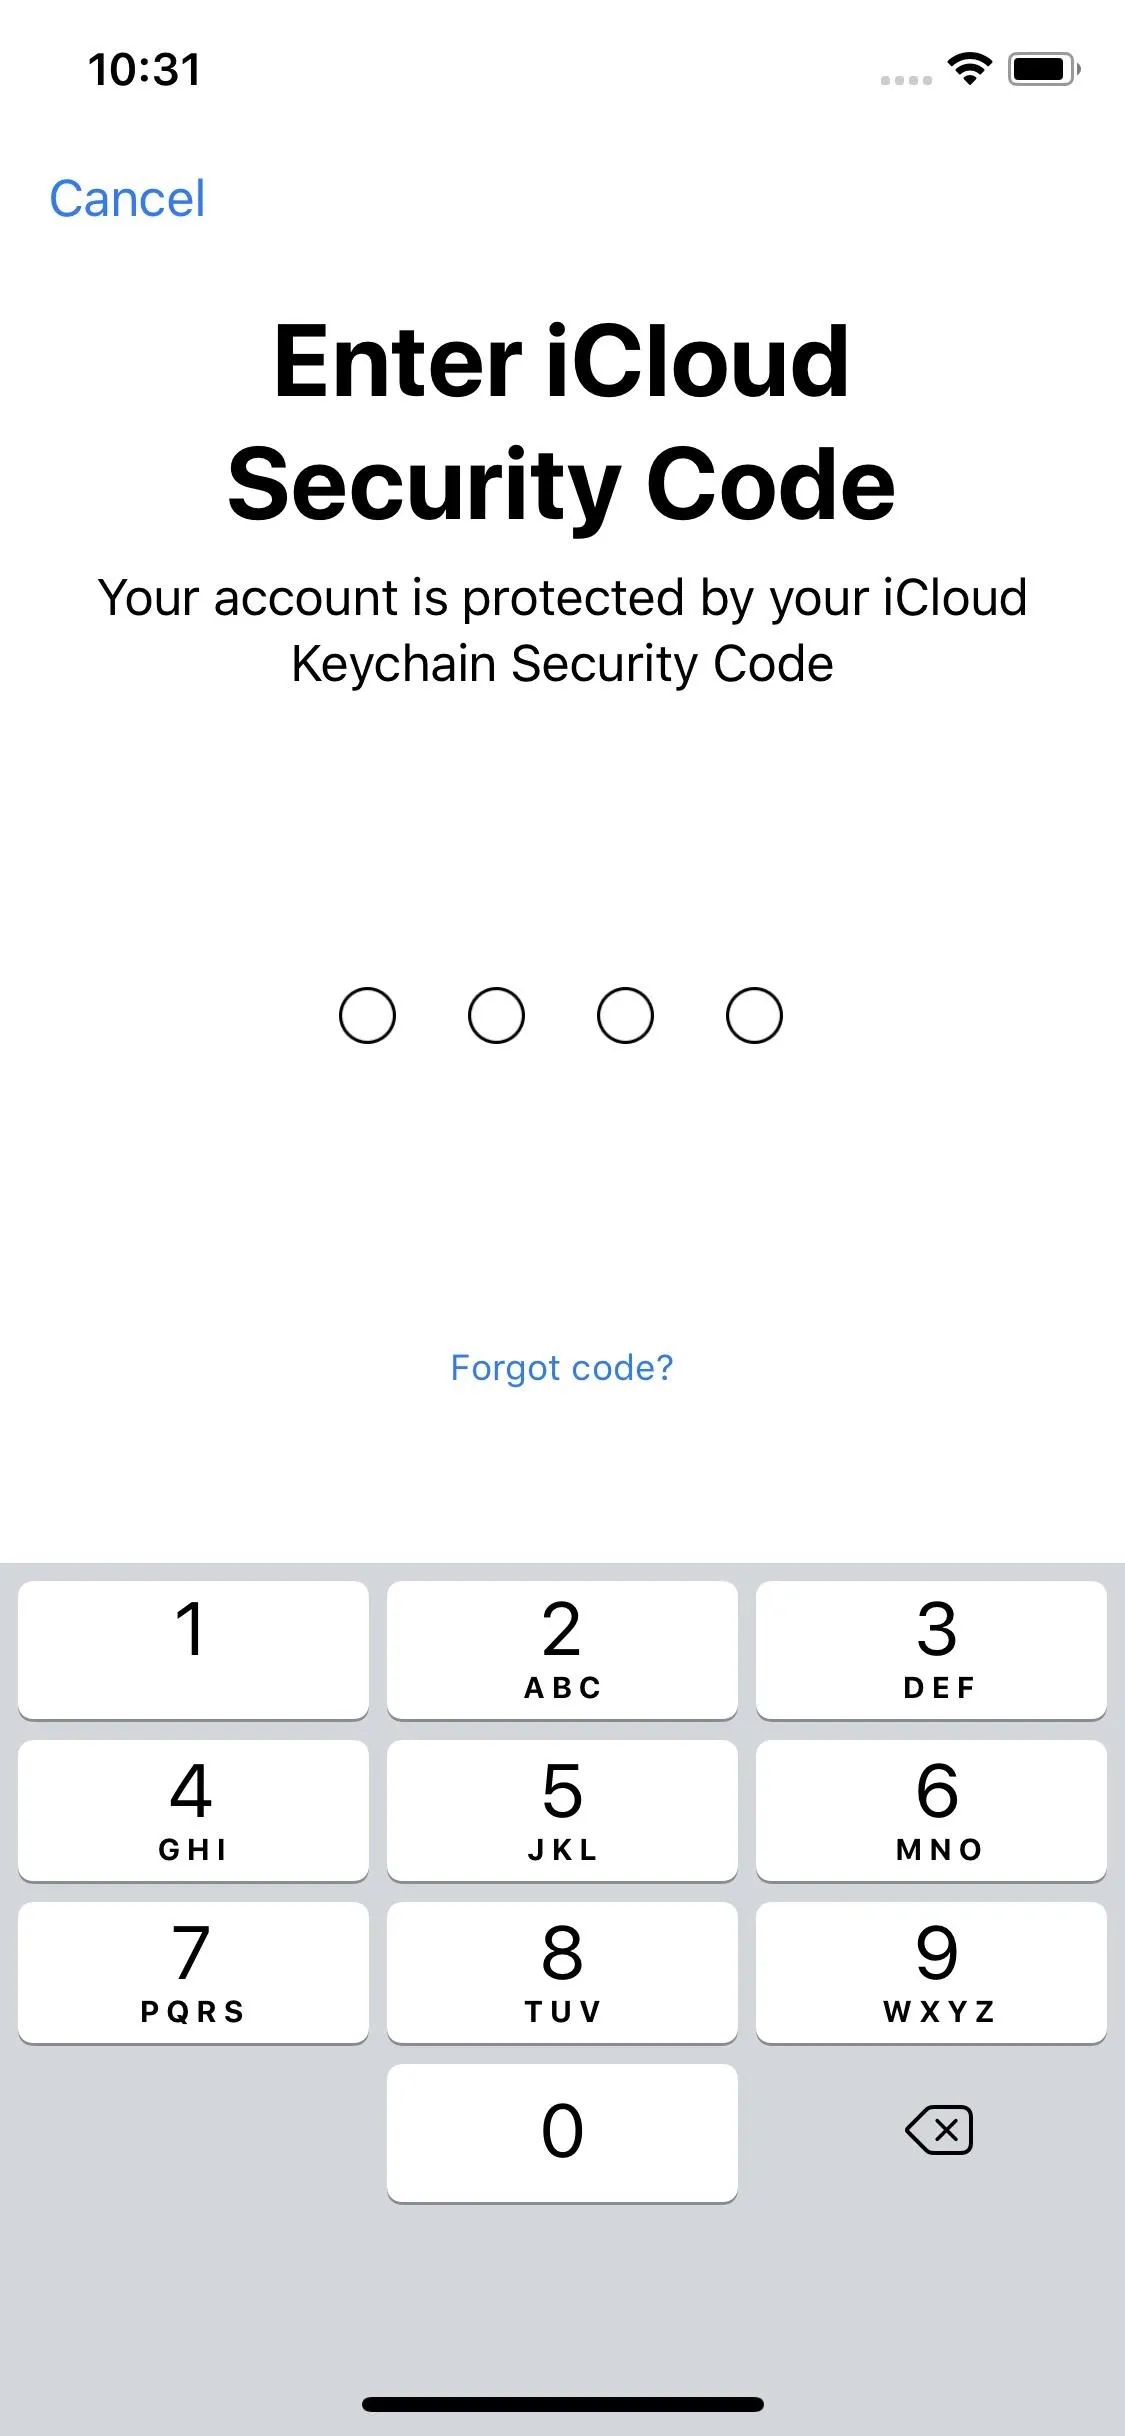


Once 2FA has been enabled, the Messages icon should be as well.
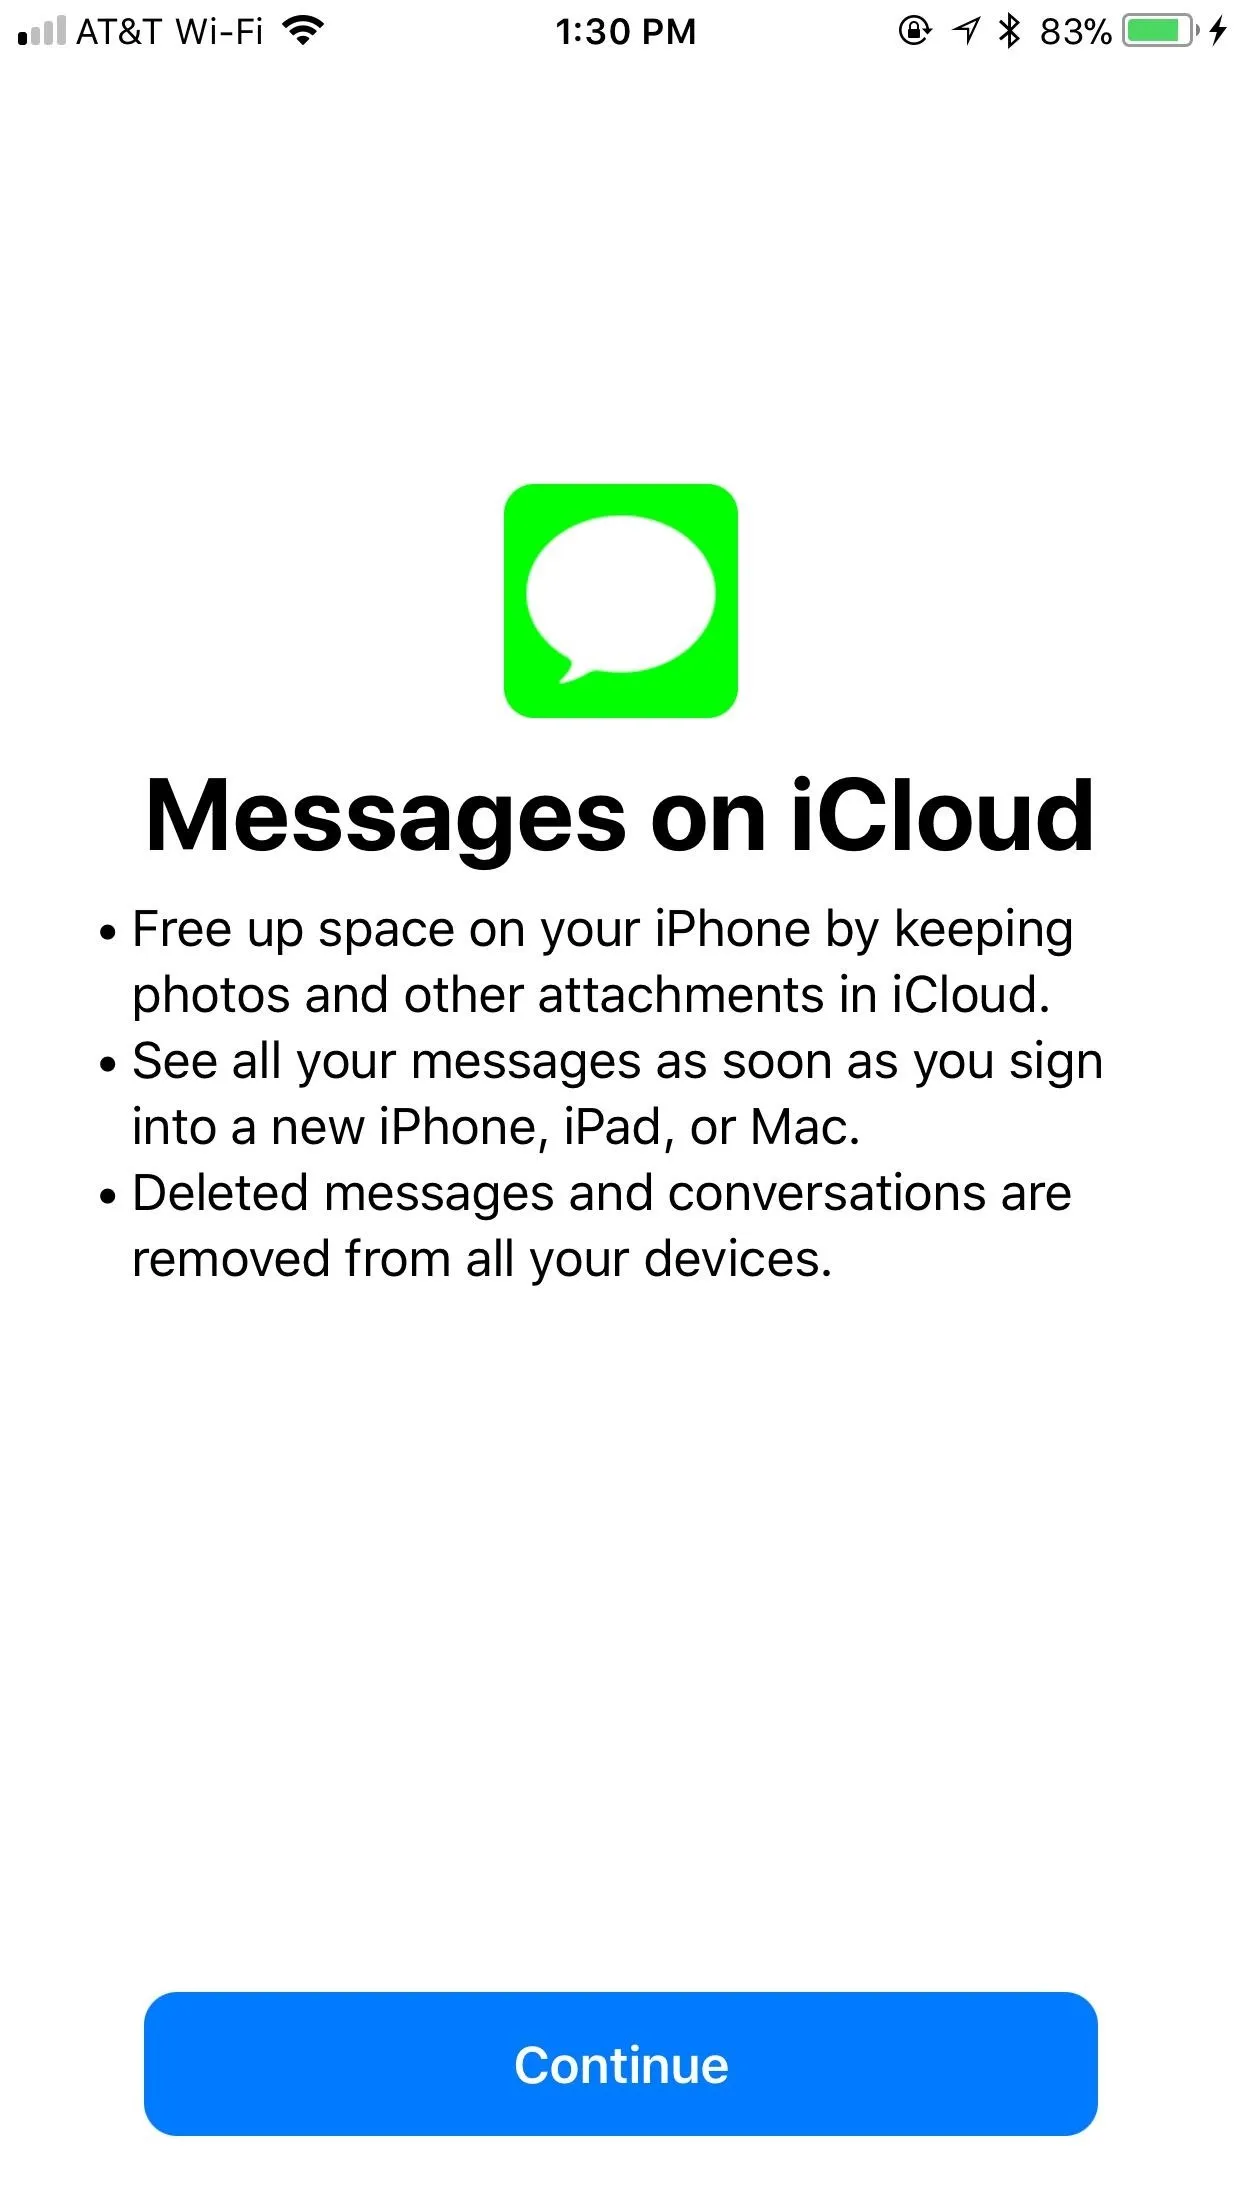


Once you enable the "Messages" toggle, when you open up the Messages app, it should say "Uploading Messages to Cloud" to indicate it's doing just that. If you're not connected to Wi-Fi and not plugged in to charge via USB, you will get an "Uploading to iCloud Paused" message stating to plug in your device and connect to Wi-Fi. Once it's done, the popups will disappear.

Enable Messages in iCloud on Your Mac
Now, you won't notice anything different about Messages right away. Most of Messages in iCloud's features are under the hood. However, if you are running the iOS 11.4 on another device or if your Mac is running macOS 10.13.5 (it needs to be enabled in the Messages settings), you'll notice what happens on one Messages app happens on the other.
If you enabled it on your iOS device already, you should get a prompt on your Mac to enable it. If not, open the Messages app, then click on "Messages" in the menu bar, followed by "Preferences." From there, click on the "Accounts" tab, and select the iMessage account listed on the left side of the window. If you haven't already, you may need to check the box that says "Enable this account." When that's good, check the box next to "Enable Messages in iCloud" (beta versions at one point called it "Enable Messages on iCloud").
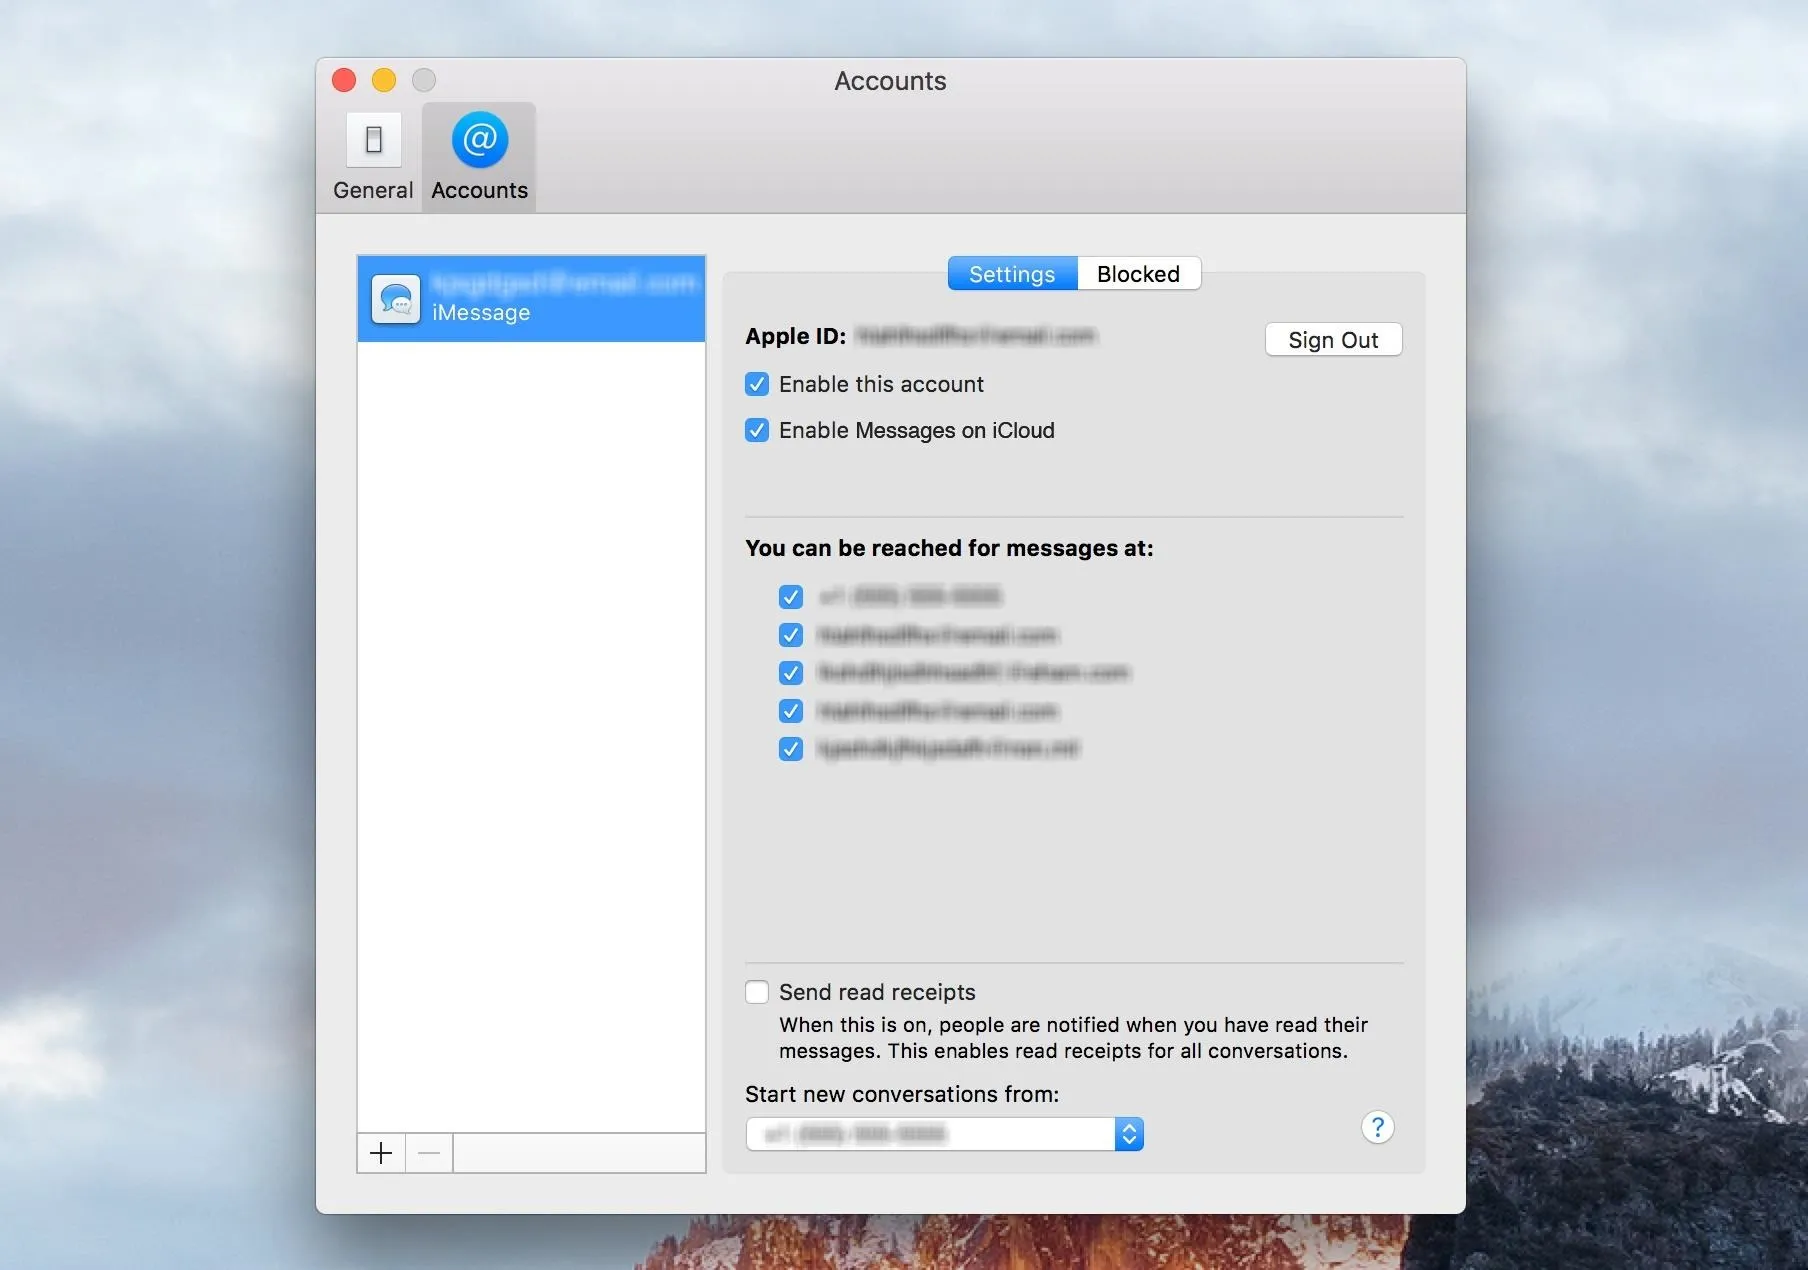
If you don't see this option, you are likely still running iOS 11.3.4 and will need to update your software.
Start Using Messages in iCloud
Delete a message on your iPhone? It's gone on your Mac. Wipe a thread completely from your iPad? You won't see it on any connected devices. Sure beats the old way of doing things.
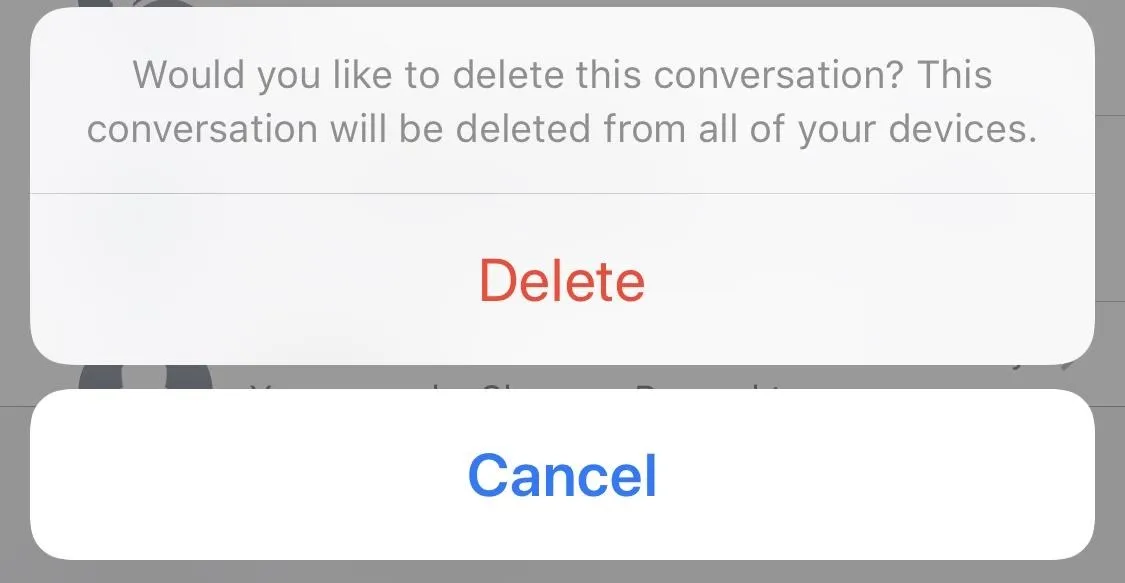
When you actually try to delete a message thread from now on, you'll get a prompt asking "Would you like to delete this conversation? This conversation will be deleted from all of your devices." Just hit "Delete" to do so.
When deleting individual texts, you will just get the "Delete Message(s)" option. However, when selecting "Delete All" from inside a thread you are currently editing, it will just ask you to confirm with "Delete Conversation" so there's no warning that it will disappear on other devices too.
Messages in iCloud will also save you storage space. Apple removes photos and attachments, as well as older messages from your device, and moves them to the Cloud. This frees up your device for other content while making sure all of your information is backed up and safe.
- Follow Gadget Hacks on Facebook, Twitter, YouTube, and Flipboard
- Follow WonderHowTo on Facebook, Twitter, Pinterest, and Flipboard
Cover image and screenshots by Jake Peterson/Gadget Hacks


Comments
Be the first, drop a comment!