


The Memories feature in Photos is meant to help you rediscover old or forgotten experiences by creating a short slideshow of photos and videos based on locations, dates, and events. It's a fun feature to relive exciting times, but it isn't always perfect because it's generated automatically. It might include incorrect content, but in iOS 14, you can now create your own Memory Movies.
Instead of letting your iPhone create these movies automatically, you can now make an album or use an existing album in Photos to create a Memory Movie with a title, fun music, and more. Once it's made, you can adjust the movie's length and content so that it's exactly how you want.
Create a Memory Movie in Photos
First, you must either create an album with the photos you want to make the movie with or find an existing album. Don't worry if the album doesn't have all of the images or videos you want — you can add more later in the editing process.
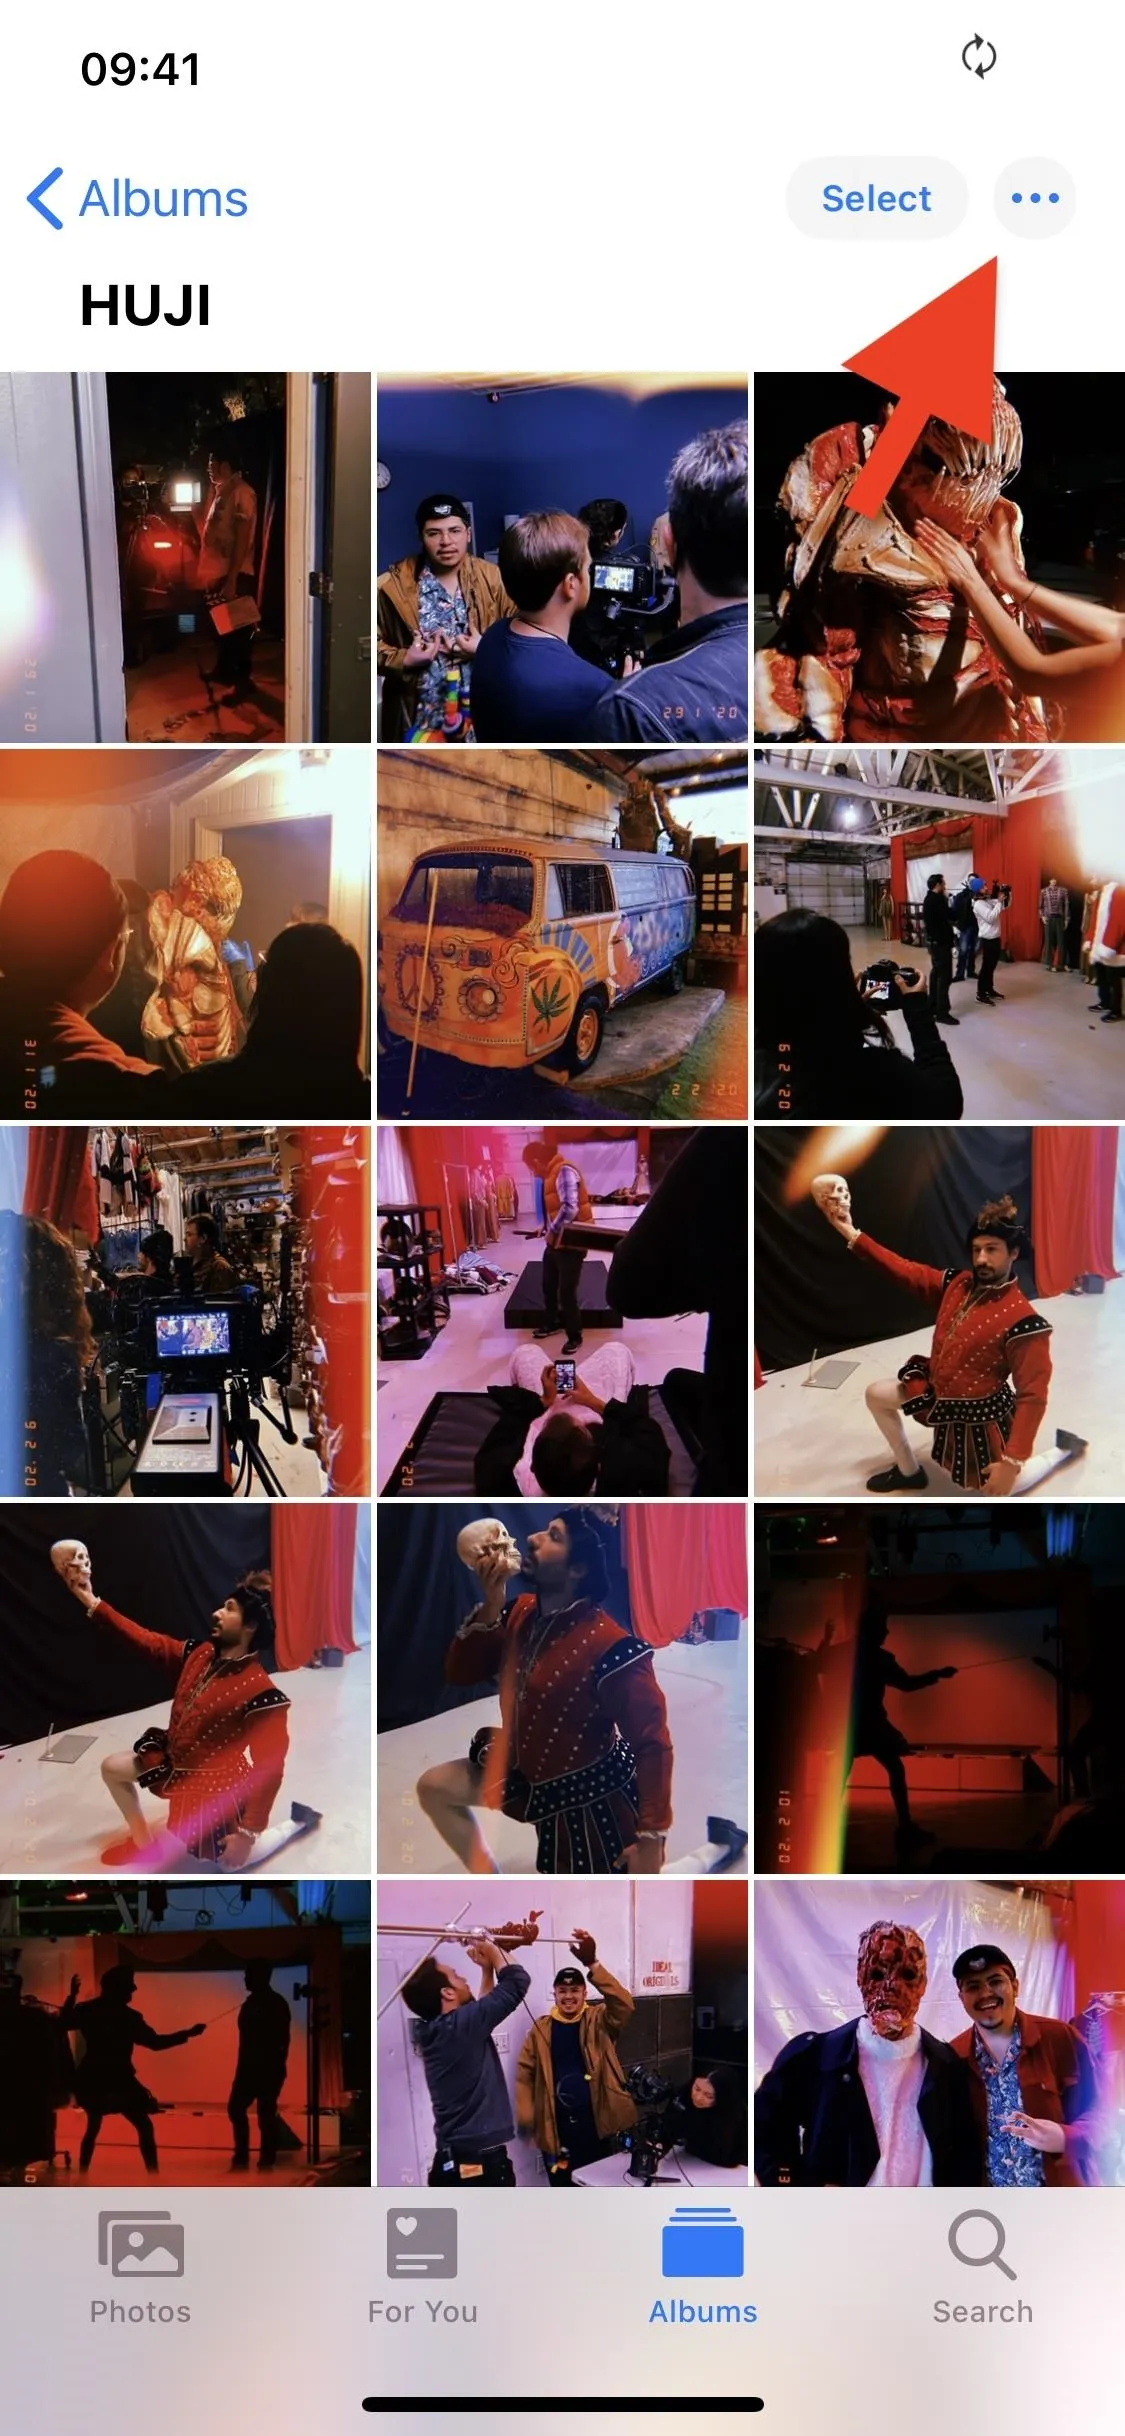
Once you find or make an album, tap on the album cover to view its pictures and videos, and then tap on the ellipsis (•••) icon in the top right to view more options. In the actions sheet that appears, scroll down and select "Play Memory Movie" to create the movie using the album's content.
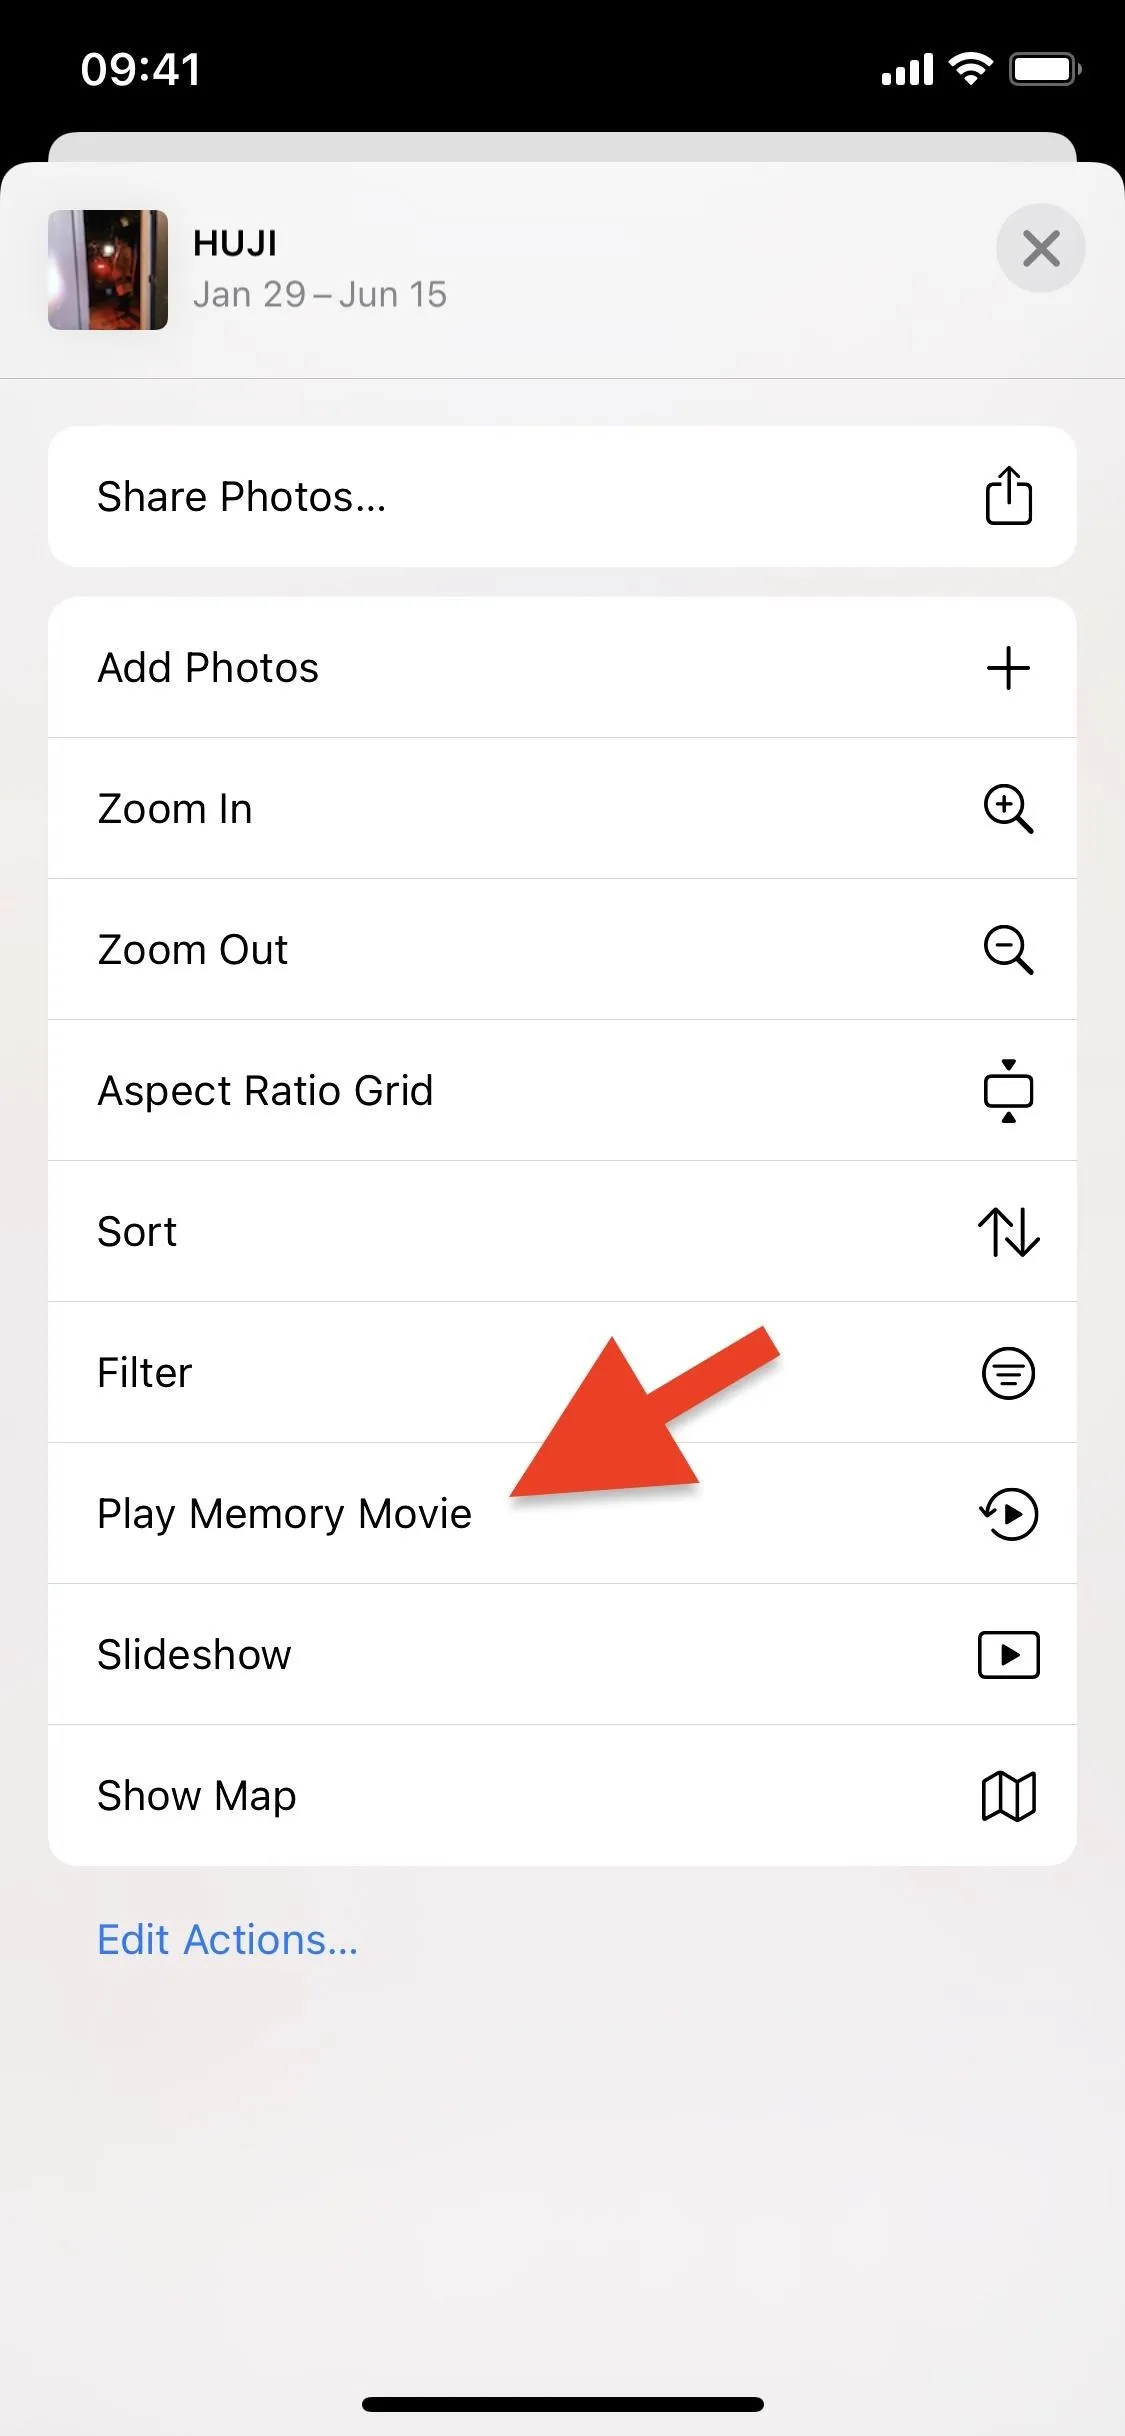
The movie will take a few seconds to be created, or longer if there are hundreds or thousands of photos and videos in the album. Once the video is created, it will play automatically, along with pre-selected music. The Memory Movie could be anywhere from a few seconds to several minutes long, but you can always edit it to your liking, as you'll soon see.


Choose Your Memory Movie's Music & Length
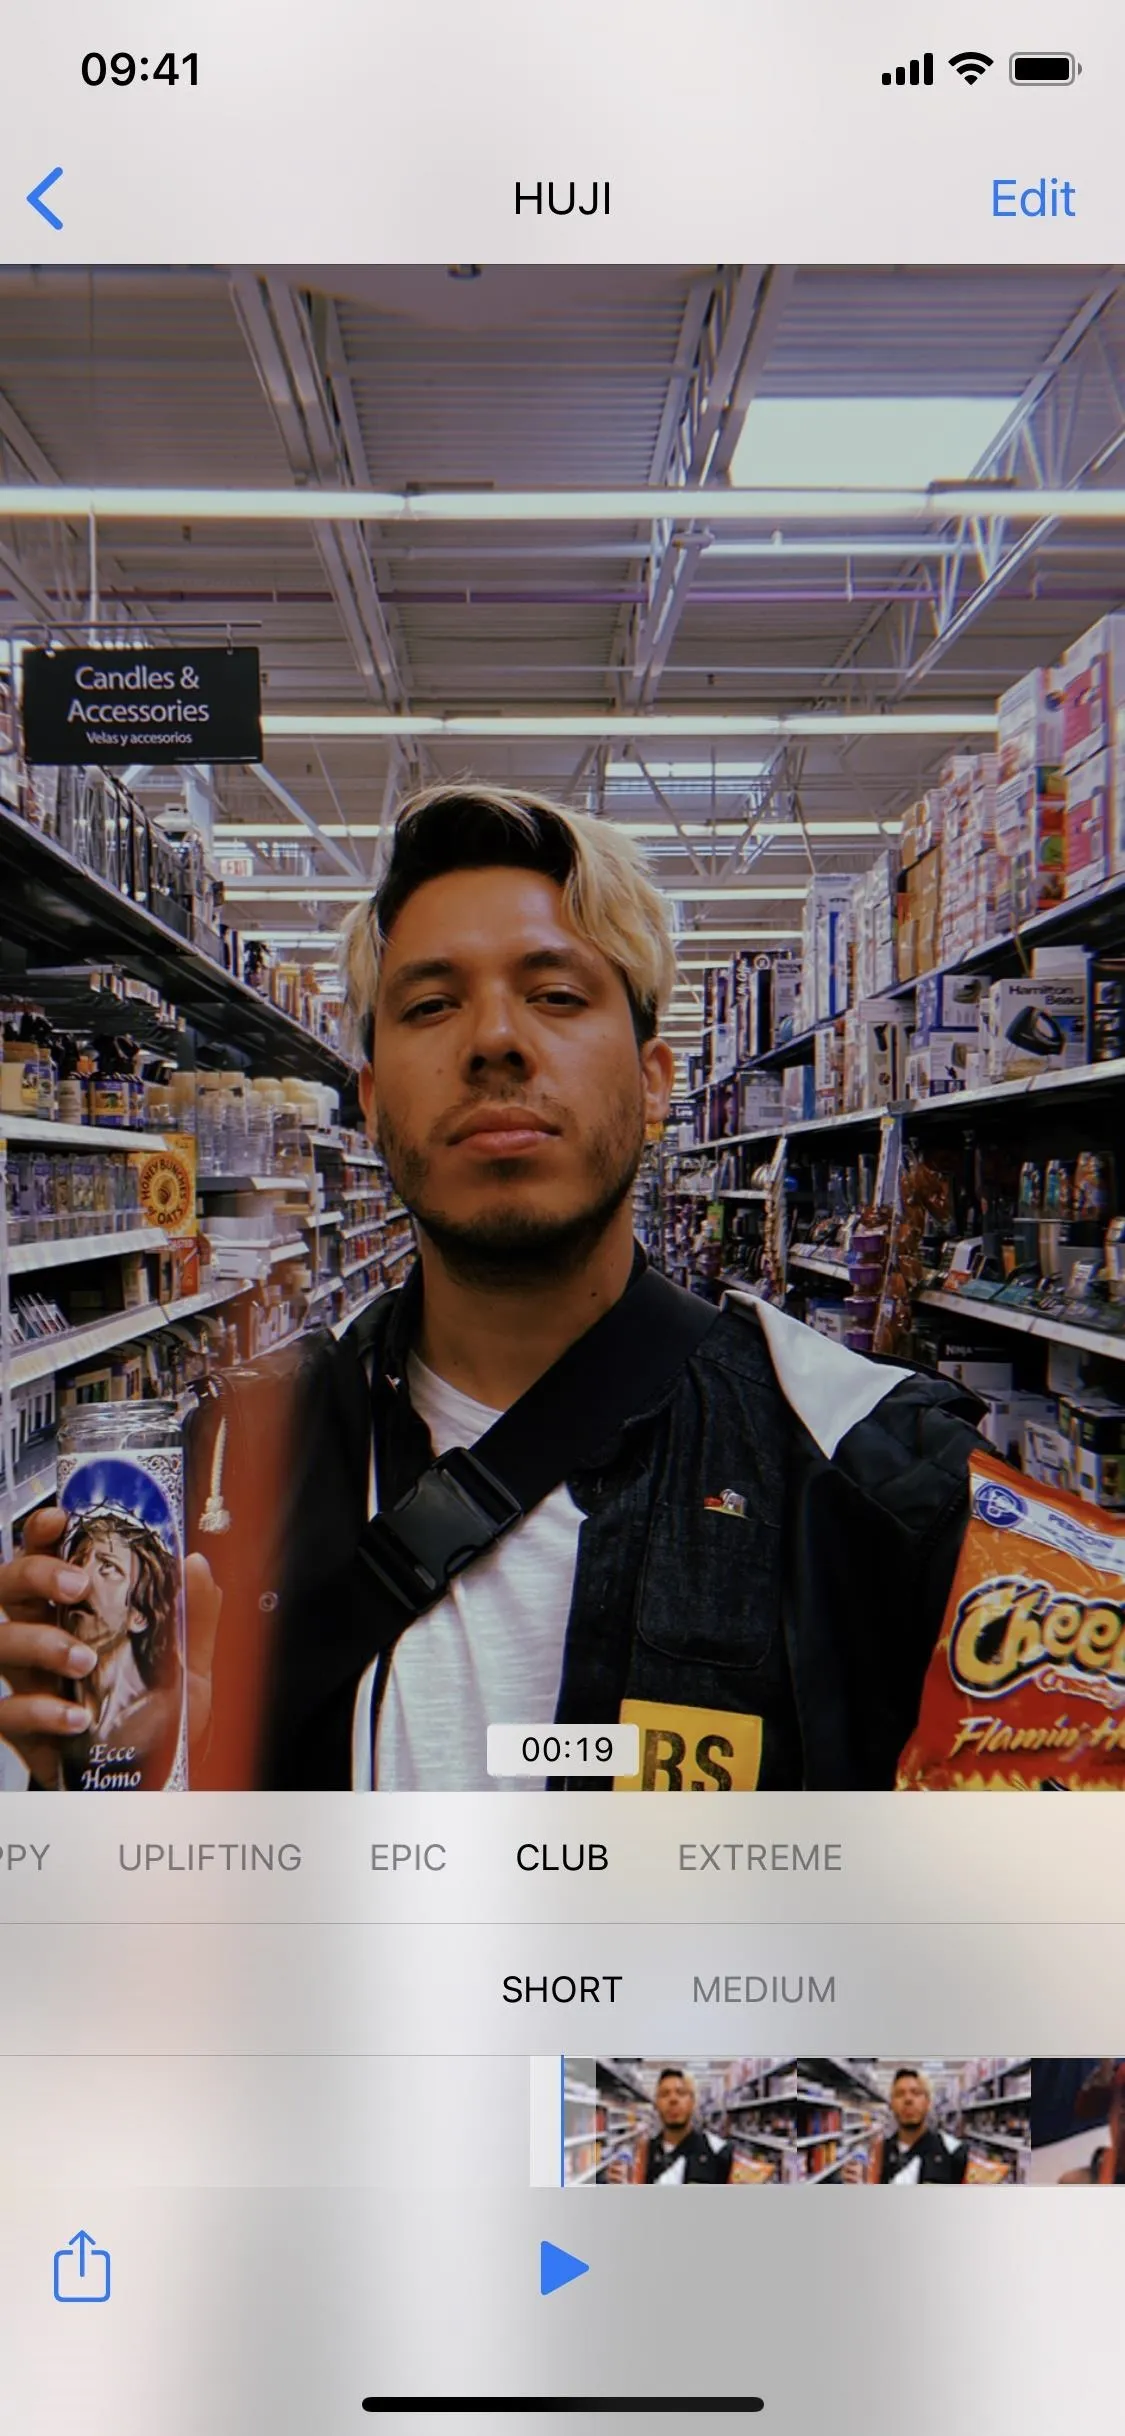
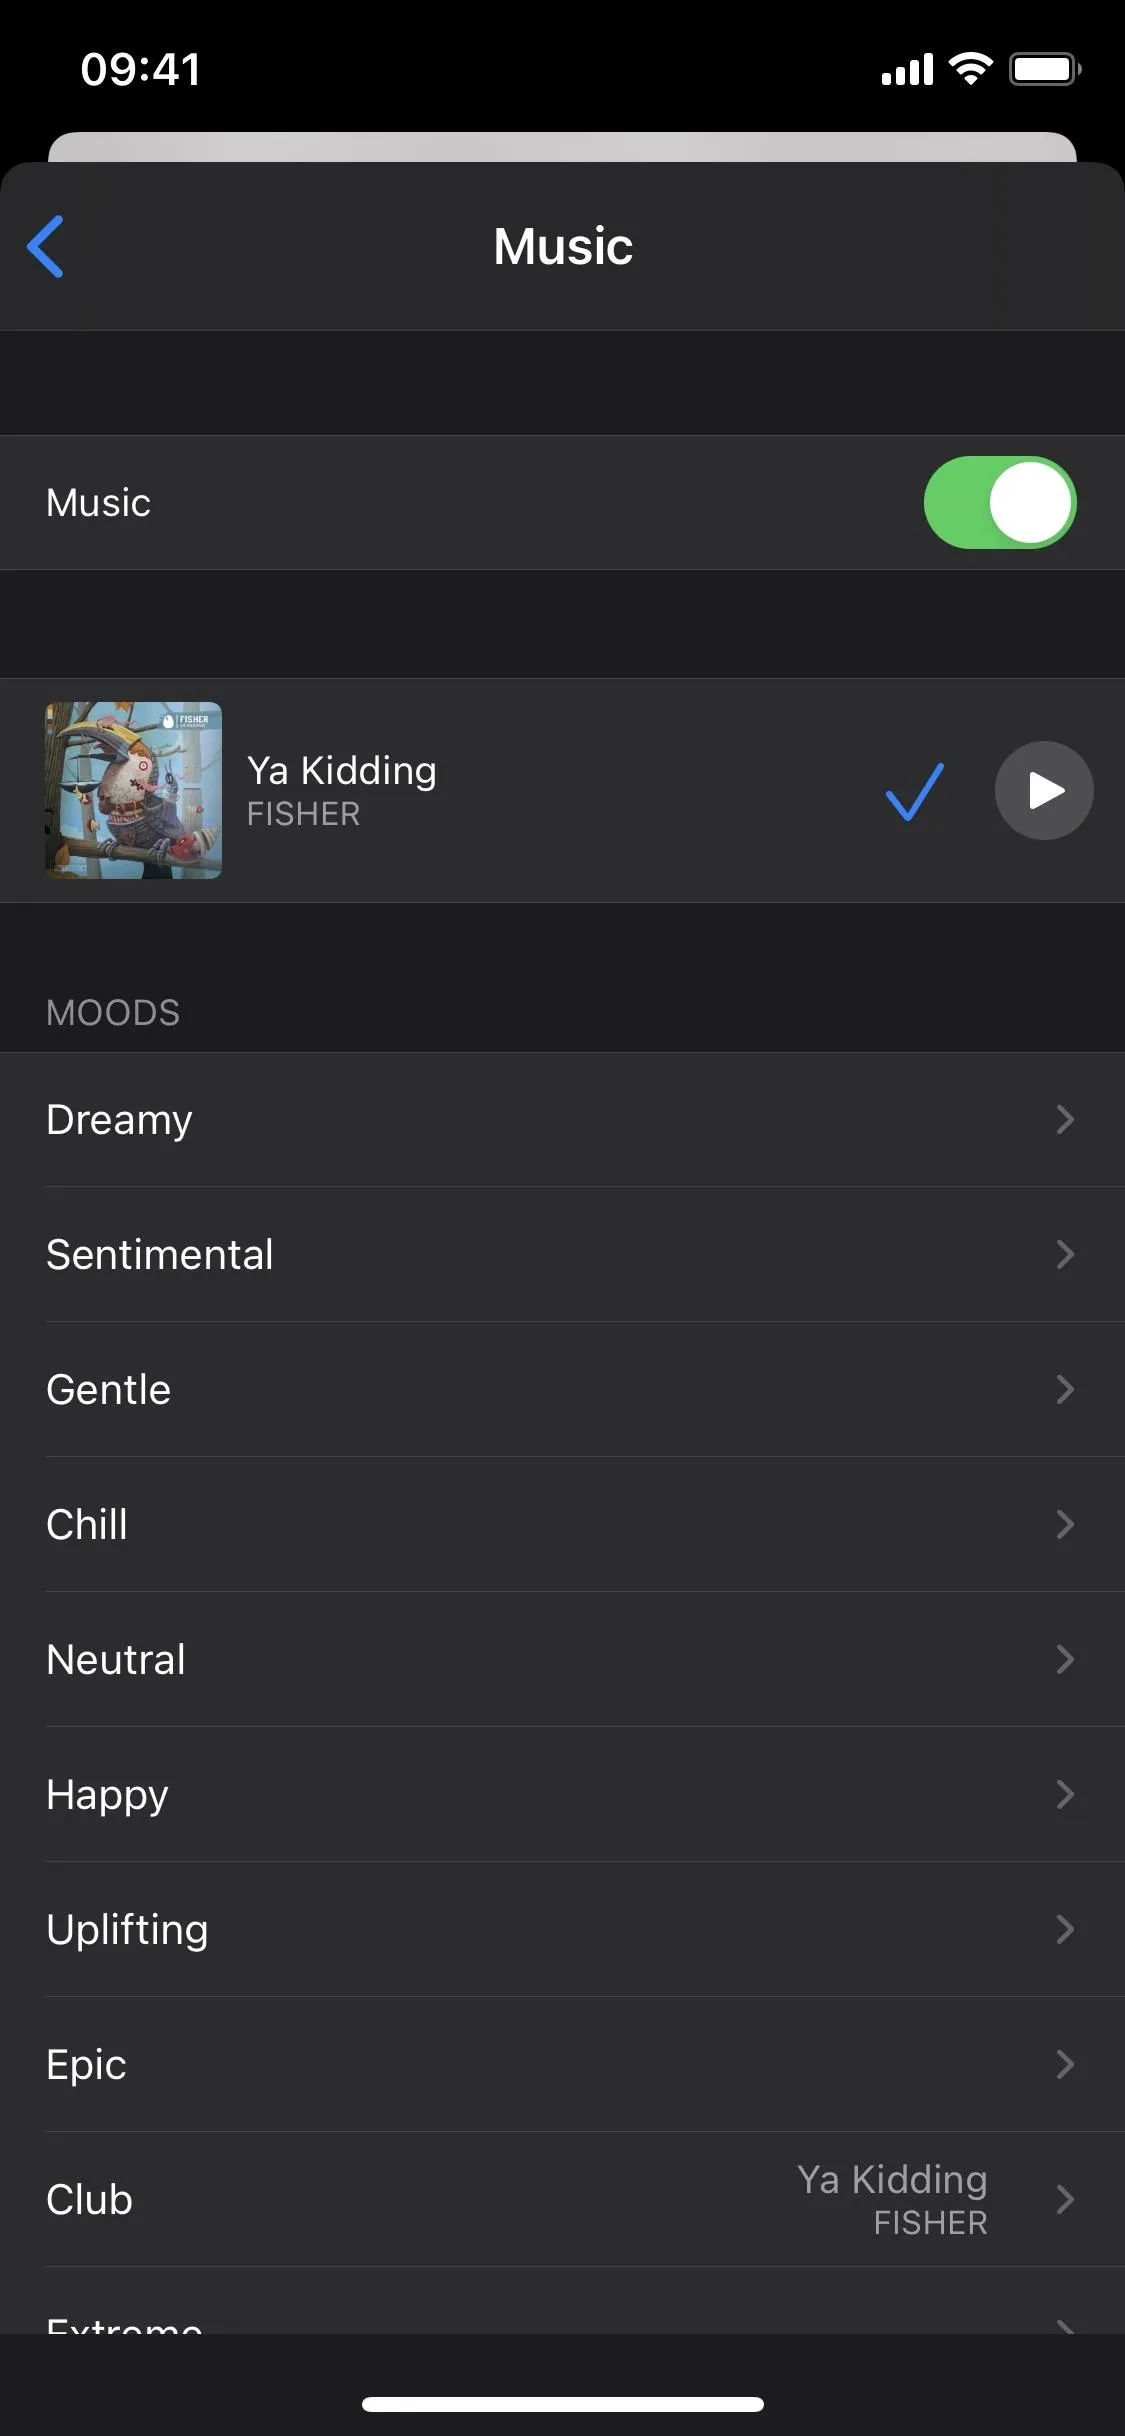
To edit the current Memory Movie, tap anywhere on the screen while the movie is playing so that the editor controls appear. At the bottom, you'll see controls to change the kind of music the movie was automatically given and the length of the movie. You'll also see a preview of the photos and videos in the movie.
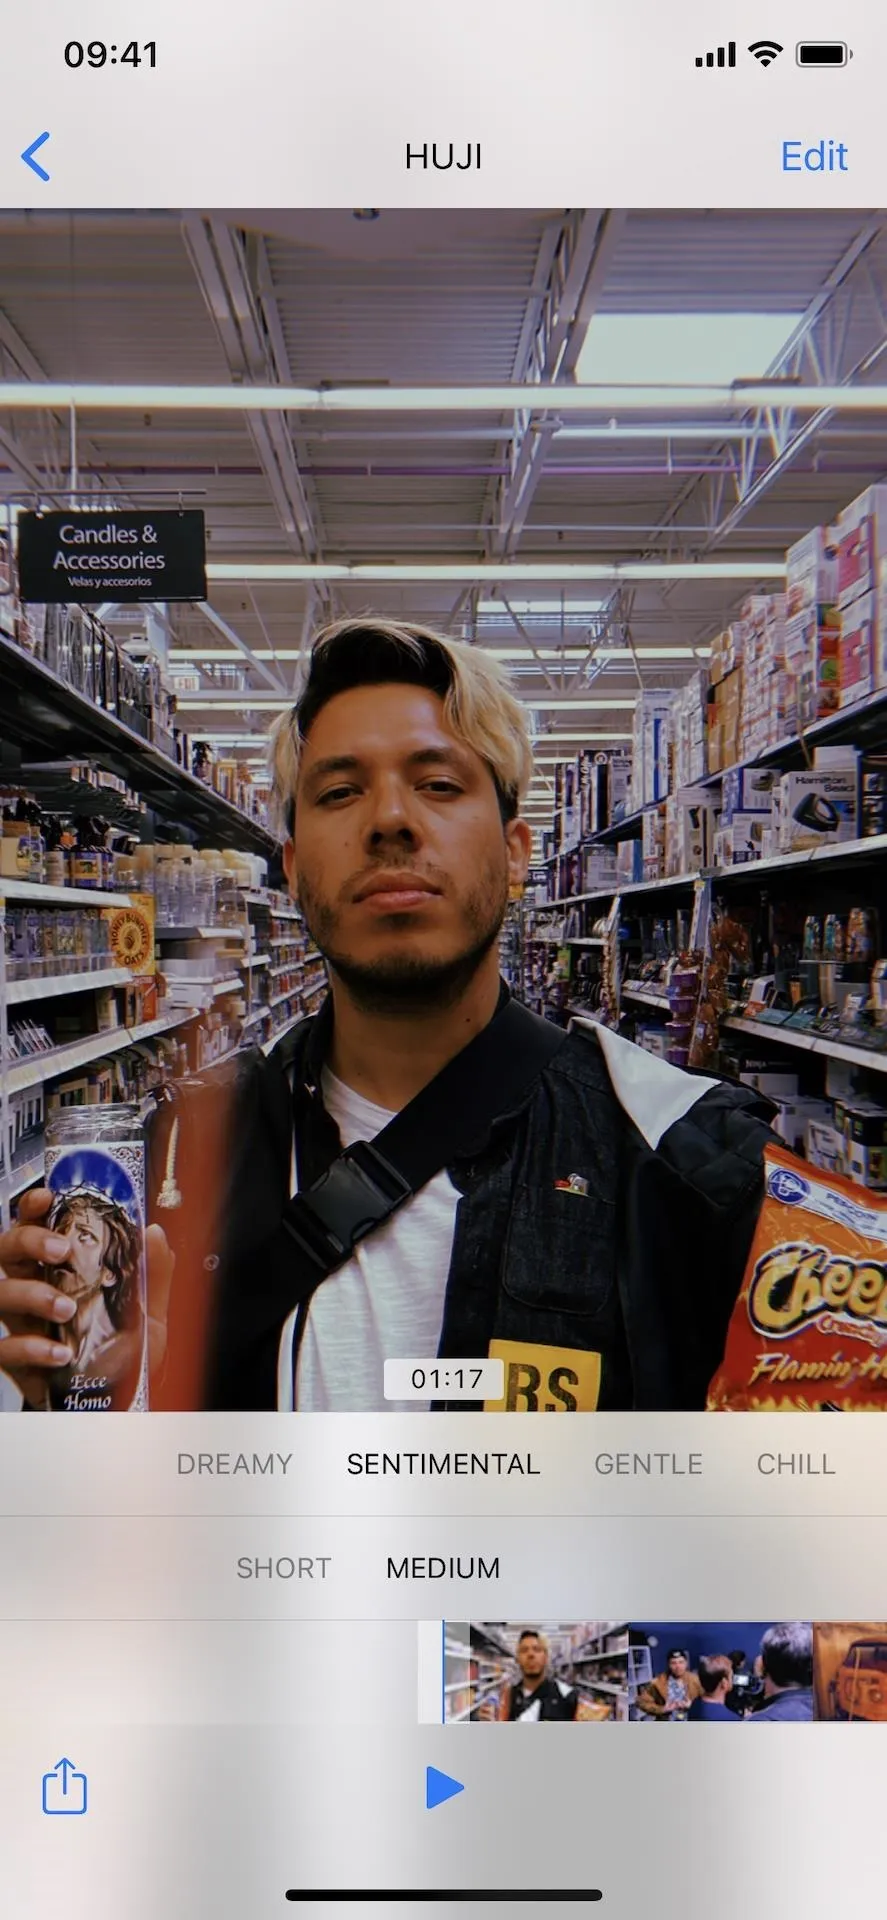
For music, you have the following options: Dreamy, Sentimental, Gentle, Chill, Happy, Uplifting, Epic, Club, and Extreme. In the center of the music options is a dot, which you can choose if you want the app to select a music genre for you automatically. If not, scroll through the music options and select one. Depending on the music option you choose, the length of the video will vary slightly. If you see nothing that you like, keep reading, as there's a way to get more options.
To manually change the movie's length, you have three options: Short, Medium, and Long. If you don't have many photos, only the Short and Medium options may appear, or just the Short option. If you just see "Short," you can't alter the length unless you add more media to your album. As you change the length to either Short, Medium, or Long, you'll see a preview above it of how long the movie is.
Customize Your Memory Movie's Title & Title Image
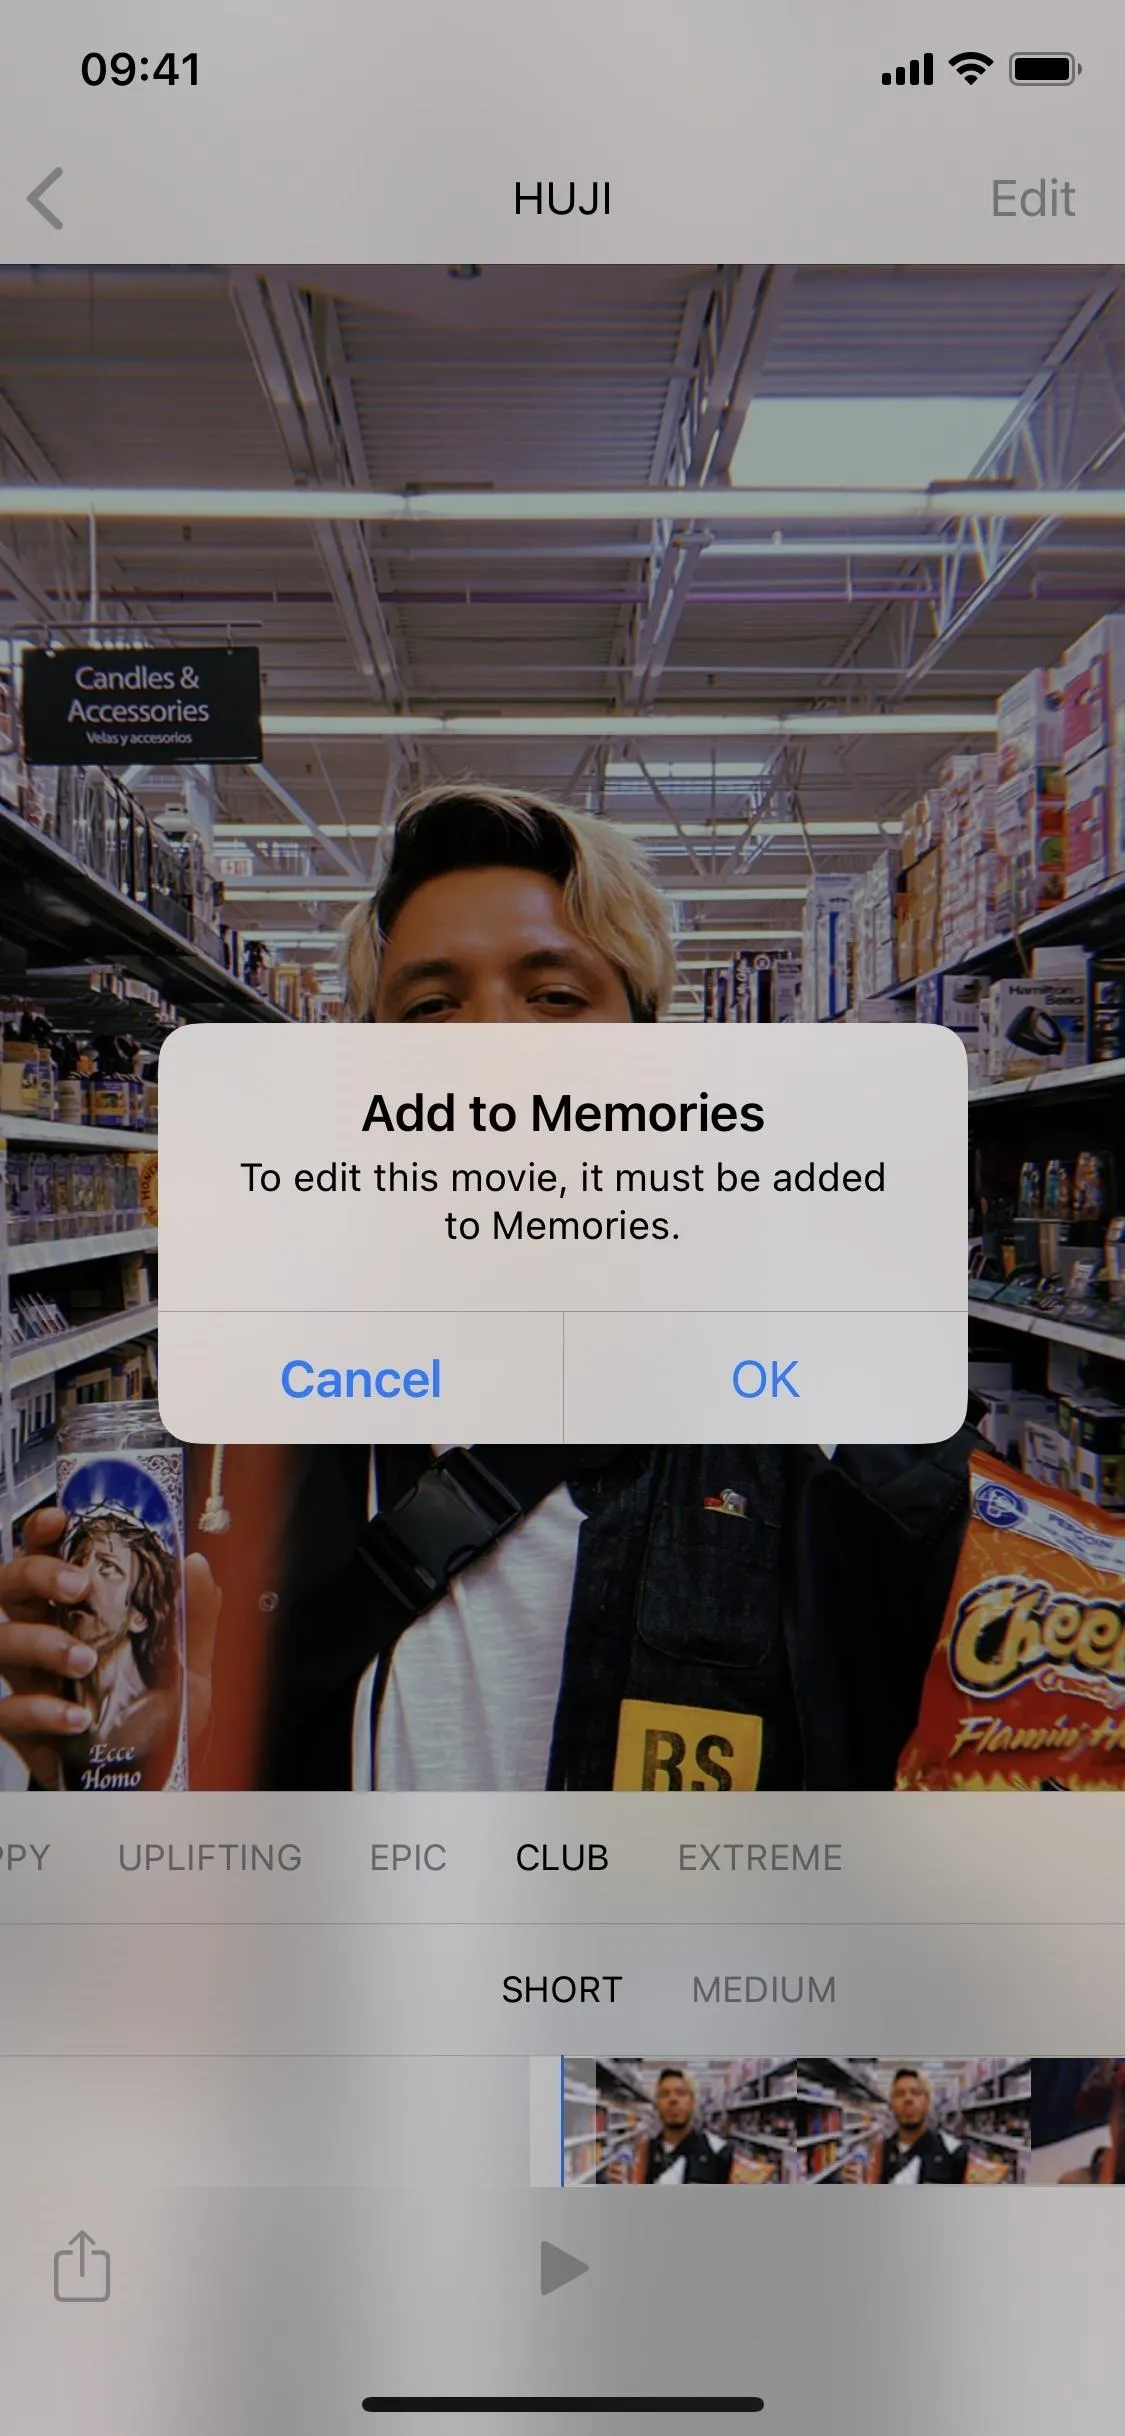
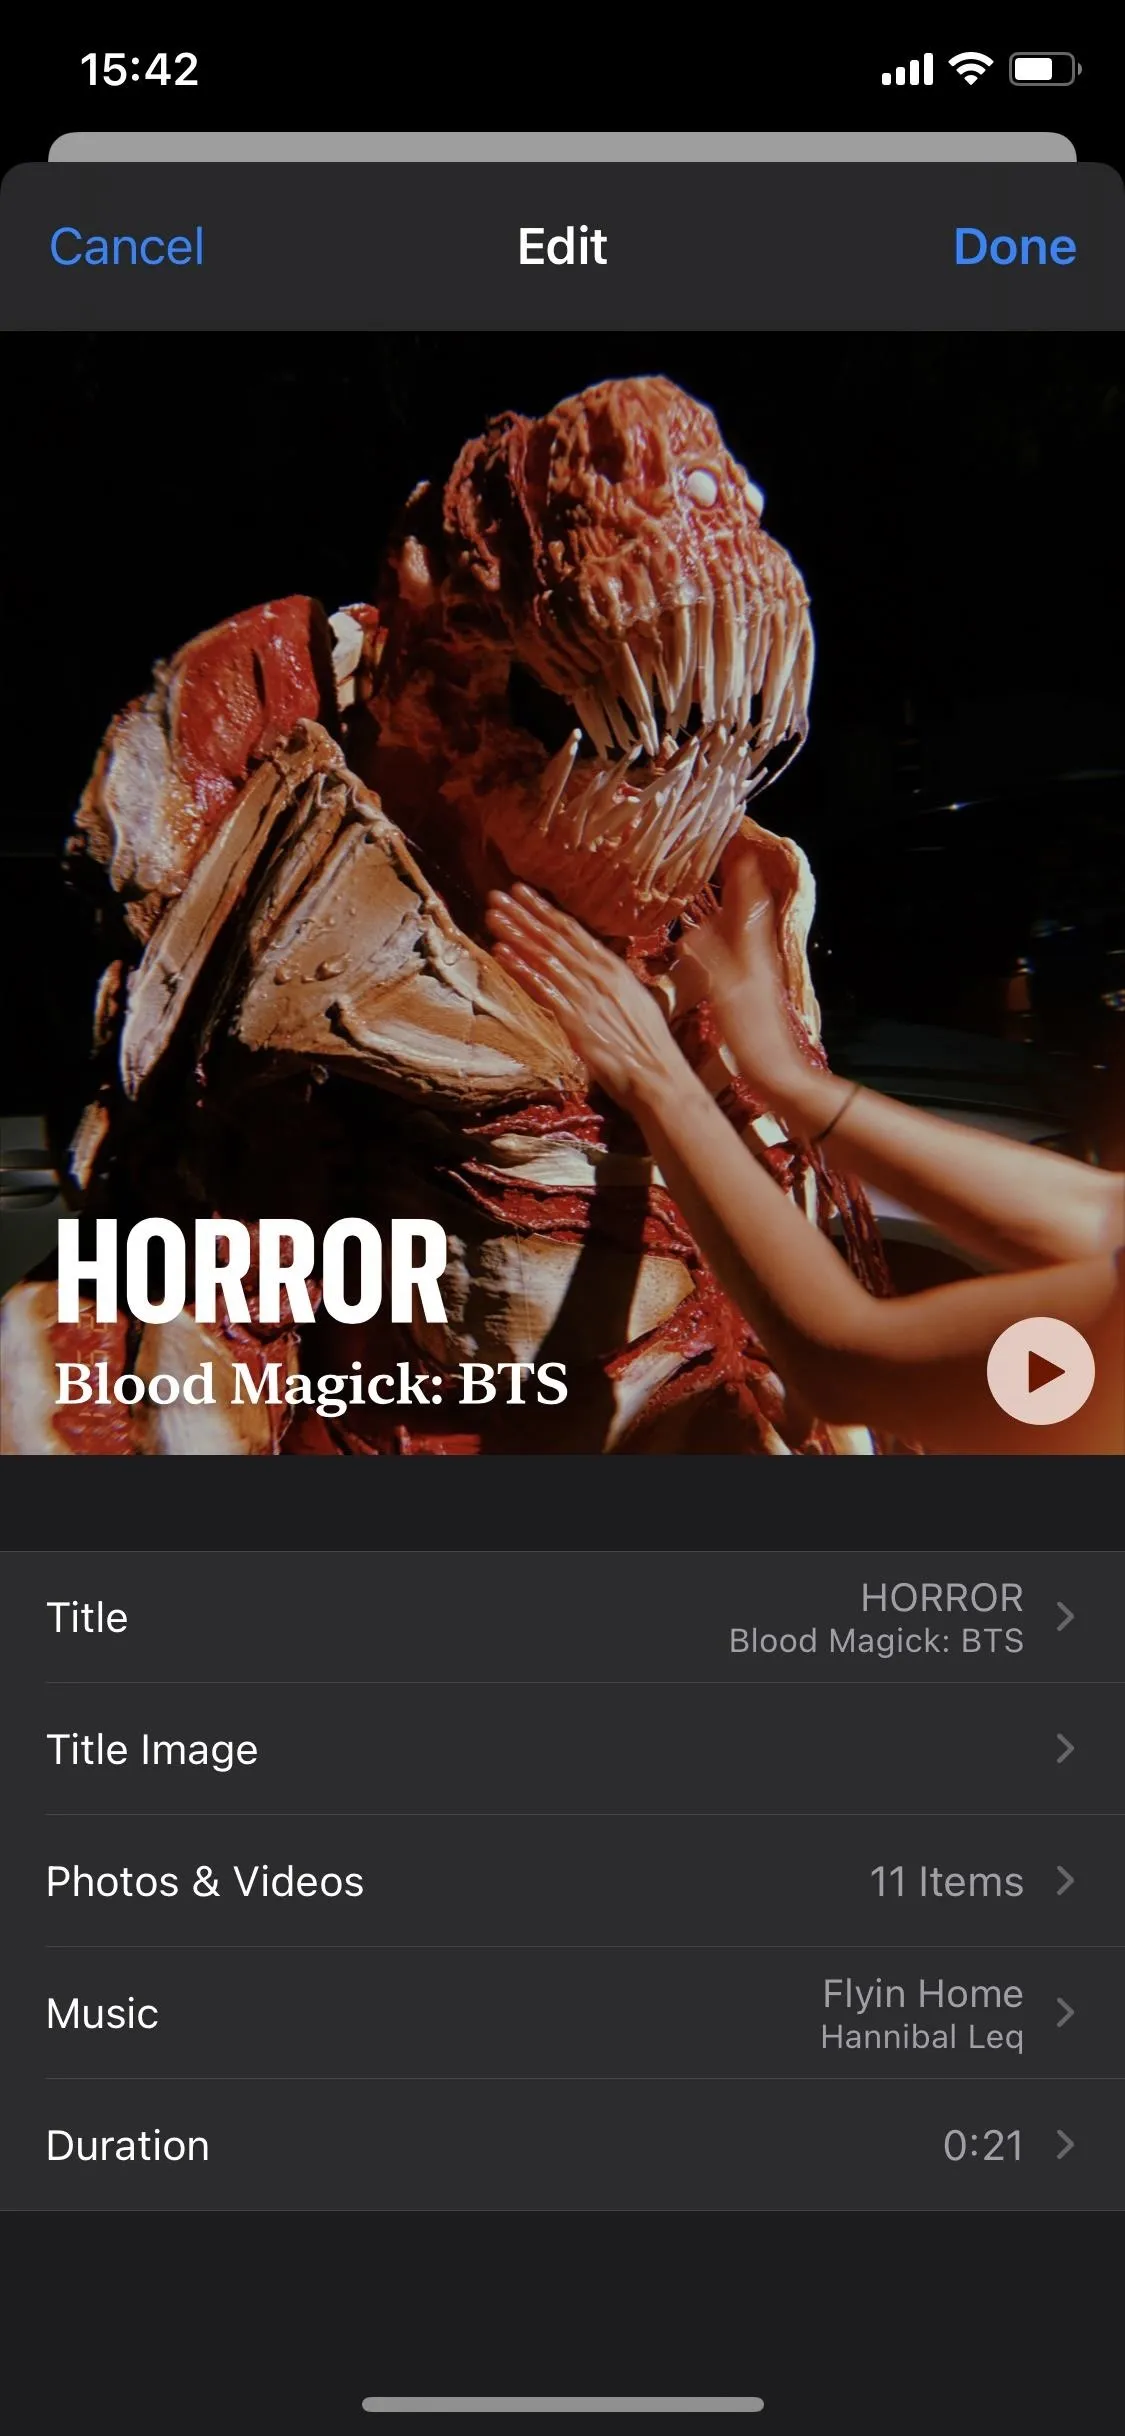
To make even more detailed edits to the Memory Movie, tap on "Edit" in the top right. A pop-up will appear saying that the movie must first be added to Memories in the Photos app. Tap on "OK" to bring up more editing options. On the editing page, you can change the movie title, the title image, the photos and videos in the movie, the music, and the duration.

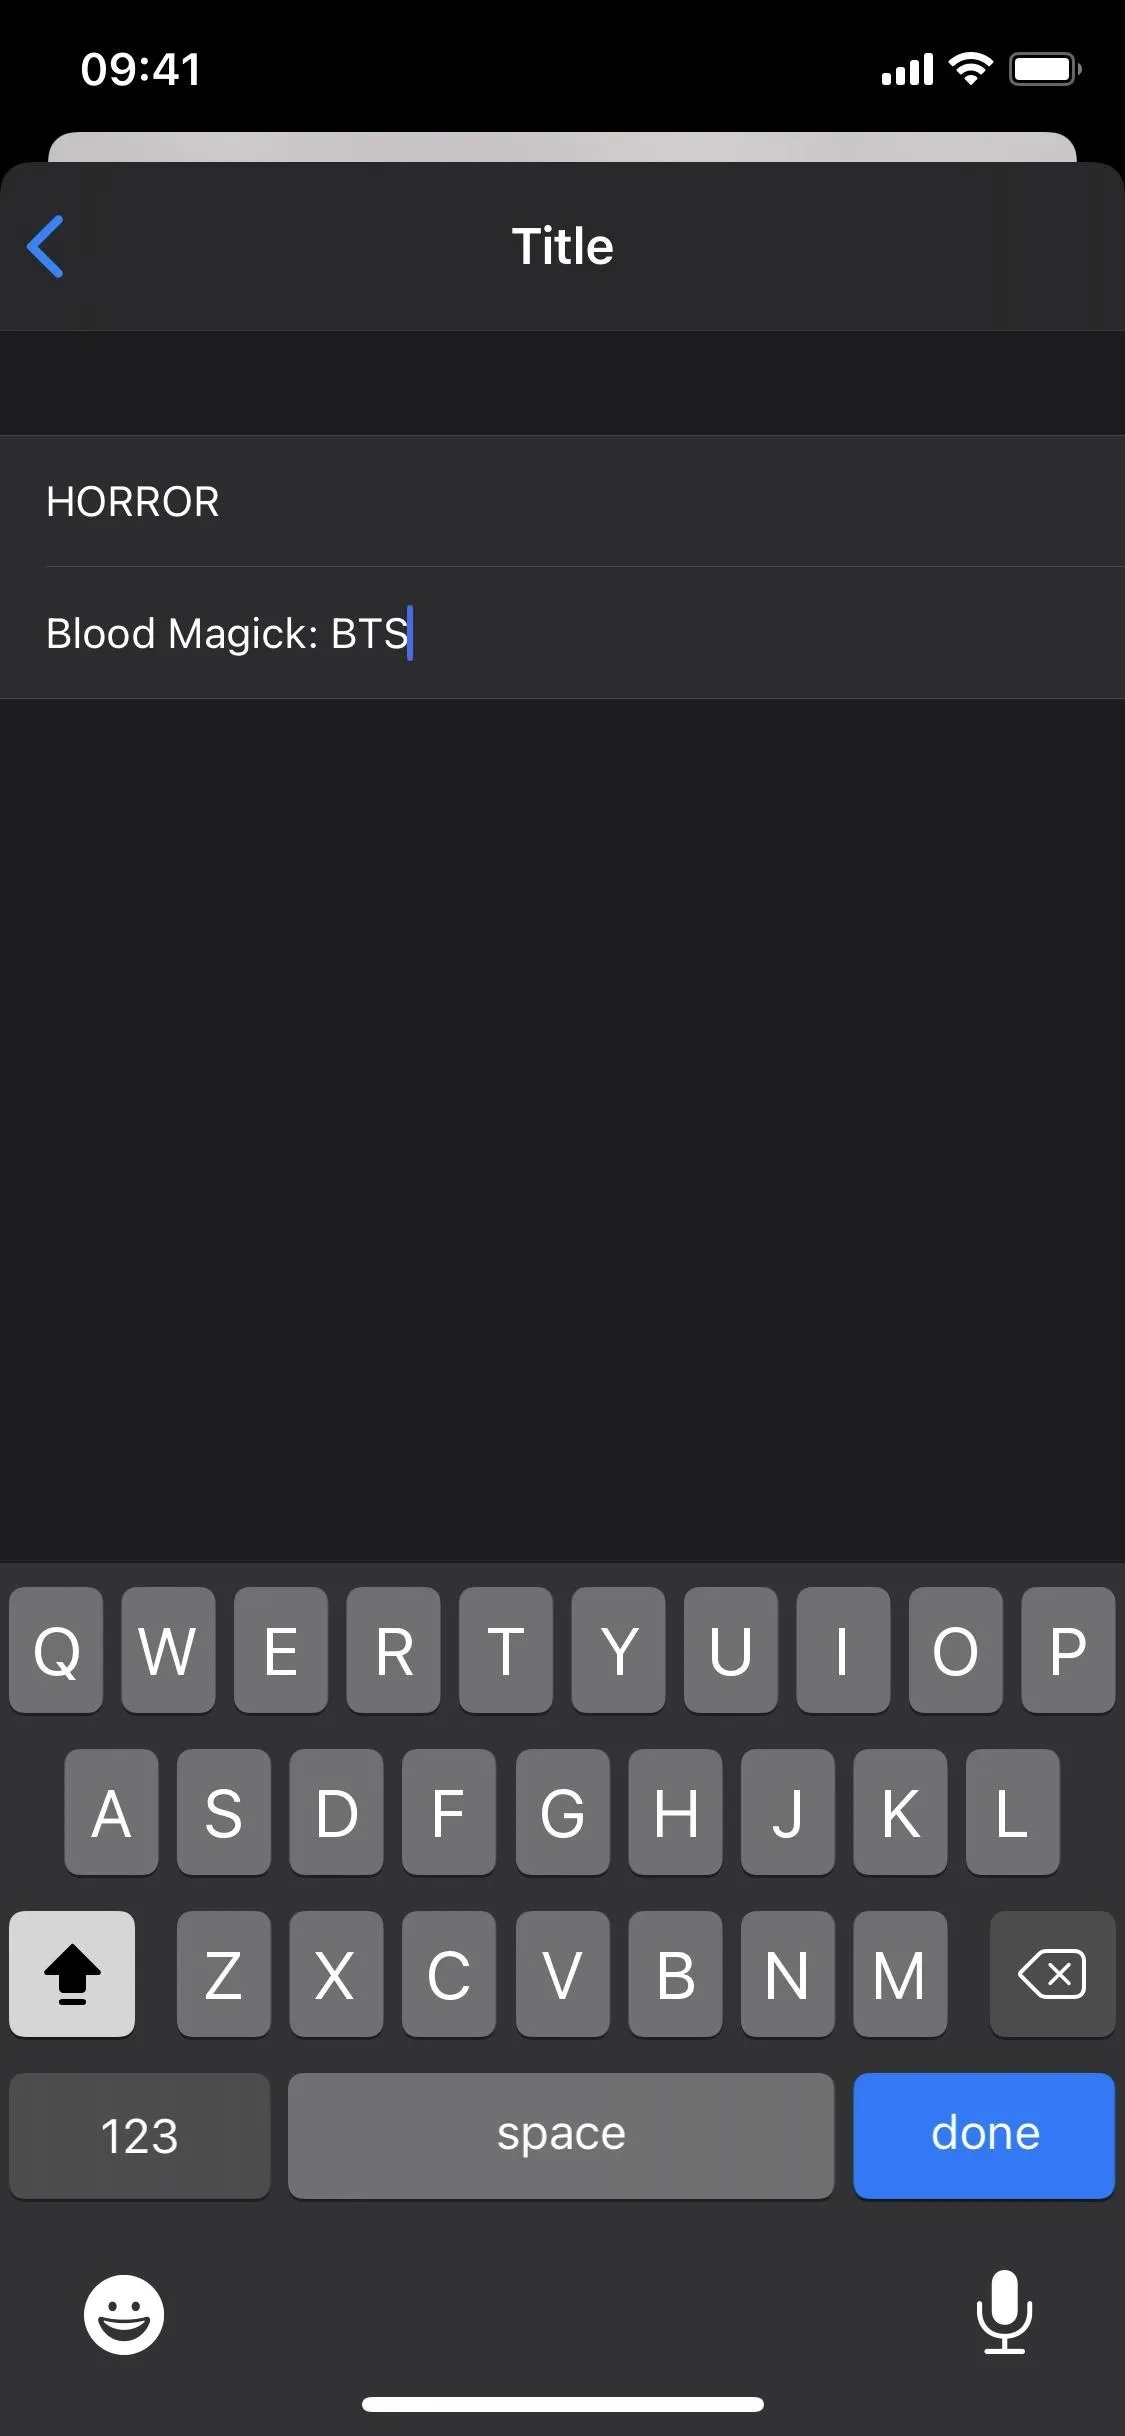
The first thing you can edit is the movie title, which appears at the beginning of the film in the bottom-left corner. In the "Title" option, you can choose a new title, as well as a smaller subtitle to appear underneath it.
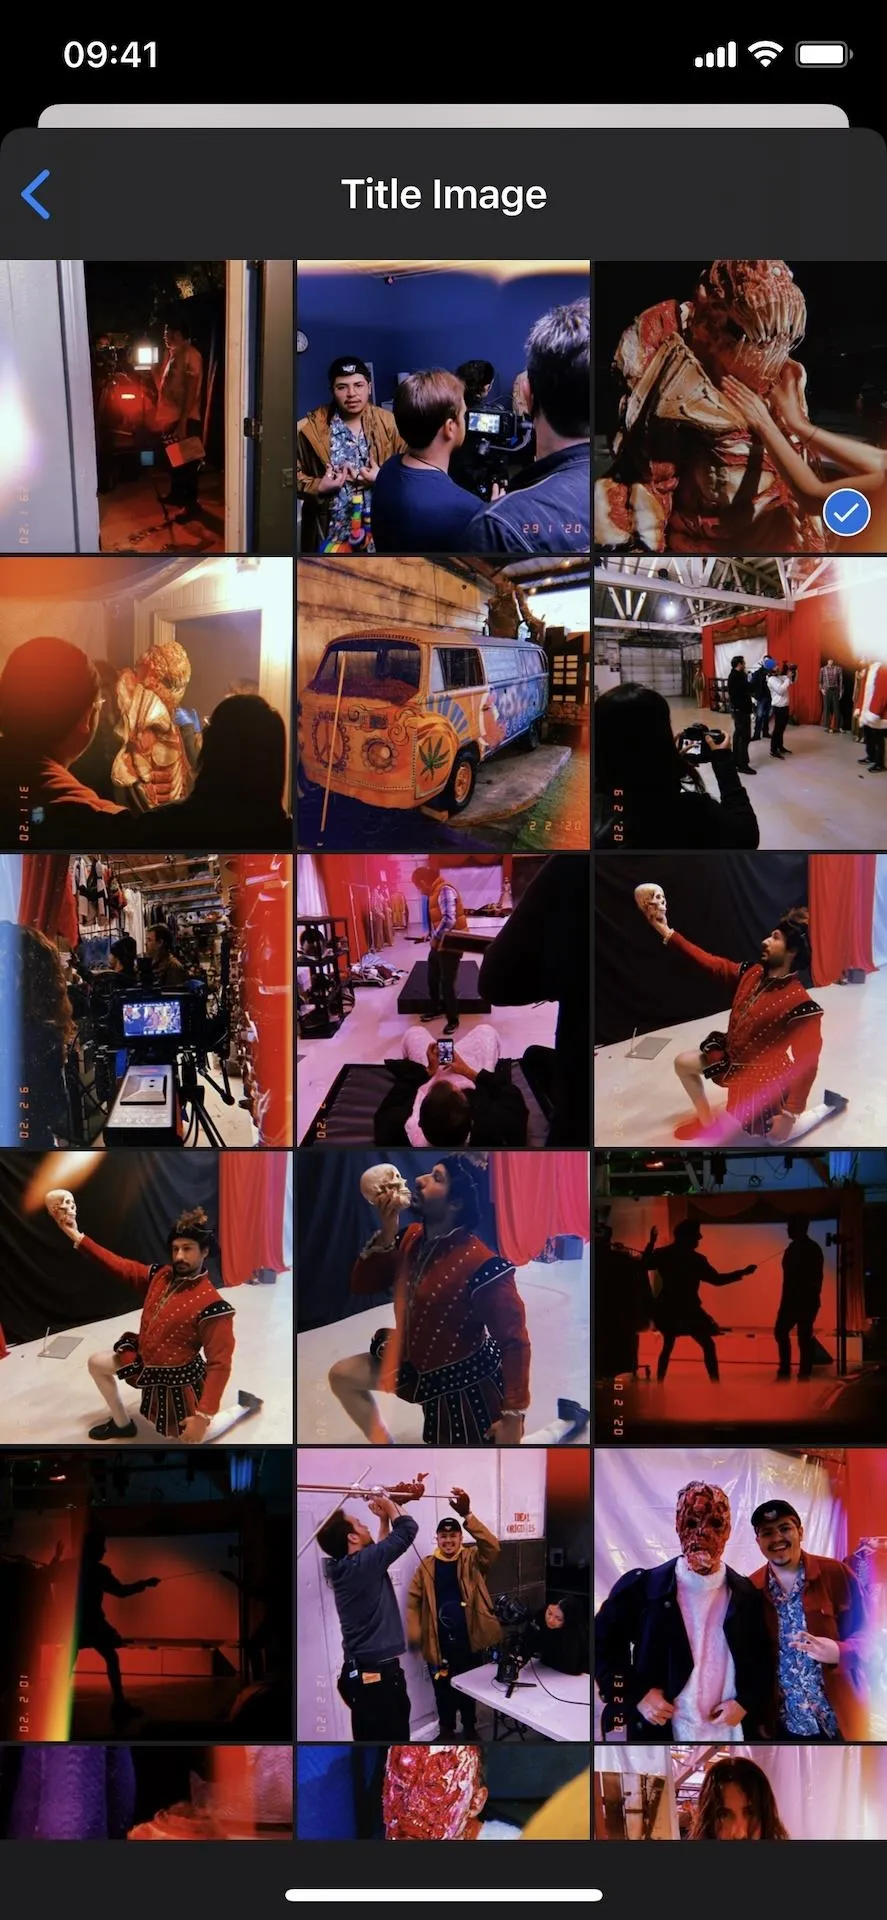
The next option is "Title Image," which allows you to choose a new cover for the Memory Movie; you can choose from any of the photos or videos that are already part of the movie.
Custom Your Memory Movie's Included Photos & Videos
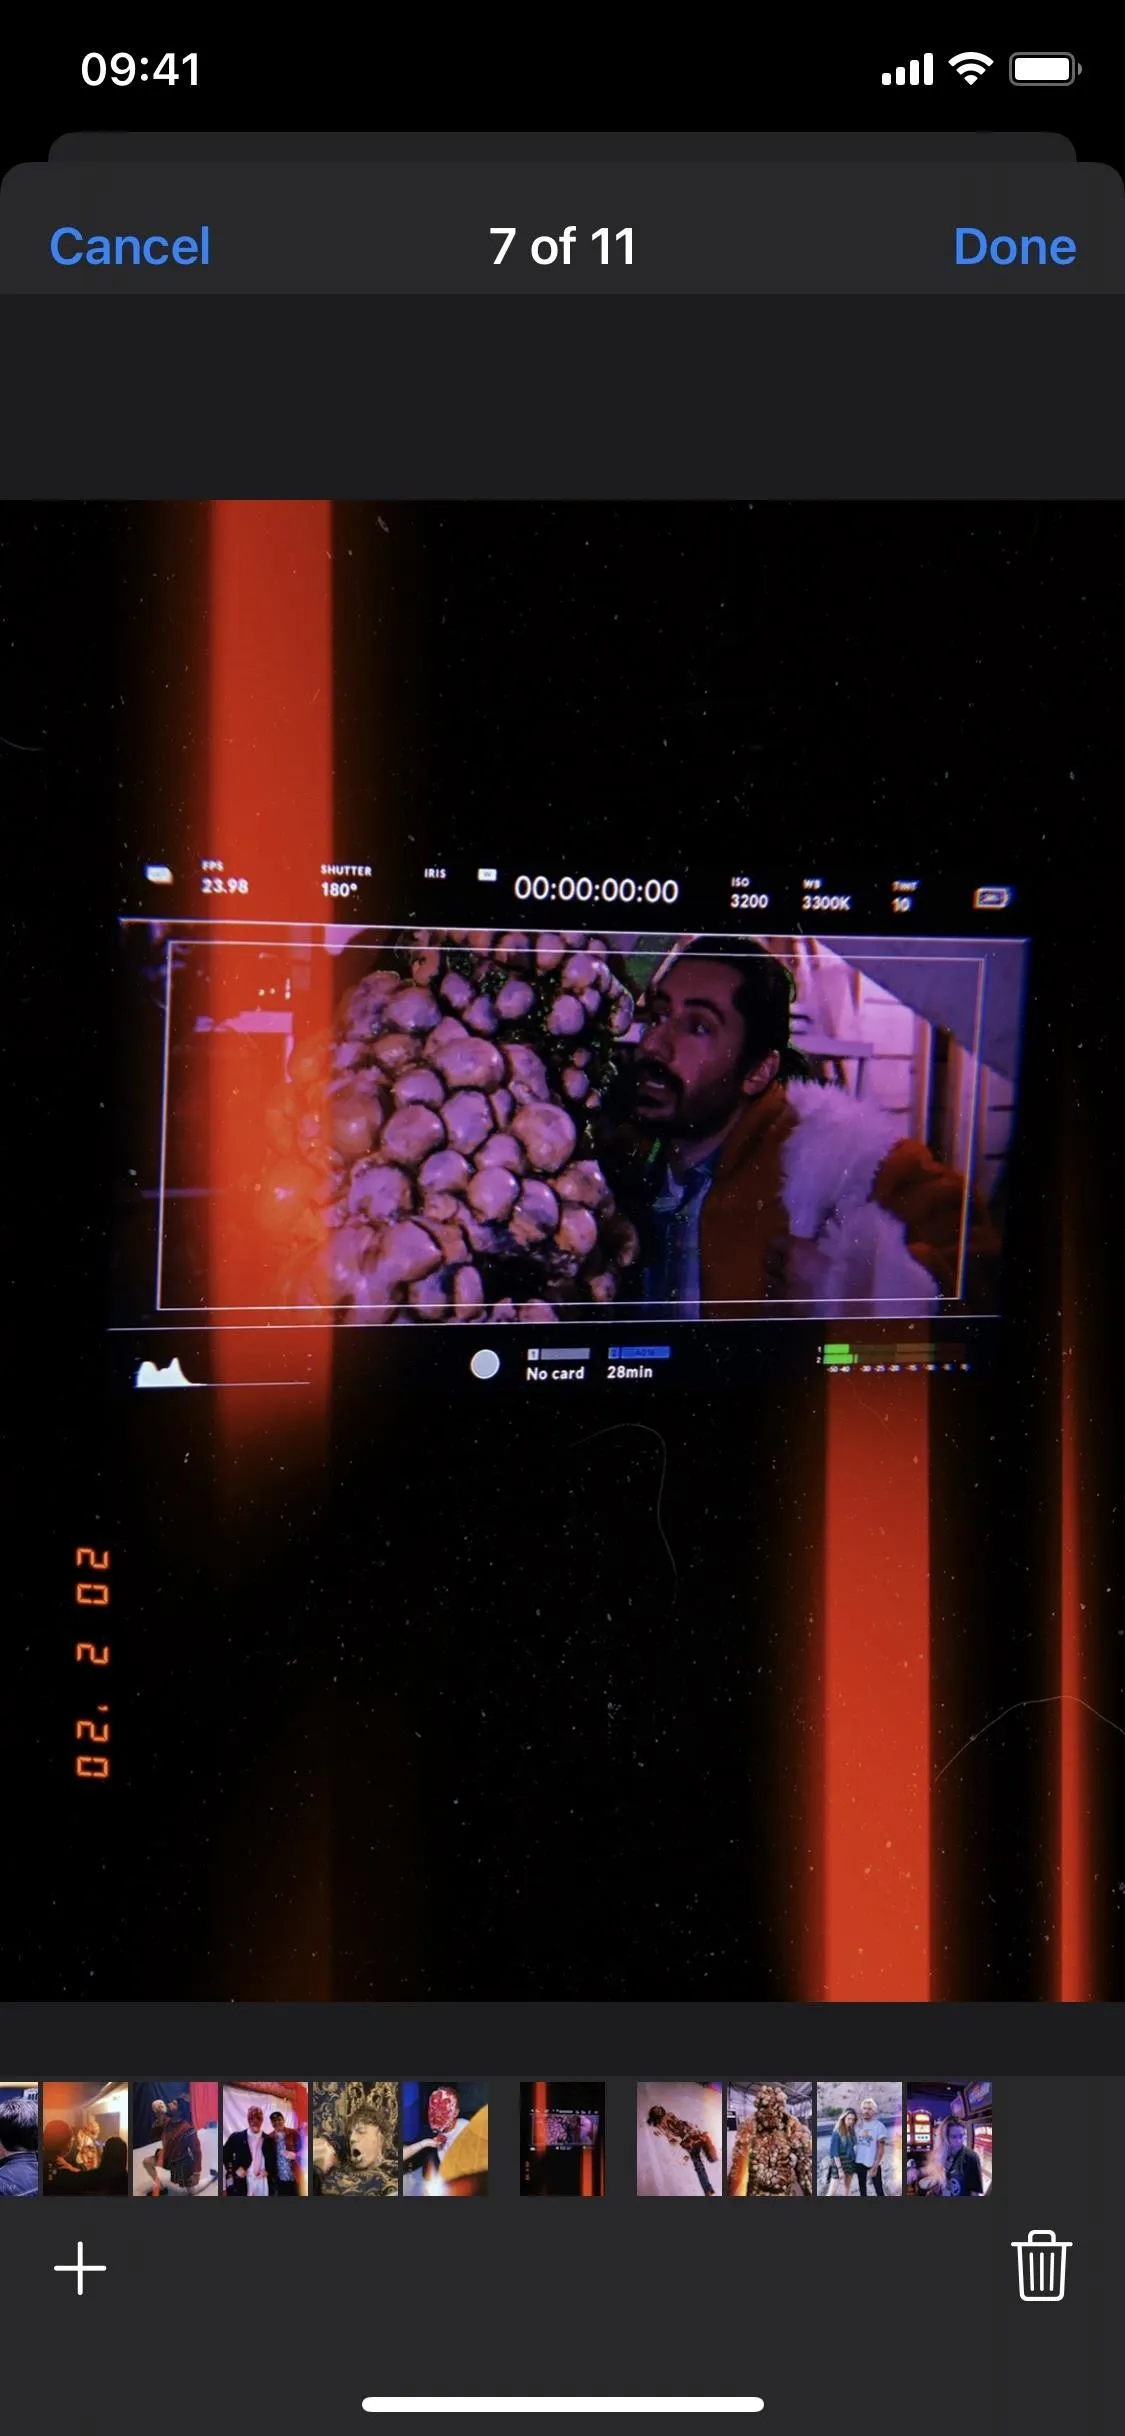
In "Photos and Videos," you can see every single photo and video in the Memory Movie. If you want to add more content to the movie, tap on the plus (+) sign, and then select more photos or videos from your entire camera roll. Any photos or videos that are already selected are part of your movie. To delete a photo, either unselect it here or tap on the trash can icon when you're looking at it in the editor.

Fine-Tune Your Memory Movie's Music Track
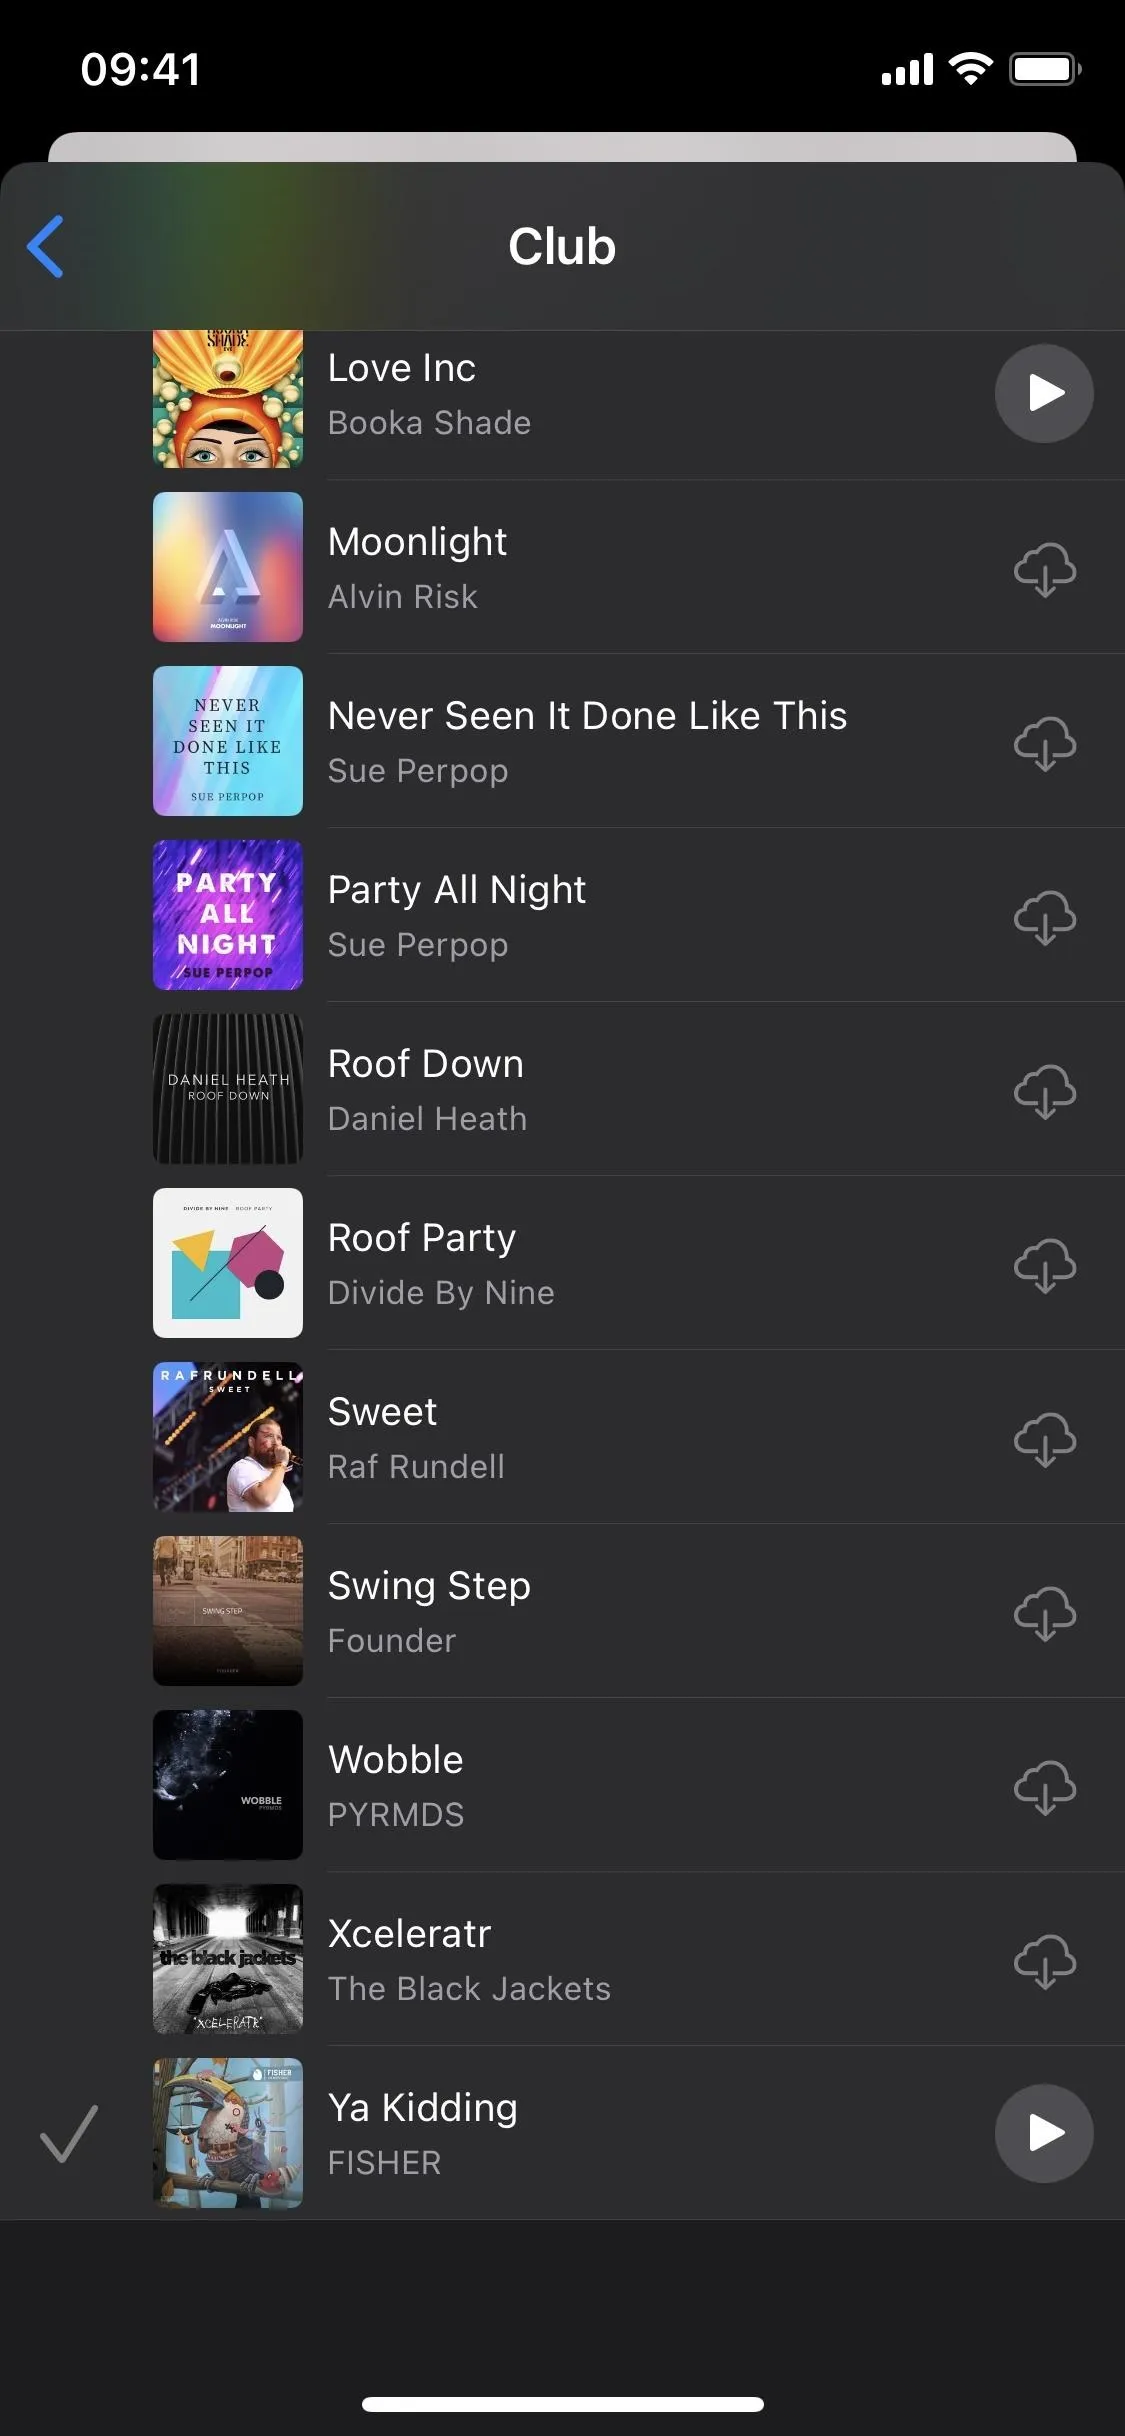
Next, you can choose "Music" to go beyond the default tracks. Although you'll see the same options as before, like Club and Uplifting, you can go into any option and choose a different song that fits the theme of the category. You can preview songs before adding them to the movie. Also, you can choose tracks from your own Music library or Apple Music.
Customize Your Memory Movie's Duration
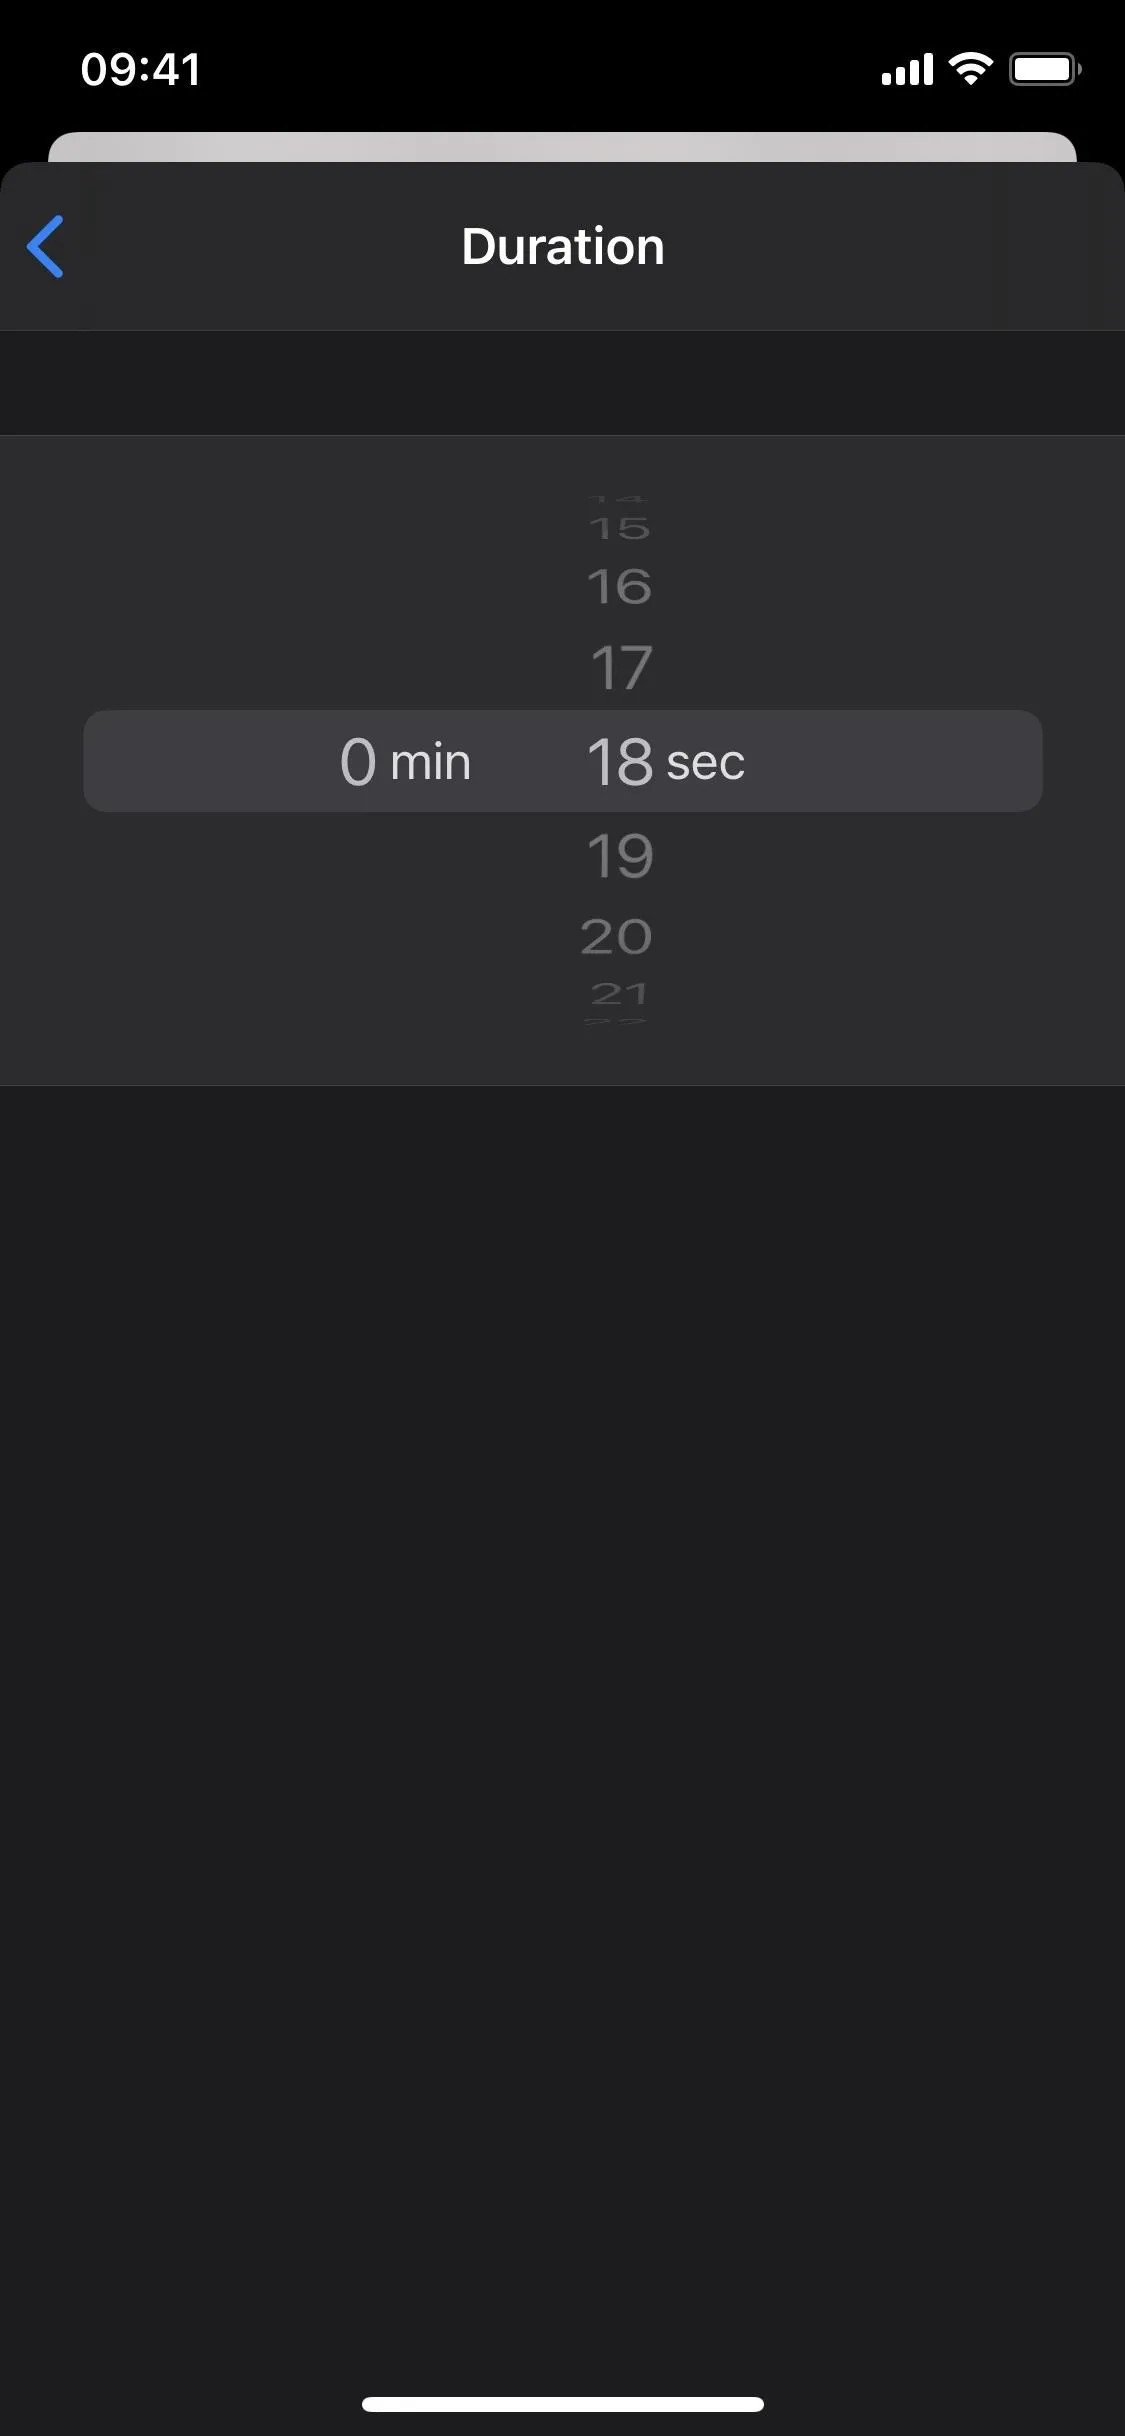
Finally, you can manually edit the exact length of the movie in "Duration." You can adjust the length in minutes and seconds. Once you're finished, you can look over all of your edits, watch the newly edited movie, and hit "Done" to save all the changes.
View Memory Movie in "For You" Tab in Photos
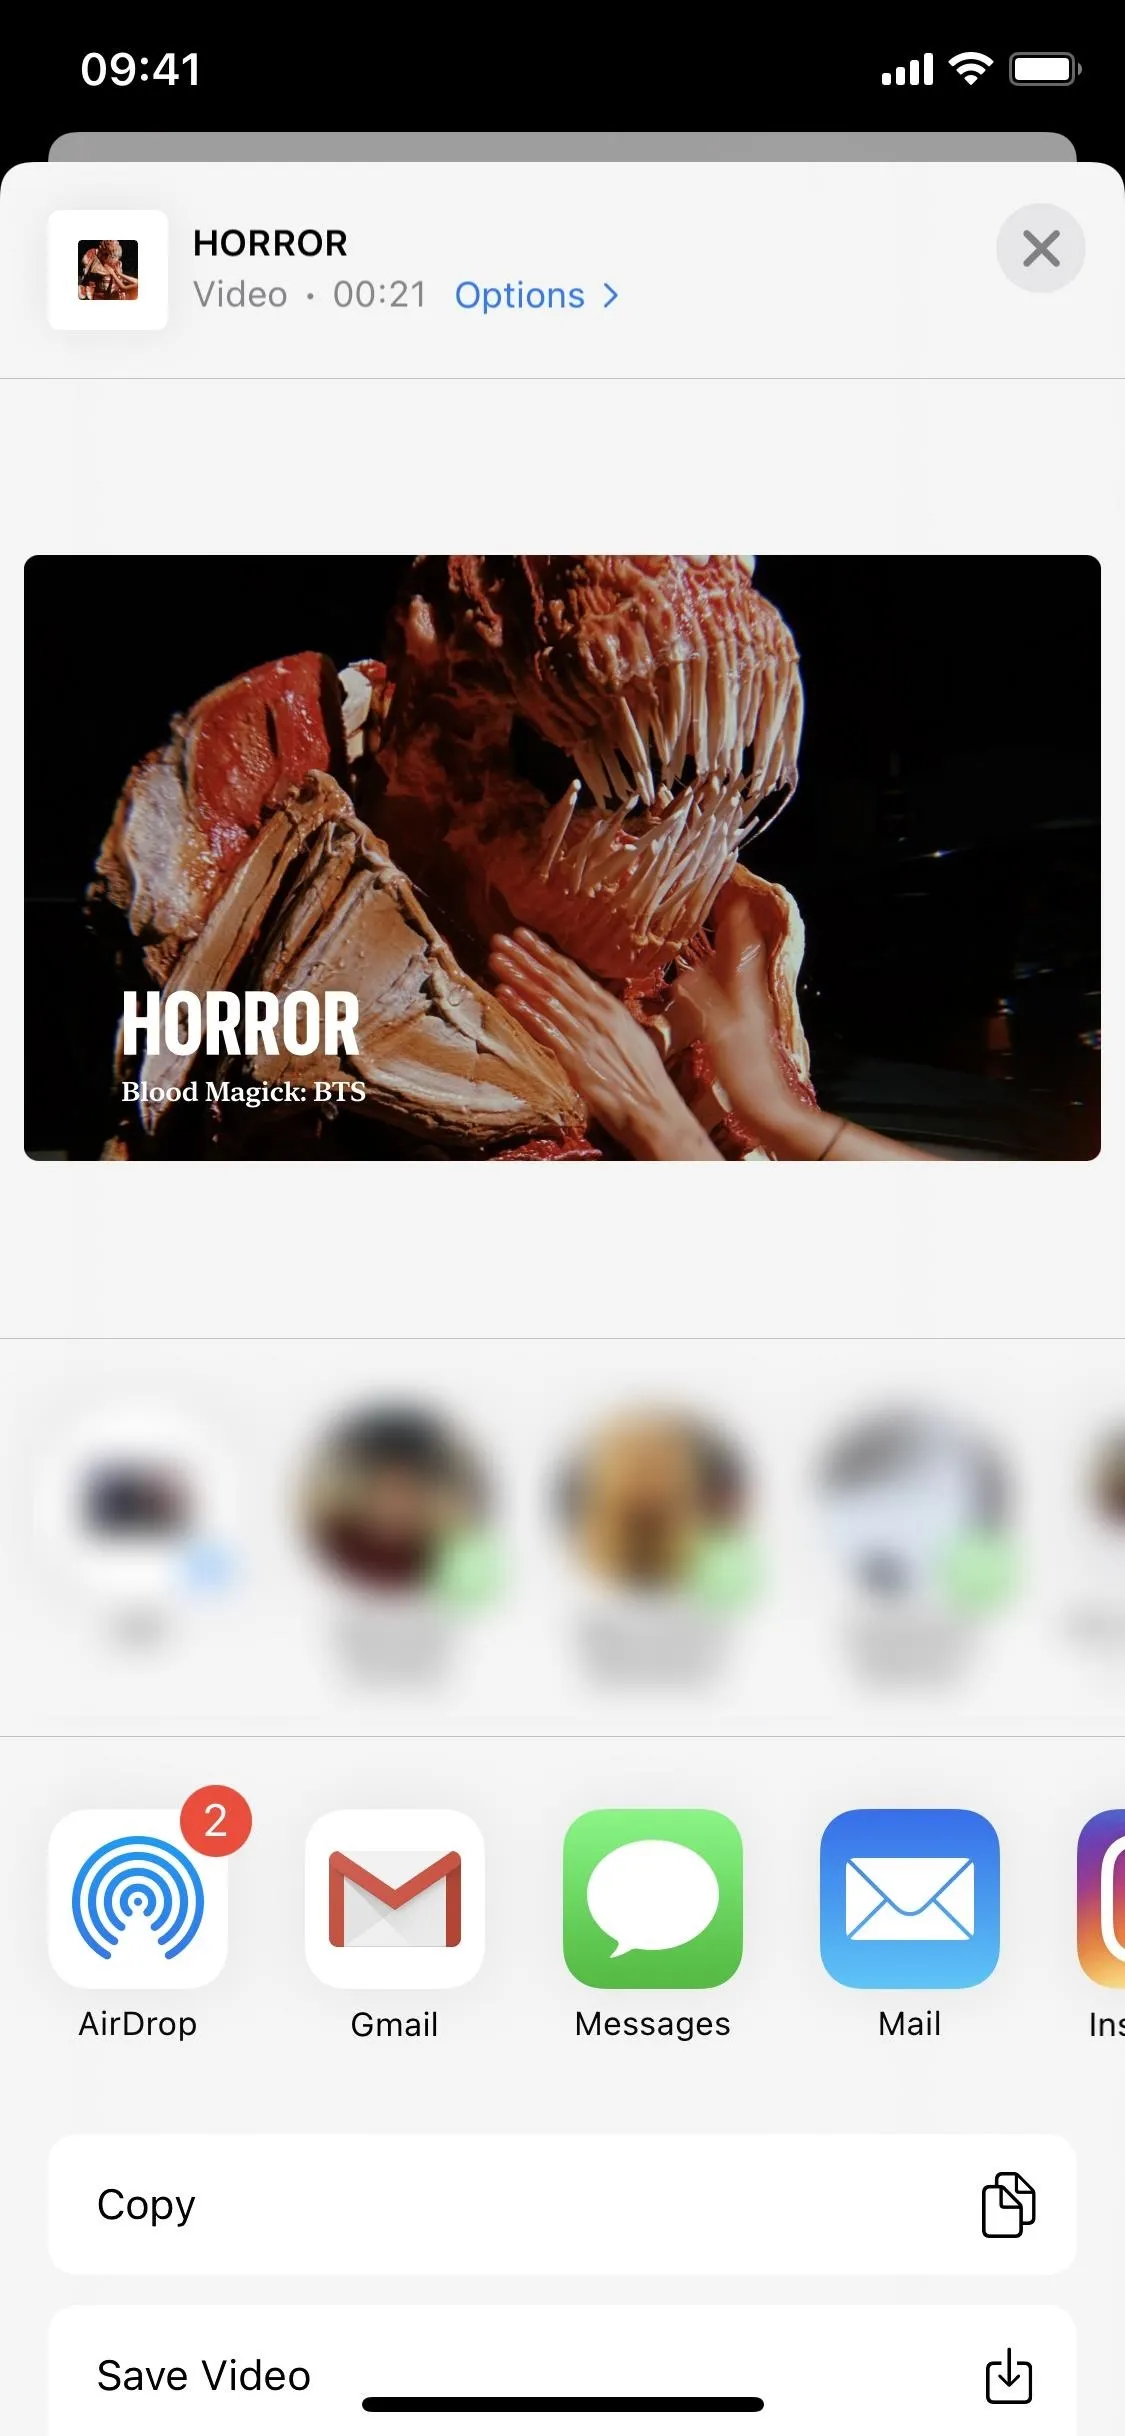
The Memory Movie will be saved in the "For You" tab in the Photos app, where the rest of the auto-generated Memory movies are stored. From here, you can watch, edit, share, copy, and save the movie, just like you would with any other video in Photos.

Cover photo and screenshots by Nelson Aguilar/Gadget Hacks


Comments
Be the first, drop a comment!