A slideshow is a tried-and-true way to show off pictures and videos from your adventures, whether it's a long trip overseas, an extravagant wedding, or a quick hiking trip up a mountain. However, in iOS 13 and under, you could only start a slideshow from a photo or video or choose media individually to include in one. But iOS 14 makes it even easier to do in your iPhone's Photos app.
While it wasn't ever particularly hard to create a slideshow before, the newest feature for slideshows makes it even simpler. Plus, it helps you keep things organized by knowing exactly what is included in the slideshow while being able to edit it over time whenever you want to throw more pics and vids in the mix.
Instead of choosing a bunch of photos and videos and then starting the slideshow, or just opening one image or video in an album and starting a slideshow from there, you can now choose to create a slideshow of an entire album without having to mess with those other ways. Let's see how it works.
- Don't Miss: 200+ New Features & Changes in iOS 14 for iPhone
Find or Create an Album
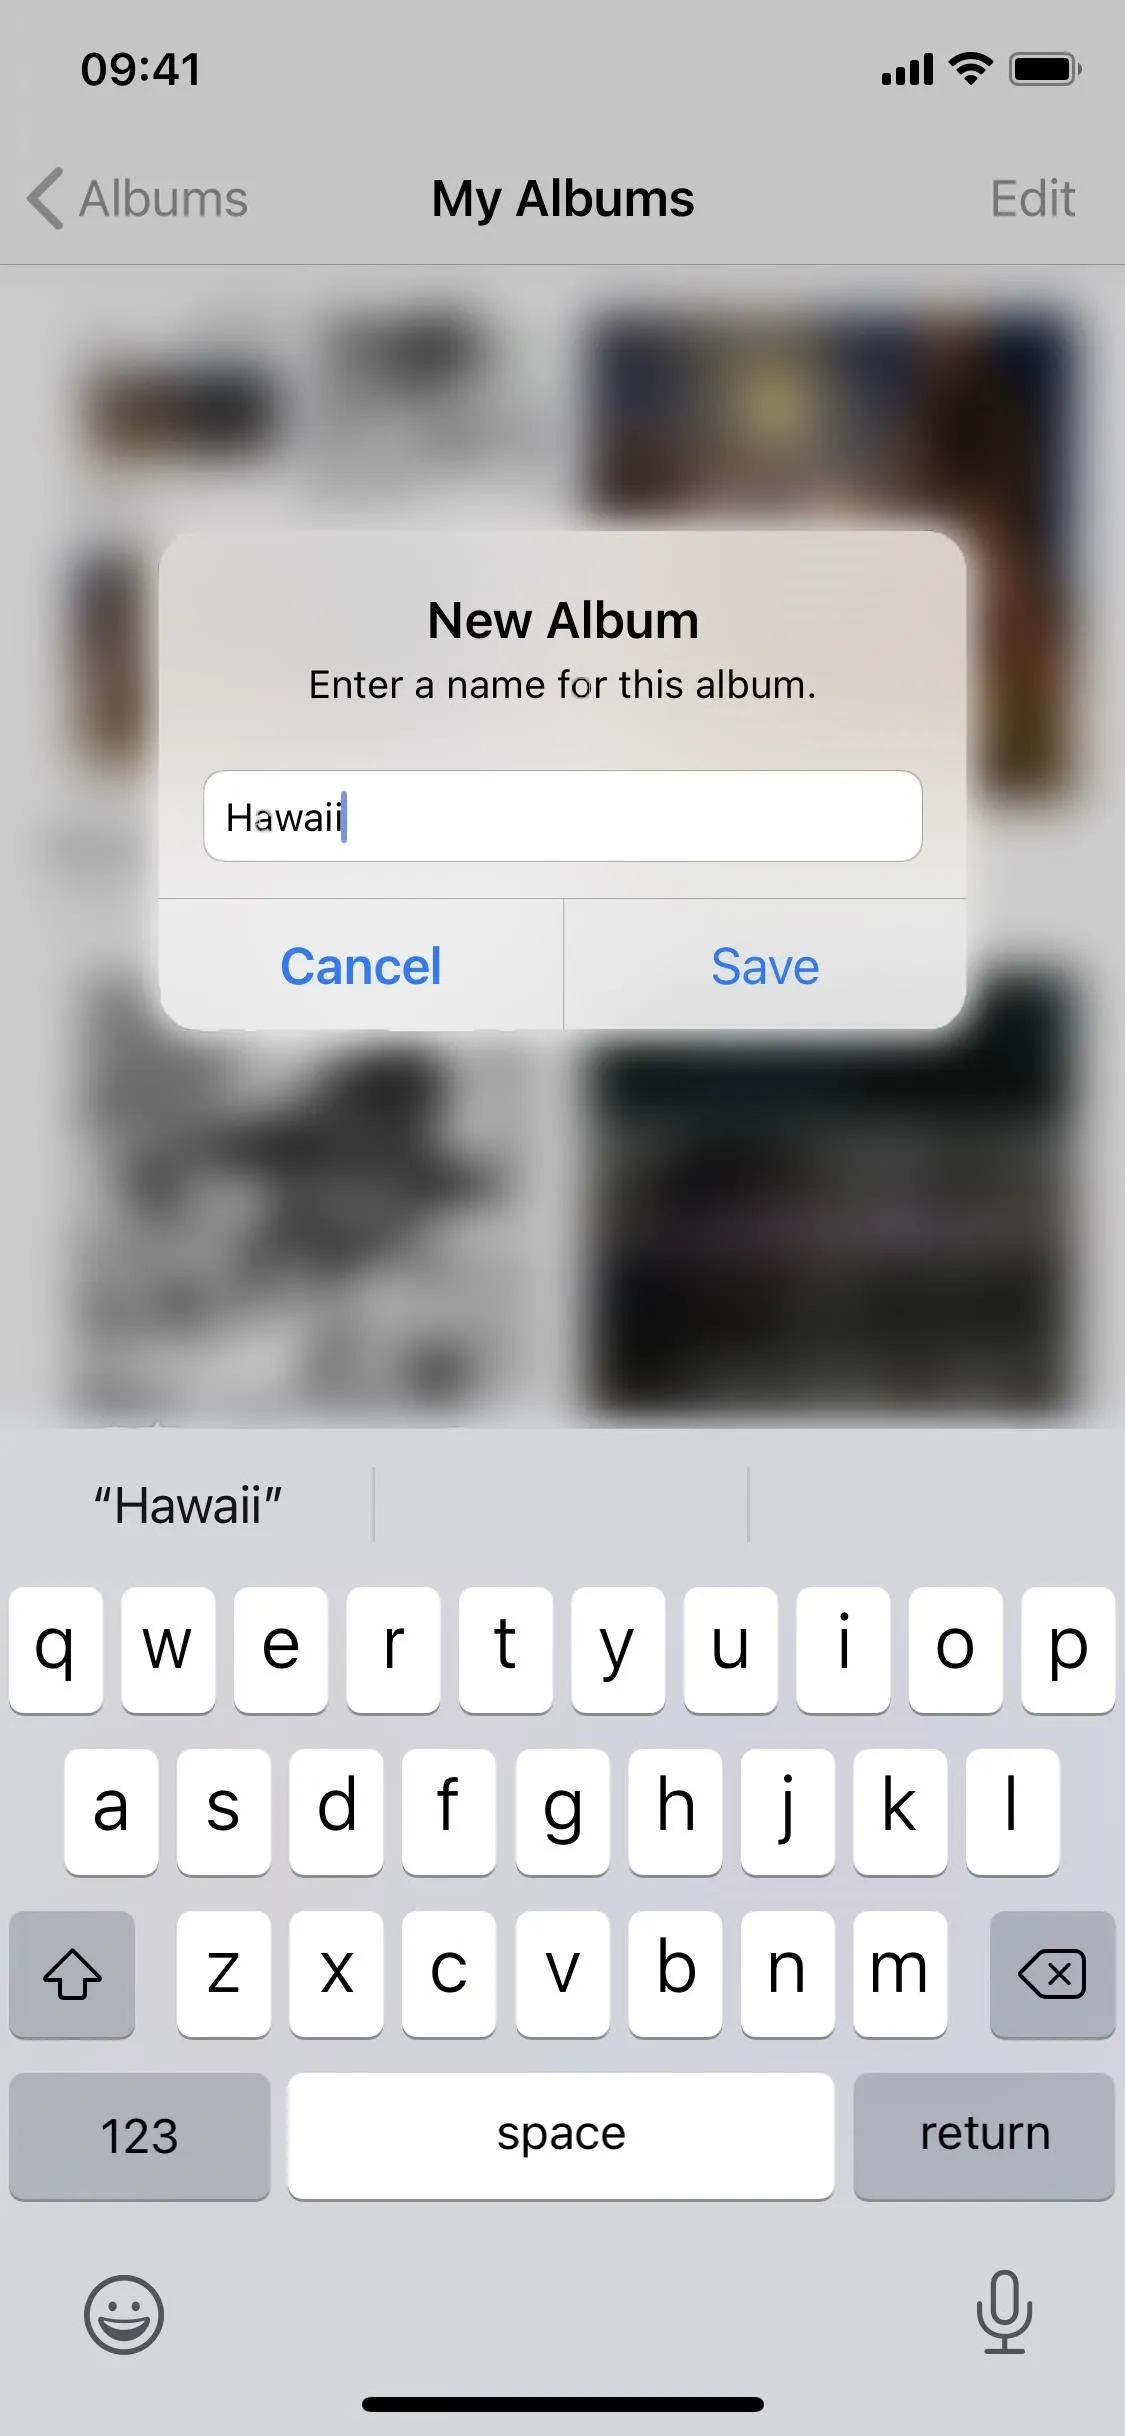
If you already have an album that you want to turn into a slideshow, great. You can skip to Step 2 below. If not, you'll want to create a new album, then fill it with all the photos and videos you want in the slideshow. From the "Albums" tab in Photos, tap the plus (+) icon in the top left and hit "New Album."
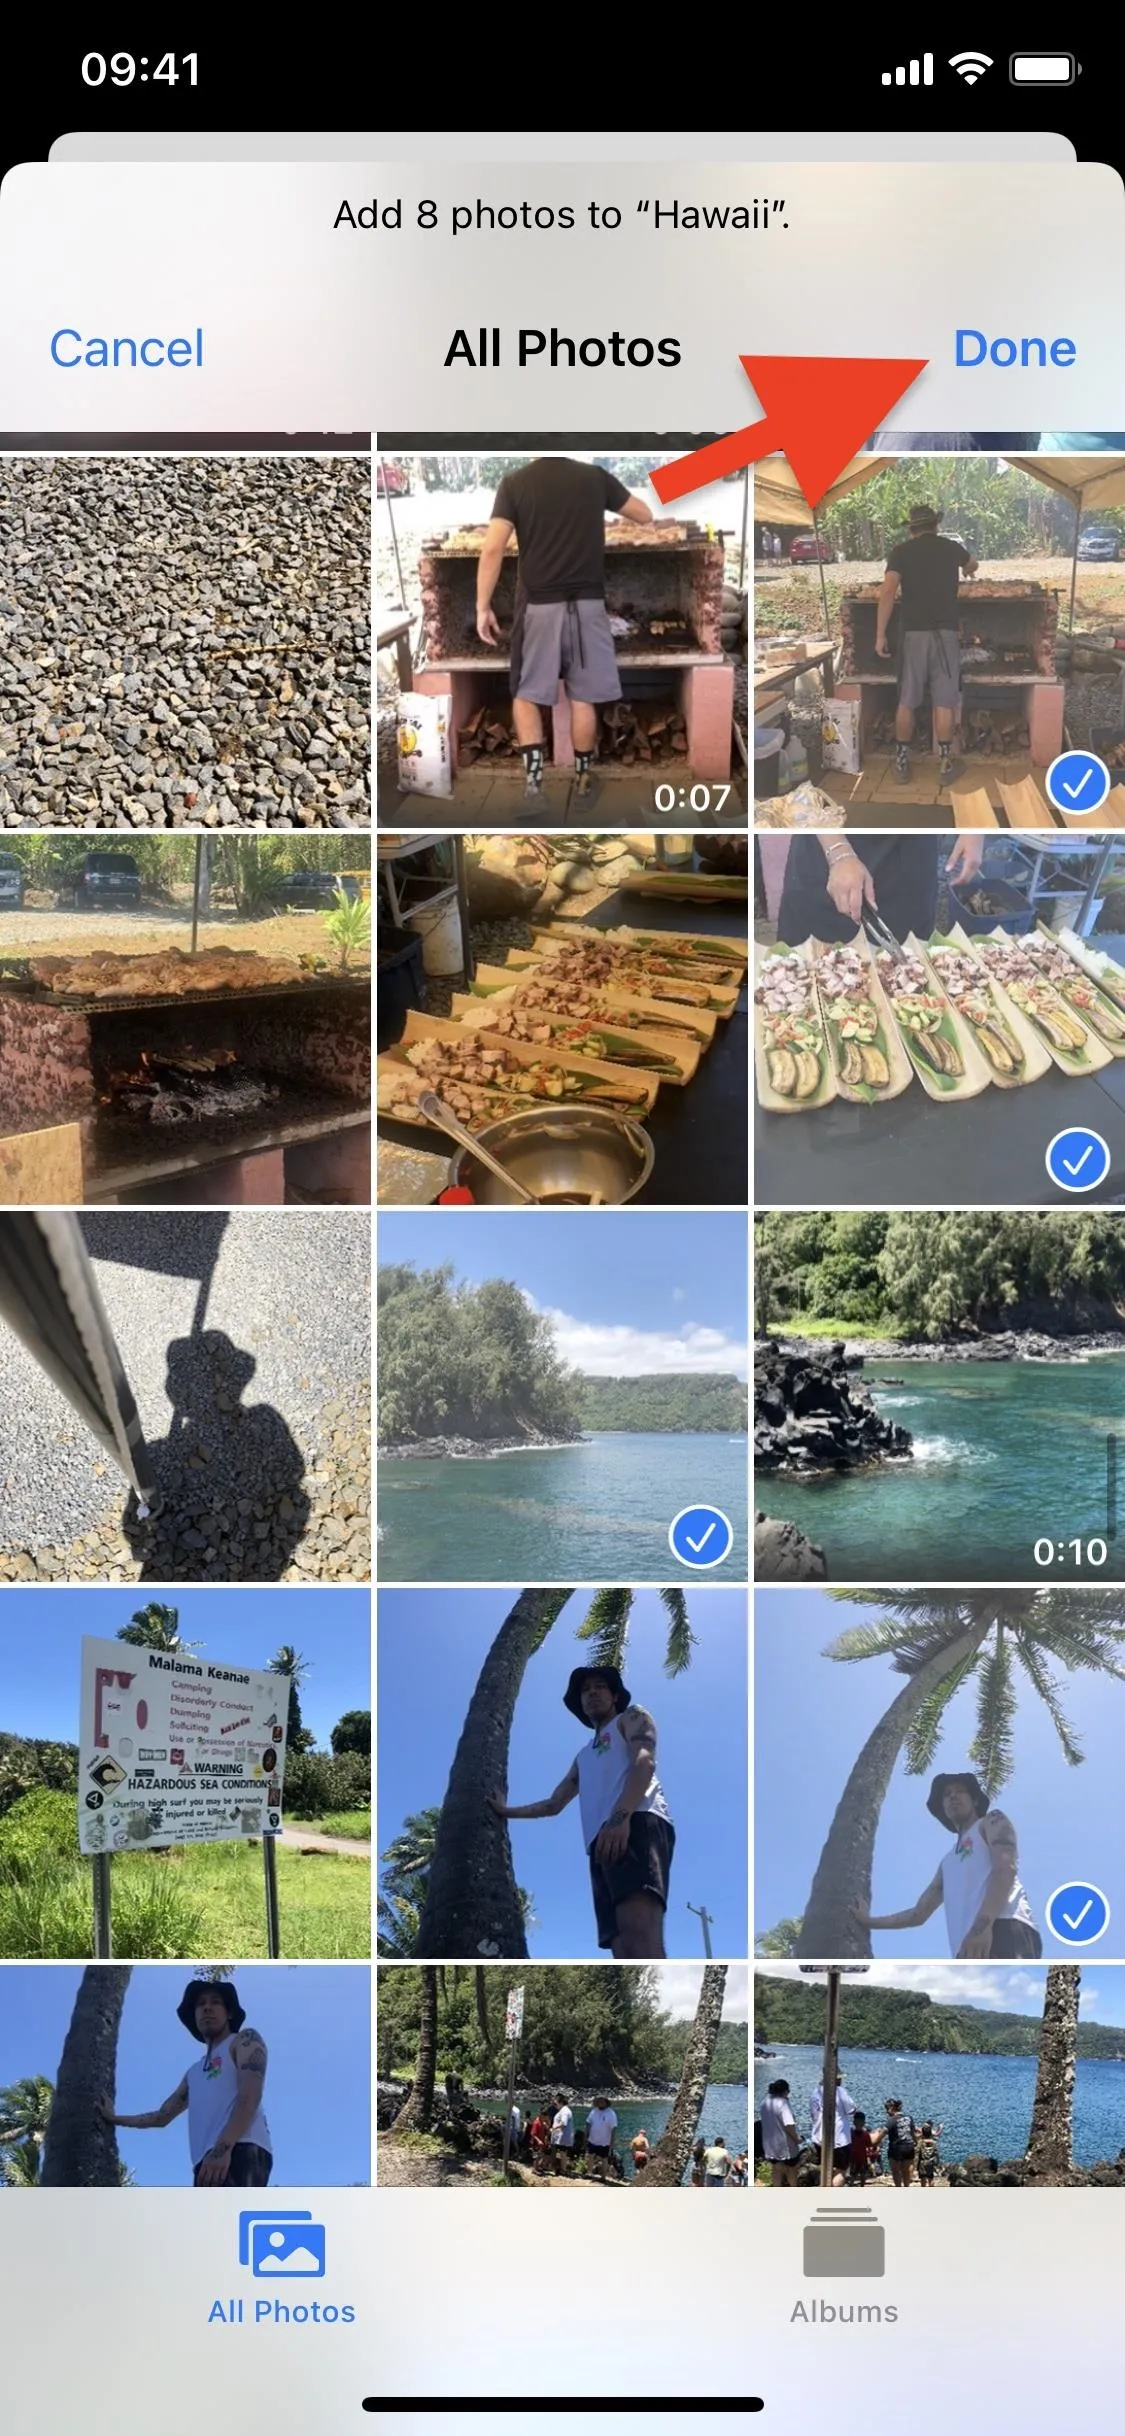
Next, add a name for the album and hit "Save." Then, in the photo picker, choose all of the photos and videos you want to throw in the new album. Tap "Done" to finish. You can also add photos and videos whenever you come across them from the Share sheet; just tap "Add to Album," then choose the album.



Alternatively, you can go into your "Recents" album or any other album, select multiple photos and videos, open the Share sheet, and choose "Add to Album." While you can add to an existing album as described above, you can also choose "New Album" to create a new one.
Start an Album Slideshow
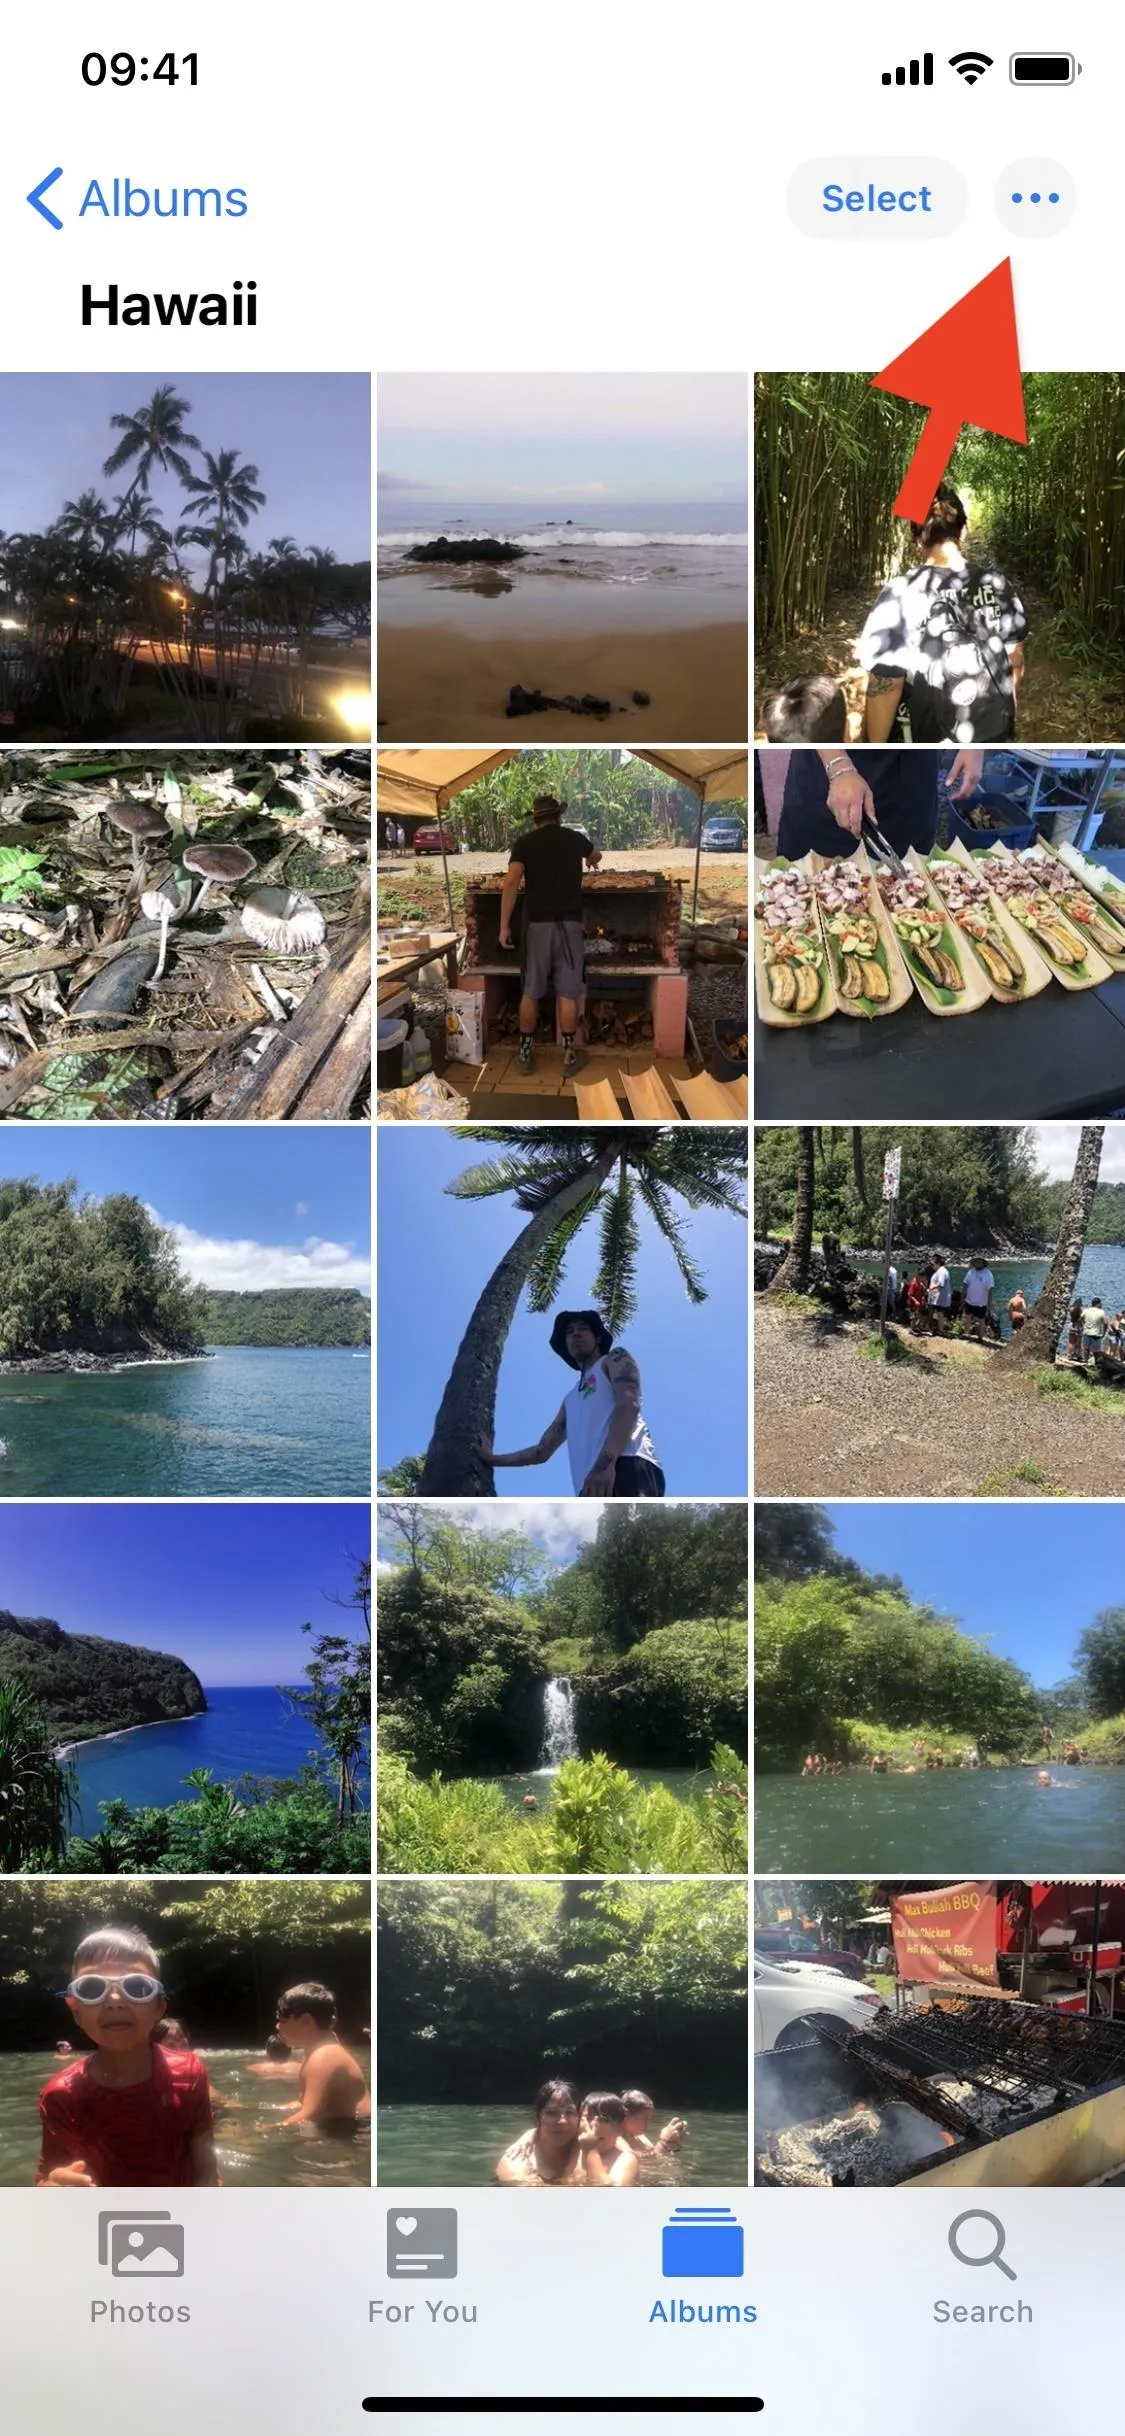
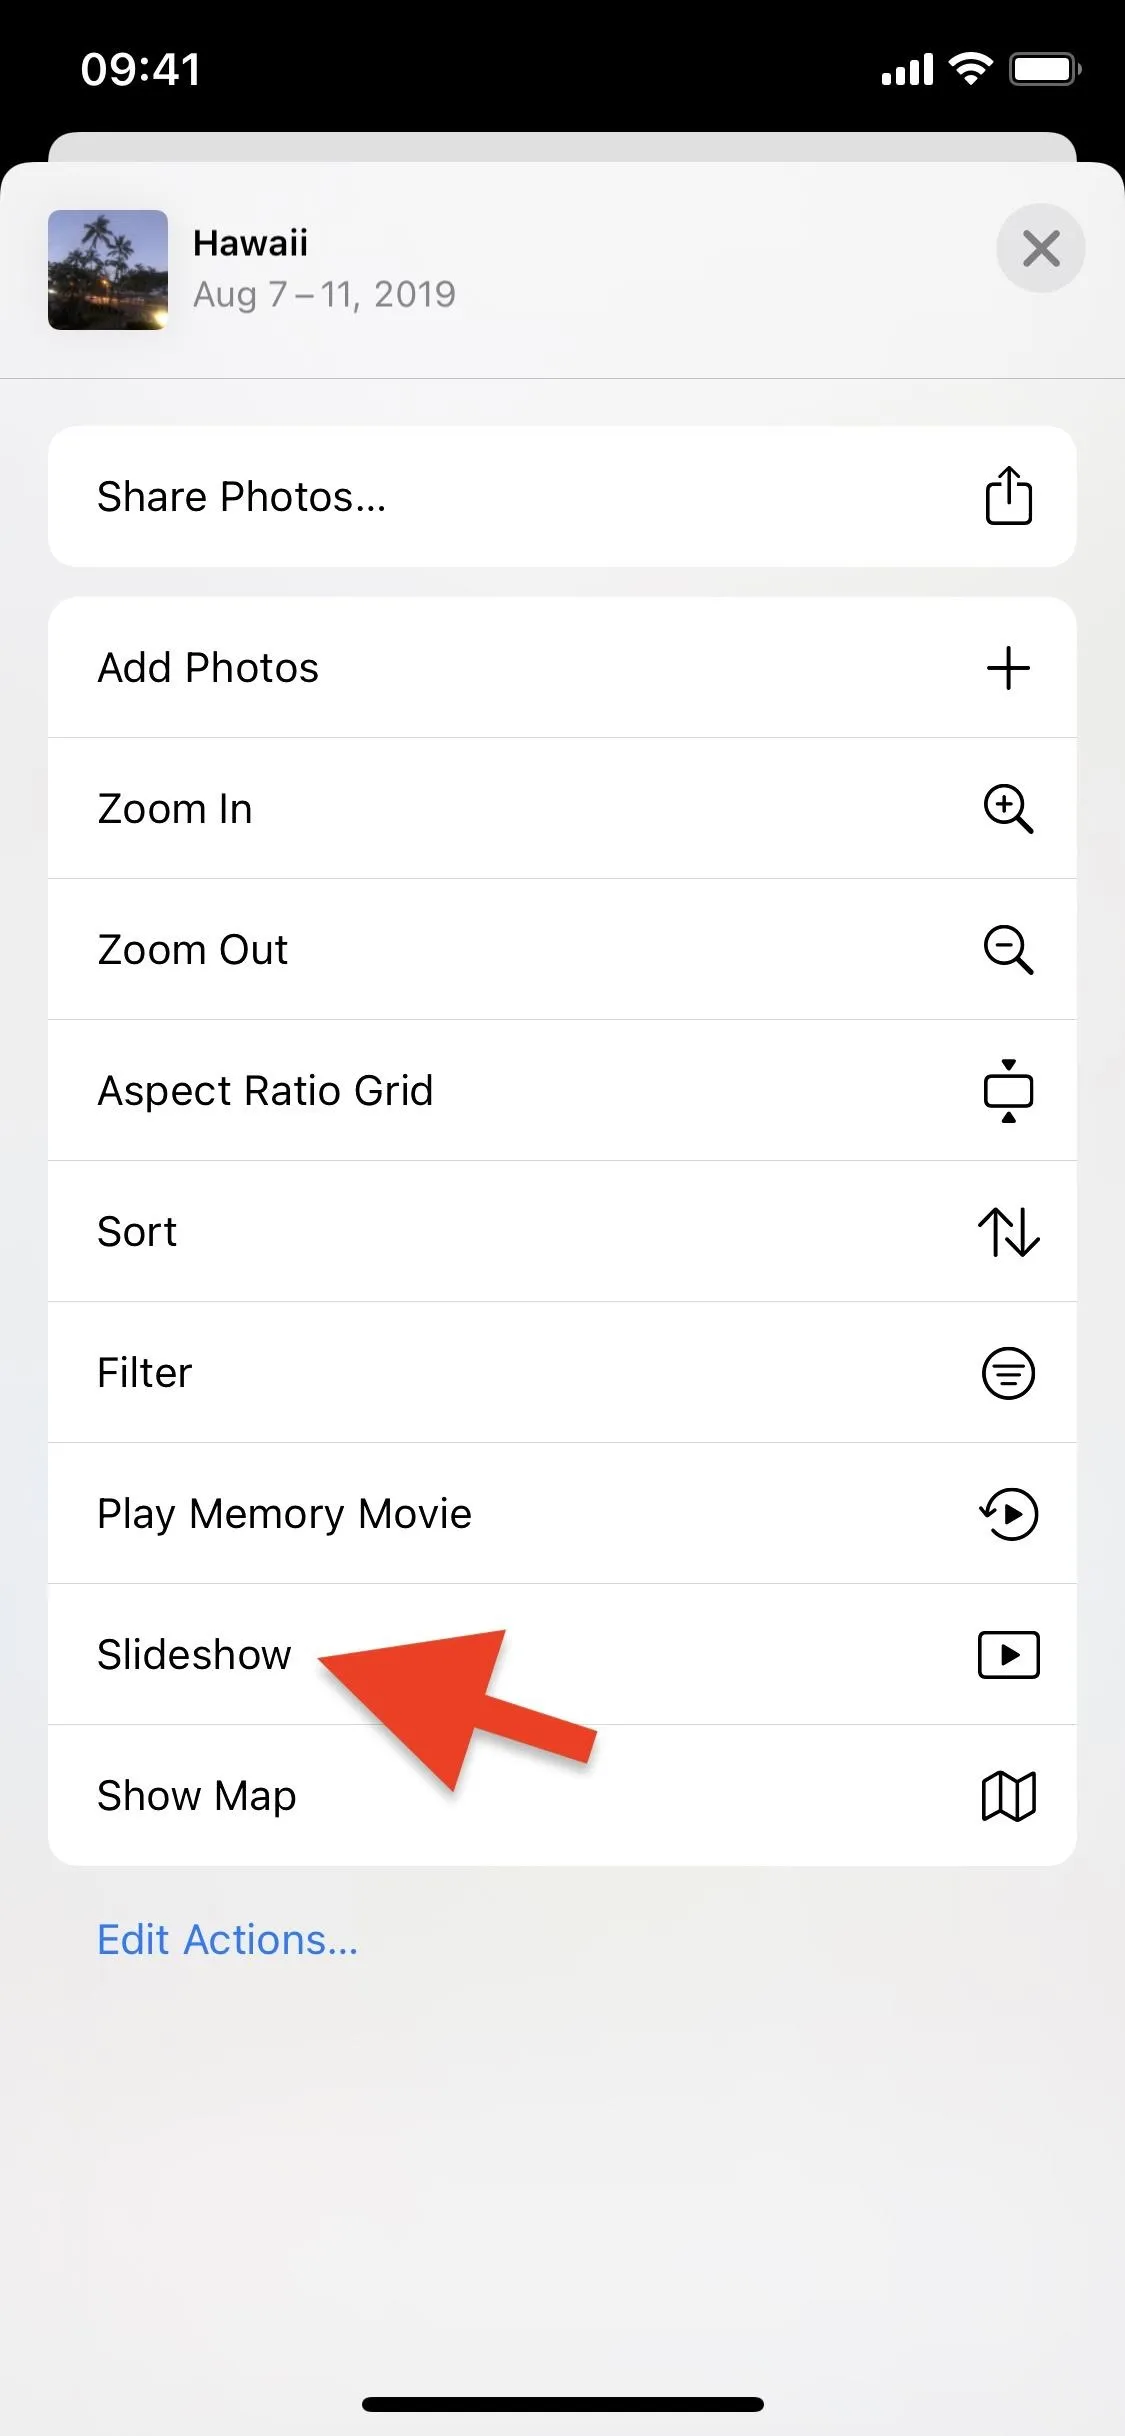
Open up the new or existing album (even the "Hidden" one will work), then tap the ellipsis (•••) in the top right and select "Slideshow" from the actions sheet.


Watch Your New Slideshow
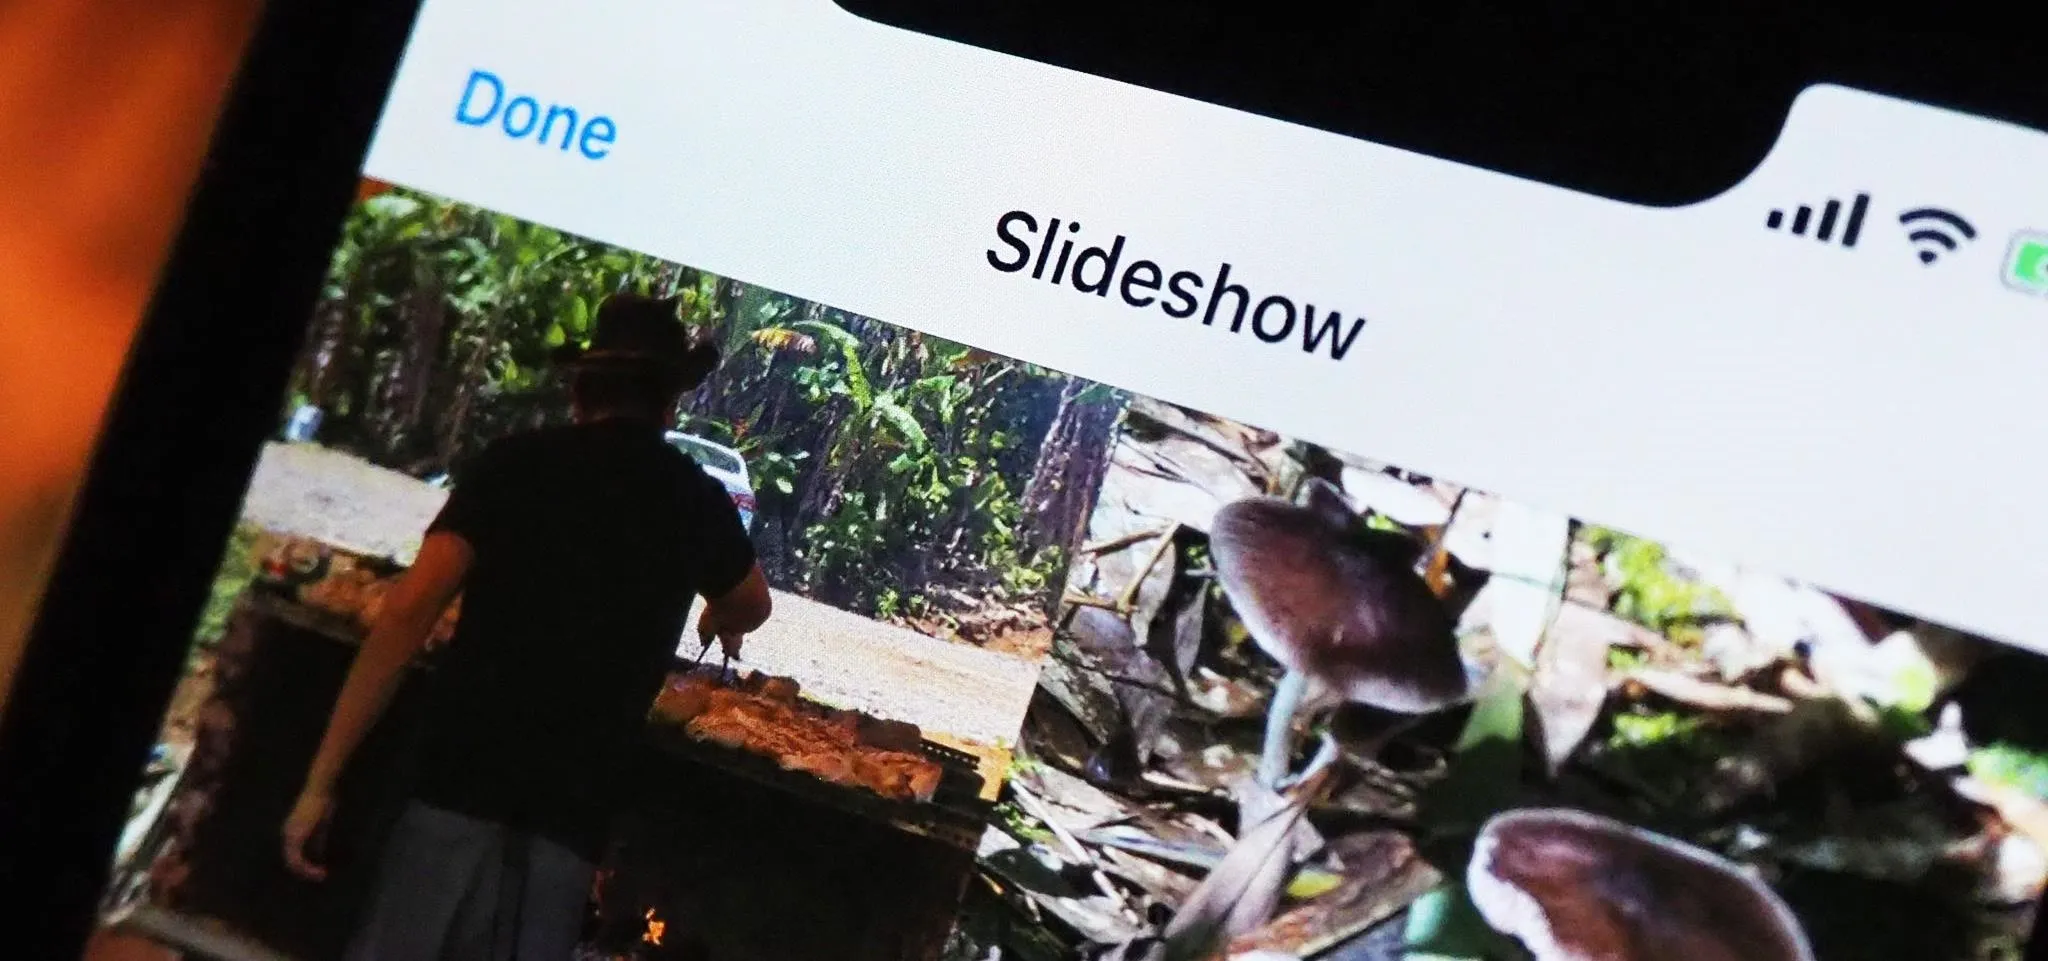
After tapping "Slideshow," it will start playing automatically using your entire album's worth of content, and the slideshow will be titled after the album. Below, you can see a short example of the slideshow that iOS created for me. However, if you're unhappy with the speed, transitions, or music, you can edit all of that.


Edit the Slideshow
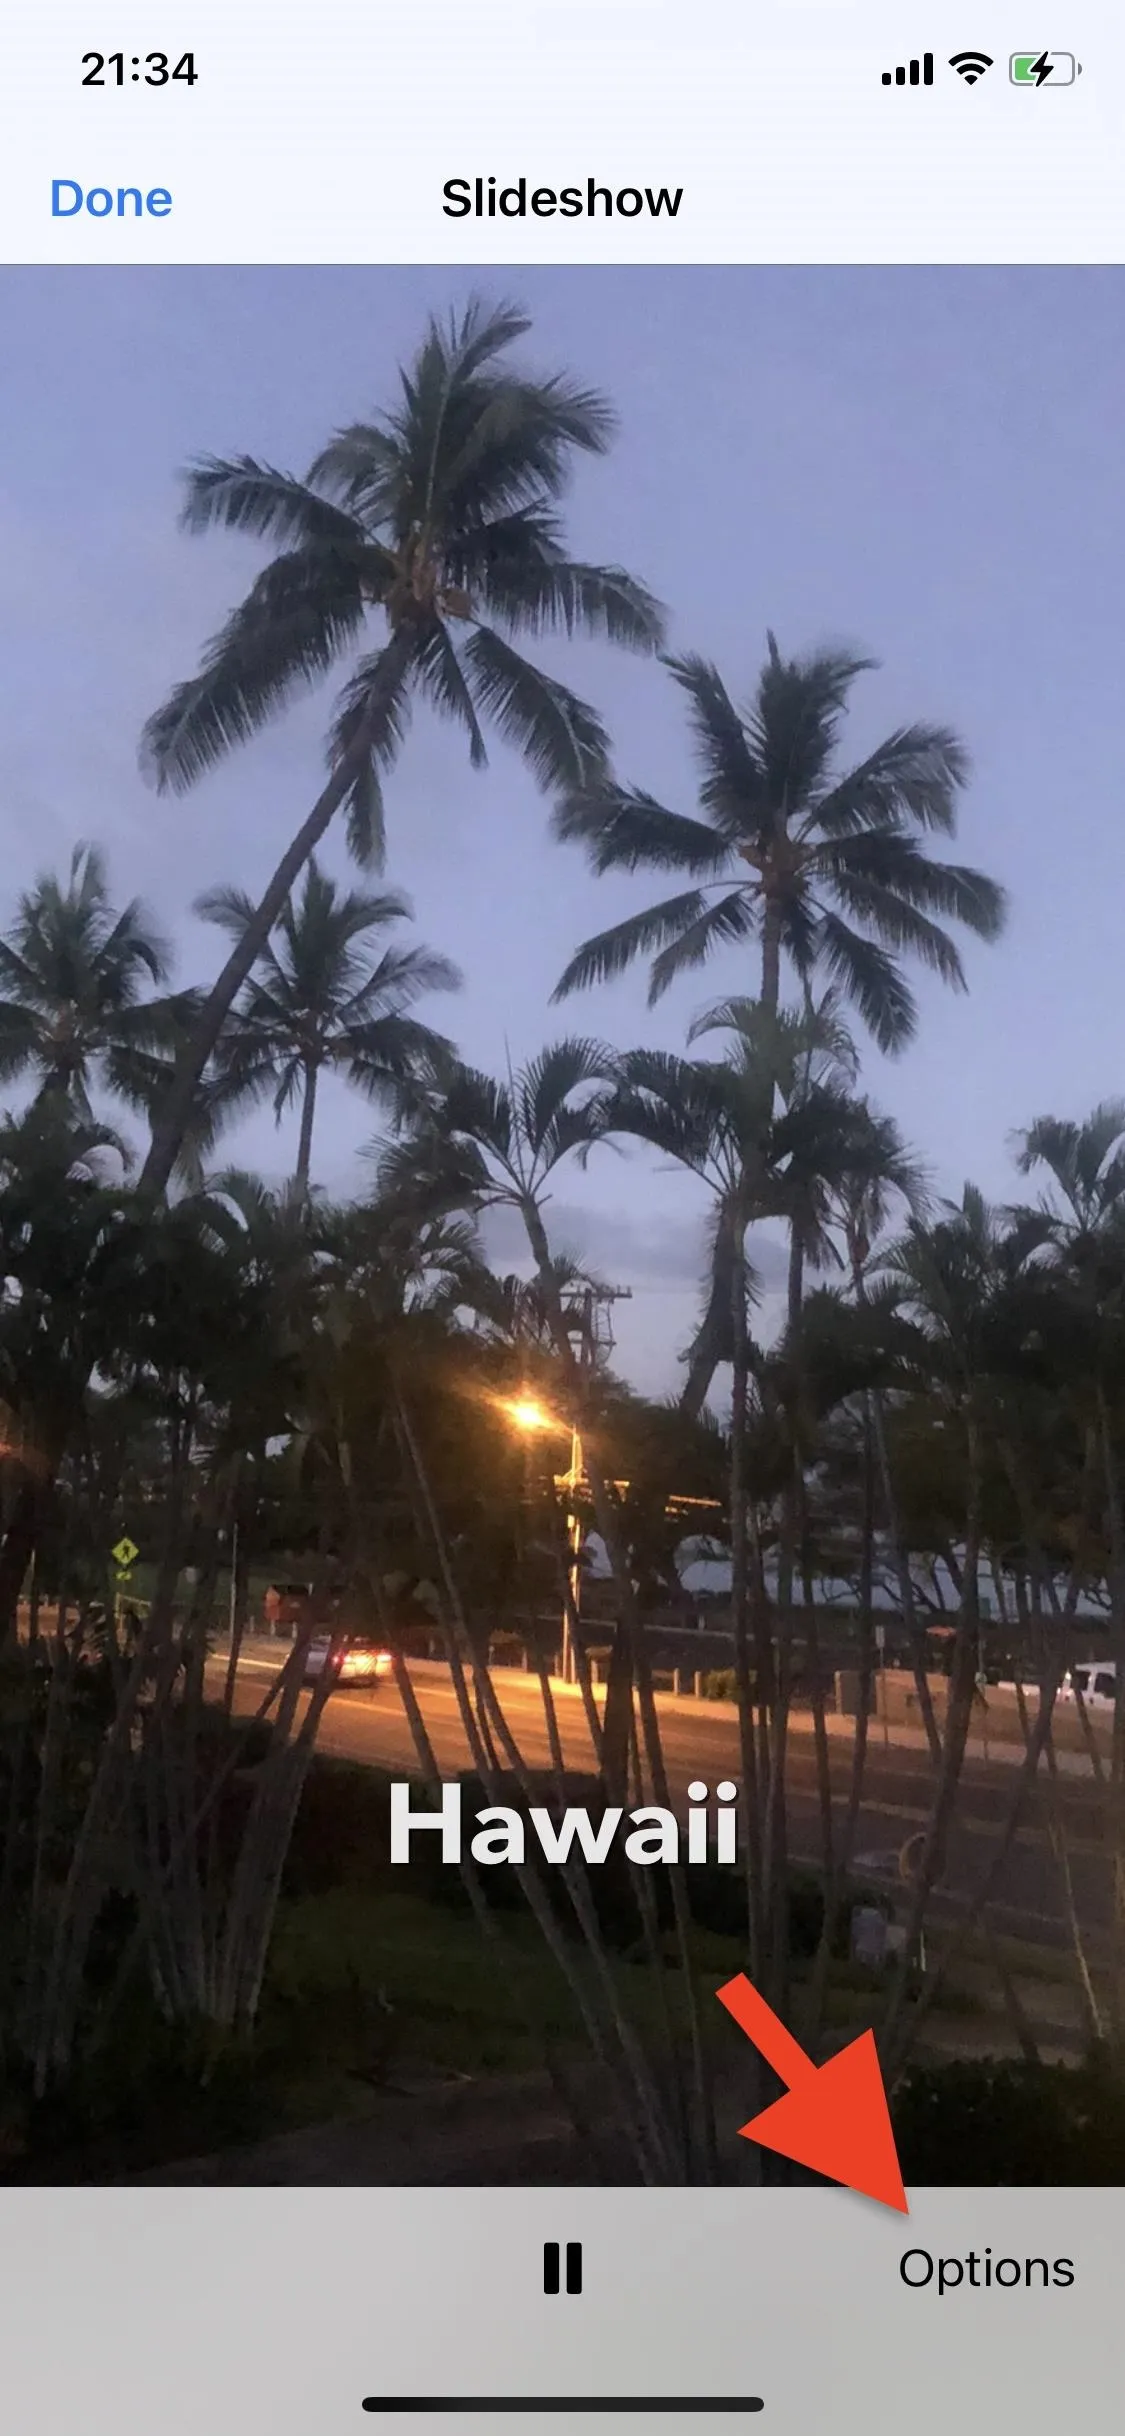
To edit the slideshow, tap on it while it's playing to bring up the toolbars. At the bottom, select "Options" to bring up several tools to edit your slideshow, including Theme, Music, Repeat, and a speed toggle.
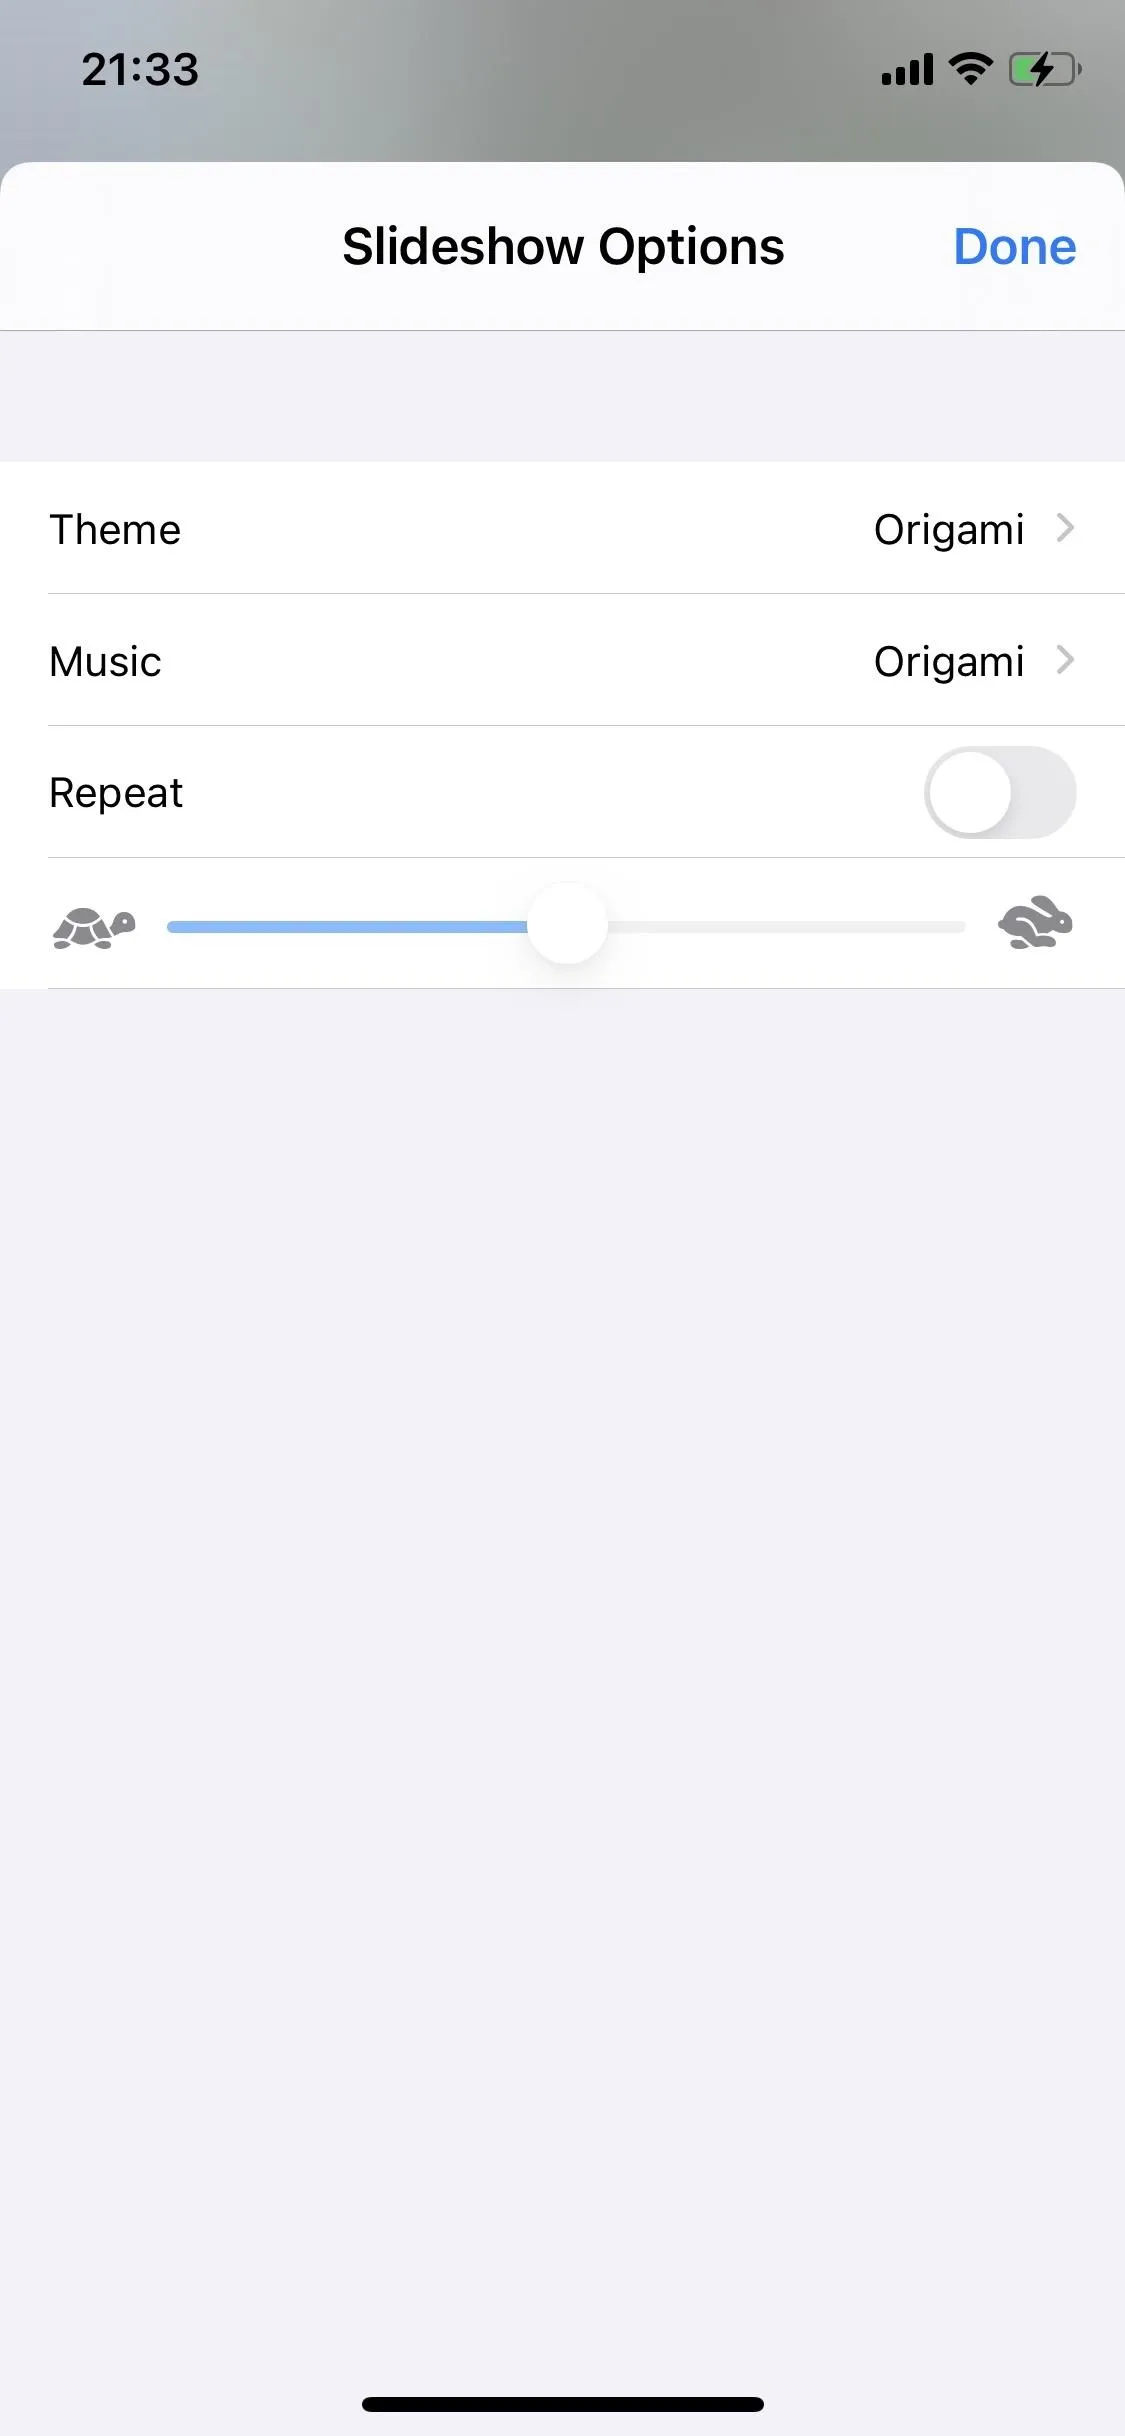


In the "Theme" settings, you can choose the slideshow's movement and transitions, meaning you can change how many photos and videos appear in a single slide and how they transition between each other. Your options are Origami (default), Dissolve, Magazine, Push, and Ken Burns. The default theme, "Origami," shows pictures on each slide, folding into each other as the slides change.
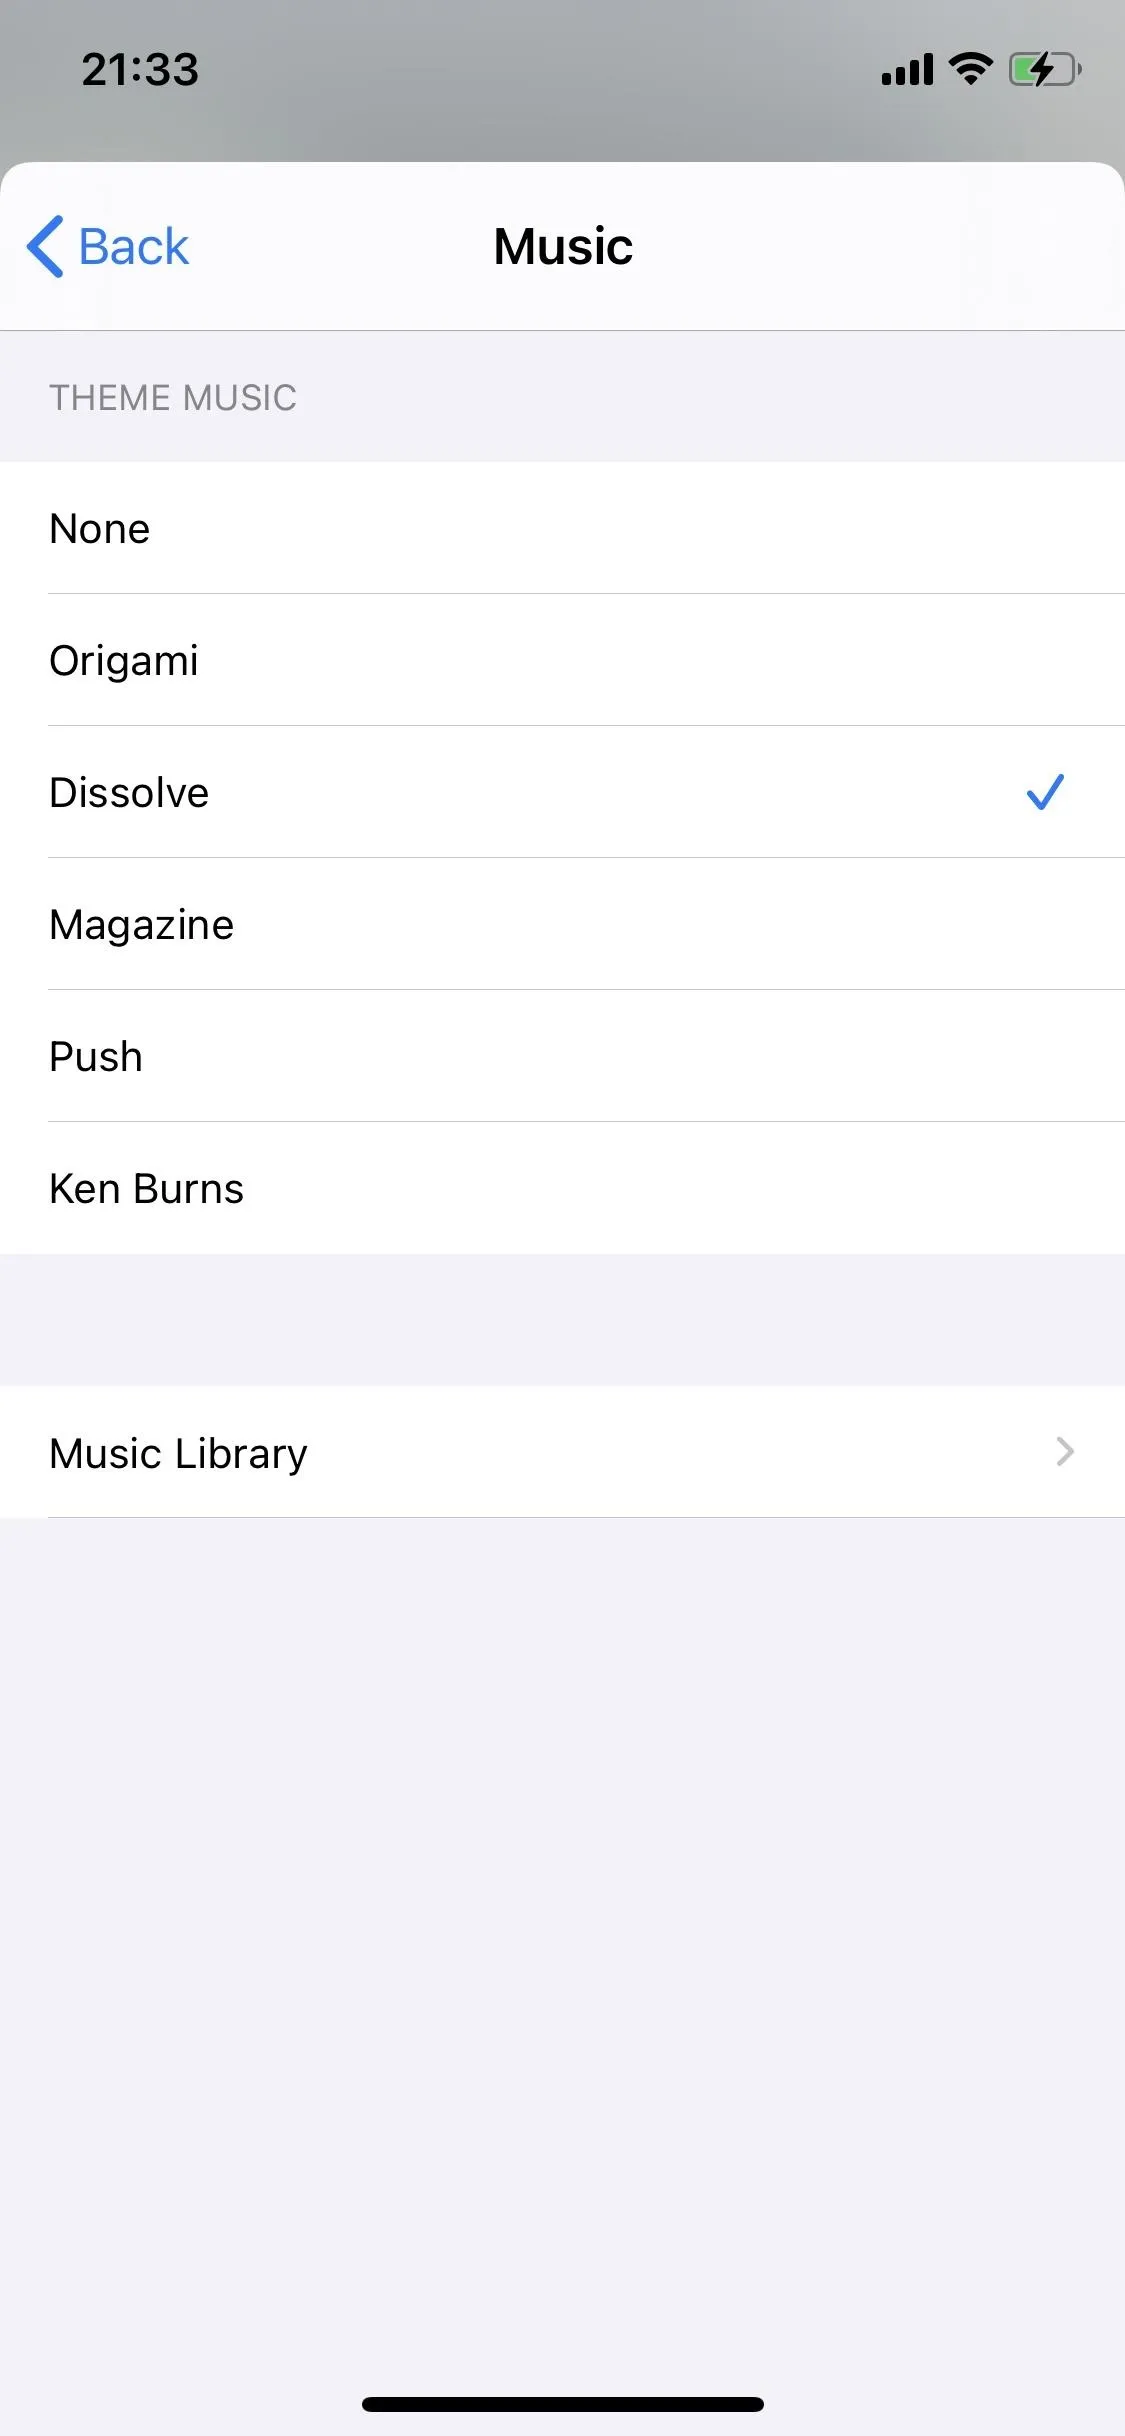
Once you choose a new theme, it automatically changes the music, but you can change that again yourself in the "Music" option. There, you'll see the same options as in the "Theme" menu, but you can also choose between no music or a track in your Music library.



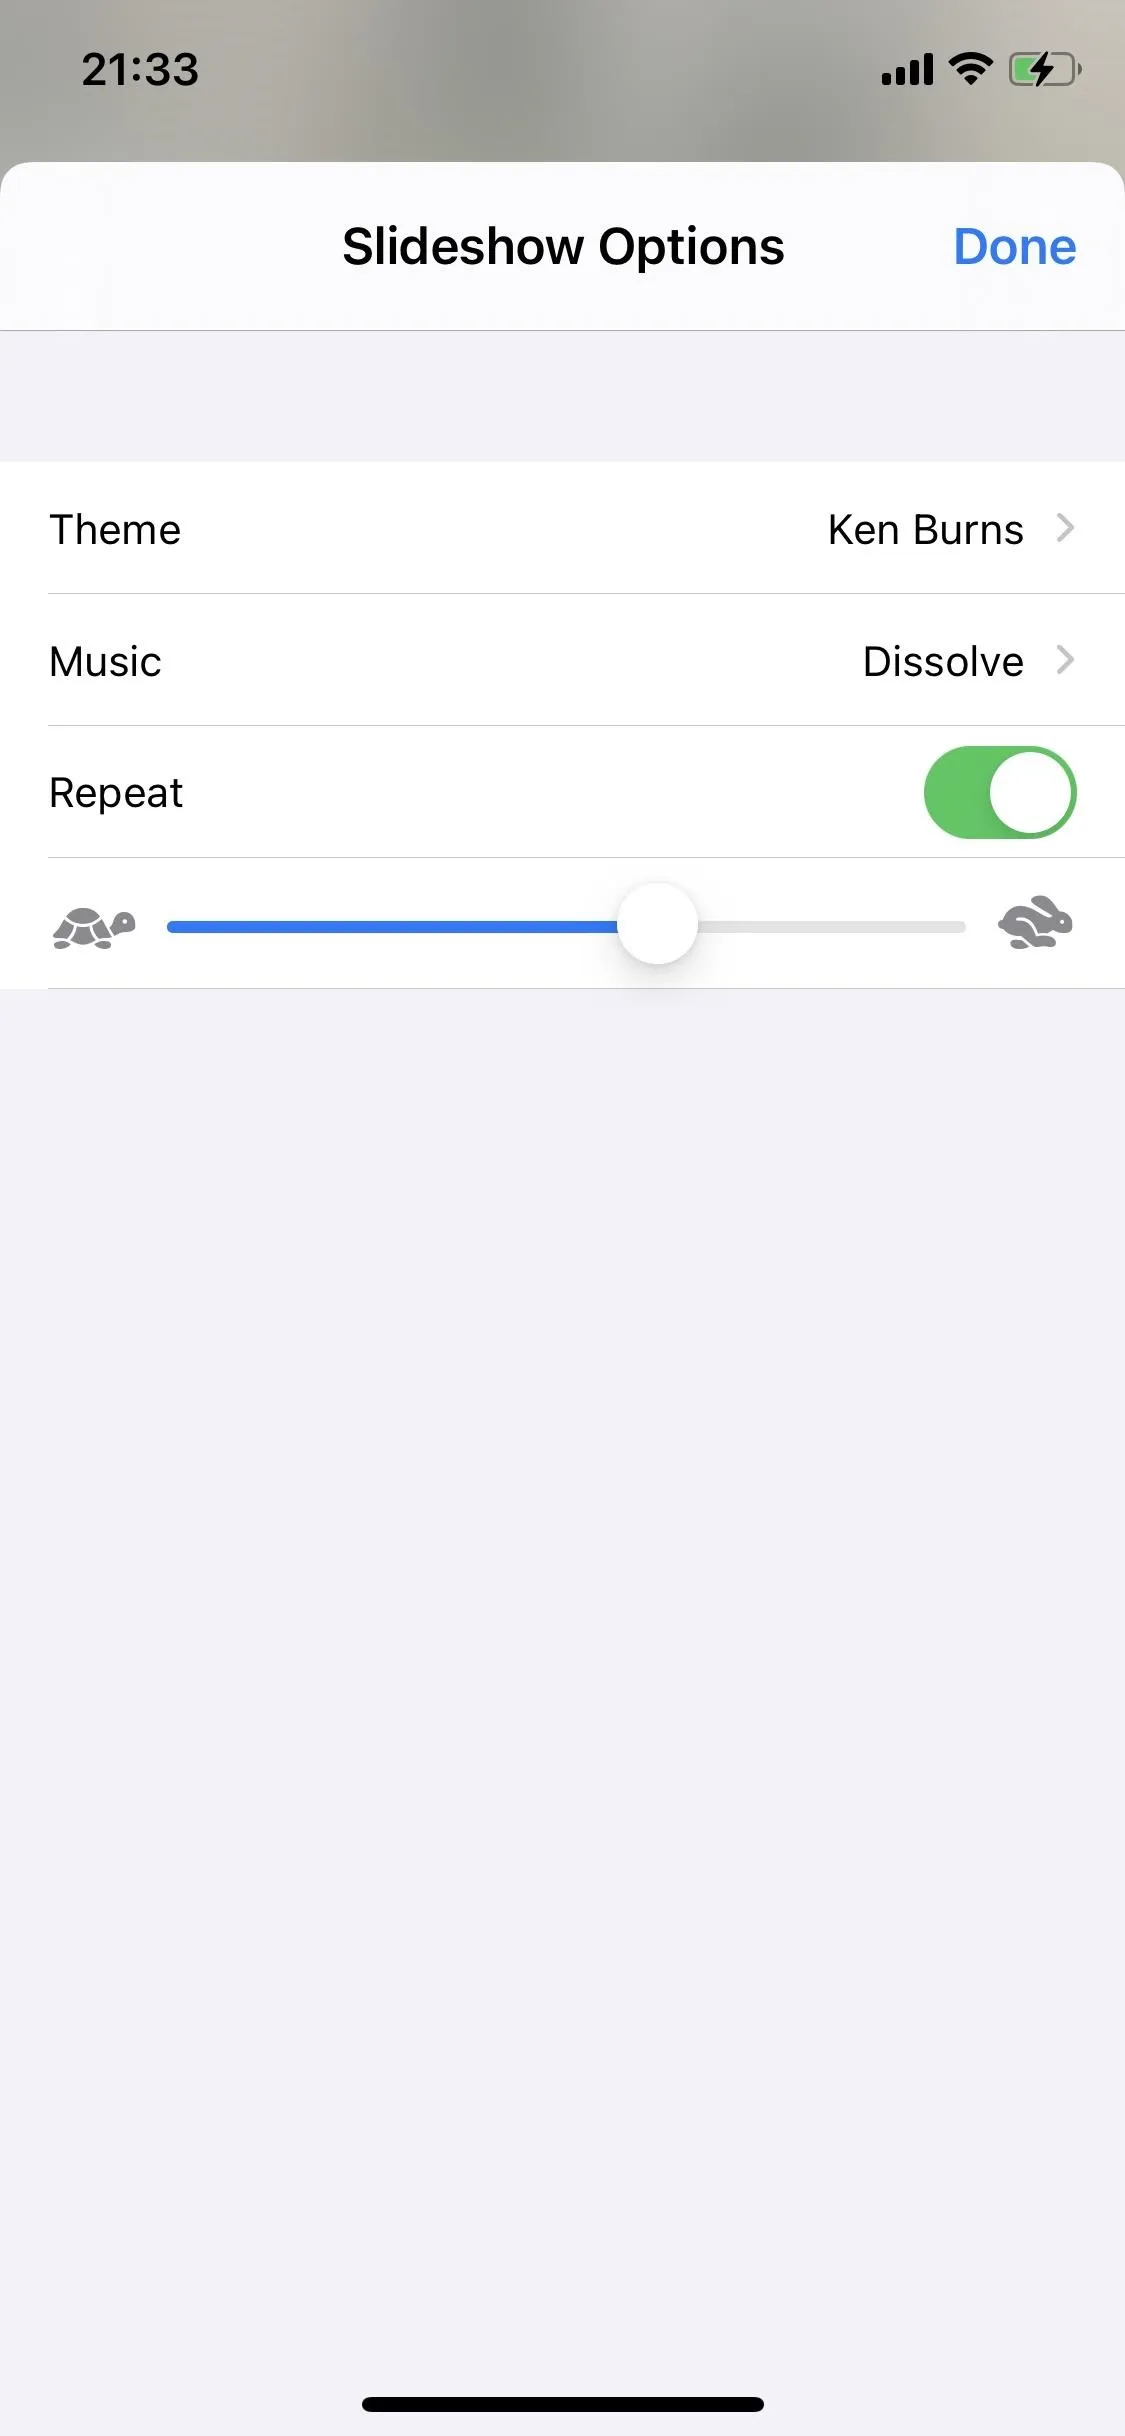
You can also toggle on "Repeat" to repeat the slideshow once it's finished, as well as change the speed of the slideshow. To make it faster, slide the knob to the rabbit (right); to make it slower, slide it to the turtle (left). Once you're finished editing the slideshow, tap on "Done," and it will begin to play.


Unfortunately, there's no way to save a slideshow or even share it with friends and family, so you'll have to "create" the slideshow in the album each time you want to show it to someone, whether that's directly on the iPhone or AirPlayed to an Apple TV or compatible TV.
Cover photo, screenshots, and GIF by Nelson Aguilar/Gadget Hacks




Comments
Be the first, drop a comment!