
While the iMovie application for Mac has a few more bells and whistles, Apple's mobile version of its video-editing program is jam-packed full of features and more intuitive than its big brother. Still, before you dive right in to become a movie editor on your iPhone, it's good to know the basics first.
The first step to getting started in iMovie for iPhone is to start a new project, import photos and videos, and create your movie. Of course, after you create the movie, you can begin applying your editing skills to it for a polished smartphone-based mini film, and we'll cover some of the editing tools you'll be using later. For now, let's just get a project started in iMovie.
Note that you can do all of these steps in either portrait or landscape orientation.
Create a Movie Project
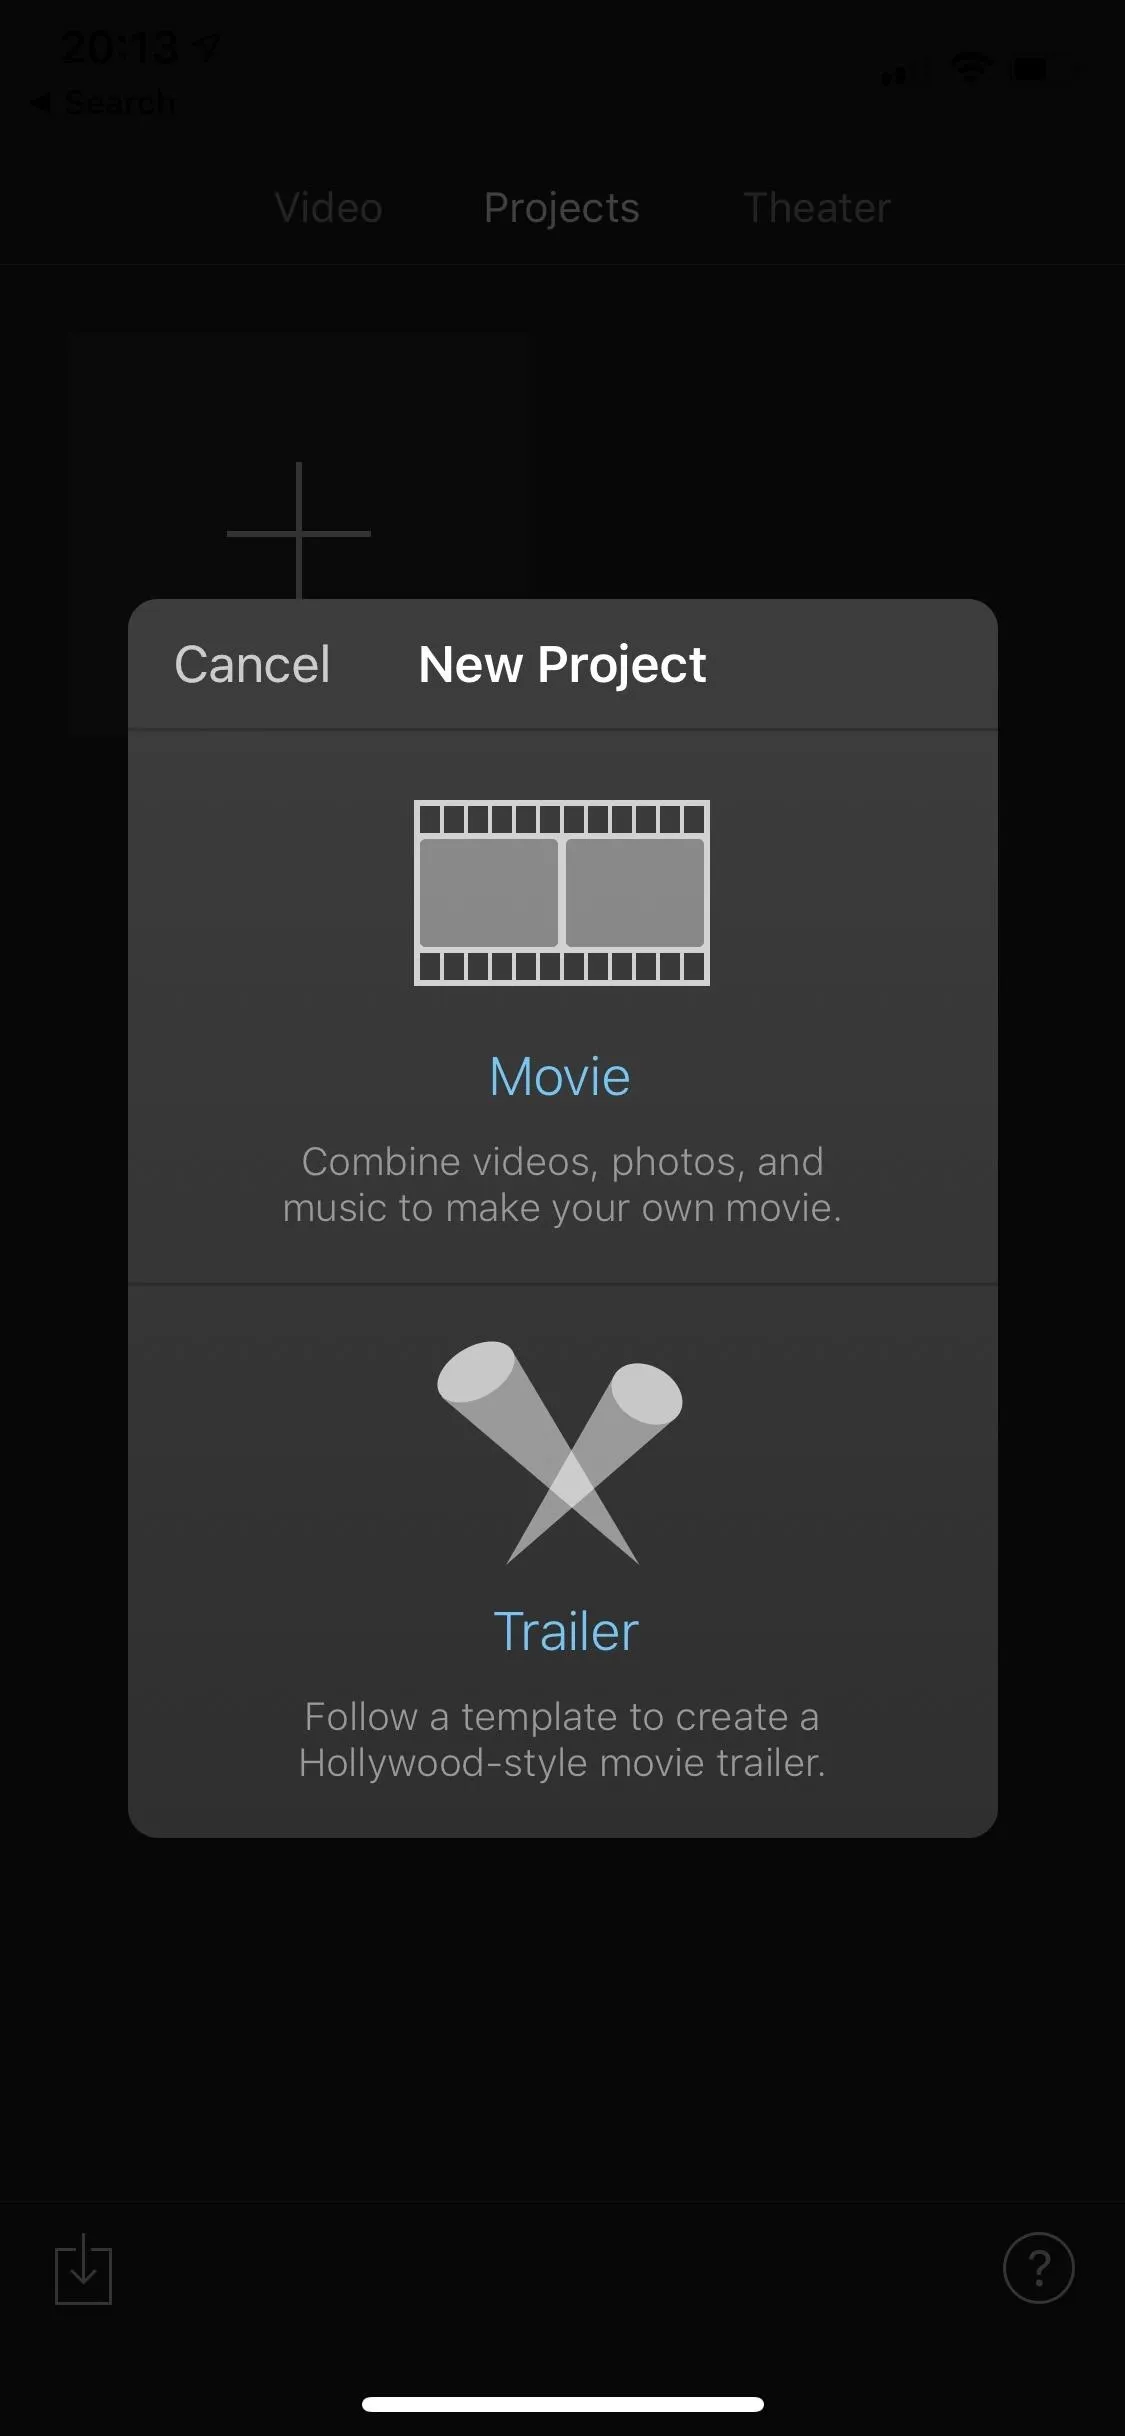
On the "Projects" viewer tab, tap on the "Create Project" icon (the plus sign), then select "Movie" on the following prompt. Alternatively, you could choose the "Trailer" option, which lets you make a Hollywood-style movie trailer in an automated way, but we won't be going over that in this guide. Feel free to play around with it, though.



Browse Your Media
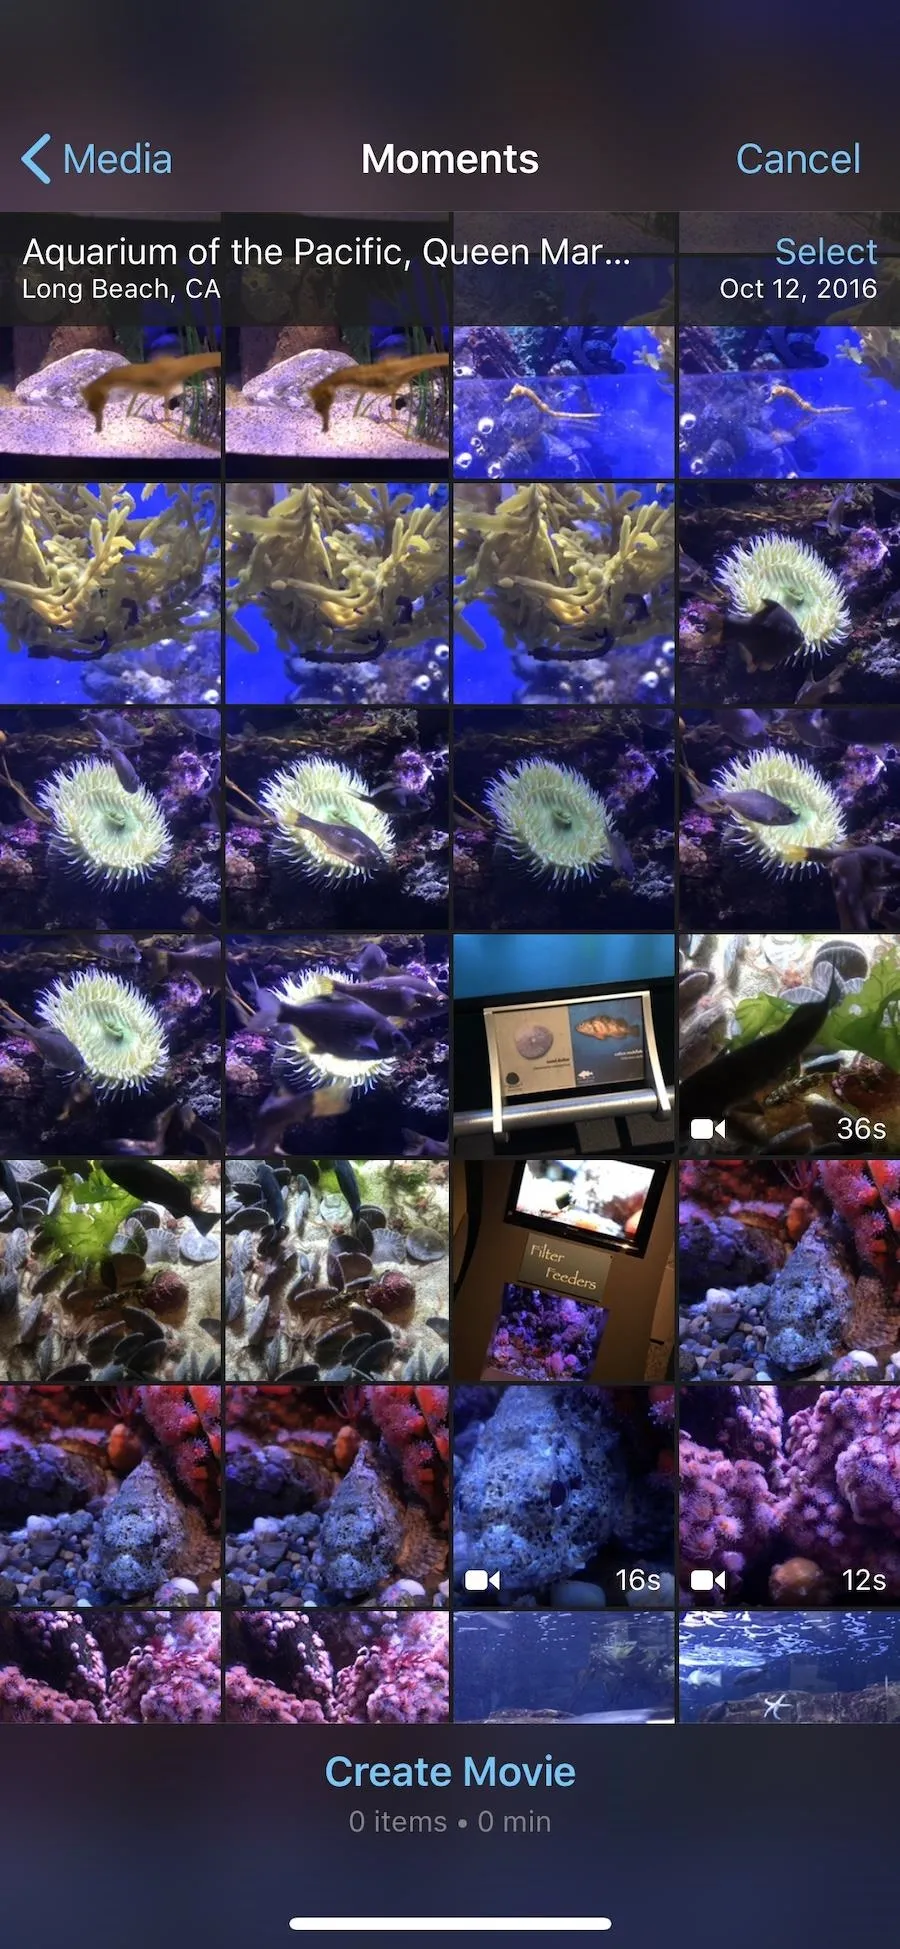
iMovie will jump you straight to your Moments from the Photos app where you can start picking and choosing photos, videos, or both to start importing into your new project. If you'd like to search other albums, tap on "Media" in the top left, where you can choose between "Video," "Photos," or "Albums." In landscape mode, the Media browser opens on the left side on devices with larger screens.
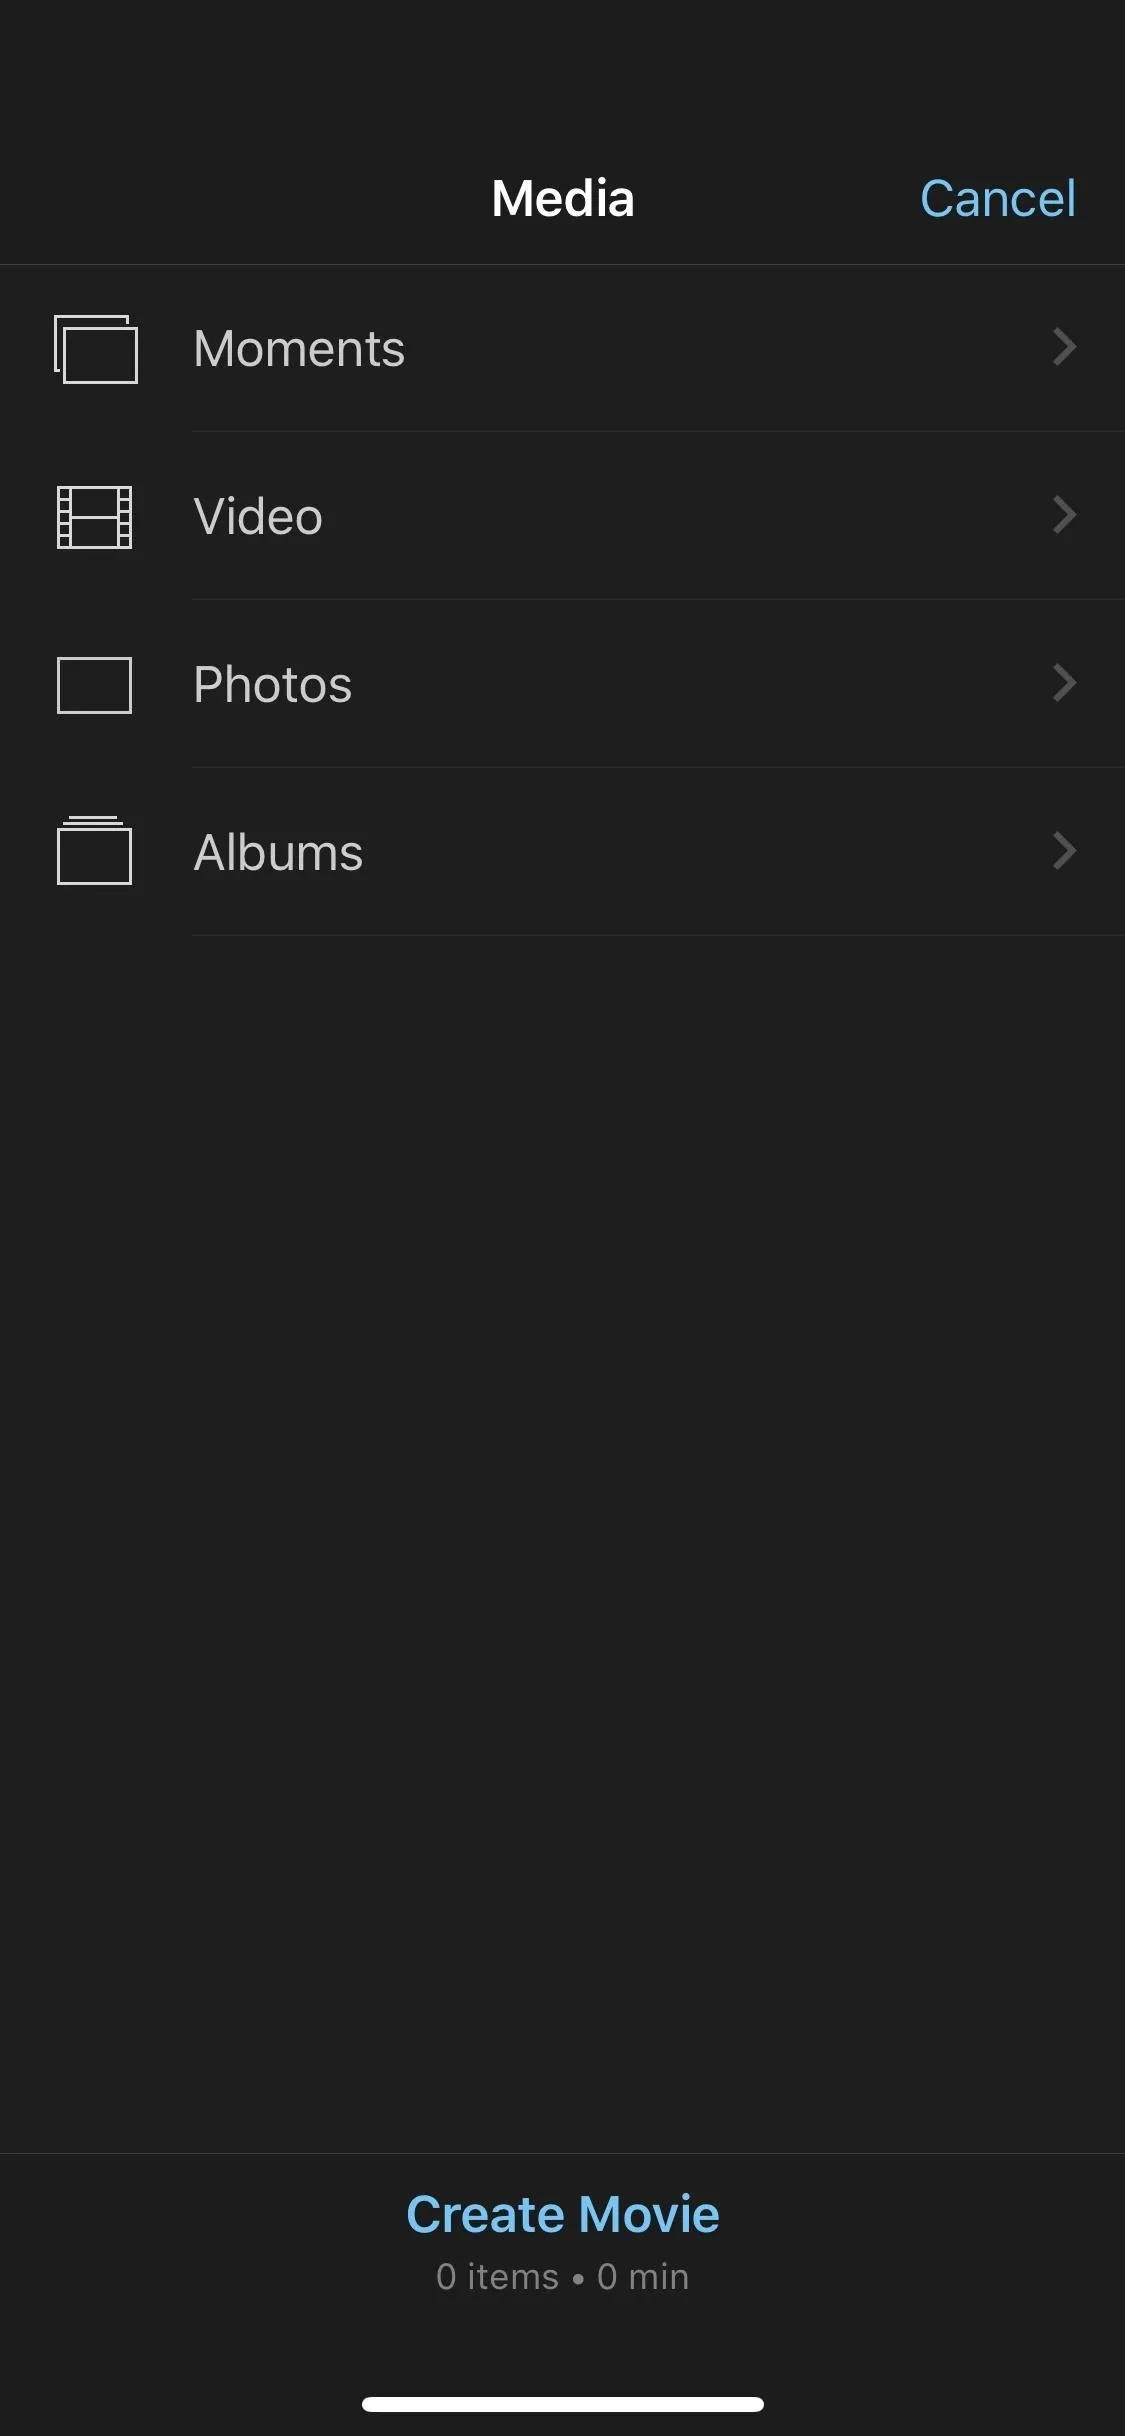


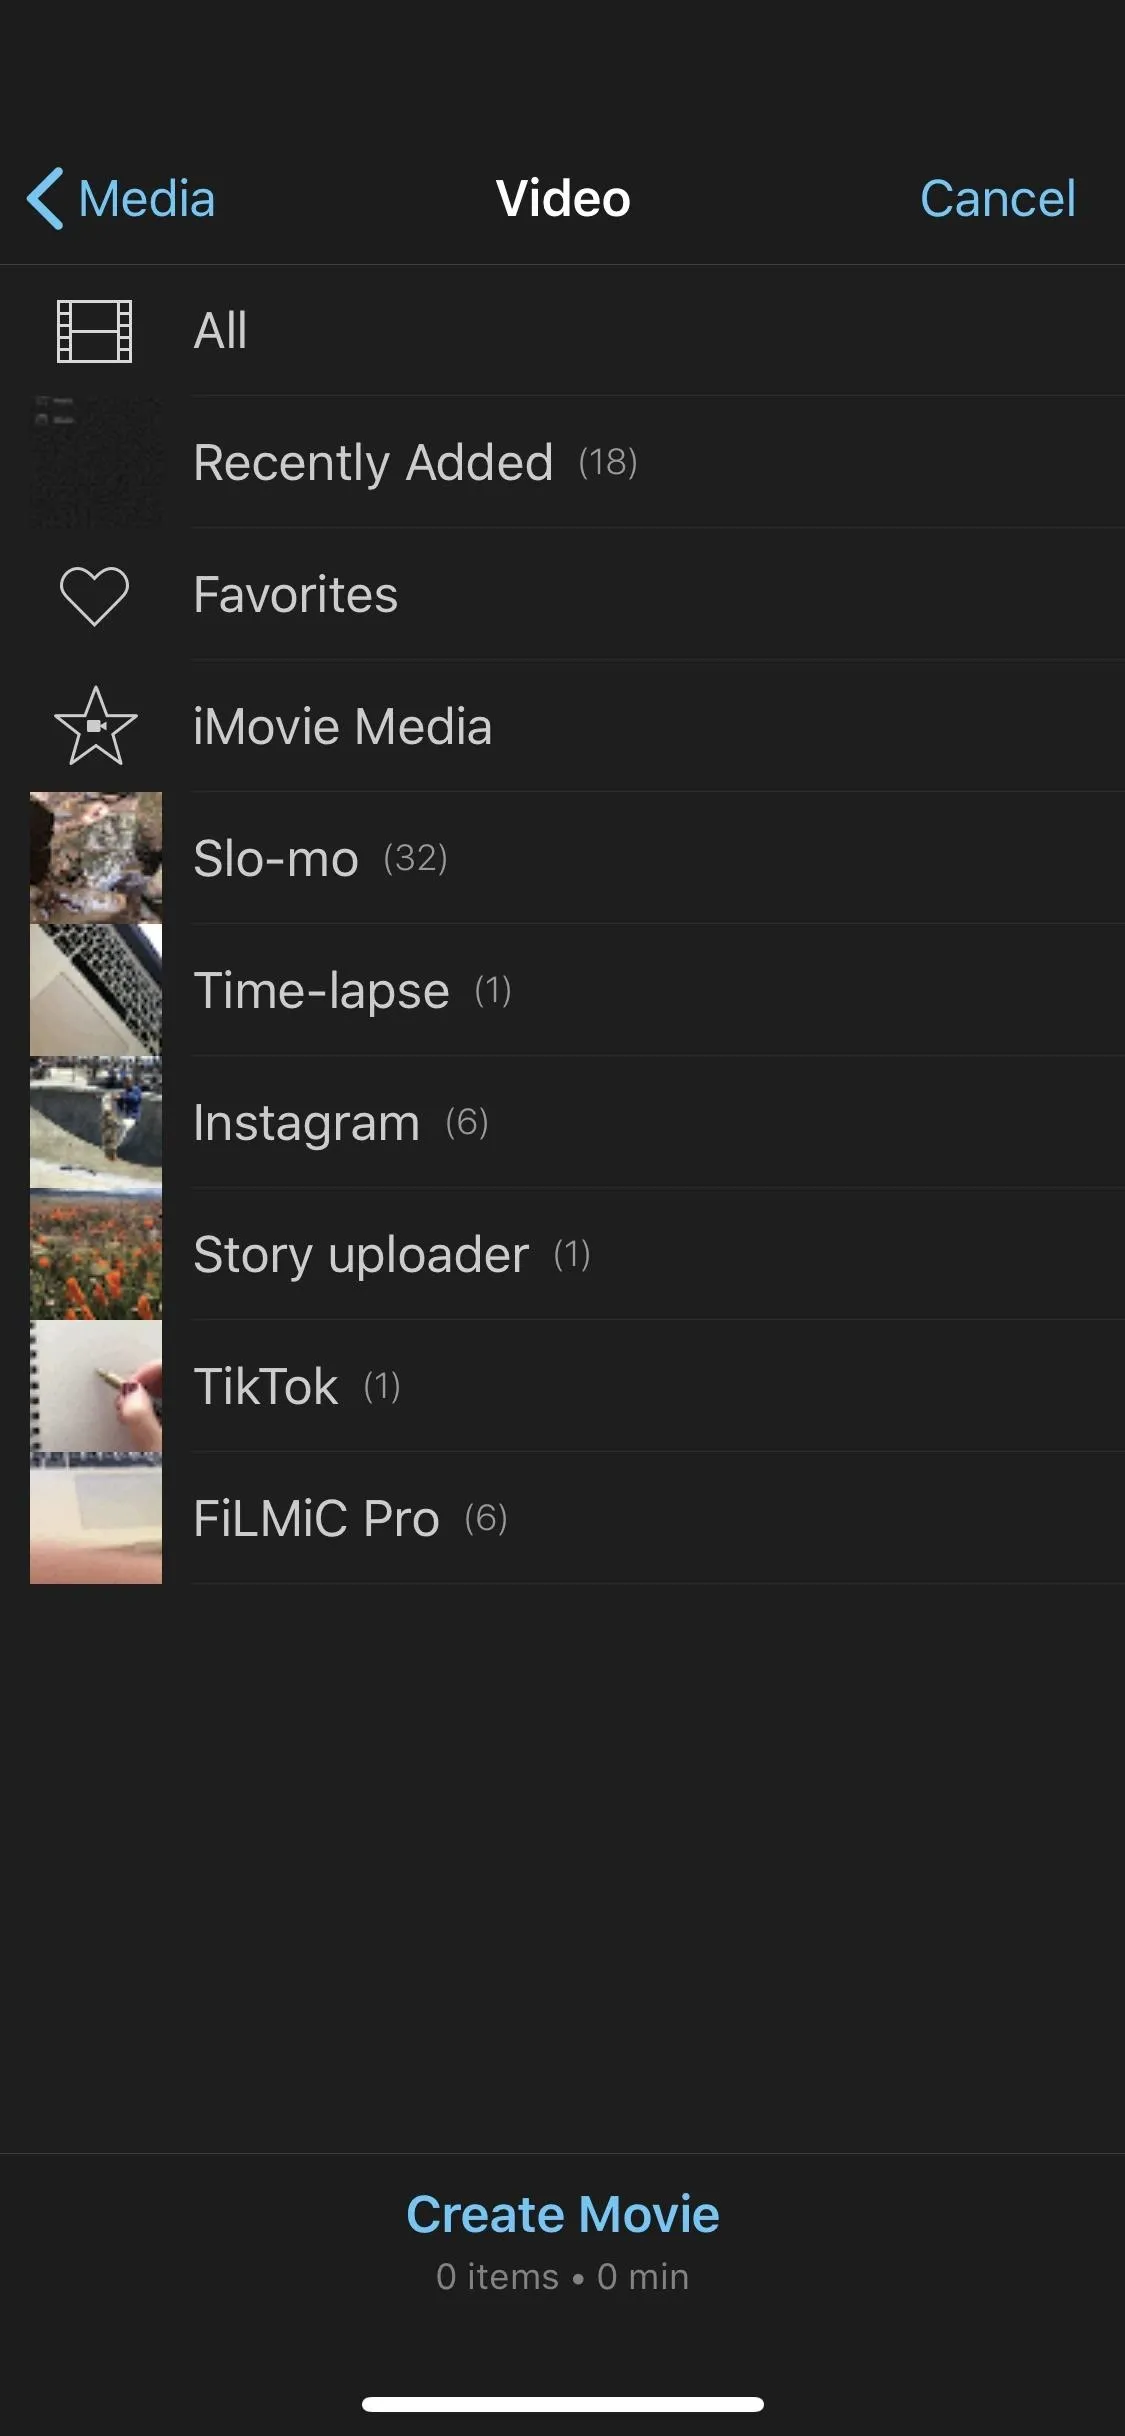
If you're making a moving picture without any stills, "Video" would be your best option here. You can choose to drill down to specific albums, recent items, or just all of the videos in your Photos app. You could also choose "Albums" instead to see all of your video albums, as well as your photo albums (or mixes).
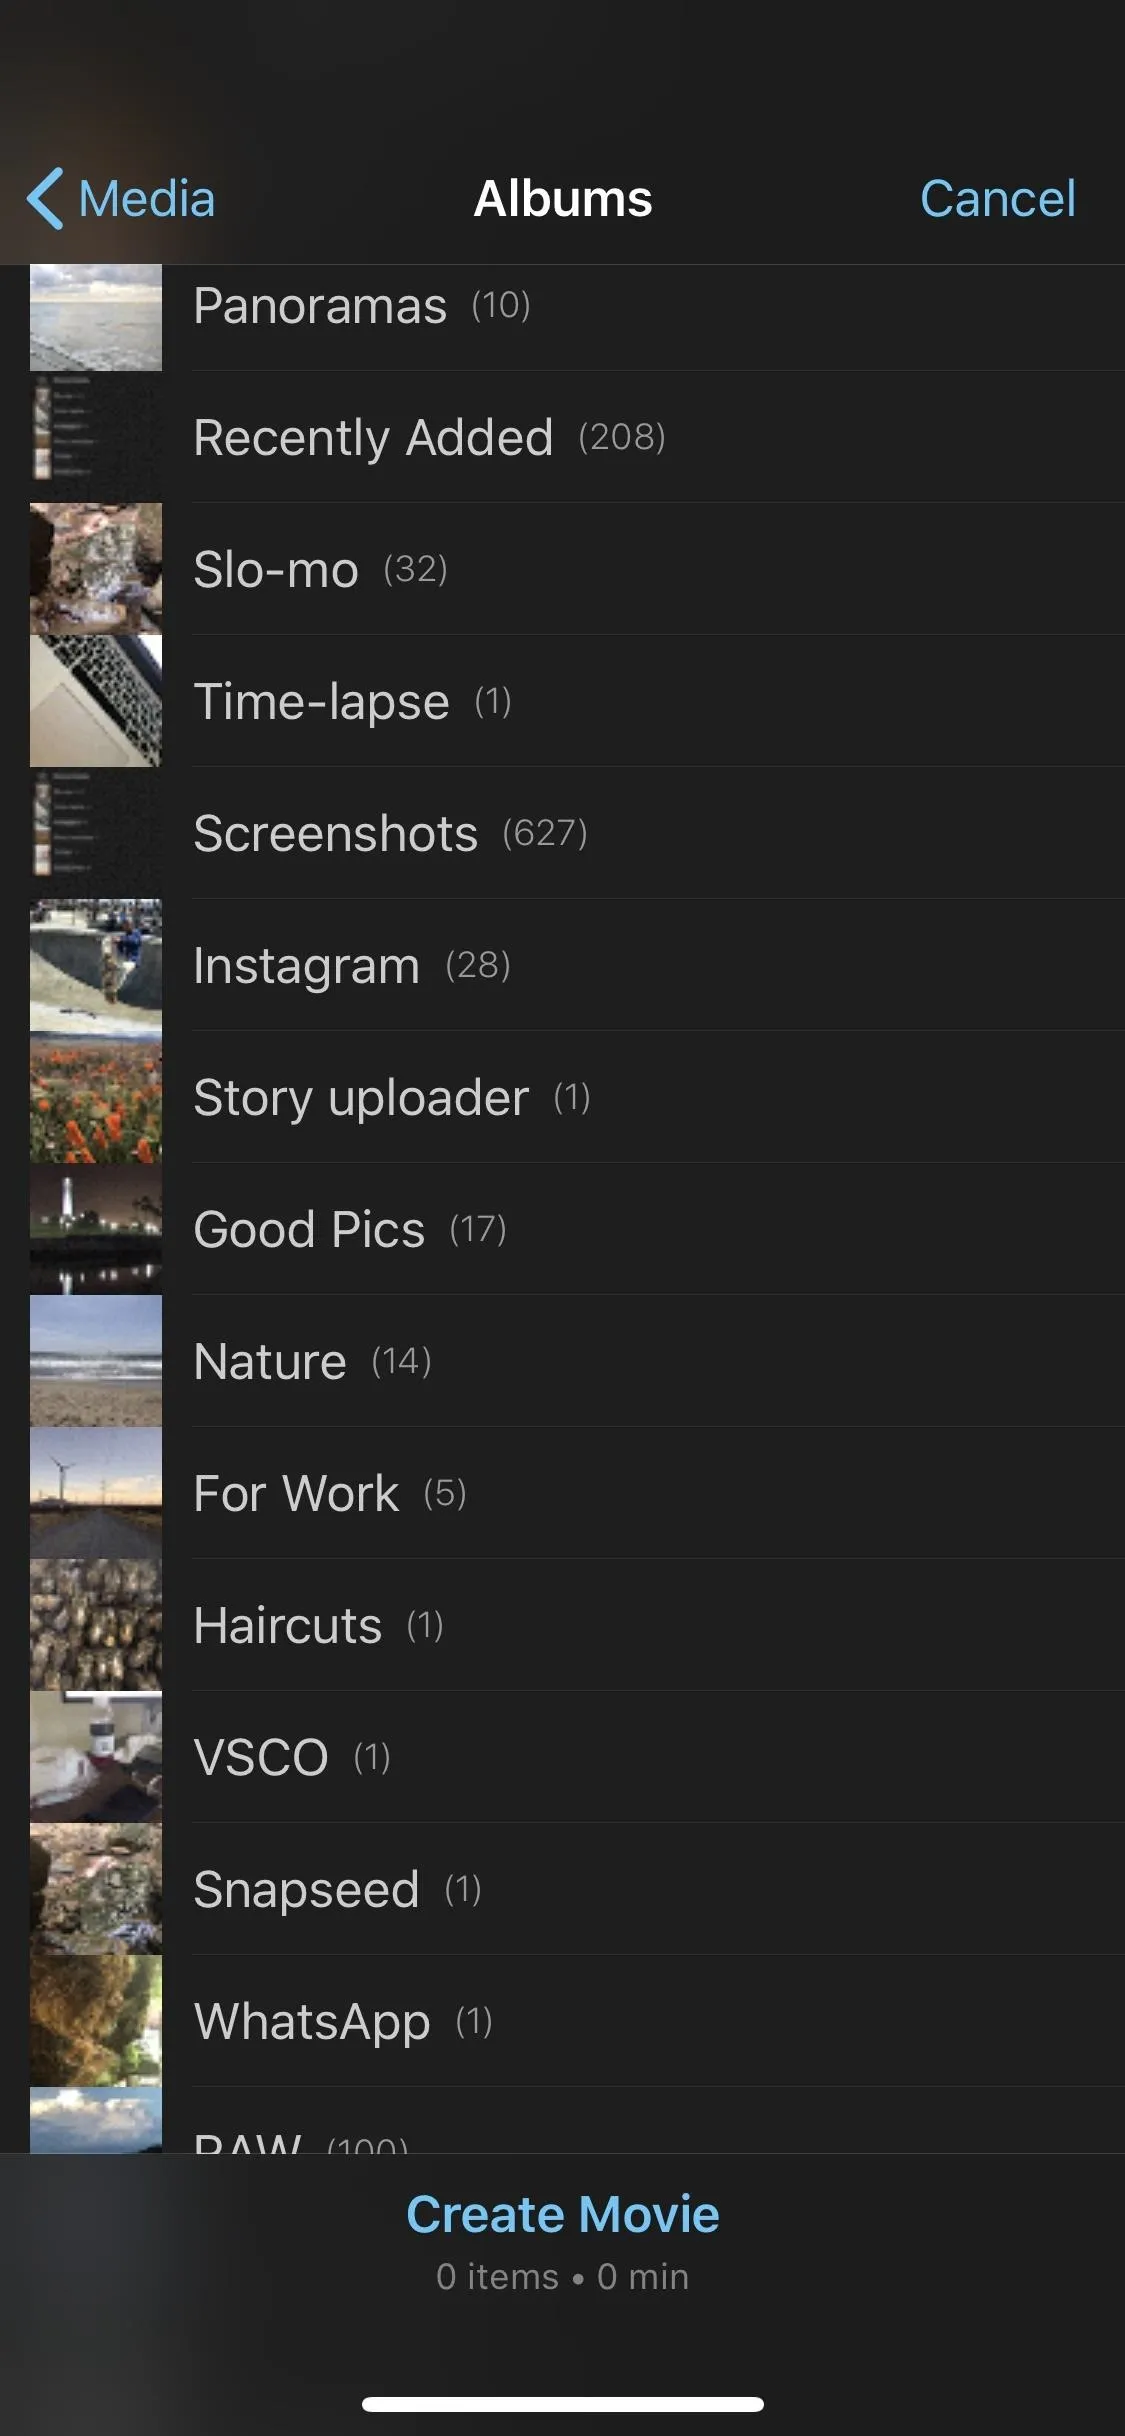
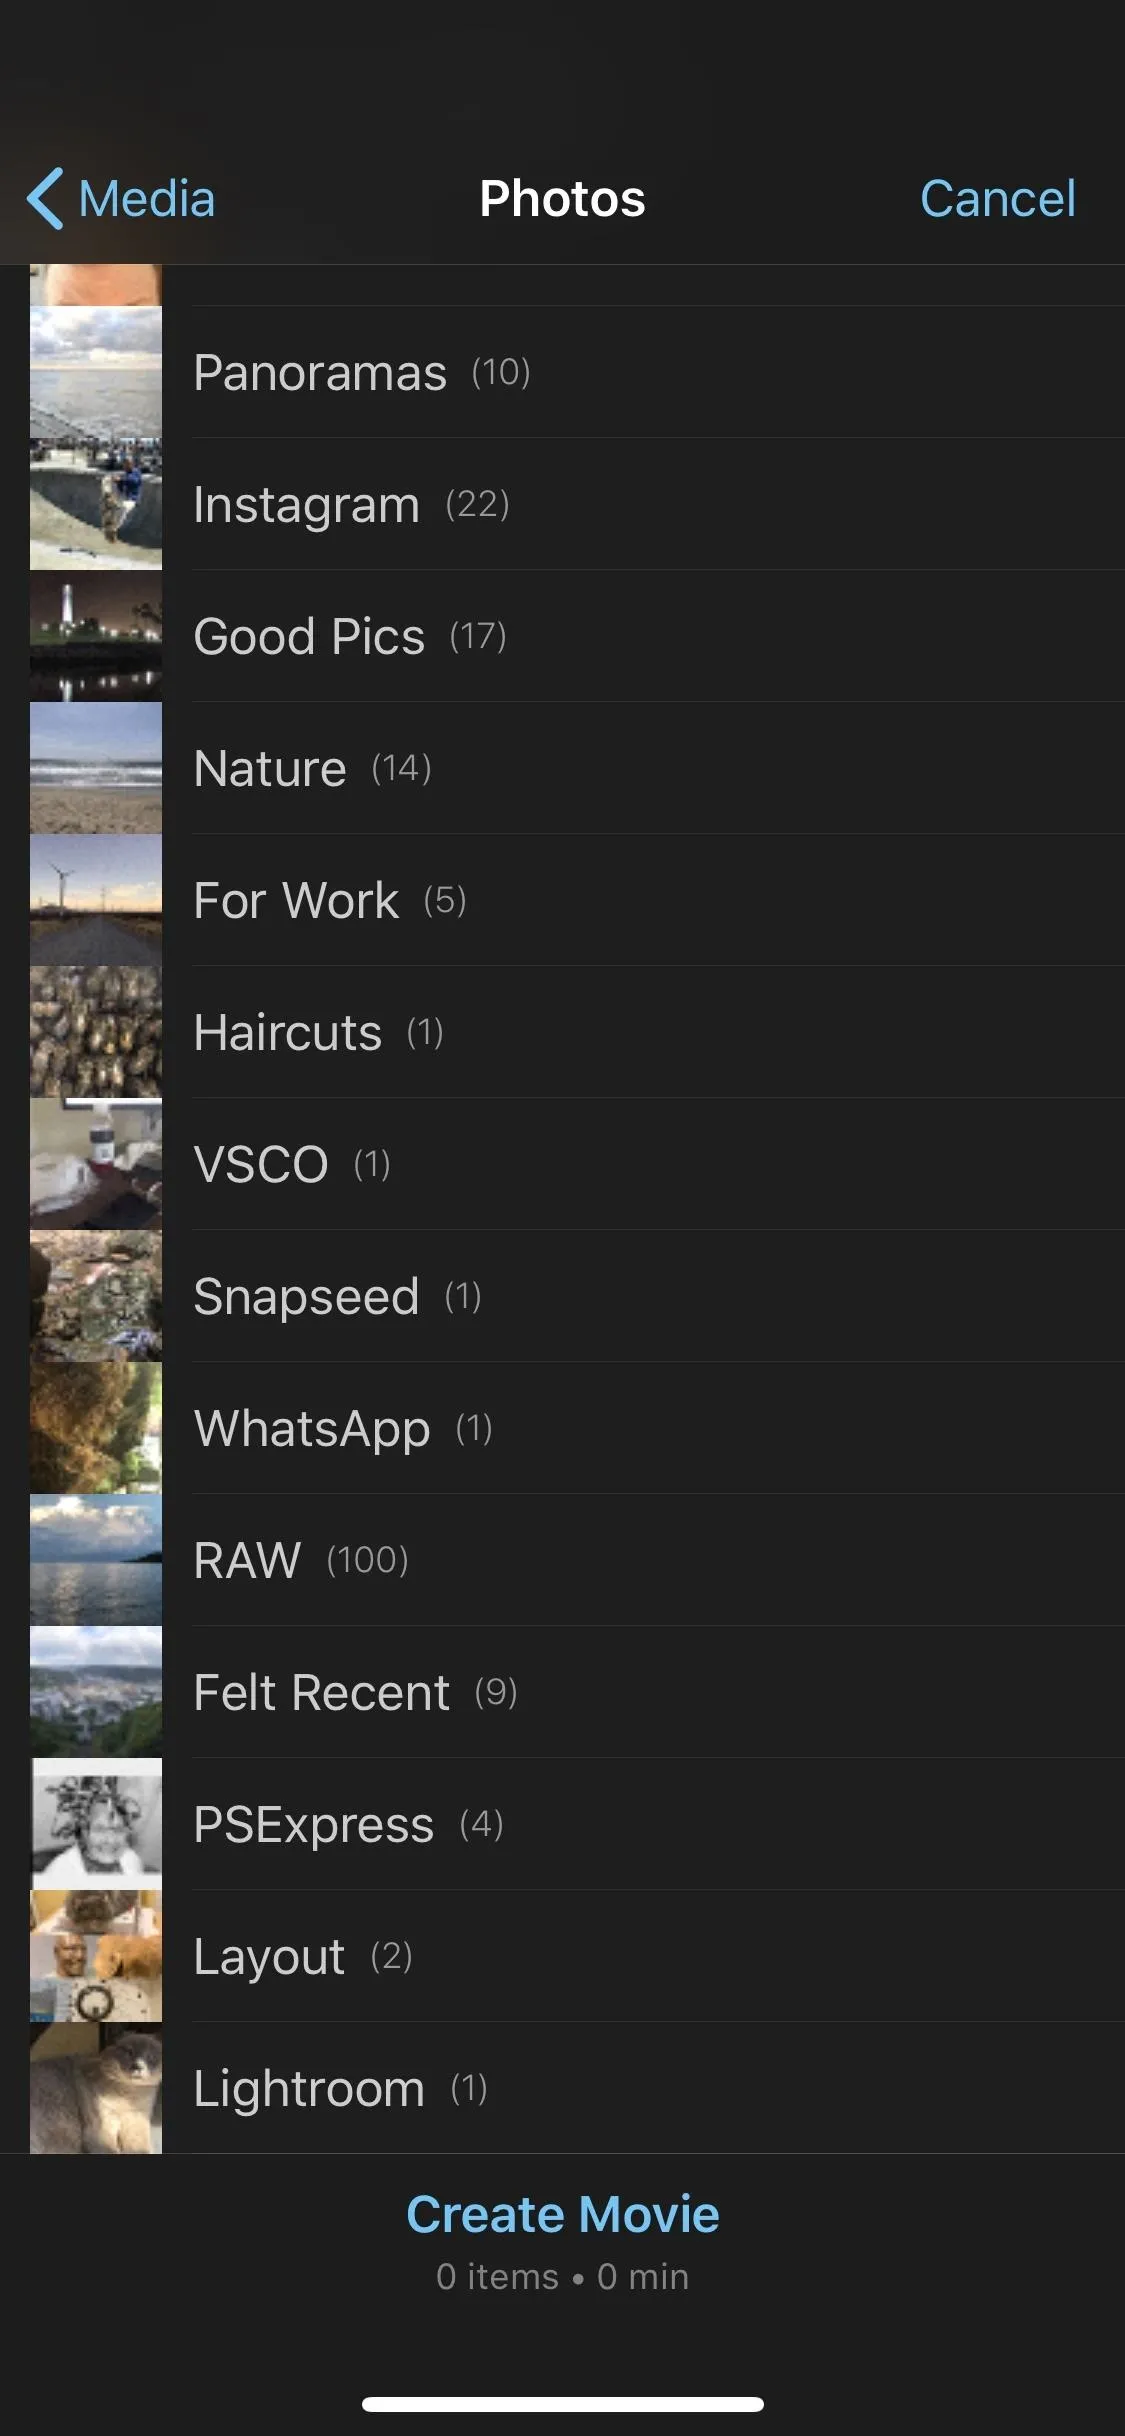


Select Your Photos & Videos
When you're checking out albums with photos only or photos and videos combined, tap-and-hold on a photo or video to get an enlarged preview. Once you've found all the ones you want to add, tap on the thumbnails until you see white/blue check mark icons appear on them.
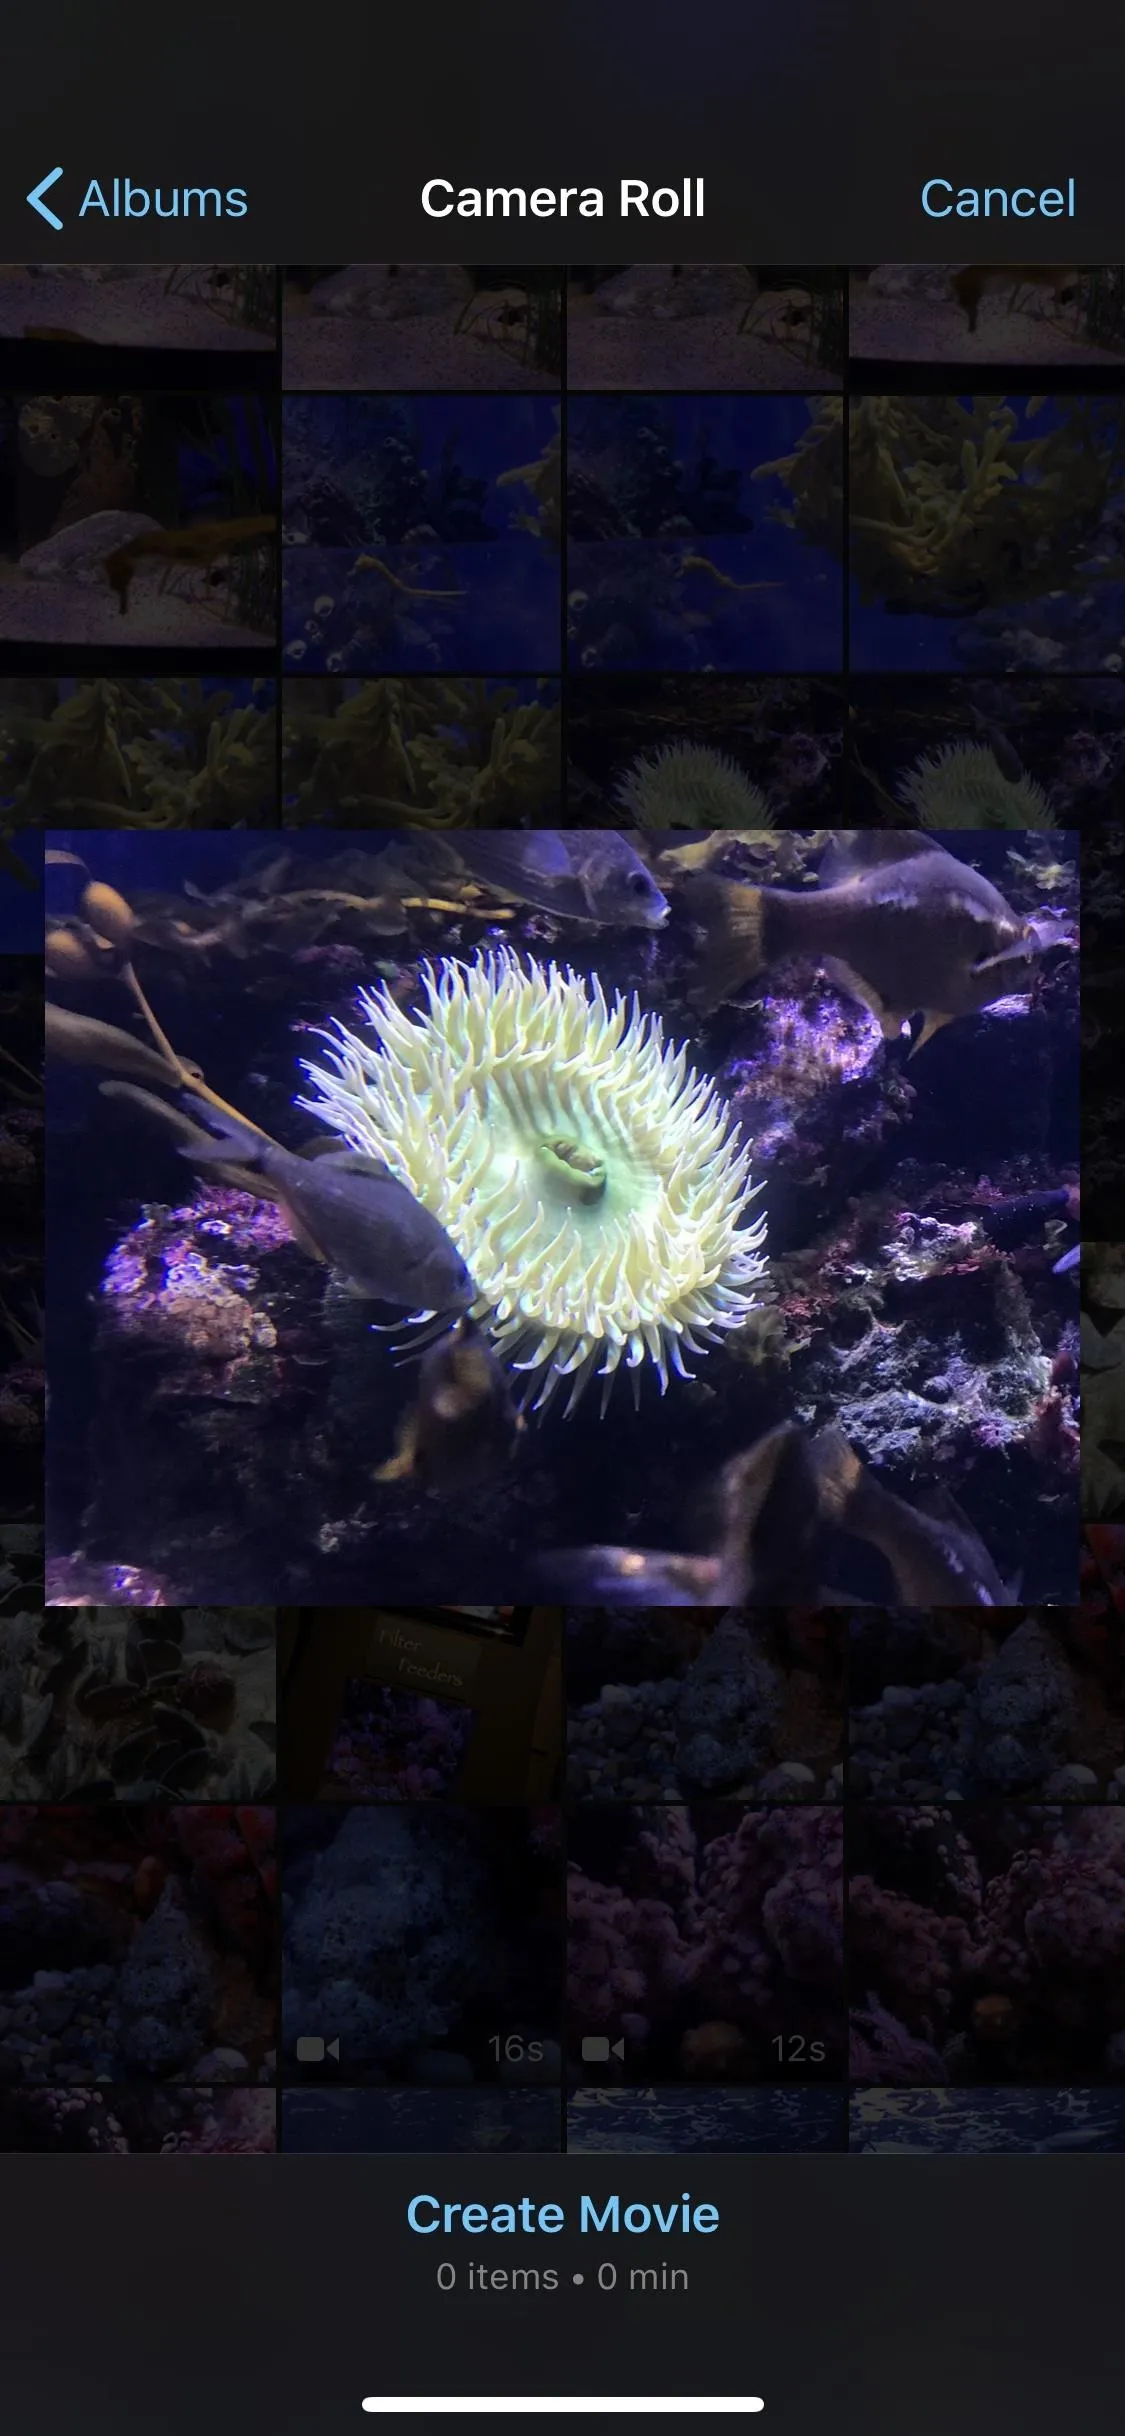
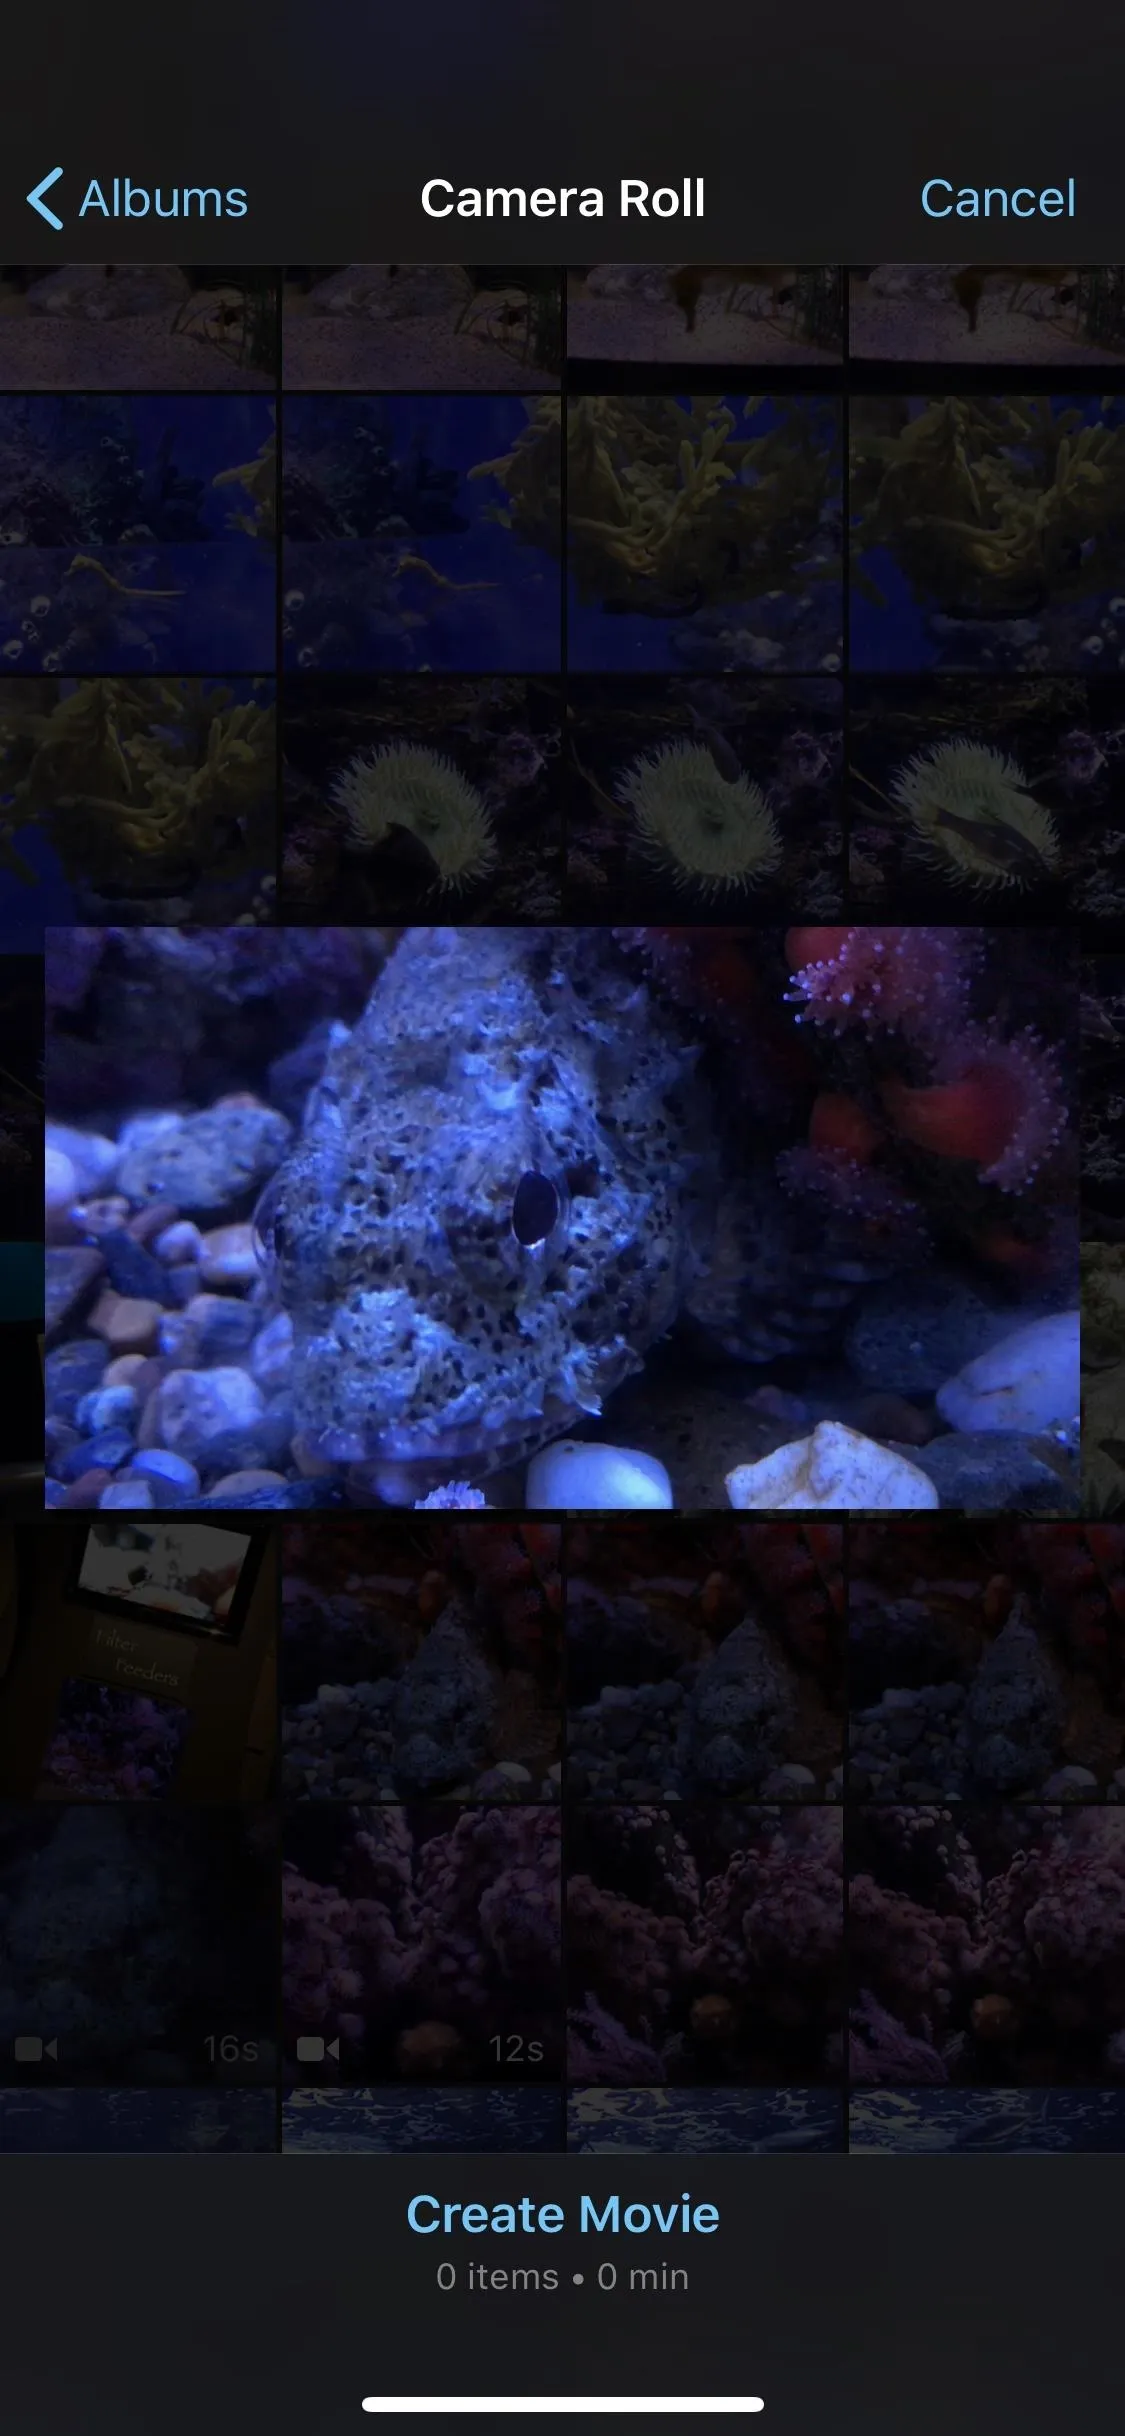
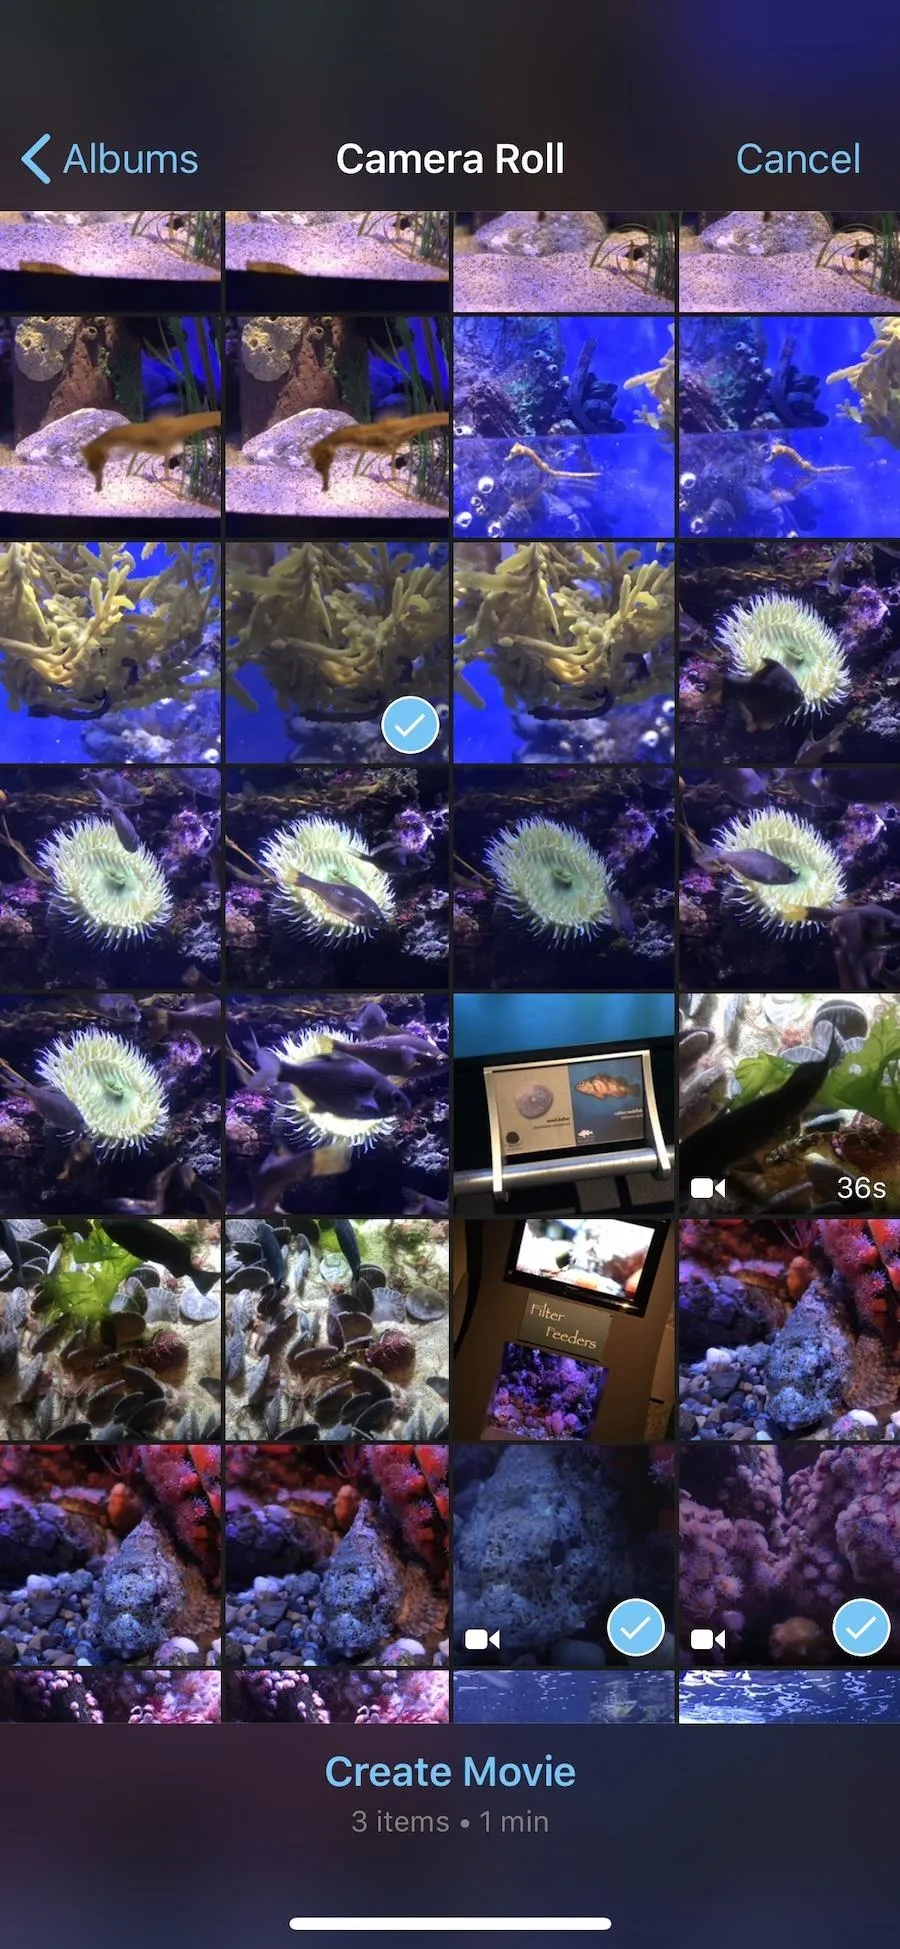


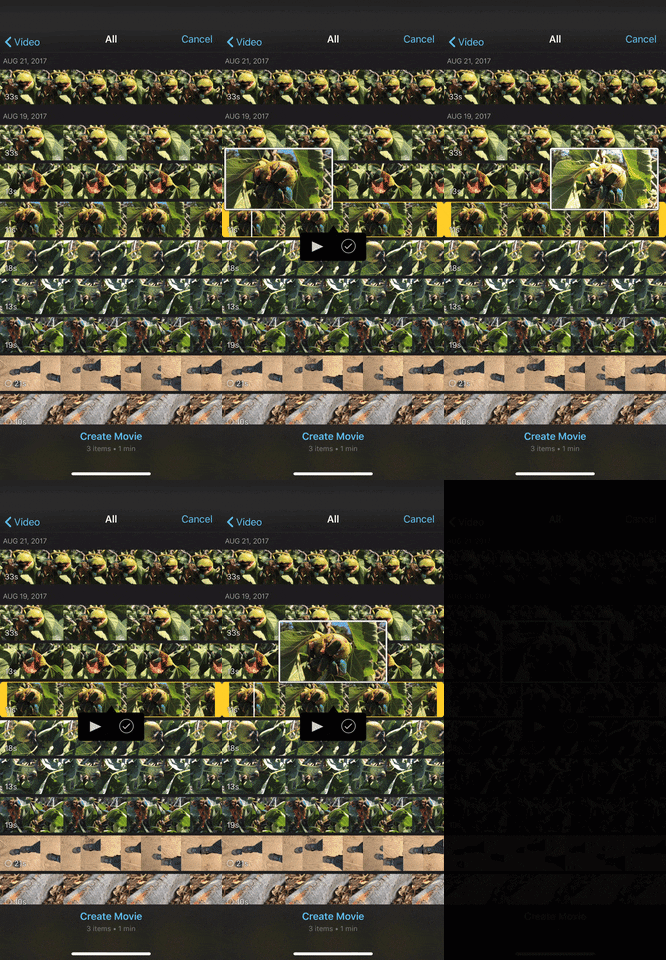
If you are in an album with videos only, the view will change to mini-timelines for each video. To quickly scrub through a video without actually playing it, tap on the video, then drag your finger right or left. A thumbnail will follow your finger showing you the frames of the video.
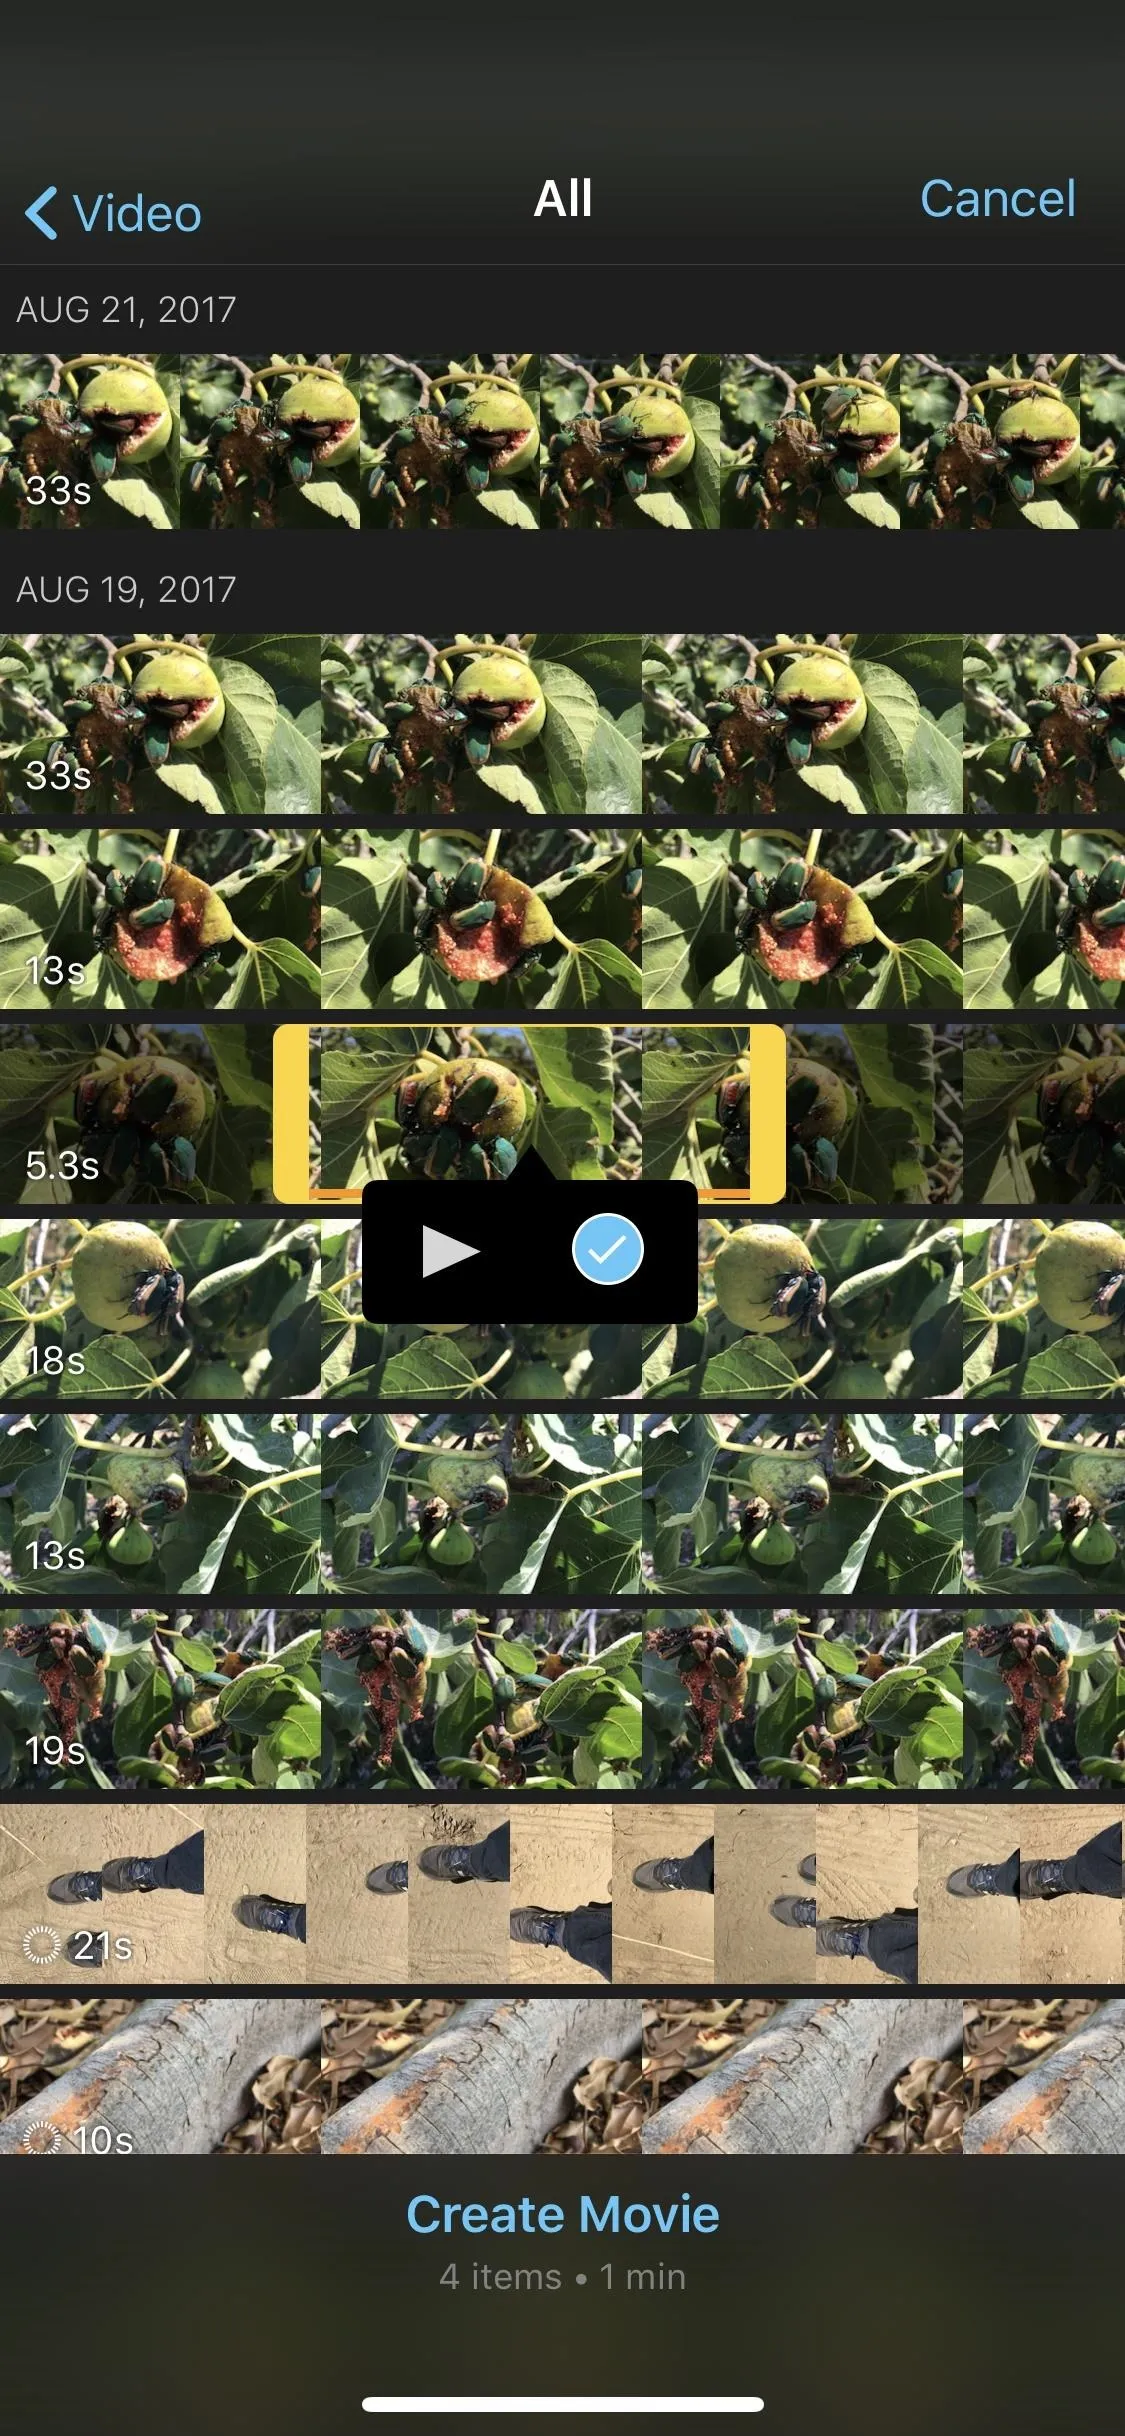
To preview a video, tap on it once to highlight it (if not already highlighted), then tap the play button. Then, on the same pop-up menu as the play option, you can check it. In this view, before you check a video, you can also adjust the start and stop points for it by dragging the yellow bars inward.
You can tell that videos are "checked" for import by the thin yellow bar on each one signifying how much of the video will be imported into the project.


Create Your Movie Project
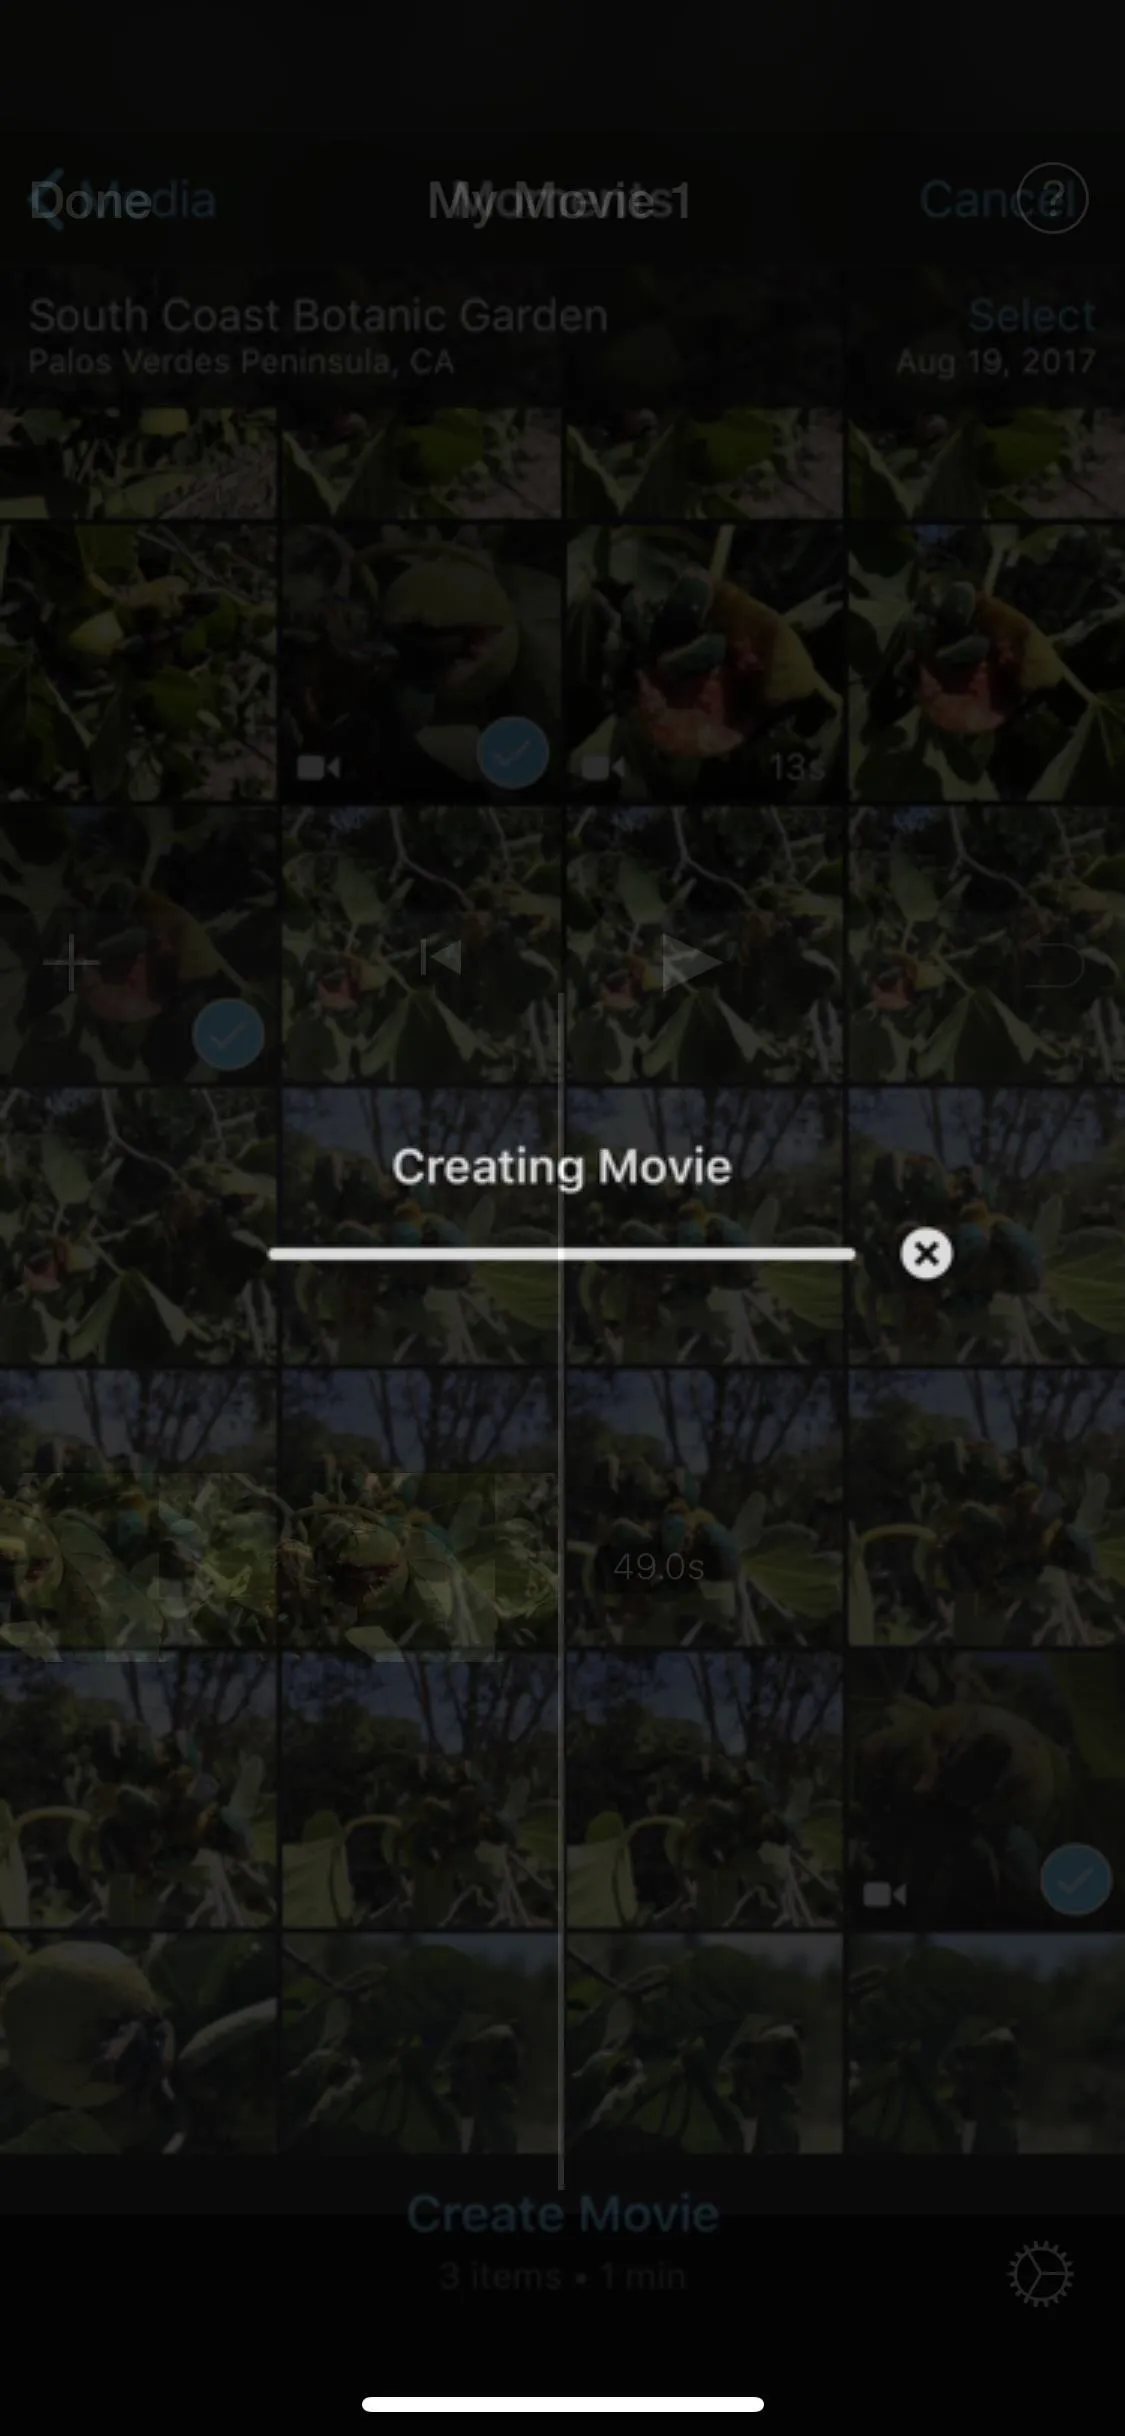
When you've selected all of the photos and videos you want to add to your first project, tap the "Create Movie" button at the bottom. And don't worry if you forgot any, you can add them in later!
Videos import as their actual length, while most photos import in 4-second clips. I say most because it all depends on the transitions applied, which could make them anywhere between 3 and 6 seconds long. By default, if an image starts or ends a video, it will be 5 seconds long, and middle ones will go for 4 seconds.
From here, you're ready to start playing around. You can delete clips, move clips around, change transitions or edit them, undo/redo changes, add more media, and much more. I won't go into these details in this guide since this article was meant to get you started.
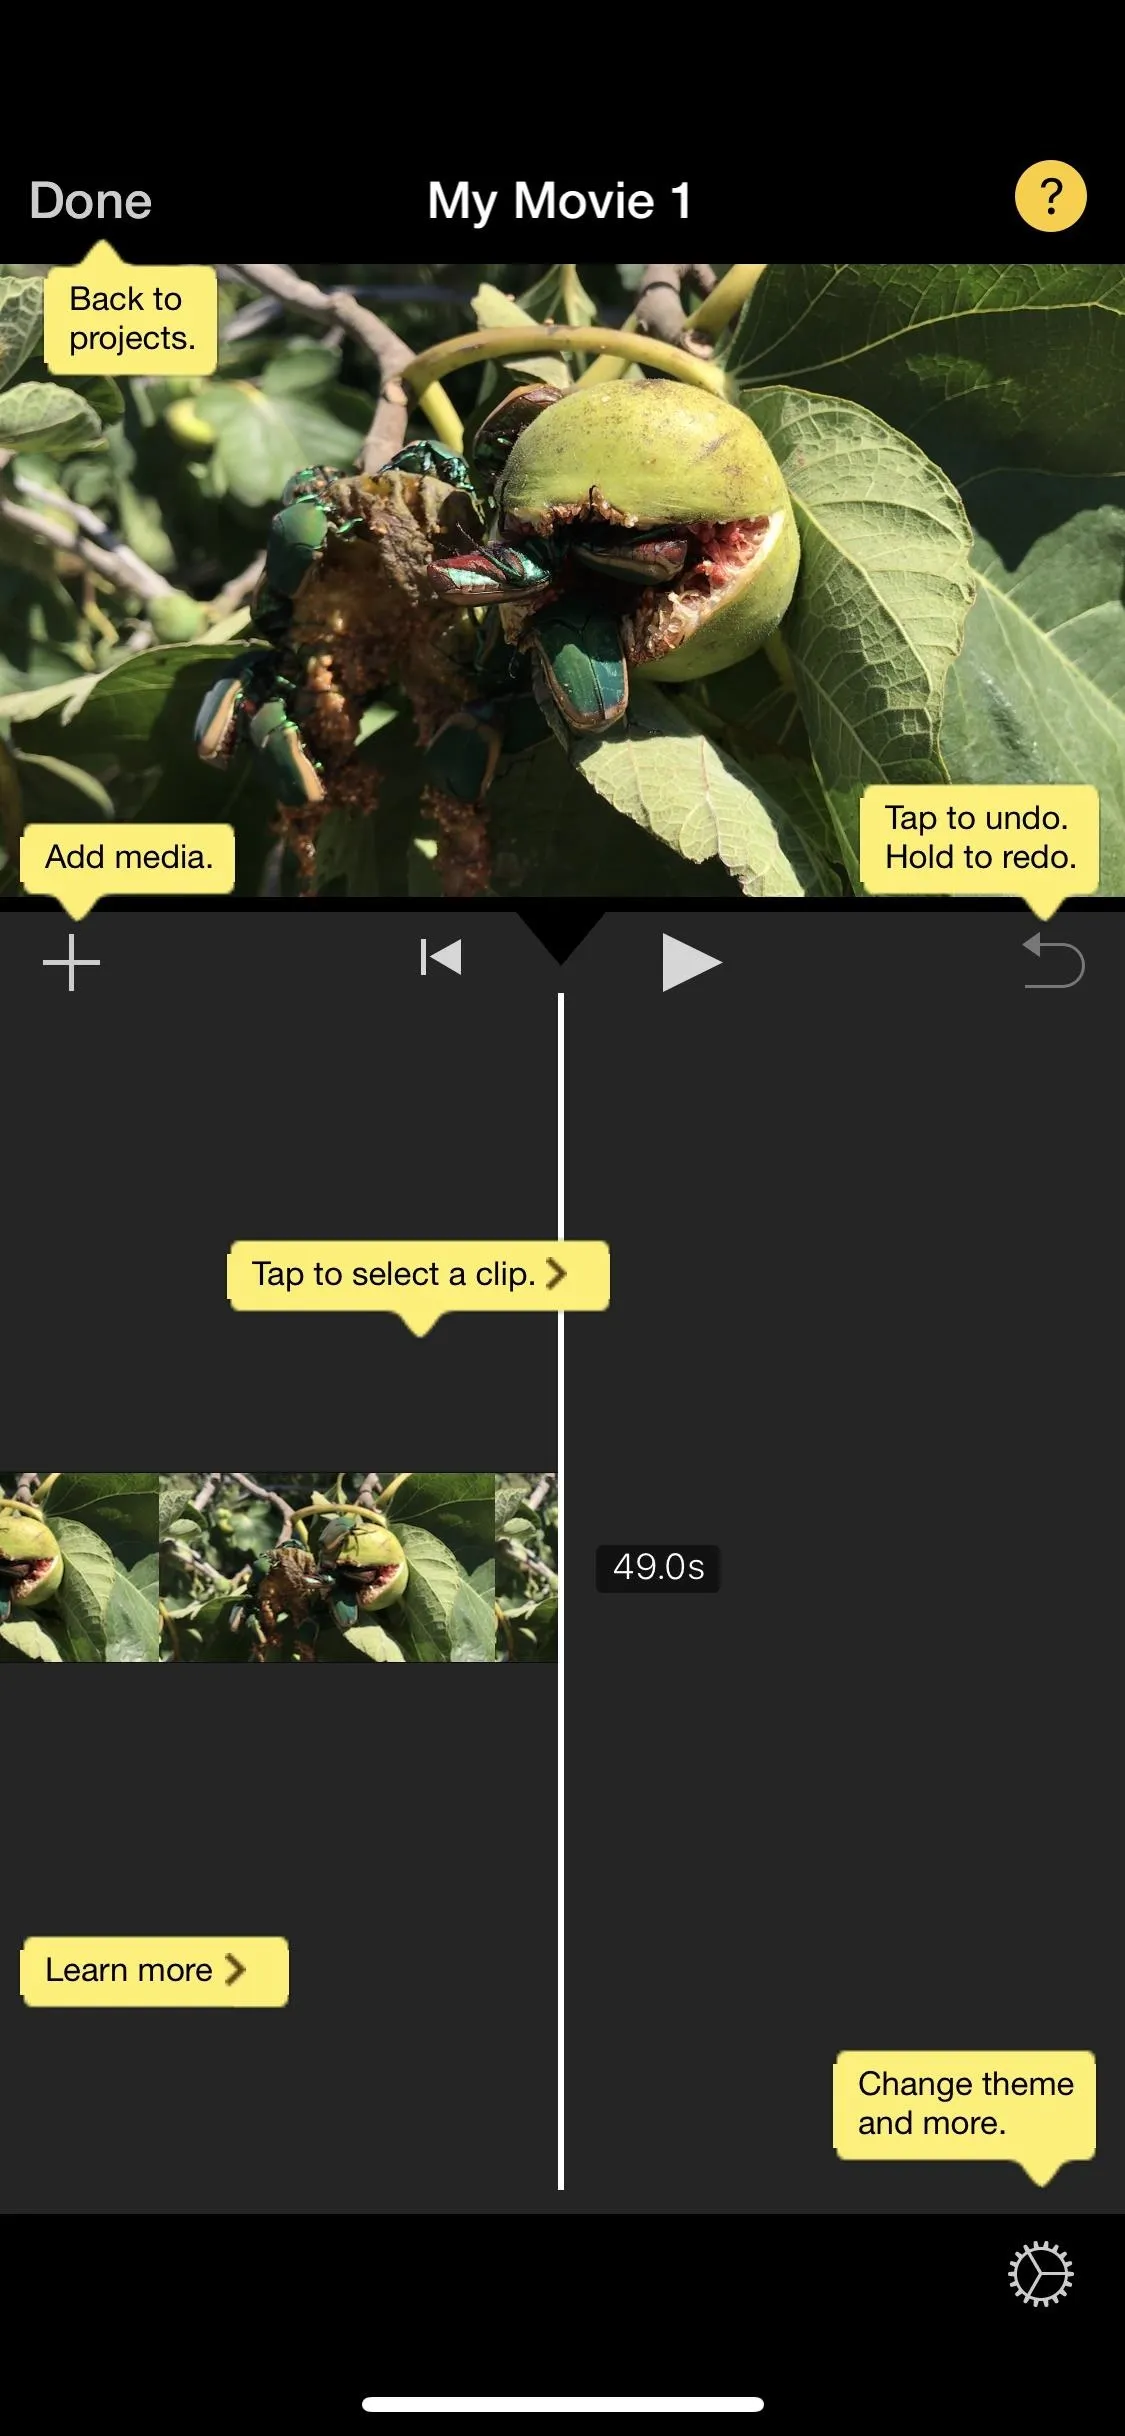


Feel free to play around in your new video project, and check back here for upcoming guides on harnessing all of iMovie's powers on the iPhone.
This article was produced during Gadget Hacks' special coverage on smartphone-based video creator tips for filming and editing. Check out the whole Videography series.
- Follow Gadget Hacks on Pinterest, Reddit, Twitter, YouTube, and Flipboard
- Sign up for Gadget Hacks' daily newsletter or weekly Android and iOS updates
- Follow WonderHowTo on Facebook, Twitter, Pinterest, and Flipboard
Cover photo, screenshots, and GIFs by Justin Meyers/Gadget Hacks


Comments
Be the first, drop a comment!