Whether you're using your iPhone to add graphics to a document, edit a photo, or sketch an idea, color plays a vital role in making your work look great. Apple's iOS 14 update introduces a system-wide color picker that lets you pick the exact color you want, save it to your favorite colors, and use it across a variety of apps to add that special touch to your work.
System-wide color pickers have been a part of desktop operating systems for a long time, and with iOS 14, the iPhone gets a real one. Before iOS 12, you could only pick from a few limited colors in Markup across the system, but then we got a decent color picker that included 120 hues, shades, and tints of colors to choose from in a grid. We still have those 120 options, but it's now more robust.
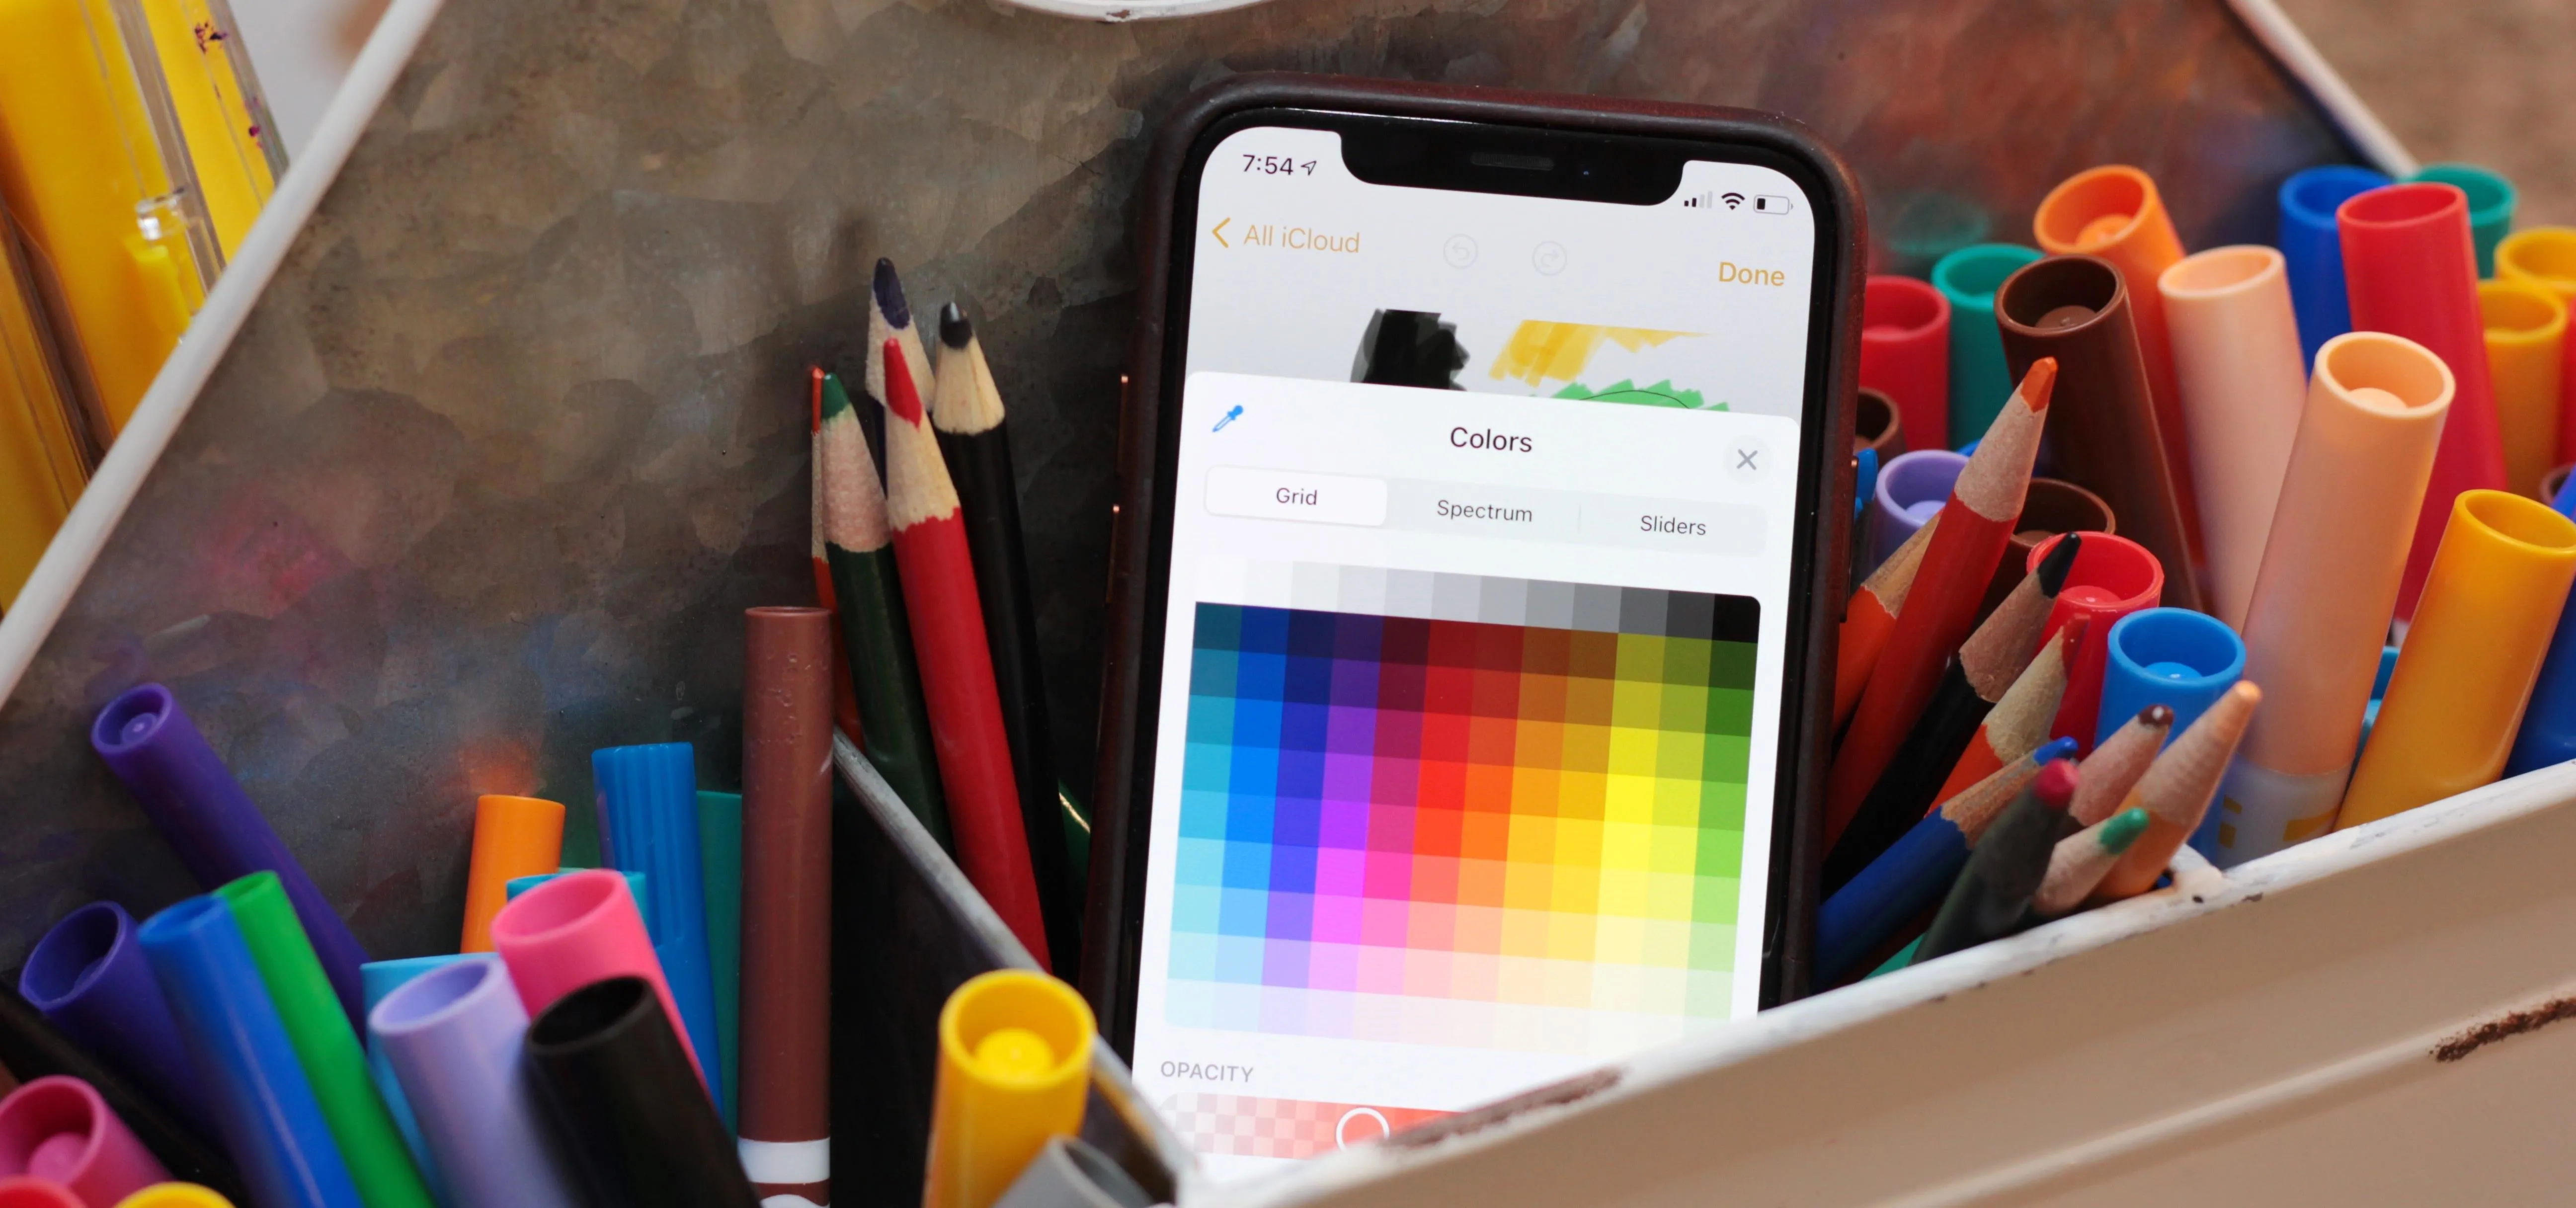
The iOS 14 color picker gives you several tools to select the exact color you want, whether its a color from a palette, one from an existing image, or using RGB/hex color values. You can even choose colors from a spectrum graph rather than a grid, and you can change any colors opacity. After selecting your color, you can save it to a list of favorites to use across your apps.
Third-party developers can incorporate the ColorPicker structure into their own apps if they don't want to build their own user interface. So if you're painting in a non-Apple app, you could very well see the same color picker as in Markup.
Meet the New Color Picker
The color editor in iOS 14 has four main sections that we'll cover:
Color Well & Swatches
The large square in the lower left is the color well, which shows your currently selected color. Next to the color well are your swatches, which let you switch between black, the four primary hues (blue, green, red, yellow), and your saved colors. You can save as many colors as you want and can swipe horizontally to move between pages.
To add the color from the color well to your swatches, tap the plus (+) icon in the swatch list. If you have ten or more swatches in portrait orientation, or eight or more in landscape, the "+" button will be on the last page.
To delete a swatch, press-and-hold on it, and after a moment, a "Delete" button will appear; tap that to remove the swatch from the list. While iOS automatically lists black and the four primary hues as swatches, they can still be deleted if you wish.
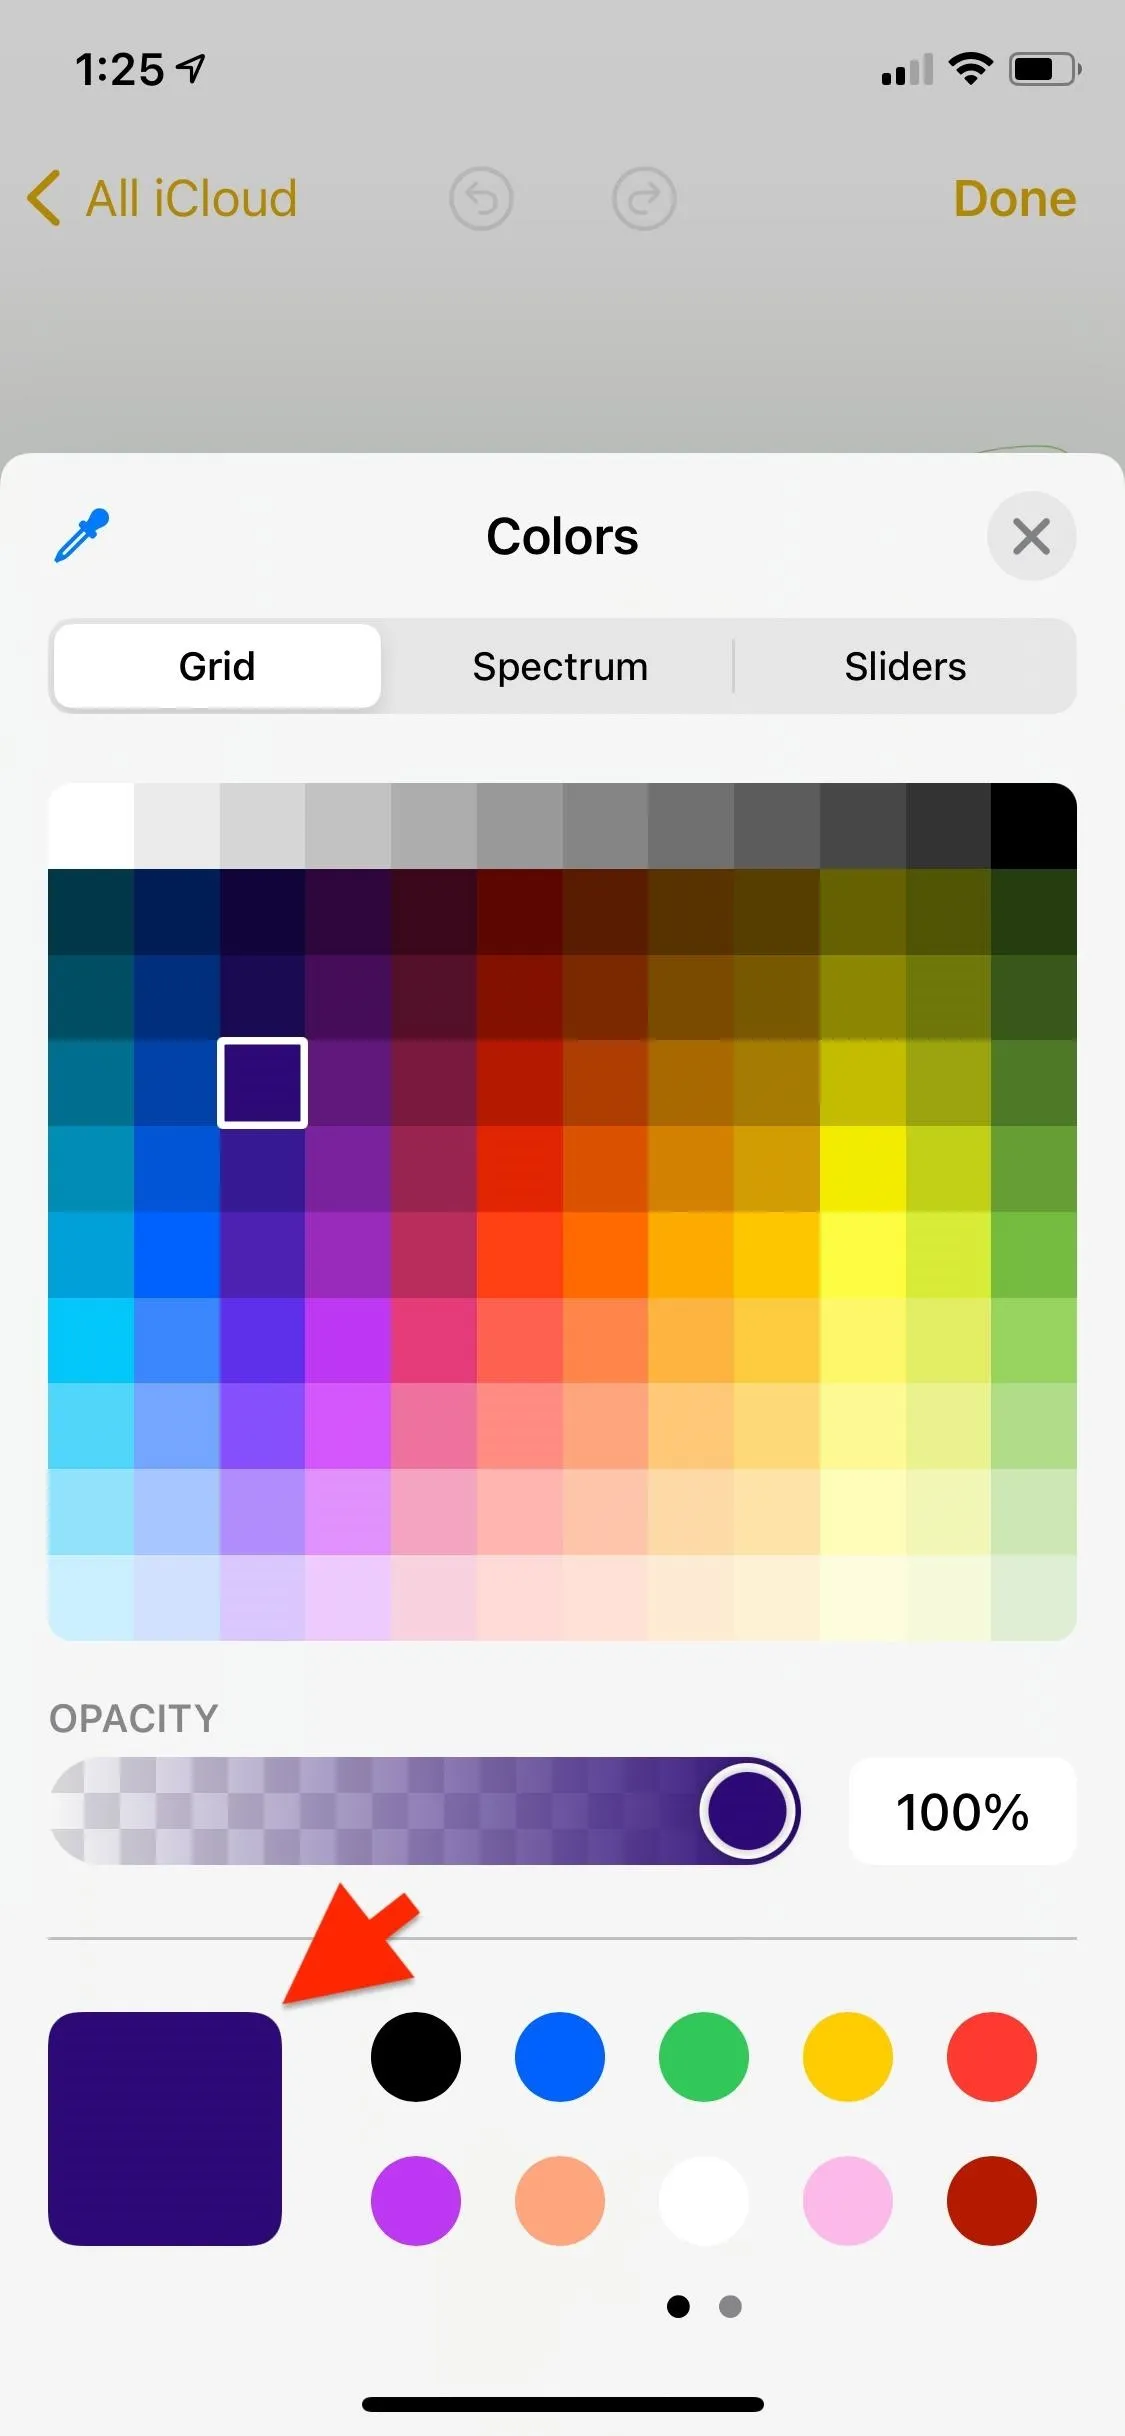
The color well (left); adding and deleting swatches (right).
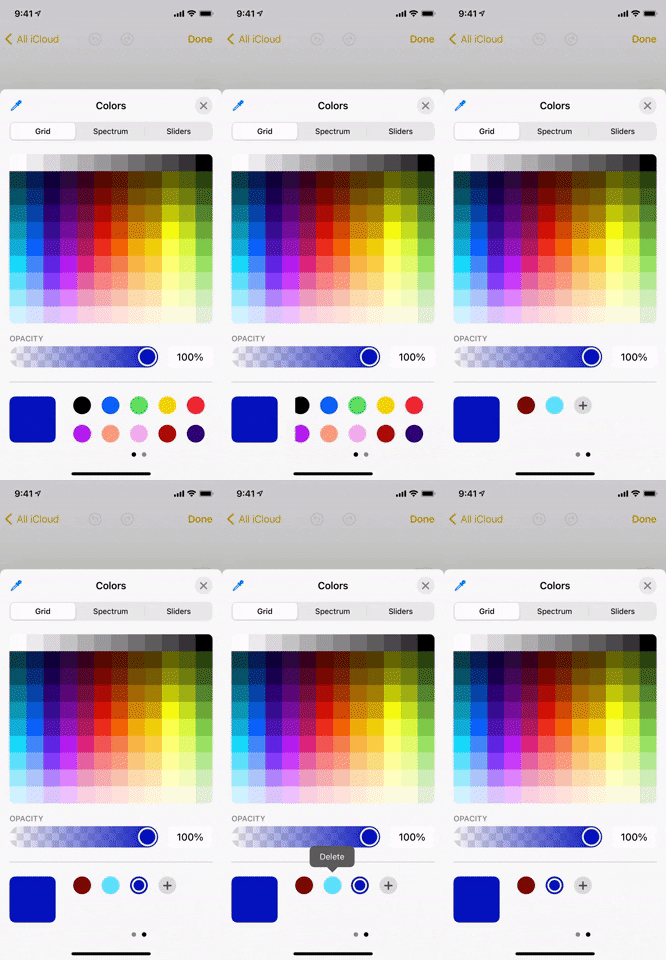

The color well (left); adding and deleting swatches (right).

Opacity Slider
The opacity slider changes the opacity of the currently selected color. You can move the slider from 0% to 100%, with zero being completely transparent and 100 completely opaque. If you're having trouble getting an exact opacity, you can tap the percentage and type it in with your keyboard.
As you move the slider, the color well updates, showing what your selected color looks like on both black and white backgrounds. It's a nice touch so that you always know how the transparency will end up.
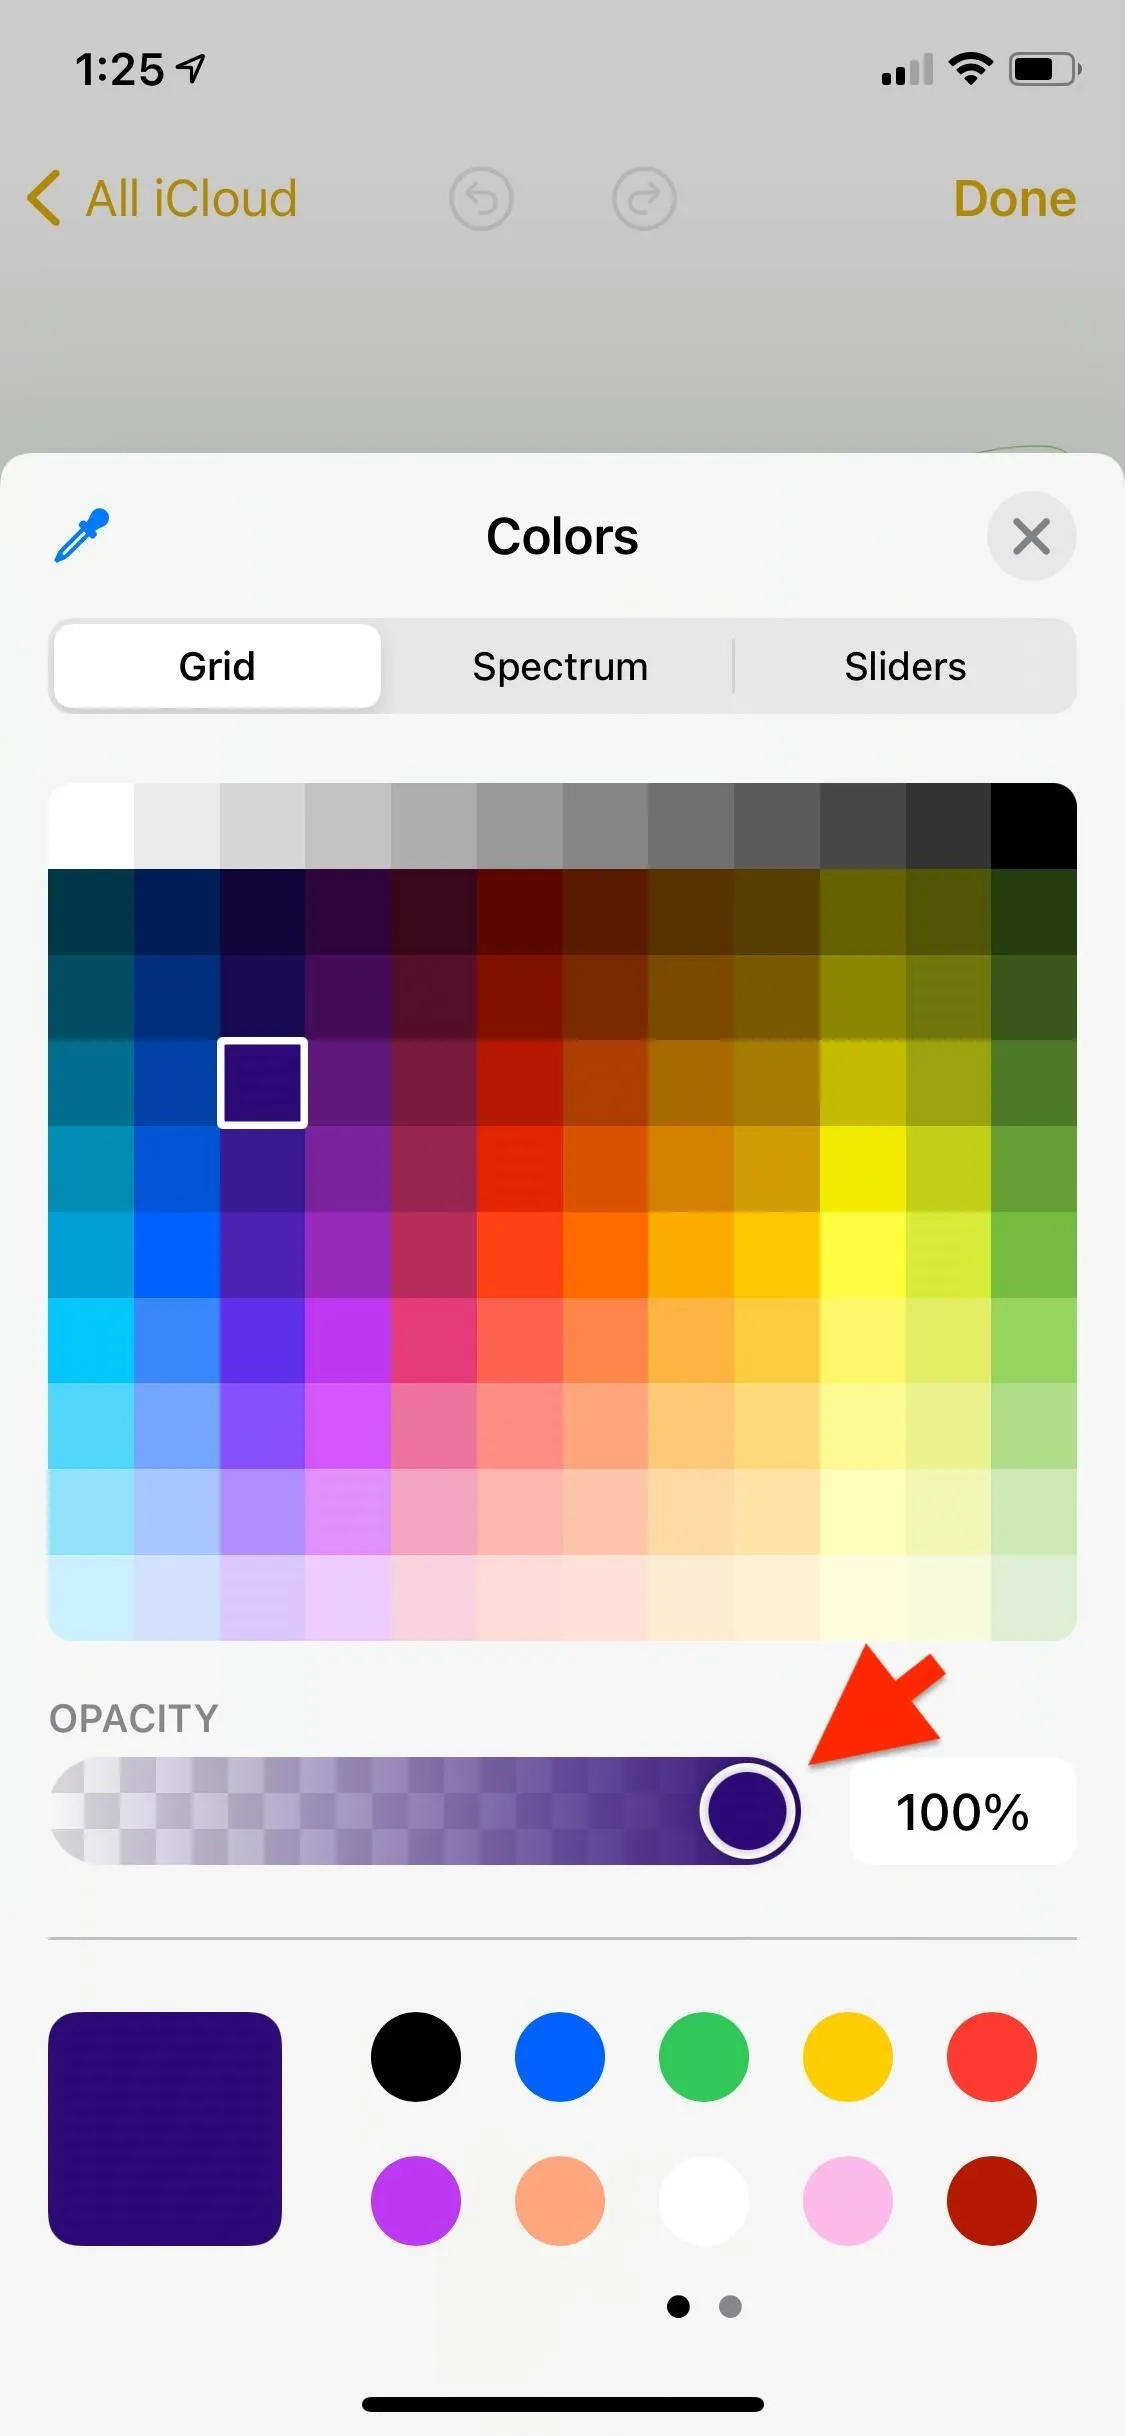
The opacity slider (left); viewing different opacity looks (right).
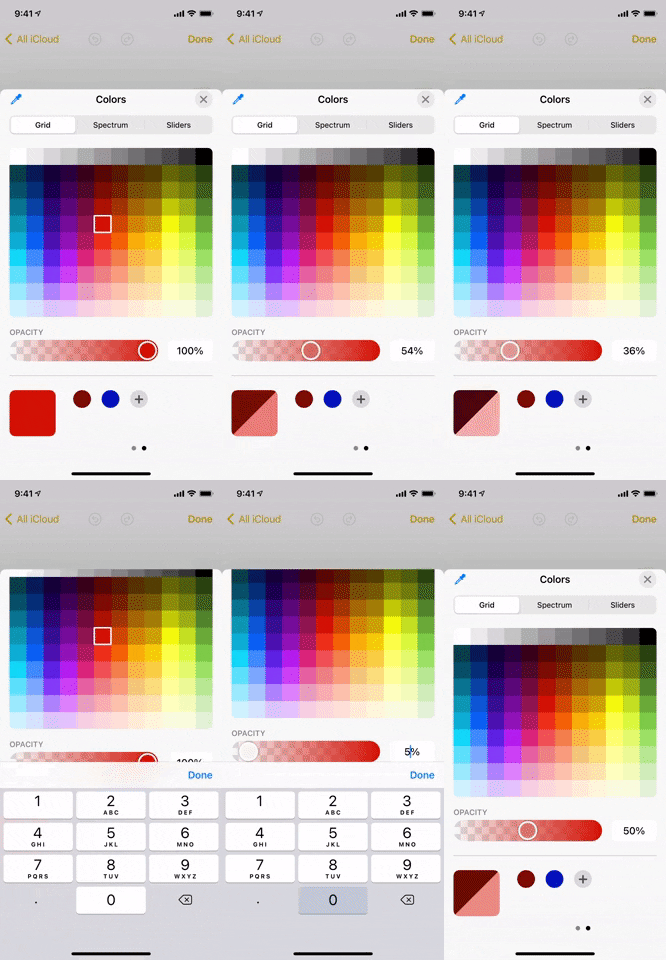

The opacity slider (left); viewing different opacity looks (right).

Note that third-party developers can remove the opacity slider from their apps if using the ColorPicker structure, so if you don't see the slider, that's probably why.
Eyedropper
Use the eyedropper tool to pick an exact color from an image on the screen. It can be useful if you want to match a color on the current document or one from another file. It's also handy if you see a color you like and want to save it for later.
To get started, tap (or tap-and-hold) the eyedropper icon in the top left of the color picker. The color editor will minimize, and the eyedropper tool will appear, which looks like a circle with a grid of squares inside. It magnifies the image beneath it so you can precisely choose a color even if it's barely visible in the file.
Drag the circle to the color on the screen that you want to select. As you drag the eyedropper, the outer ring will update with the color in the center of the grid that's currently the focal point. Once you lift your finger, the color editor will slide back up, and the color well will update with your color.
If you want to pick a color from an app that doesn't have a color picker, take a screenshot, then tap it to enter Markup. The color picker will be in the markup tools, allowing you to select colors from anywhere on your iPhone.
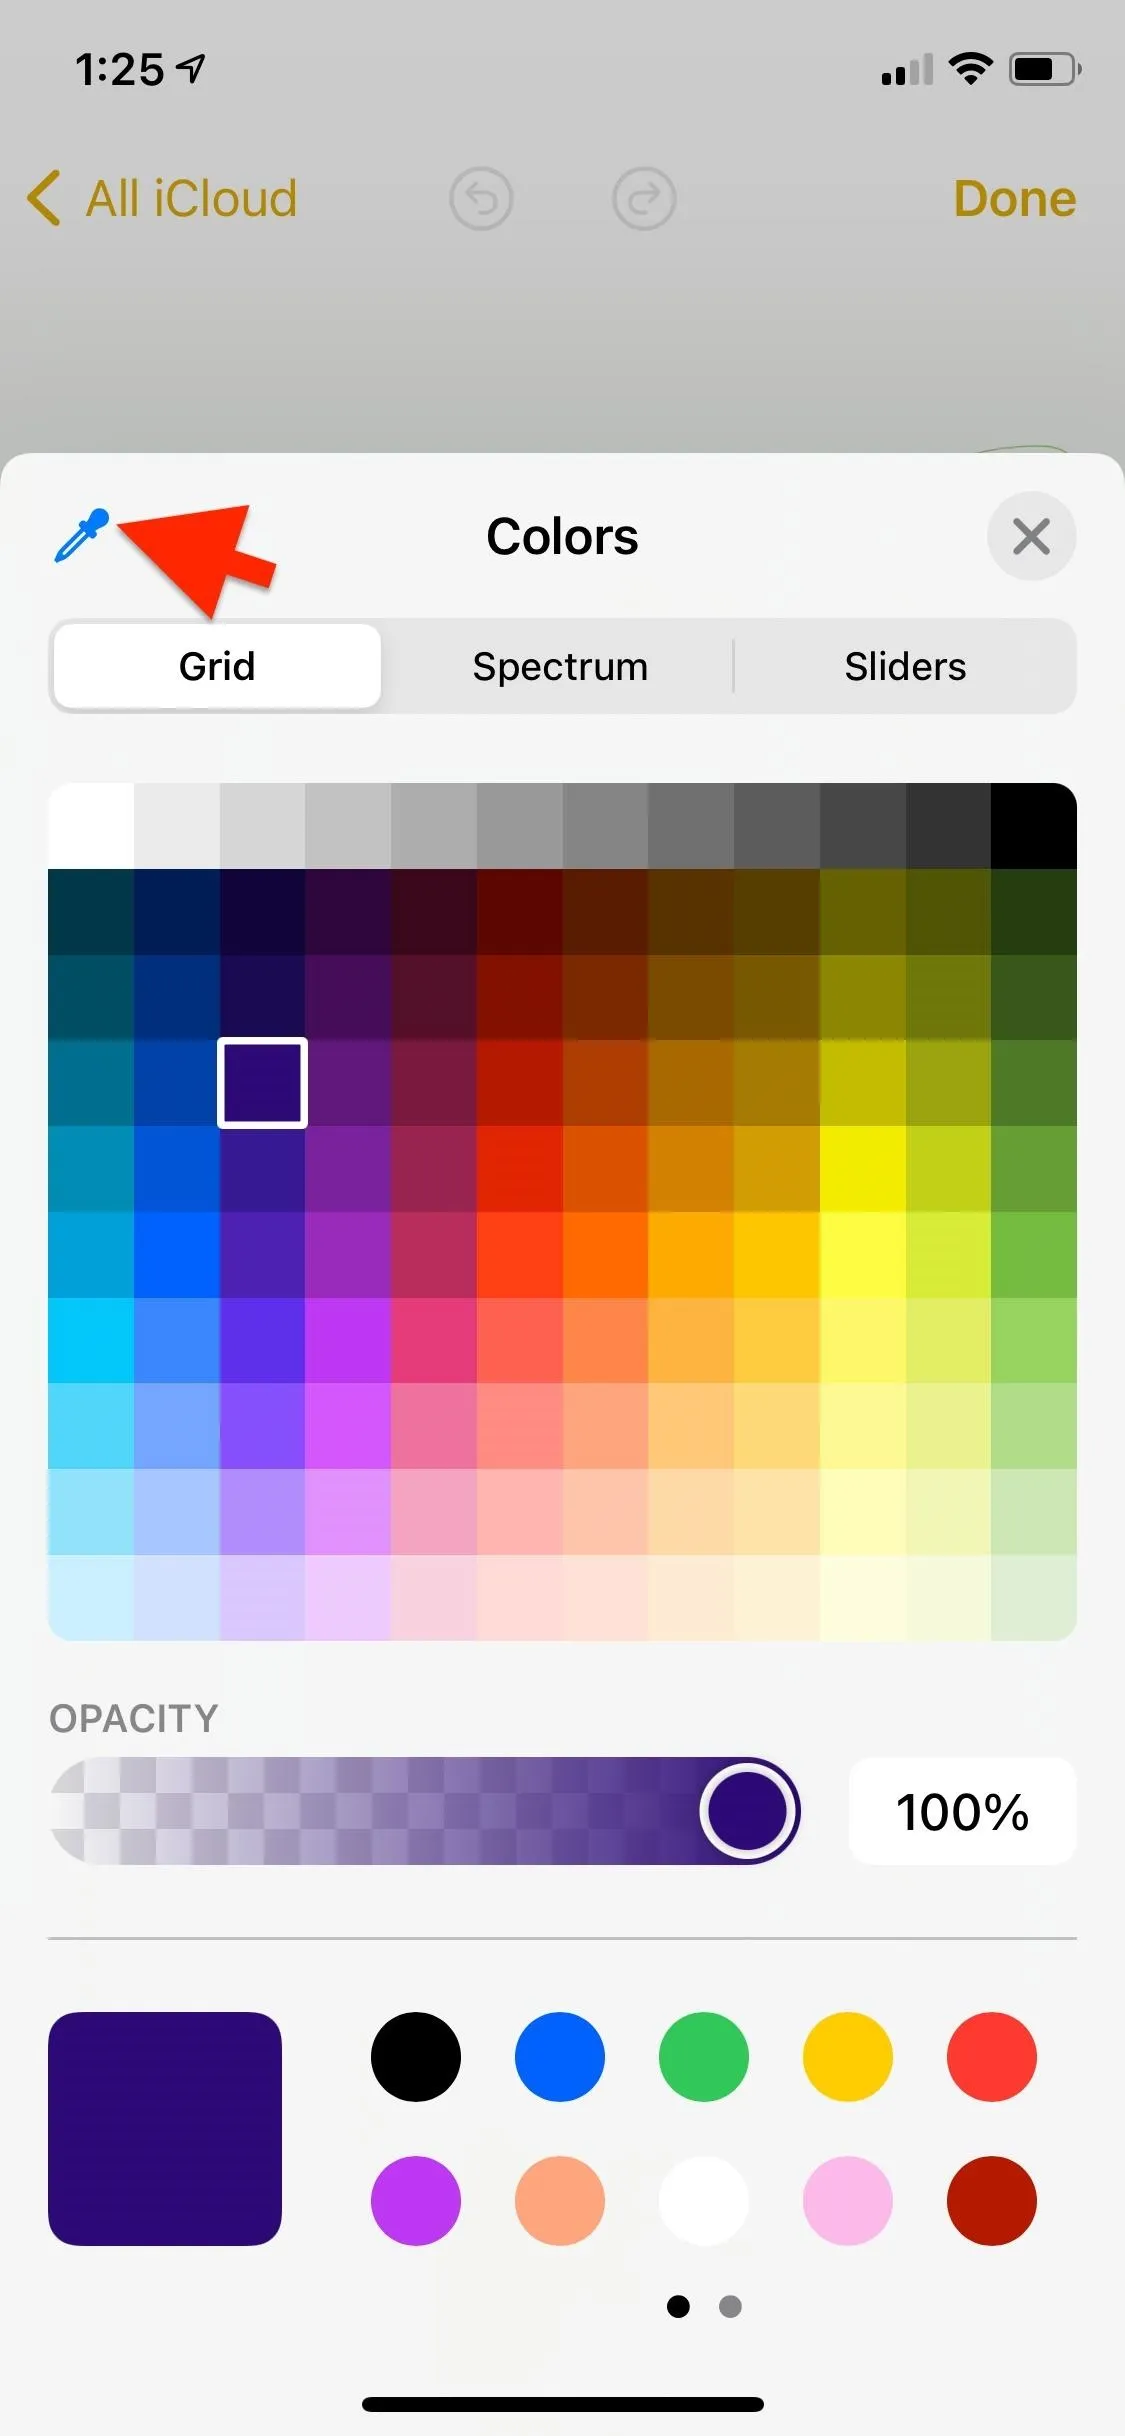
The eyedropper (left); using it to pick a color on an image (right).
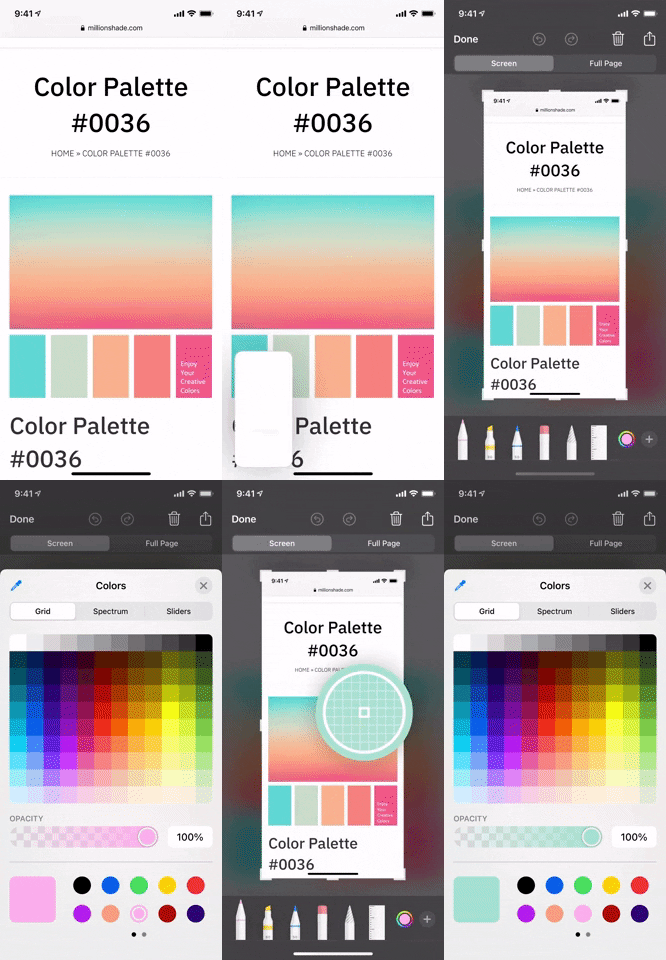

The eyedropper (left); using it to pick a color on an image (right).

Color Pickers
The color editor has three different layouts to select colors. The control above the color pickers lets you switch between Grid, Spectrum, and Sliders. Each selector has advantages and disadvantages, and a different tradeoff between ease of use and precision.
- Grid: This picker is the easiest to use, with various colors laid out in a grid. It's the one that's been around since iOS 12. The tradeoff is that you can't pick a color that isn't in the 120-color grid, limiting how precise you can be.
- Spectrum: This picker is similar to Grid but more precise, so you're not limited to just 120 hues, shades, and tints. Colors blend into each other, and you can drag your finger across them to hone in on the color you want. The downside of Spectrum is that although it's precise, it can't choose an exact color, and can't choose shades of gray at all.
- Sliders: This picker is the opposite of Grid in terms of ease of use. The tradeoff, however, is that you can dial in the exact color you're looking for. You can select specific RGB color values, either by using the sliders or typing the values in. Or you can type in hex values, in both the Display P3 and sRGB color spaces. To switch between color spaces, tap the blue "Hex Color #" text next to the hex value to open a menu where you can choose one or the other.
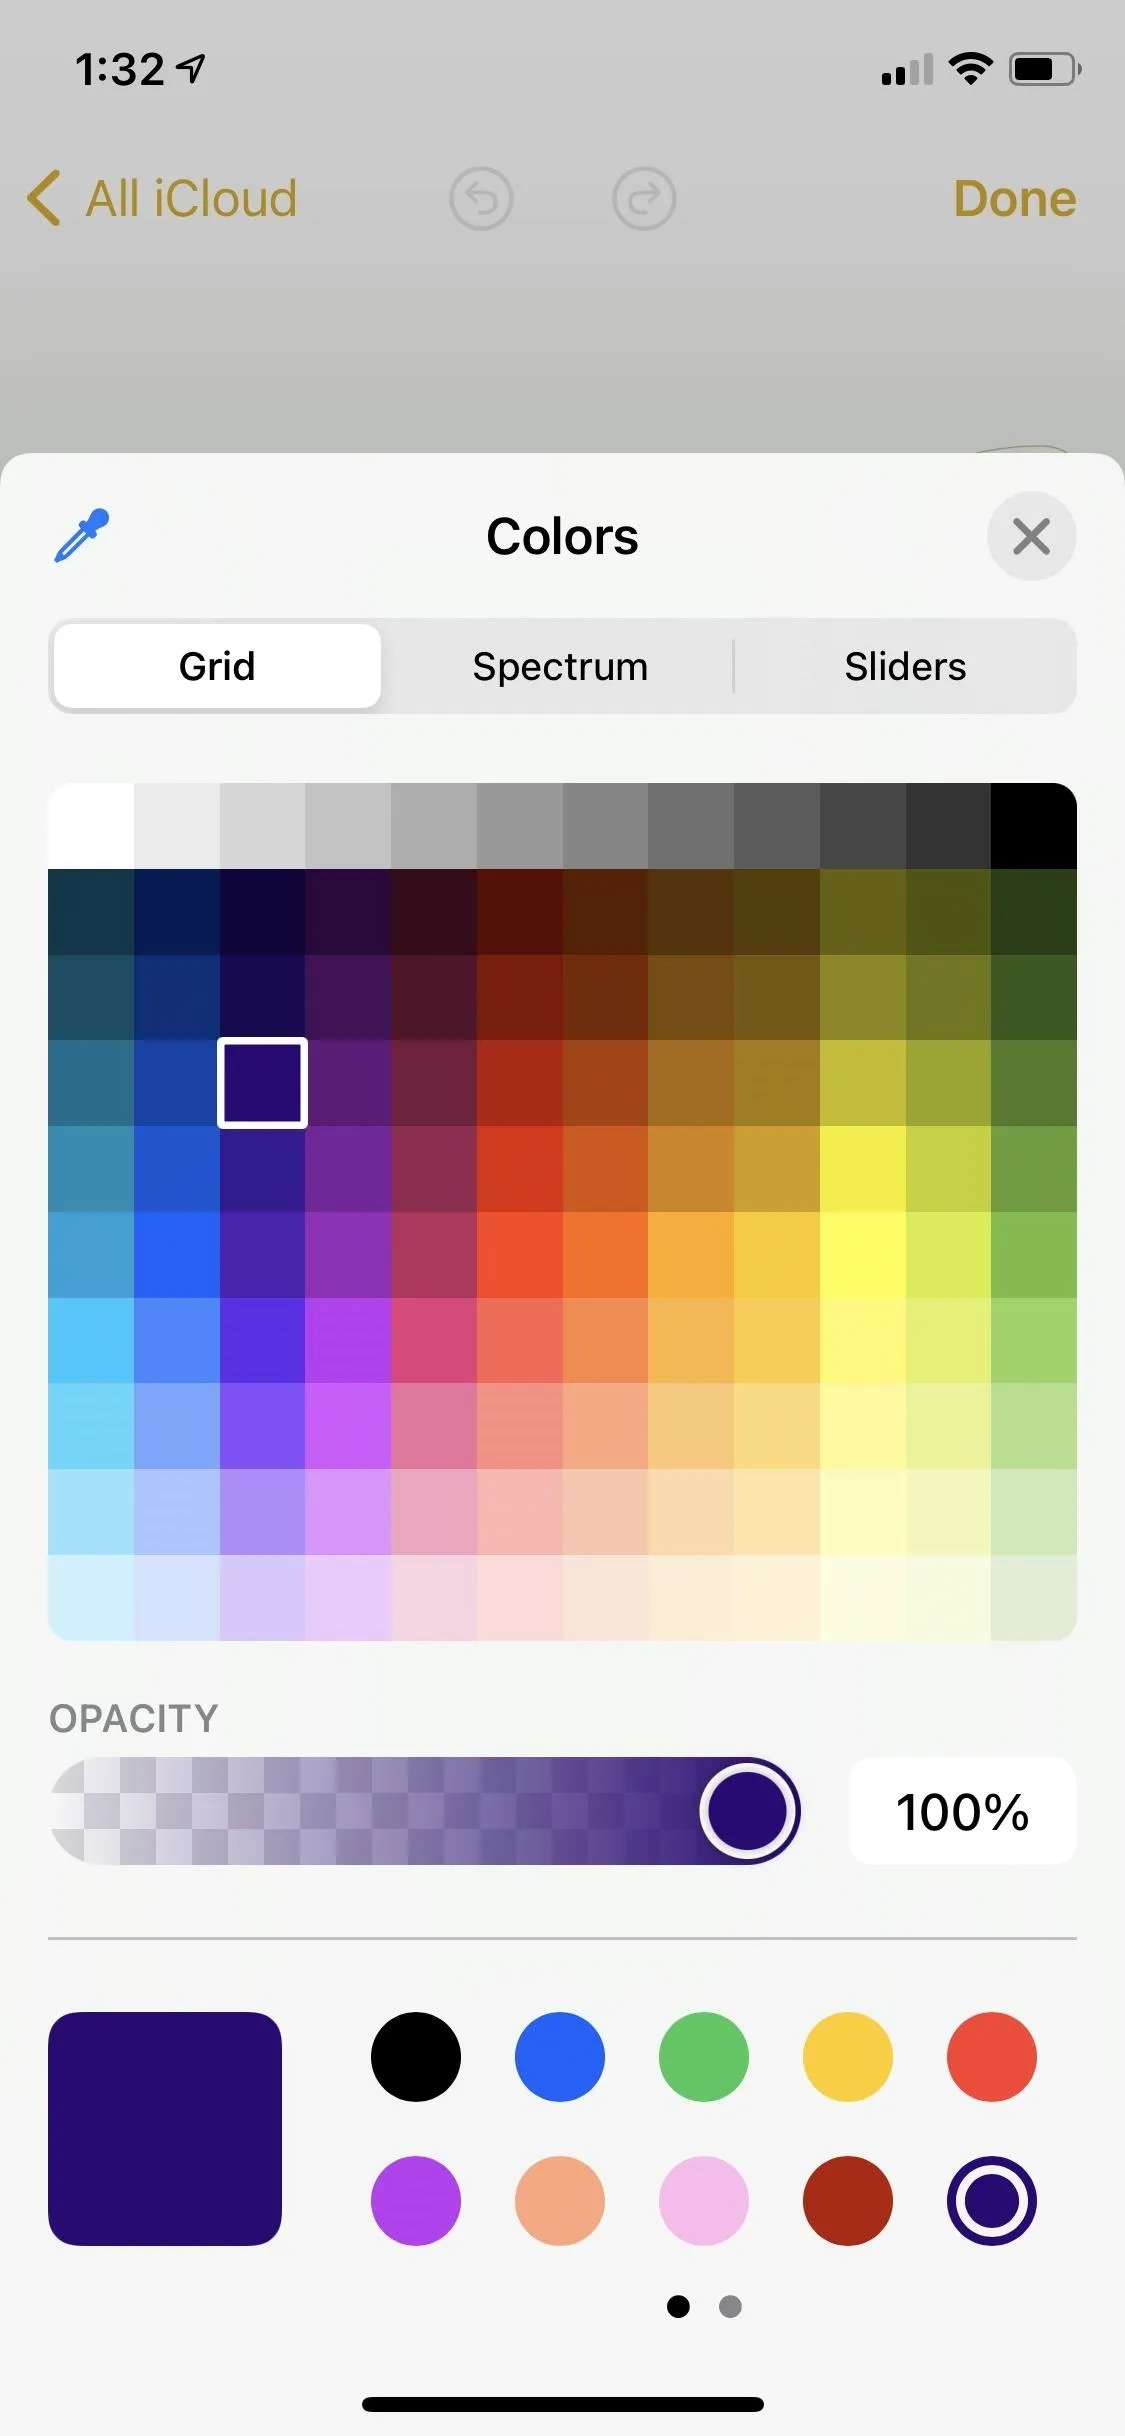
The Grid (left), Spectrum (middle), and Sliders with Color Space (right) selectors.
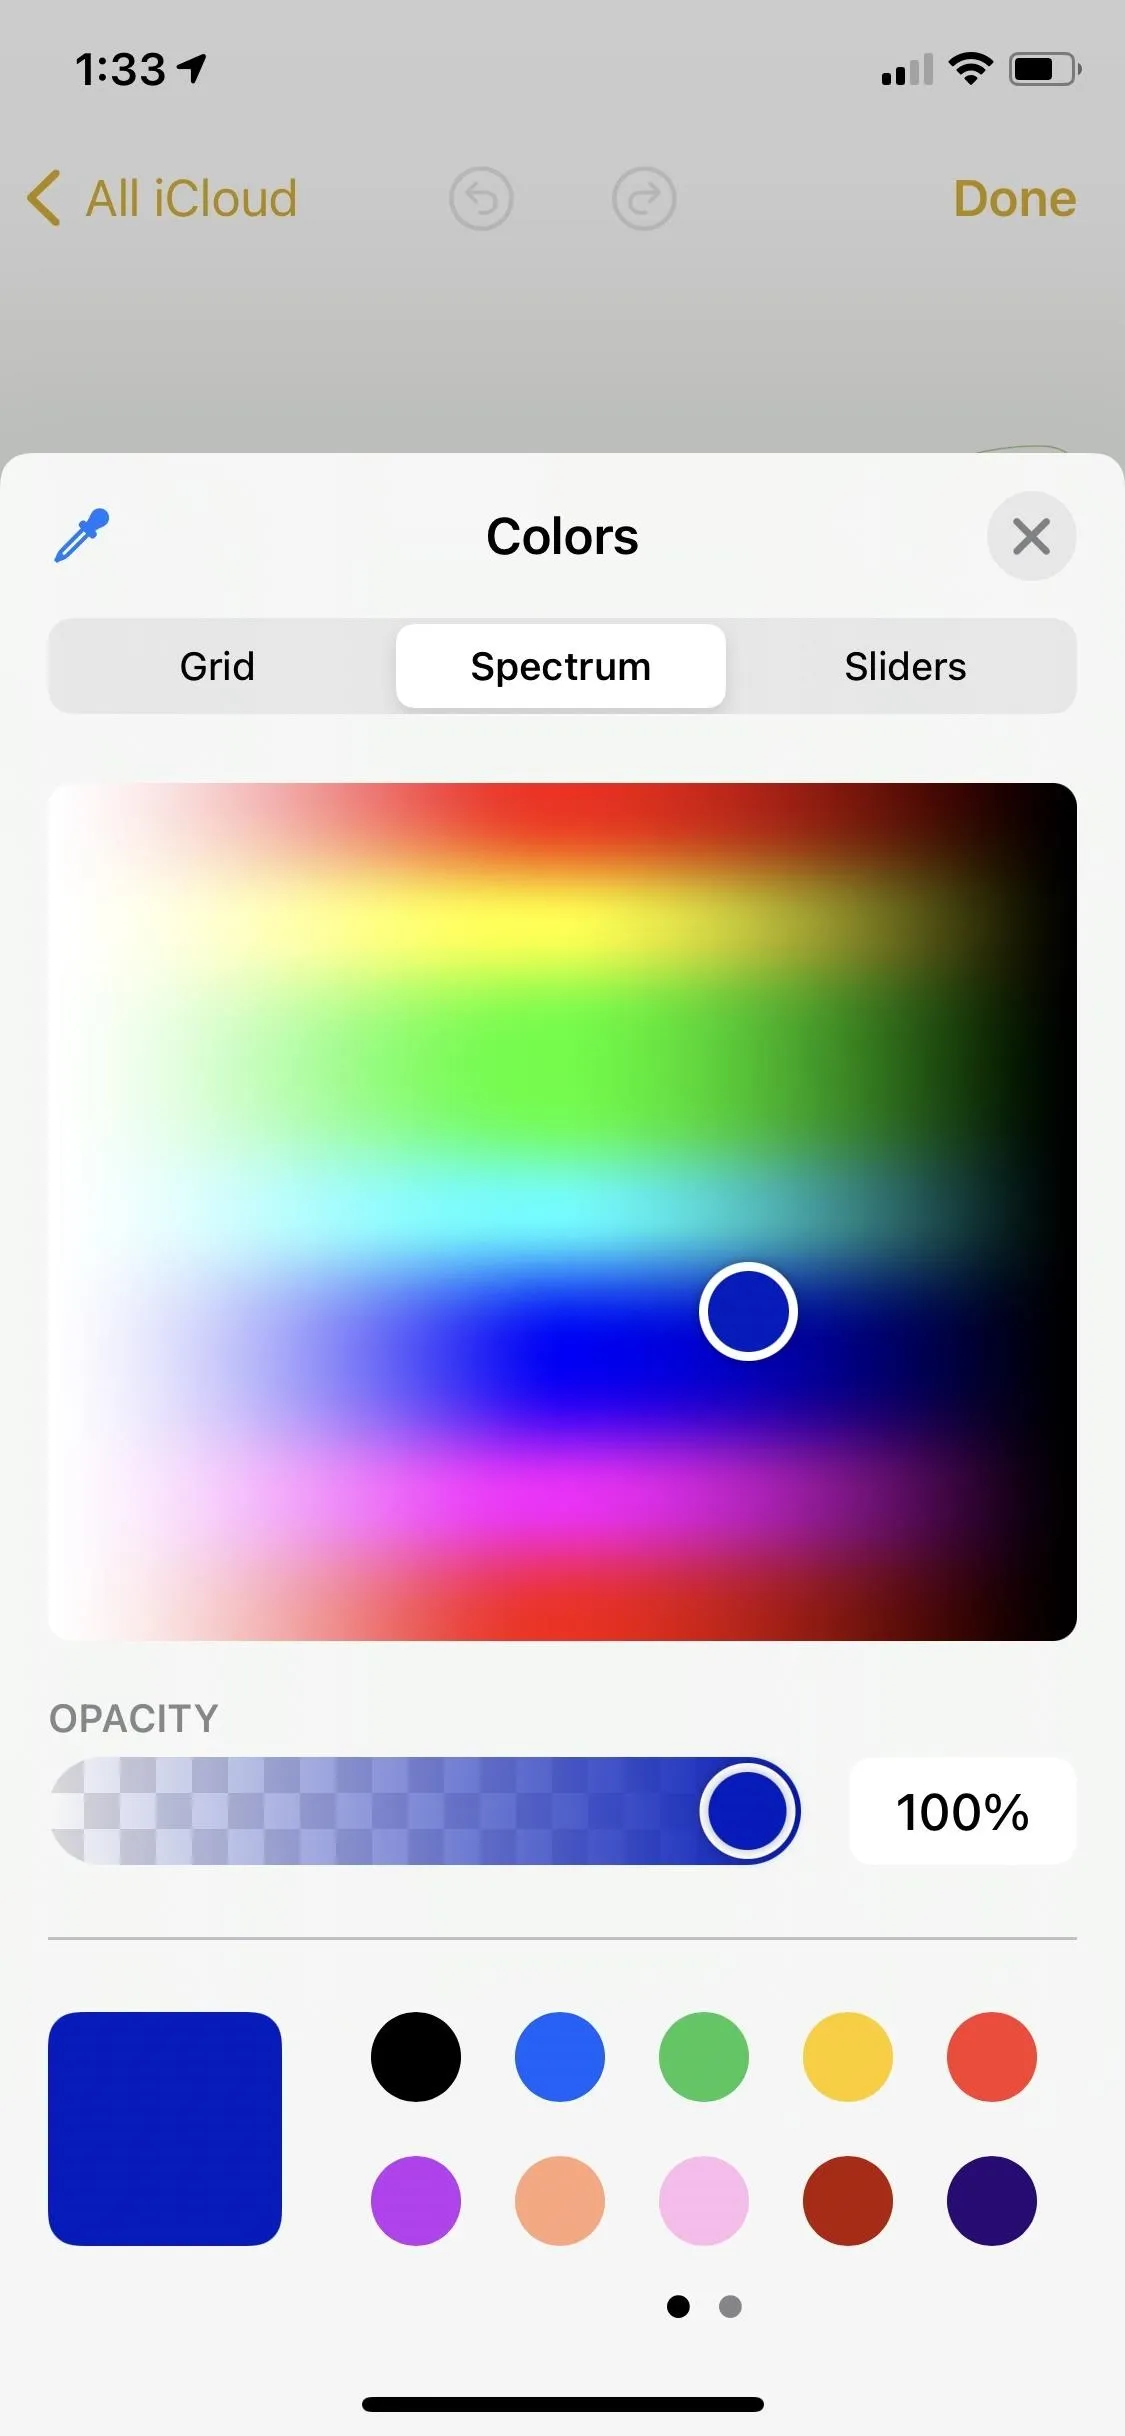
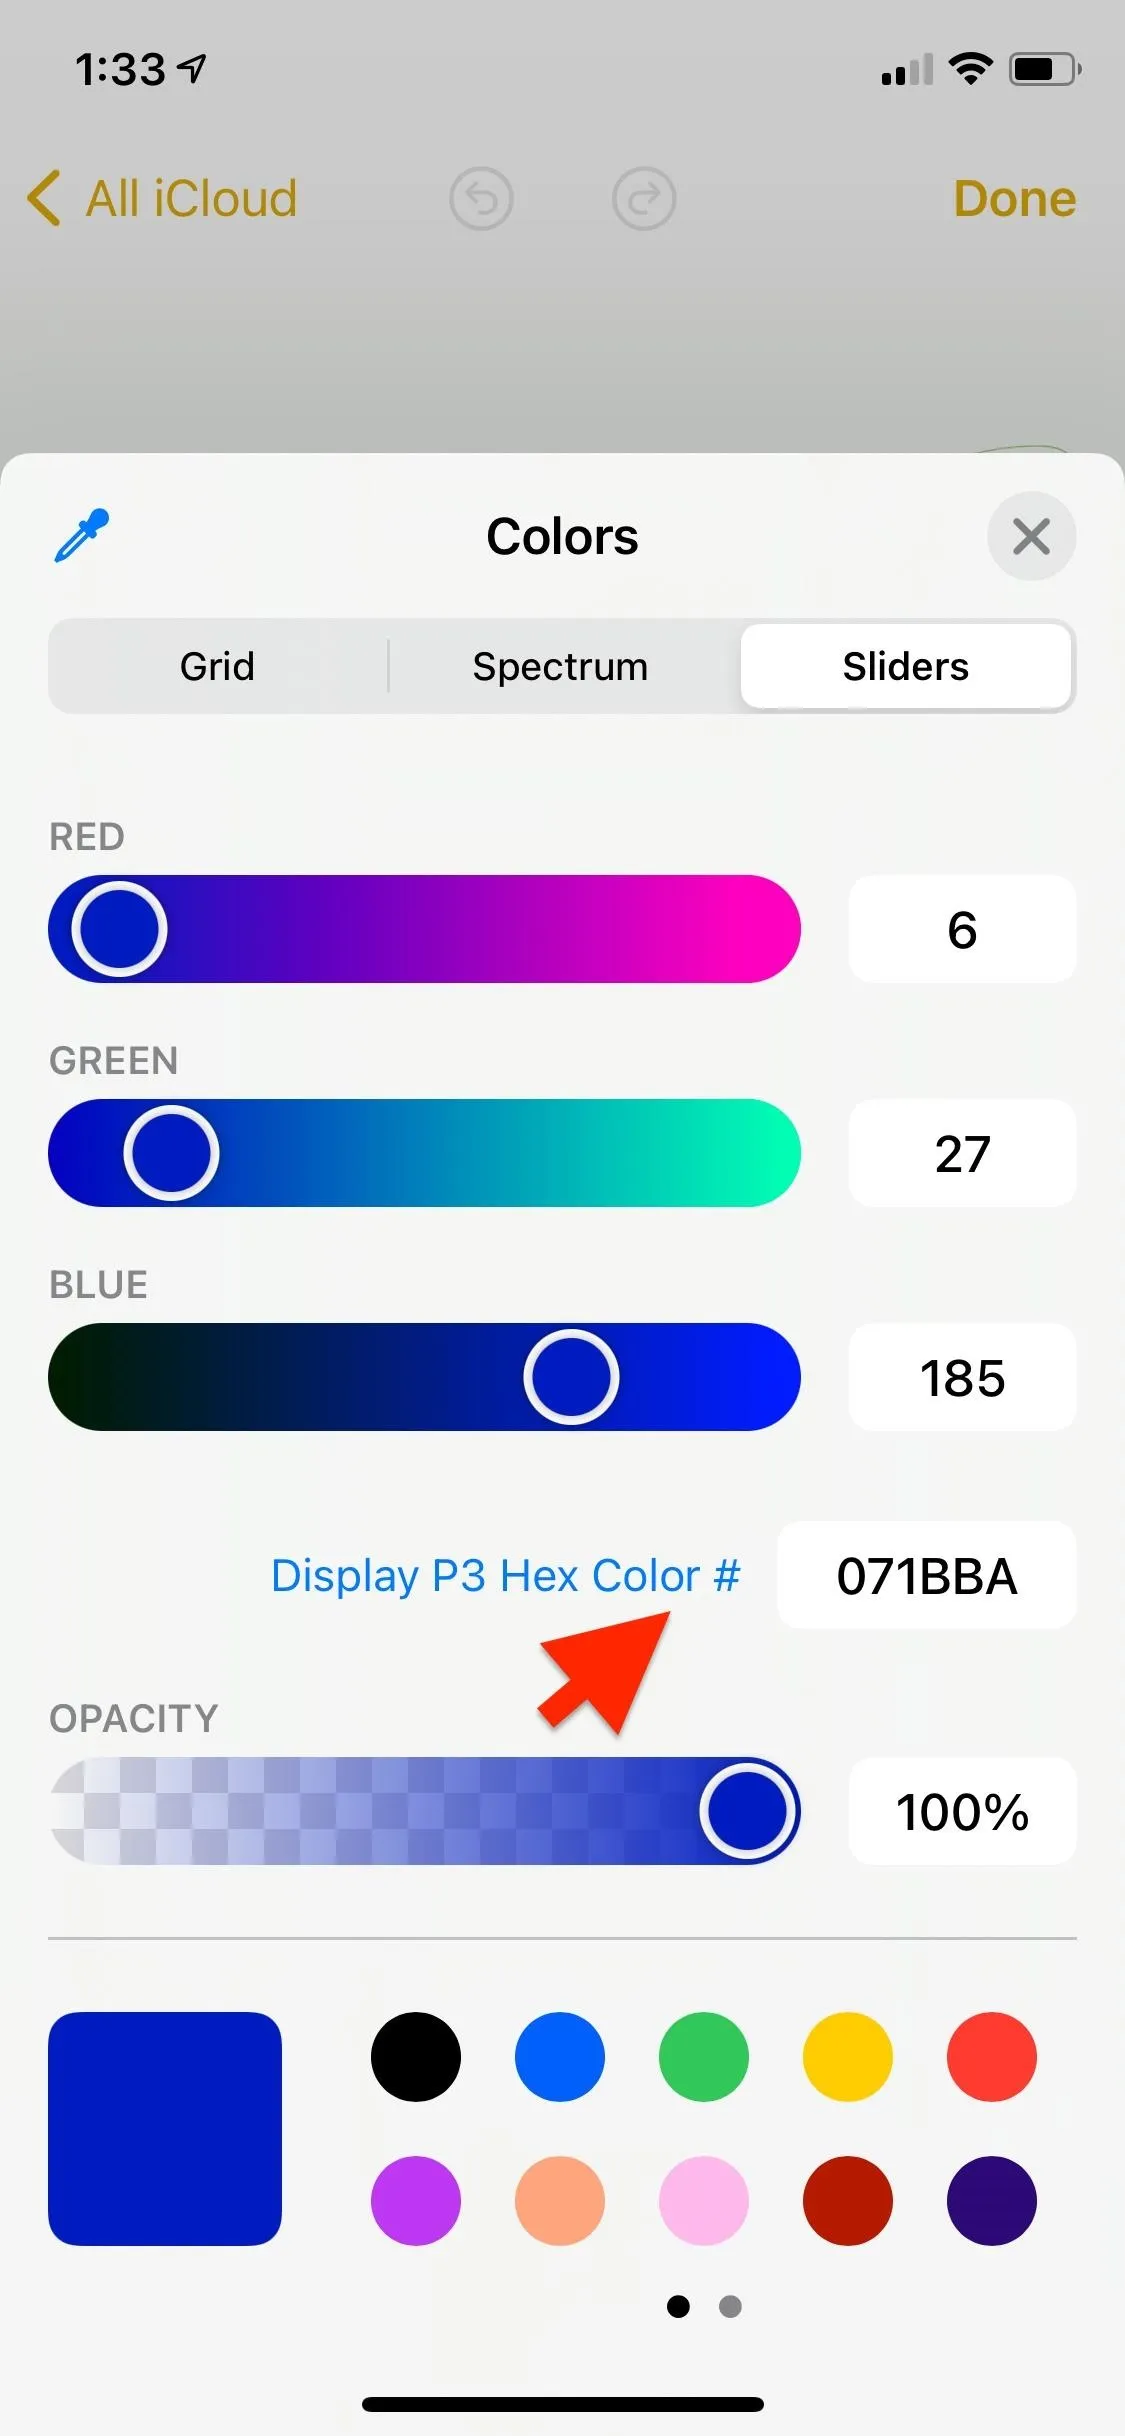

The Grid (left), Spectrum (middle), and Sliders with Color Space (right) selectors.


While each color picker is useful in its own ways, using them together creates even more possibilities. Each picker is always updated to reflect what is in the color well, so you can, for example, choose a color in Grid, then jump over to Spectrum to tweak it. Or, if you use the eyedropper to pick a color, Sliders will be updated with its RGB and Hex values, allowing you to use that color on other devices.
Color pickers can be a powerful but intimidating tool. However, by taking the time to learn your way around the updated tool, it can help you use colors on iOS 14 like a pro.
Cover photo, screenshots, and GIFs by Mike Goril/Gadget Hacks




Comments
Be the first, drop a comment!