Let's say you receive $10 from a friend through Apple Pay Cash via an iMessage. You could spend that money in the App Store or at any retailer that supports Apple Pay using your Apple Pay Cash card. If you'd rather save it or use it for bills, it's easy to transfer that money to your bank account in iOS 11.2.
Of course, this is assuming you have Apple Pay Cash set up already on your iPhone. With that out of the way, transferring funds from your Apple Pay Cash card to your bank is simple.
Start a Transfer
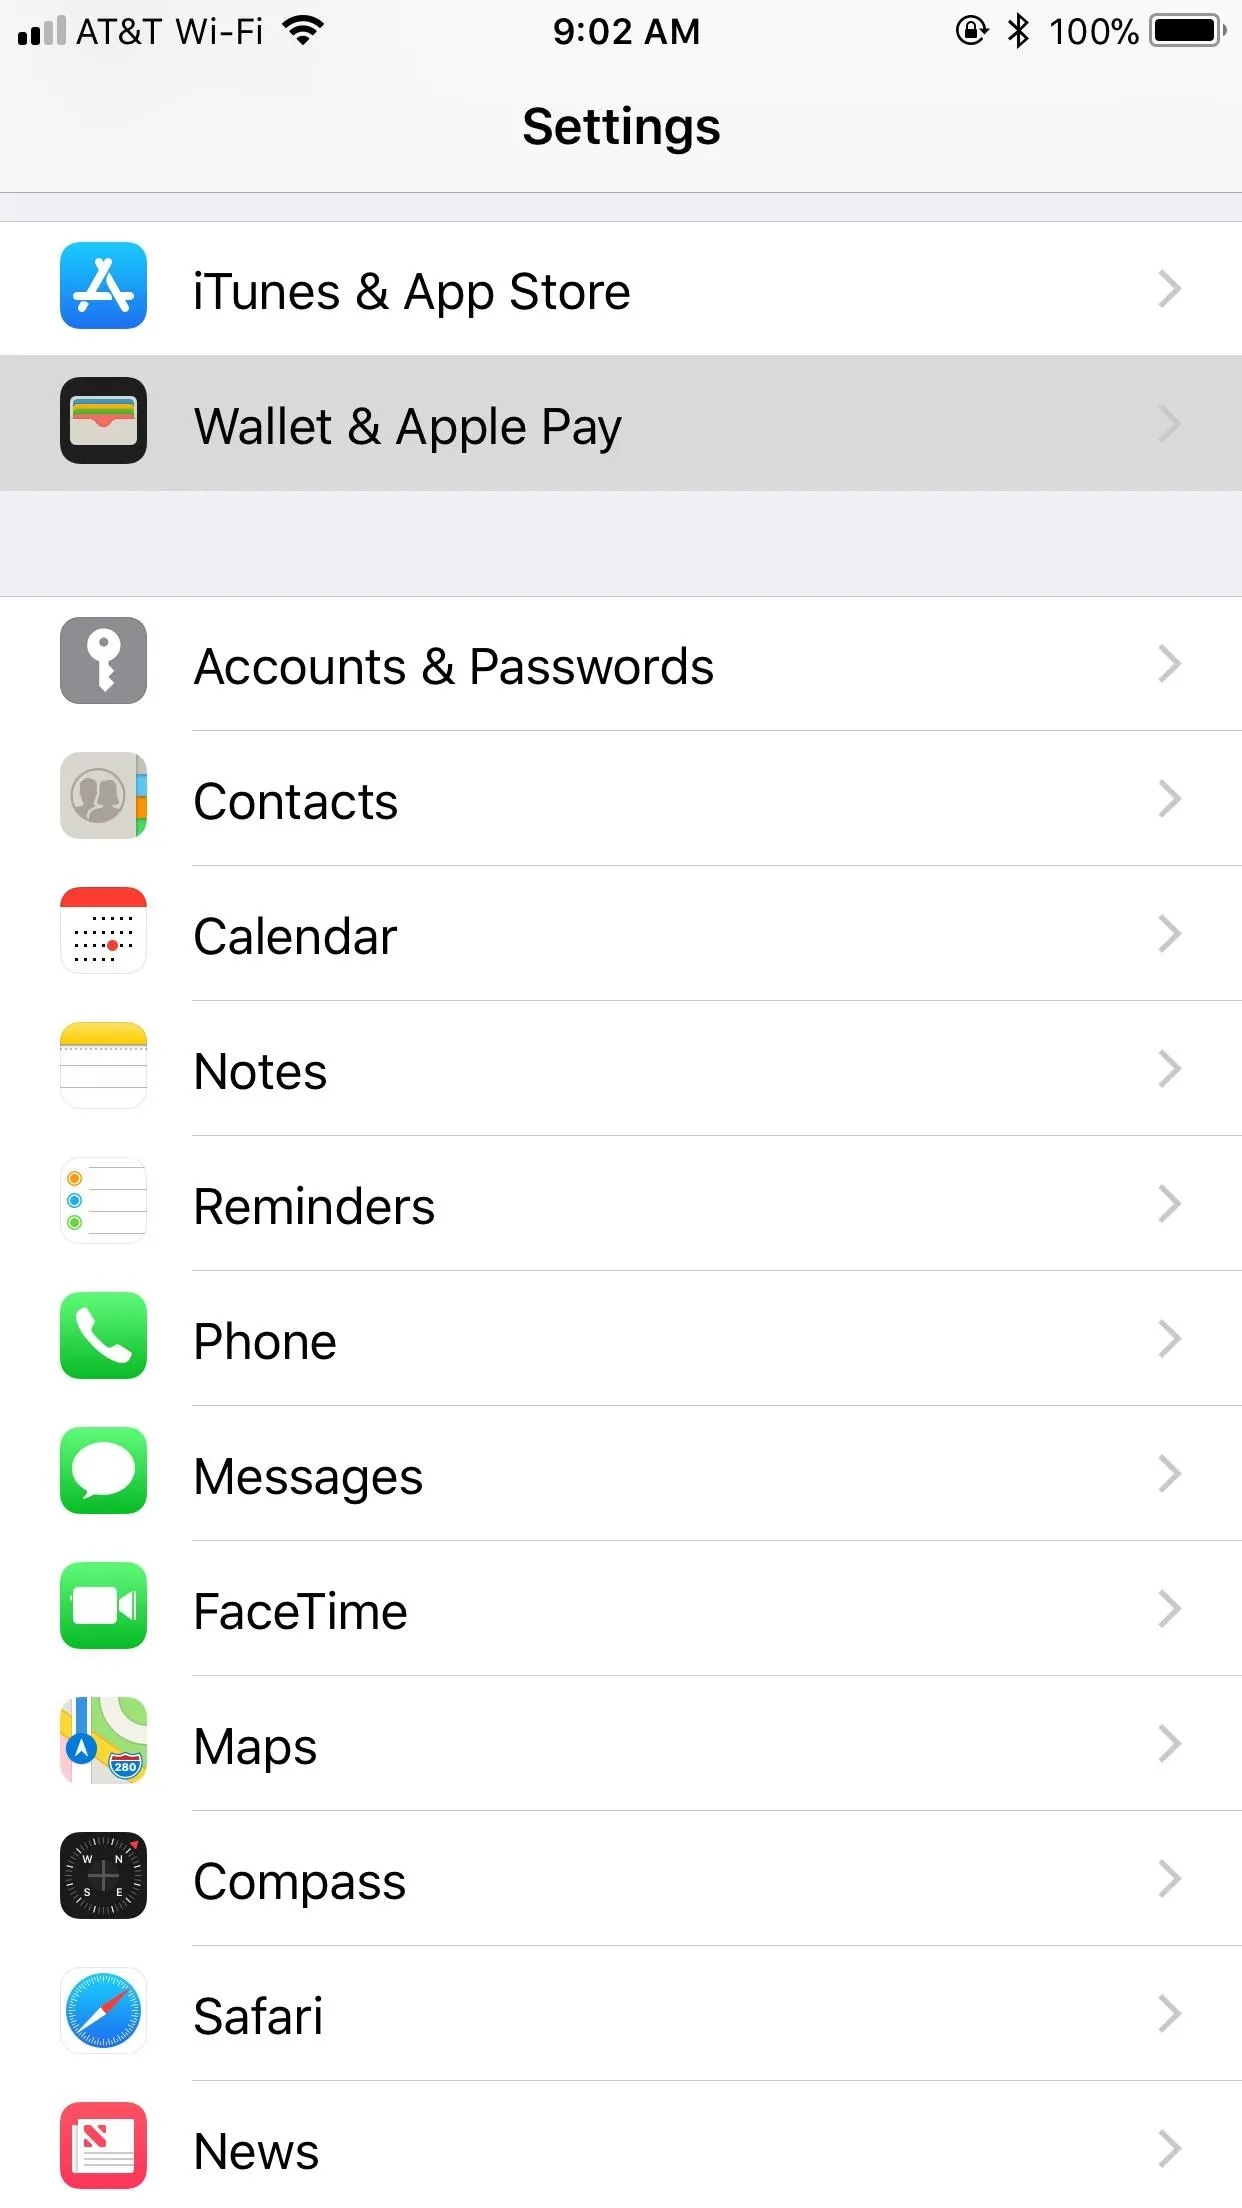
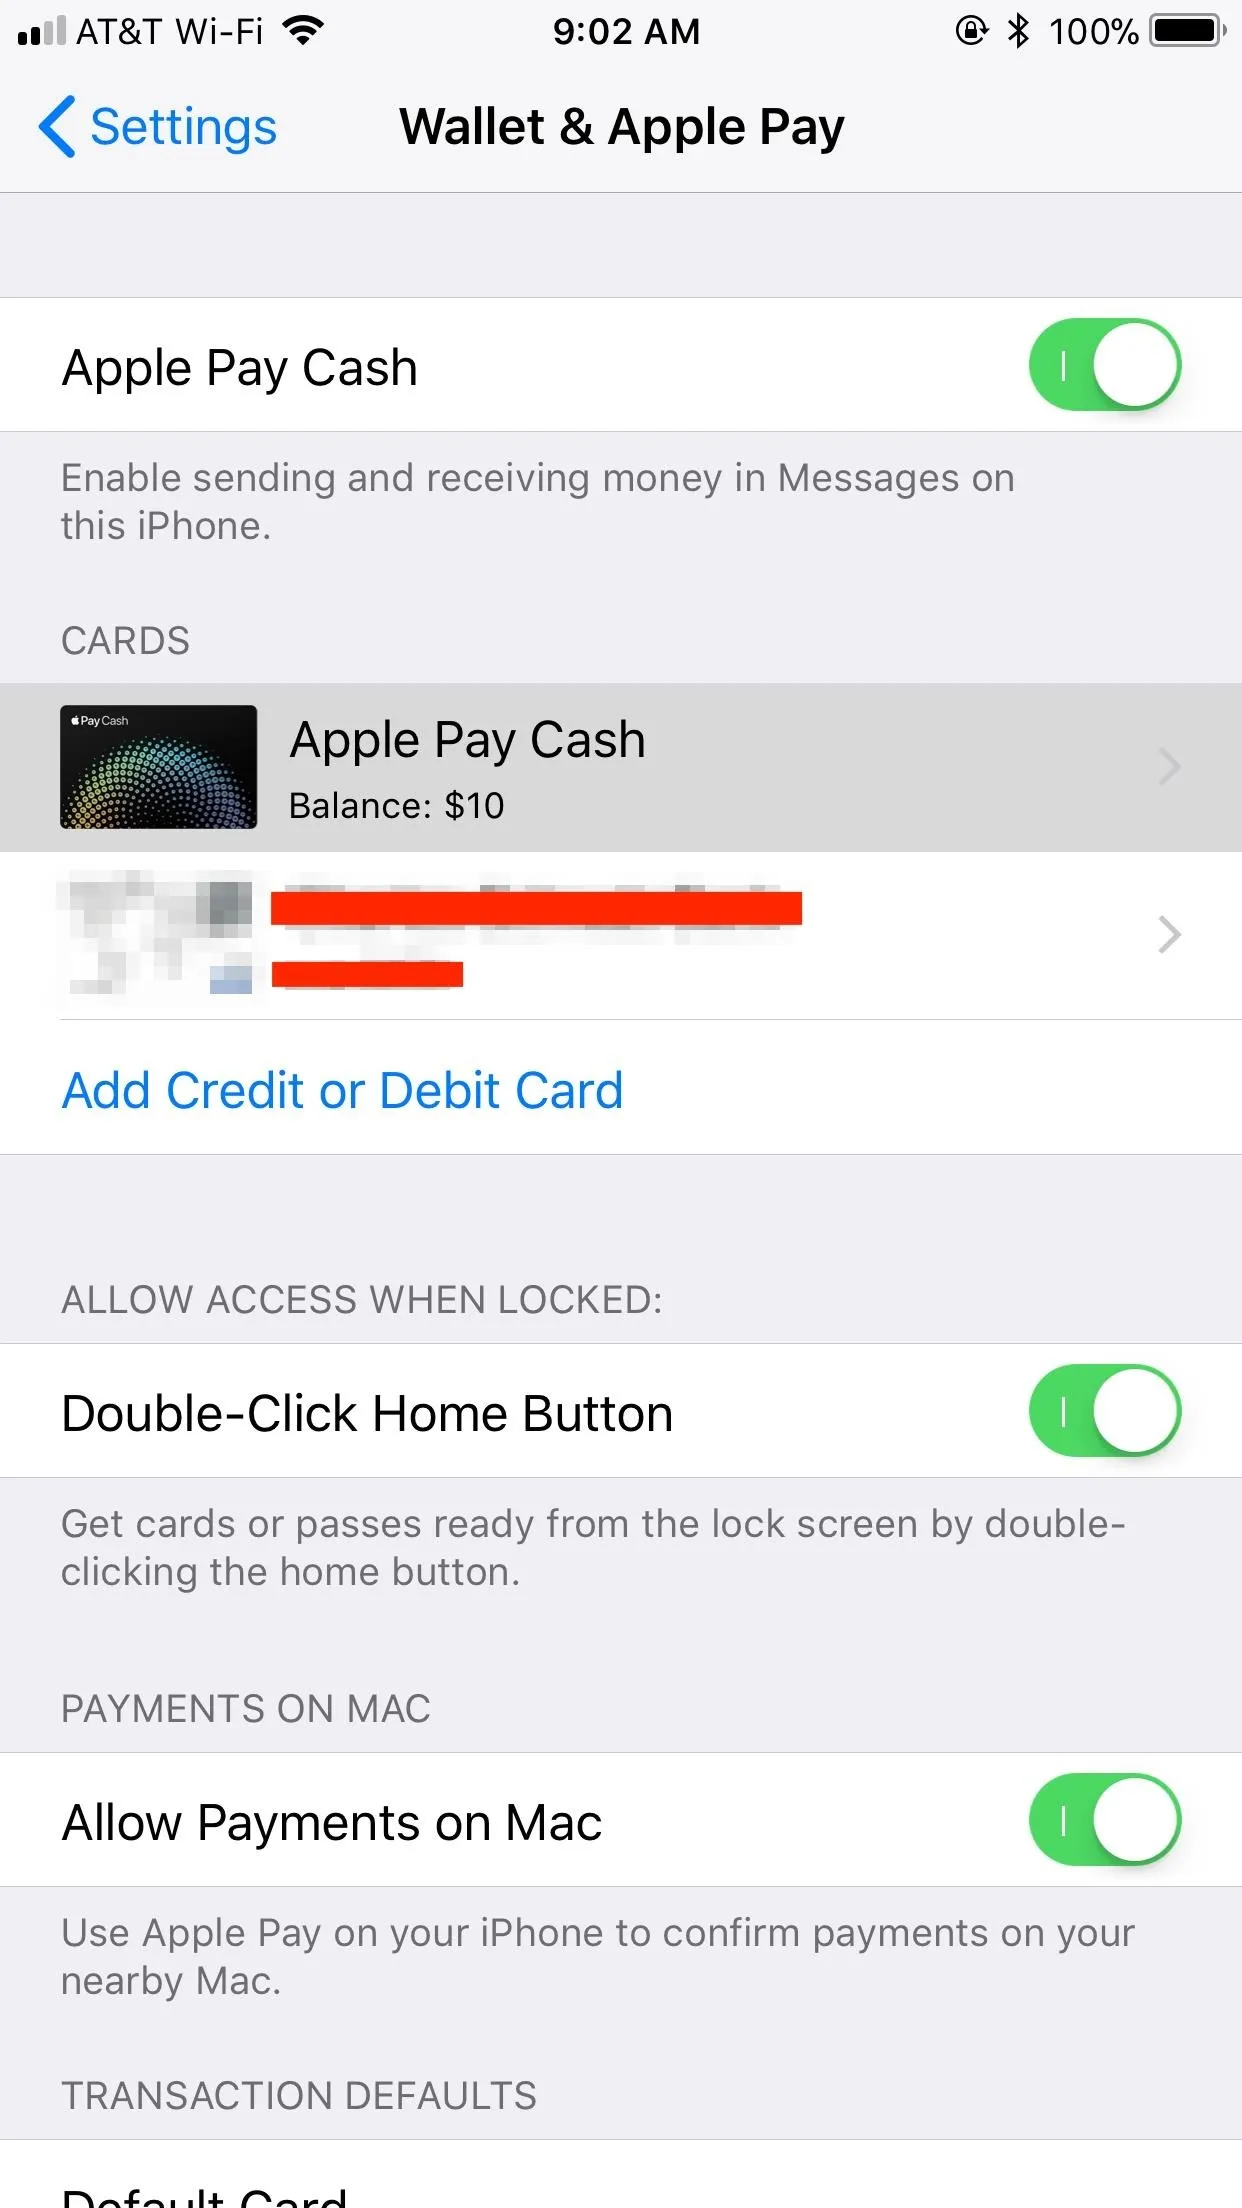
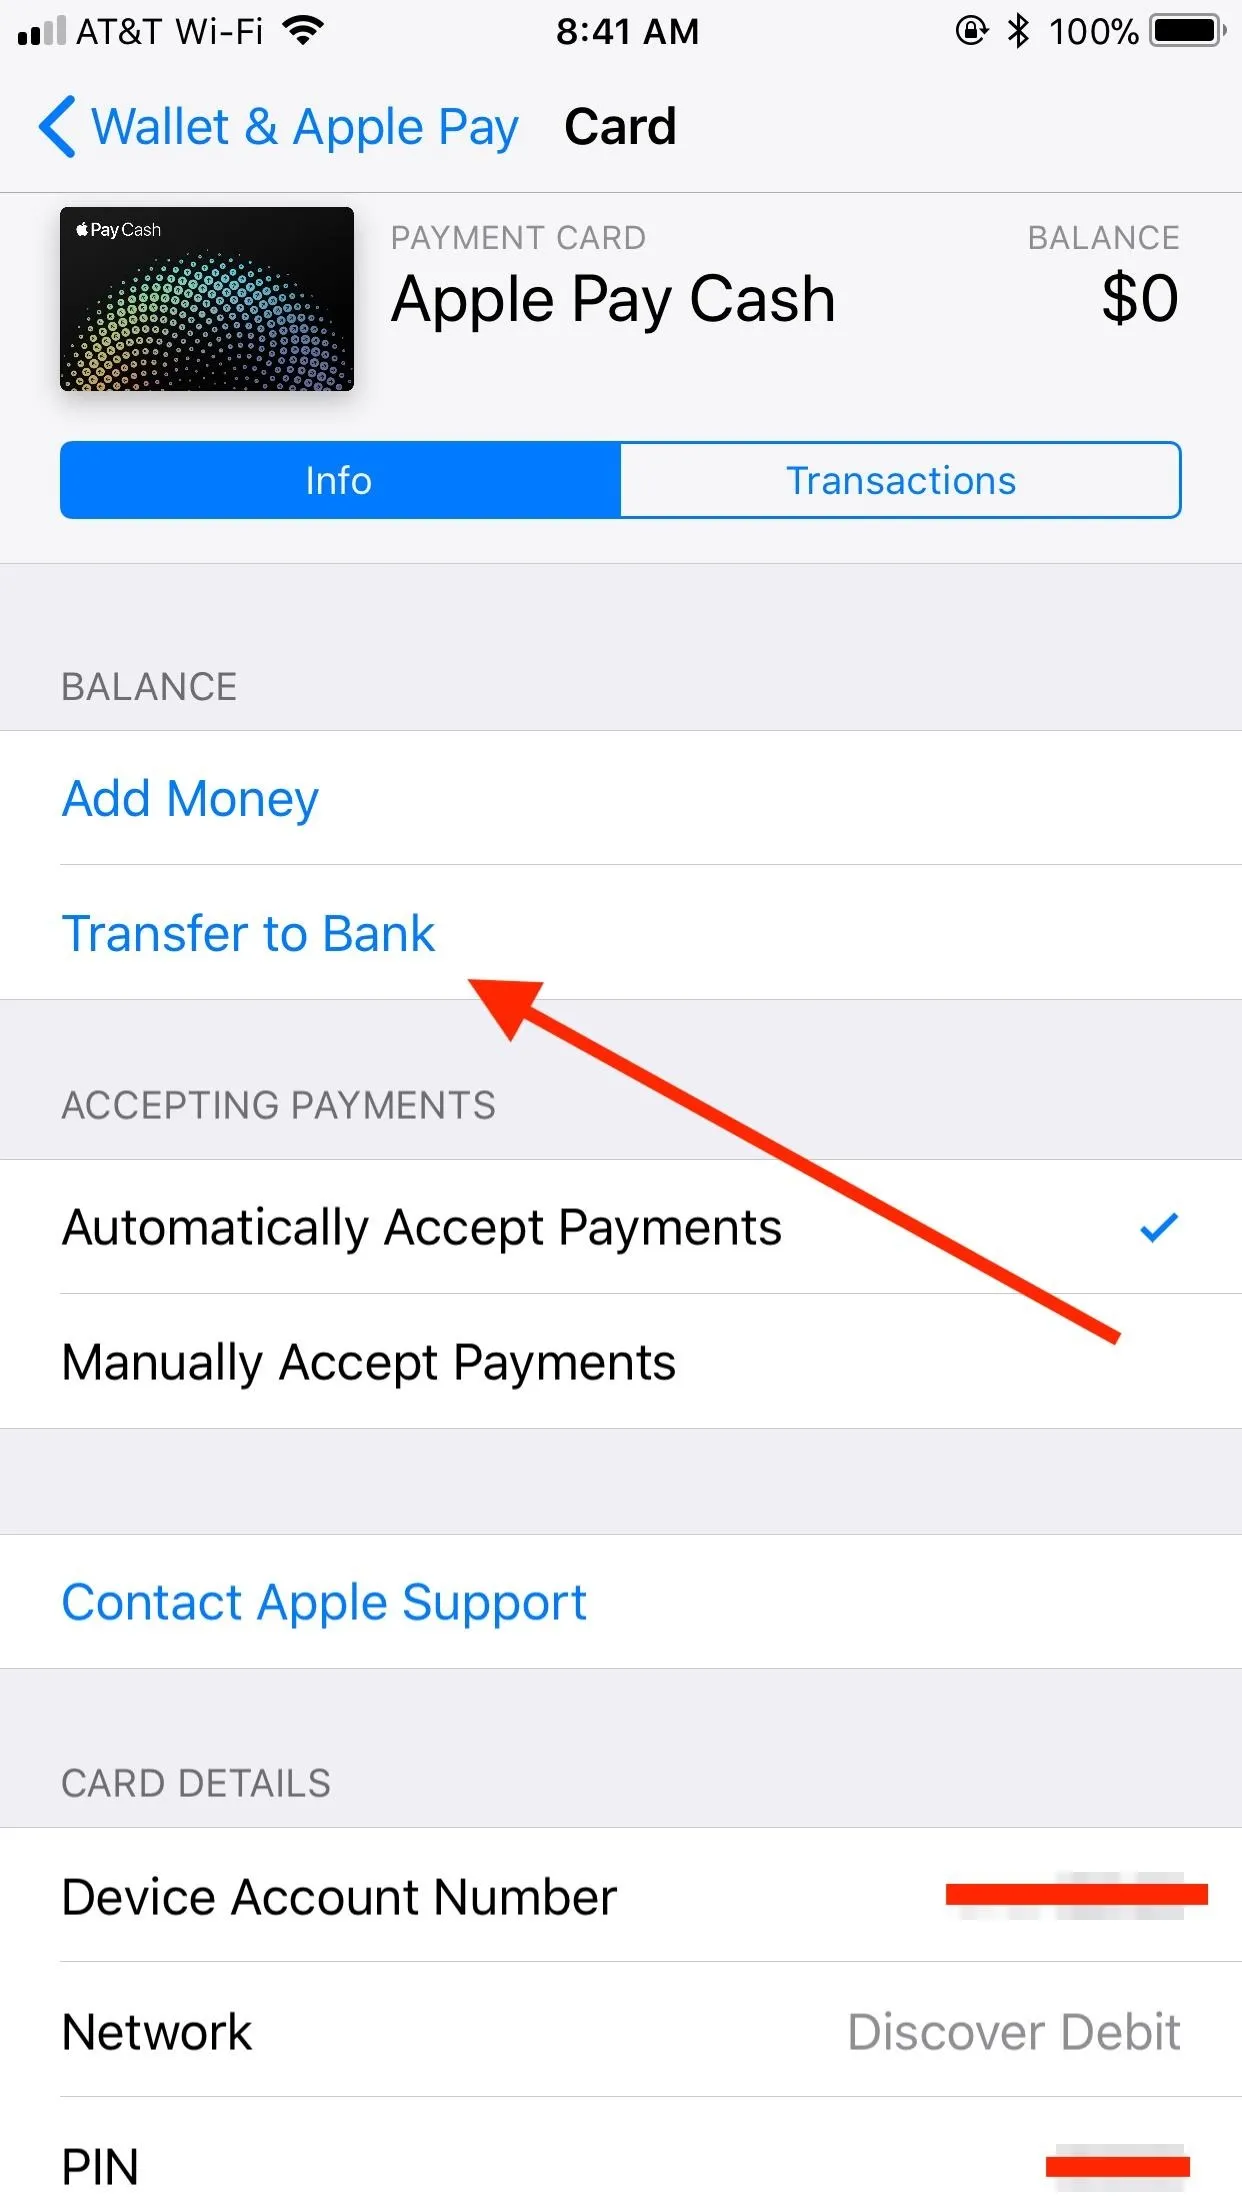
Jump into your Settings app, tap "Wallet & Apple Pay" from the list, then select "Apple Pay Cash." Under Balance section, tap "Transfer to Bank."
- Don't Miss: What Uou Need to Get Started with Apple Pay Cash


Add Your Bank Account (If Not Already Done)
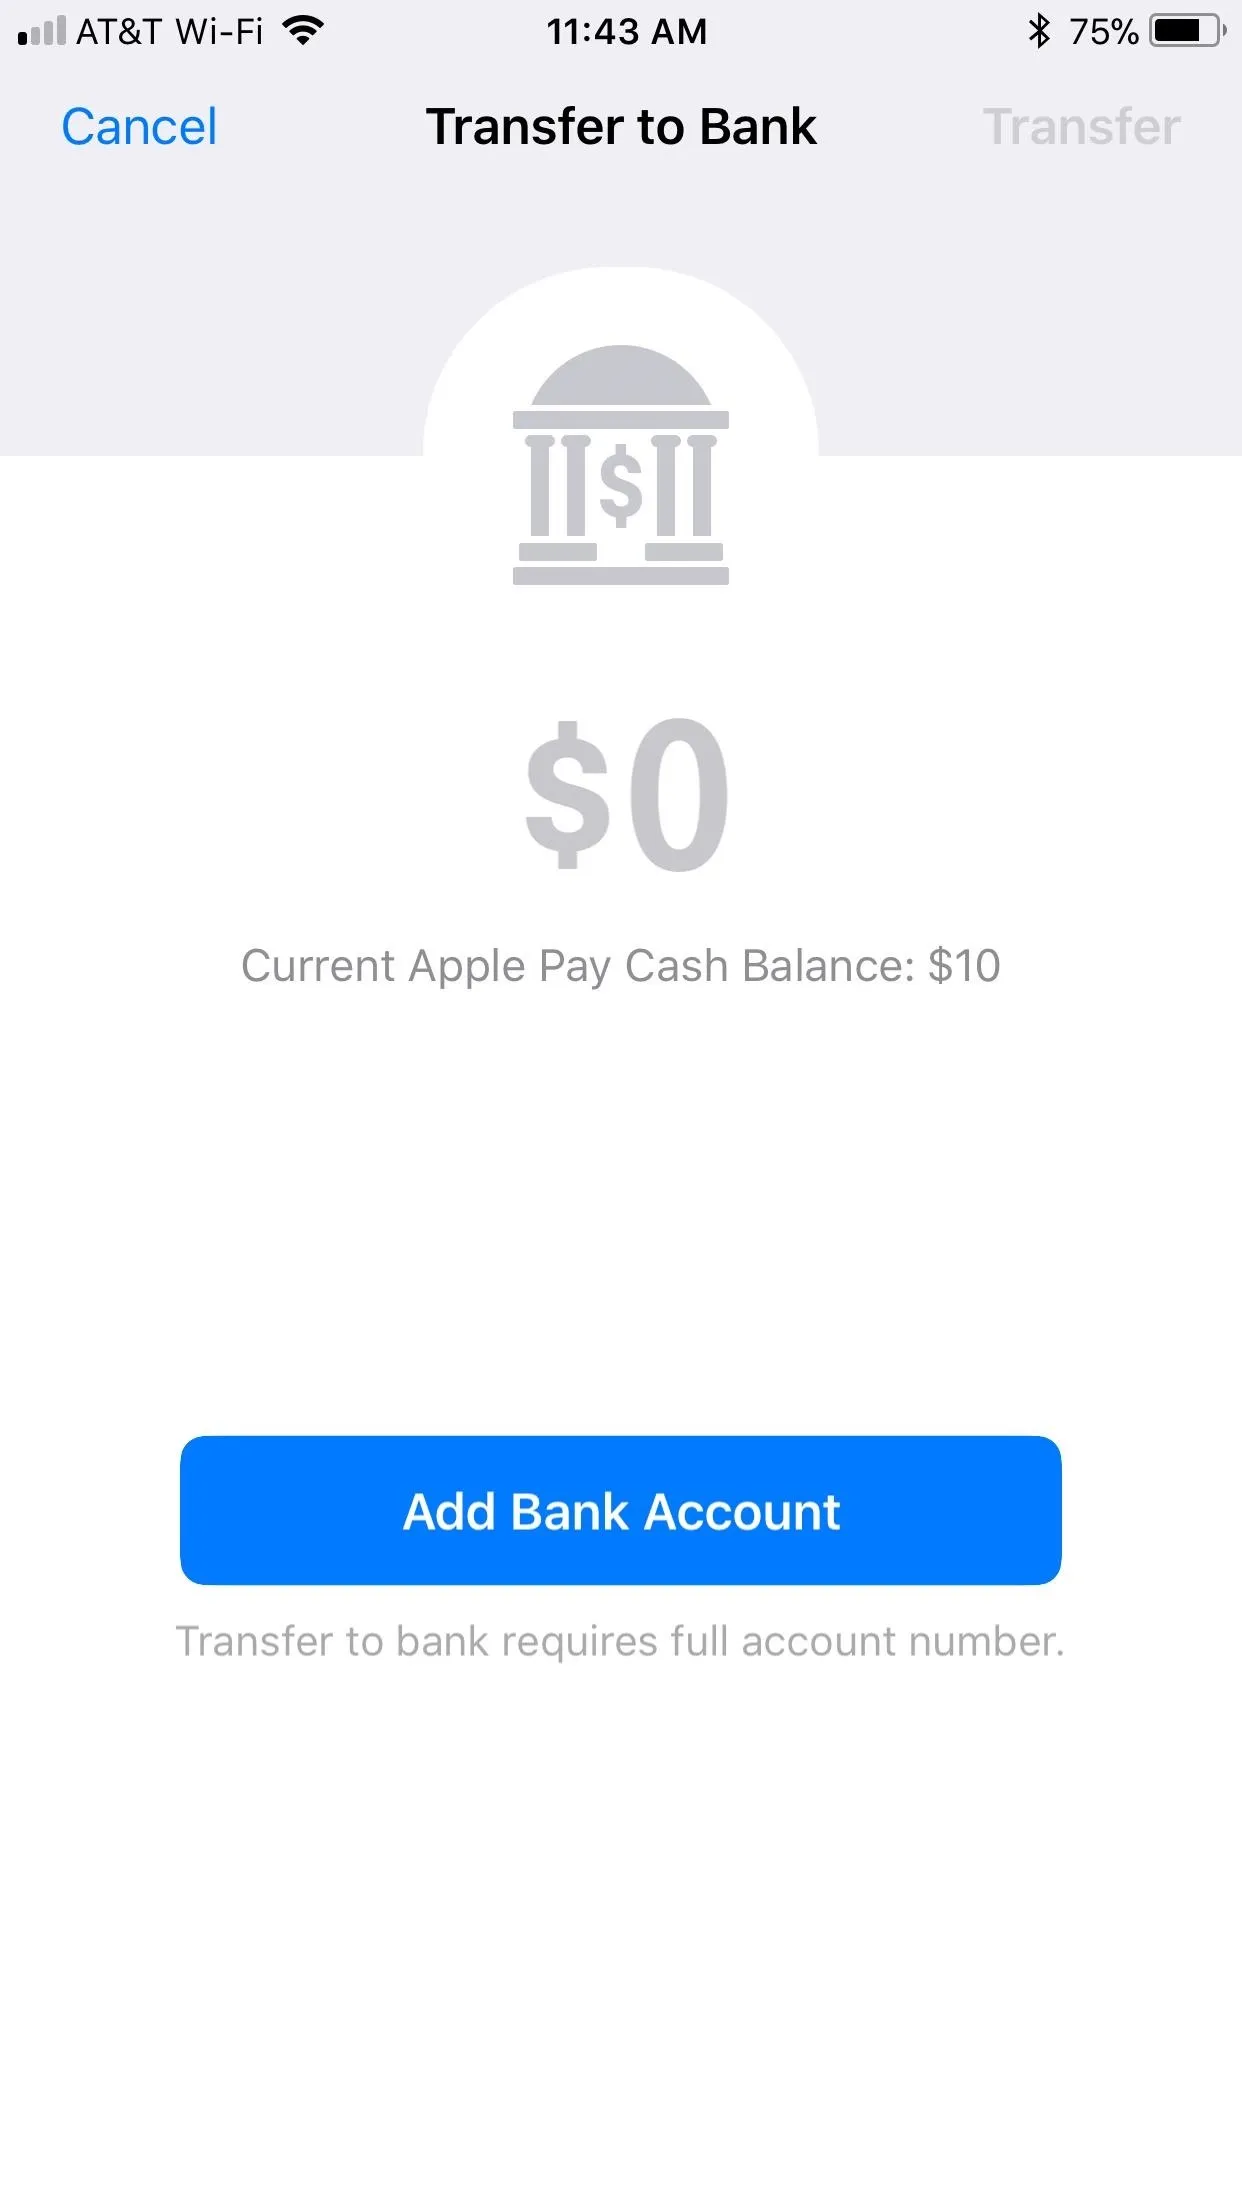
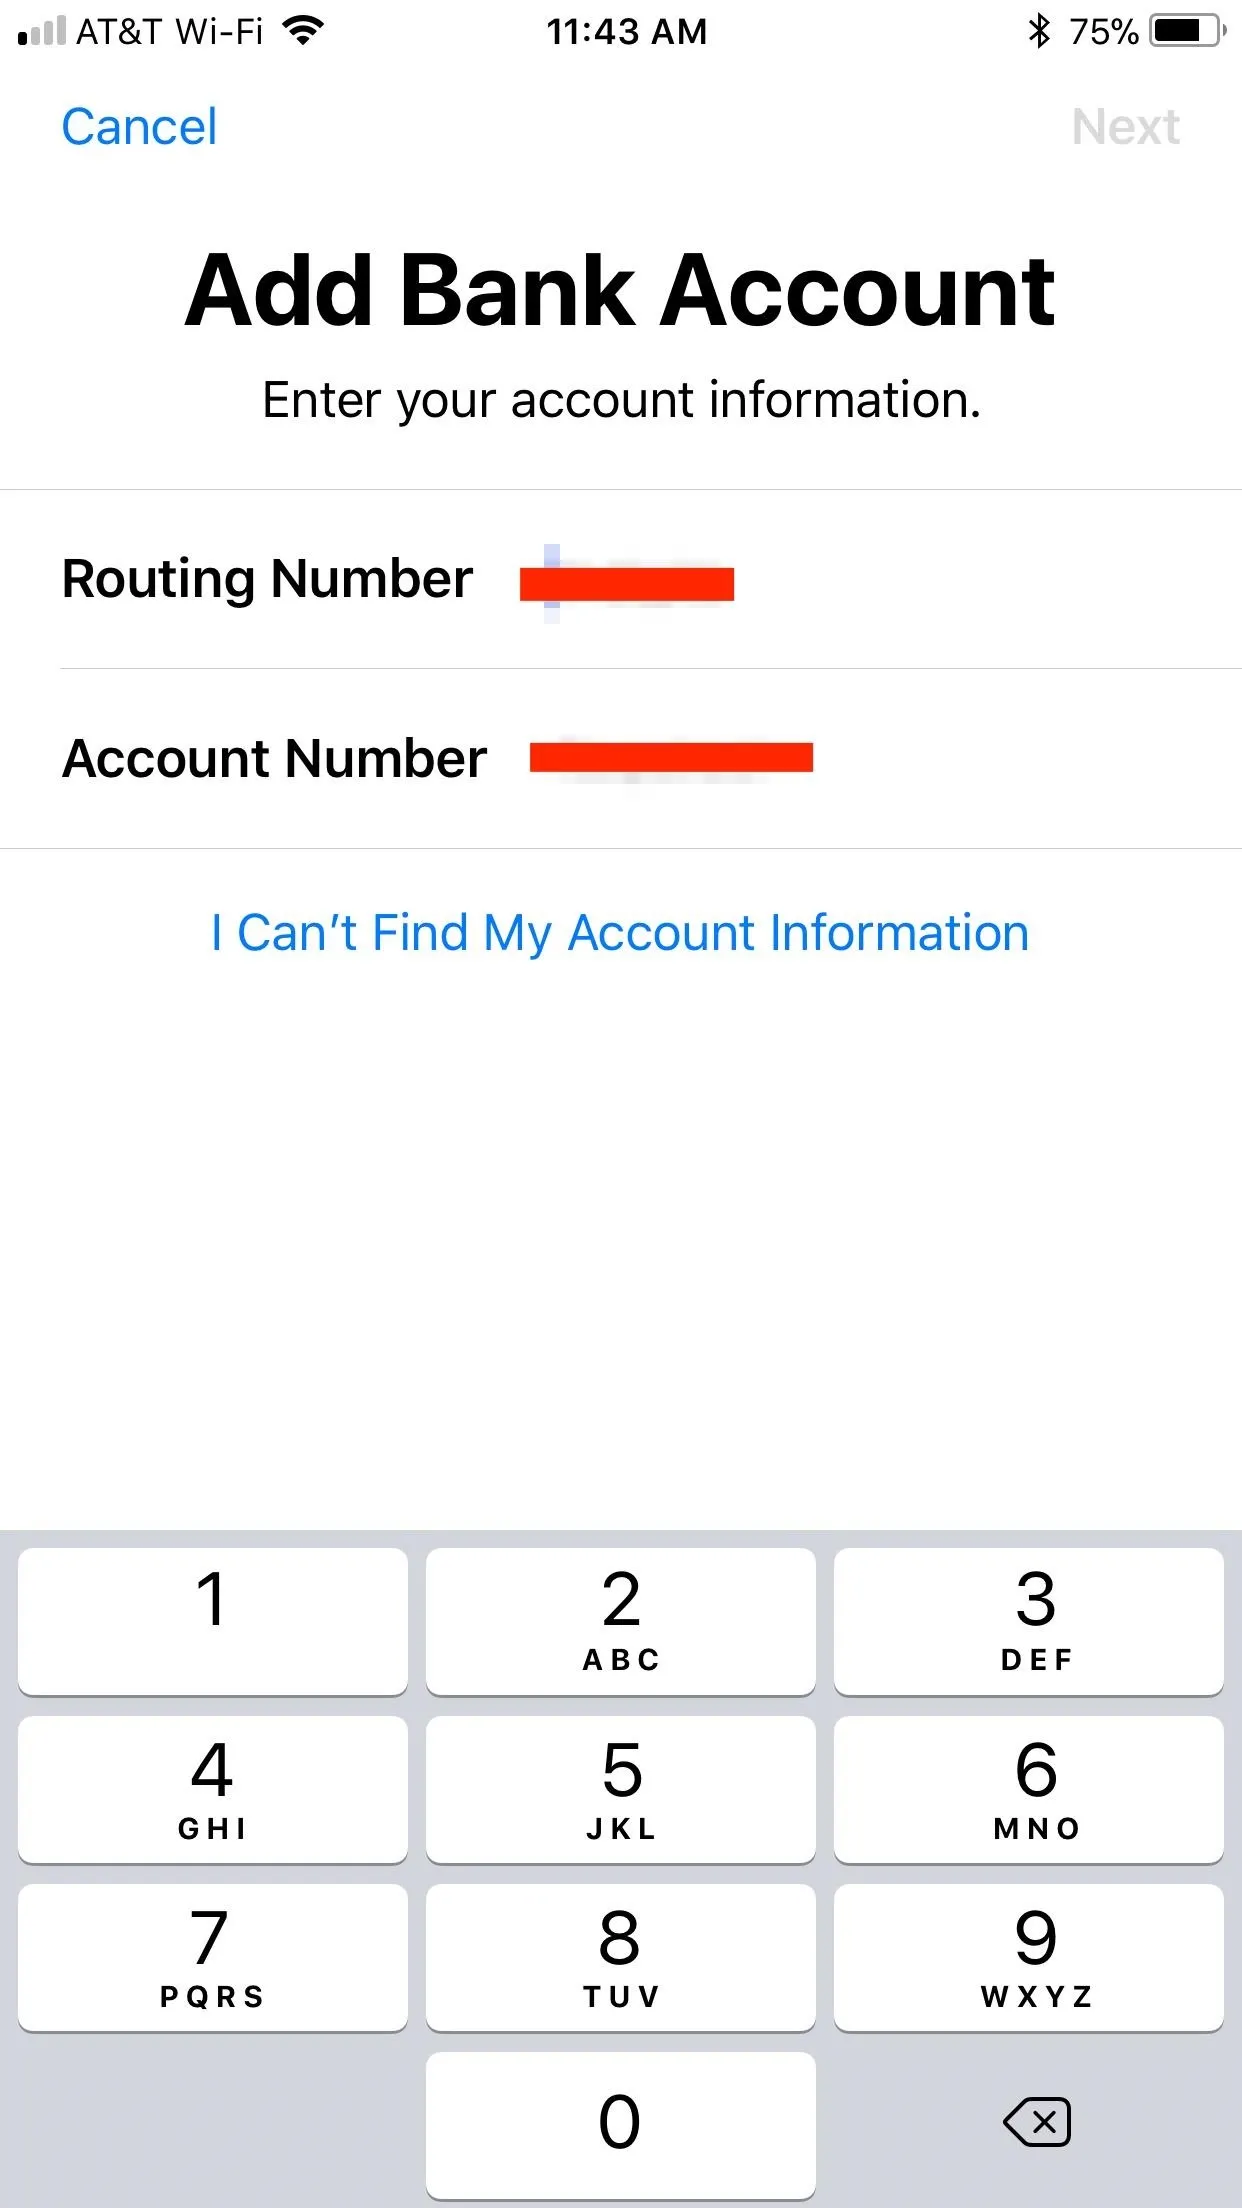
If you haven't set up your banking information with Apple Pay Cash already, you will need to do so now, so tap on "Add Bank Account." If you have a bank account already registered, you can skip to the next step.
Apple will need your routing number and account number. Banks usually make this information easily accessible from your online account or printed directly on your checks (tap on "I Can't Find My Account Information" to see a check example), but check with your bank if you're having a hard time finding your digits.
Once your routing and account numbers are entered, tap "Next." You will need to verify those numbers once more before proceeding.


Choose Your Transfer Amount
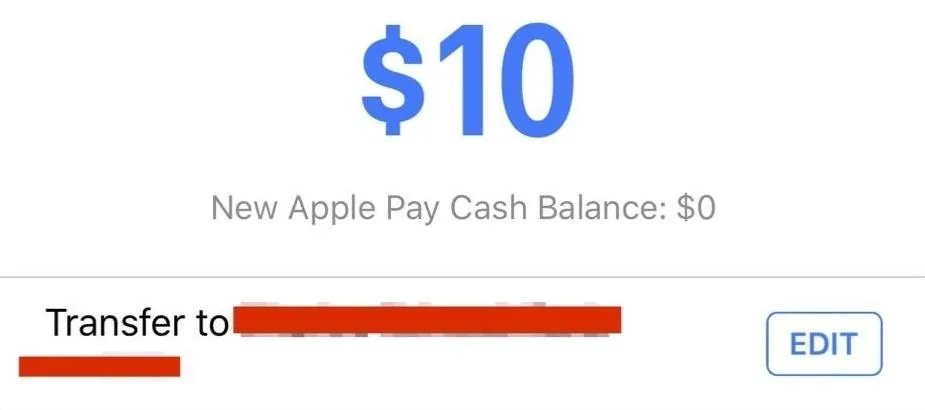
Once your bank account is set up with Apple Pay Cash, just enter the dollar amount you'd like to transfer, making sure it doesn't exceed your available balance. Tap "Edit" if your bank information is not correct or if you'd like to enter a new bank account to transfer the funds to.
Keep in mind there are limits to transferring to your bank; The minimum transfer amount is $1 unless your current total balance is less, which is the one exception. The maximum is $3,000 per transfer, with a $10,000 transfer limit per 7-day period. There are no transfer fees but keep in mind you must use a US bank account.
Complete the Transfer
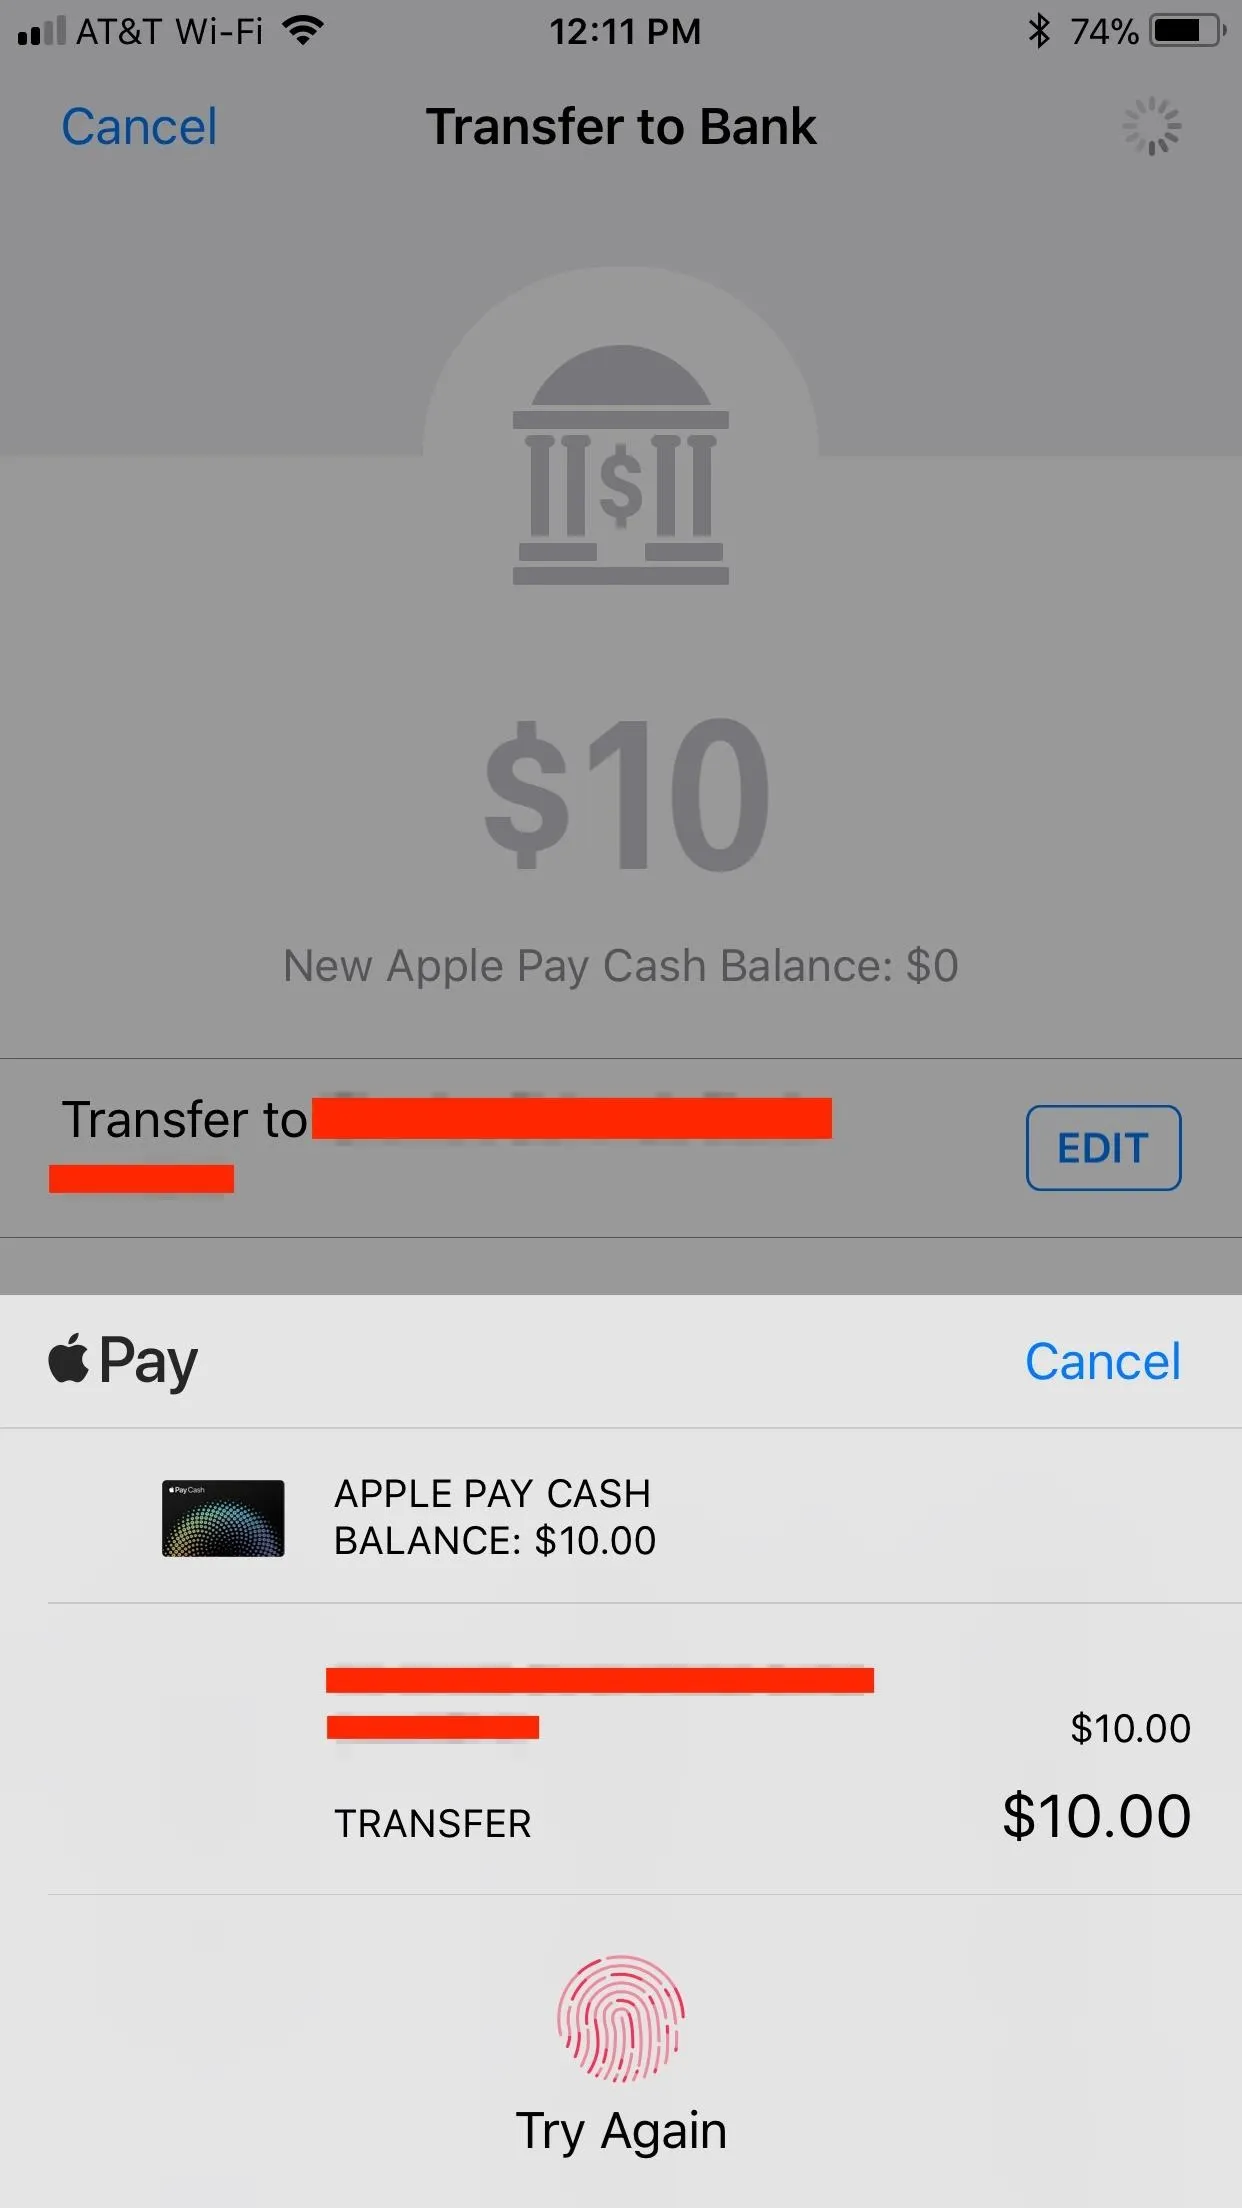
Once you've entered the appropriate sum, tap "Transfer." Then, use Touch ID or Face ID, depending on your iPhone model, to finalize the shift of funds.
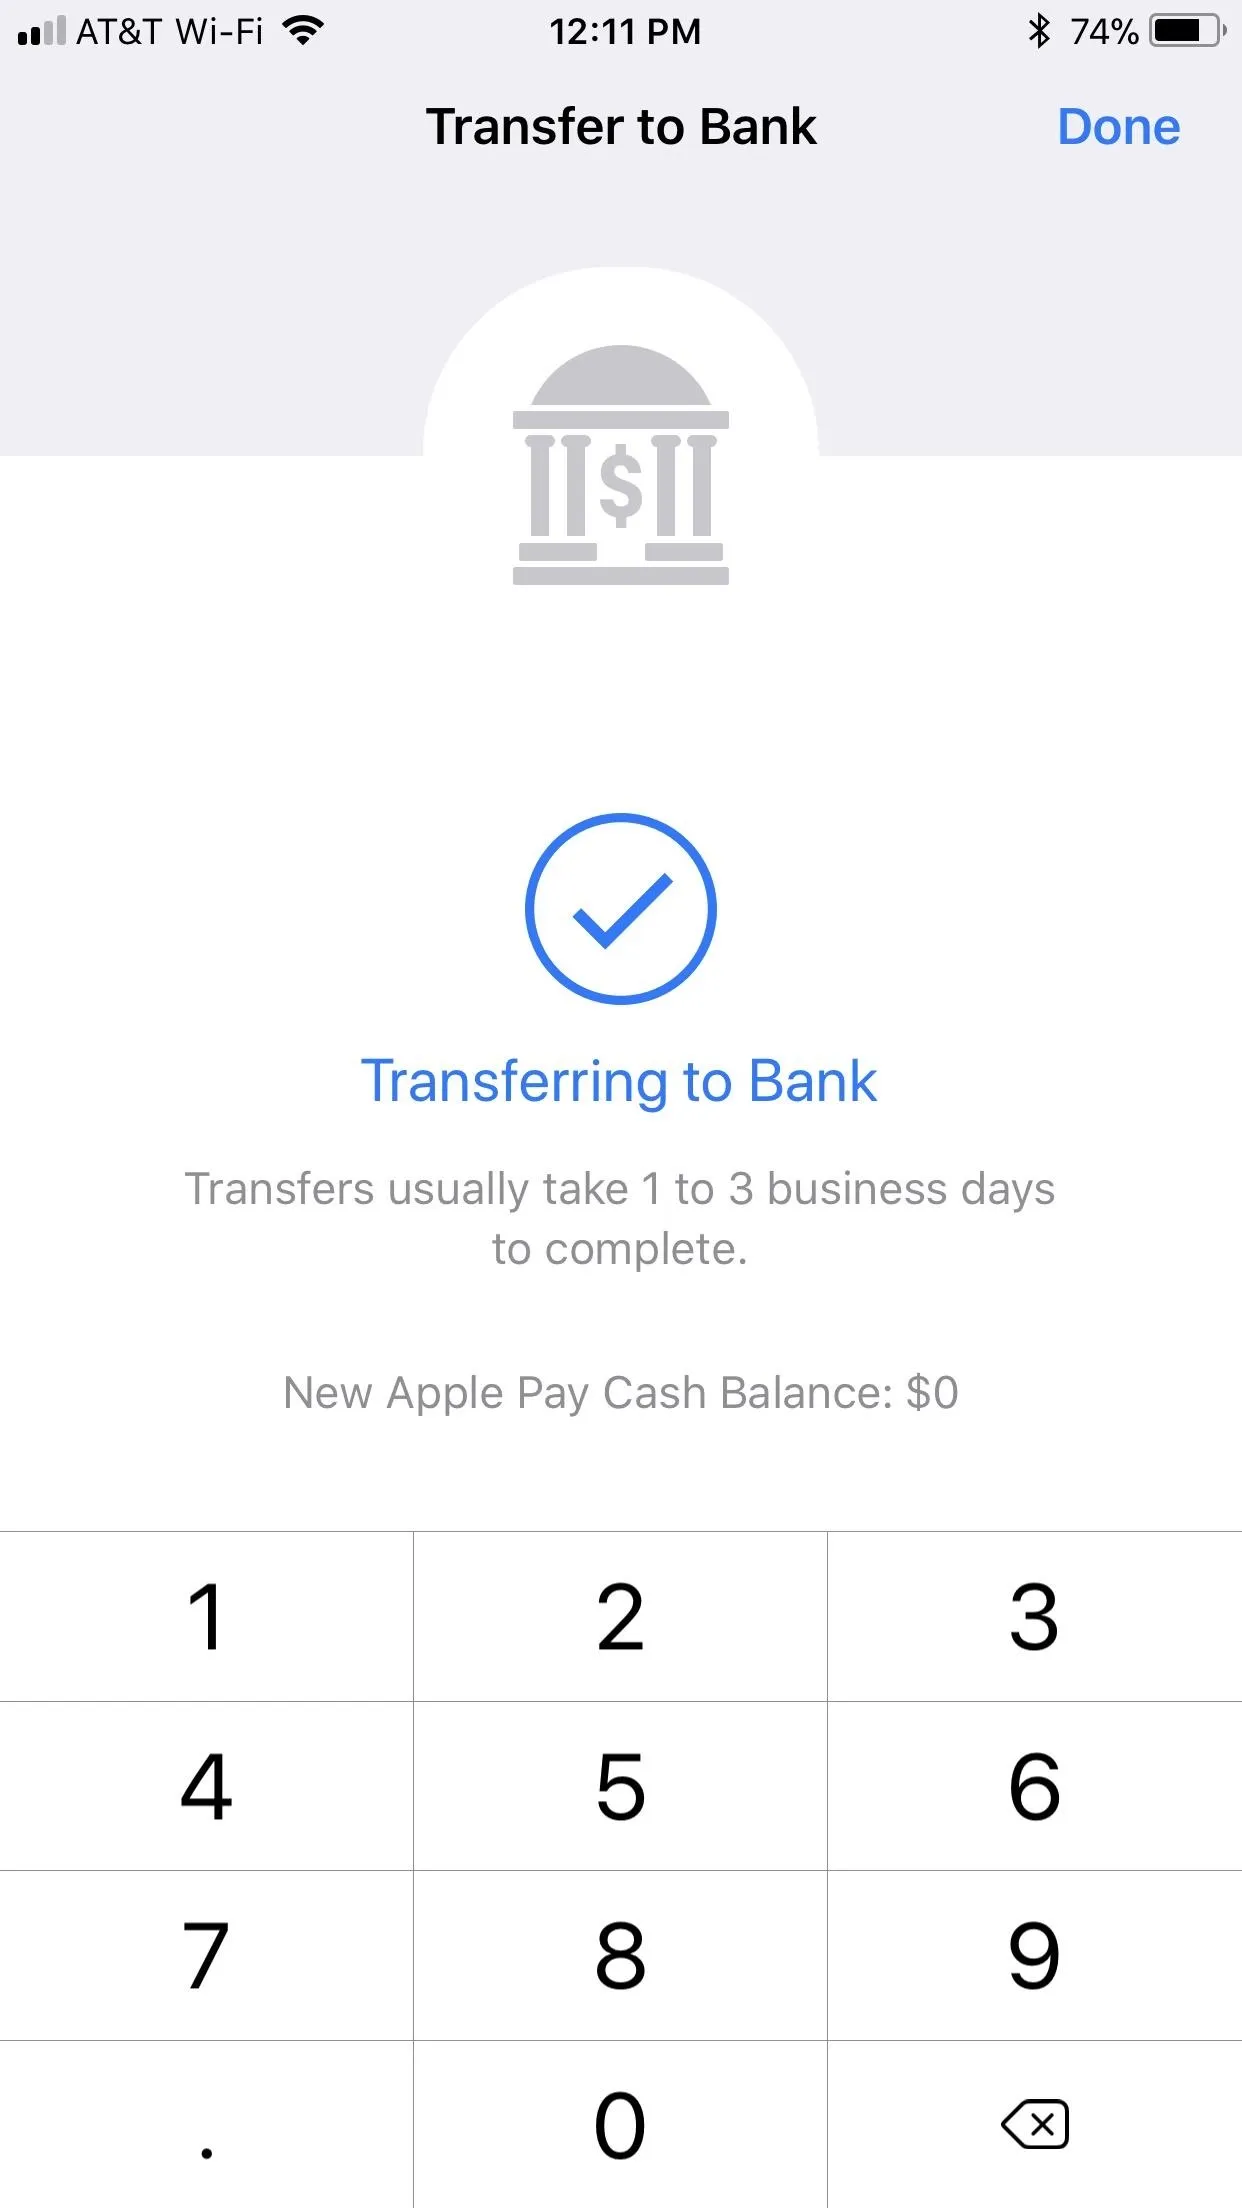
Don't be alarmed if your bank account doesn't reflect the transfer right away; Apple claims it can take one to three days for the money to go through, which is a common timeframe for transfers from other services, too.


- Follow Gadget Hacks on Facebook, Twitter, Google+, YouTube, and Instagram
- Follow WonderHowTo on Facebook, Twitter, Pinterest, and Google+
Cover photo and screenshots by Jake Peterson


Comments
Be the first, drop a comment!