If the Notes app on your iPhone is anything like mine, it's a mess. Even with the addition of folders, adding note after note can really clutter things up. You need a way to quickly identify the notes that are most important, and that's where pinning comes in.
Pinning the notes you want to keep track of is easy — you just might want to do it right away to avoid losing them in a sea of lost thoughts and to-dos. Let's say you just wrote an important note or you have an existing note you know you want readily accessible. You can pin that note in one of two ways:
Locate the note you want to pin, then quickly long-swipe it from left to right and release. If you did it right, the note will automatically be pinned to the top of the folder. If you swipe it from left to right slowly and let go, an orange pin icon will appear on the left, and you can then tap on that.
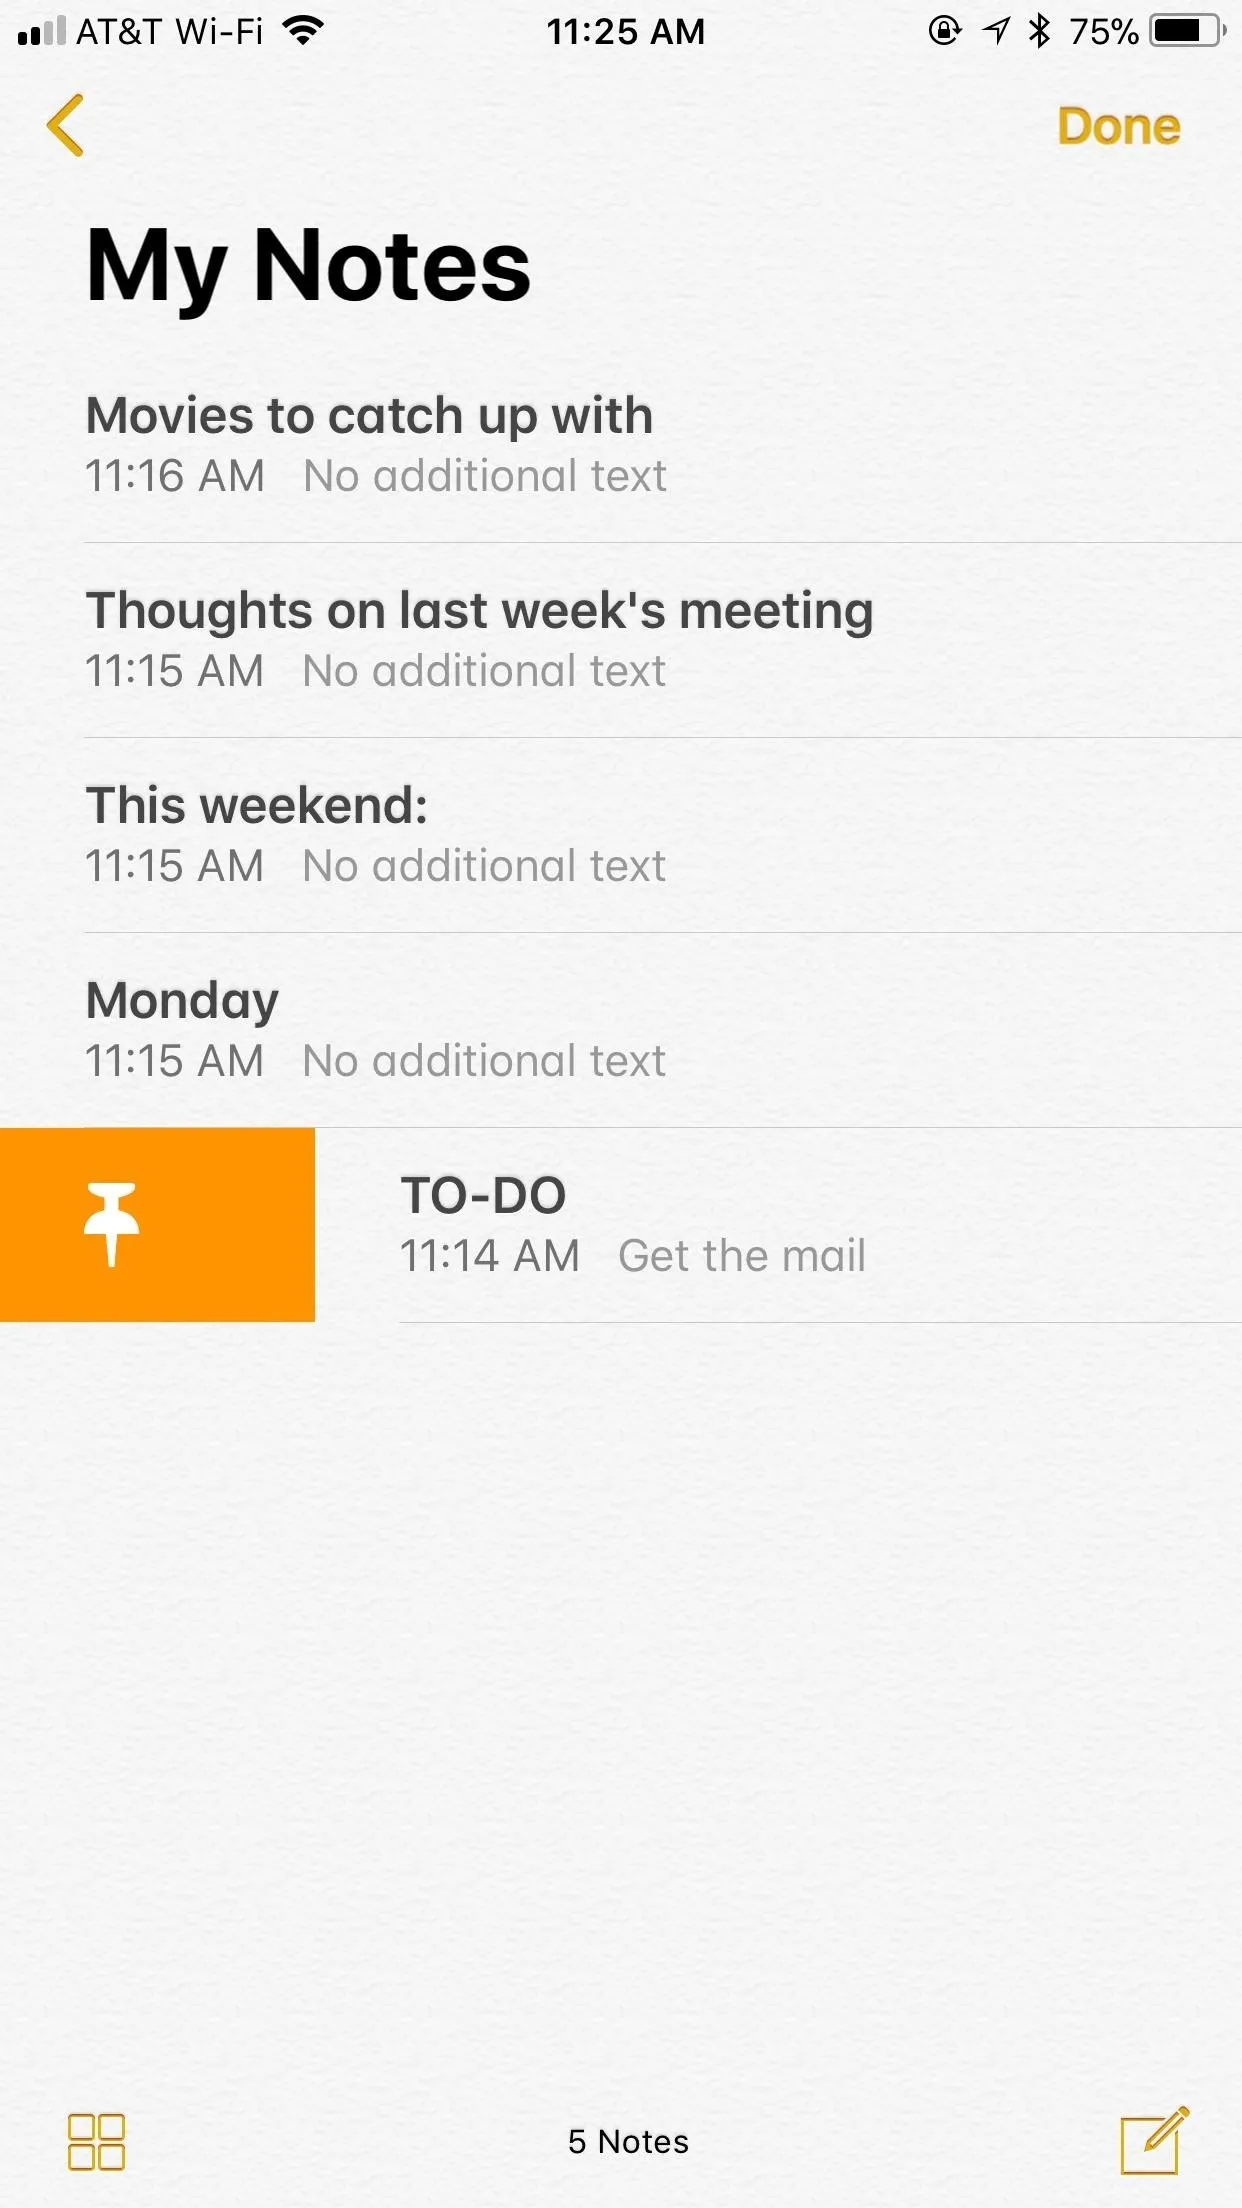
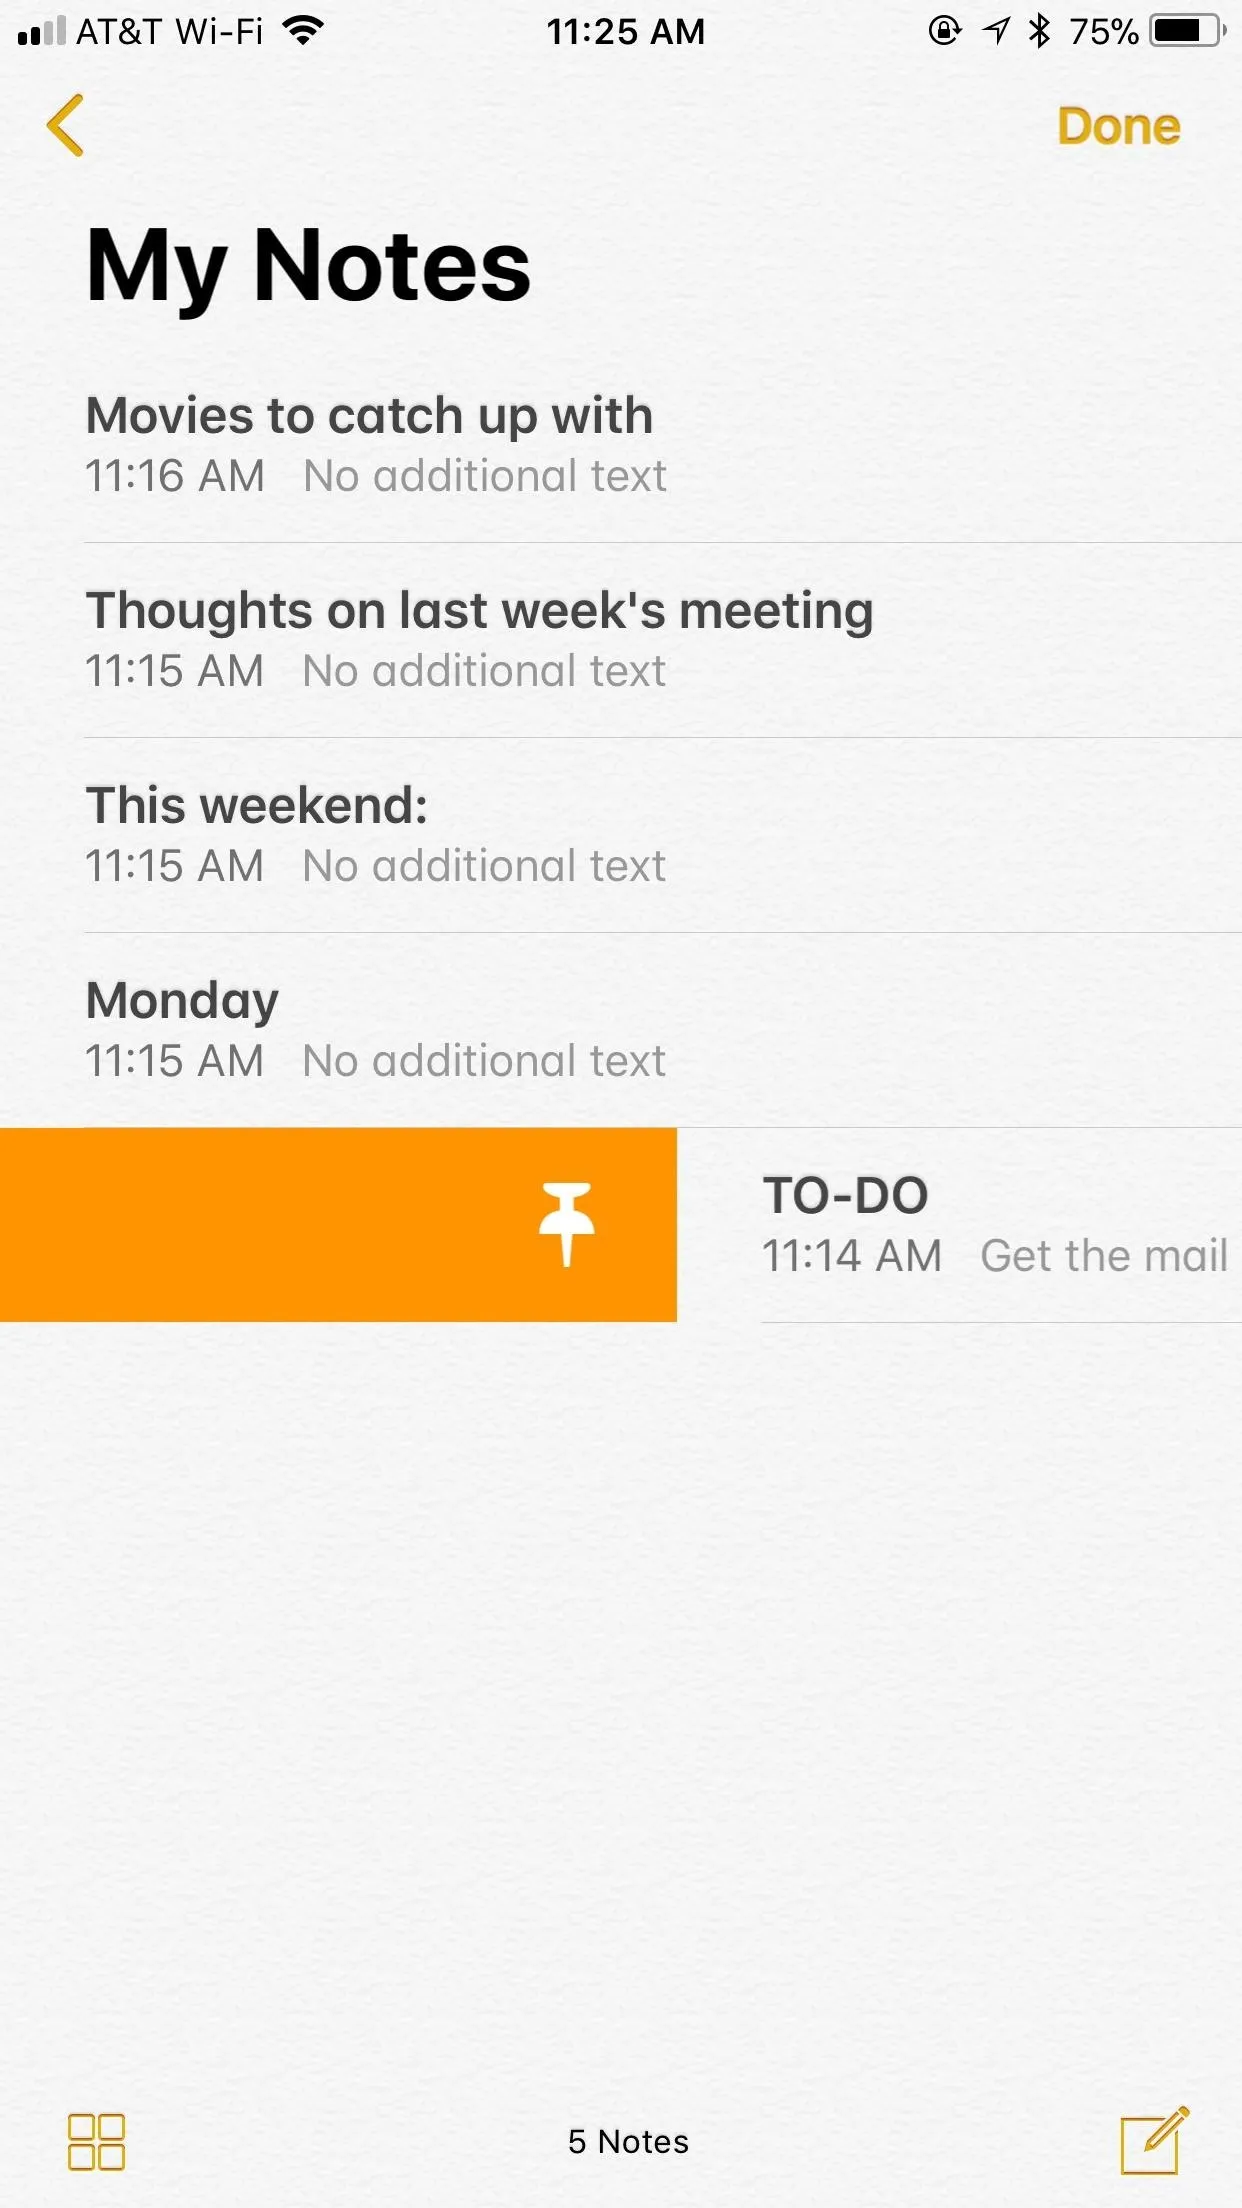


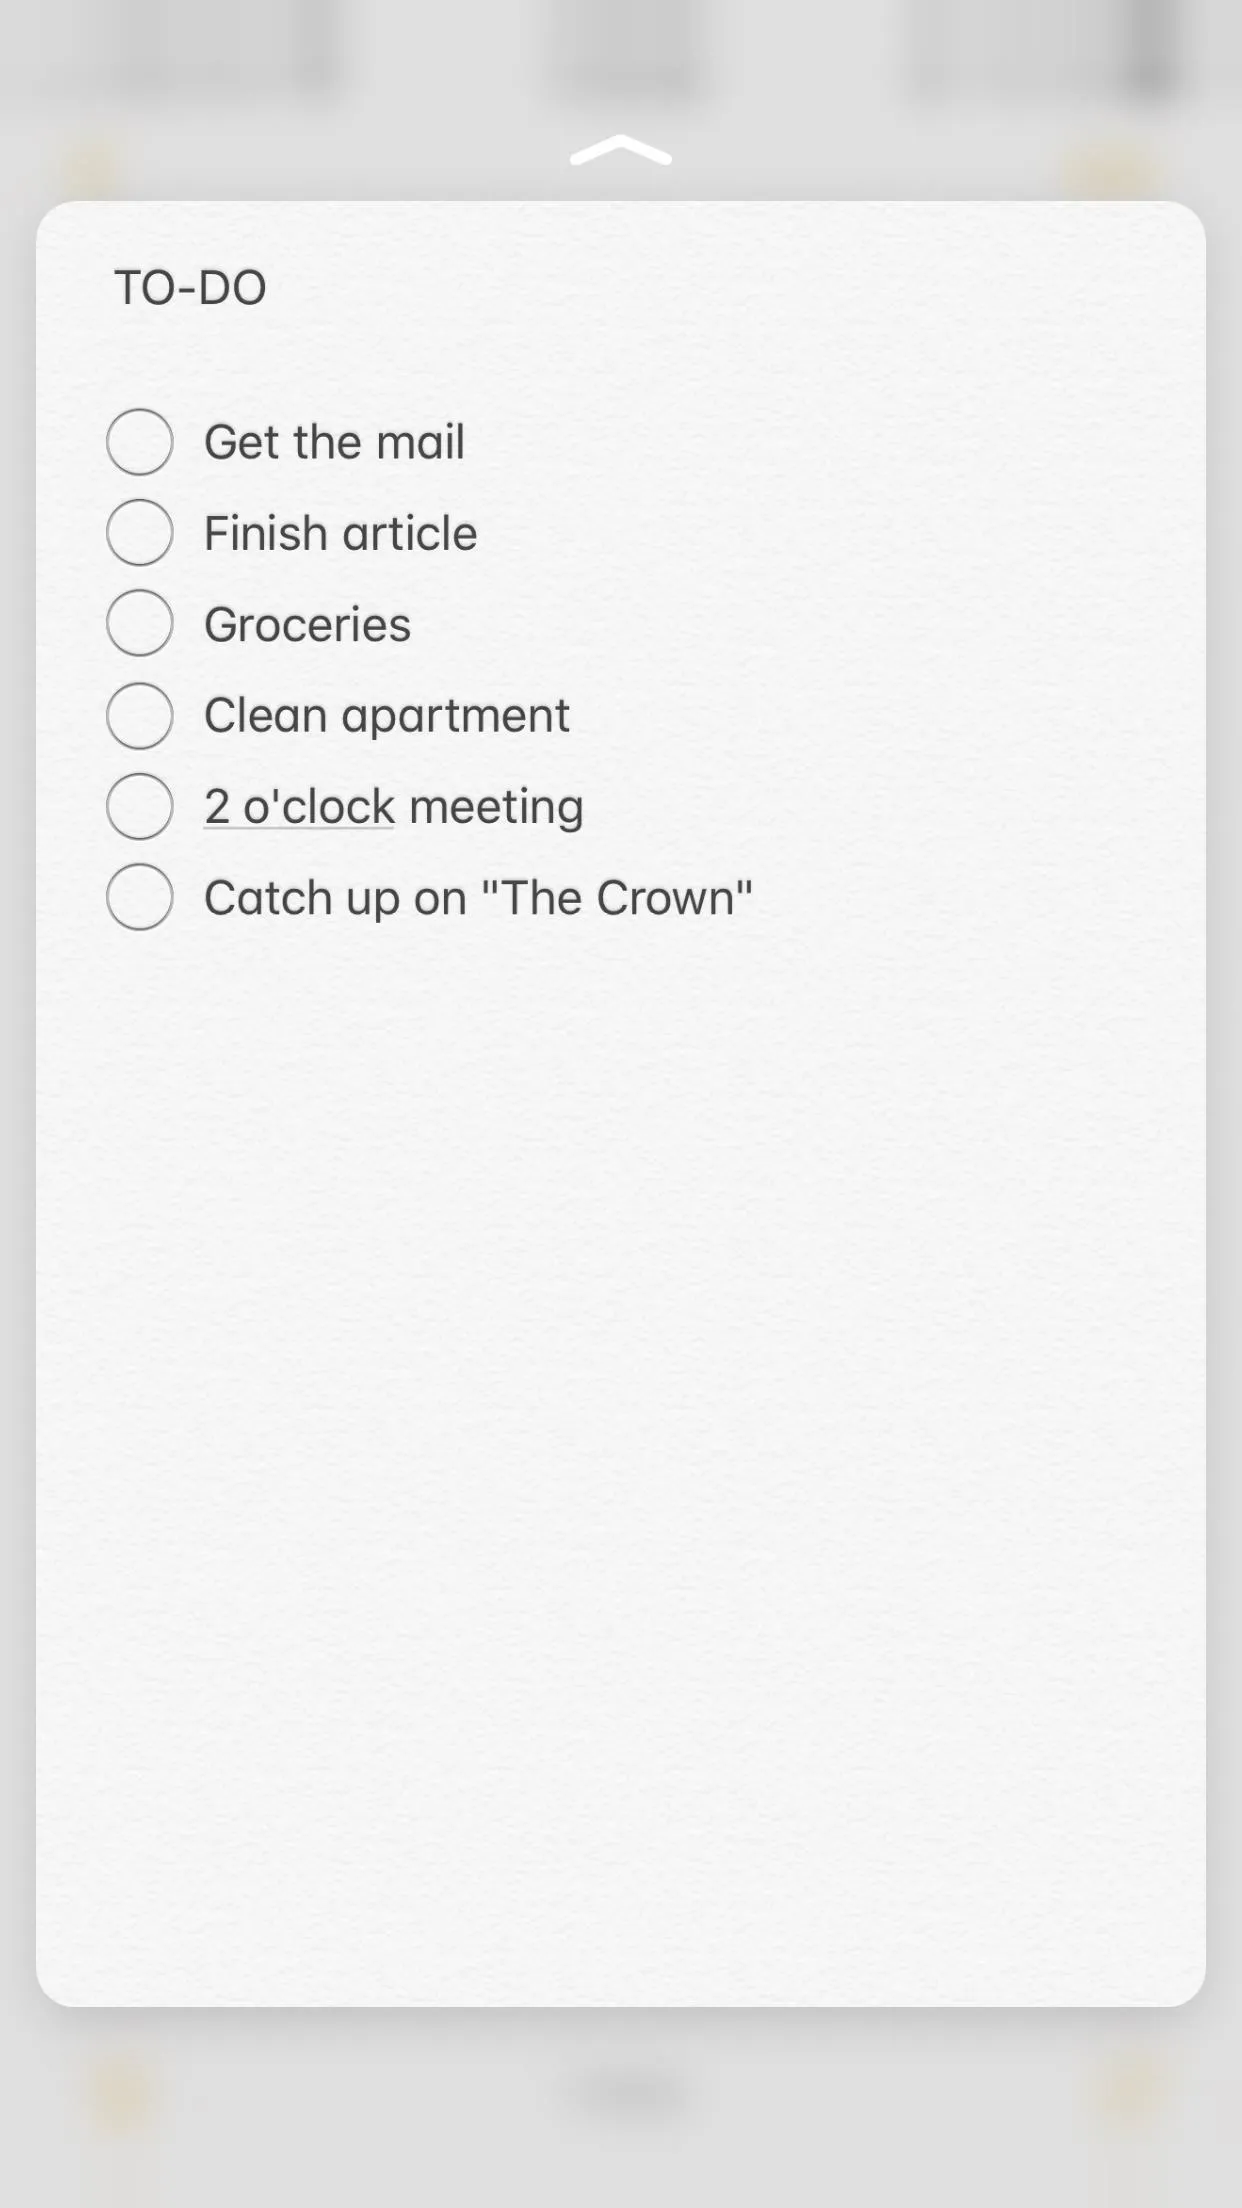
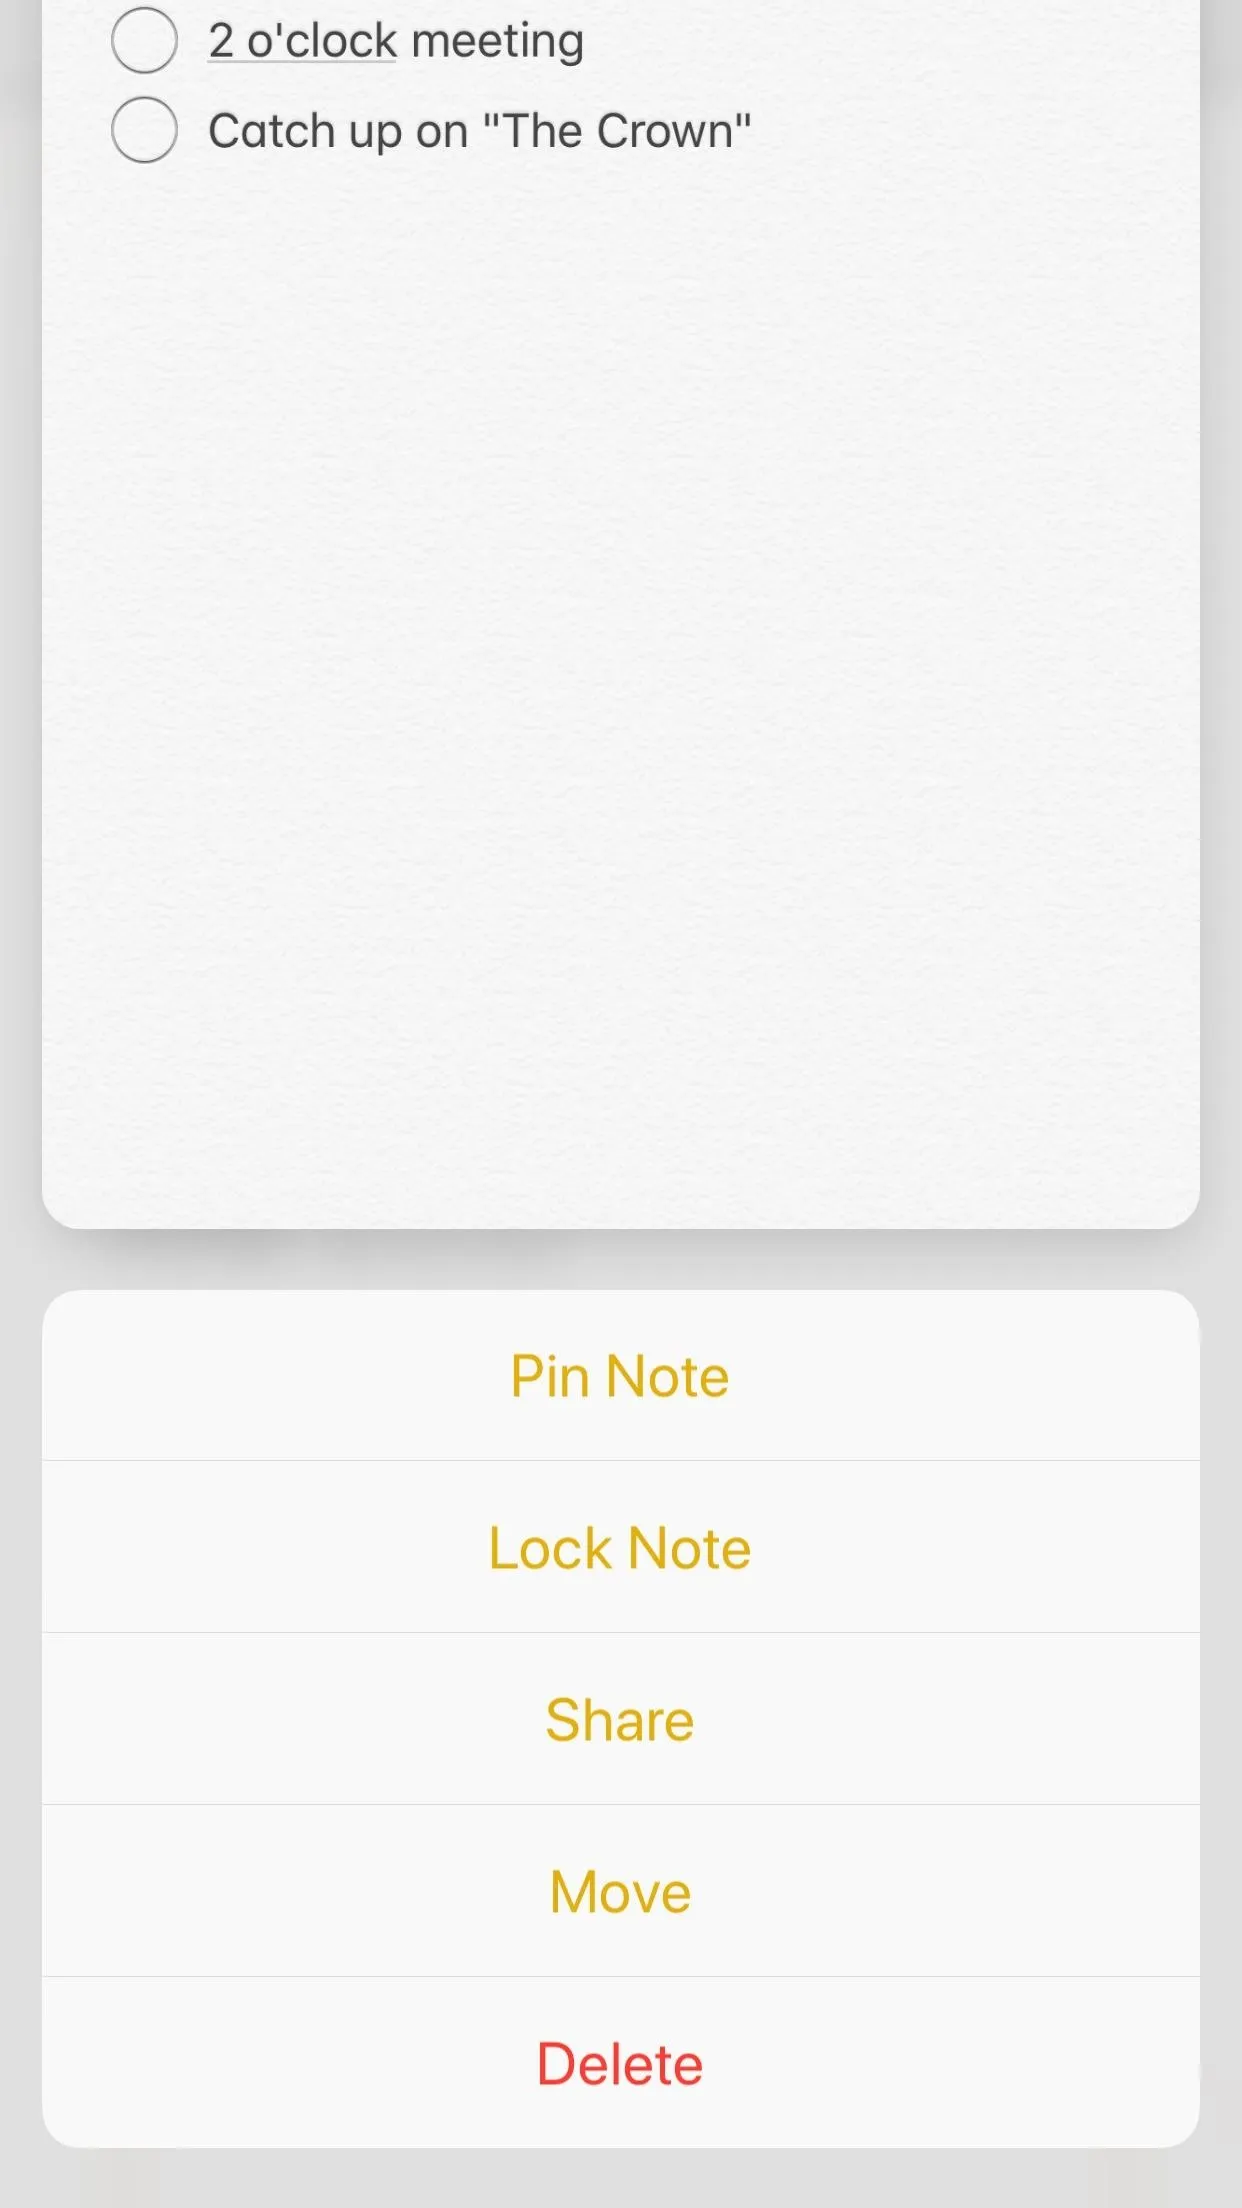
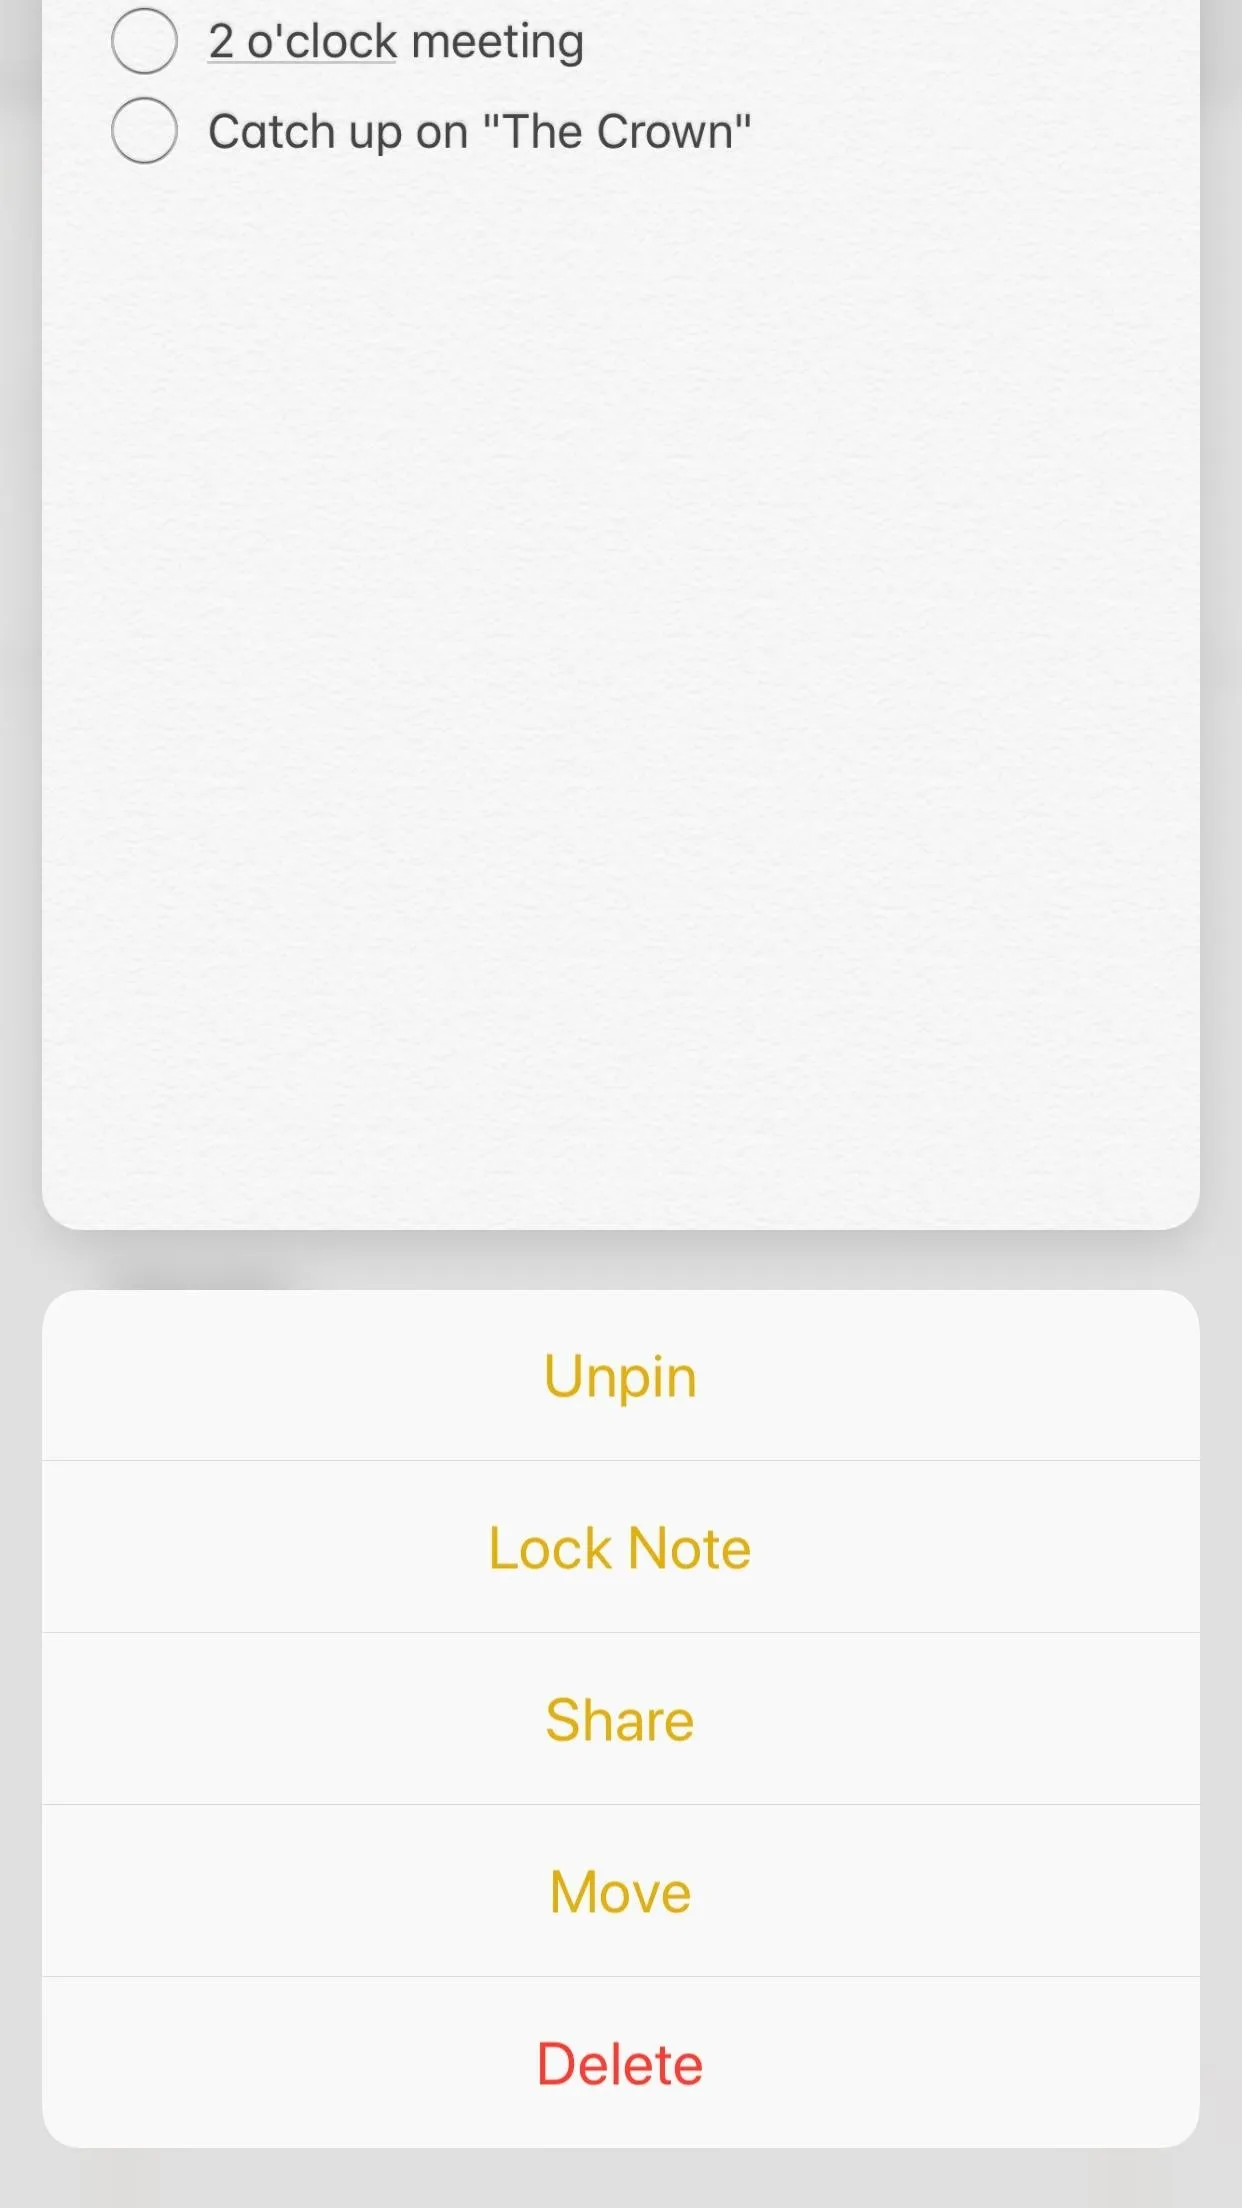
Alternatively, on iPhones that support 3D Touch, you can soft-press to "peek" at the note, then quickly swipe up without releasing your finger to access a menu of options. Tap on "Pin Note," and it will be pinned to the top of the folder you're in.


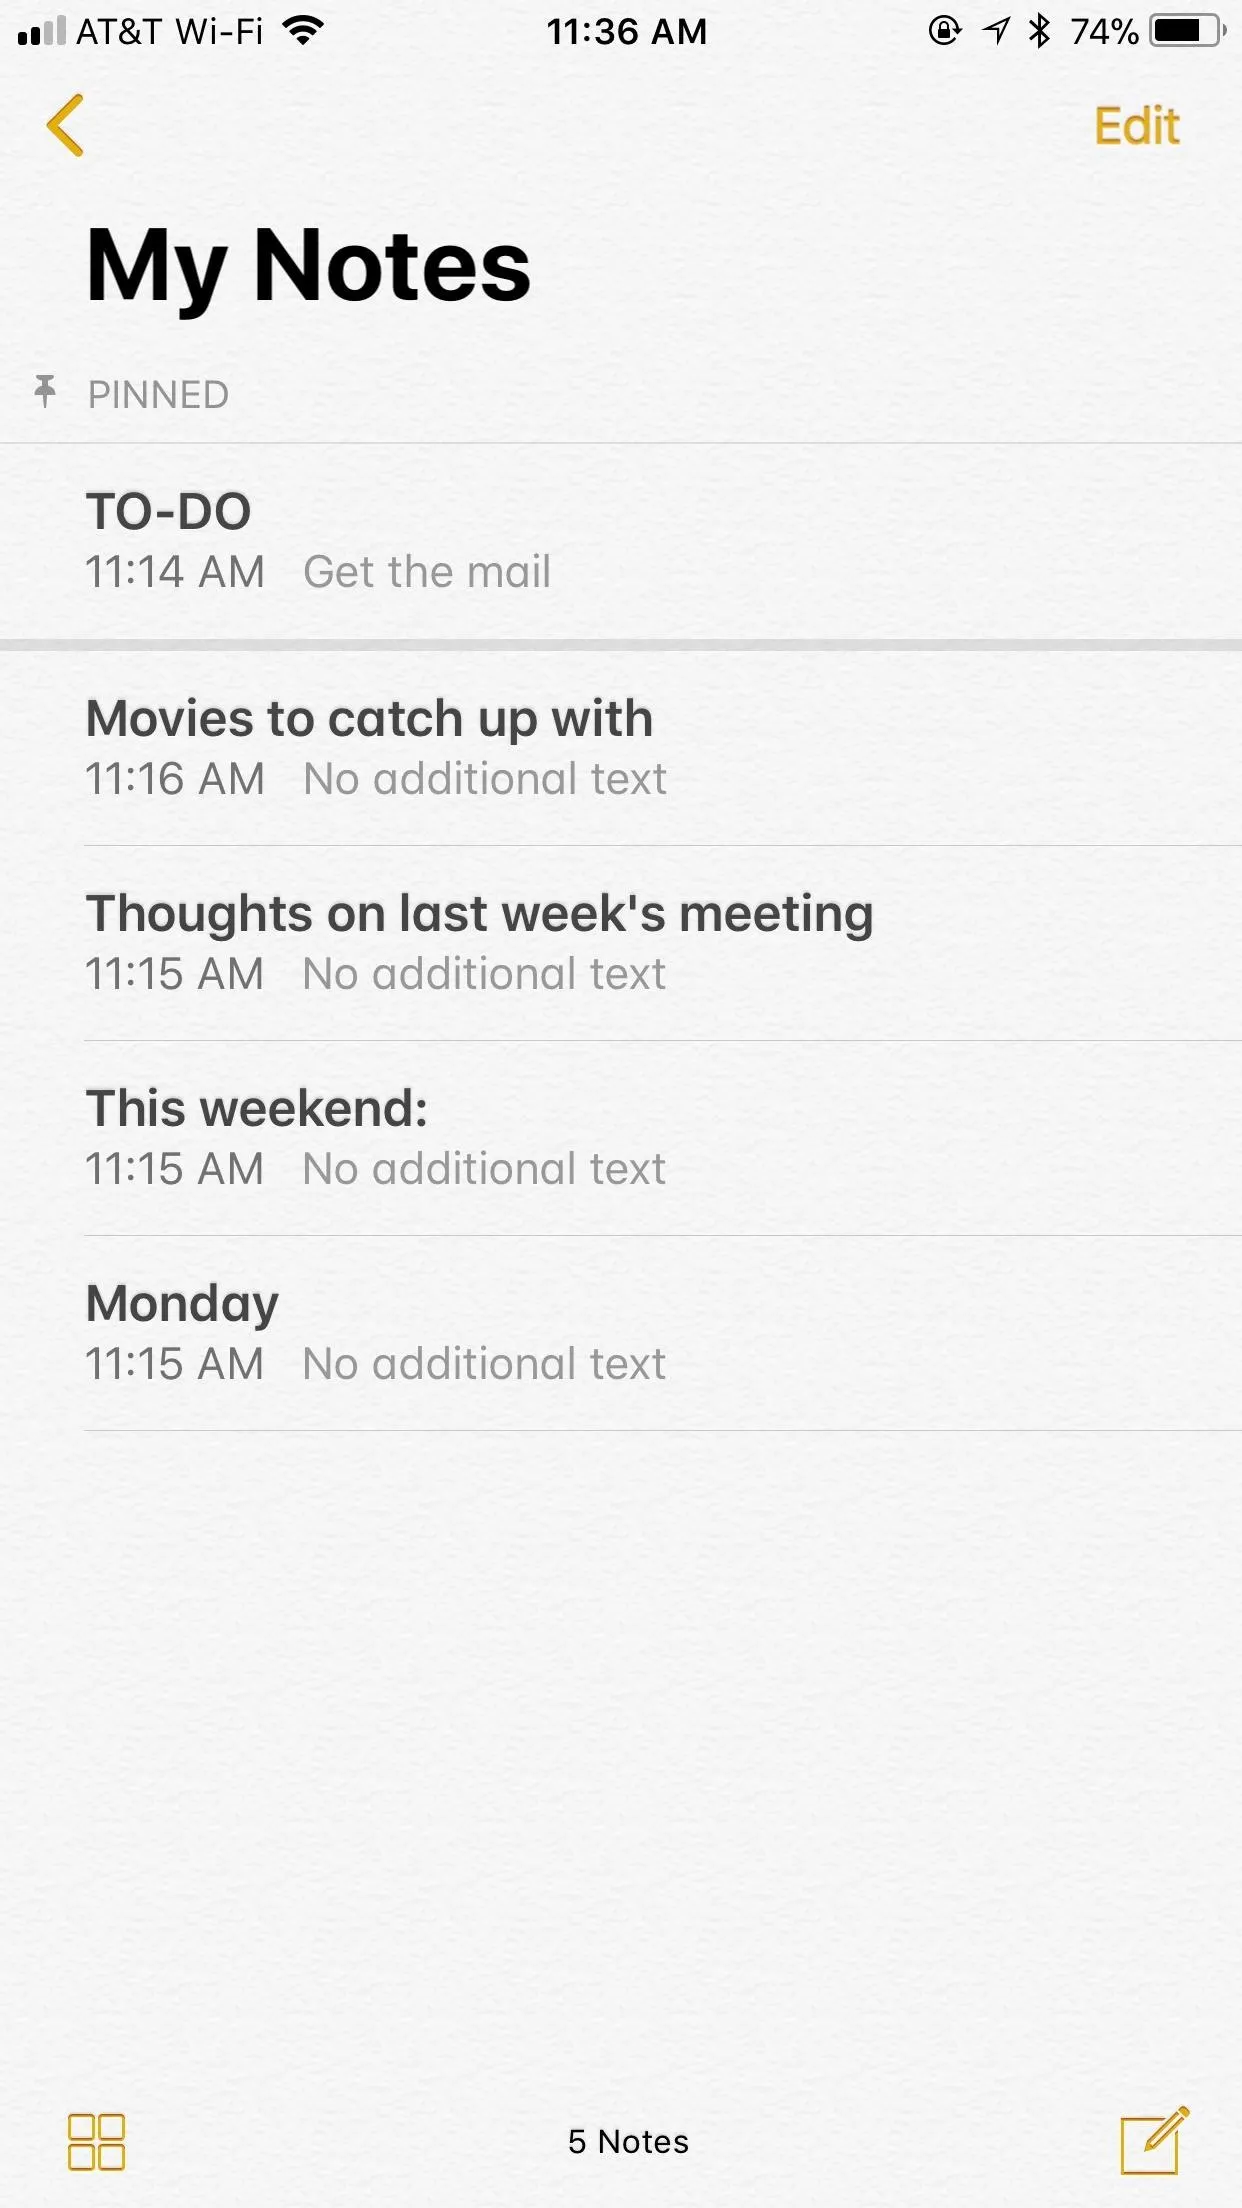
Once pinned, notes have their own subtle Pinned section up top, separated from all the other notes below. This section will appear in the folder those pinned notes are contained in, as well as in the "All [Account Name]" folder, which contains all notes connected to a specific account (iCloud, Gmail, On My iPhone, etc.).
To unpin, simply perform any of the above actions. Swiping fast will unpin immediately, swiping slow will give you the unpin button, and using 3D Touch will replace the "Pin Note" option with "Unpin." If you unpin all pinned notes, the Pinned section will disappear.


- Follow Gadget Hacks on Facebook, Twitter, YouTube, and Flipboard
- Follow WonderHowTo on Facebook, Twitter, Pinterest, and Flipboard
Cover image and screenshots by Jake Peterson/Gadget Hacks



Comments
Be the first, drop a comment!