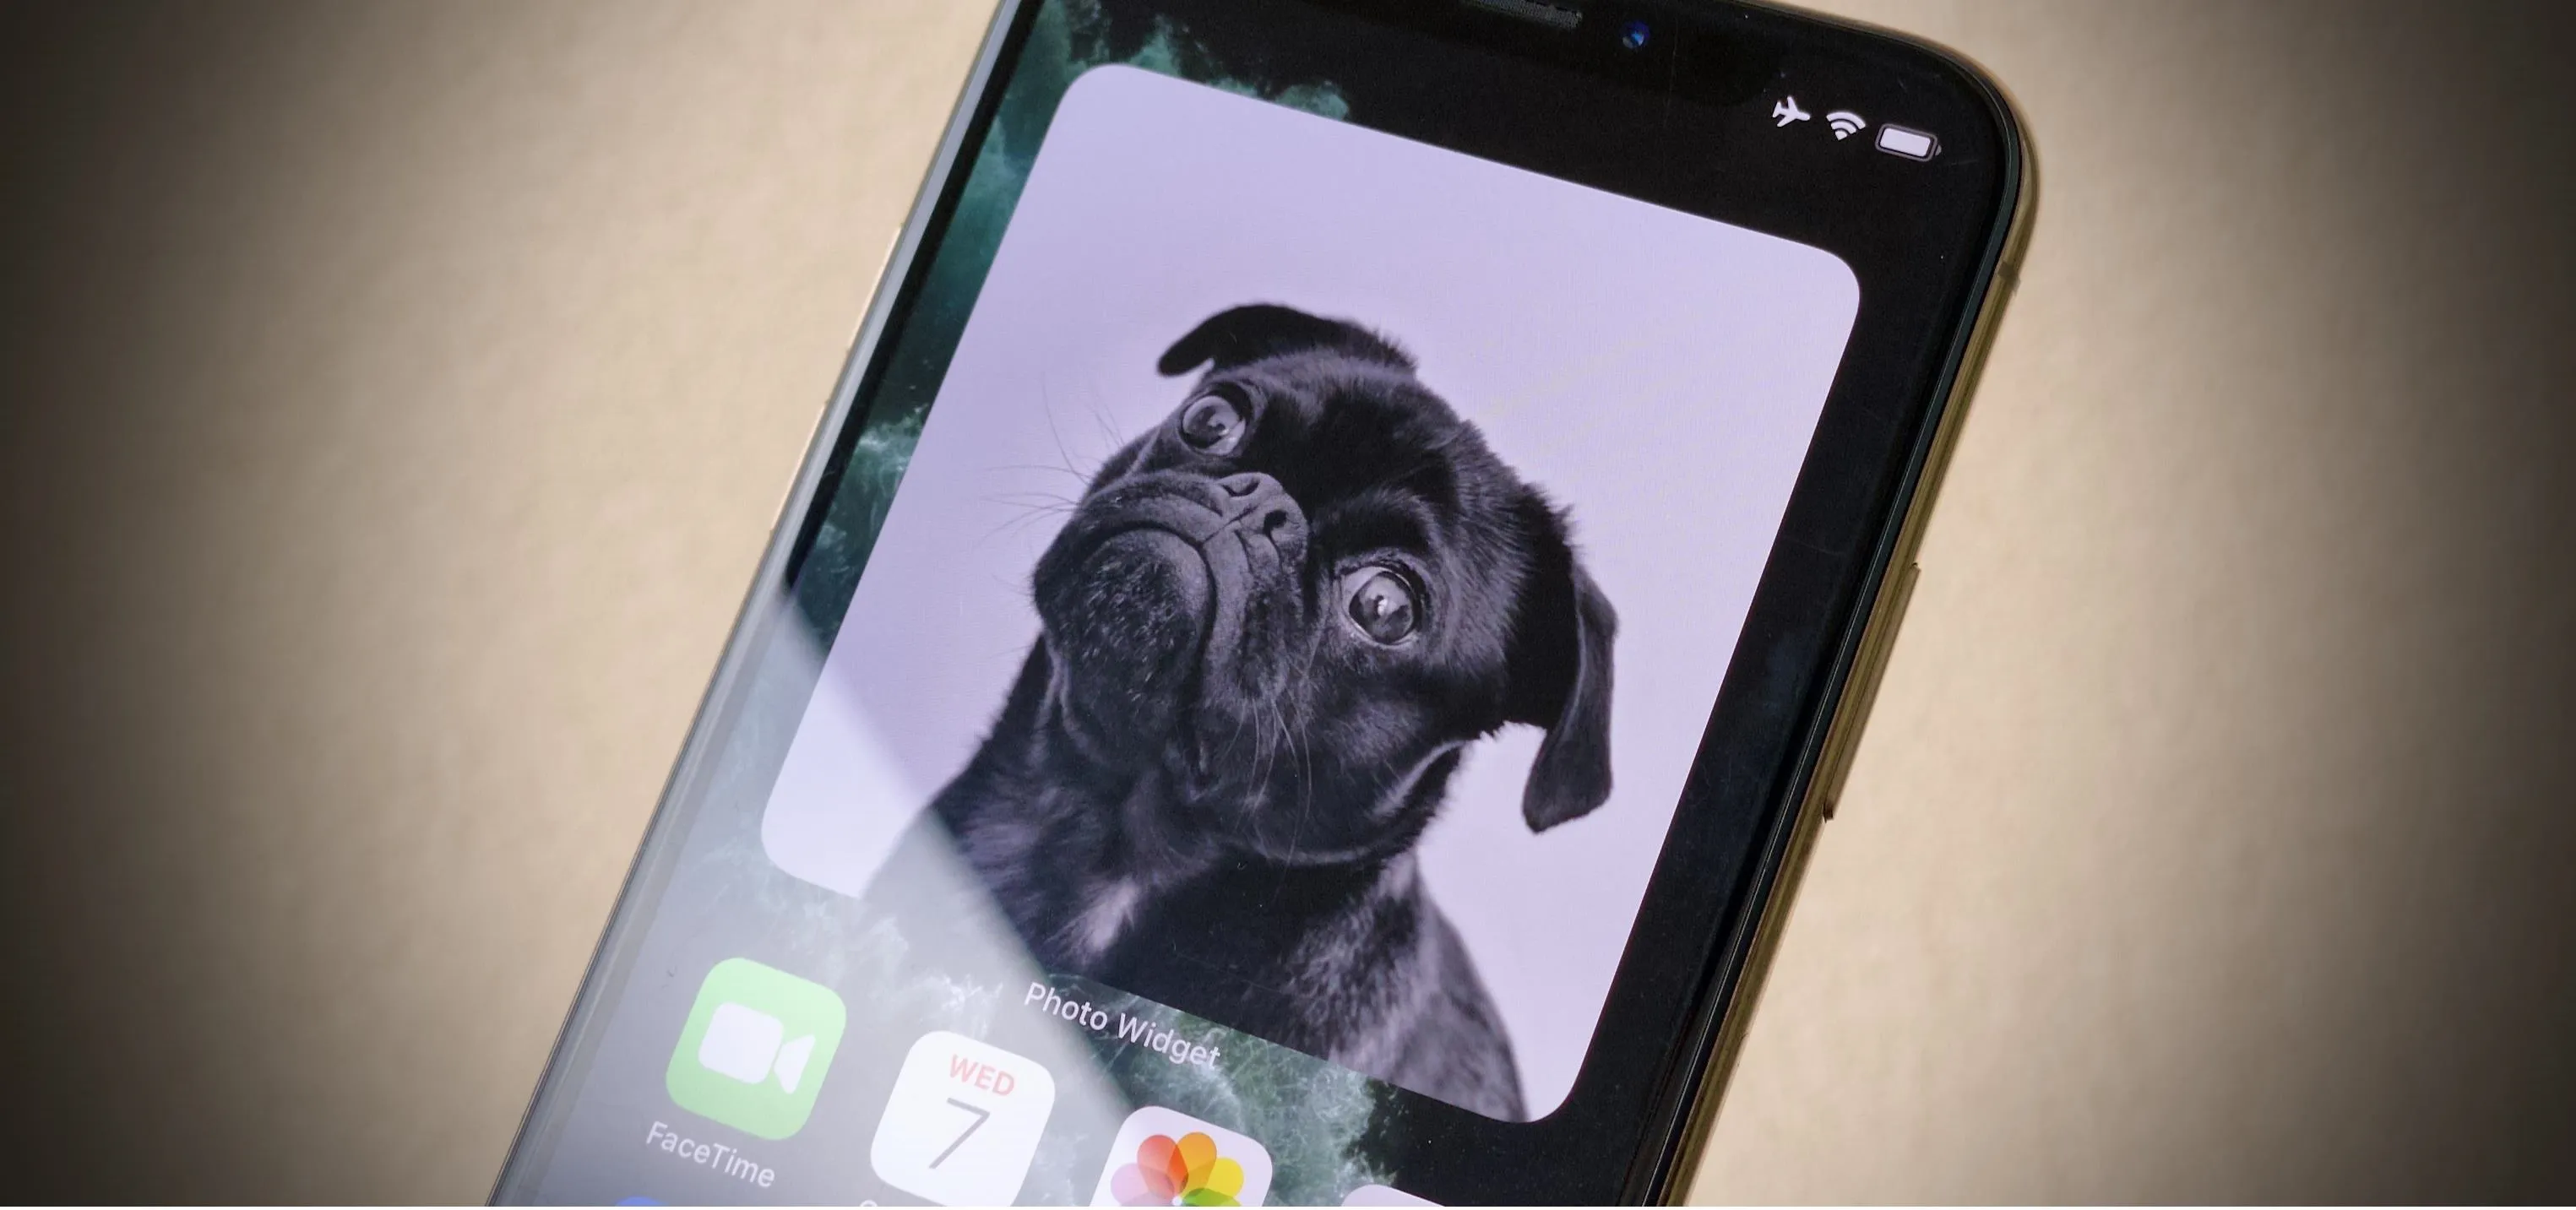
Your iPhone's new home screen widgets are awesome — until they're not. Photos, in particular, is a big disappointment. It gives you a taste of having your favorite photos appear alongside your apps but ruins it by changing the photo randomly every hour without your input. While nothing can be done with the Photos widget, there is a way to get the pictures you want to see on your home screen.
Since iOS 14's release, third-party app developers have pushed out tons of new widgets that work on the home screen and Today View, many of which are for single-purpose apps. And some of them were quick to "fix" things Apple missed in its own widgets. We're focusing on third-party apps that let you choose what image or images you want to appear on your home screen widget and when.
Pick a Third-Party Widget App
When it comes down to choosing a third-party photo widget, you definitely have choices. Some let you set multiple pictures on a widget, while others allow you to add text. A few others even let you overlay calendar information. If all you're looking for is a virtual picture frame on your home screen, you'll likely be happy with any widget, whether it's bare-bones or advanced.
Some of the Available Third-Party Photo Widgets
- Custom Widgets - Photo & Text: You can have three images total, one per widget. You can make variations on those widgets with the photo in a different position, by adding a background color, or by using an analog clock, text, or the current date on top.
- Home Photo Widget: You can add a seemingly unlimited number of pictures to the app, then make a static widget for each one.
- Locket - Photo Widgets ($0.99): You pick an album for each widget, how many recent pictures you want to see from it, and how often it should rotate the images.
- MemoWidget (Memo&Photo Widget): You choose one photo per memo, and that can be the whole widget. But you can also add text to it, brighten the photo, and align it differently.
- Photobox Widget: You get one widget in three different sizes, and you can choose multiple photos for it that rotates randomly through your selected images every ten minutes. You can add a message and change the photo crop.
- PHOTO ALBUM (Photo Widget): You make an album for each widget you want to make, with as many as photos as you want in each one. You can change image brightness, the rotation time, and show the widget's album name.
- Photo Widget: You create albums that can hold up to six photos each, and you can show multiple images at the same time in split view and grids.
- Photo Widget.: You can add one photo or multiple photos to just one widget (in three different sizes). You can change the photo refresh interval, add or remove the date overlay, and add or remove the title overlay.
- Photo Widget - Pin Photo: You can have widgets with just one image each or ones for albums that rotate images every minute. You can add a title for each widget too.
- Photo Widget : Simple: You create albums with as many photos as you want, then add a widget for each one. And there are six time interval options for the rotation of images for each widget.
- Photo Widget — The best ever: You can add one or multiple images to each widget, and you can set a widget to use one of your Photos albums. They rotate on your customized timer for multiple photos, and you can set each widget to open a website when you tap it.
- Photo Widgets: You can create albums (lists) for each widget you want to make, and they can house one or multiple images each. You can change the rotation interval (there are nine options), as well as offset the main photo, so you see more from the list in the background. Photos can be shown in order (and rearranged) or shuffled, and you can add a date or memo to each widget.
- PictureWidget: You add photos to the app five at a time. For the home screen widget, only one image will appear. There are more customization options available for the old-style widget.
For this article, we're going to demonstrate "Photo Widget." If you opt for any of the others listed above, it'll likely be intuitive enough to figure out based on how they all work in general.
Choose Your Photo
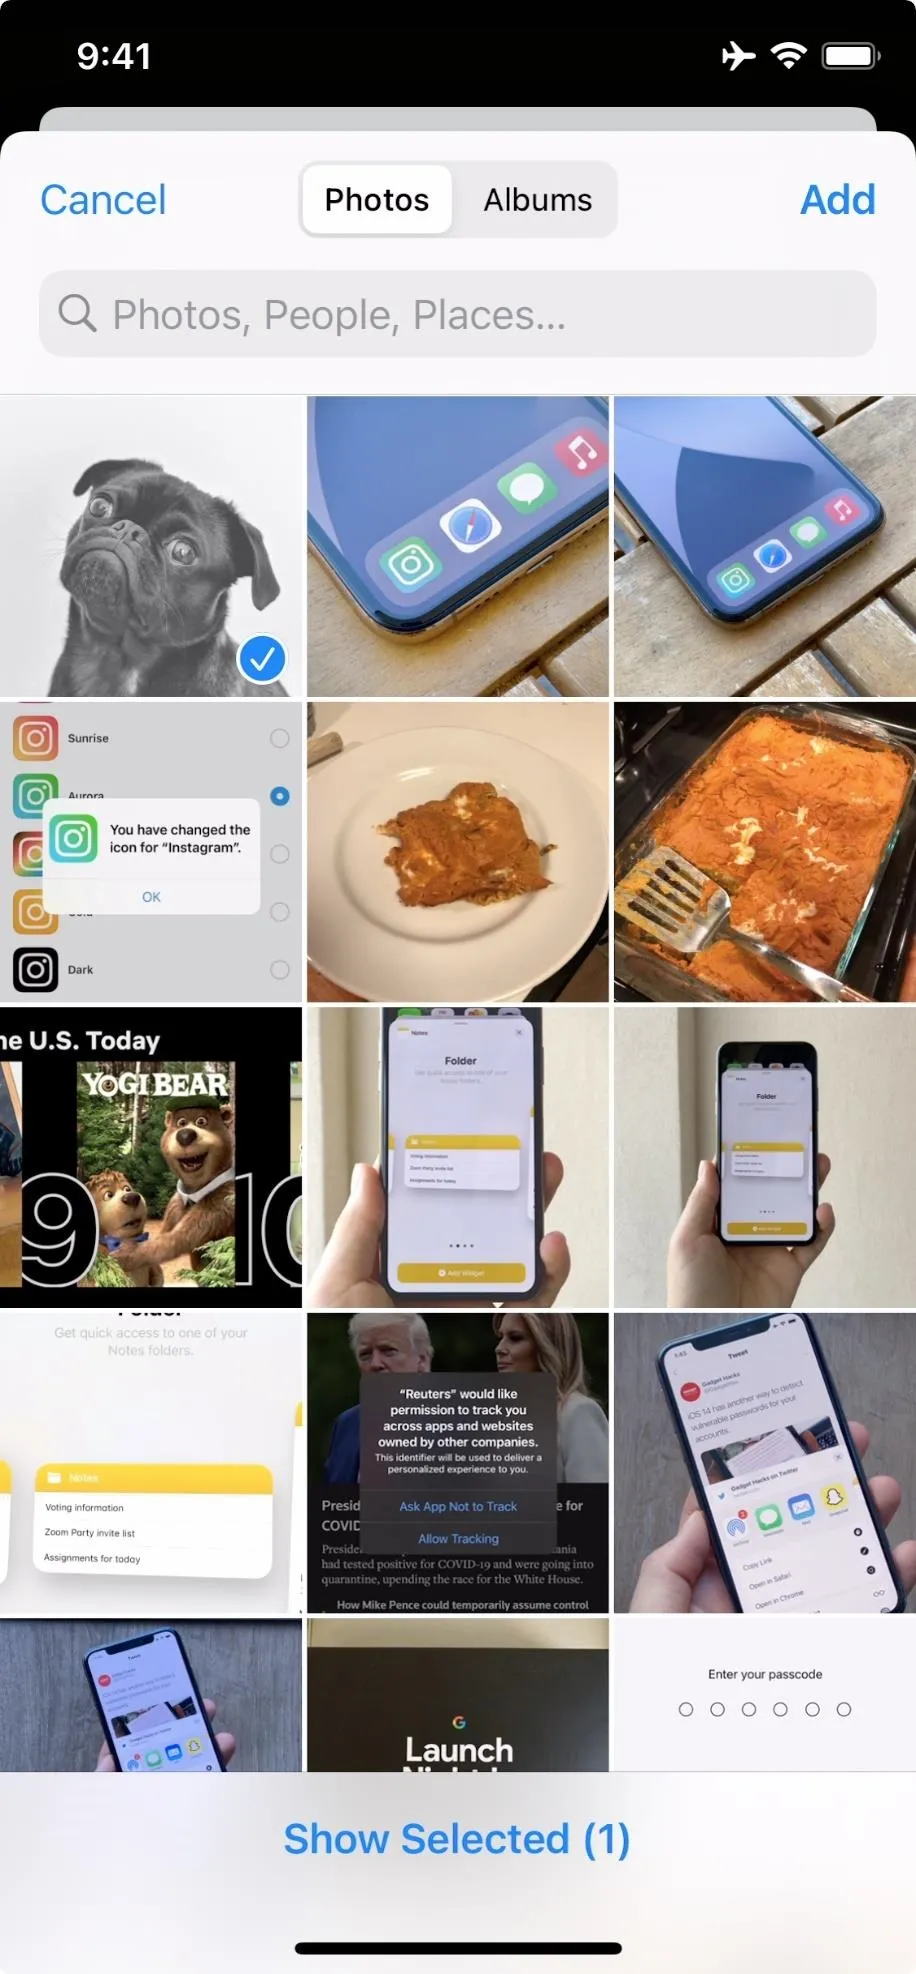
Once you install your chosen app on your iPhone, open it. From here, you should see some type of "add" button. In Photo Widget., that's in the top right. Tap that, give the app permission to see your iPhone's gallery if asked, and you'll see the photo selector appear. Here, you can view all of the photos in your Photos app, including all of your albums.
To select the photo you want to use, just tap it. While you can select multiple images, the widget will cycle through your options, rather than display just one of the photos. When you're happy with your choice, just tap "Add."


Disable 'Show Date in Widget' (Optional)
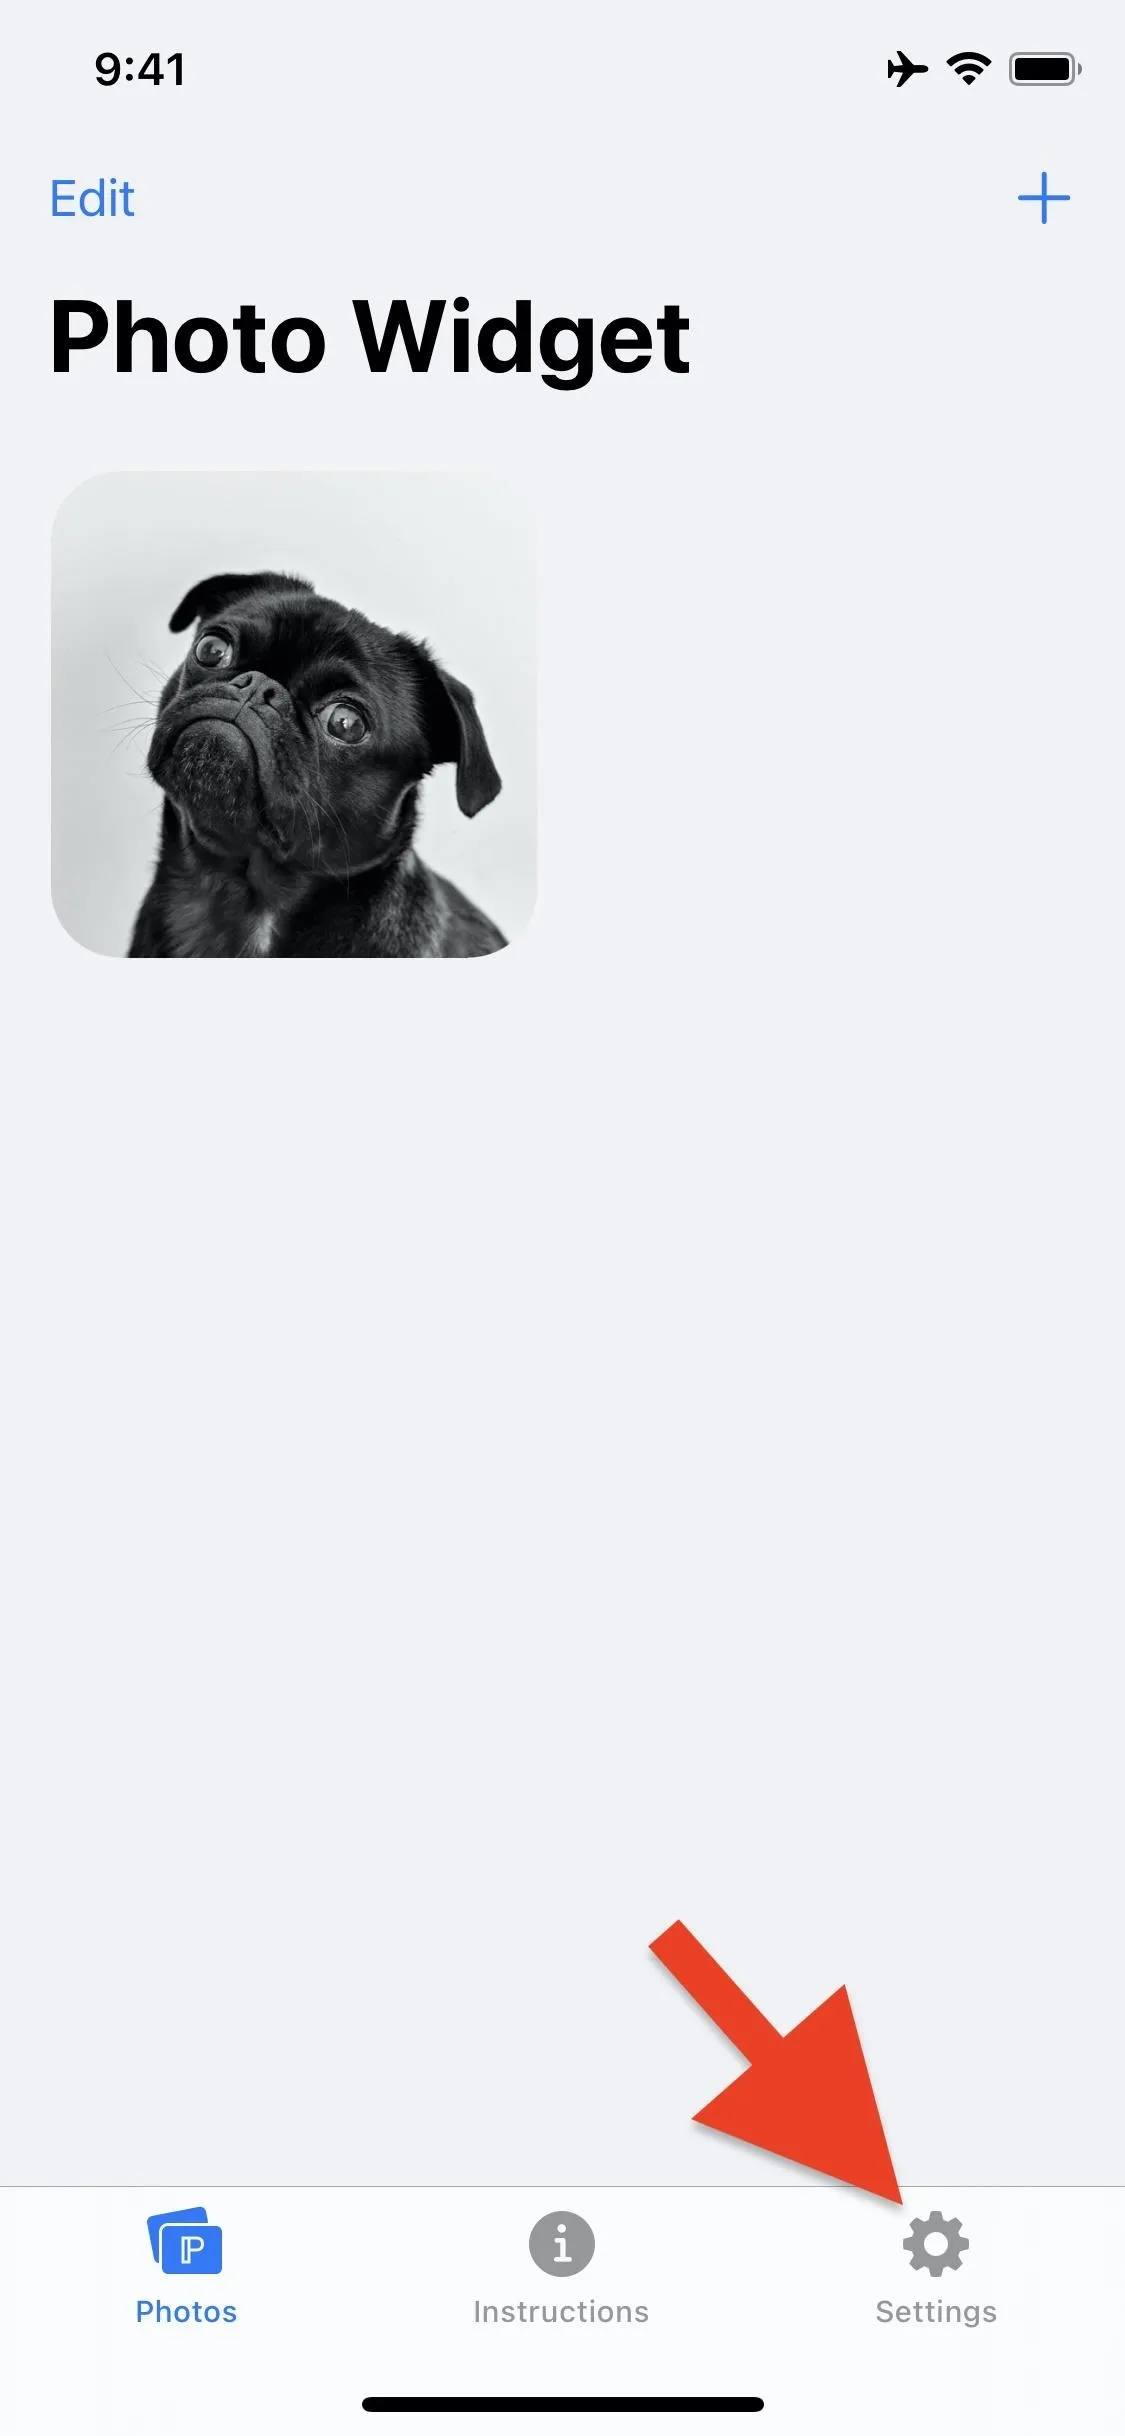
By default, "Photo Widget." shows the date in your photo widget. If you like that idea, skip down to Step 4. However, if you want a simple, clean photo on your home screen, you'll want to disable the feature. Just head over to Settings, then disable the toggle next to "Show Date in Widget."


Add Your Widget
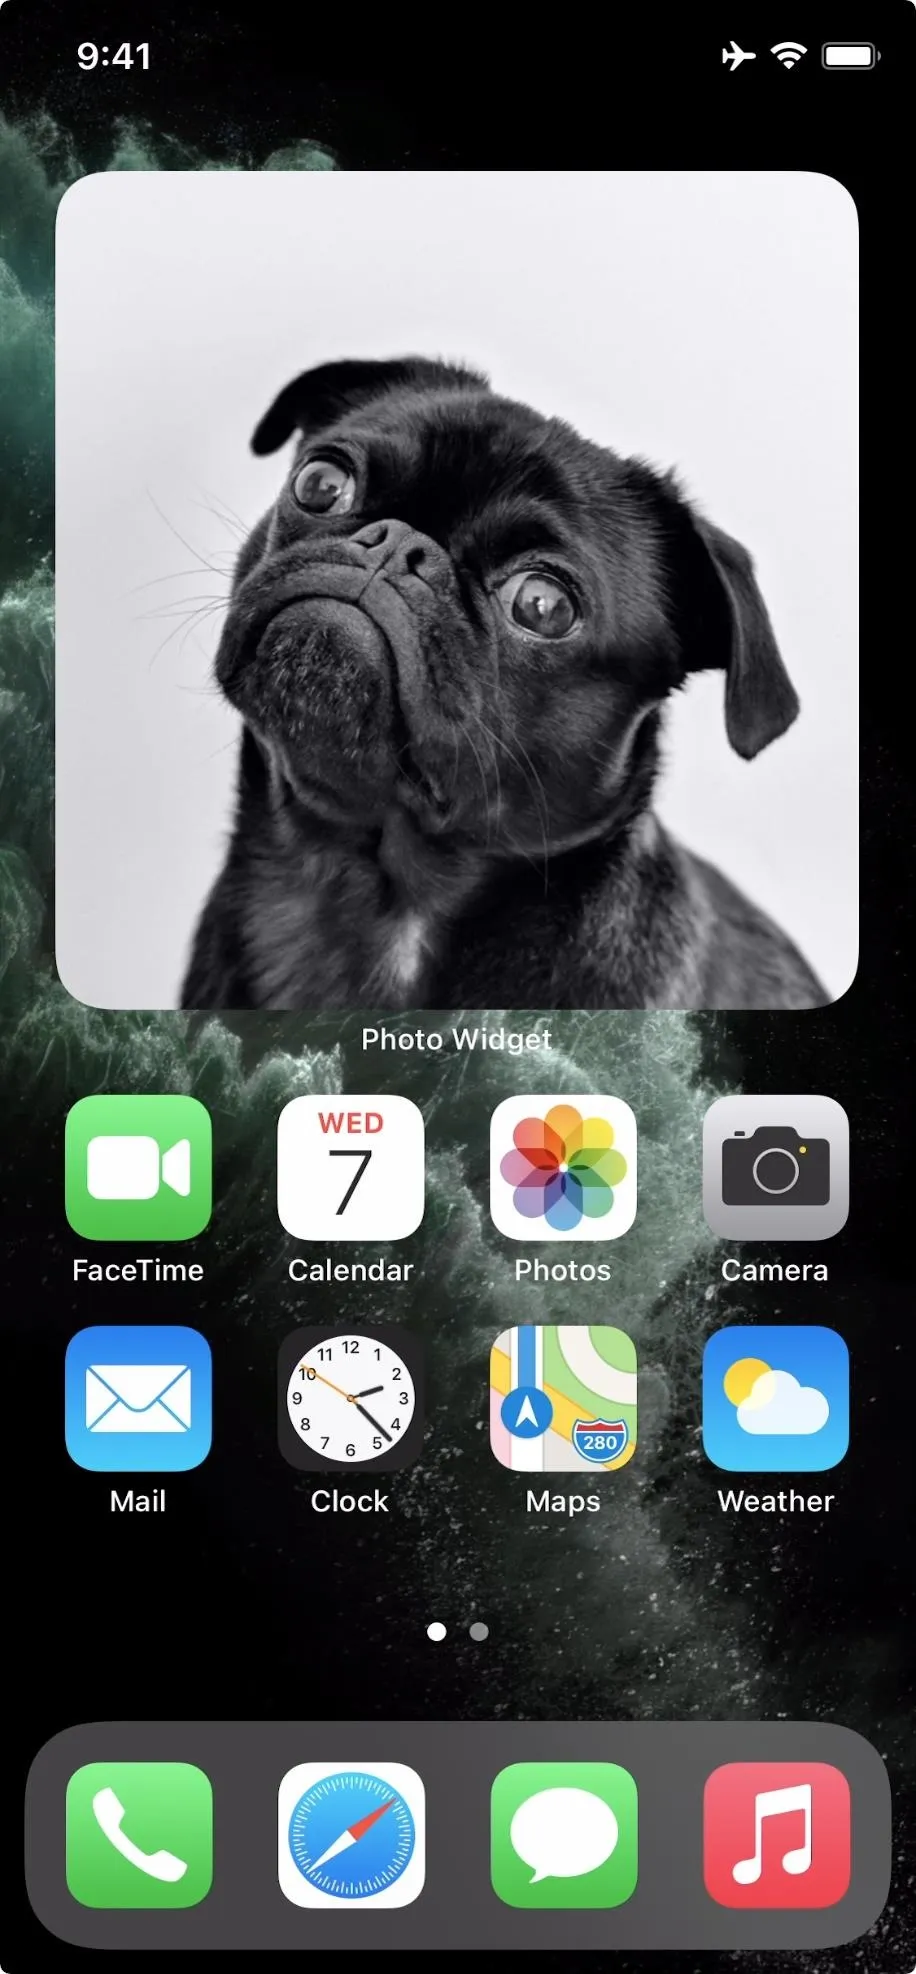
Finally, you're ready to add your widget to the home screen. To do so, long-press on the home screen background until you enter jiggle mode, then tap the plus (+) button. Now, find Photo Widget. It may appear right away as a suggested widget, but if not, you'll just need to scroll down and select it from the list.
Once you do, you'll see your three widget sizes (small, medium, and large). When you find the one you like, tap "Add Widget" or drag the widget right onto your home screen where you want.


Cover image, screenshots, and GIFs by Jake Peterson/Gadget Hacks


Comments
Be the first, drop a comment!