
The subject line is a crucial part of an email, but you don't see it very often in texts. That's mostly because many people don't even know it can be done, and even if they do, why would they use it? Just like with emails, subject lines can make iMessages and SMS texts seem more important and more professional. Plus, they can help with organization and searching past messages, as well as make text bold.
If you're sending a lengthy iMessage or SMS text, a subject line can help get the recipient interested in following through with the rest. When posting a flurry of messages, including short headers every once in a while can keep things better organized for both you and the recipient. Plus, everyone in the conversation can search the thread for the topic and jump right to what they need. And if you want to keep it very professional with your colleagues, a subject line can do that for you when you're discussing work. But most importantly, it lets you make bold text!
No matter what it is you want to get out of this feature, we'll show you how to add subject lines to texts and iMessages in the Messages app on your iPhone, as well as breakdown how to remove it if you're unsatisfied or annoyed by it.
Enable the Subject Line
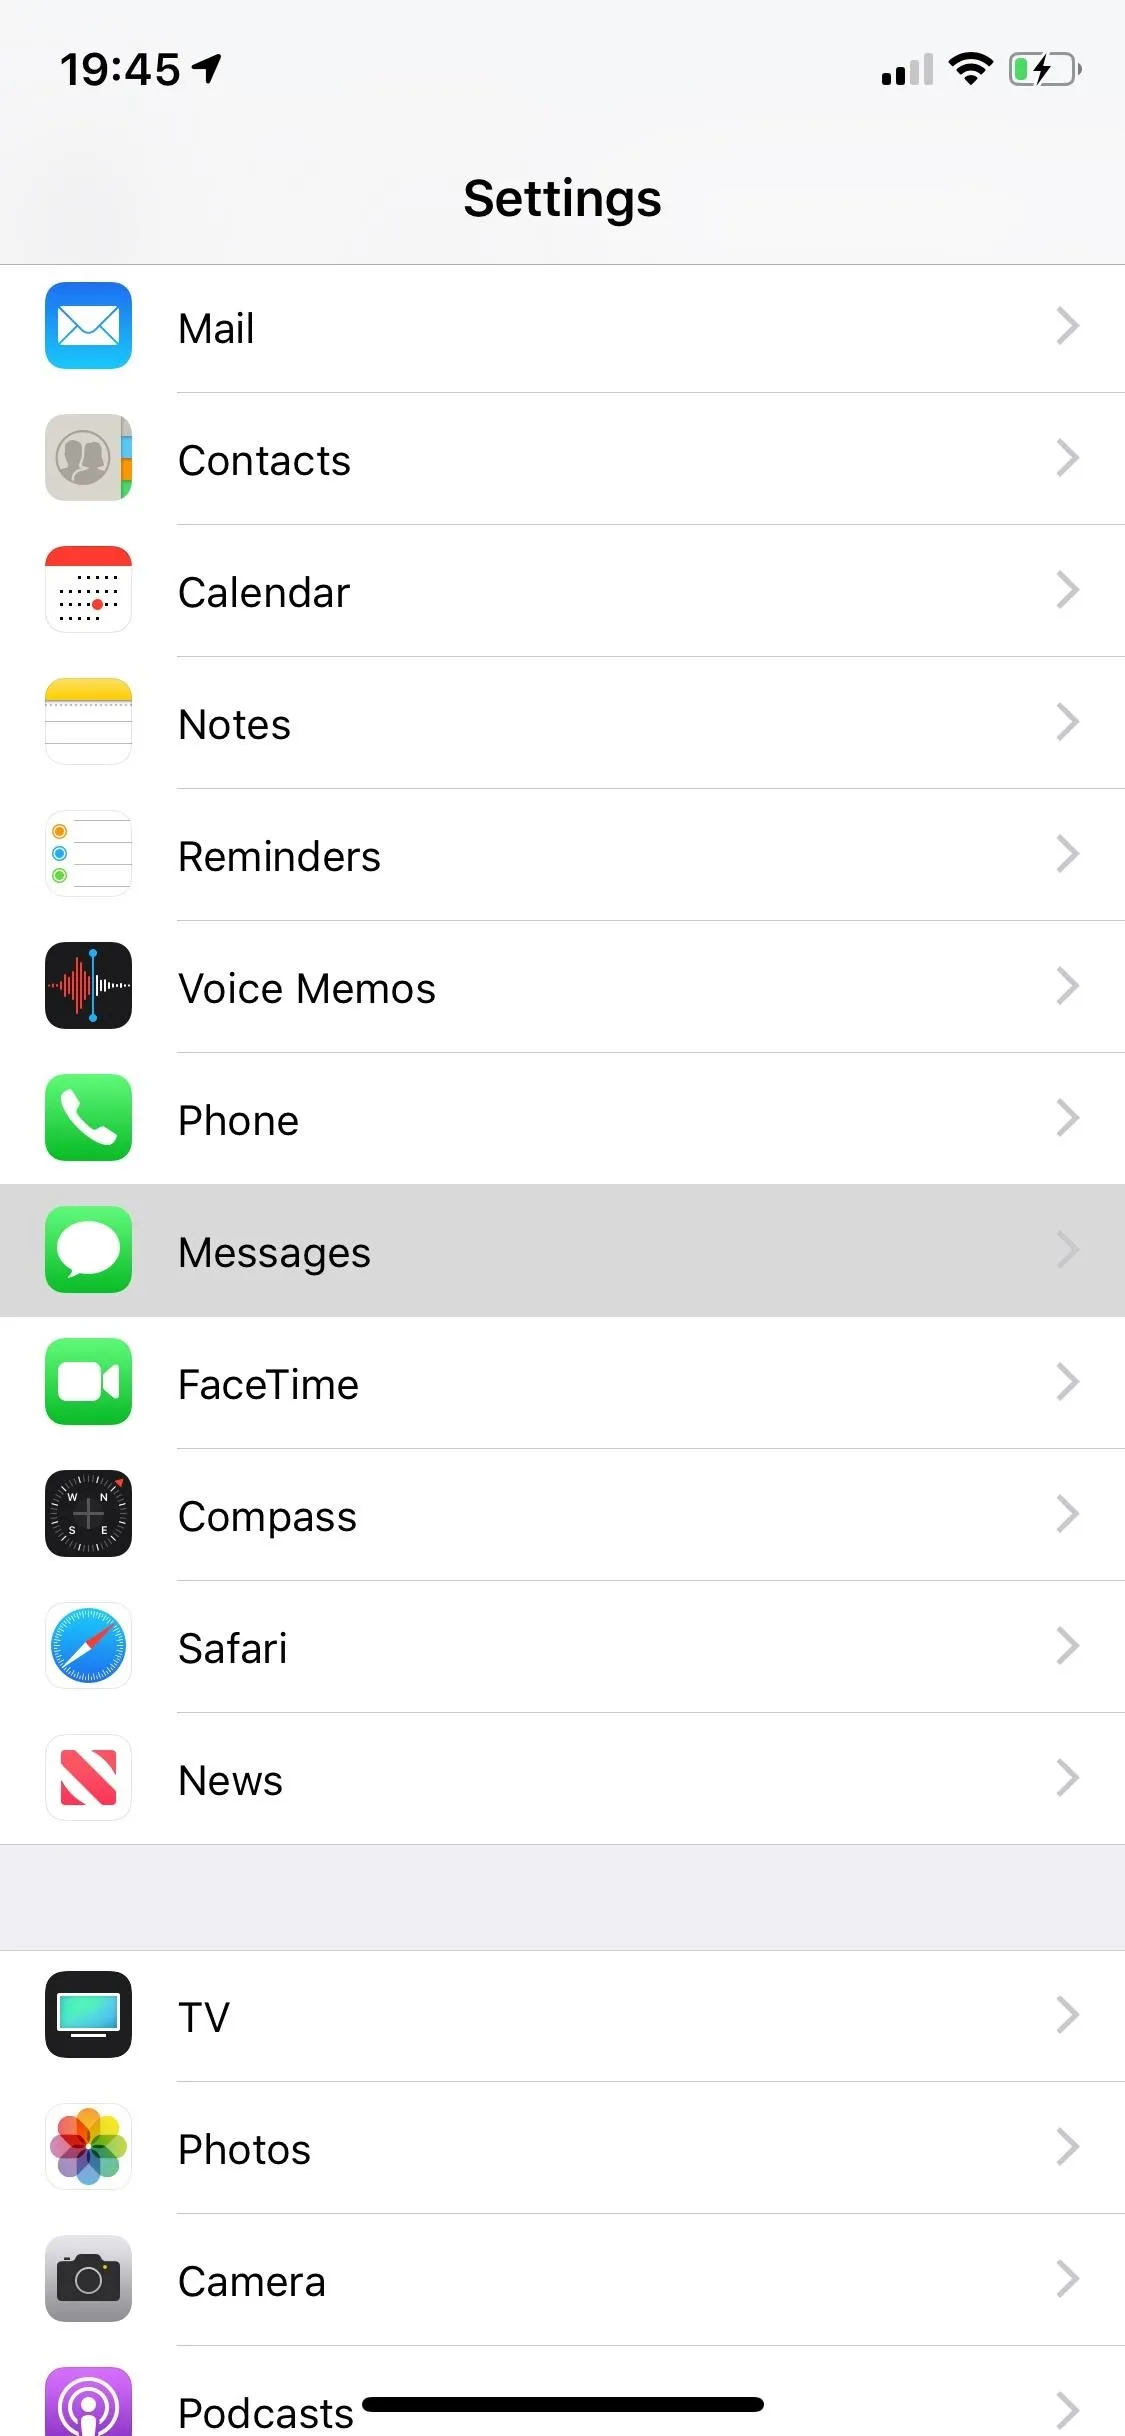
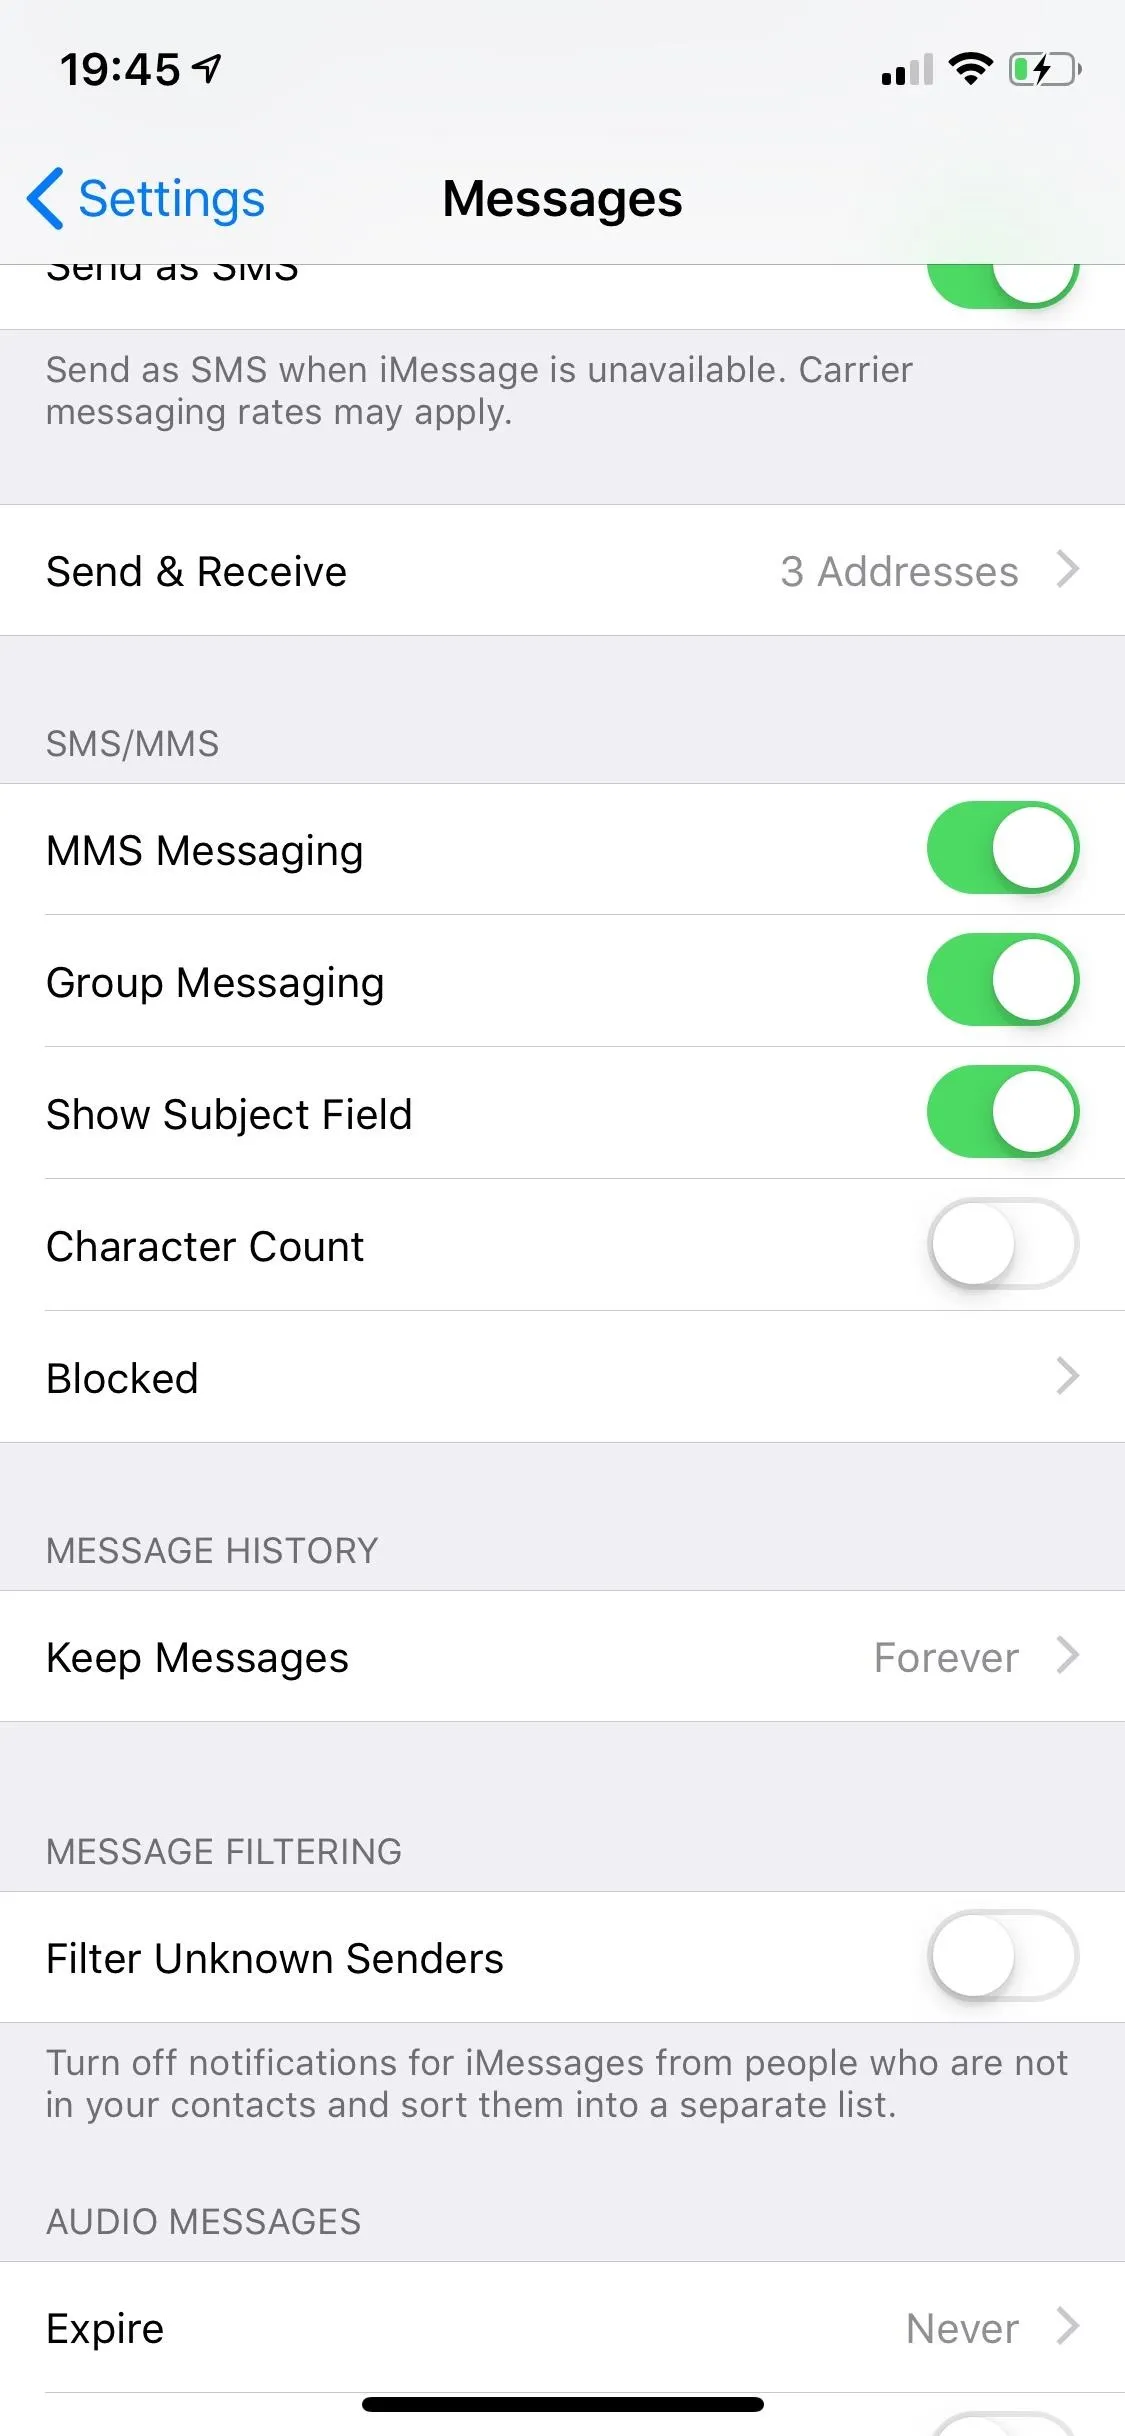
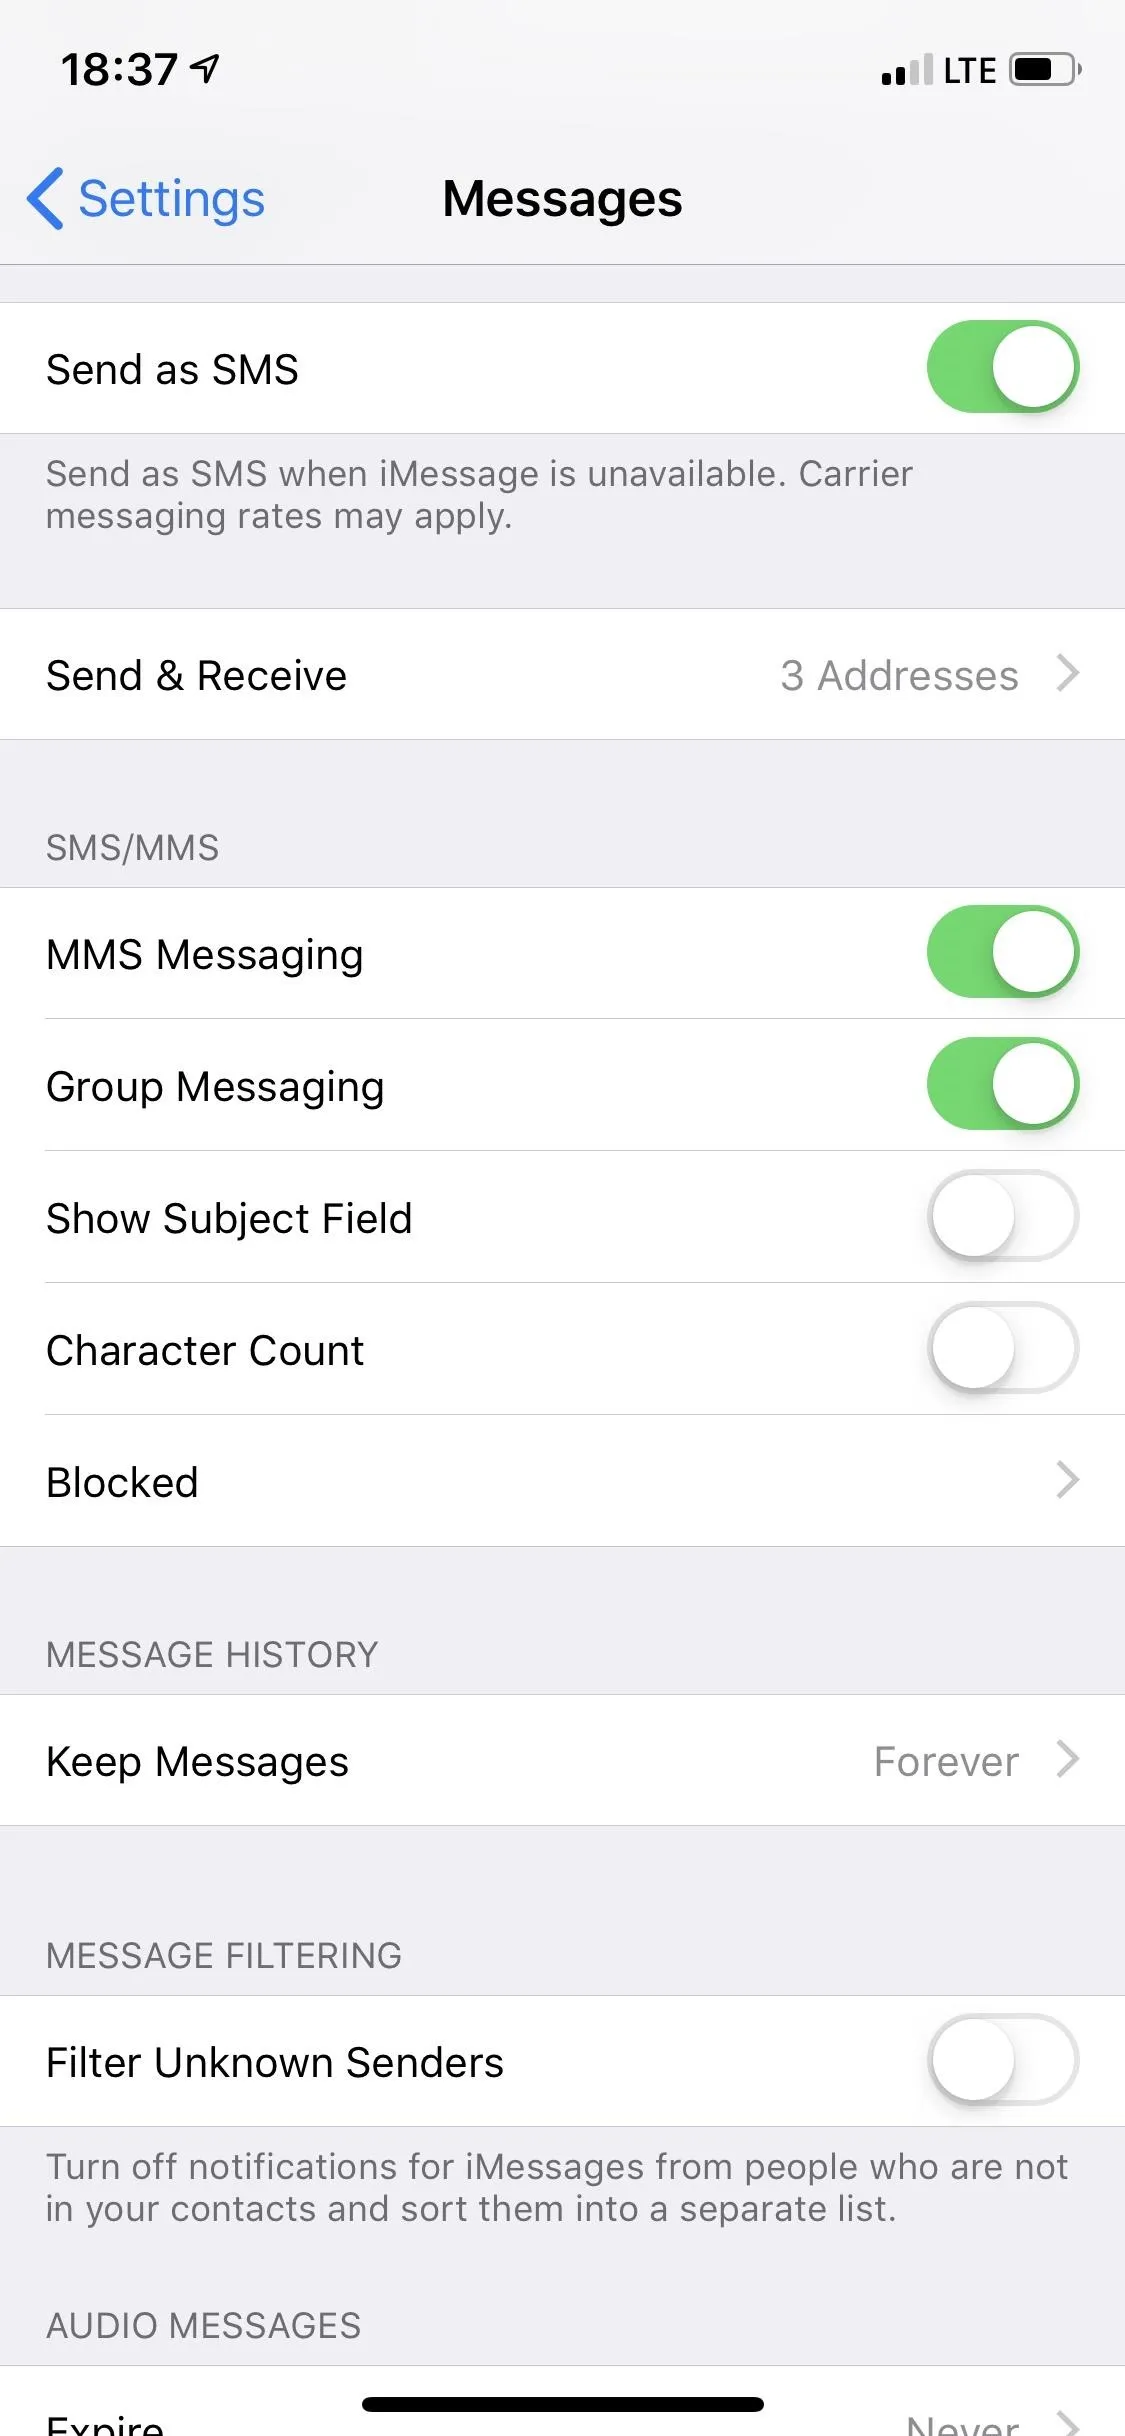
You can't turn on subject fields directly from the Messages app, so open up Settings, tap "Messages" to view its options, then toggle on the setting for "Show Subject Field" under SMS/MMS. However, just because it's in the SMS/MMS section doesn't mean it's not compatible with iMessage because it totally is.


Add Subject Lines in Conversations
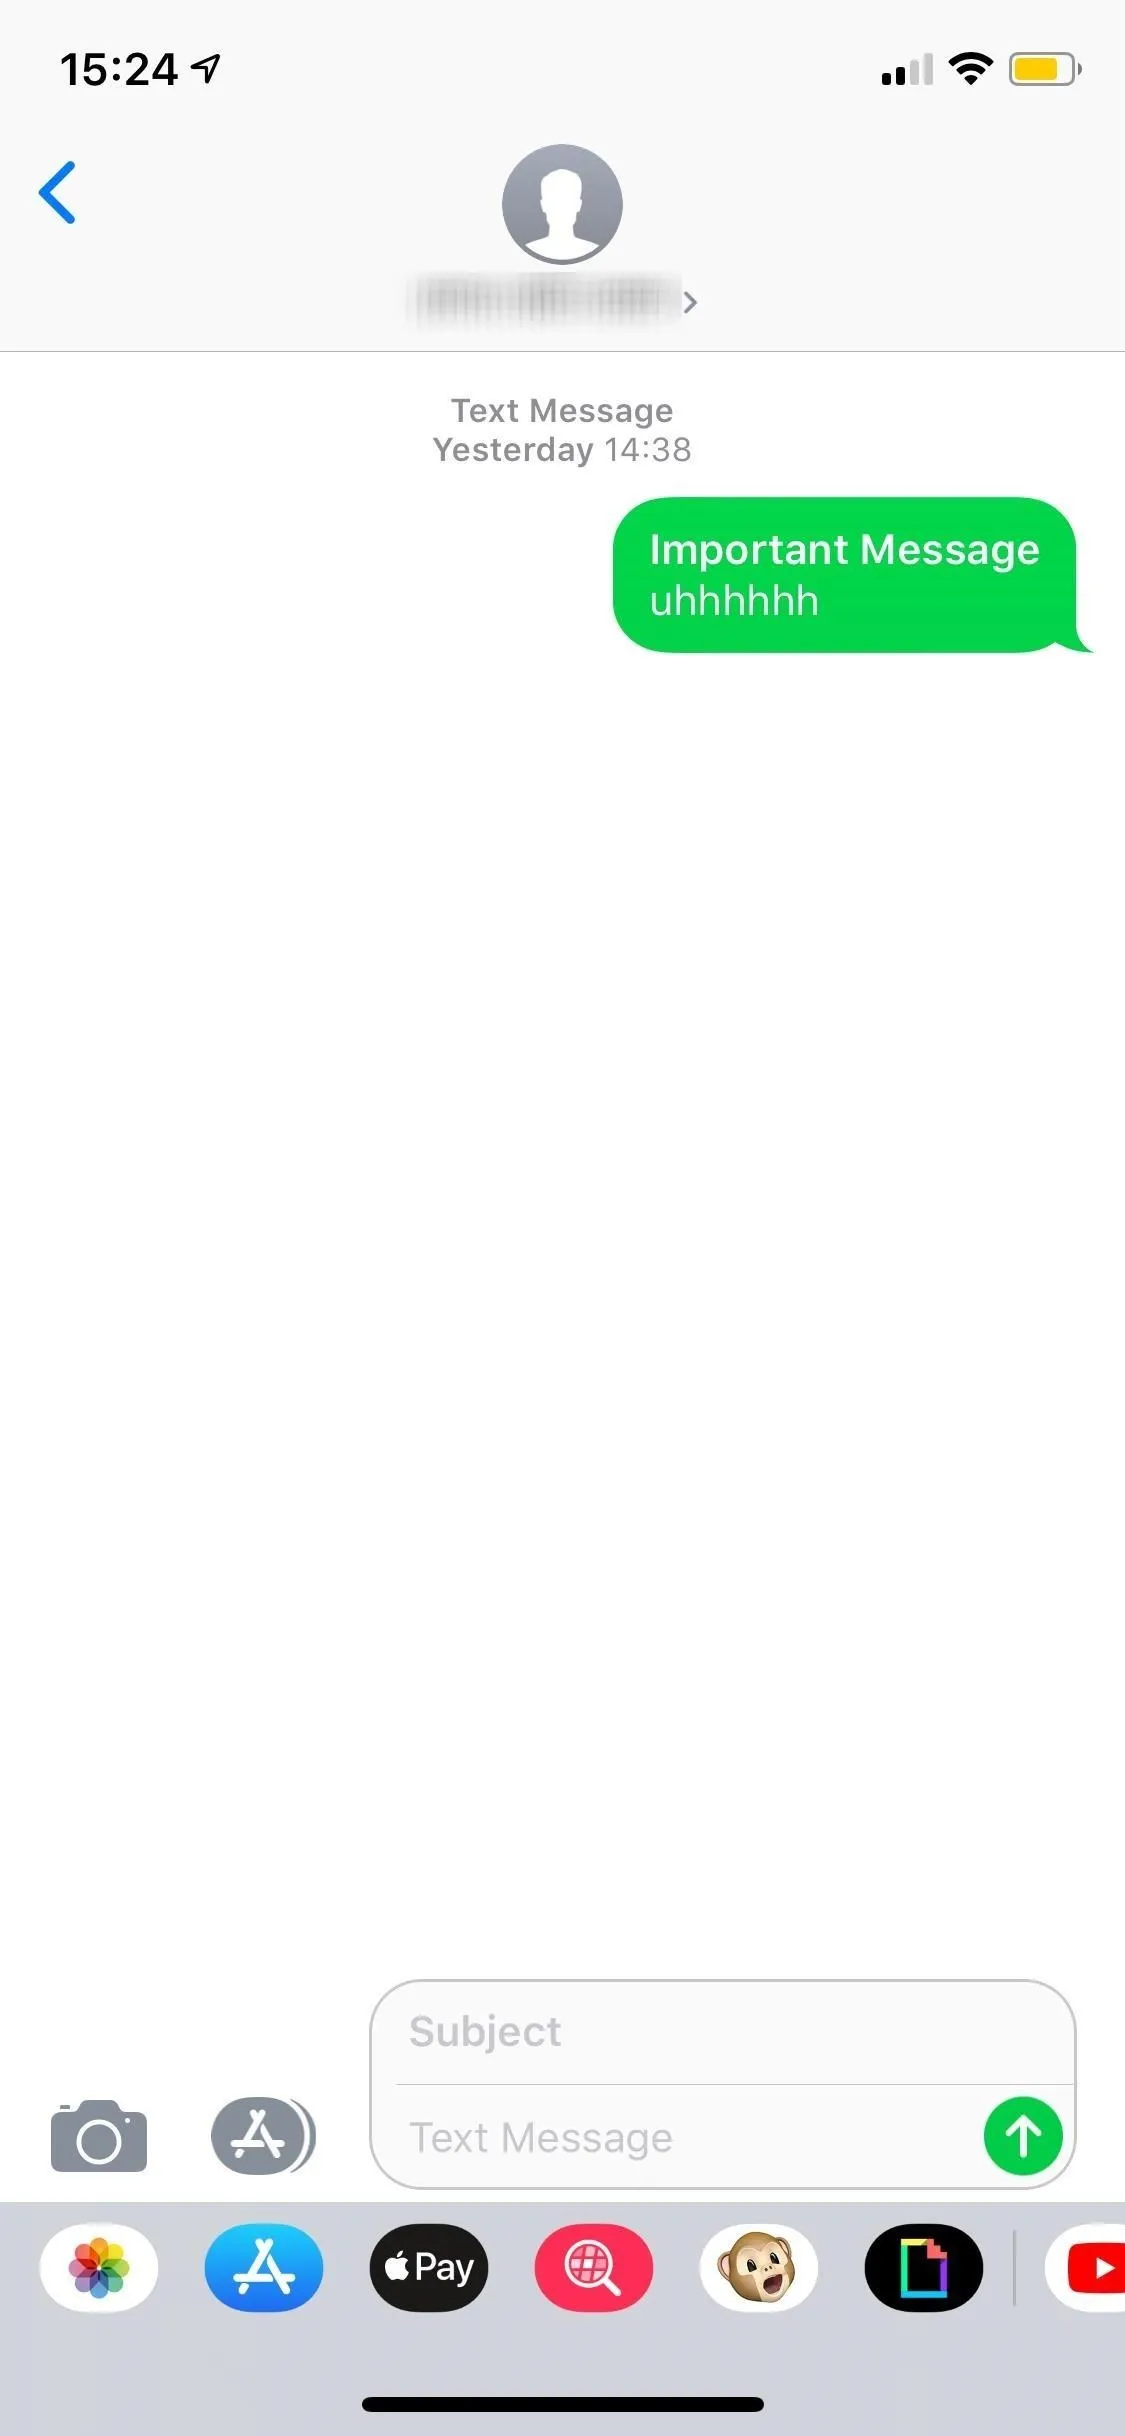
Back in the Messages app, you'll see a new "Subject" field right above the regular text field in all conversation threads. Anything you write in that subject field will appear in bold in your messages and in the messages of the person receiving your texts. Bold text is probably the biggest reason to do this, though you can make text bold and change fonts in third-party keyboards if you want.
However, keep in mind that if you want to make the whole message bold, i.e., only use the "Subject" field for the message and not the "iMessage" or "Text Message" field, then the subject will act like a normal message and nothing will be bolded.

Below are two examples, one showing what it looks like on your end in an iMessage thread and one in an SMS thread. As you can see, both subjects lines are indeed bold. There doesn't seem to be a limit on how many characters can be in the subject line, so you can make them as short or long as you want.



Below are a few screenshots of what the subject line from an iPhone looks like on a recipients iPhone (left) as well as an Android phone (right).




The subject line will only appear in the Messages application when enabled, not anywhere else on your iPhone. That means the subject line won't appear in notifications, in Spotlight search, and so on. On Android, the recipient's messages inbox page may show the whole messages as bold, which is common to show it hasn't been read.

Remove Subject Line in Messages App
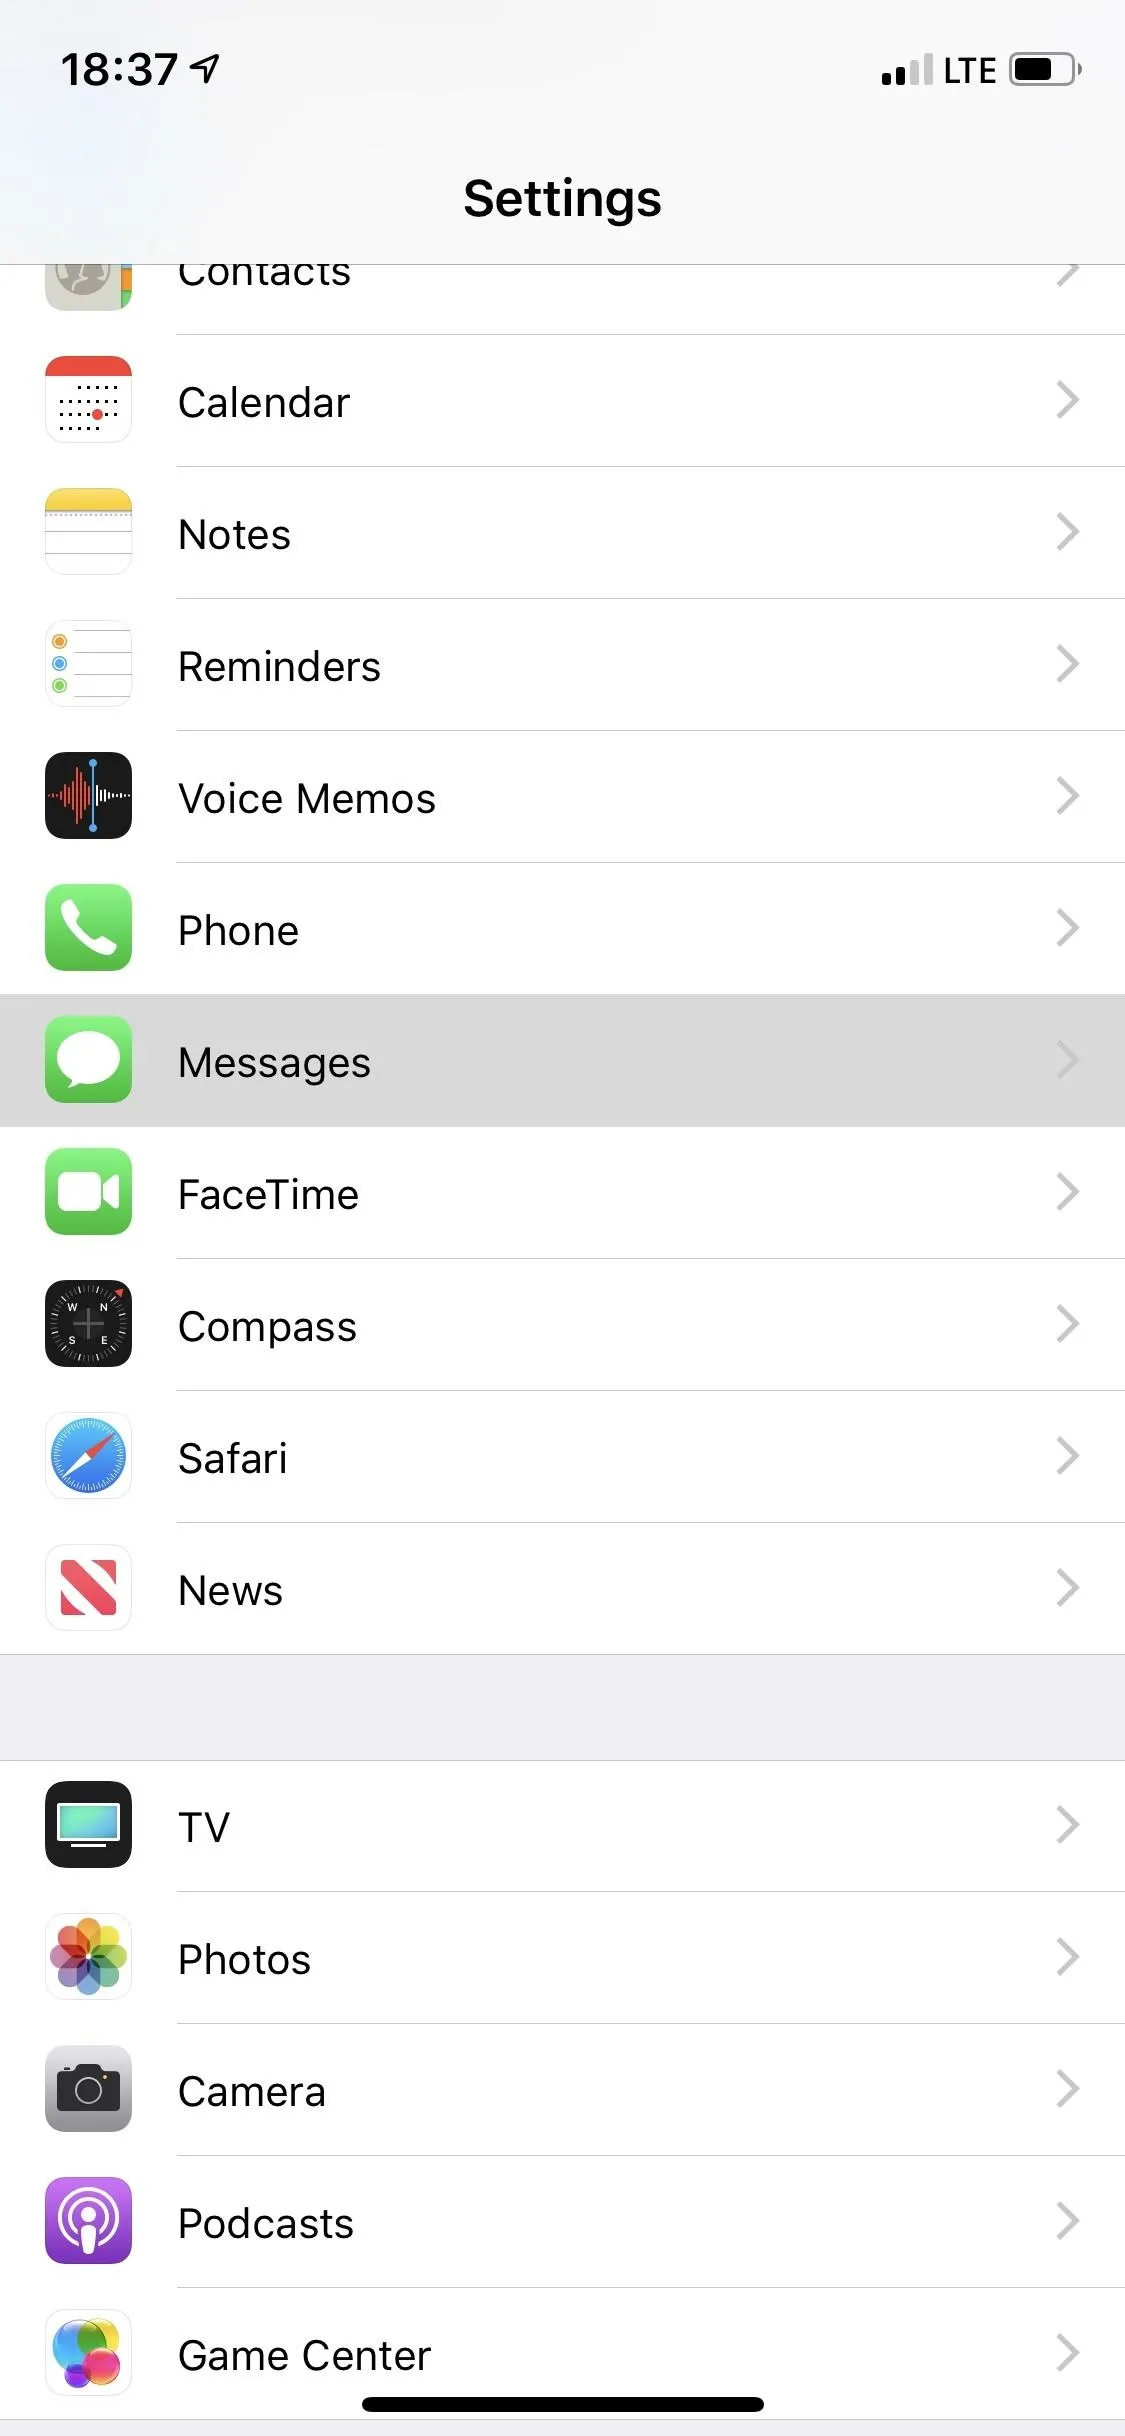
The subject line in Messages isn't for everyone, and even though you could leave the subject field blank, it can quickly get annoying if you're not using it often. Luckily, removing the feature is just as easy as enabling it. Go into the Settings app, tap "Messages," then toggle off "Show Subject Field" (so that it's not green) to disable it.
Messages you've already sent with bold subject lines in your threads will still show up like that after disabling the feature. You just can't make any mod bold subject lines until you turn it back on.


This article was produced during Gadget Hacks' special coverage on texting, instant messaging, calling, and audio/video chatting with your smartphone. Check out the whole Chat series.
Cover photo and screenshots by Nelson Aguilar/Gadget Hacks


Comments
Be the first, drop a comment!