Music streaming services like Apple Music, Spotify, and YouTube Music make it easy to find and play your favorite artists and albums on your iPhone — but they cost upward of $14.99 per month. If you're more into listening to downloaded music, a shortcut can help you find free music online that you can get and playback in almost any media player of your choosing.
Music Downloader, an iOS shortcut, searches online databases such as YouTube to find the music you're looking for. From there, you can play the track, share it, and save it for offline use. While you can't save downloaded tracks right to the Music app on your iPhone, many file storage apps and media players will work, some of which can also use your Music library, so you may not even need Music anymore.
- Don't Miss: This Shortcut Lets You Download YouTube Videos
The shortcut works in conjunction with another app to do this, and if you chose to save the song, it'll be kept at 128 kbps and will feature metadata like the album name and artwork. It's not the best quality, but that's okay if you're trying to find mostly public domain tracks, which we suggest you stick to. If you want anything else, it's better to buy the track to support the artist and label, and that will give you better quality files anyway. But when you need to listen to a song offline in a pinch, Music Downloader can help.
Add the 'Music Downloader' Shortcut
You can download the Music Downloader shortcut, by user @creepyeyesOO, from the shortcut's RoutineHub page or directly from the iCloud link.
- Music Downloader: Direct Link | RoutineHub Link
The RoutineHub will have more details, changelogs, and the most recent version of the tool; tap "Get Shortcut" from there to continue, which should open up the shortcut in the Shortcuts app. If you use the iCloud link, it should open in Shortcuts too, but you may also need to tap "Get Shortcut" if you end up in Safari. If you get an error in Shortcuts saying that you can't open it, visit Settings –> Shortcuts, then toggle on the "Allow Untrusted Shortcuts" switch and try again.
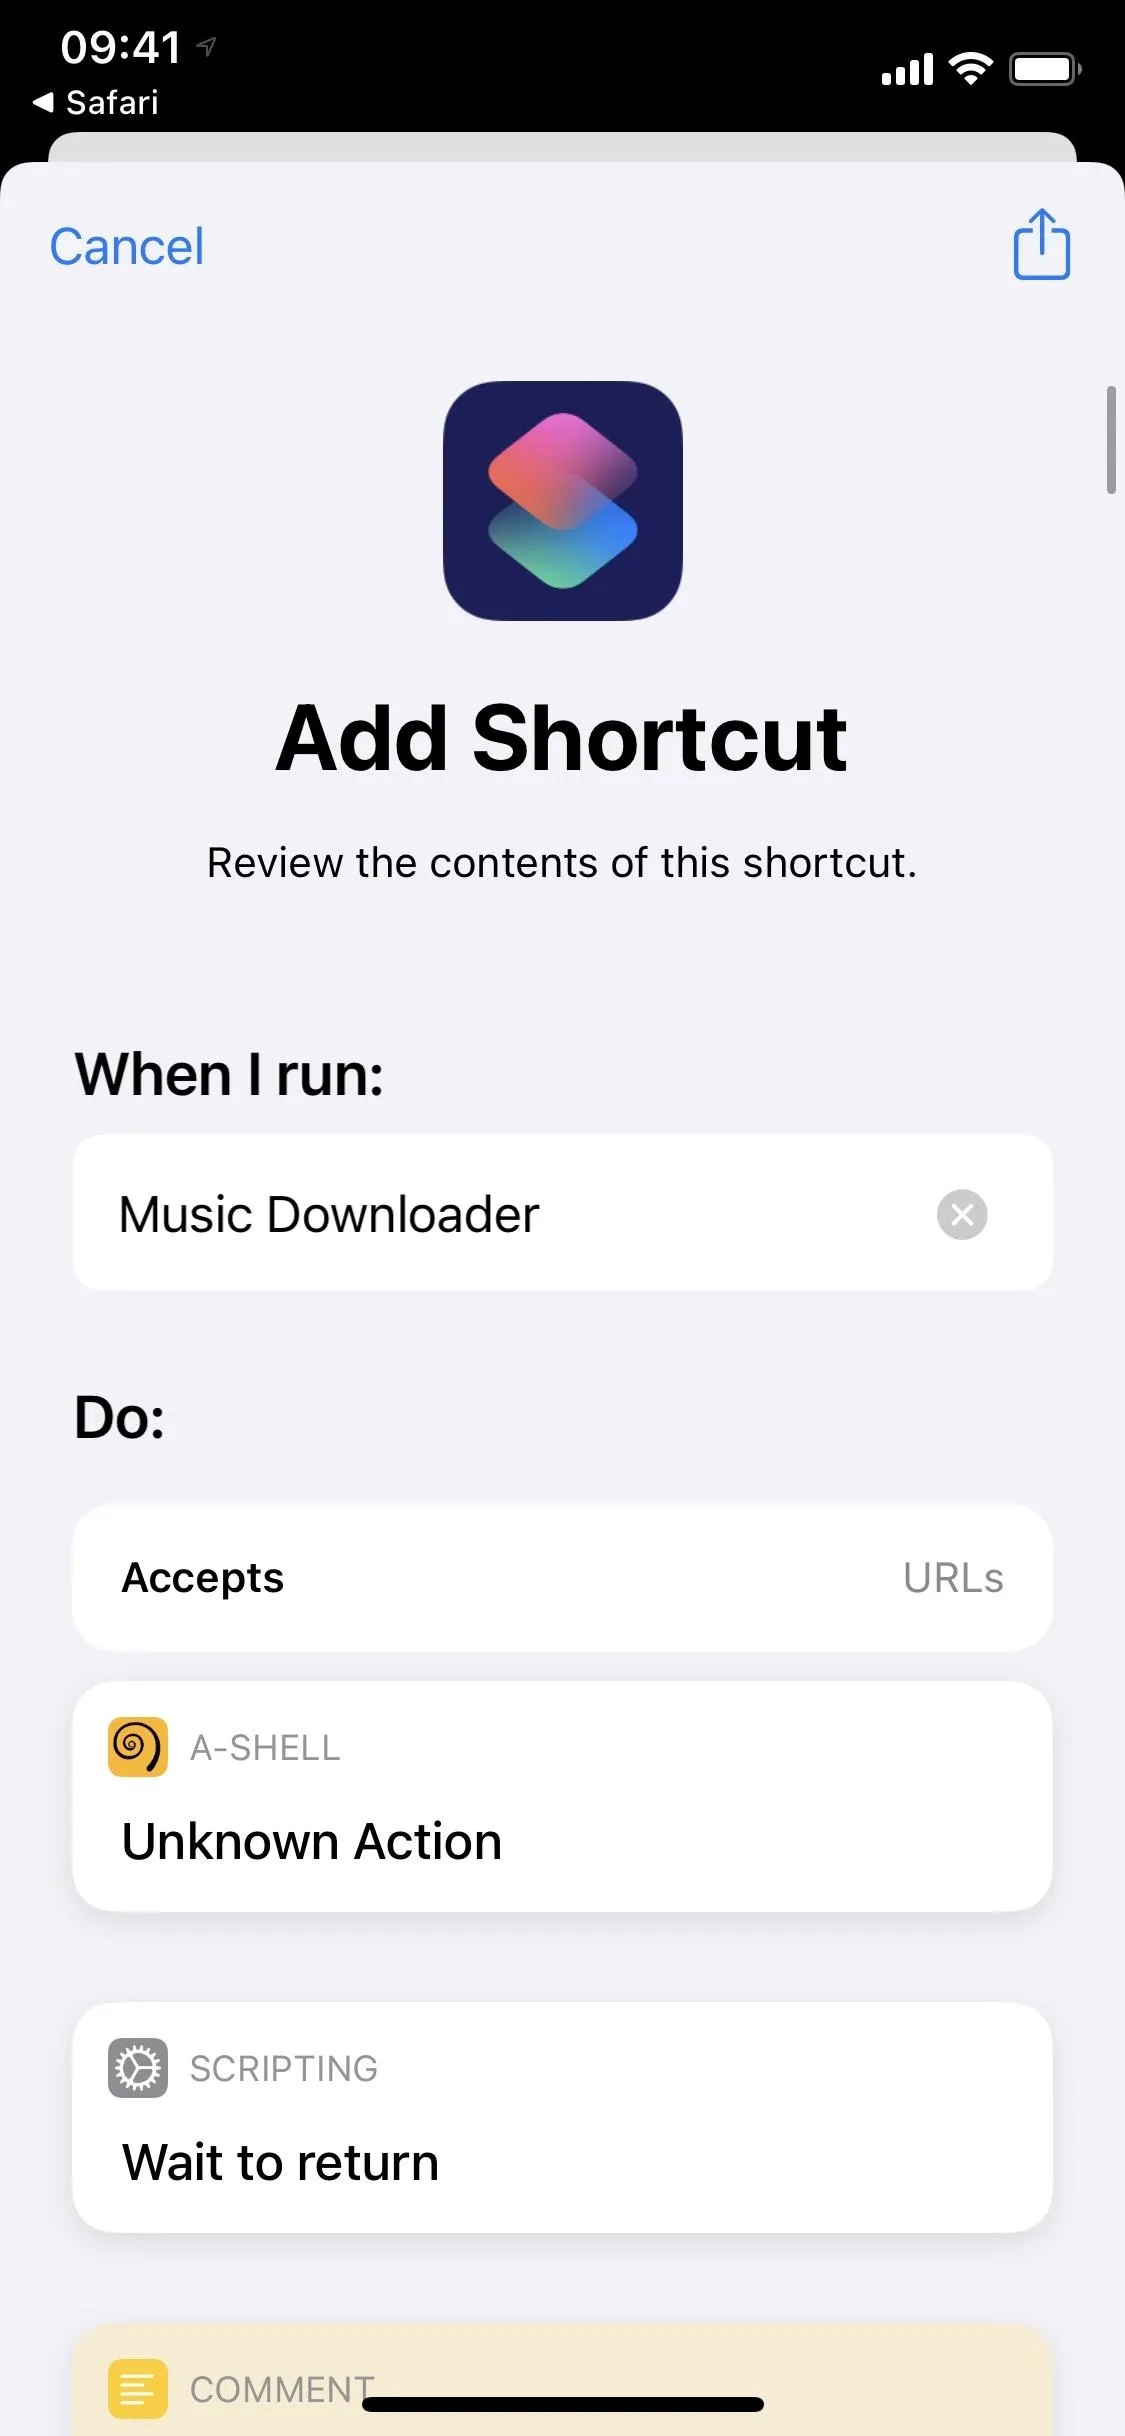
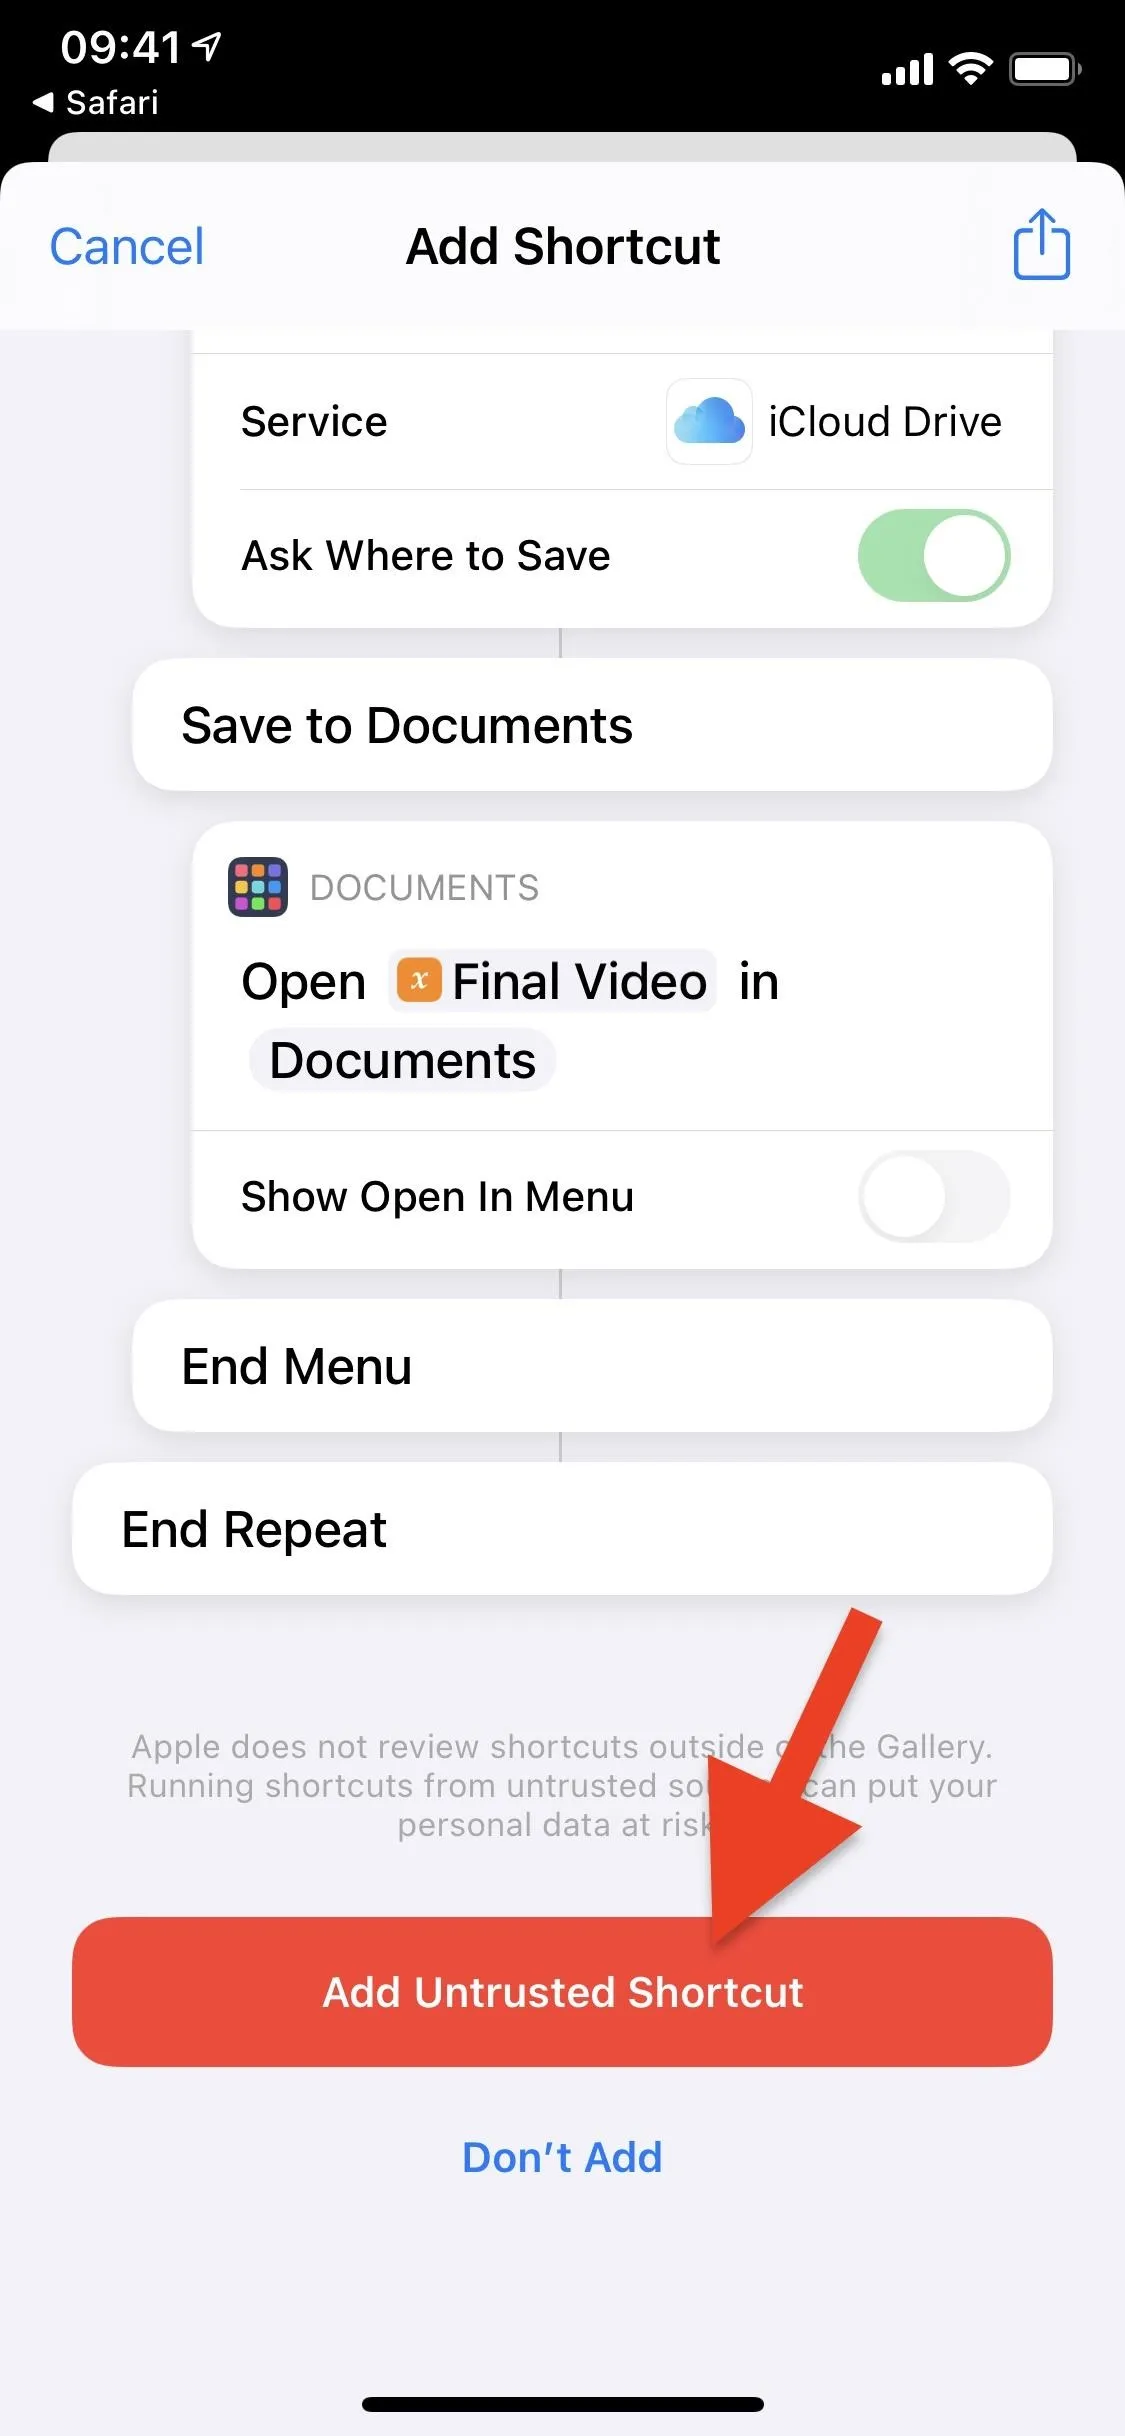
In the shortcut's preview page in Shortcuts, review the workflow if you'd like, to make sure you're comfortable with its contents and actions. Then, tap "Add Untrusted Shortcut" at the bottom to add it to your library.


Install the 'a-Shell' Terminal Emulator
Before you can successfully use the shortcut, you'll need to download a-Shell, a terminal emulator that allows you to run Unix commands on your iPhone. You can install it now from the link below, or you can use the shortcut to find and install it.
- App Store Link: a-Shell (free)
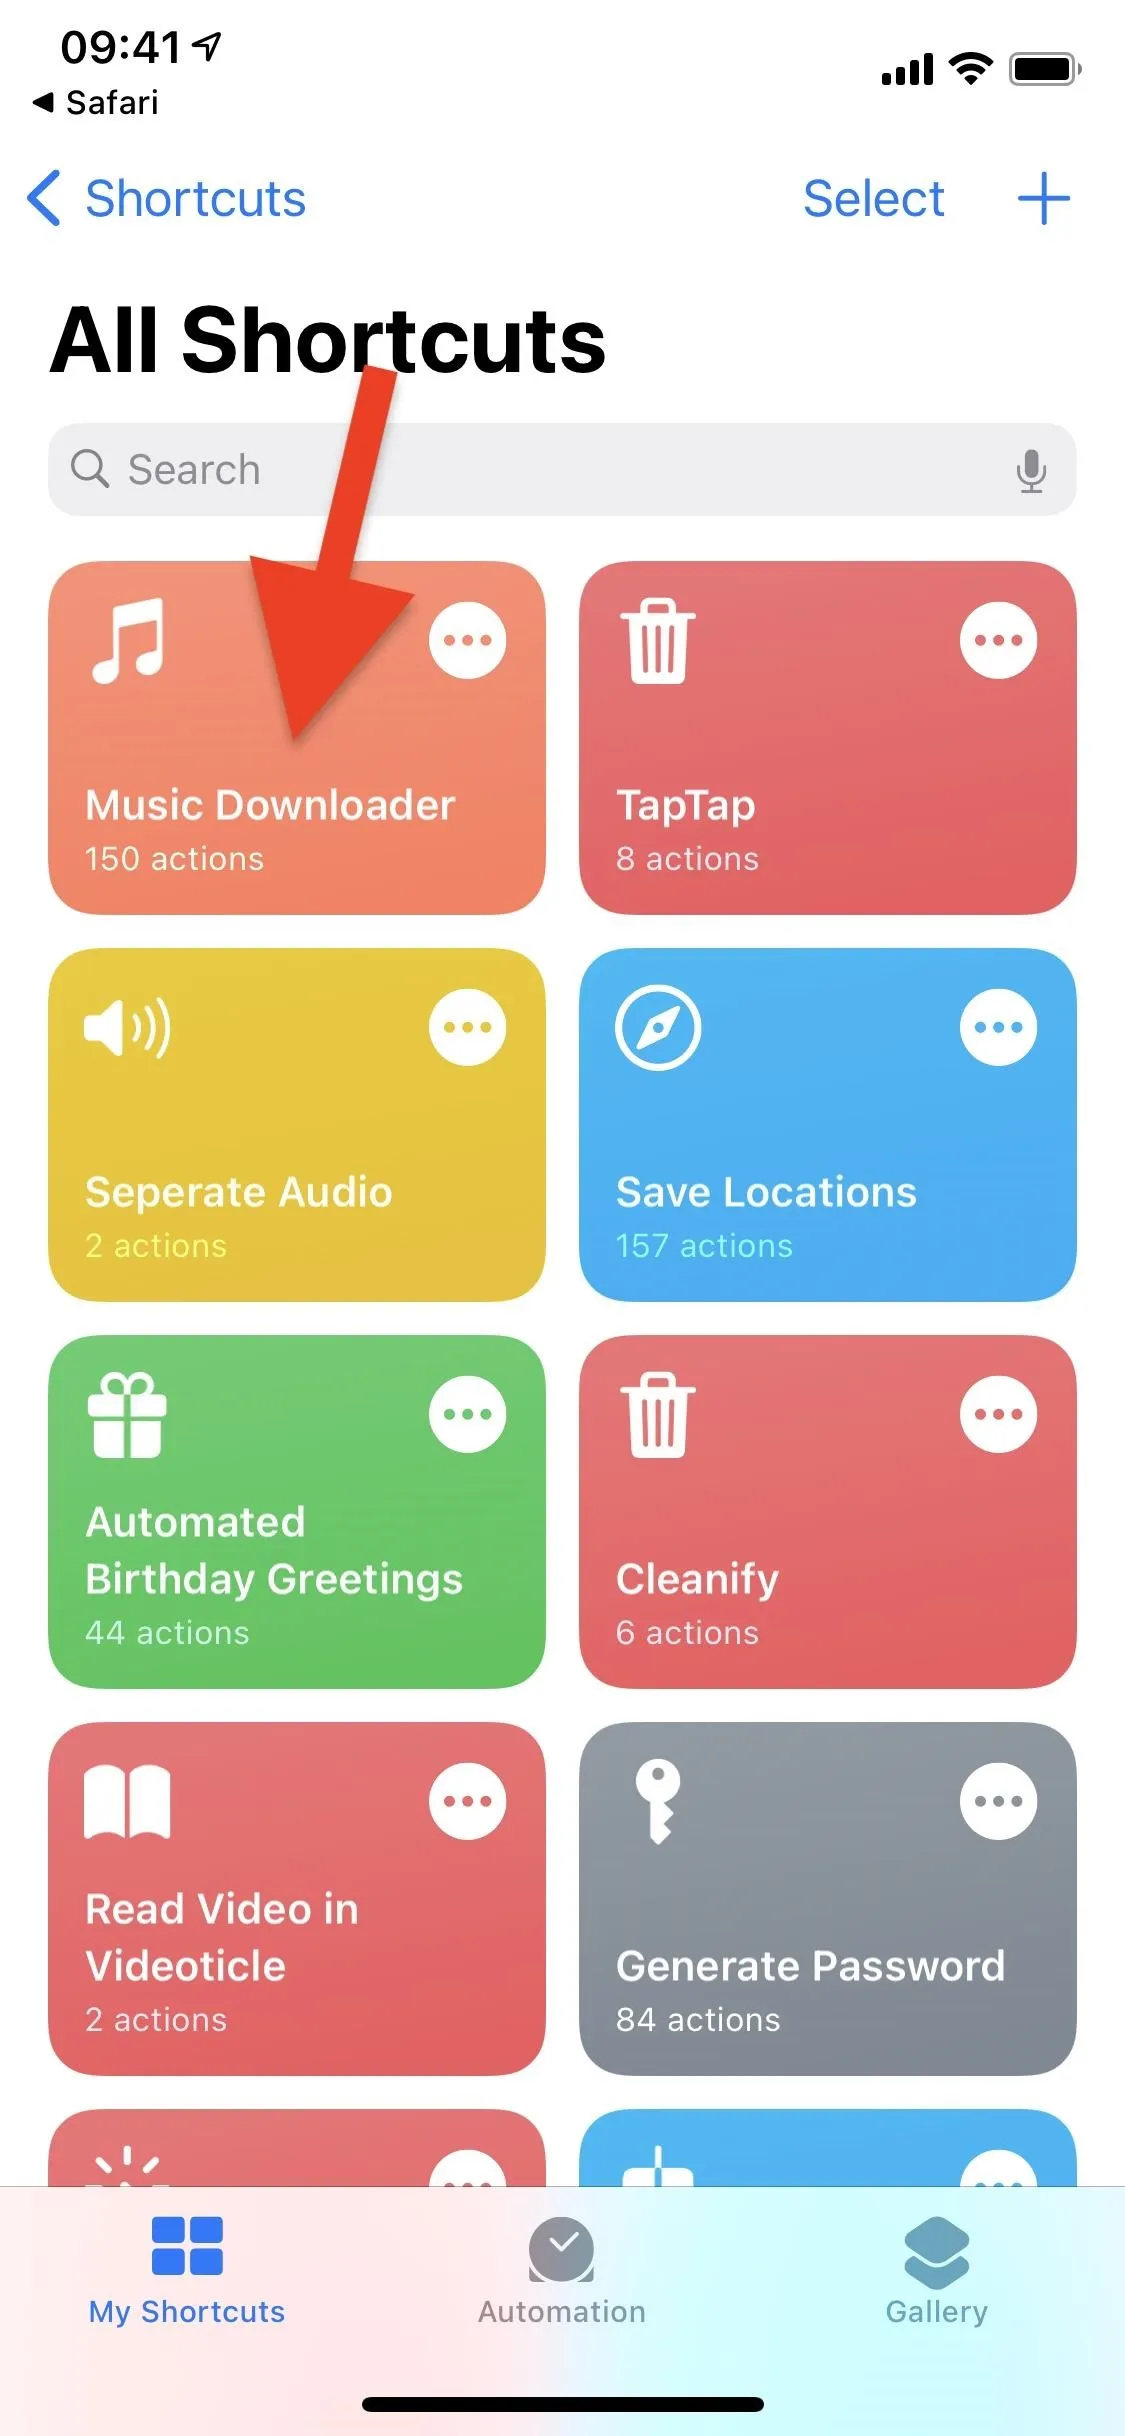
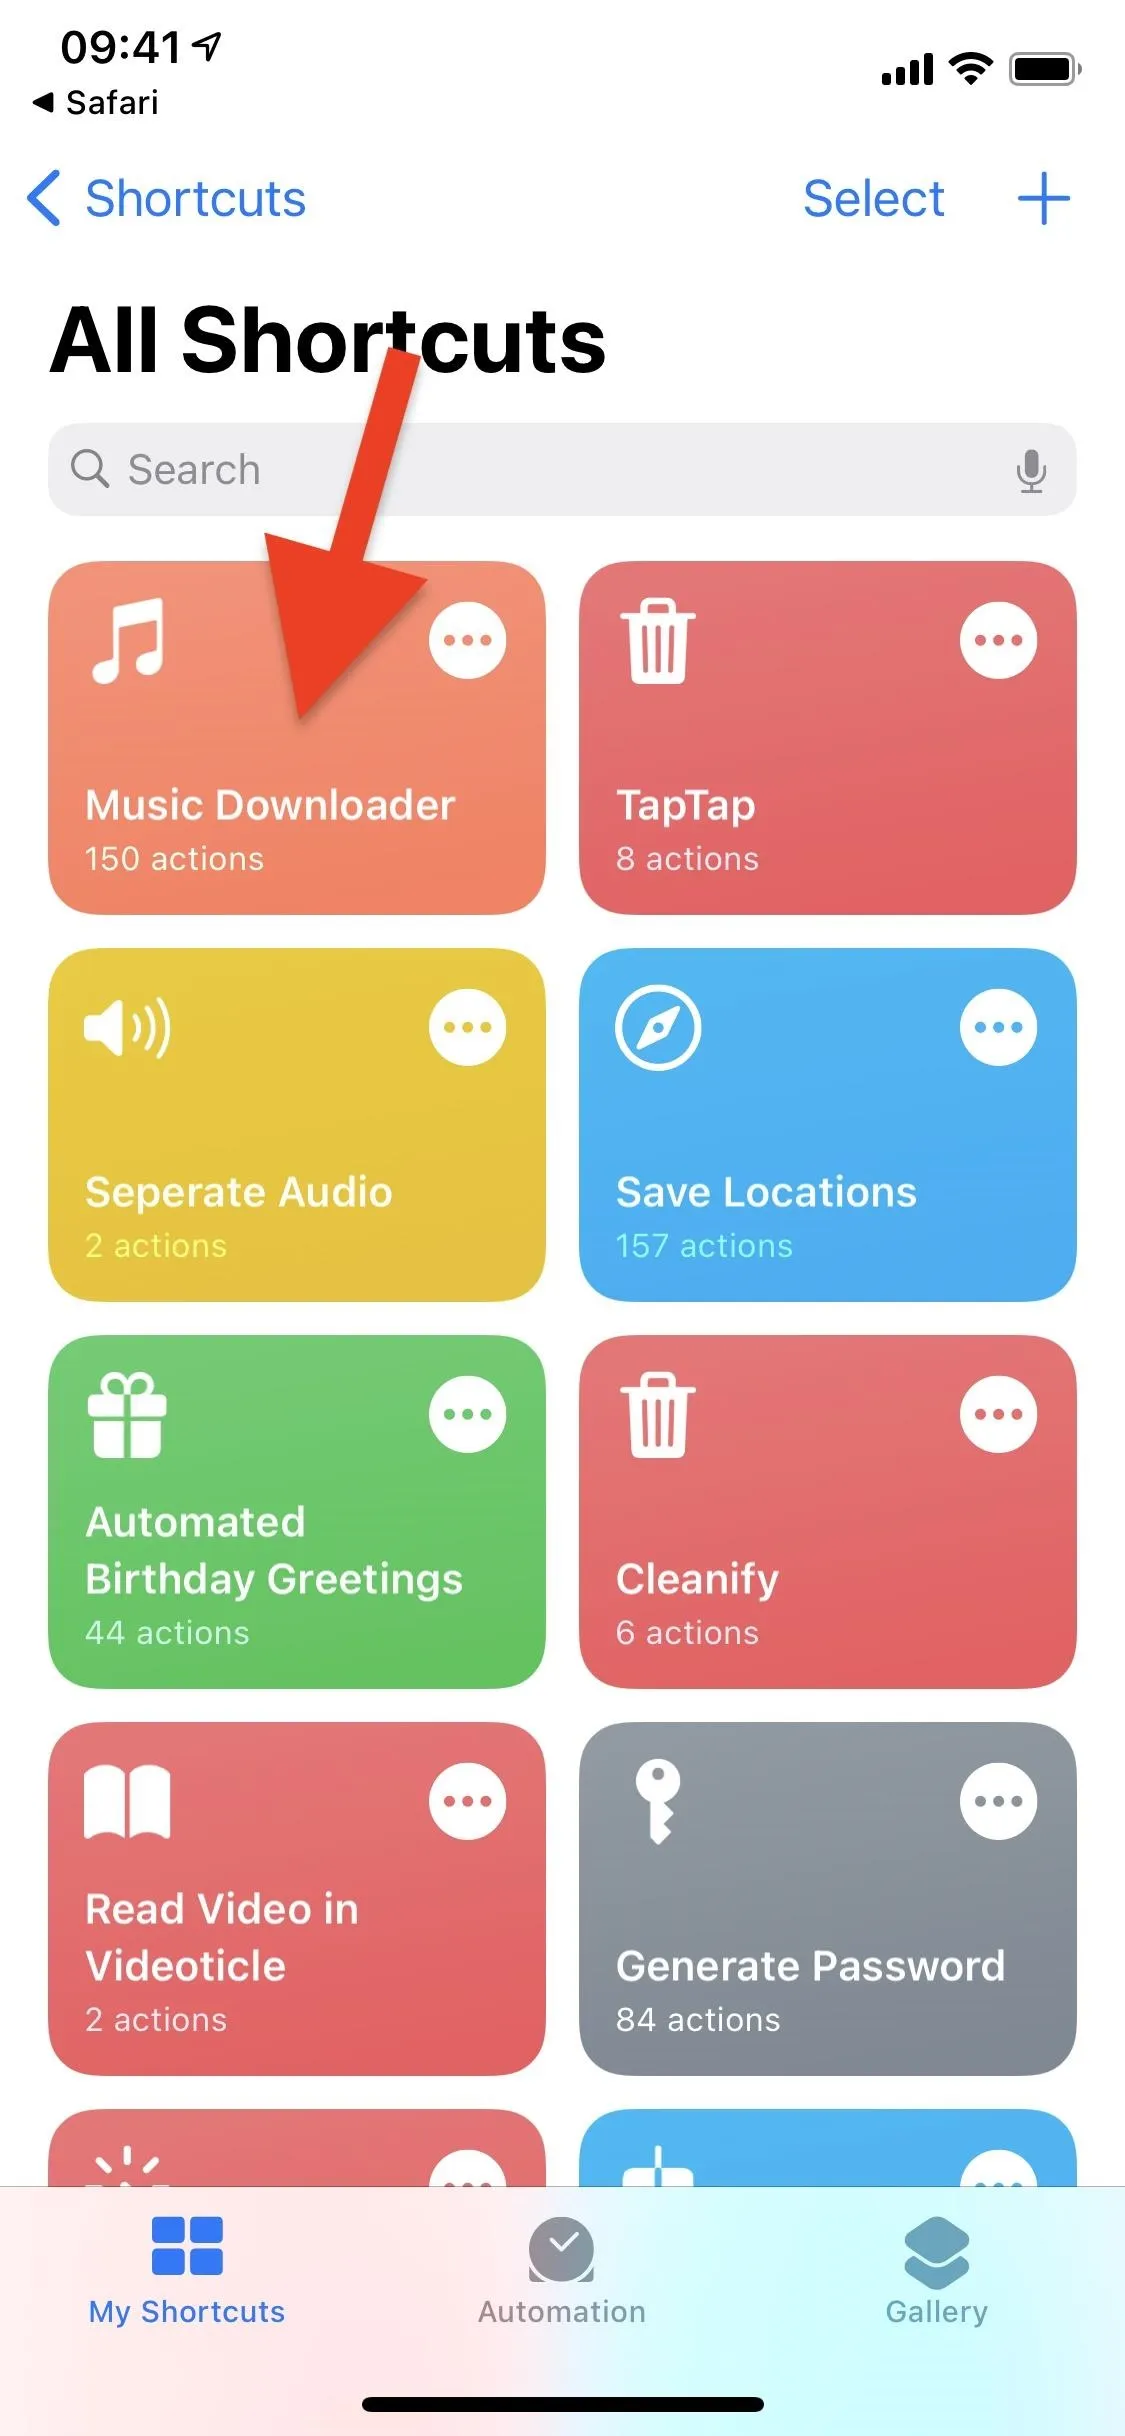
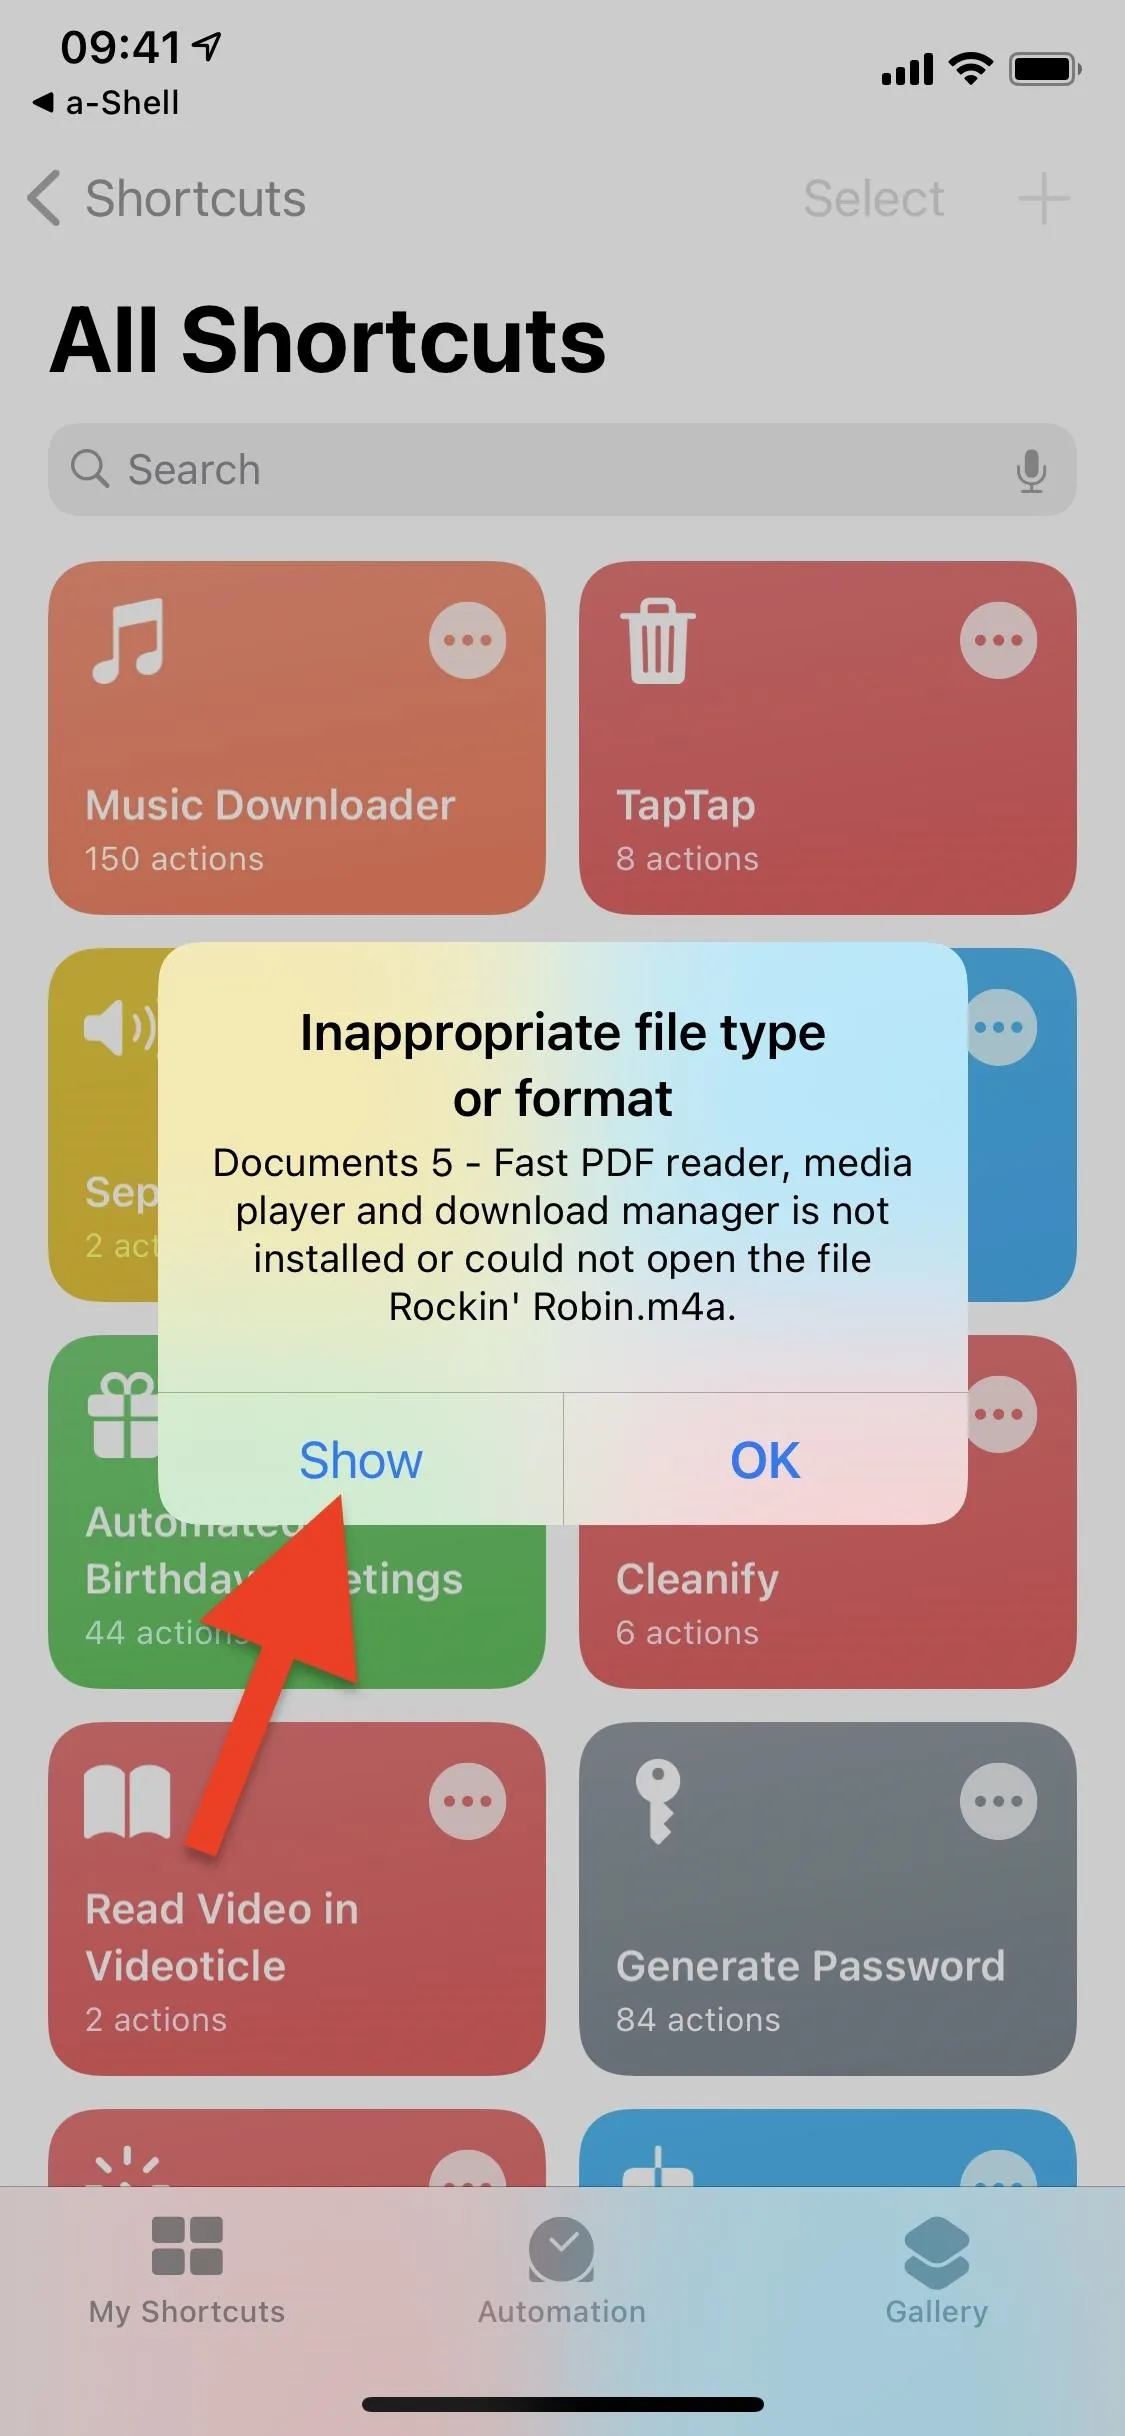
To get it using Shortcuts, tap on "Music Downloader" from the "My Shortcuts" tab. Because you have not yet installed a-Shell, the shortcut will not run, and a pop-up will appear. Tap on "Show."
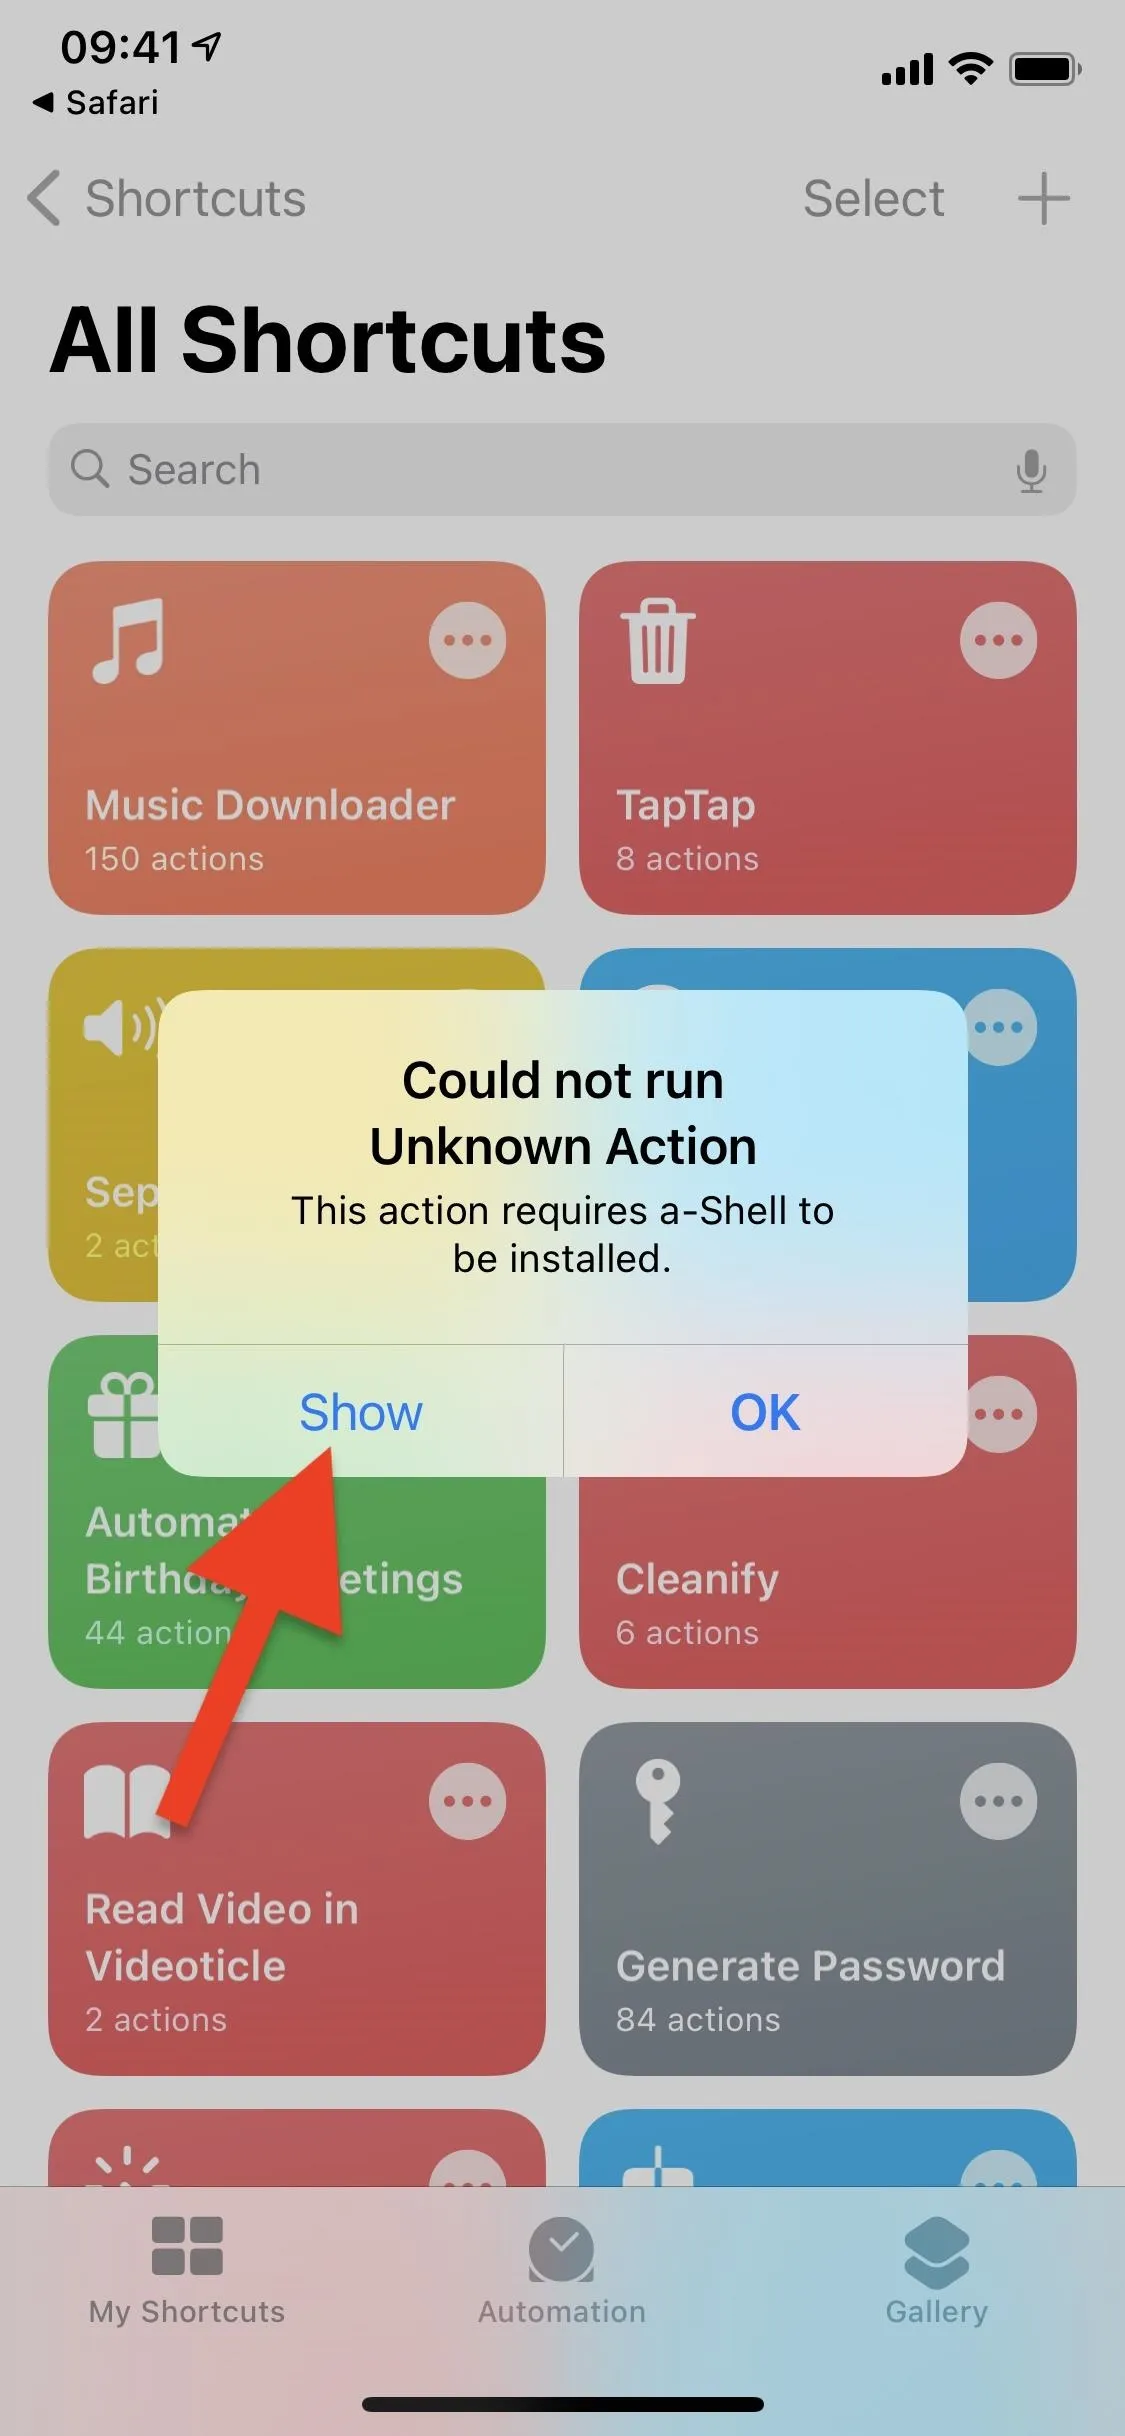


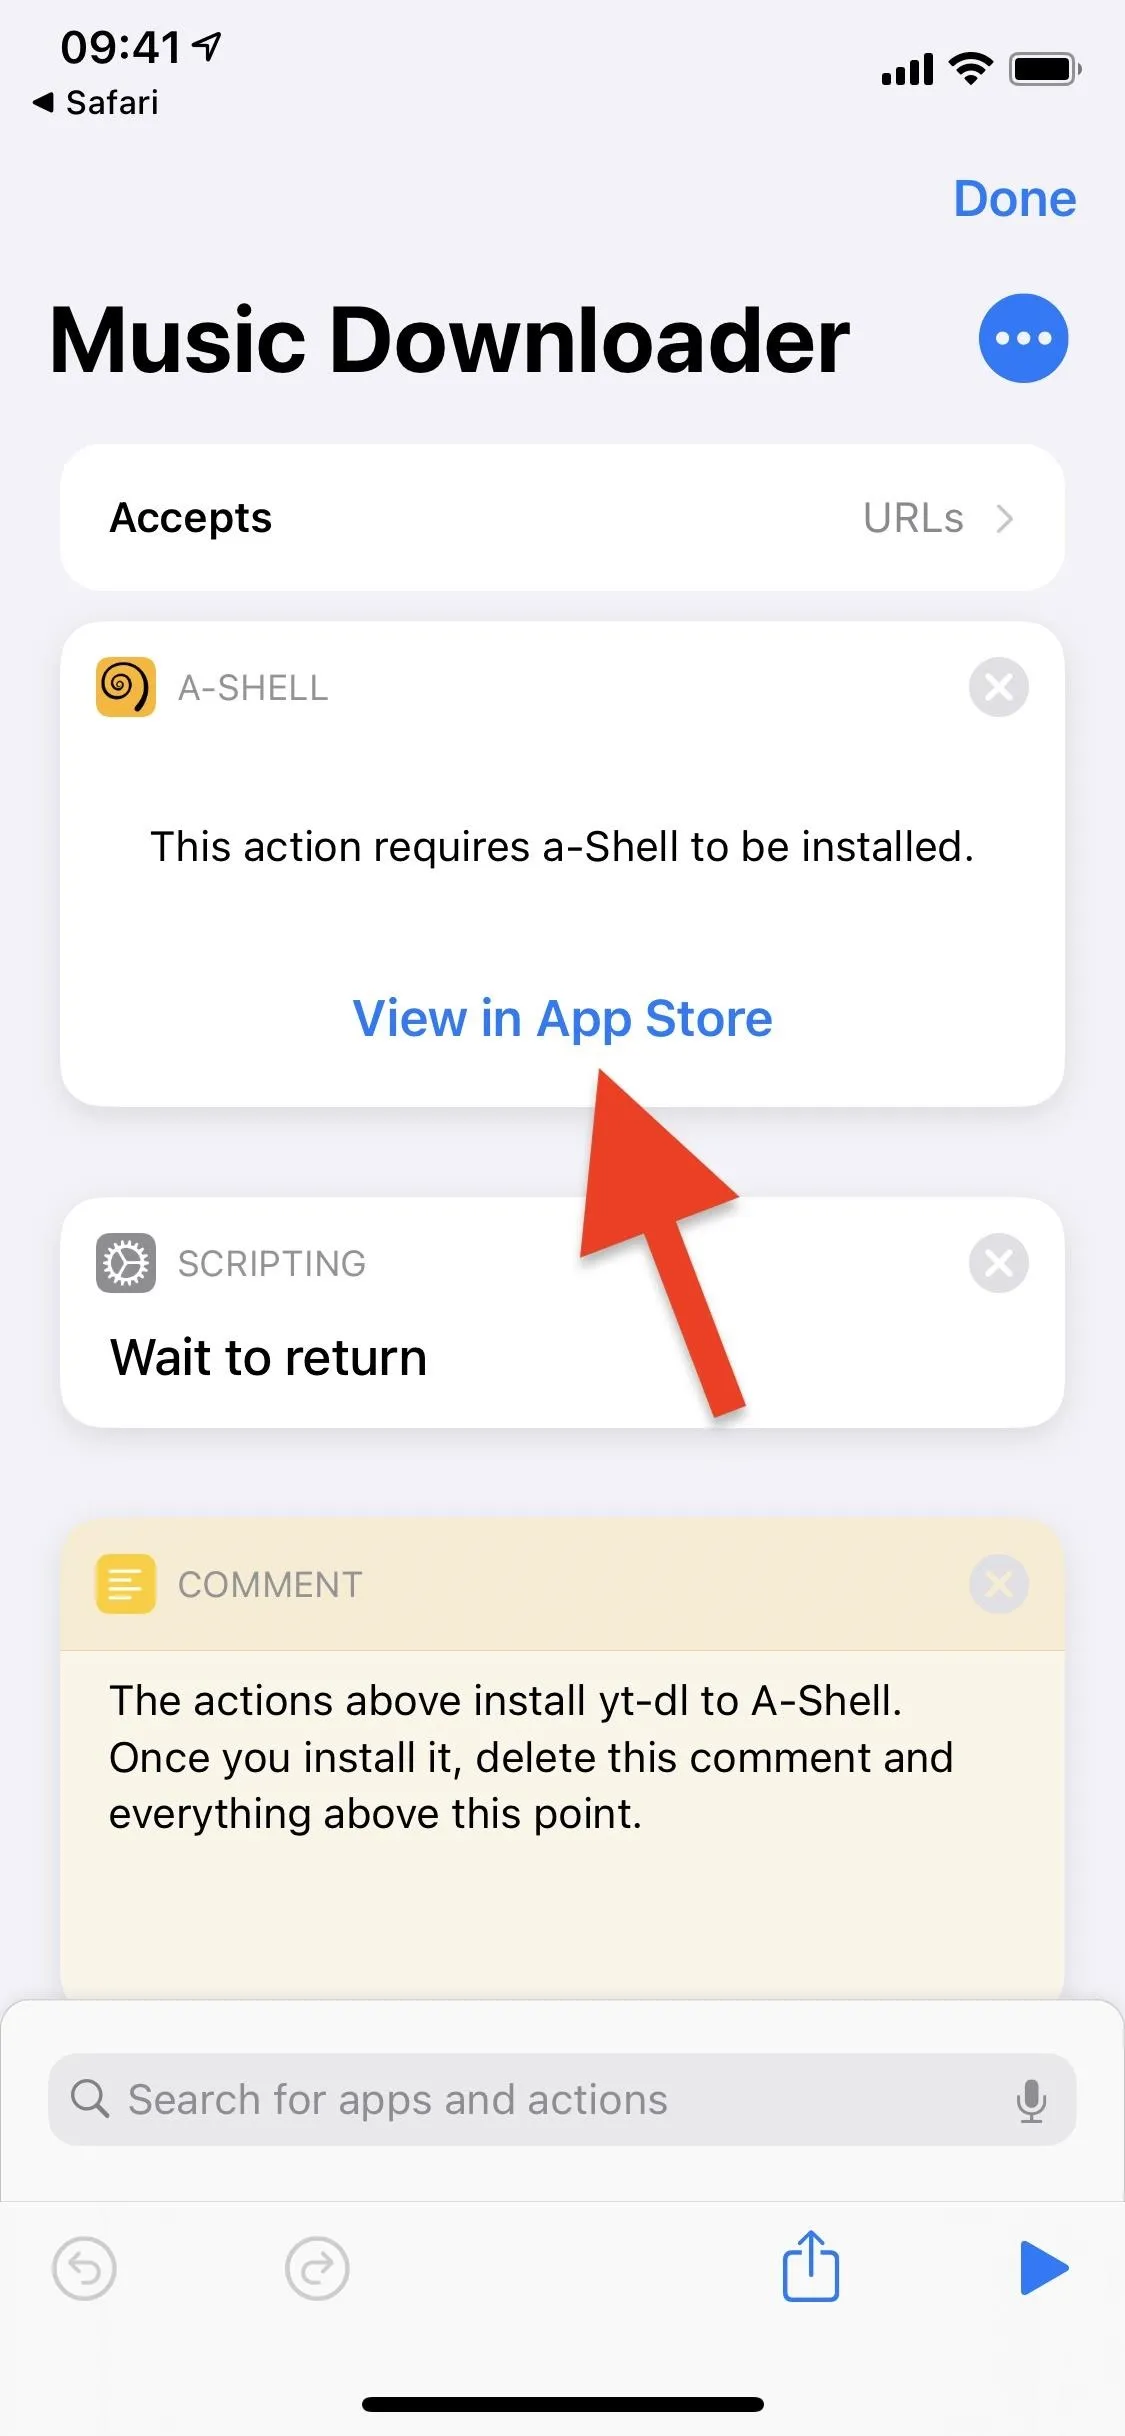
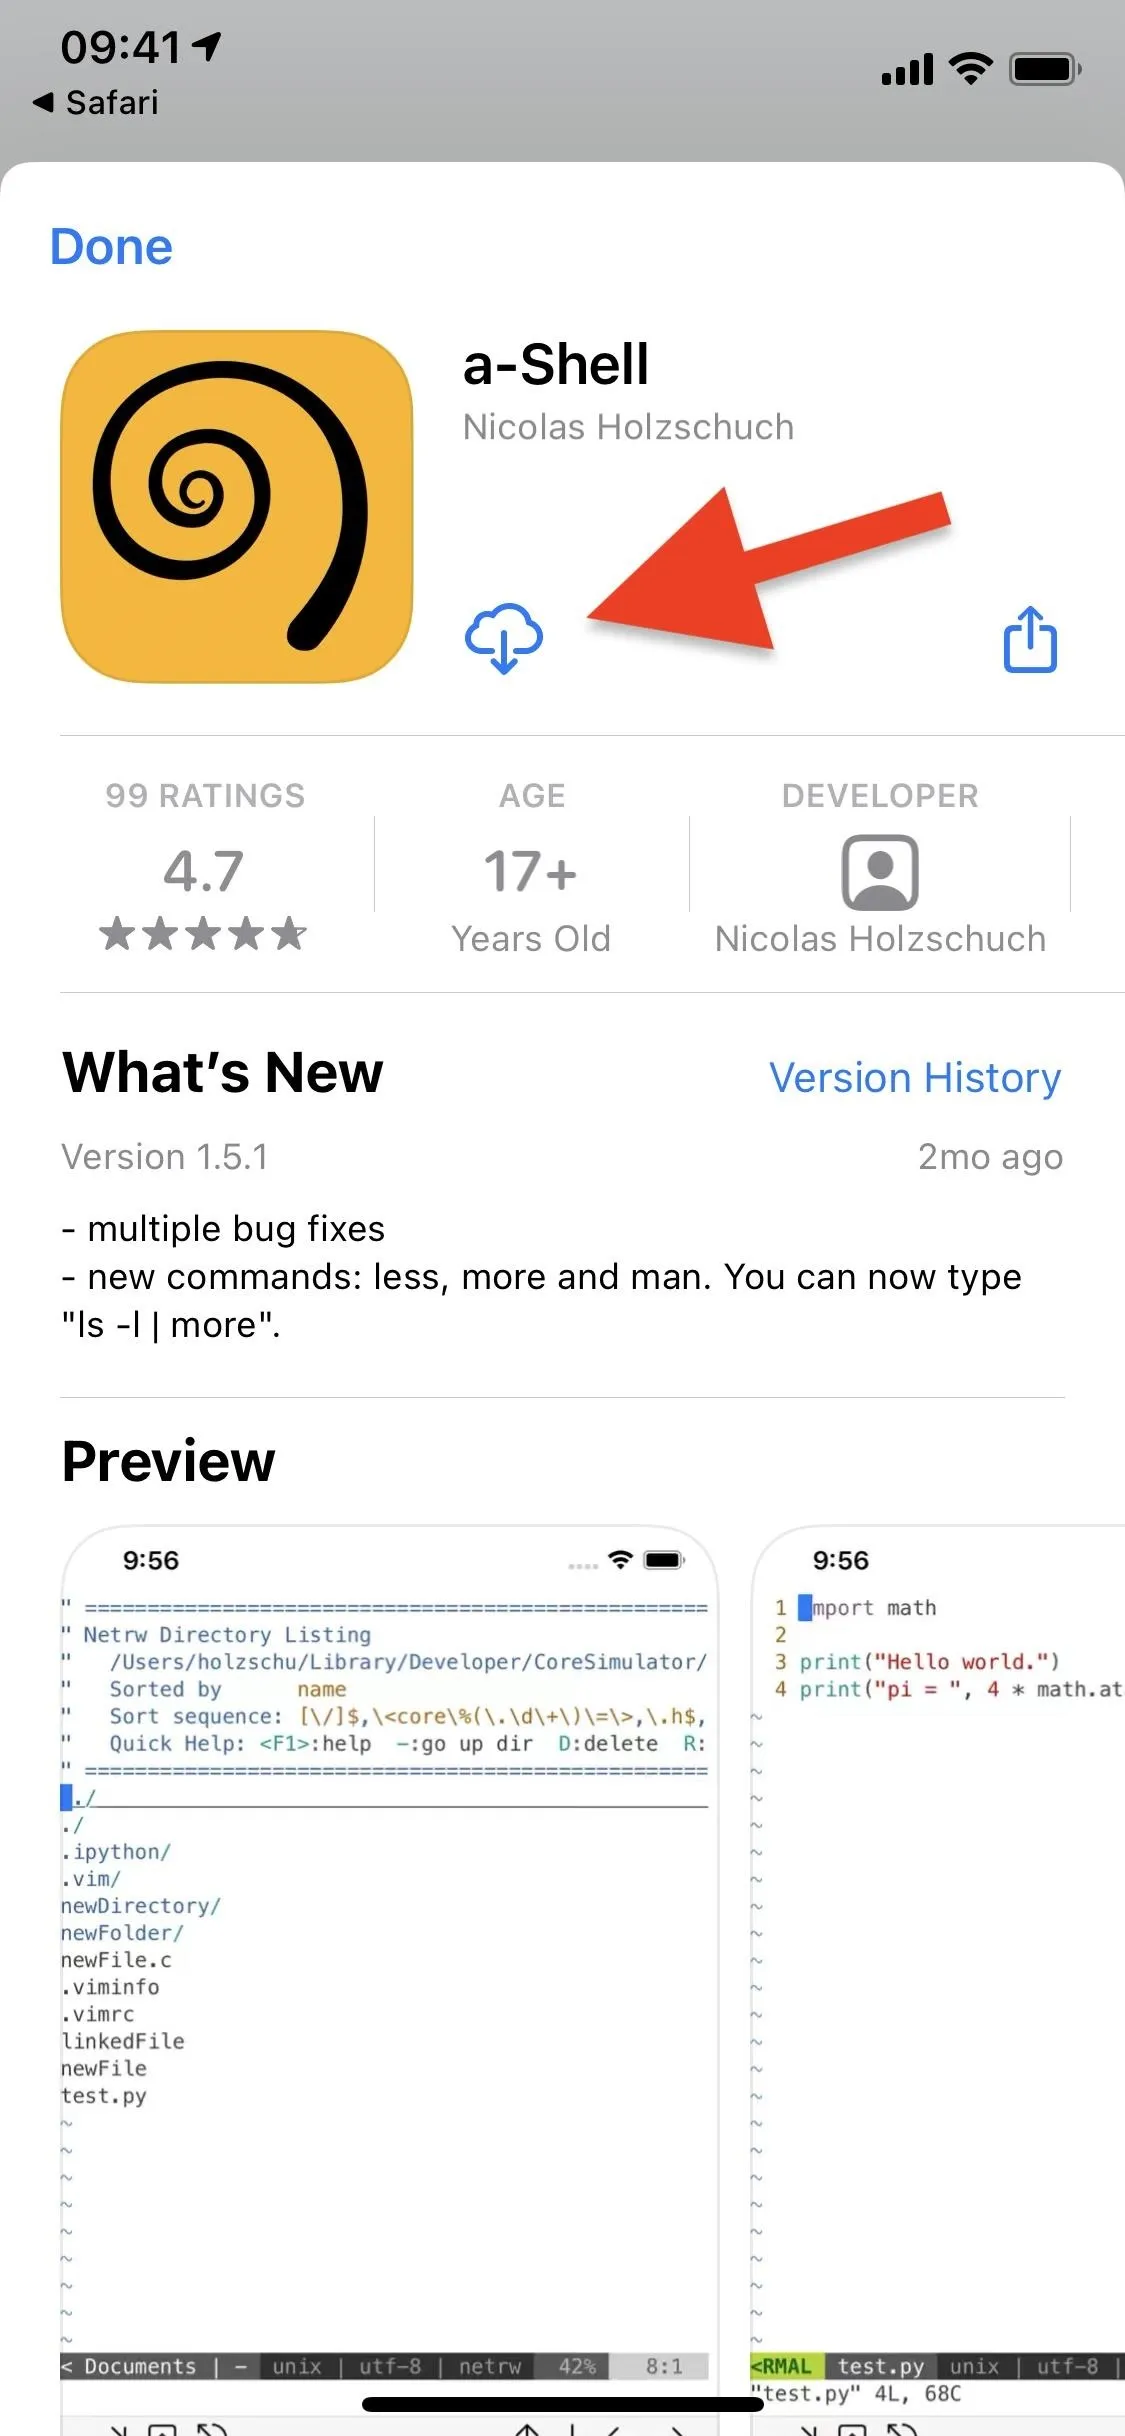
This will open the contents of the Music Downloader shortcut. Near the top, you'll see a window that says 'A-Shell" and asks that you download and install the app. Tap on "View in App Store," and from there, you'll be able to install it.


Configure the Shortcut
Now that both the Music Downloader shortcut and a-Shell app are on your device, you can begin to download music. Go back into Shortcuts and tap on the "Music Downloader" shortcut like before. If you get an error, force-close Shortcuts, and try again. It may take a bit of time for it to recognize that a-Shell has been installed, so don't give up.
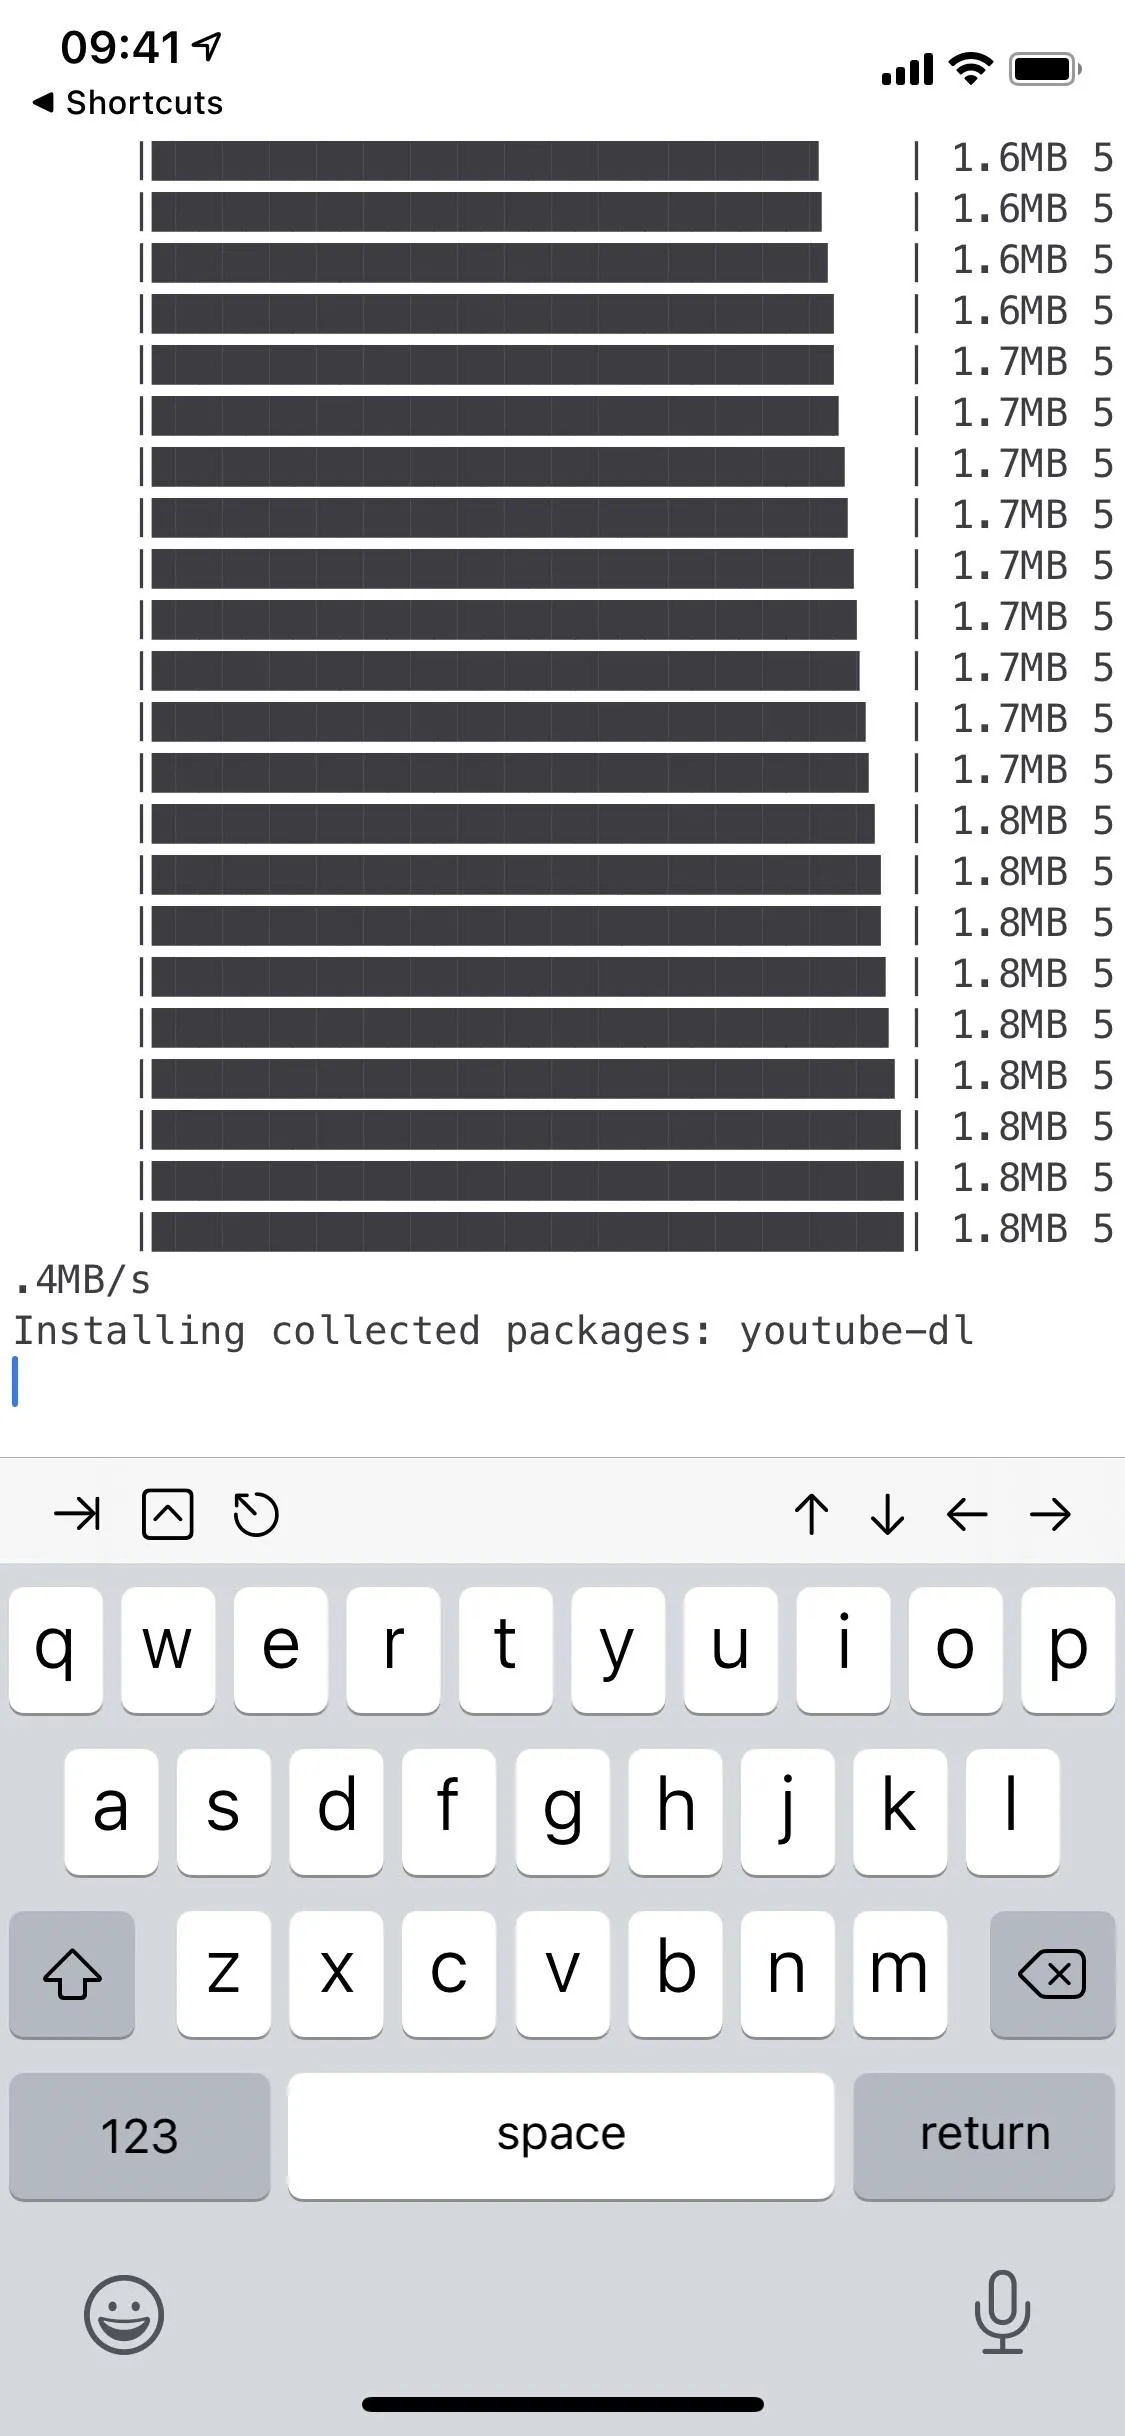
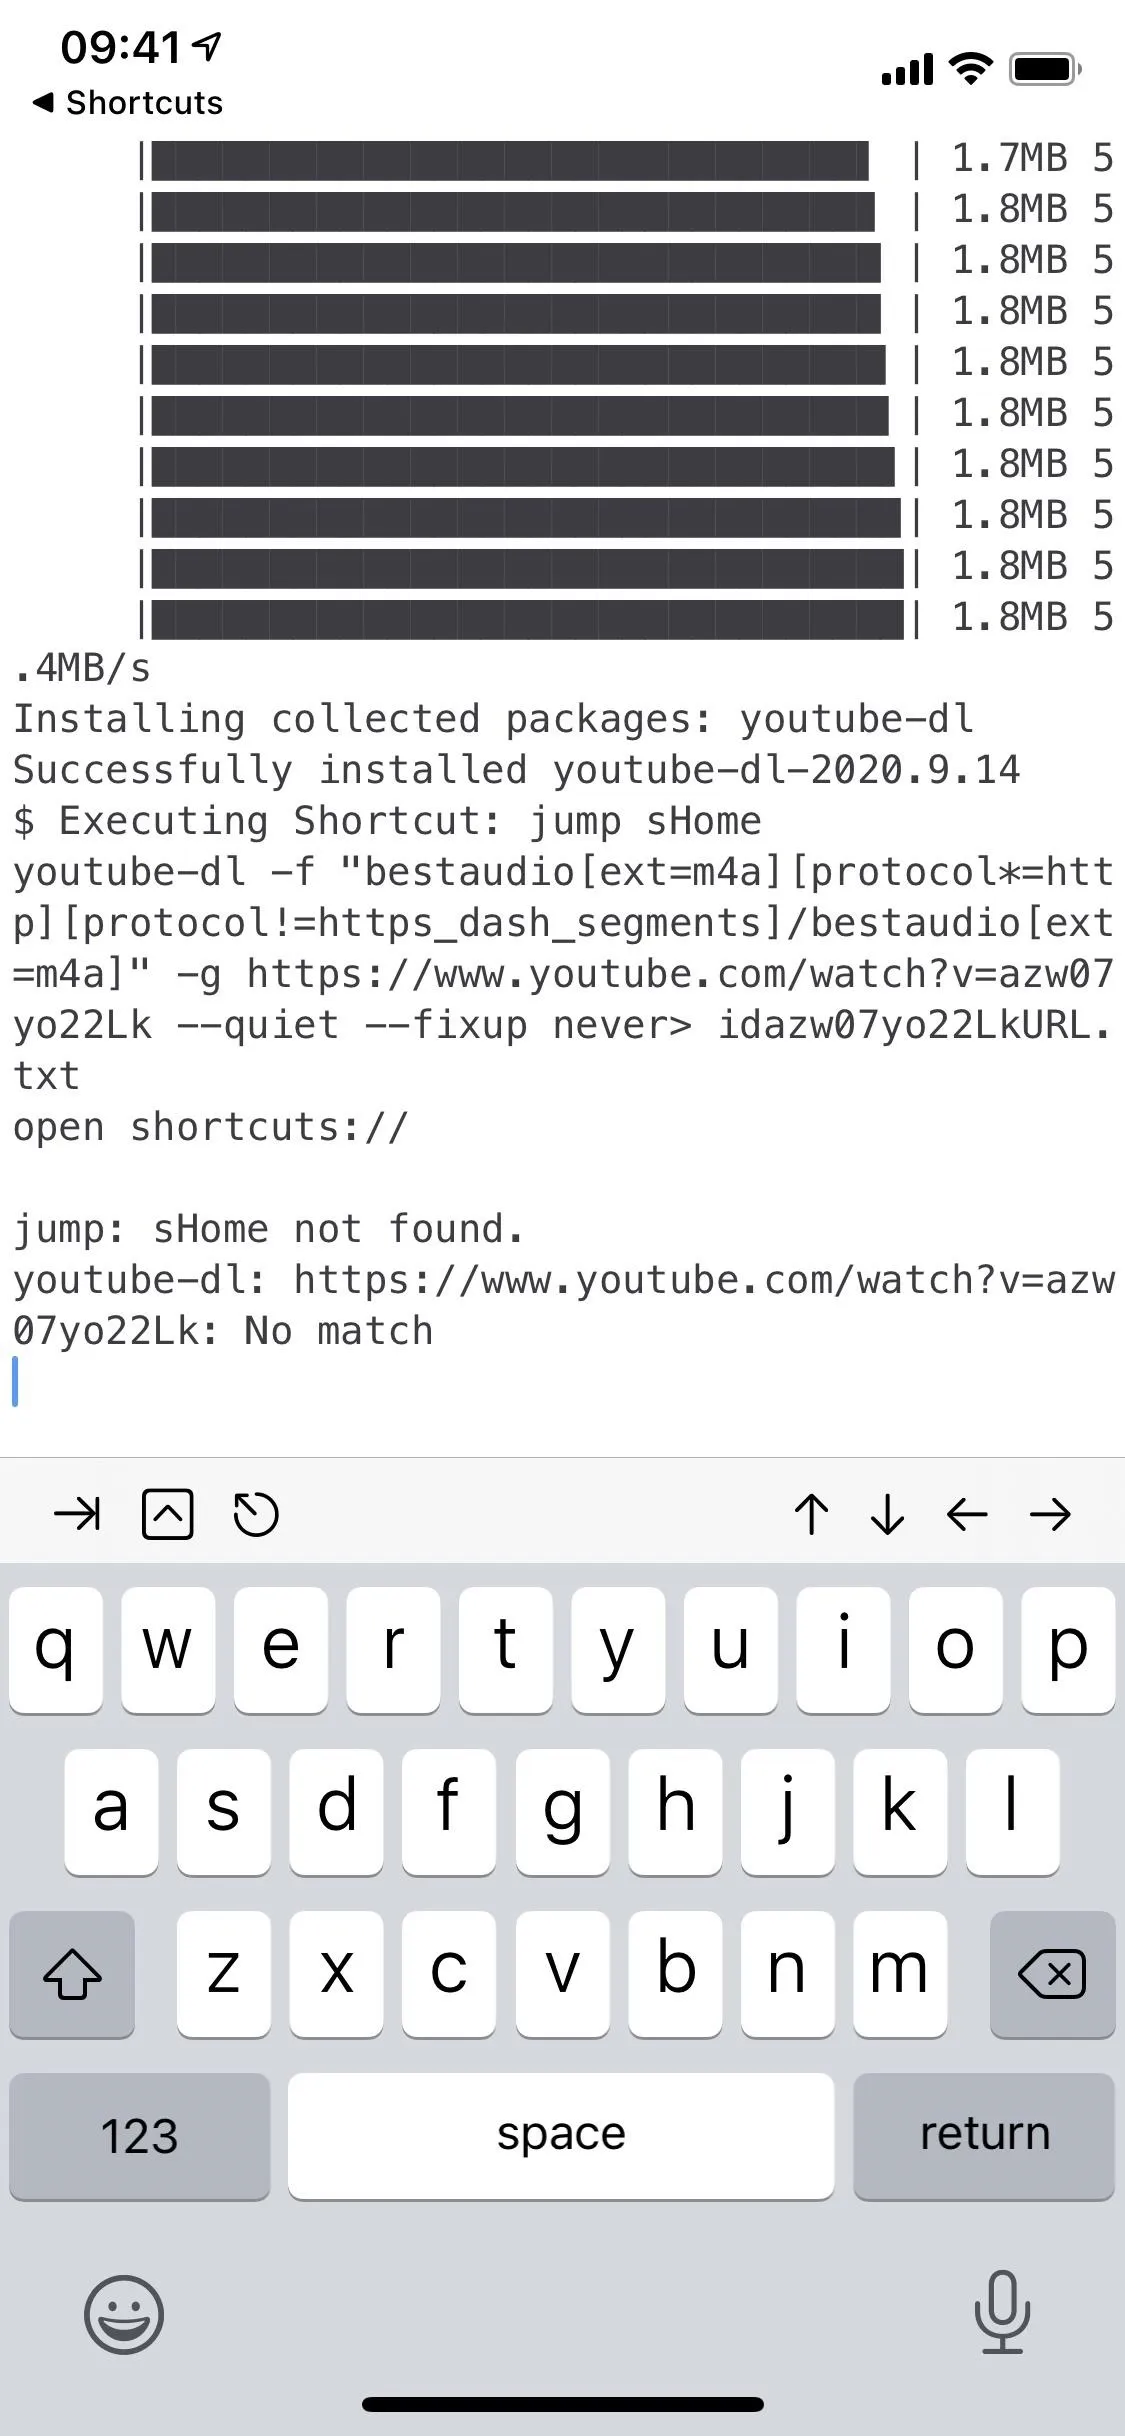
When the shortcut begins working, you'll be asked to grant it access to a-Shell. Tap on "OK," and you'll then be redirected to a-Shell, which will download a few packages if this is your first time using it.


Search for Music Using 'Music Downloader'
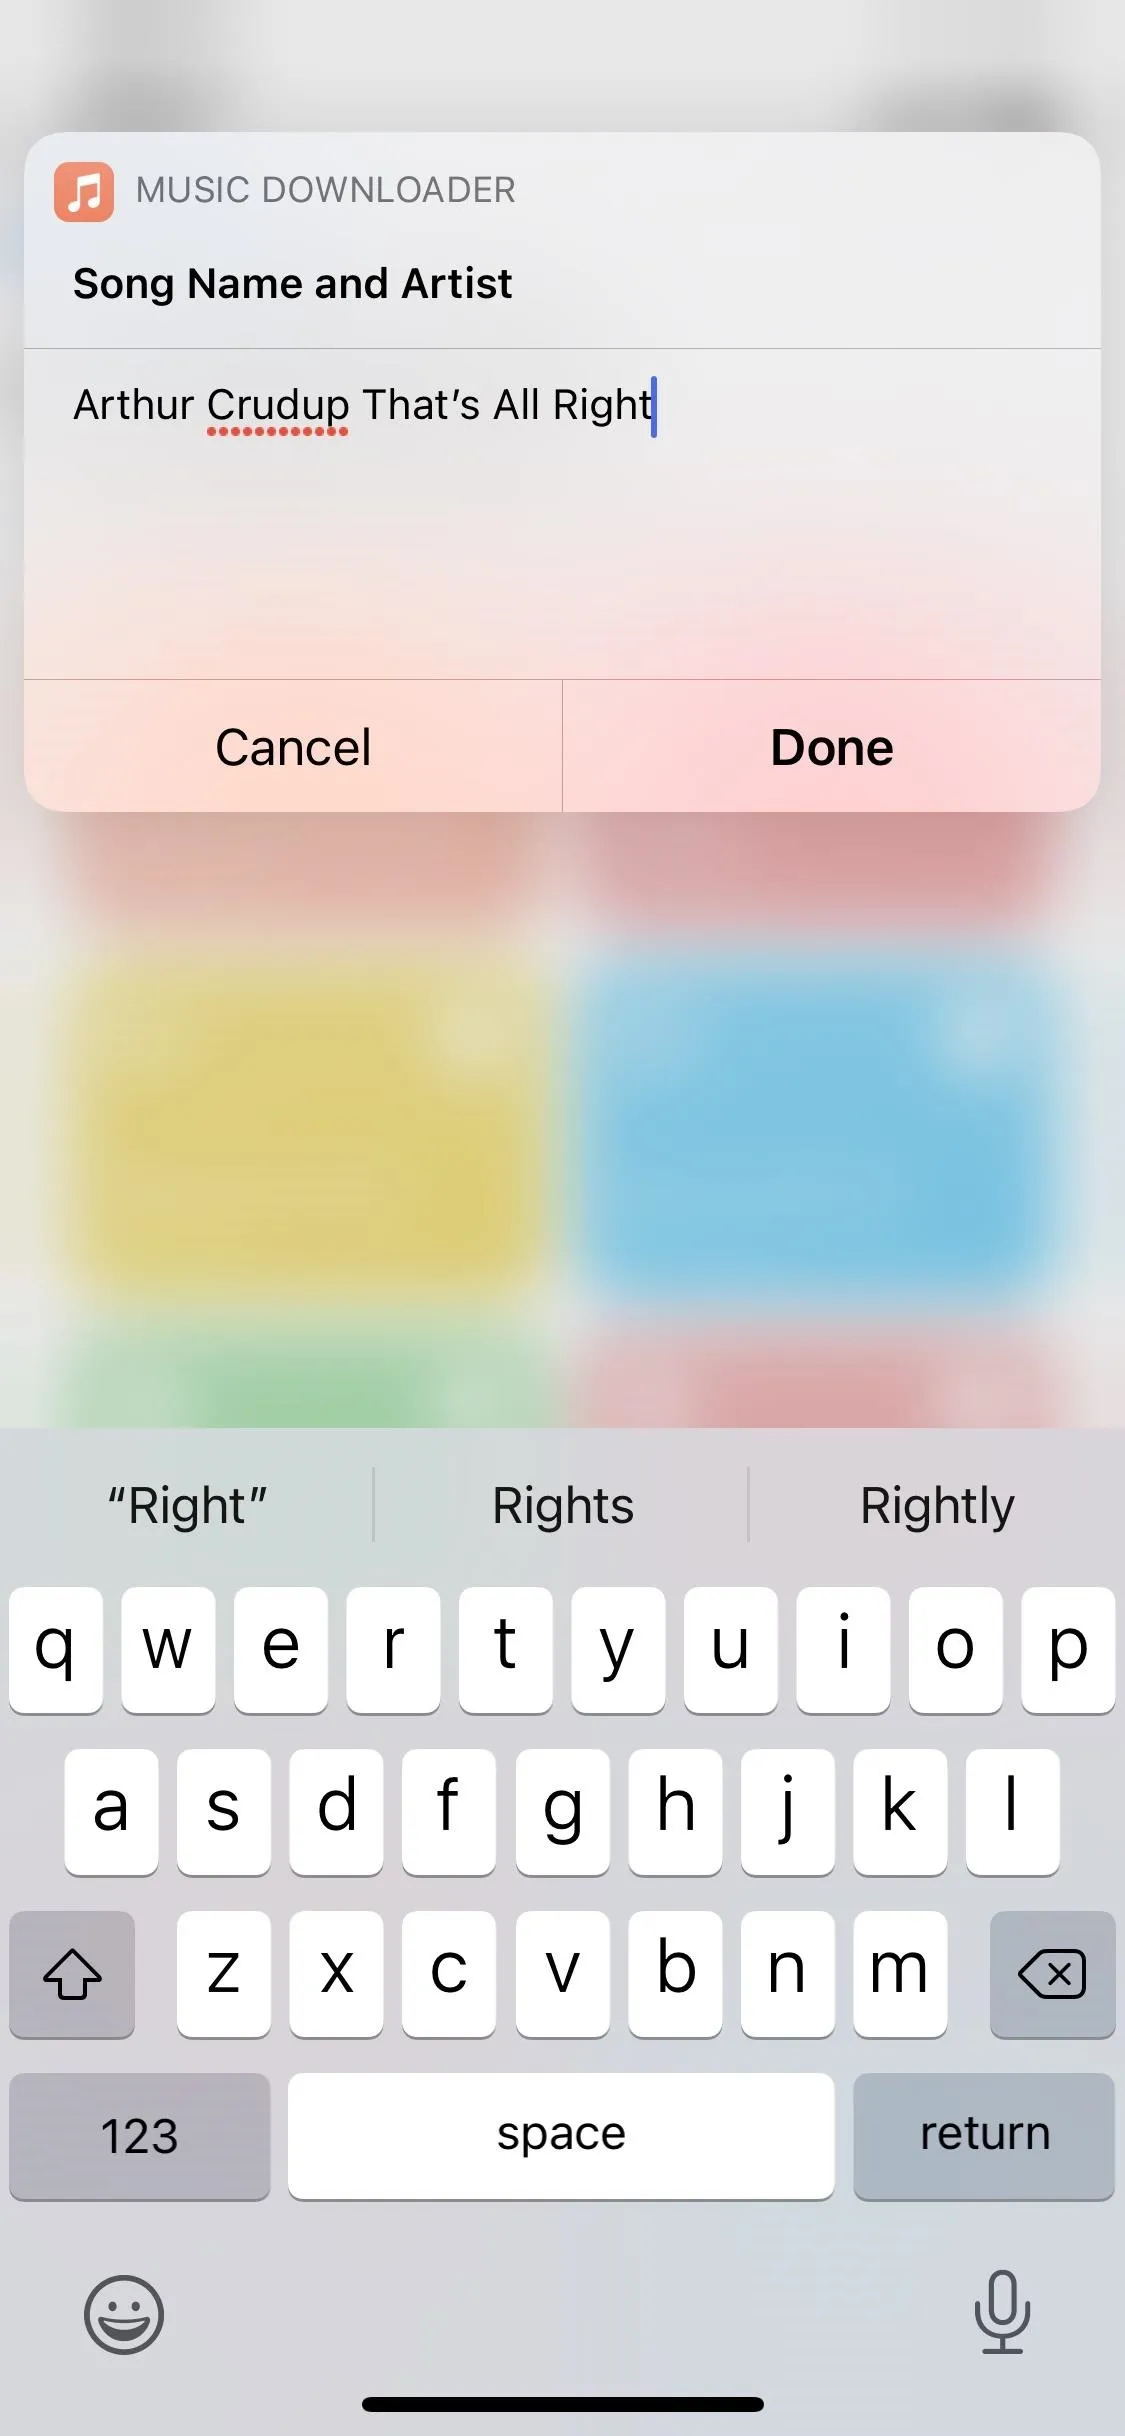
You'll then be redirected back to Shortcuts, where you can type in the artist and title of the song you want to download. You don't need to place a hyphen between the artist and title, but you should include both to find the song. If you only type in the artist or title, it will find the most popular one. If you only type in the album name, you'll get the most popular song on the album. Either way, you should narrow down your terms with the artist and song title.
Afterward, tap on "Done," then "OK" for any pop-ups that appear asking you to grant access to certain websites where it finds the songs, like YouTube or YouTube Music. Again, you'll be redirected to a-Shell while the app searches for the song.


Play, Share, or Save the Song
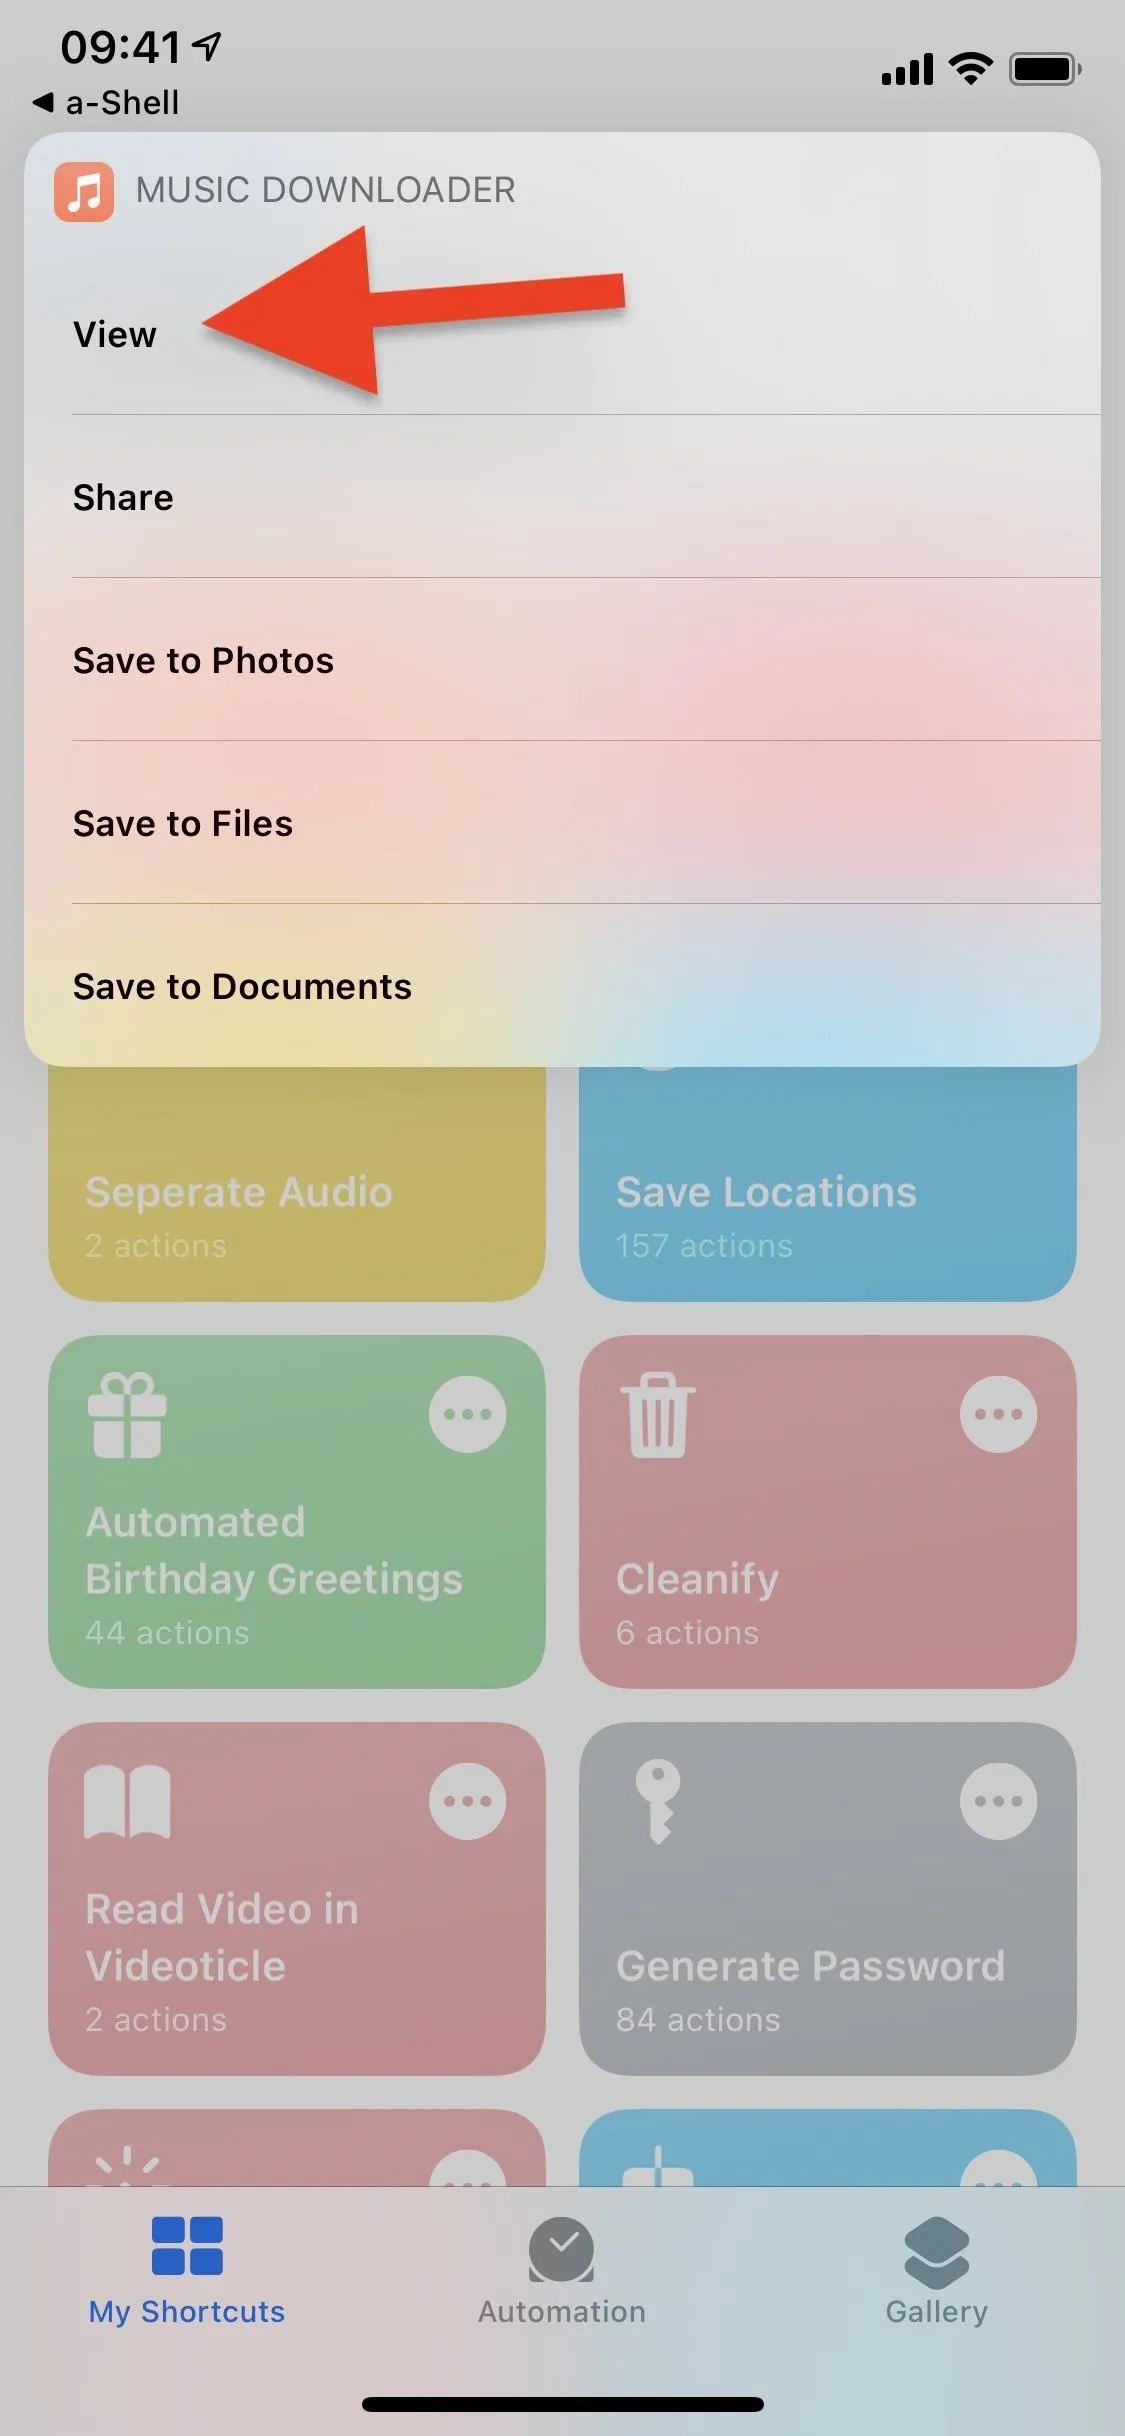
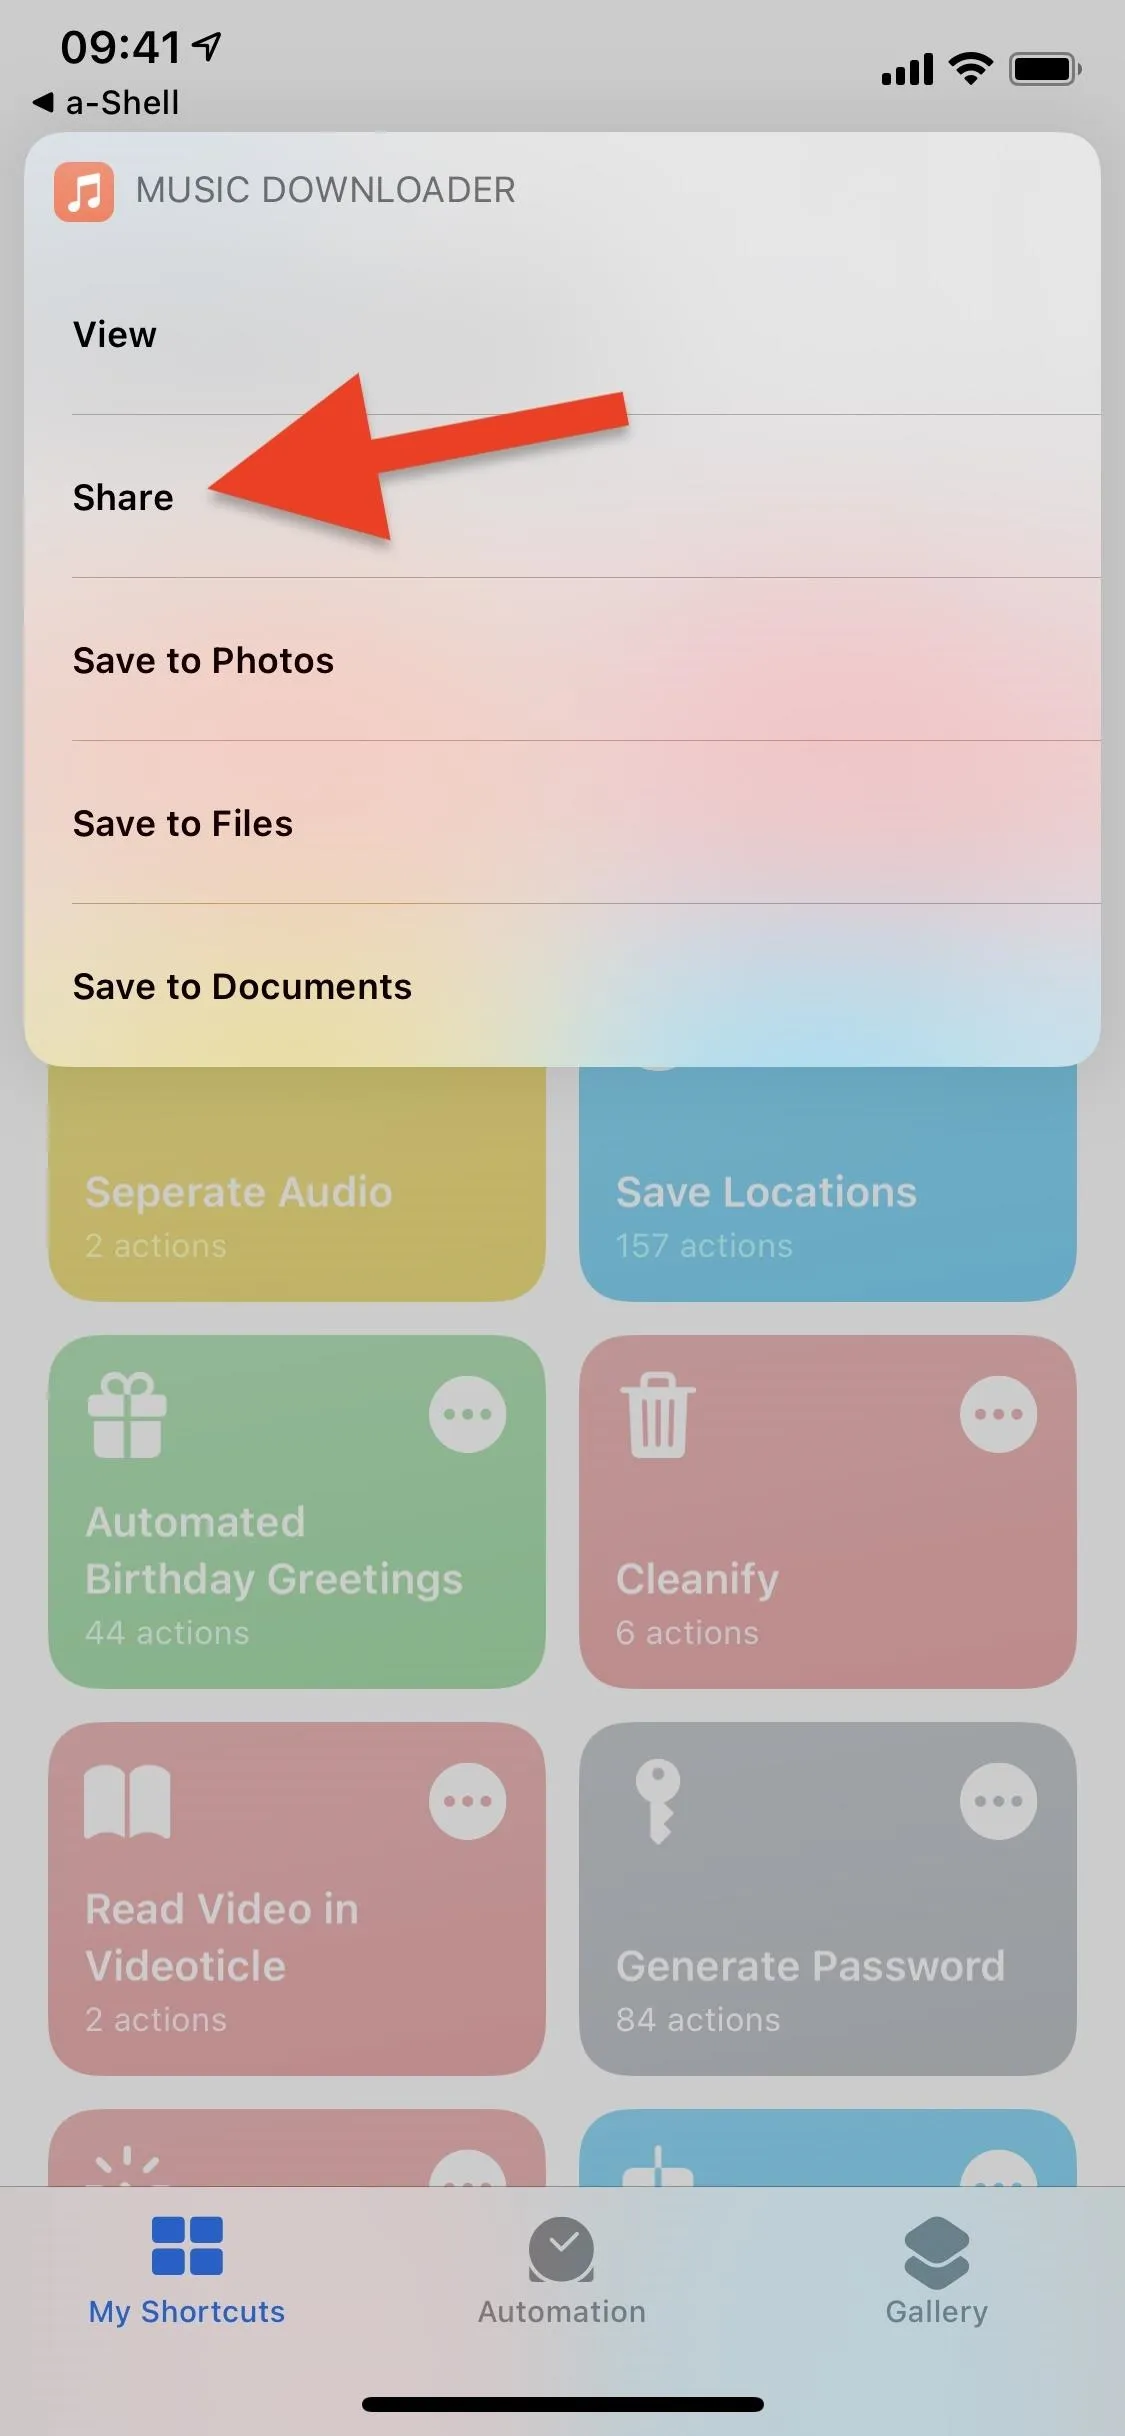
Once the Music Downloader shortcut and a-Shell app find the song you're looking for, you'll be redirected back to Shortcuts, and a menu will appear, where you can listen to the music, share it with friends, or save it to several apps on your device.
Listen to the Song
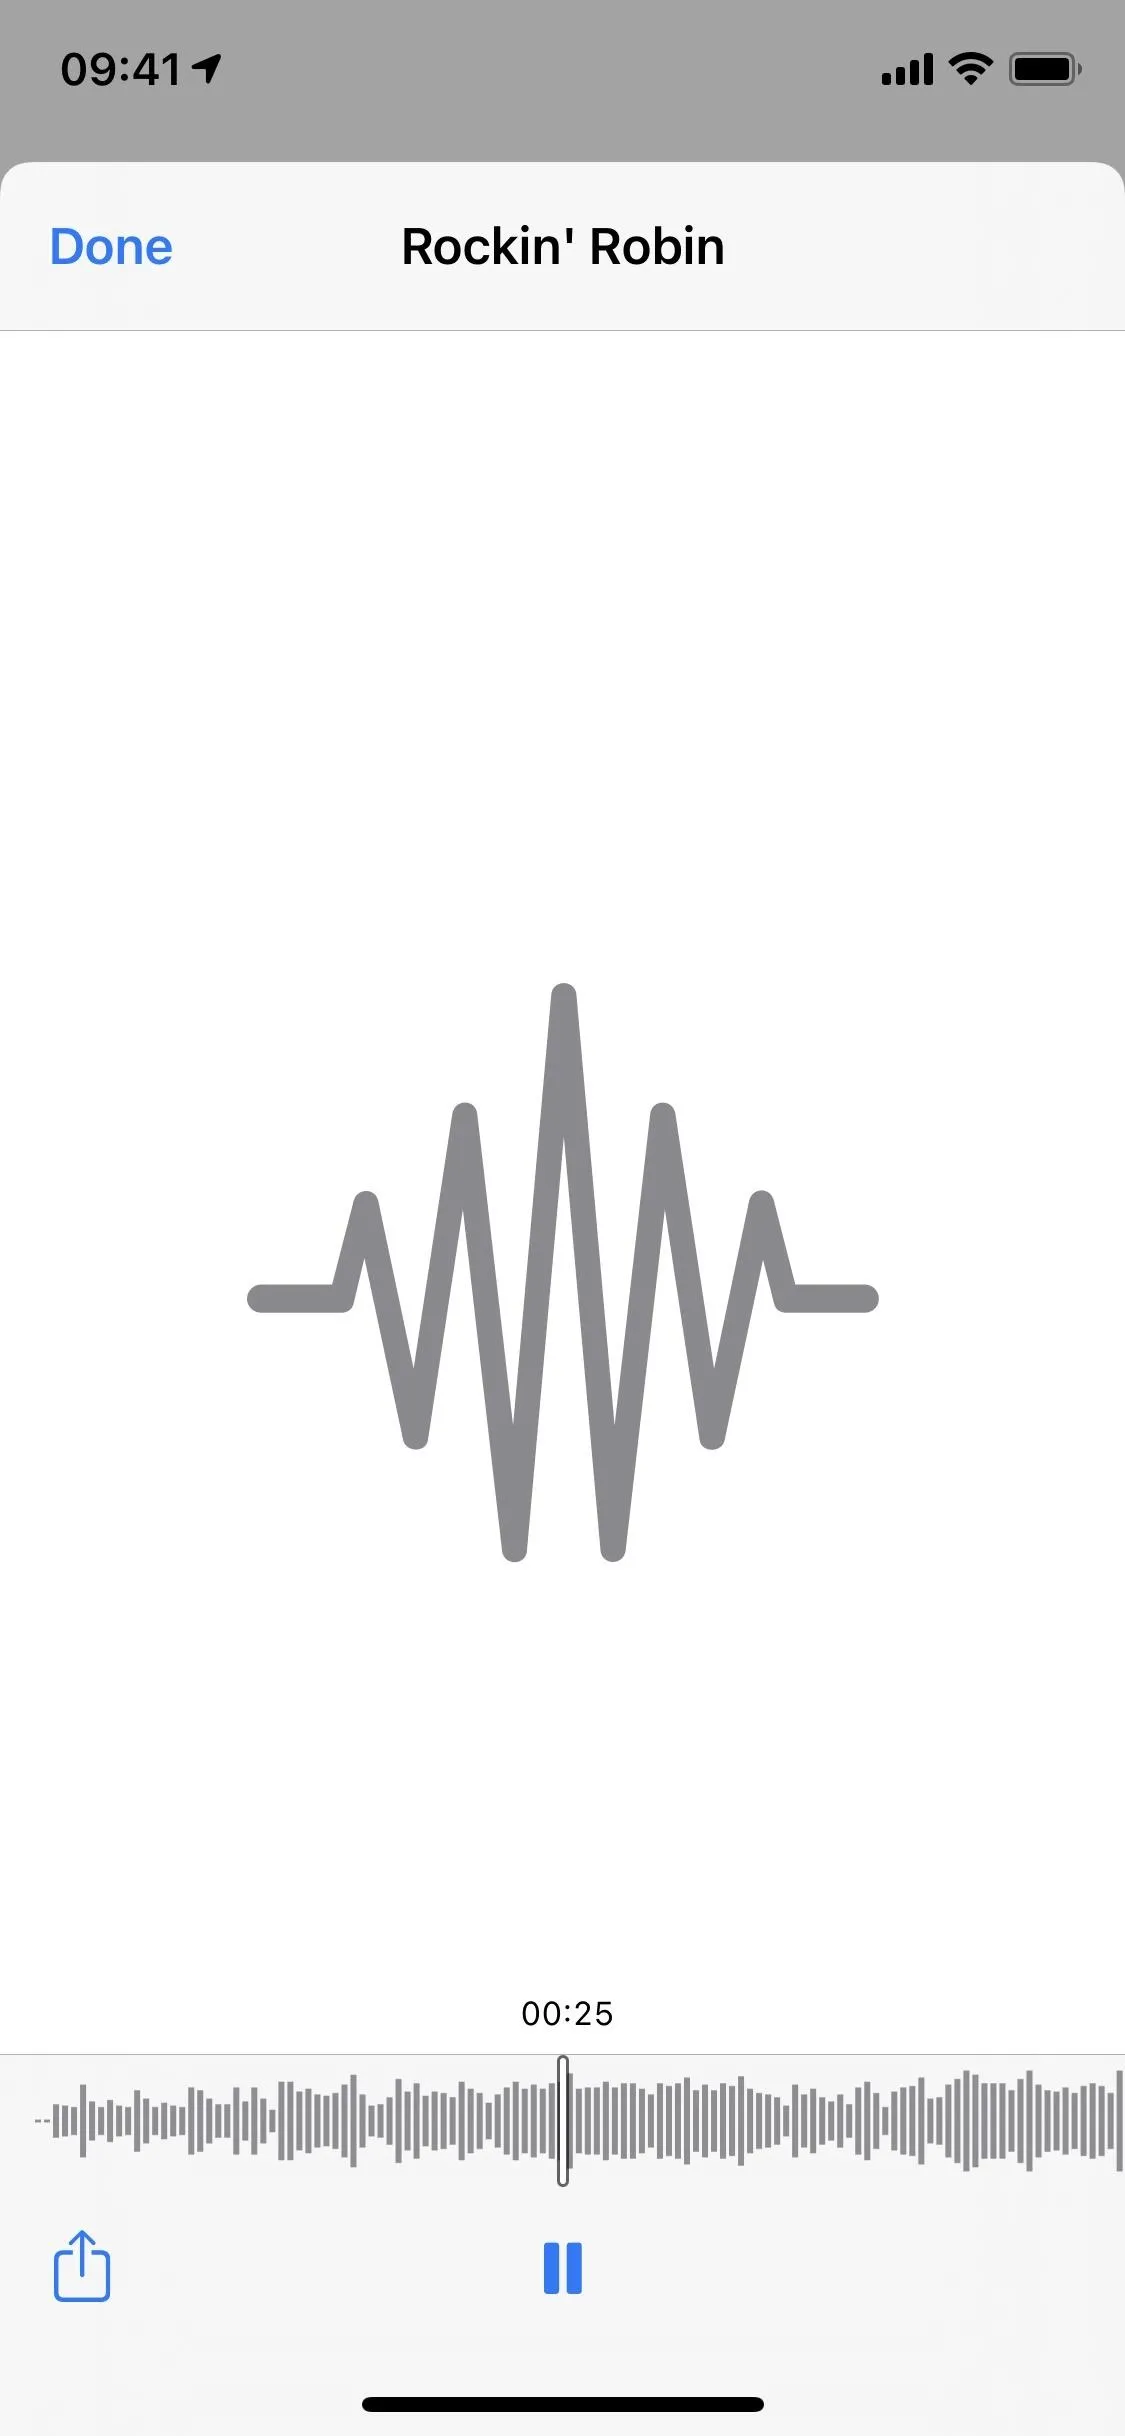
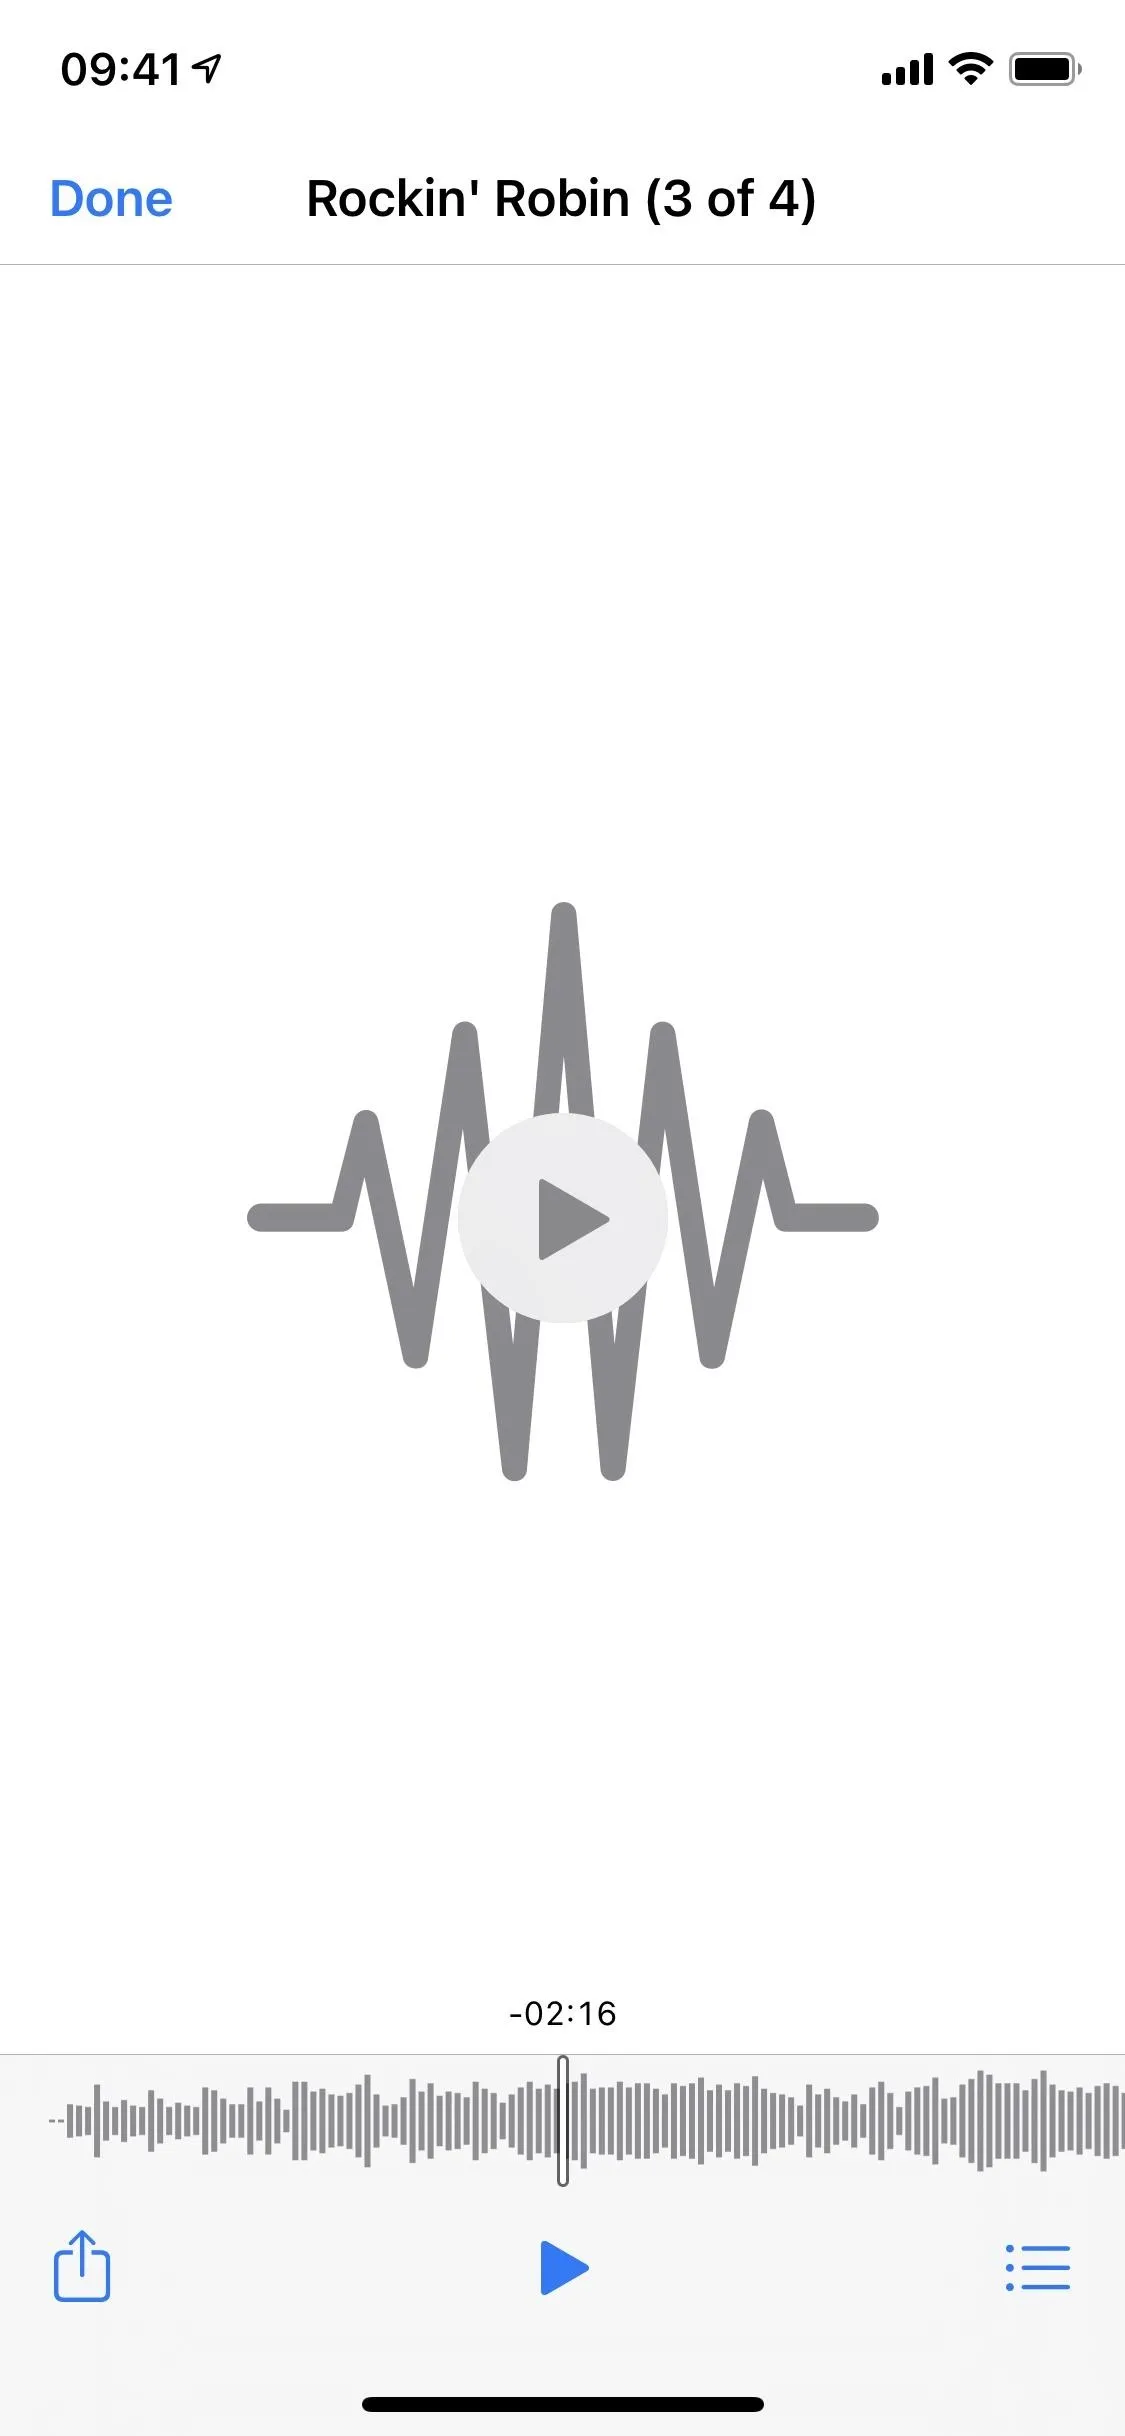
First, you want to check if the song you just downloaded is the correct song. Tap on "View," and a window will pop up, where you can view the title and play the music. You also have the Share button on the bottom right, which you can use to share the song, but you can also do that from the menu in Shortcuts.


Share the Song to Others
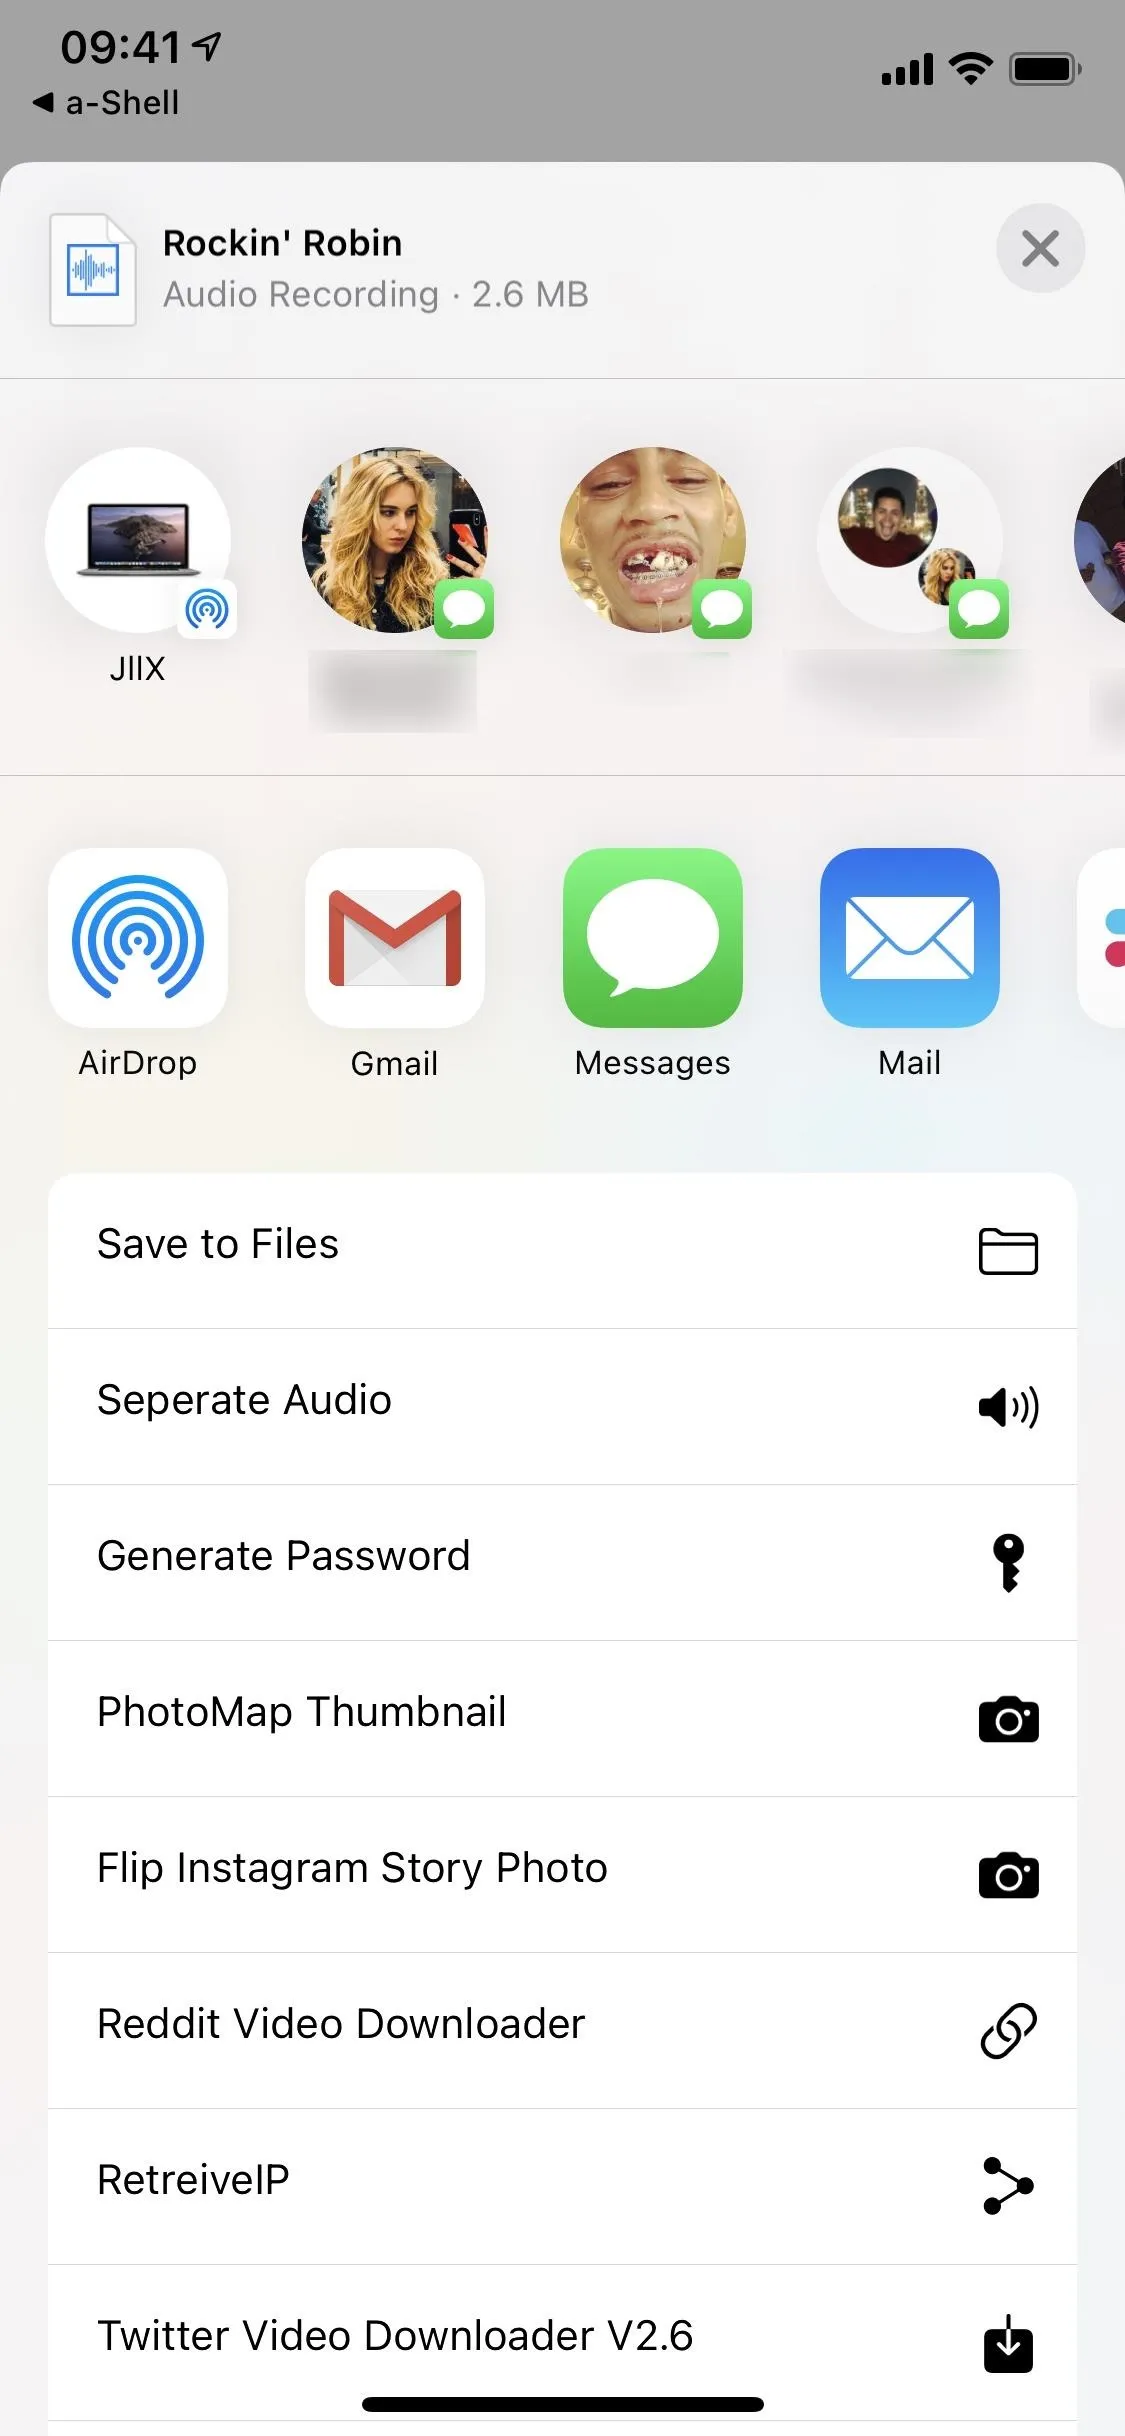
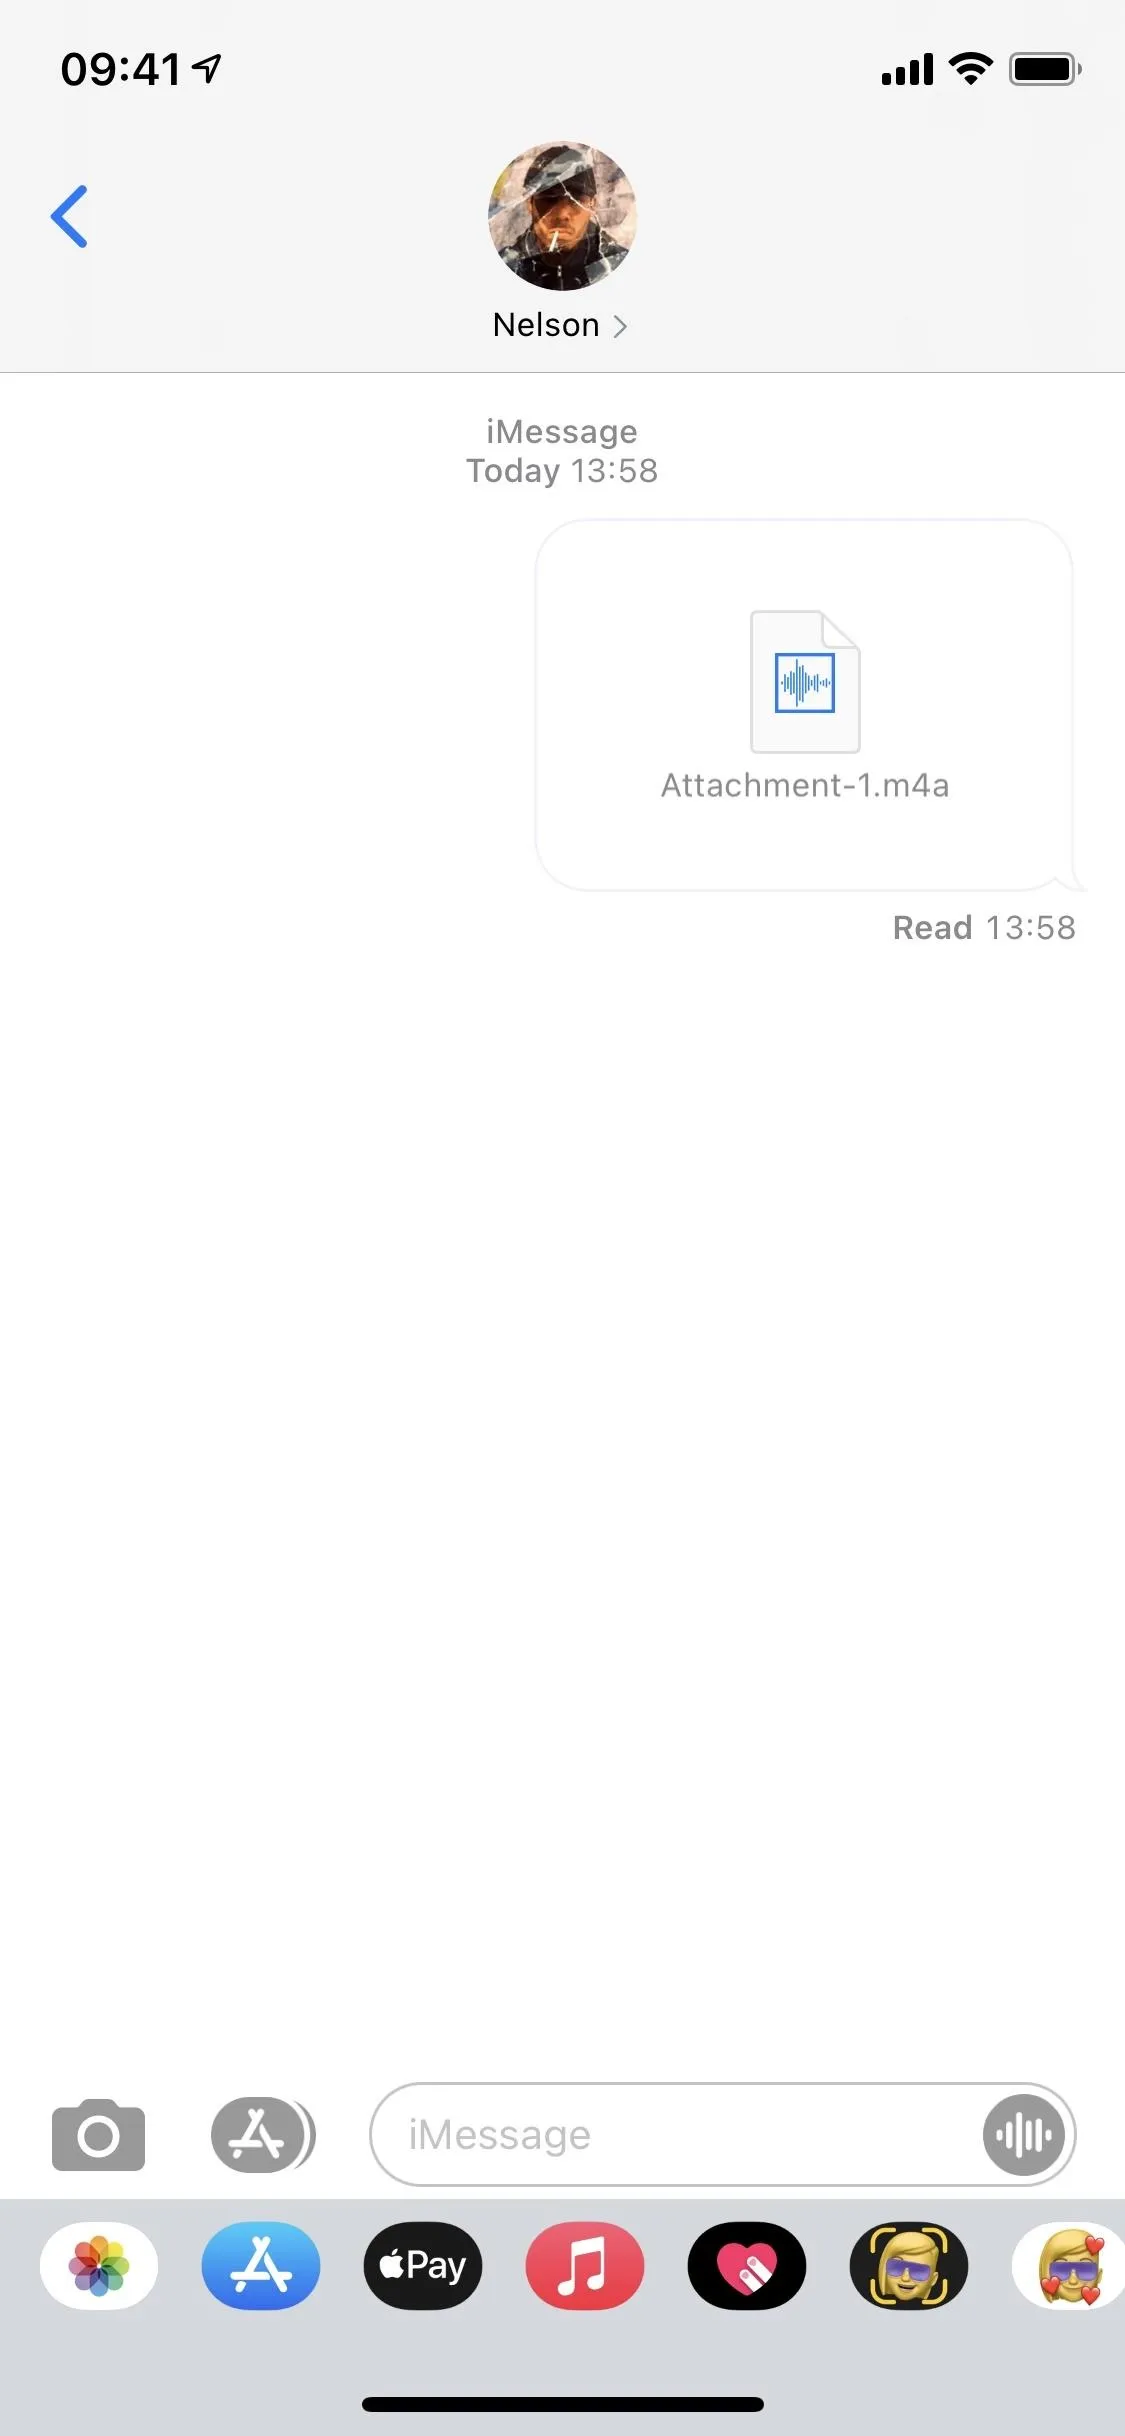
If you tap on "Share," the Share sheet will come up, where you can share the song to your favorite contacts via Messages, AirDrop, and some installed apps such as Mail, WhatsApp, Facebook, and Twitter. If you share the M4A file via Messages, they'll be able to play the song and download it directly from there.


Save the Song as a Video in Photos
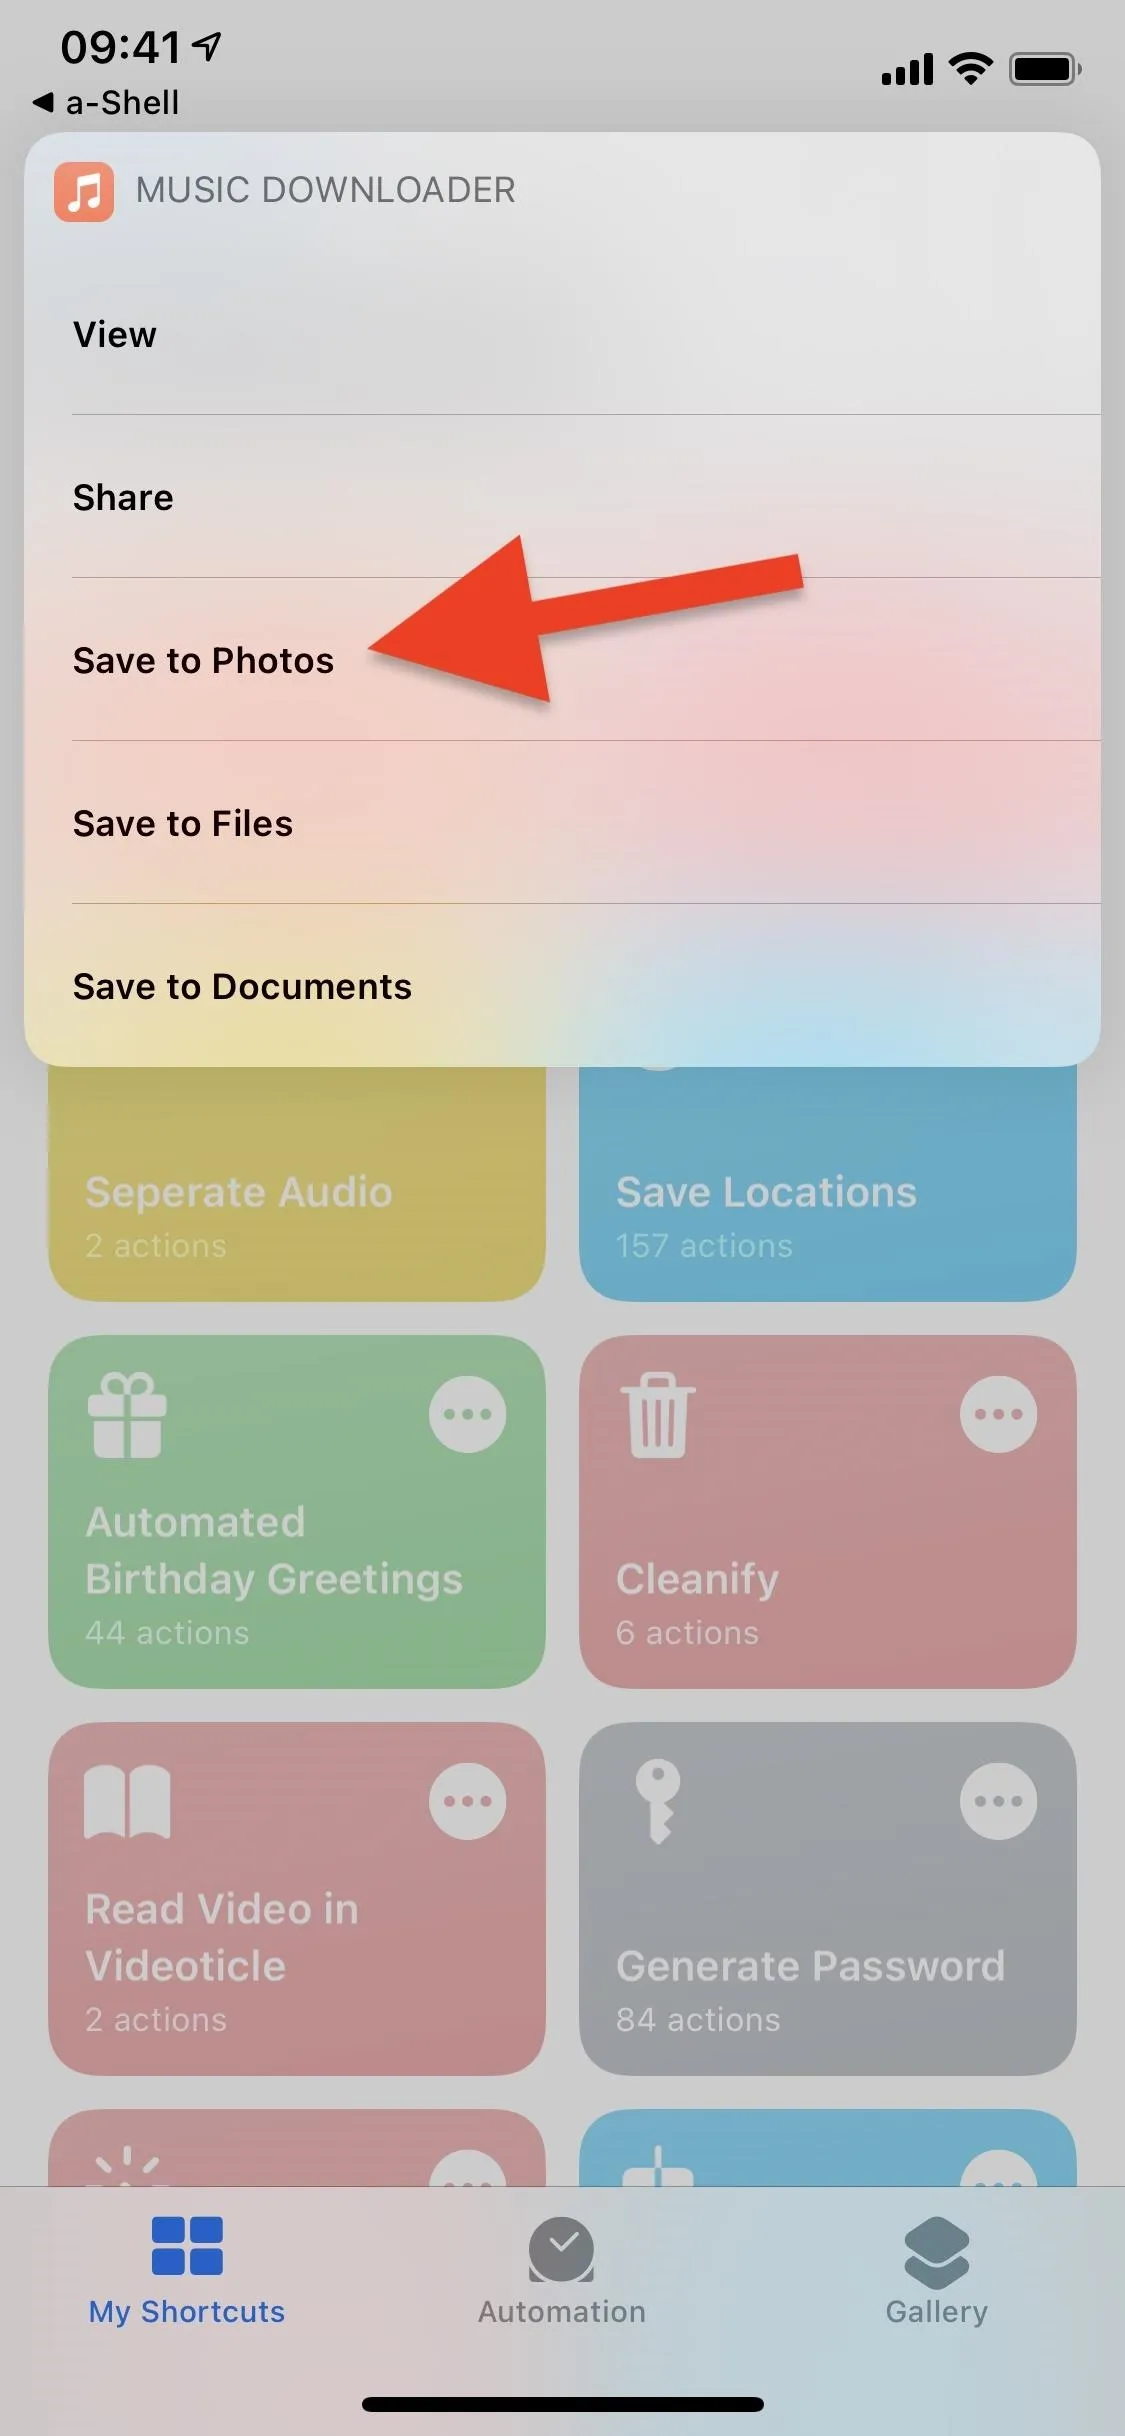
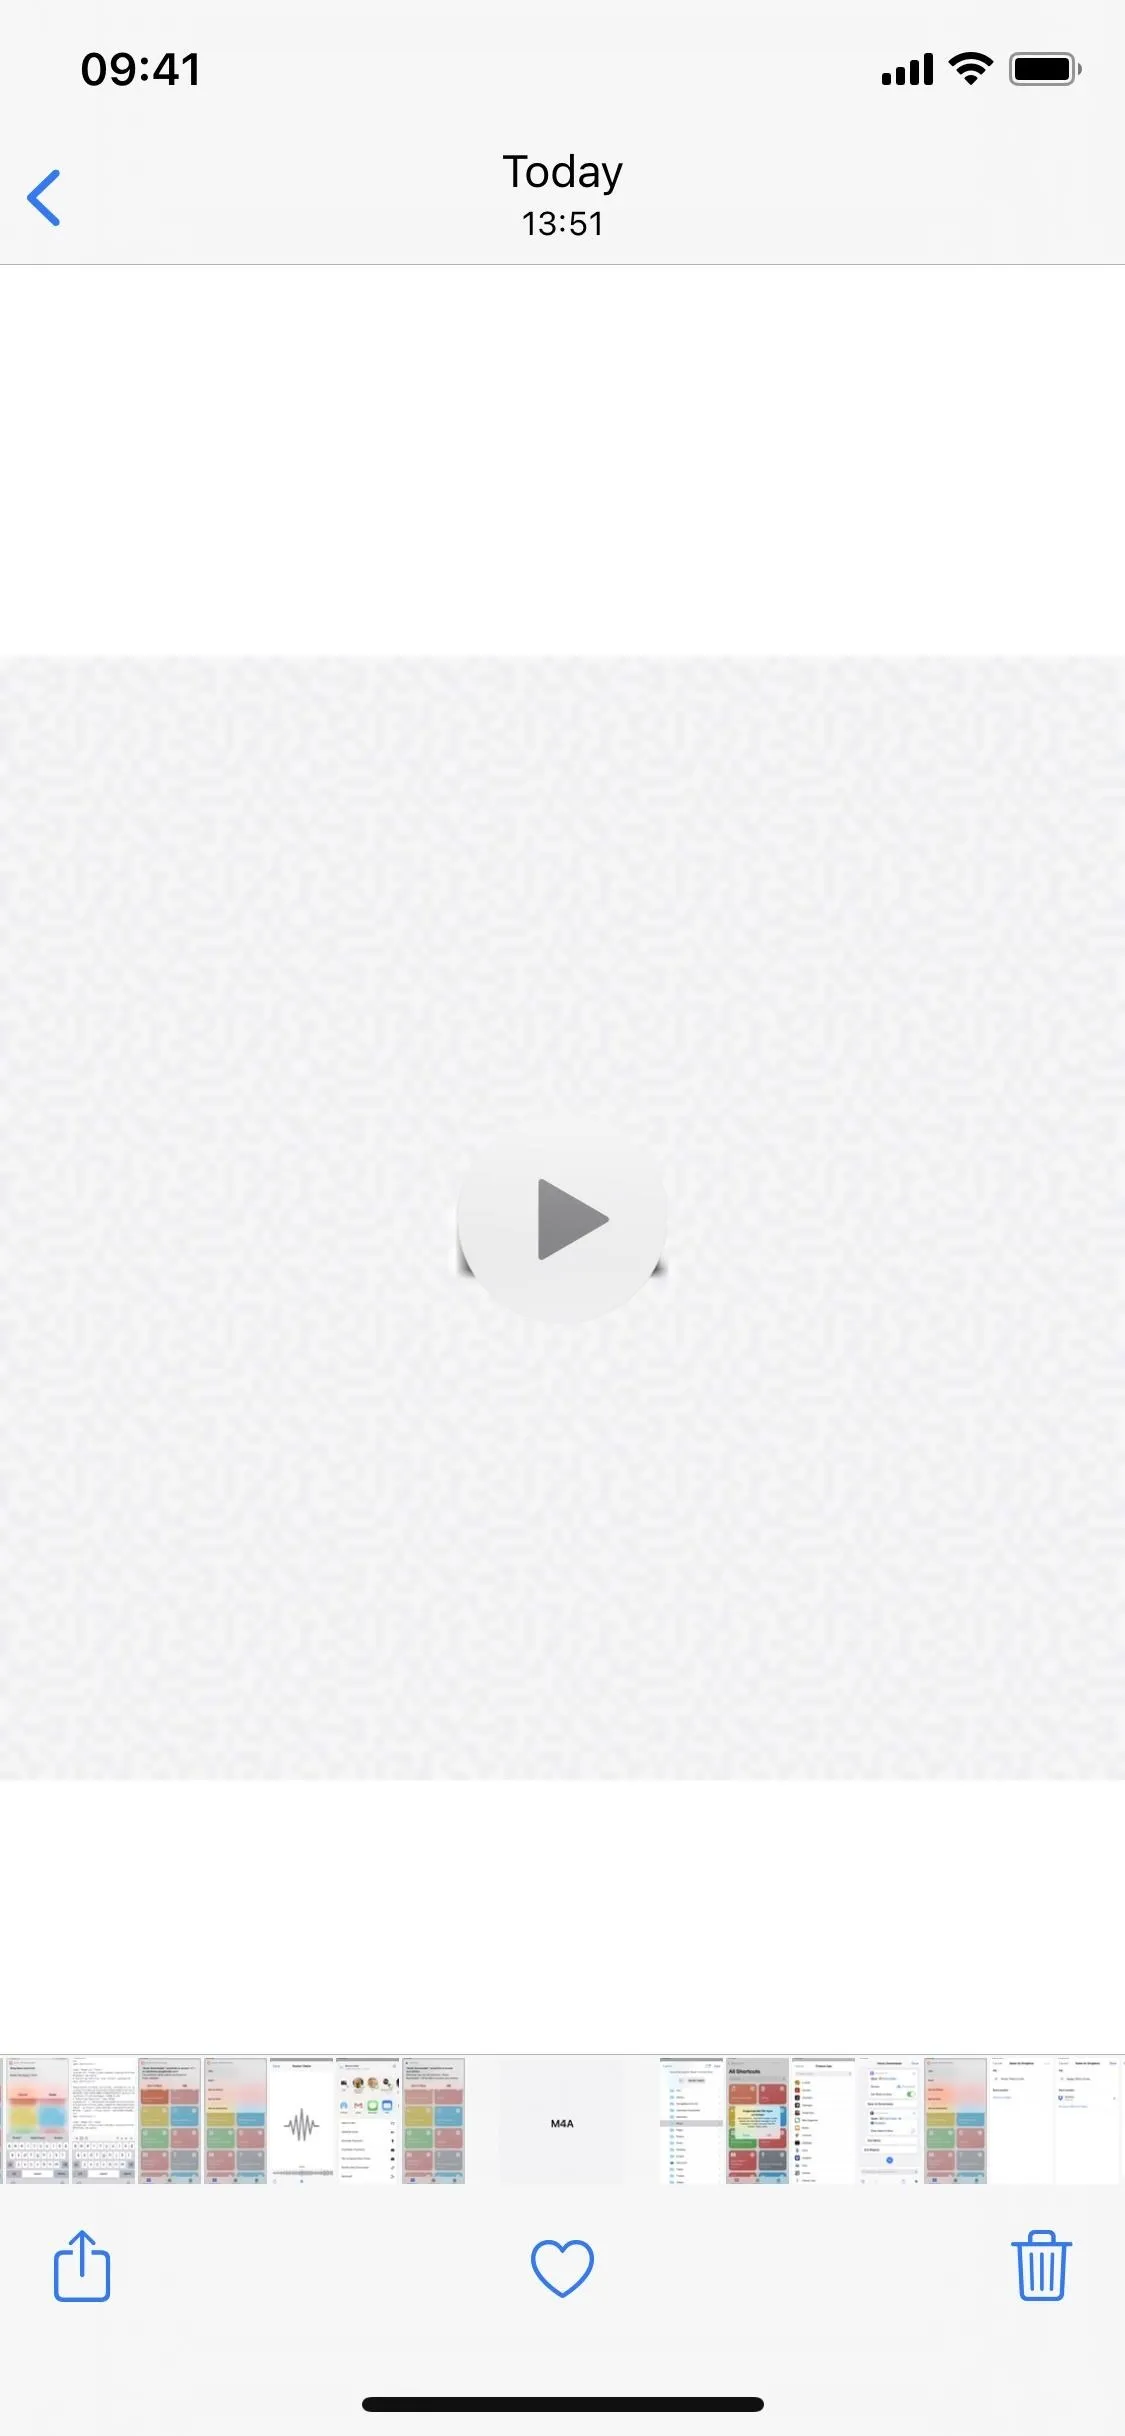
Although this isn't the best option for listening to music on your iPhone, you can save the song as a video in the Photos app by tapping on "Save to Photos." Then, just go into the Photos app, and you'll see a video that says M4A. Tap on the play button to listen to the song.


Save the Song to the Files App
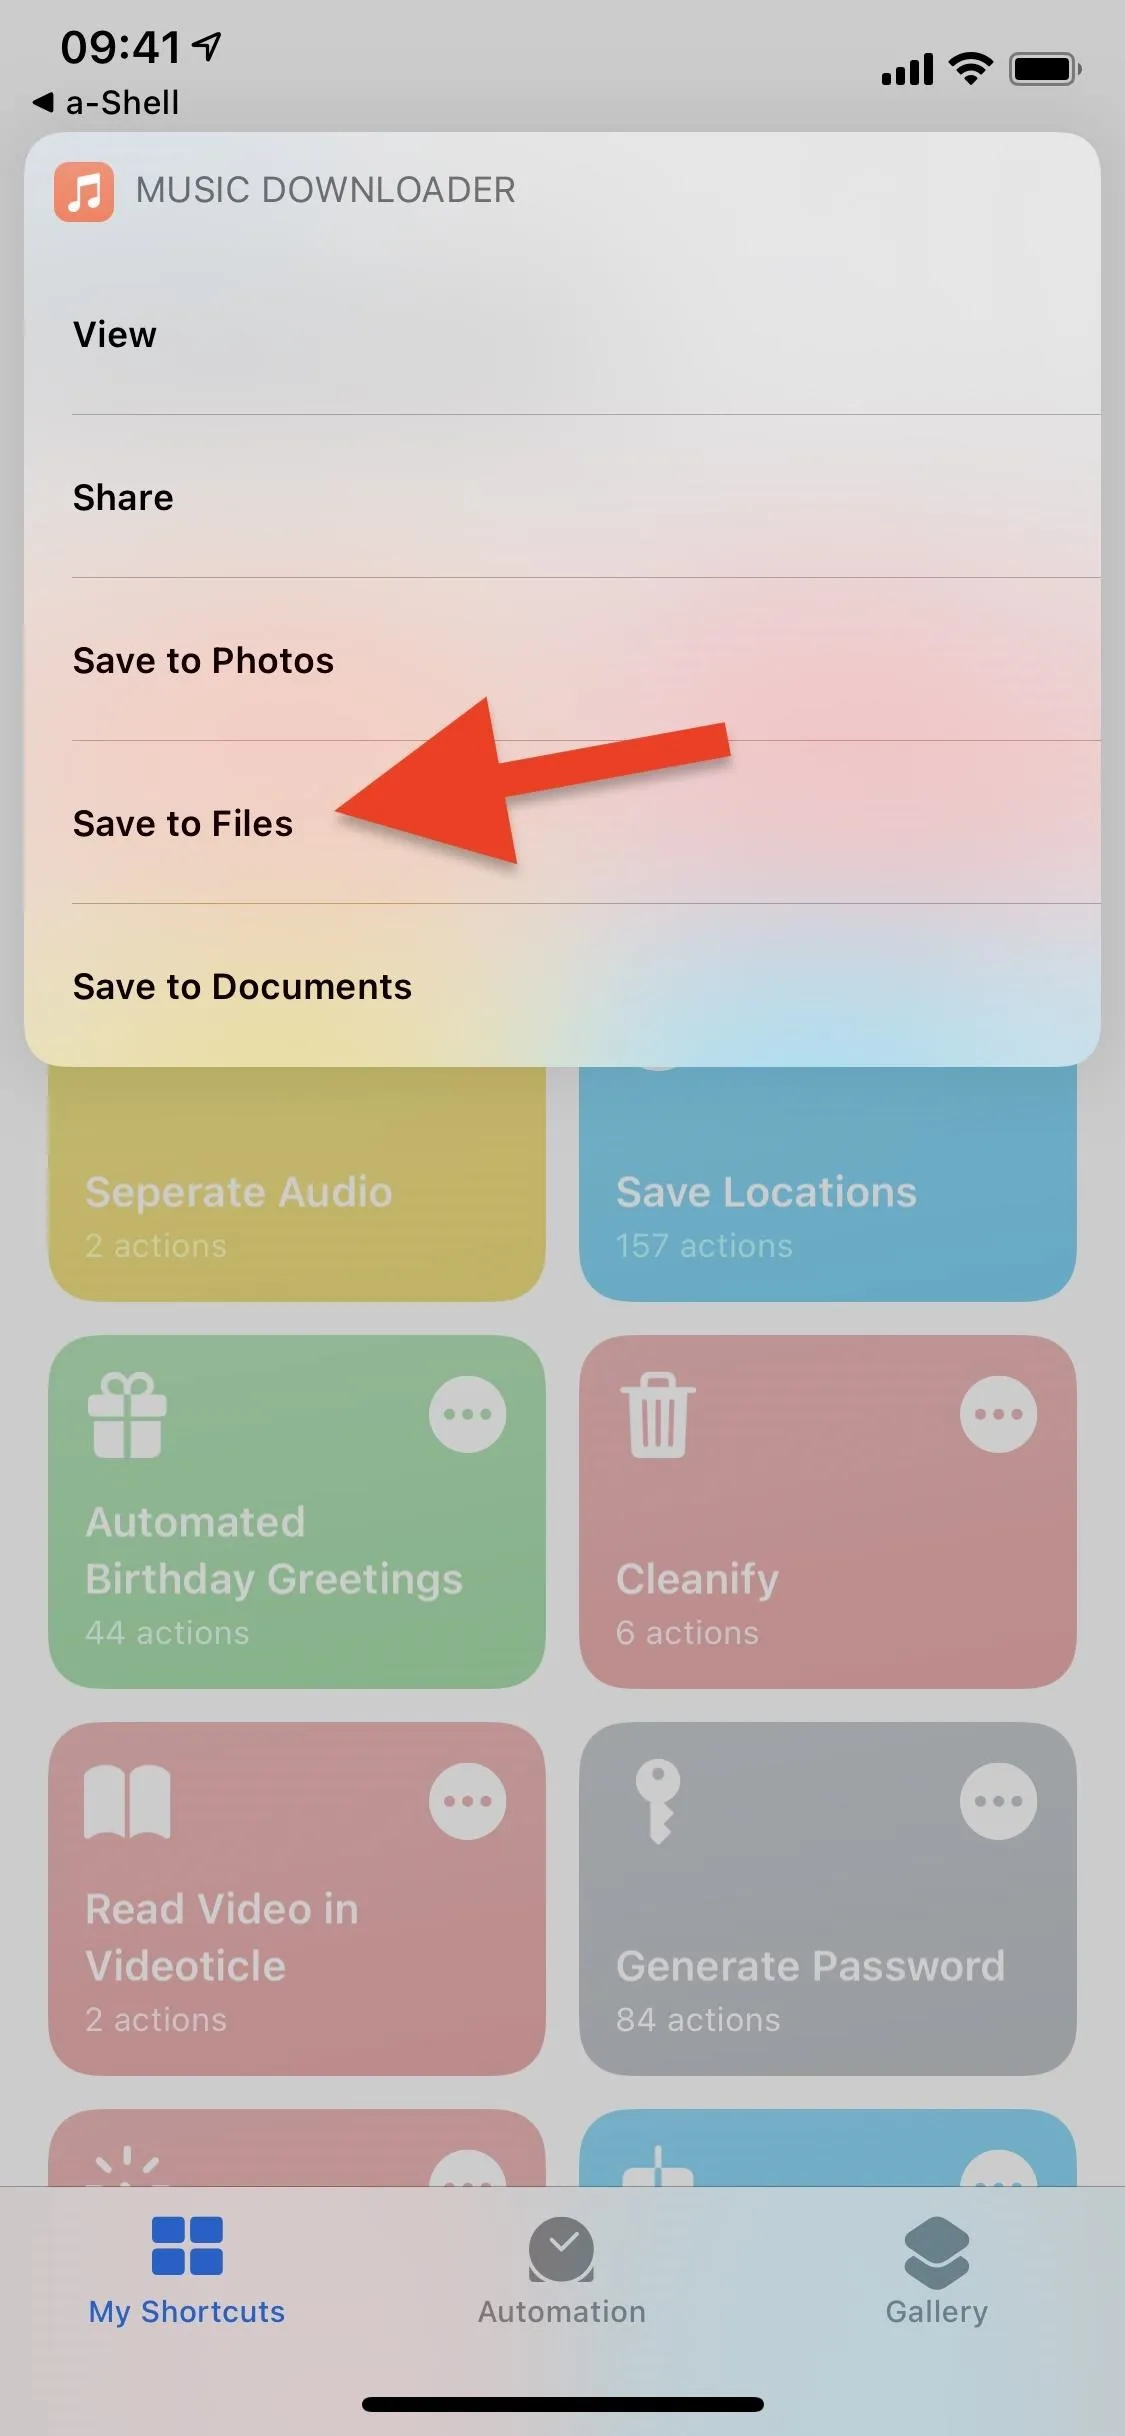
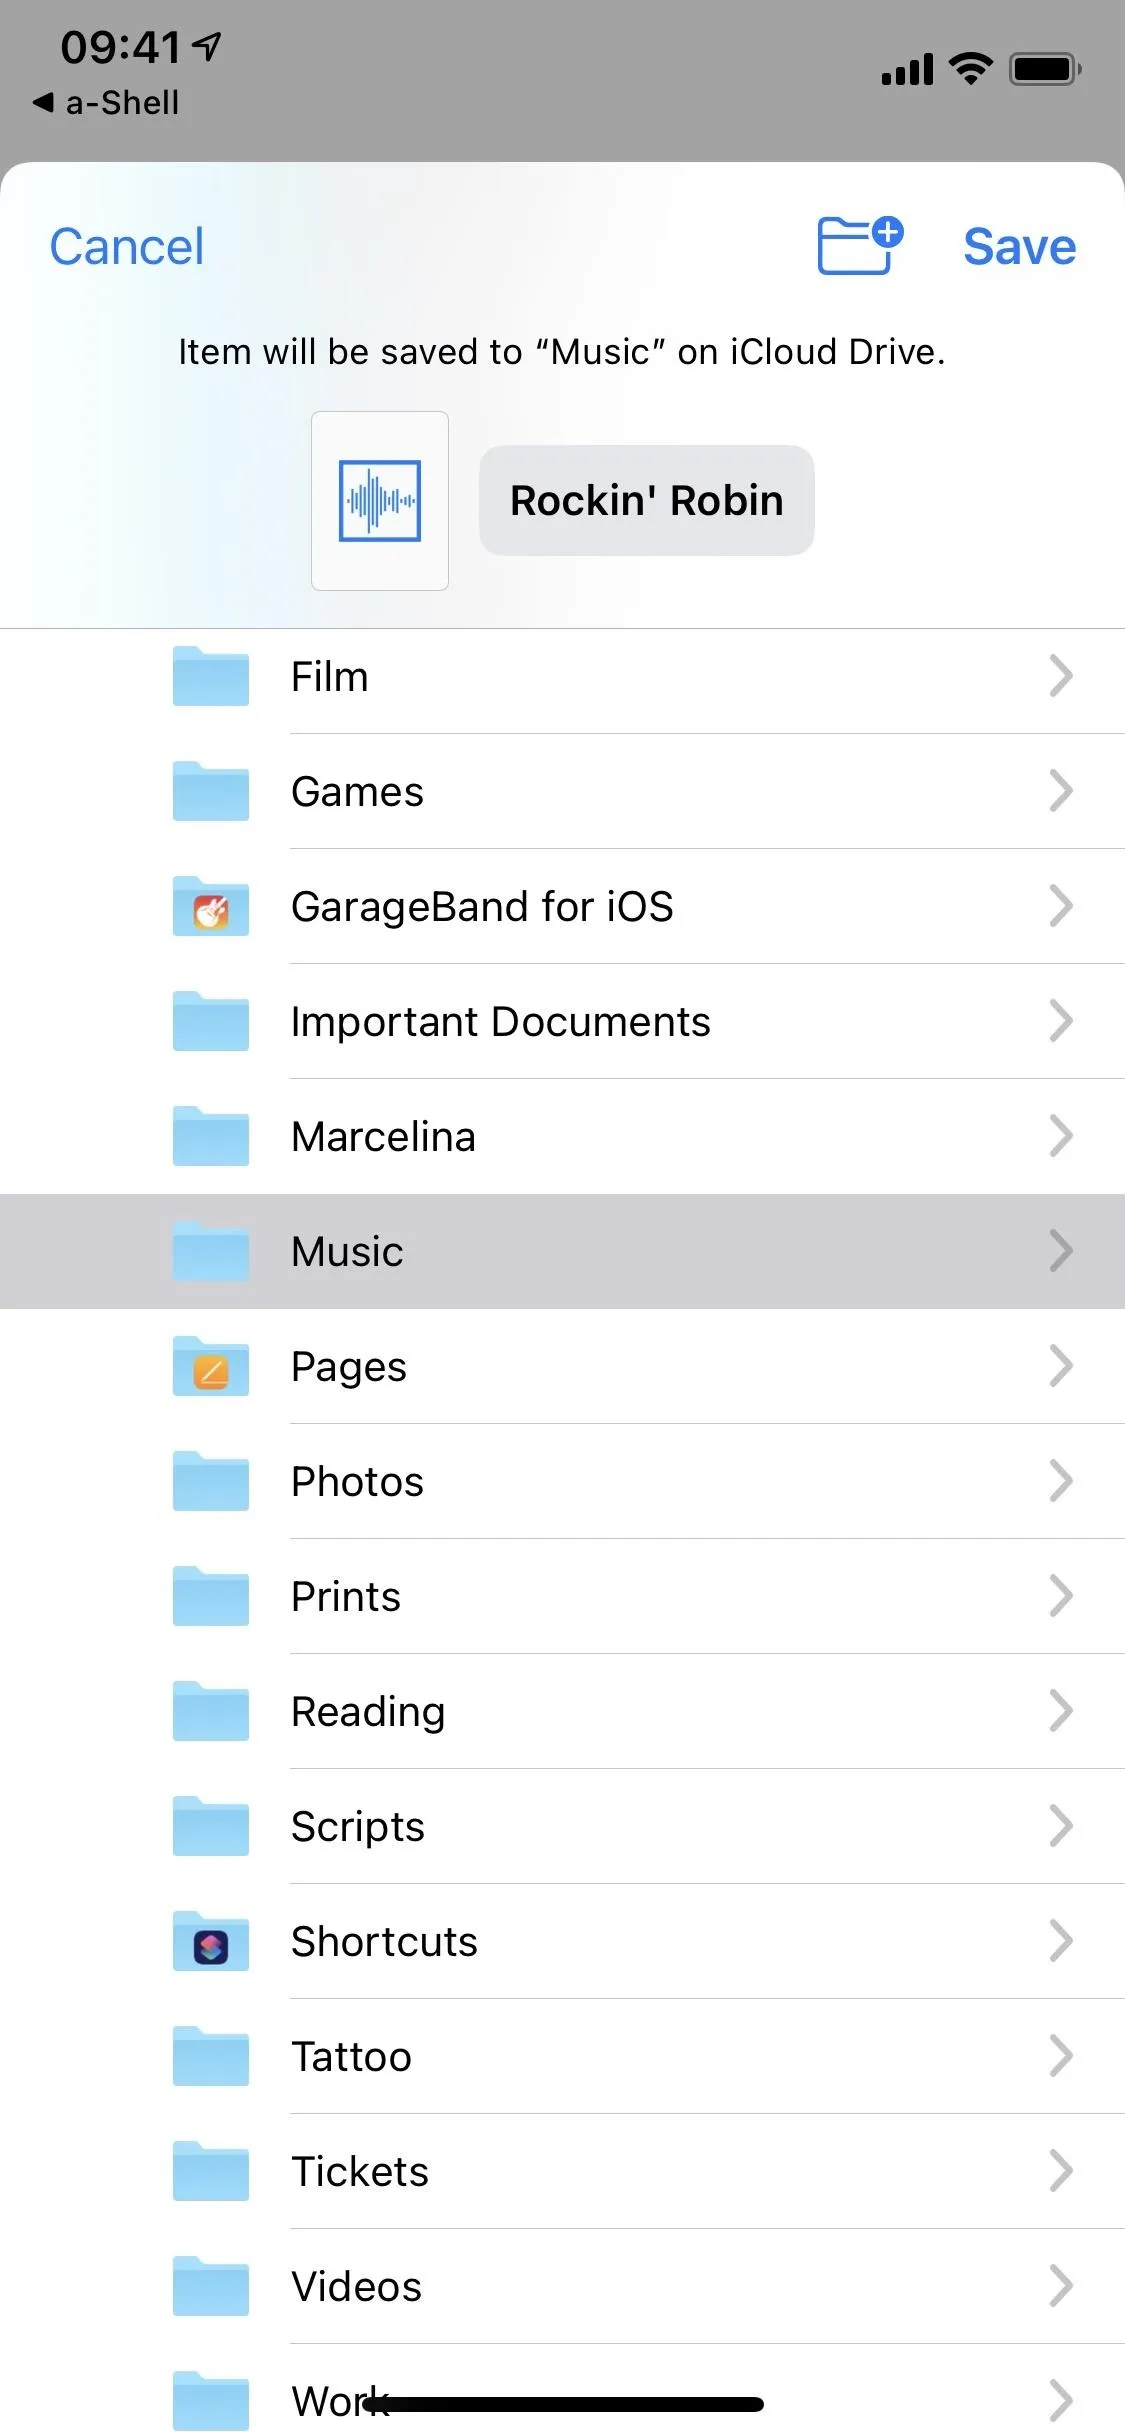
The most important feature, which makes it easy to listen to the song on your device, is saving it to the Files app. Tap on "Save to Files," and you'll then be allowed to keep the song anywhere in the Files app. It's best if you already have a folder where you save music downloads, but if you don't, you can easily create a folder.


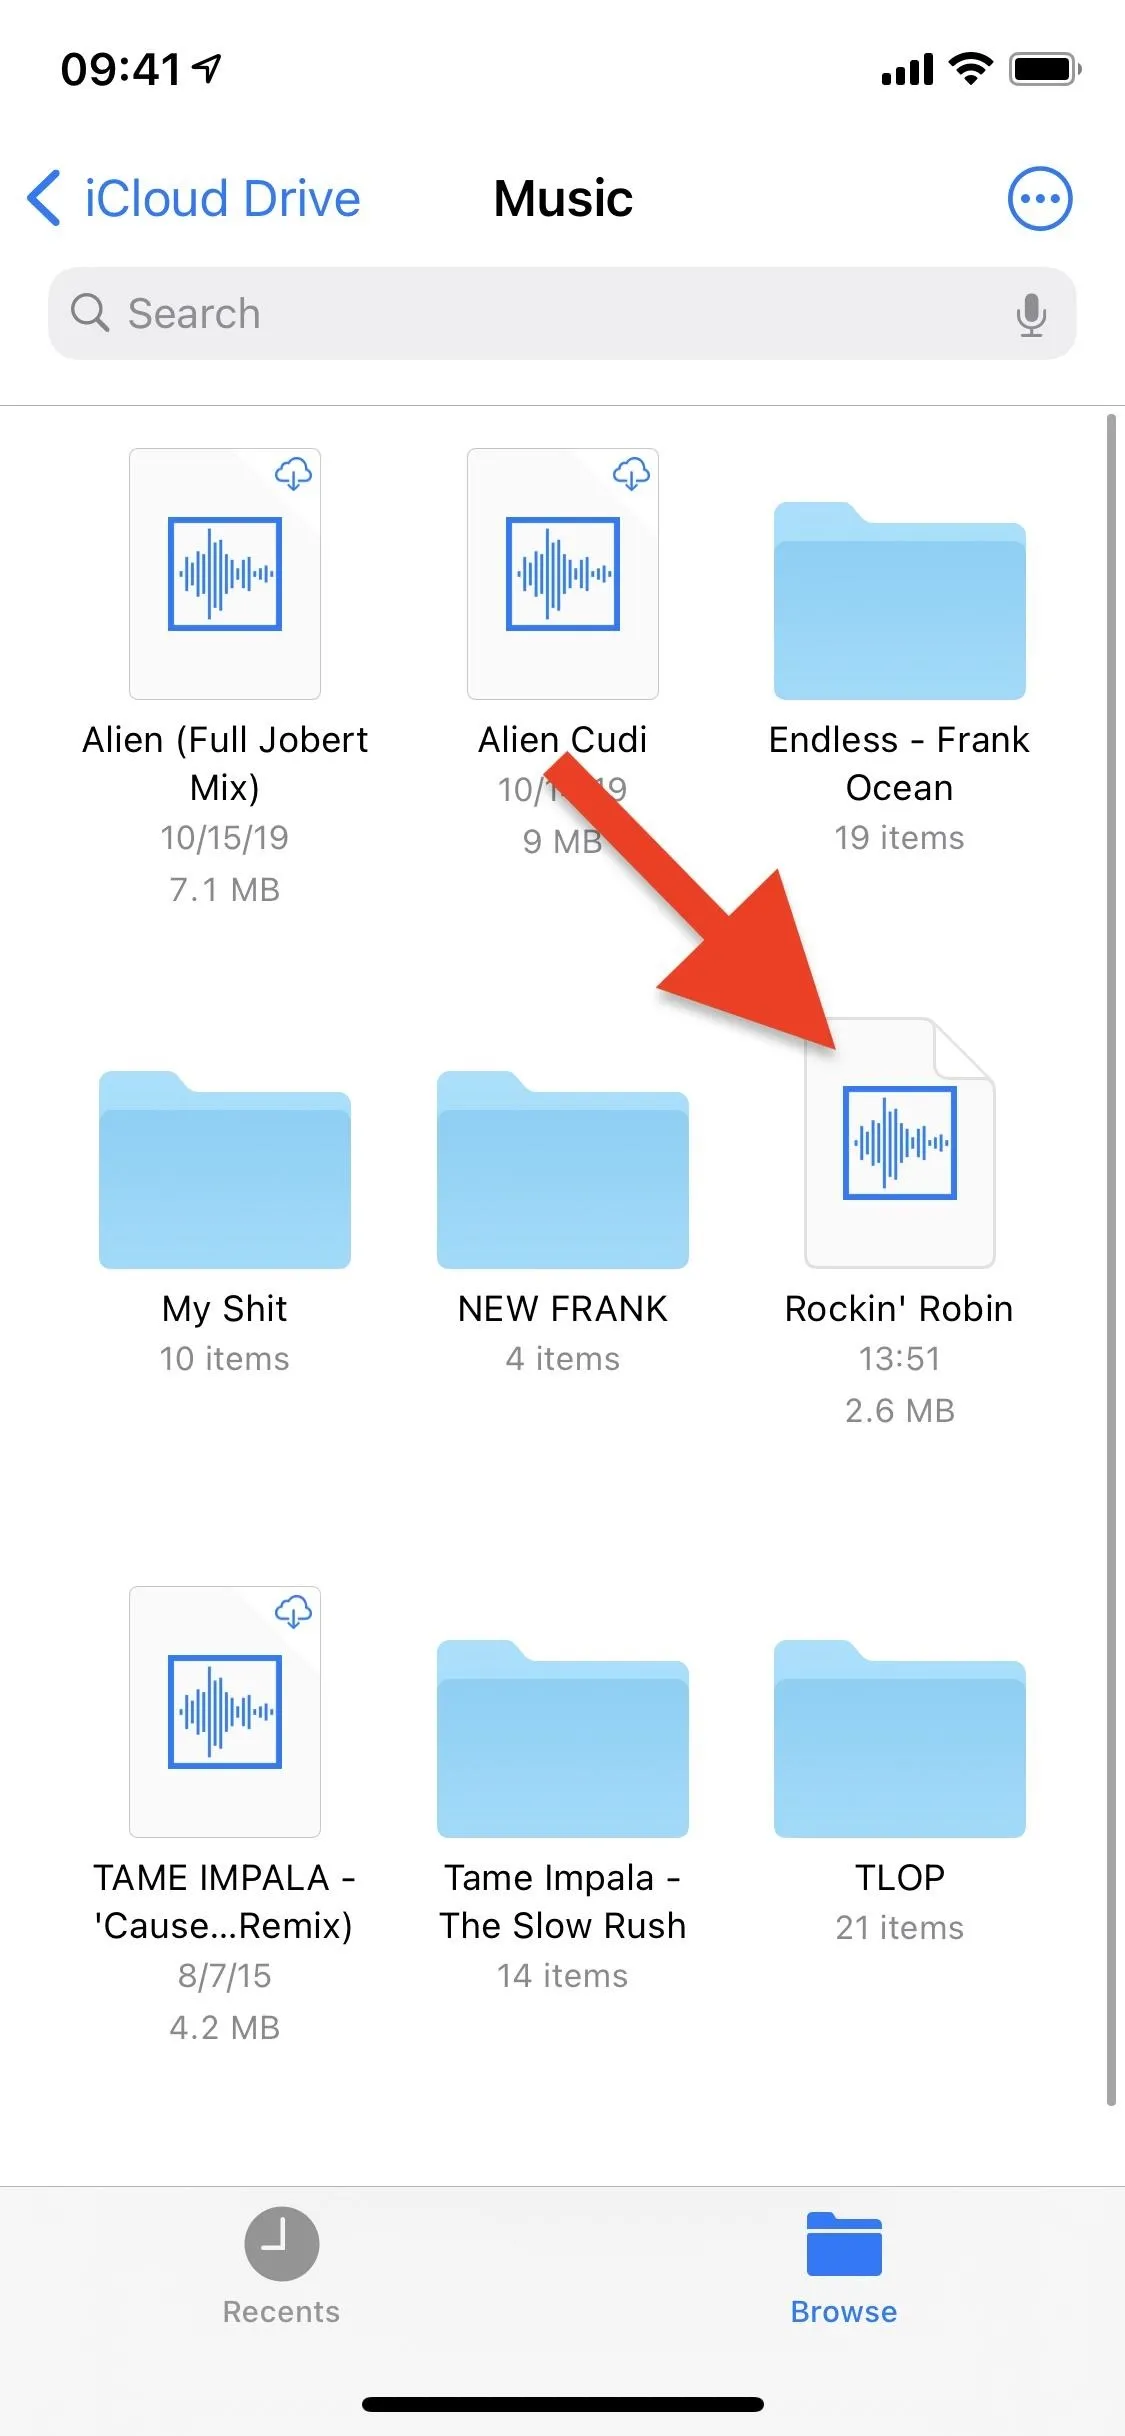
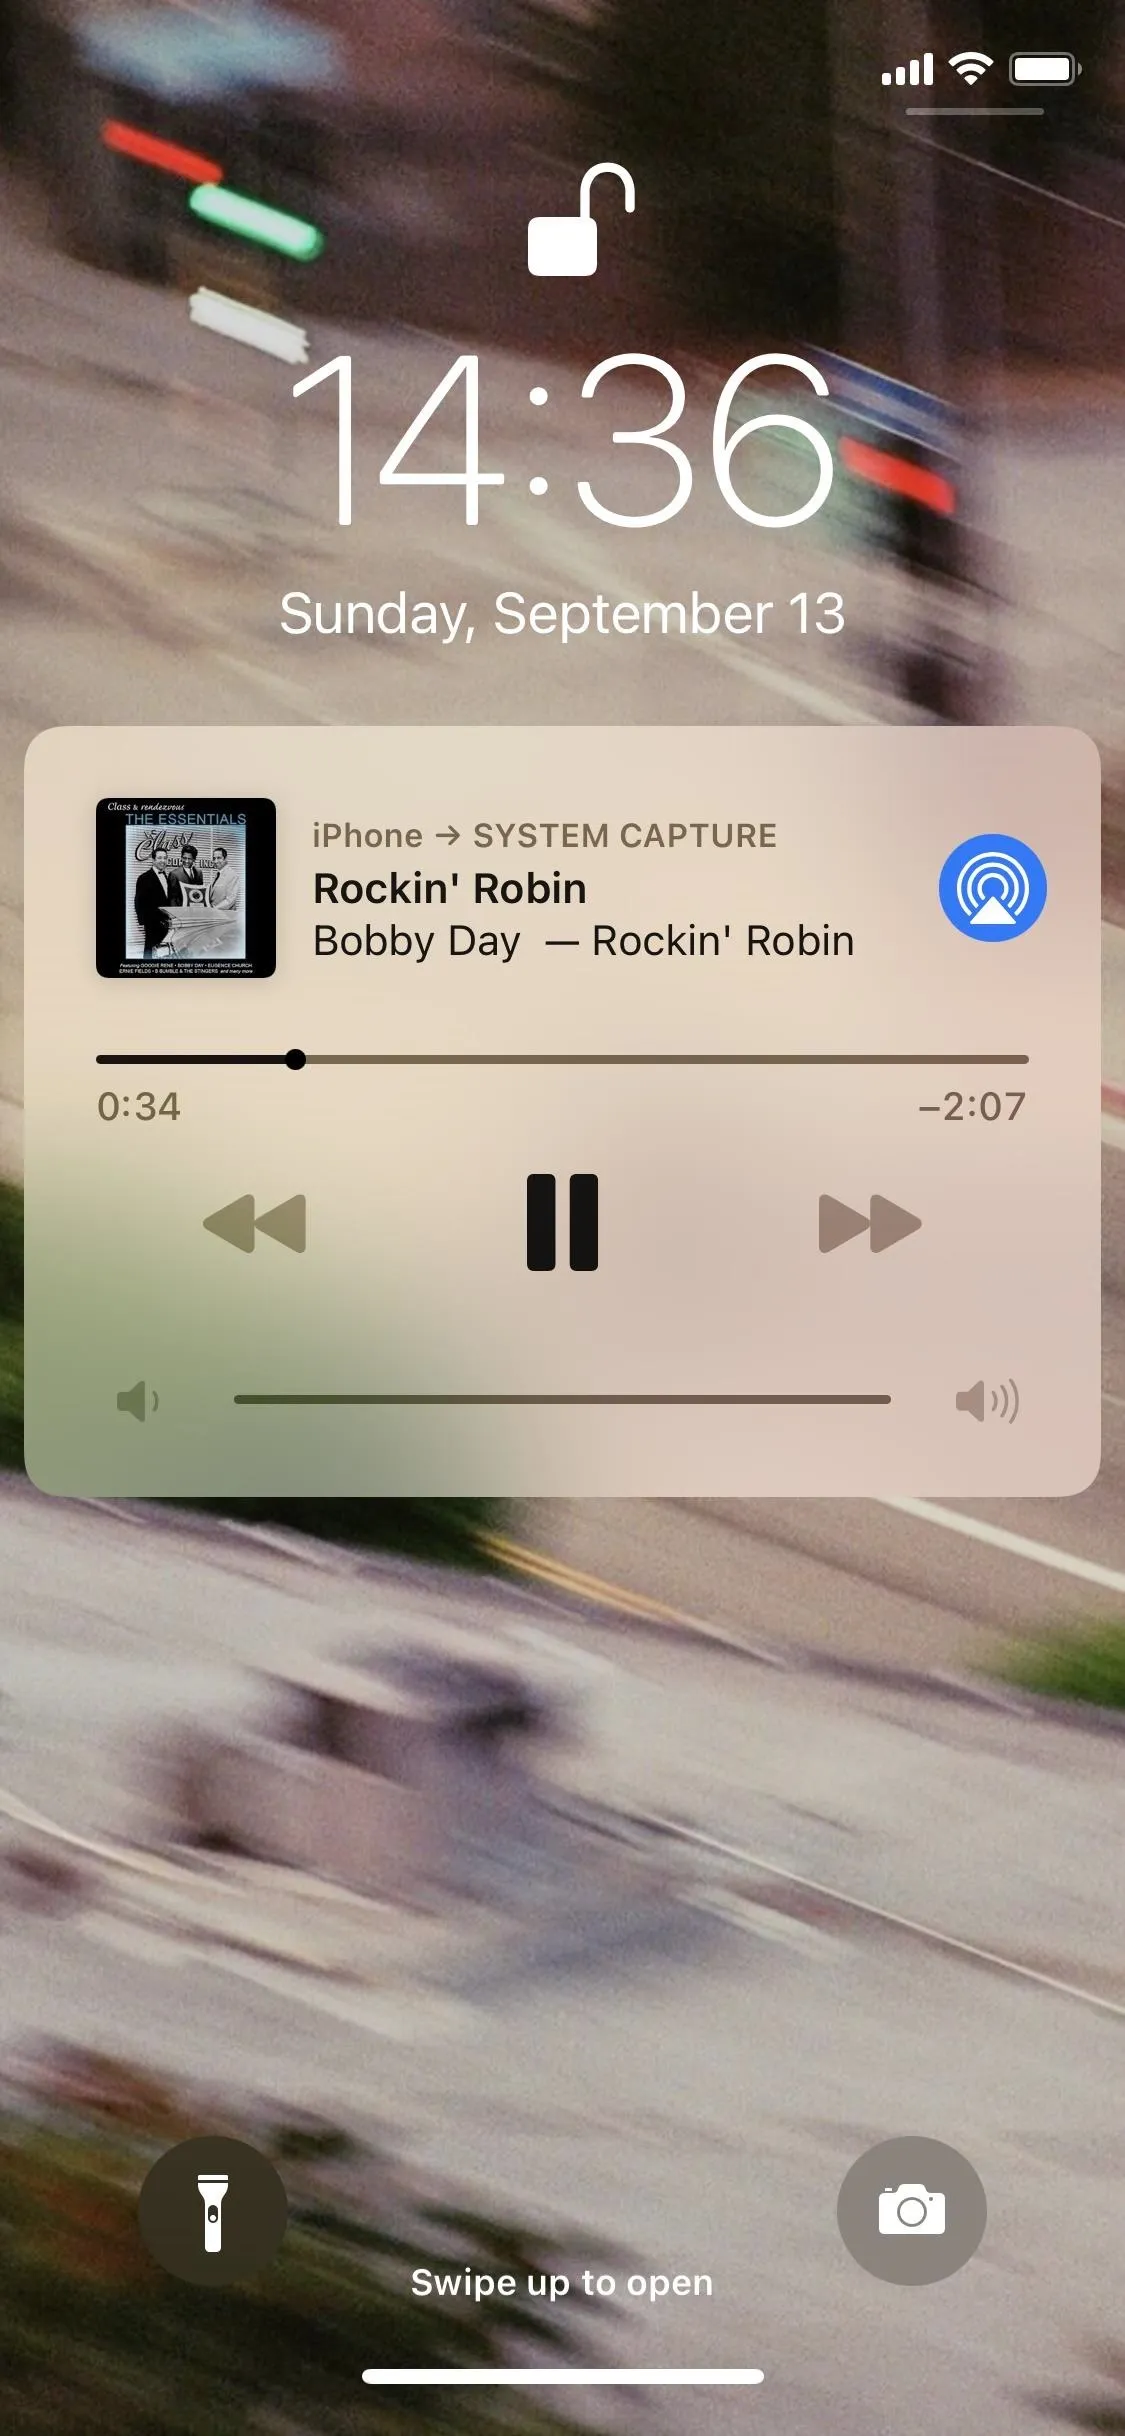
Once it's downloaded and saved to Files, you can find the song and tap on it to play it. It will be saved as a lossless ALAC (also M4A) file. Best of all, you can leave the Files app, and the song will continue to play in the background. On your lock screen, you'll see the song's artwork along with the album title, if available.


Save the Song to a Third-Party App
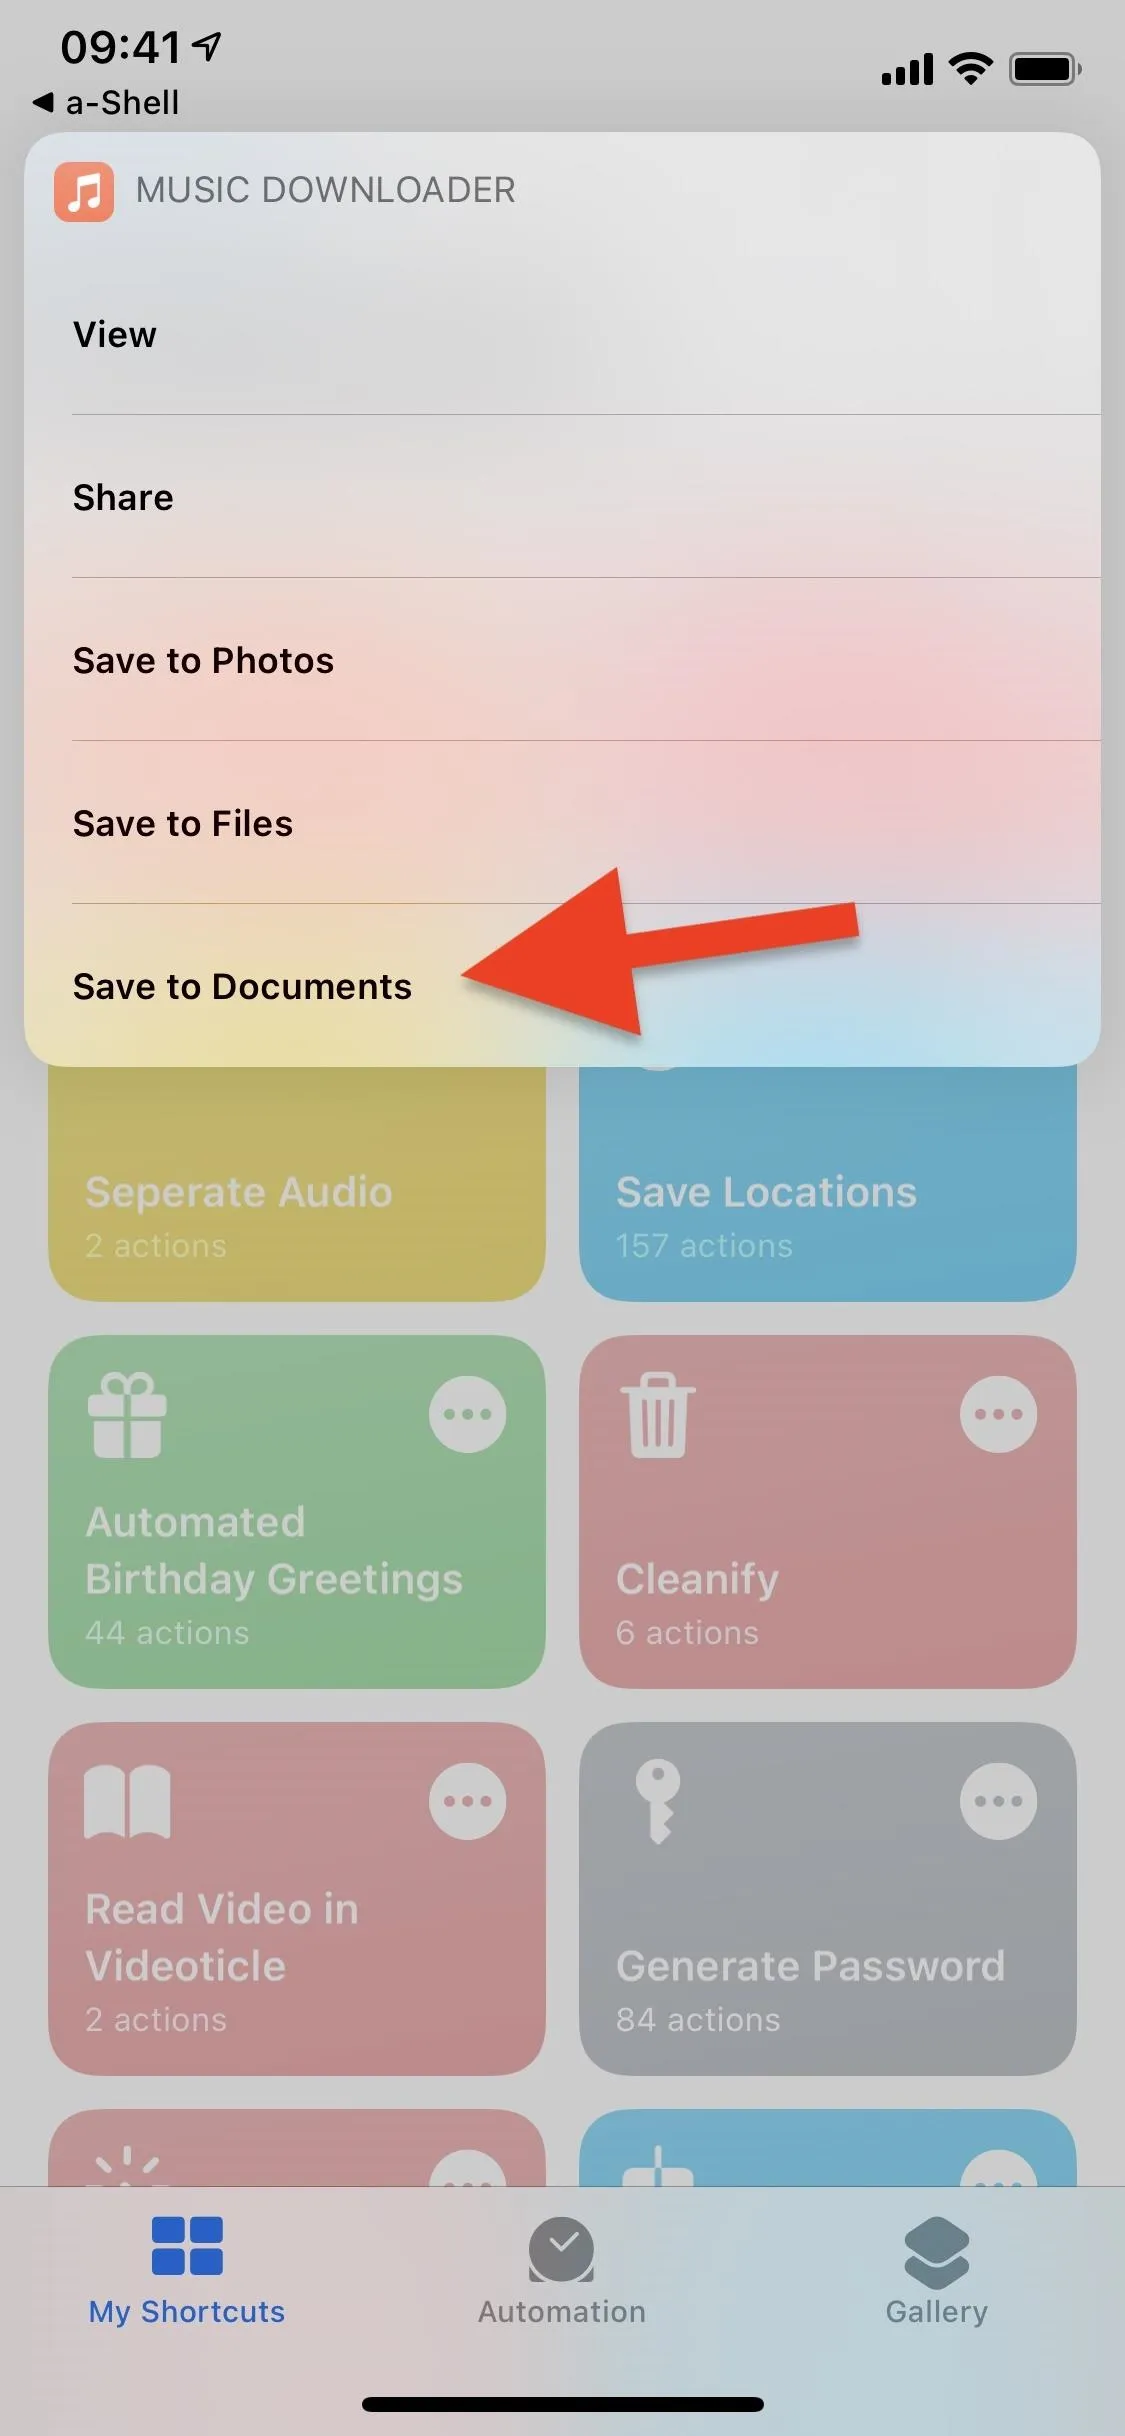
Finally, you can save the song to a third-party app of your choice, although not all of the apps on your iPhone may be available. If you tap on "Save to Documents," you'll get a pop-up that says Inappropriate file type or format because it will attempt to save it to Documents, a PDF reader and media player app you may not have. If you do have that app, the song can be stored and played from there, but if you don't, tap on "Show," and you'll be taken to the contents of the shortcut.


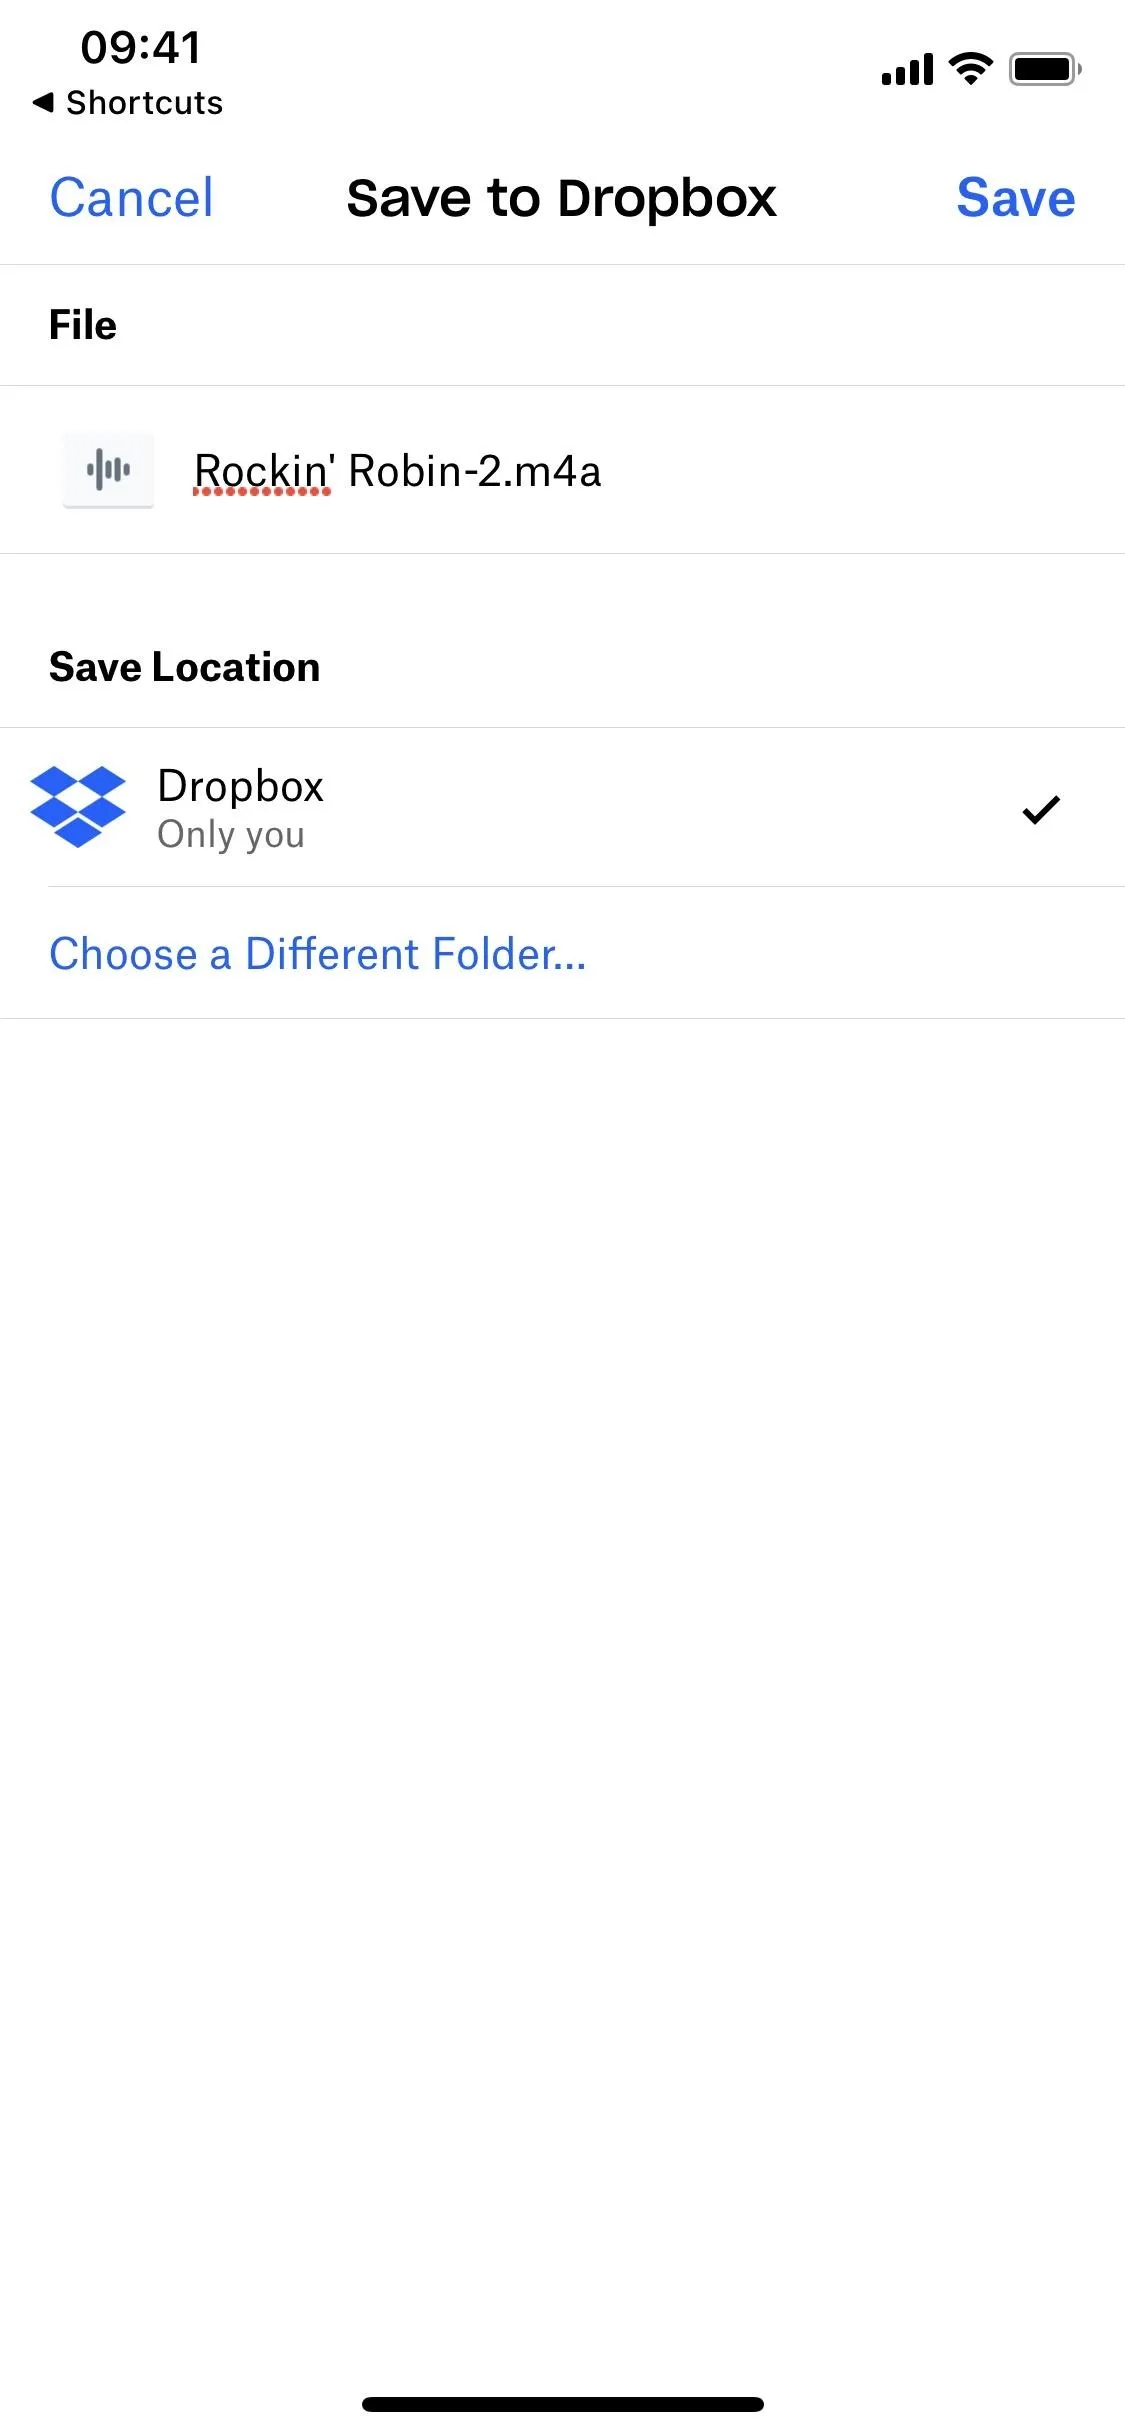
Right at the bottom of the shortcut's workflow, there's a box that says "Open Final Video in Choose." Tap on "Choose" and select the app you want the song to be saved to anytime you tap on "Save to Documents." You can choose from certain apps you already have installed on your iPhone, such as Google Docs, Dropbox, Notes, SoundHound, Voice Memos, and more. For this option, I chose Dropbox.
Some music players can hook into a folder in Dropbox, Files, etc., such as Evermusic, Flacbox, and VLC, but the stock Music app on your iPhone won't be able to play anything unless you add the music on your computer and then sync it with your iPhone.
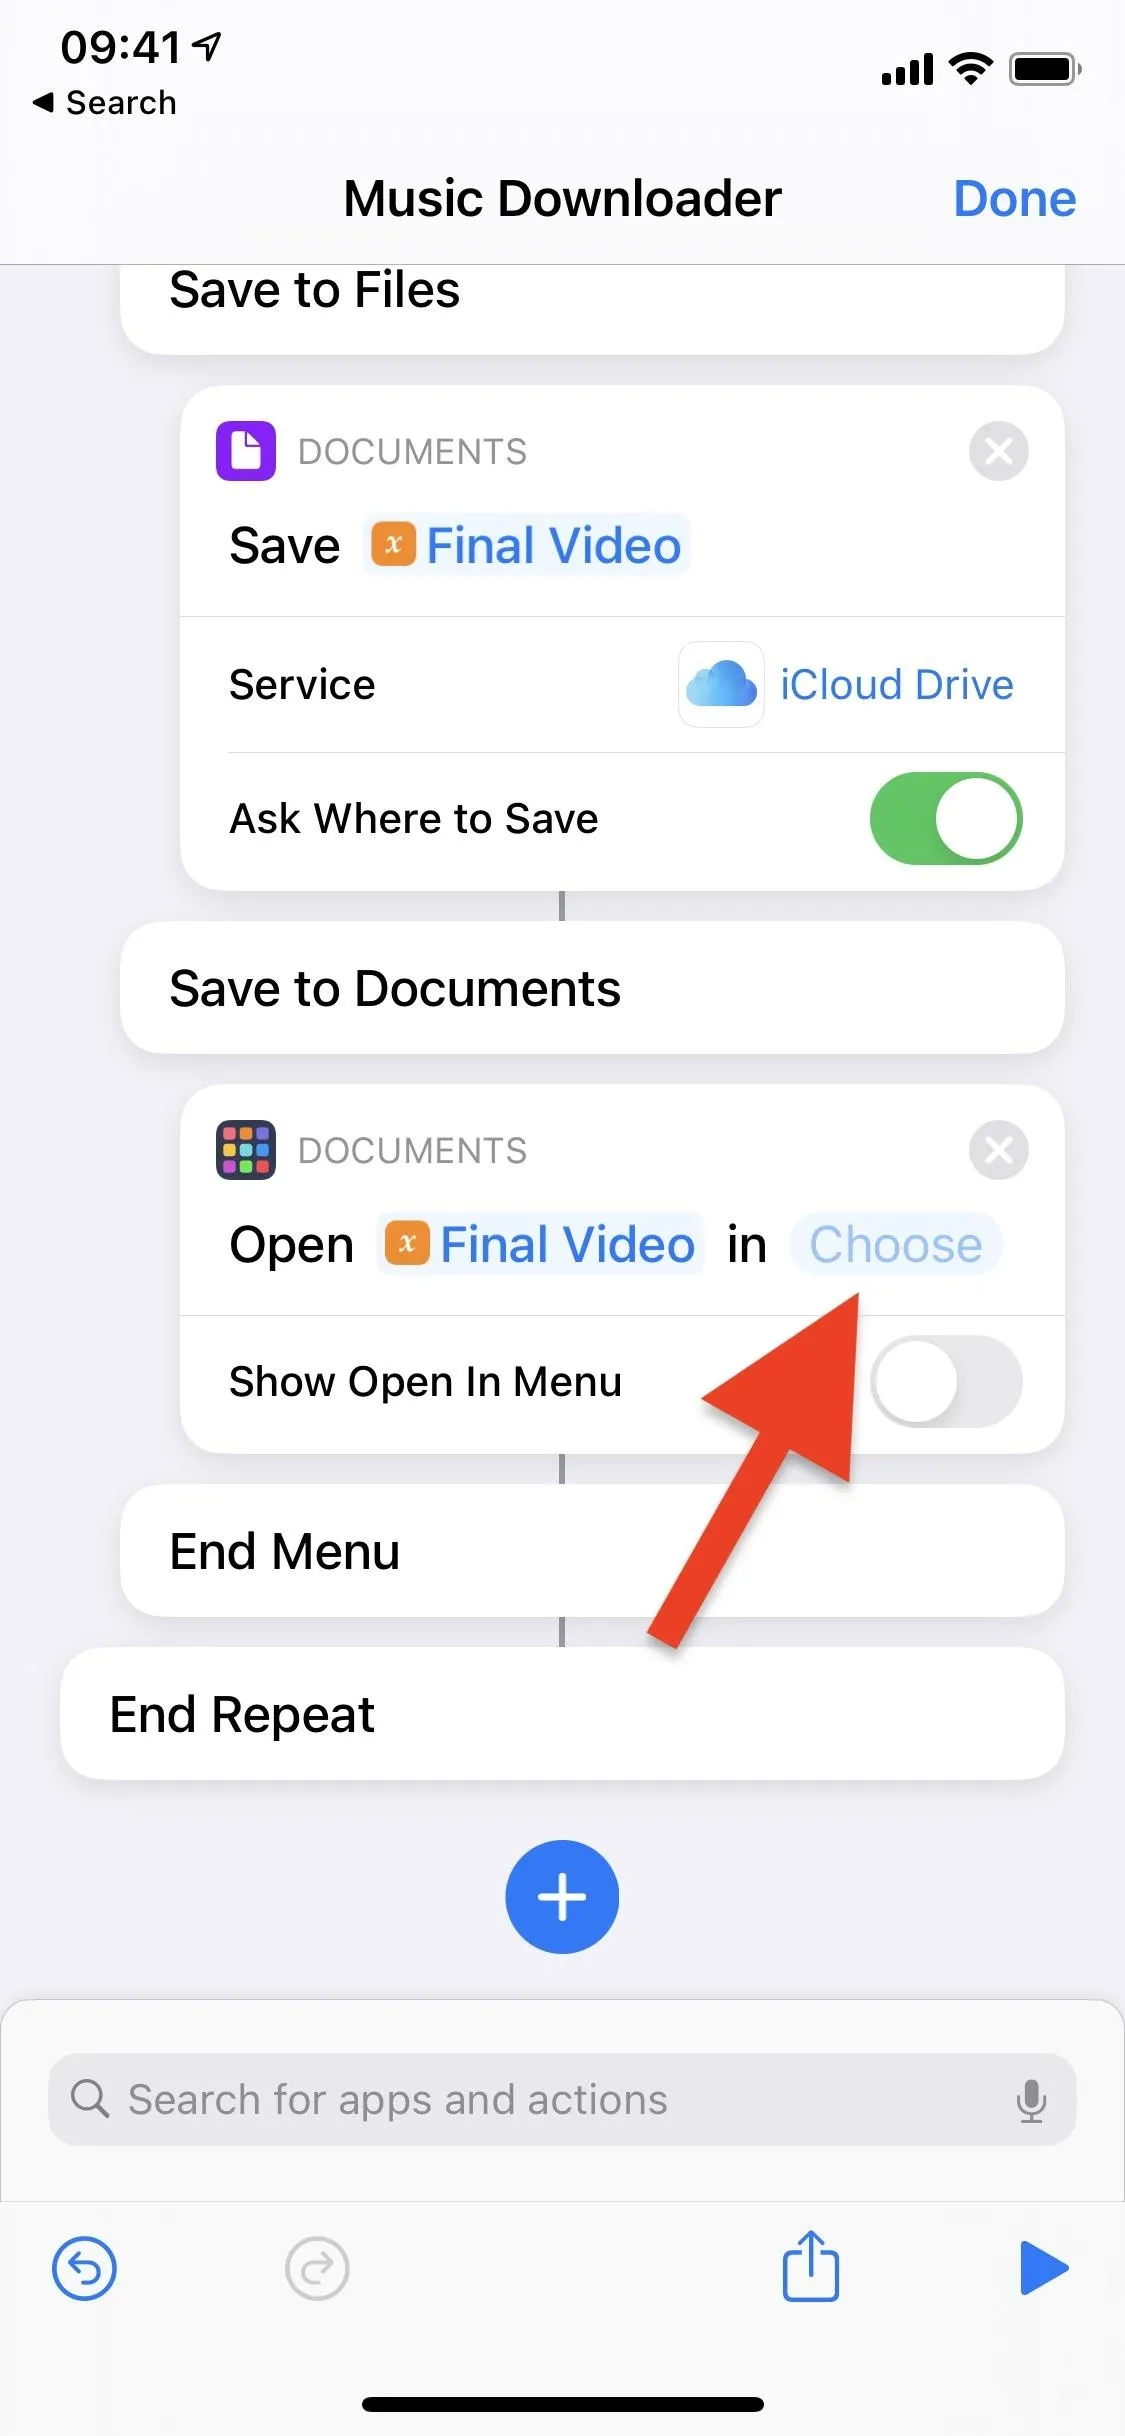
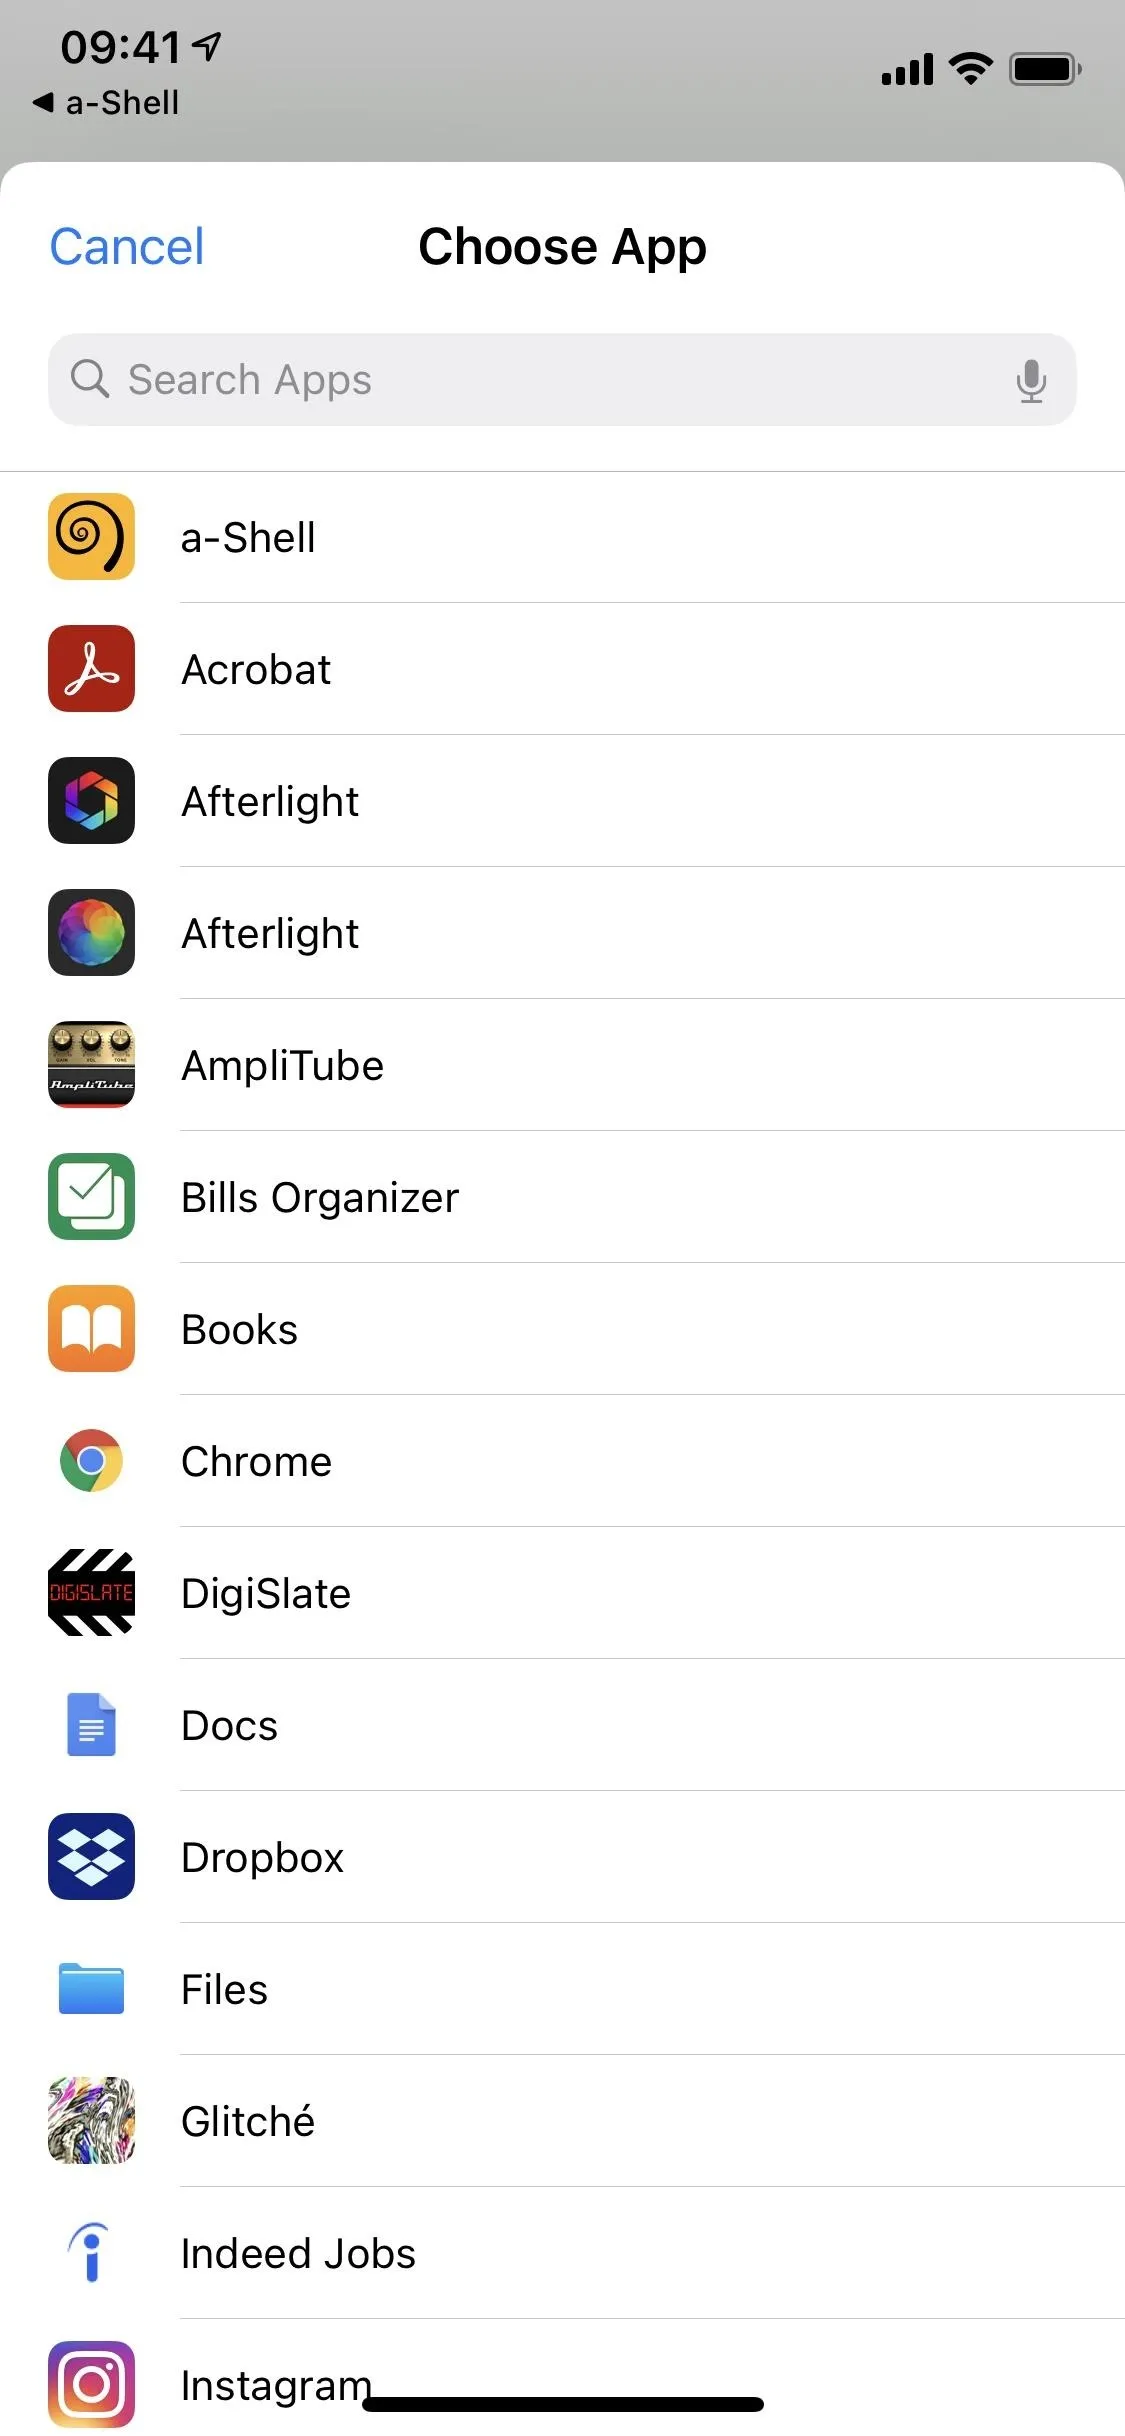


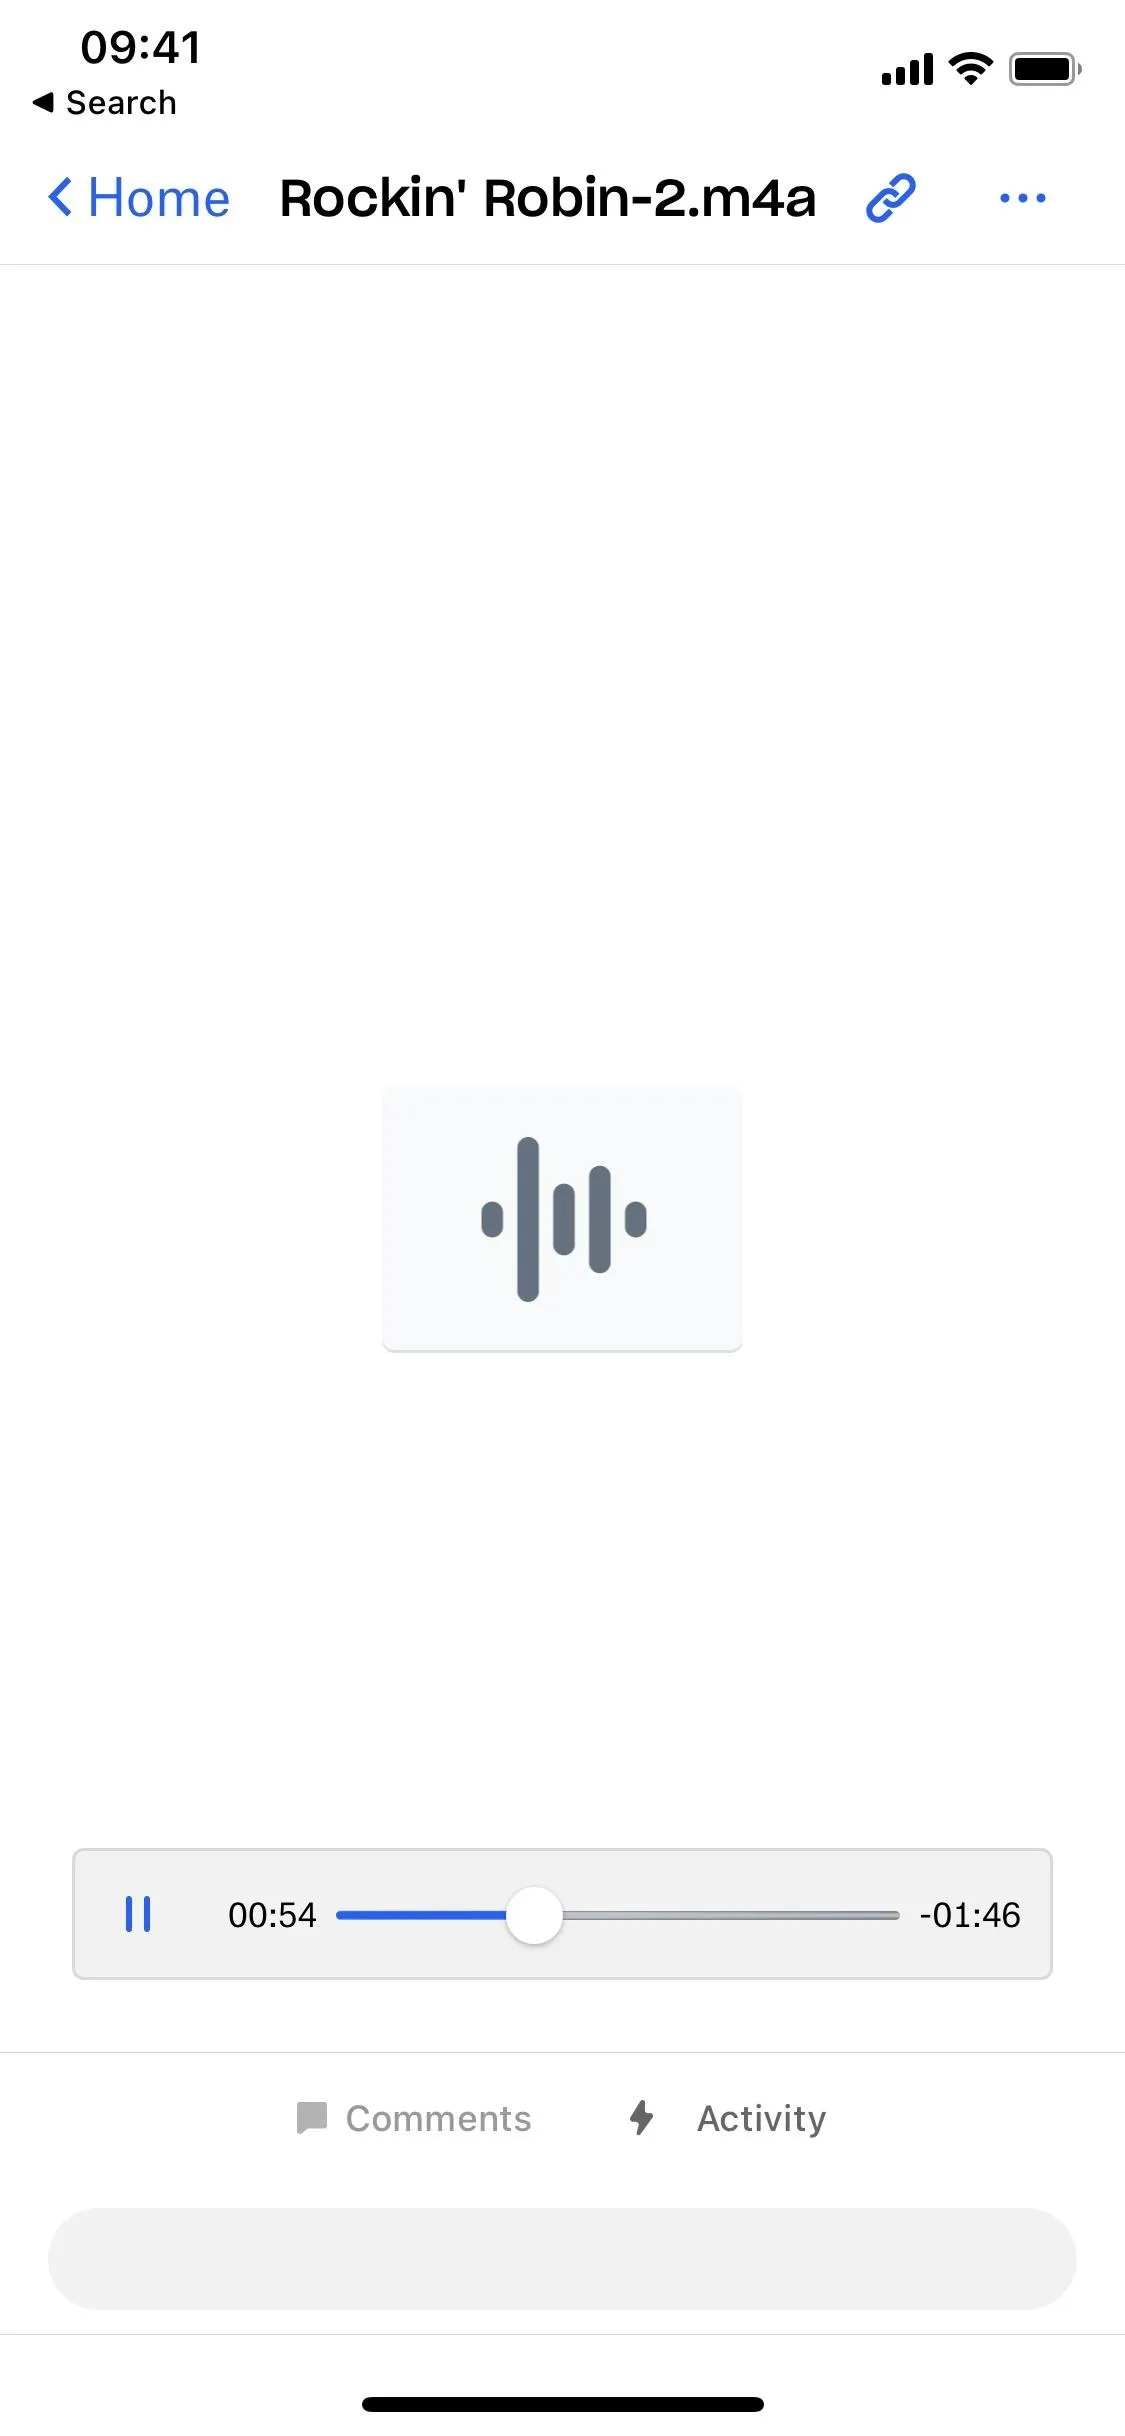
Anytime you choose "Save to Documents," the native or third-party app you selected will open and allow you to save the M4A file to it. Depending on the app, you may be able to listen to the song while the app is in the background, like with Dropbox.


Needless to say, we don't condone pirating music. We recommend using this shortcut for music in the public domain. If you use it for anything else, why not support the artists and labels and just buy the track?
Cover photo and screenshots by Nelson Aguilar/Gadget Hacks


Comments
Be the first, drop a comment!