


There aren't many iPhone apps that let you change their color theme beyond light and dark appearances. They really don't need to either because iOS has a few hidden tricks up its sleeves to help you customize any app's colors either during a specific session or every time you use the app.
For example, if you're tired of the dark theme that Apple's stock Calculator app has sported since iOS 11, which is pretty much the same color scheme used since its inception, give it a new look. Instead of black and orange, you can go with white and blue. If you don't like the orange buttons, you can set them to match the light gray ones. And those are just a few options.
This is made possible thanks to a few different features on iOS.
First, there are per-app settings. Second, you can use automations in the Shortcuts app to automatically apply one or more system filters to an app when you open it and then disable them when you close it. You can even assign the same look to a group of apps on your iPhone. Third, you can use Back Tap or Accessibility Shortcuts to trigger or disable a specific theme in-app whenever you want.
Before we get into that, let's see all the visual changes we can make. While some of these settings change colors directly, others alter other aspects of the UI that directly affect the look and feel of apps, including colors.
Jump to an Effect
- Dark Mode
- Classic Invert
- Smart Invert
- Color Filters
- Increase Contrast
- Reduce Transparency
- Reduce White Point
- Zoom
- Night Shift
- True Tone
- Brightness
Jump to a Method
- Method 3: Manually Change Colors in Apps
- Option 1: Accessibility Shortcut
- Option 2: Accessibility Shortcuts in Control Center
- Option 3: Back Tap
1. Dark Mode
Dark Mode on your iPhone uses a darker color palette to change the regular view system-wide to a darker look that's great for low-light environments. You'll notice dimmer background colors and brighter foreground colors in apps. Many elements are inverted, but some are custom adaptive colors set by app developers, so screens, views, menus, and controls may look slightly different across apps.
An interesting tidbit from Apple: "[Dark Mode] uses two sets of background colors — called base and elevated — to enhance the perception of depth when one dark interface is layered above another. The base colors are dimmer, making background interfaces appear to recede, and the elevated colors are brighter, making foreground interfaces appear to advance."
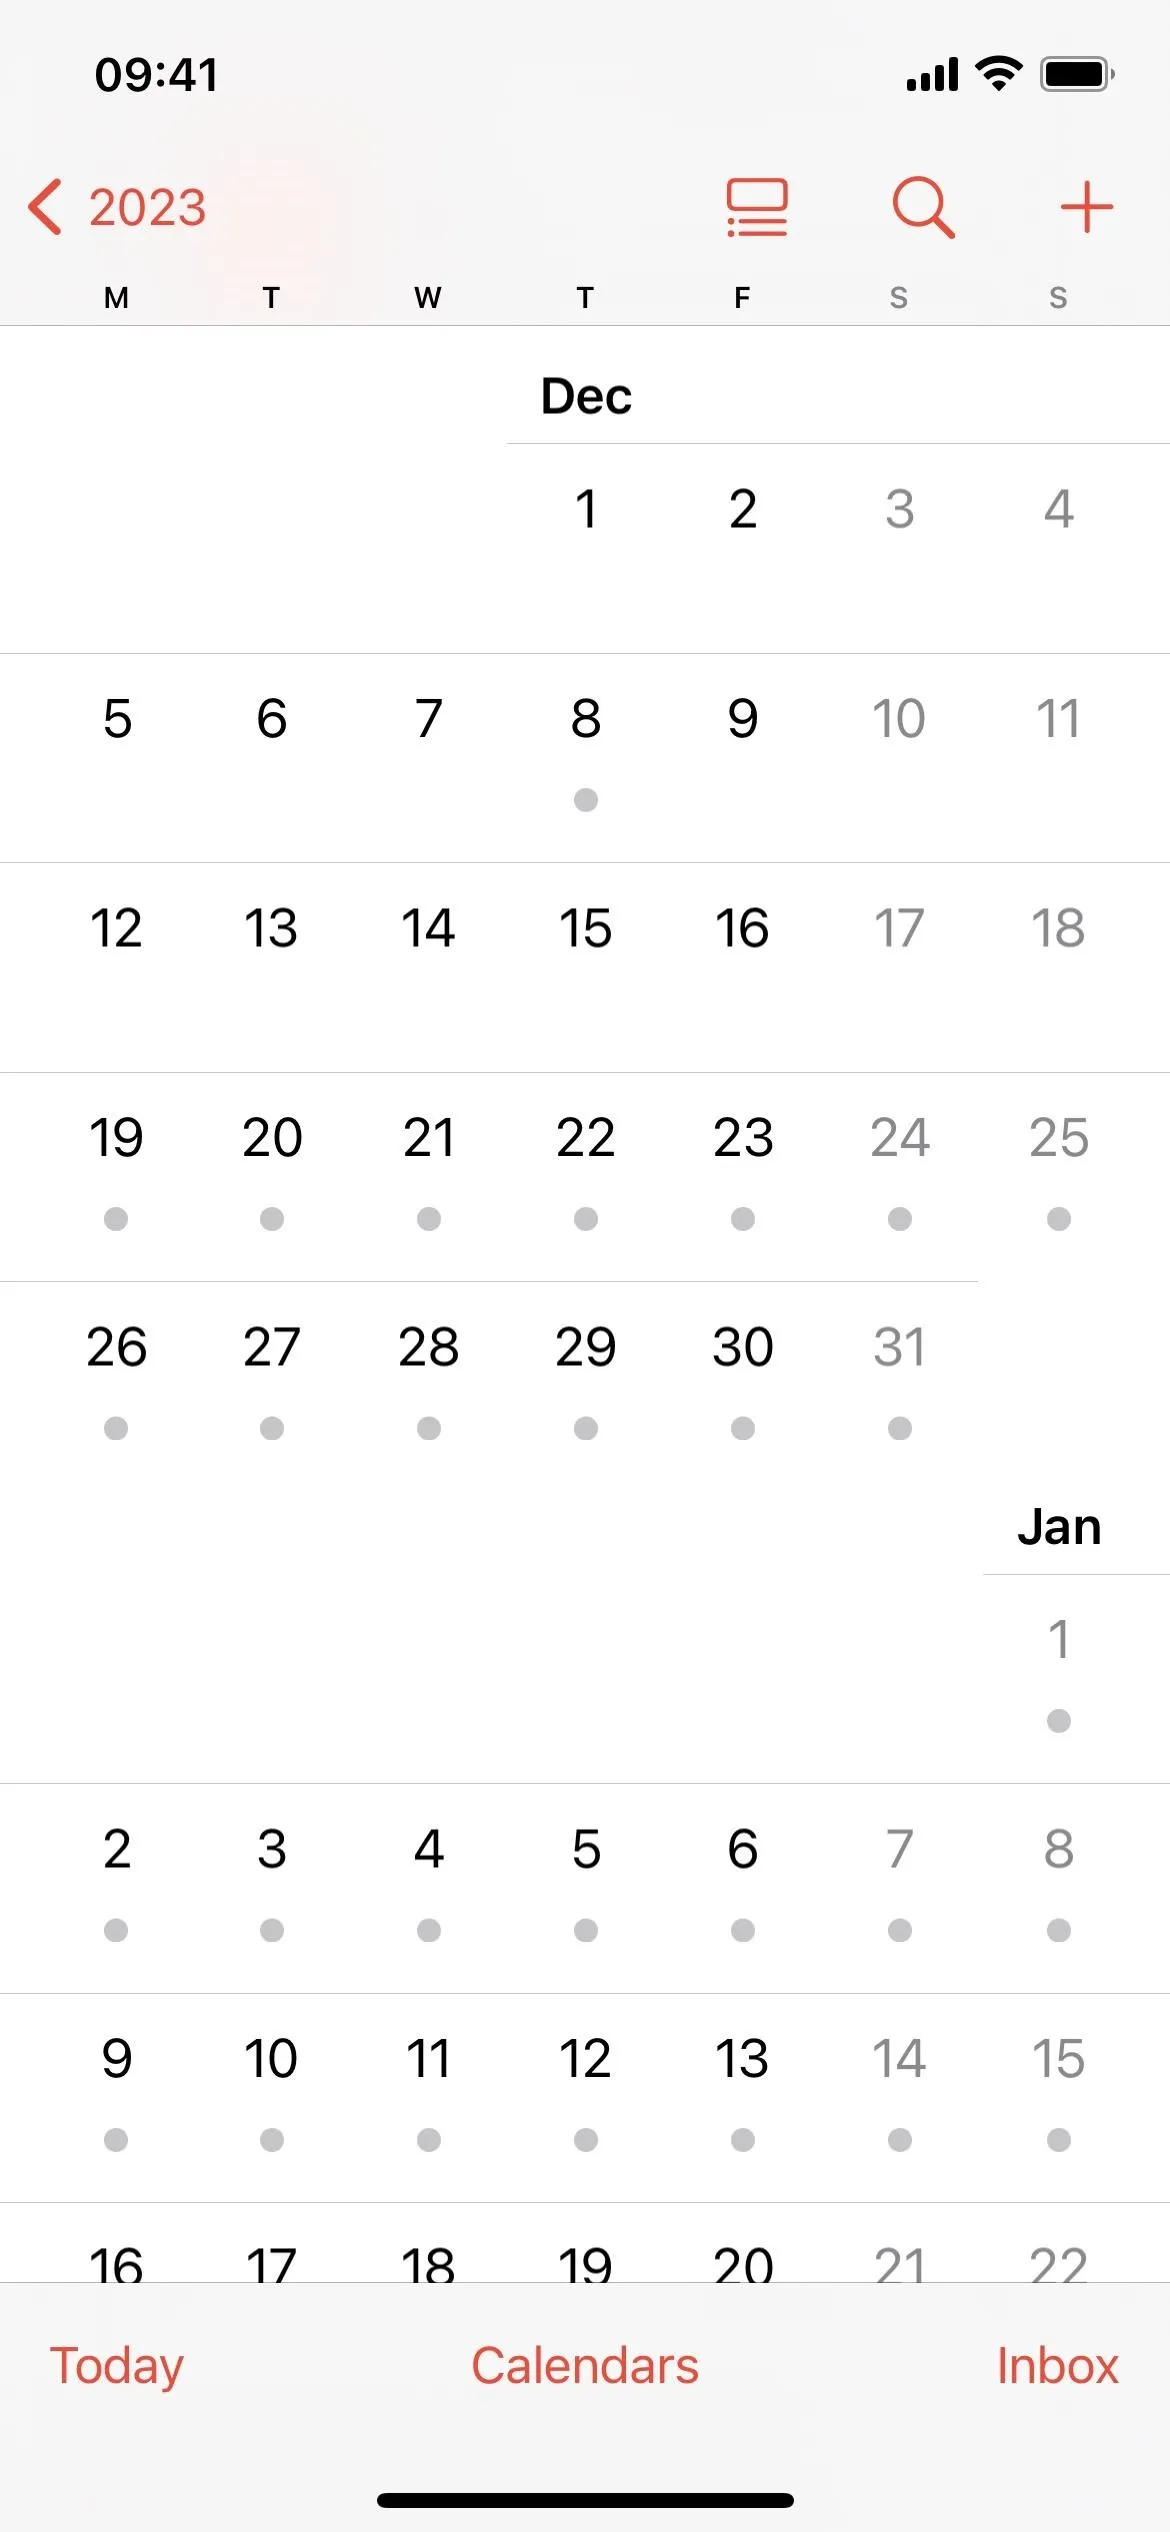
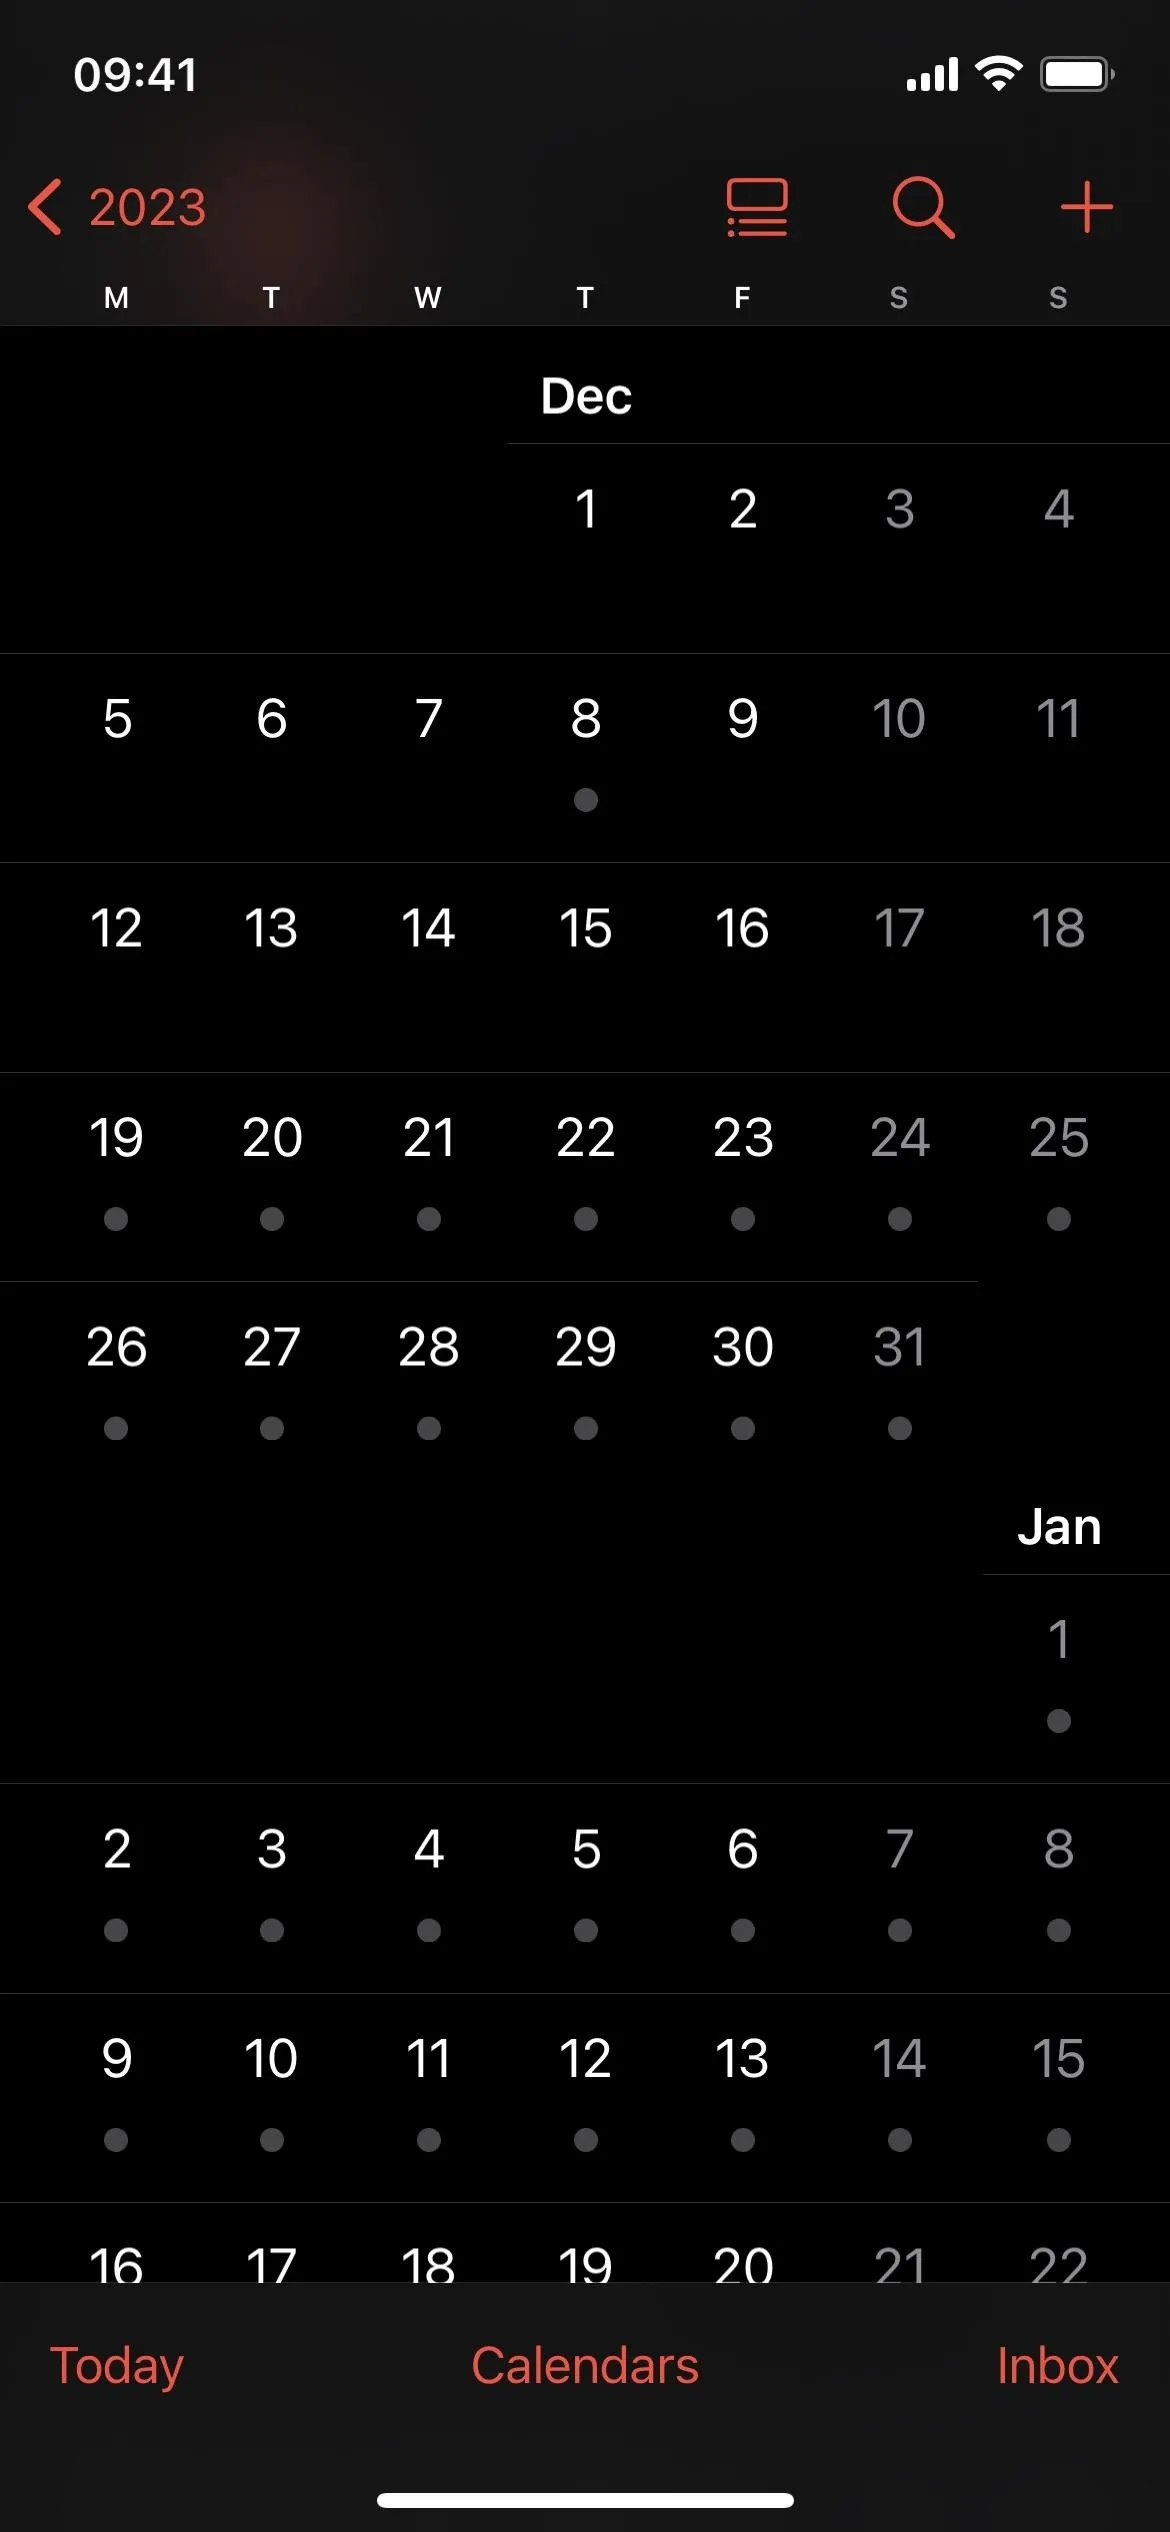
You can activate Dark Mode manually from Settings –> Display & Brightness, the Brightness Slider in Control Center, or the Dark Mode control in Control Center (if added). Siri also works. You can also set it to automatically switch to Dark Mode for night and Light Mode for daytime. Note that Dark Mode affects screenshots, screen recordings, and screen mirroring.
2. Classic Invert
Classic Invert reverses all colors on the display, so blacks become whites, greens become reds, oranges become blue, light grays become dark grays, and so on. Even images and media are reversed — nothing is safe from color inversion. As you can see below, Calculator's black background becomes white, its orange buttons blue, its white text black, and the grays switch places.
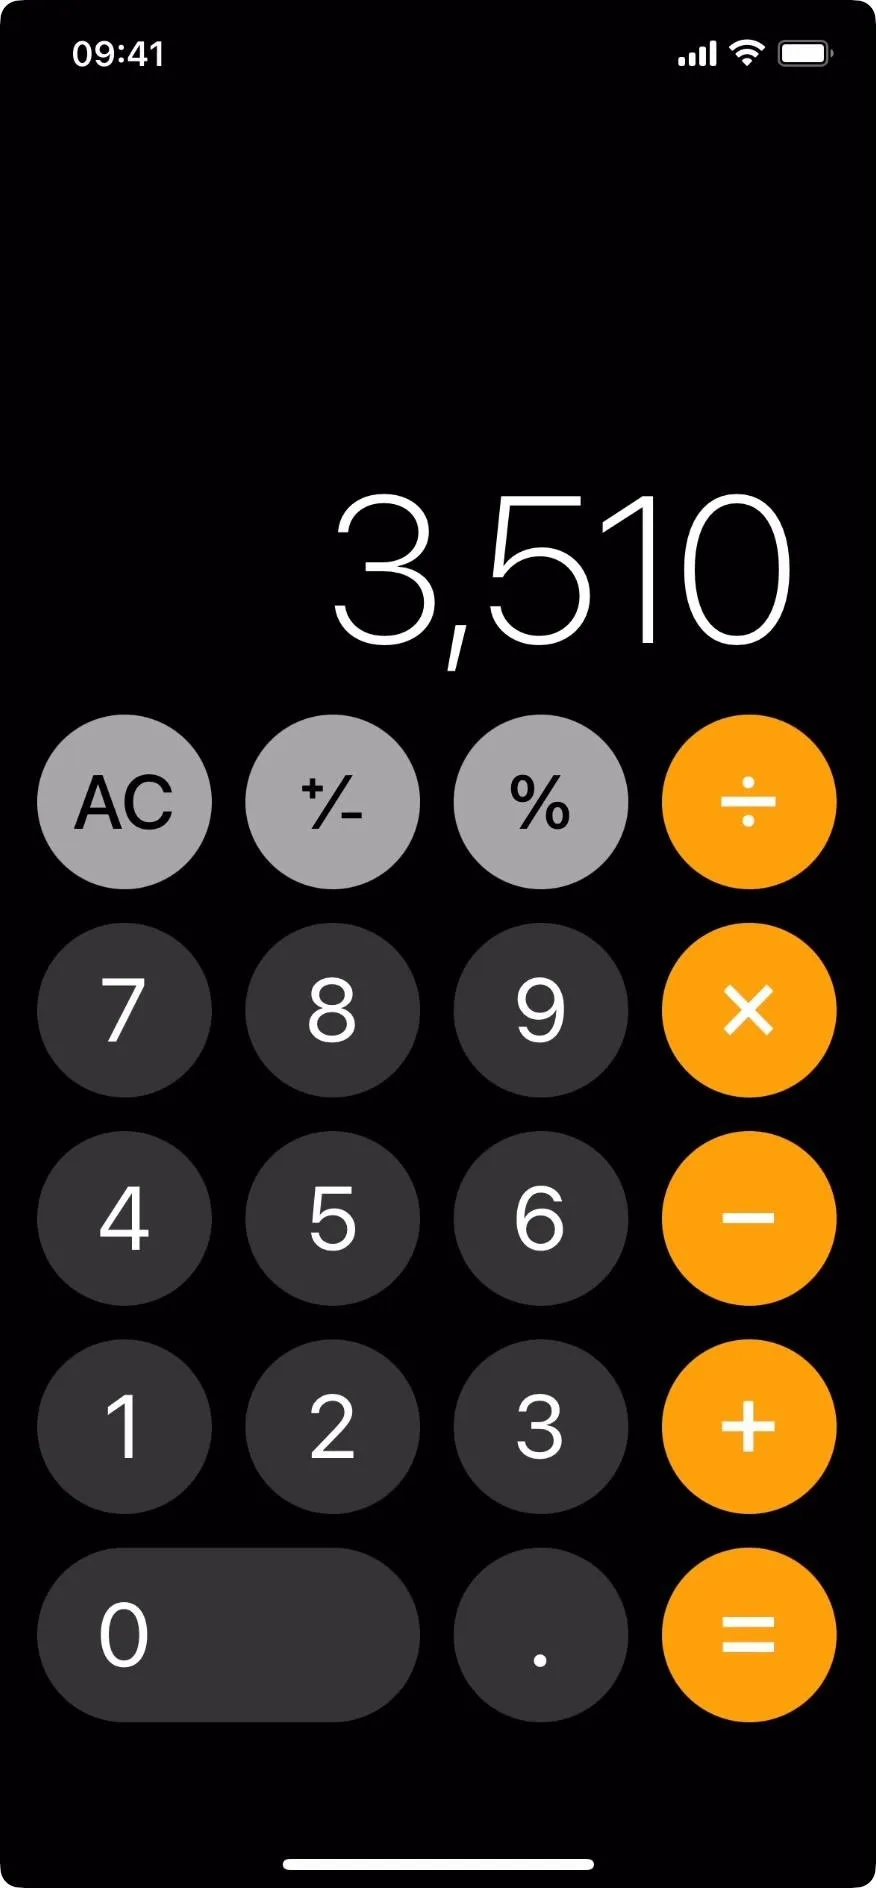

You can turn Classic Invert on or off from Settings –> Accessibility –> Display & Text Size. Siri also works. Note that Classic Invert does not affect screenshots, but it does affect screen recordings and screen mirroring.
3. Smart Invert
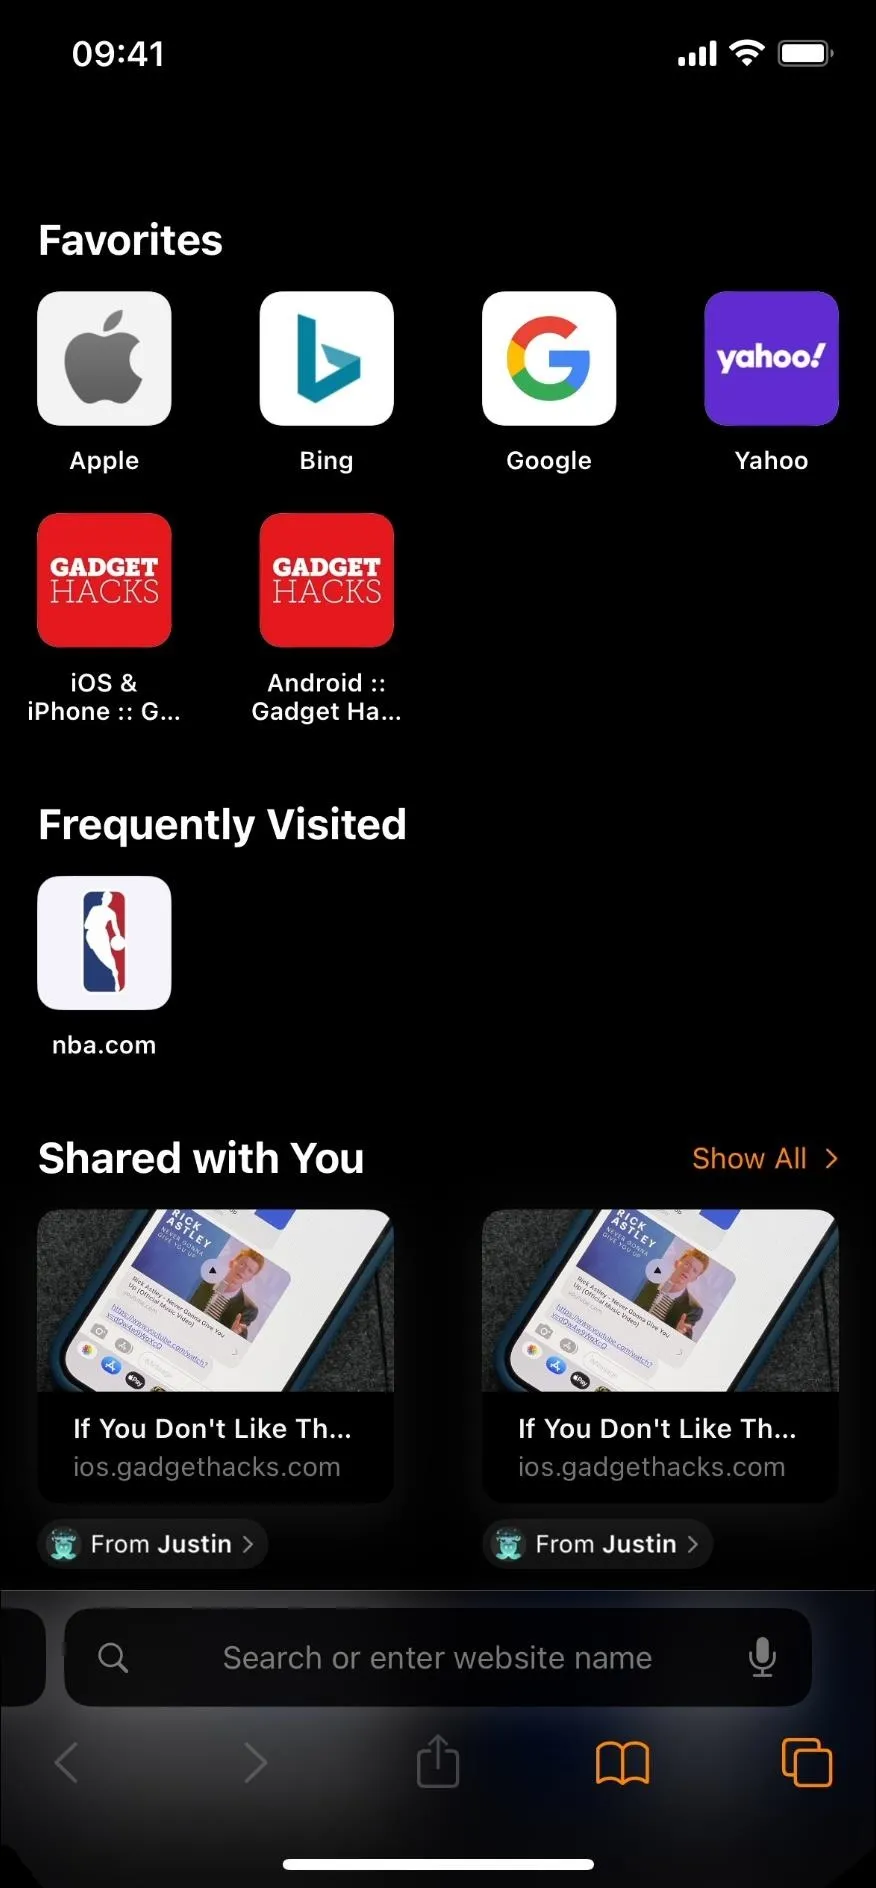
Smart Invert works similarly to Classic Invert in that it reverses the colors on the display. However, it does not invert most images, most media, and some apps that use dark color styles. So if you're in an app that uses a dark color palette, like the Clocks app, you won't see much change, if anything. Smart Invert may appear very similar to Dark Mode, but it uses much deeper blacks in many areas.
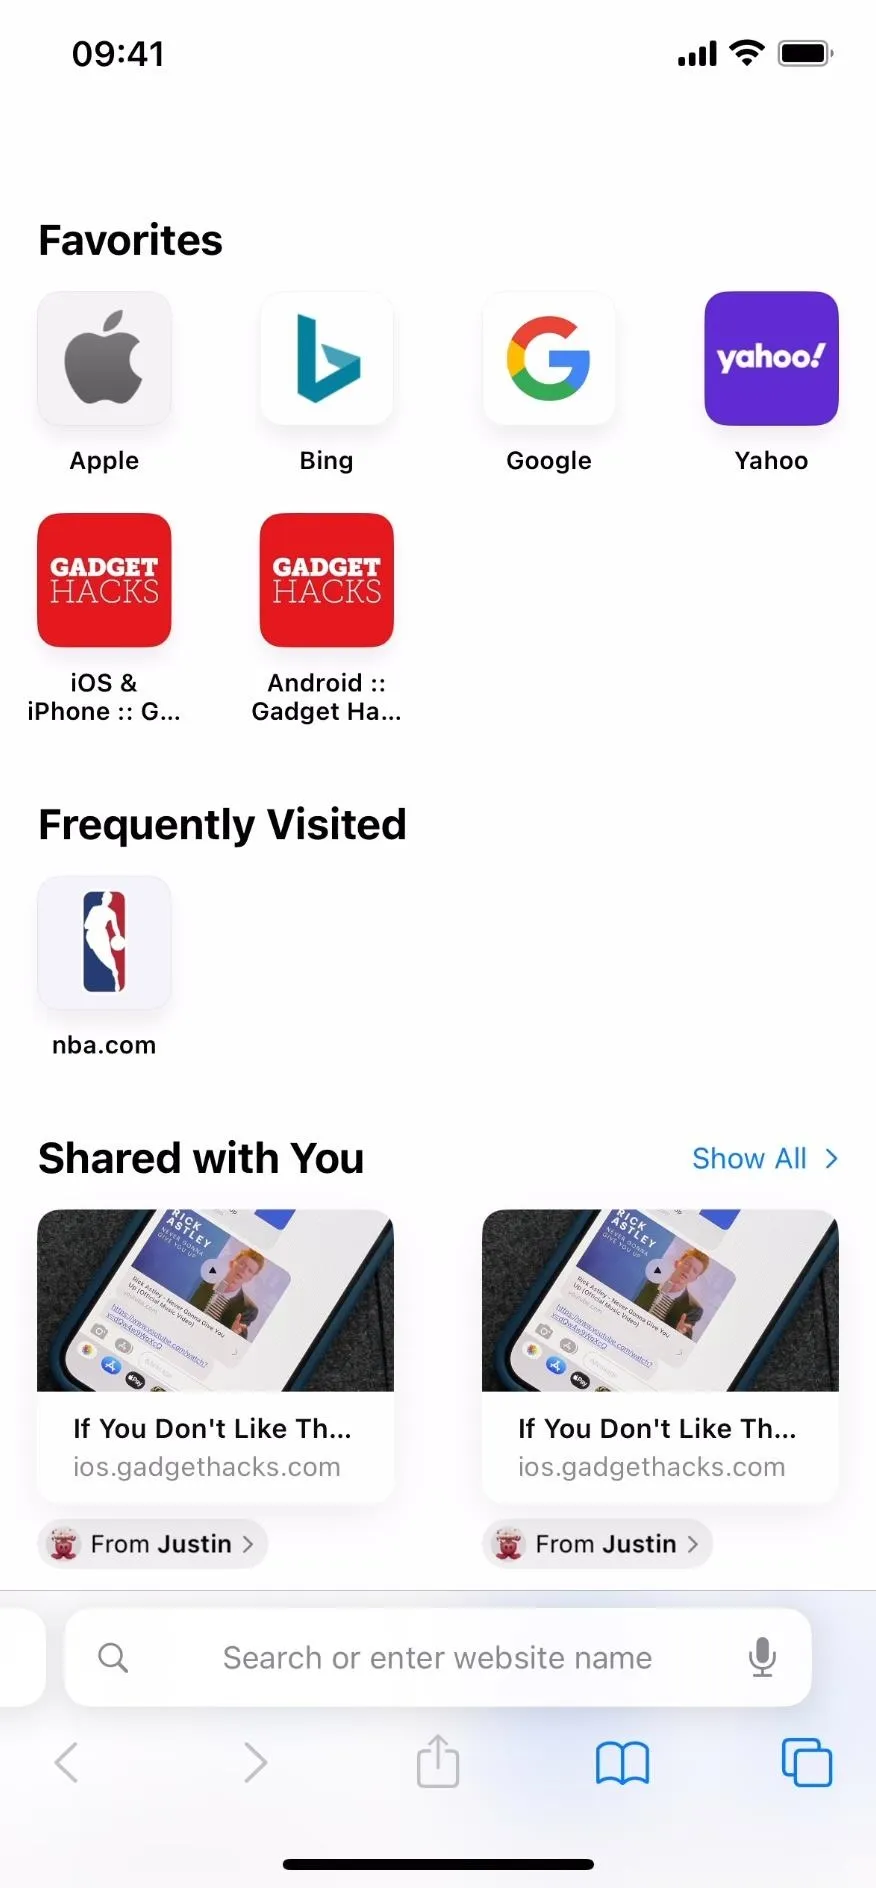
You can turn Smart Invert on or off from Settings –> Accessibility –> Display & Text Size. Siri also works. Note that Smart Invert does not affect screenshots, but it does affect screen recordings and screen mirroring.
4. Color Filters
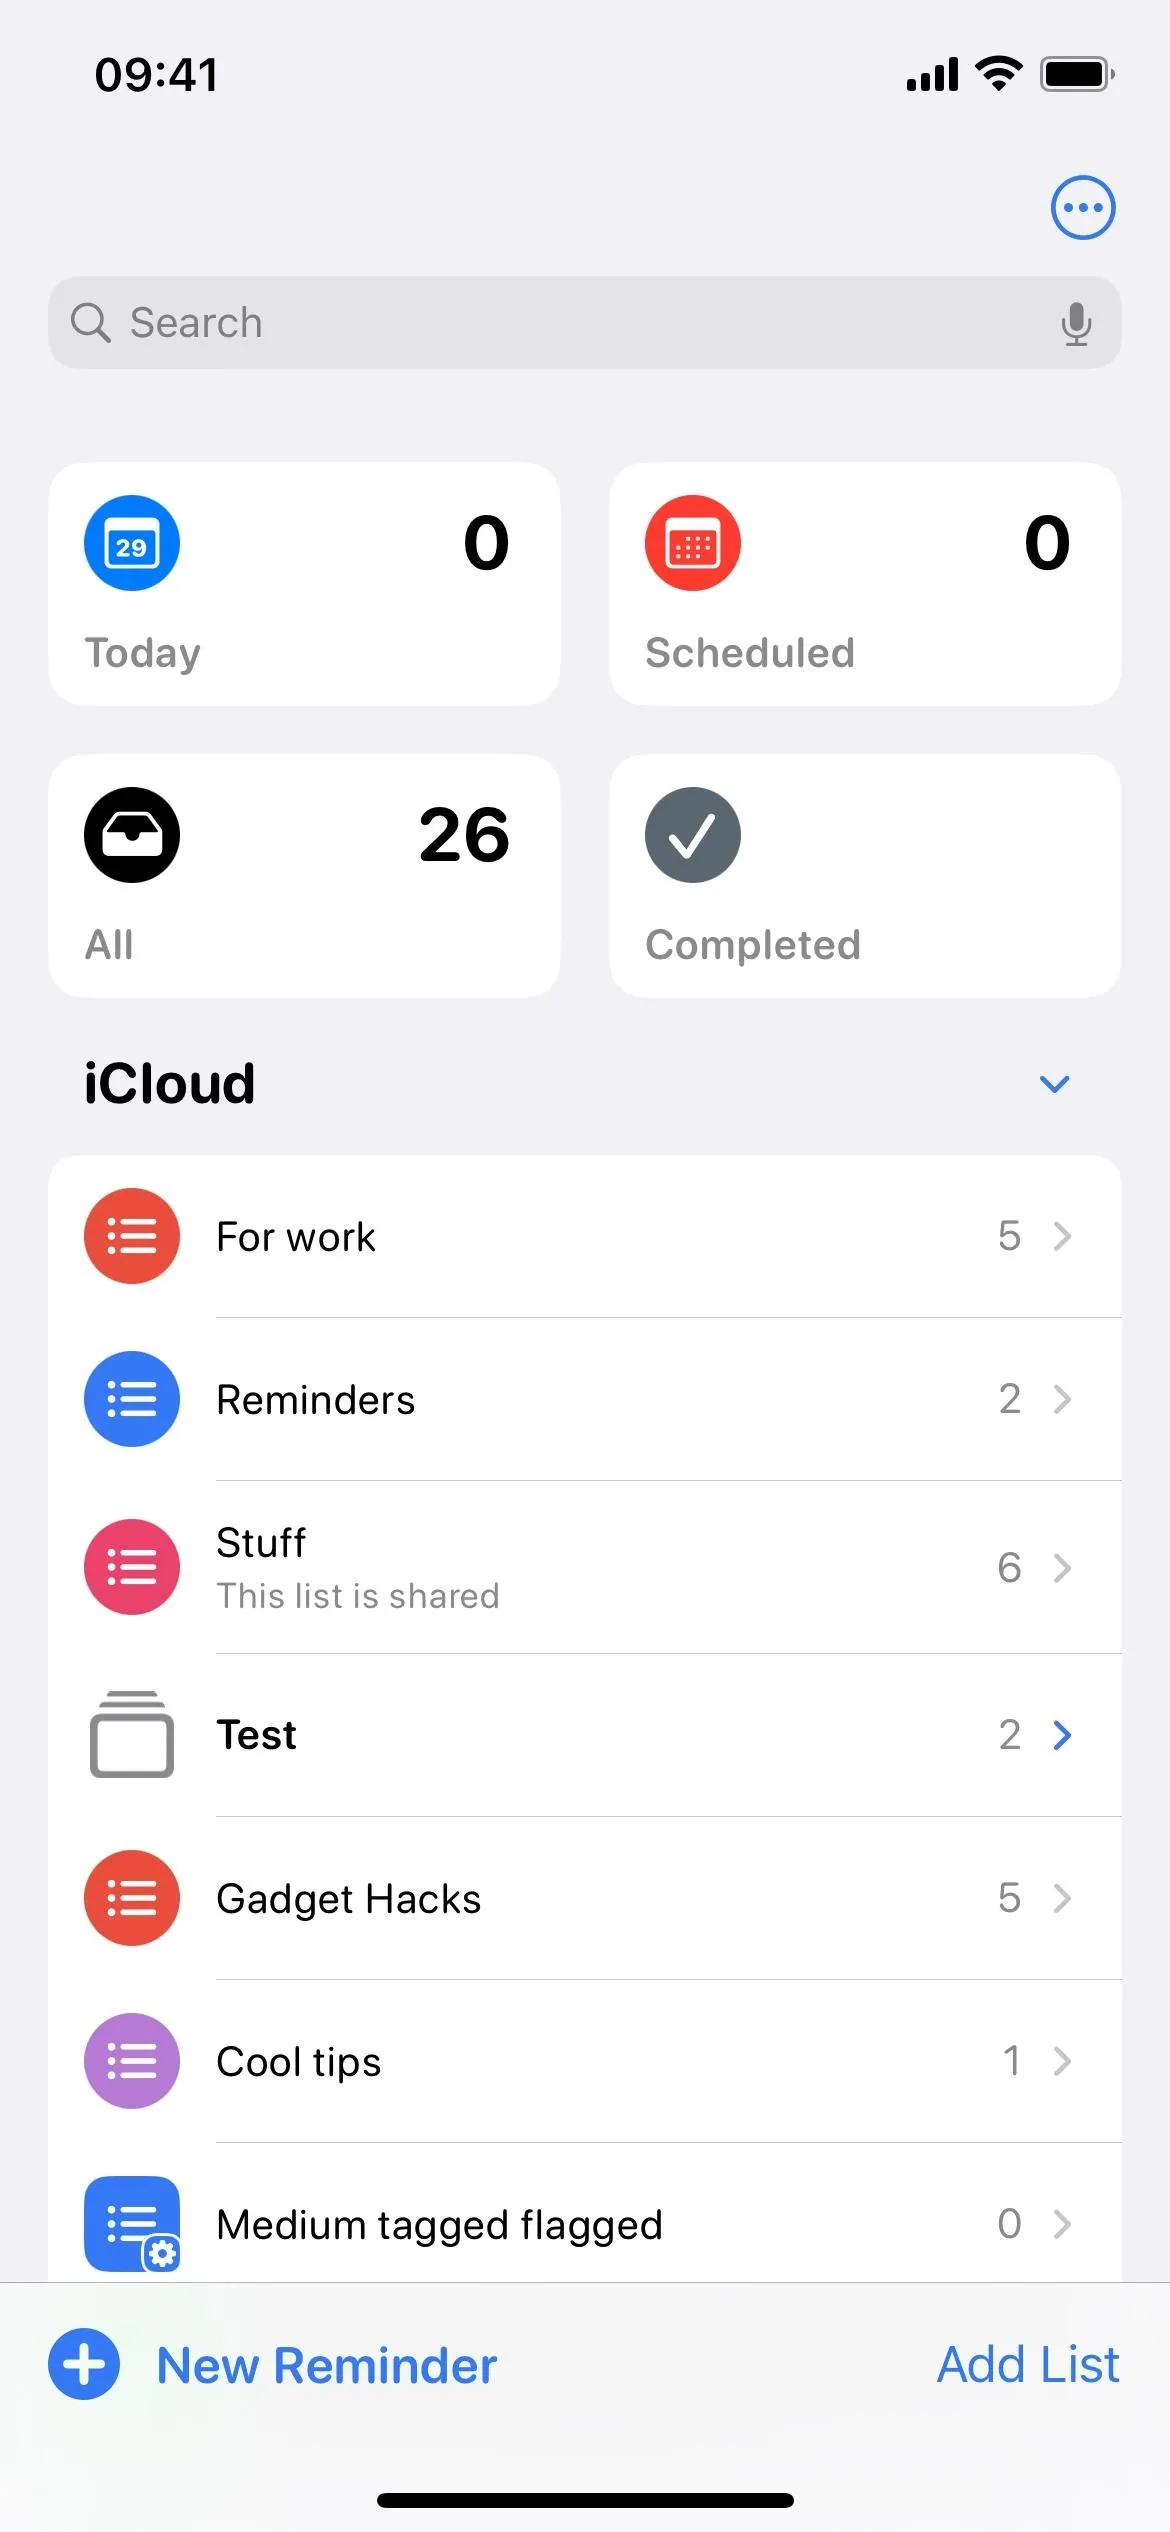
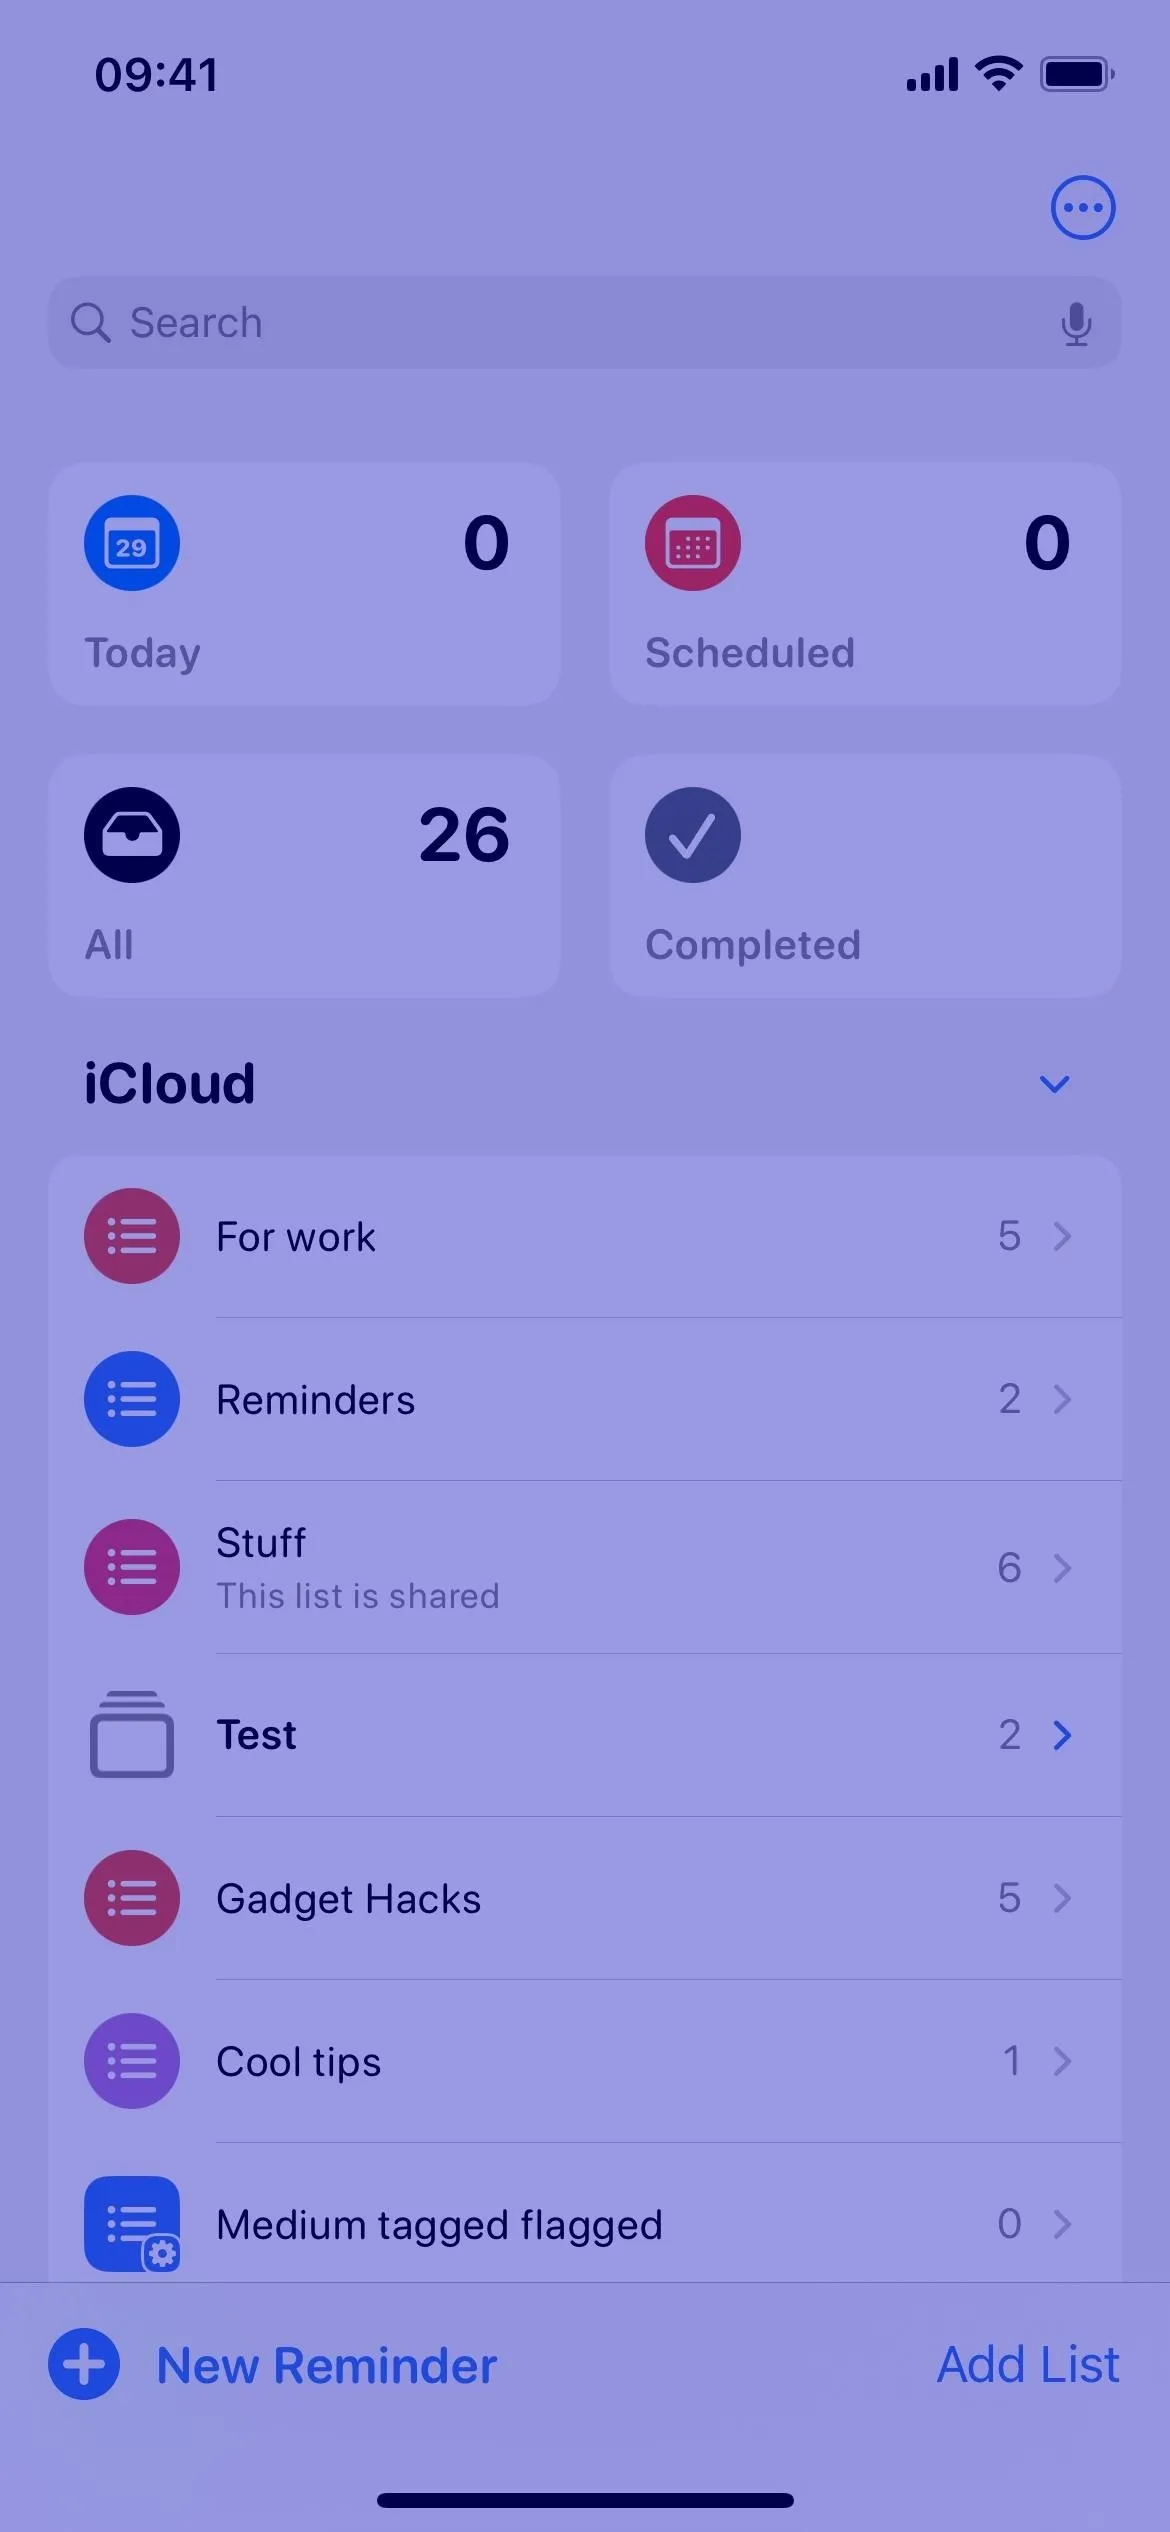
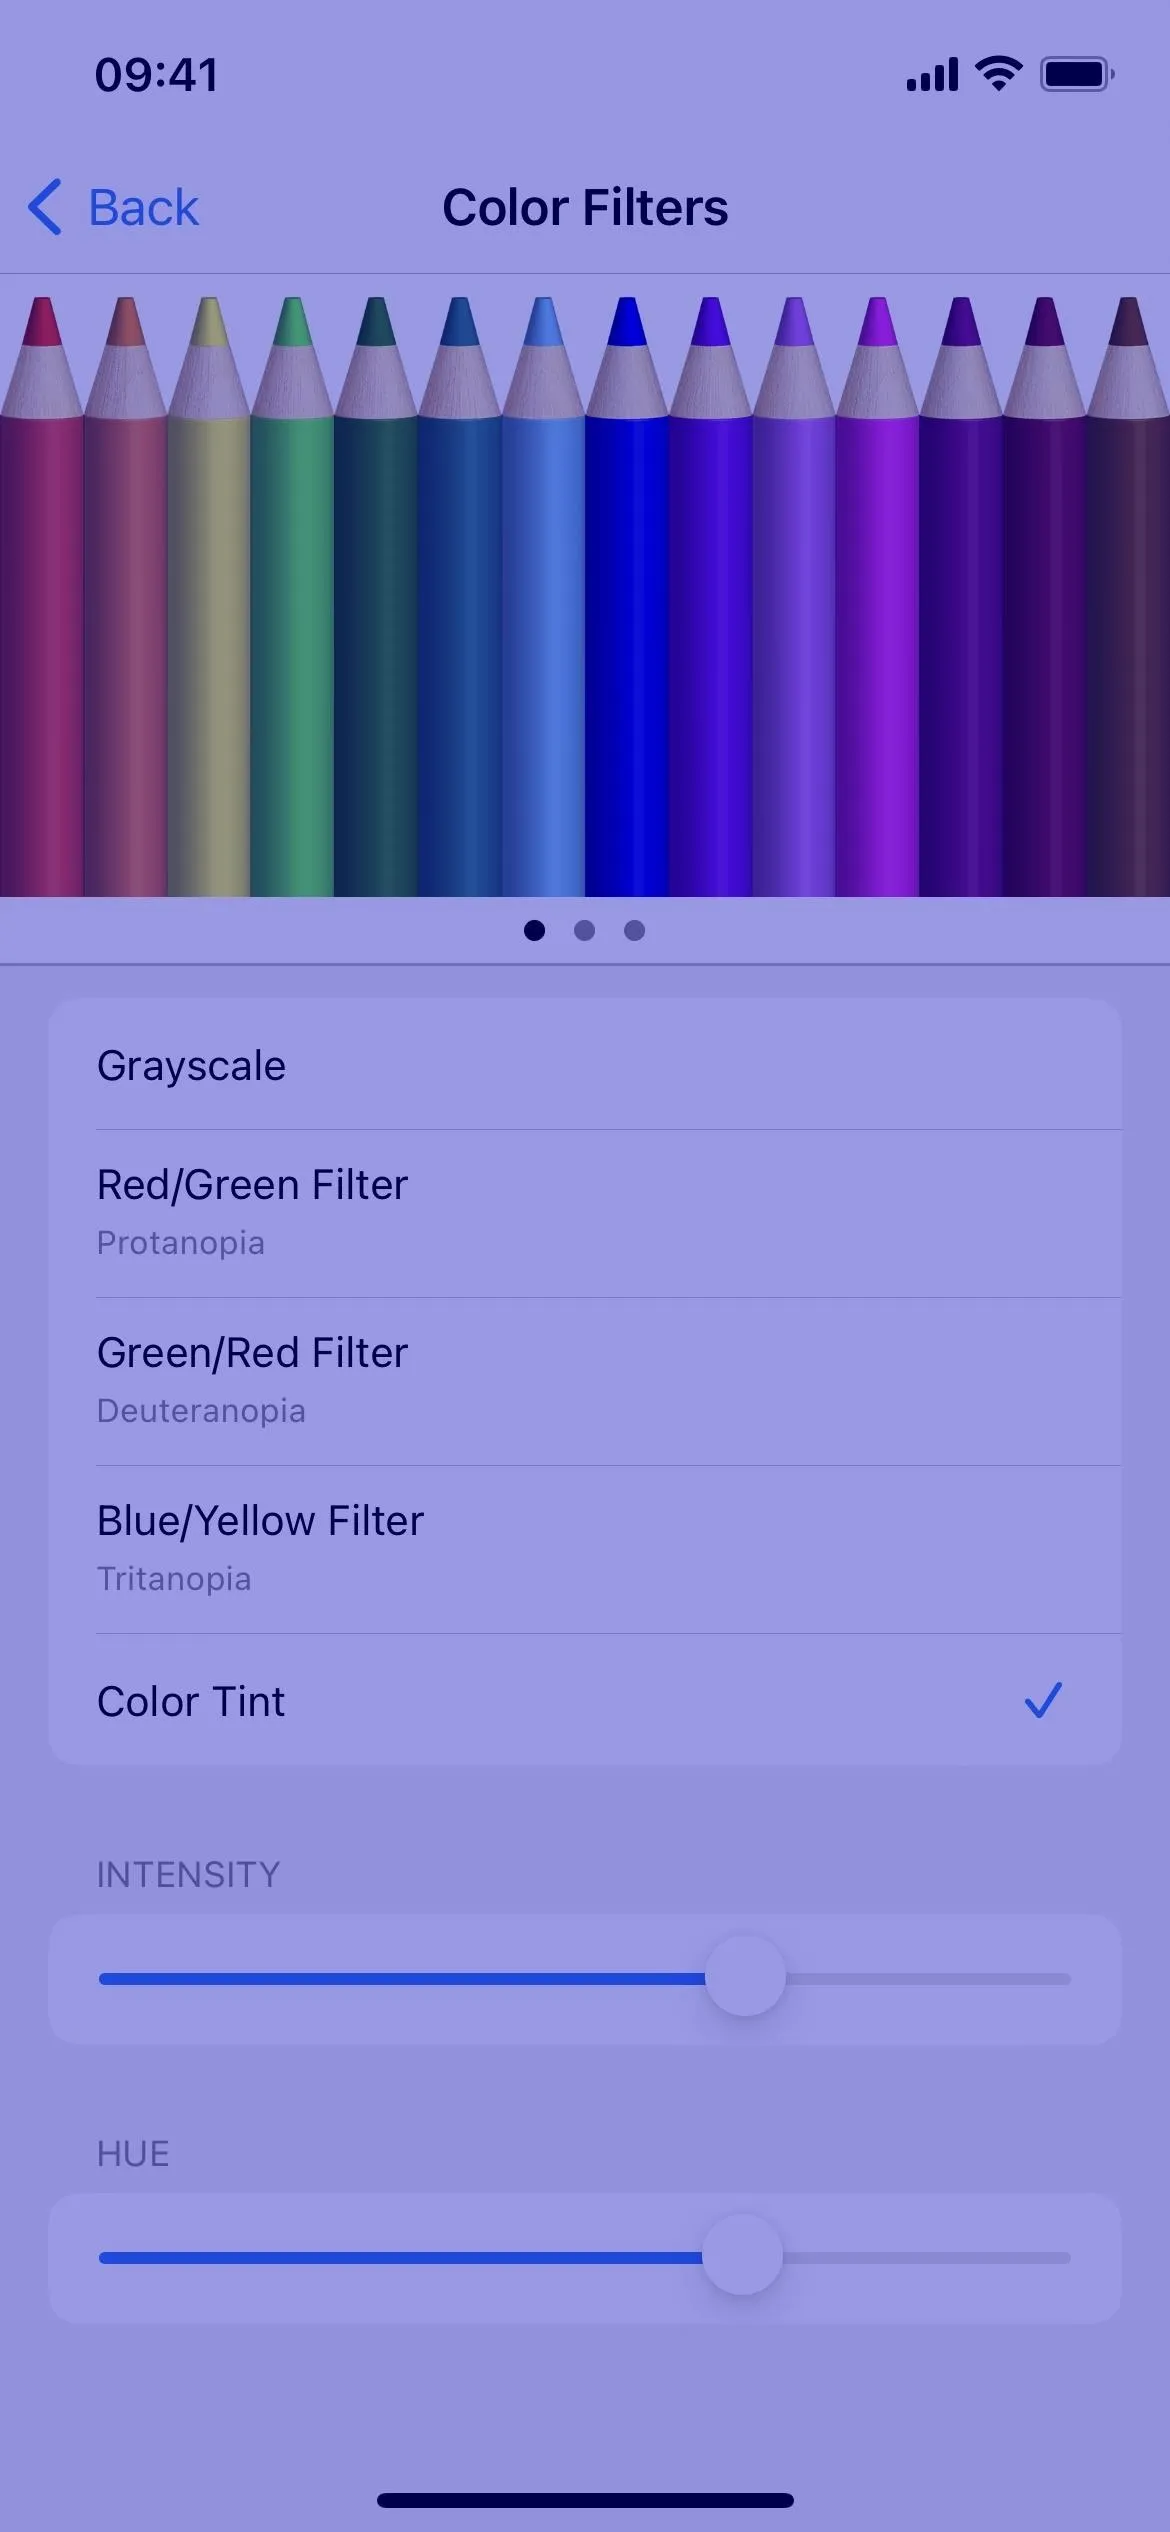
The Color Filters feature is very helpful for users with color blindness and other vision challenges, but it's also super beneficial for changing app colors in general. For example, you can use a red color tint in apps when you want your eyes to adjust more quickly between the display and the dark environment around you, such as when observing the stars at night.
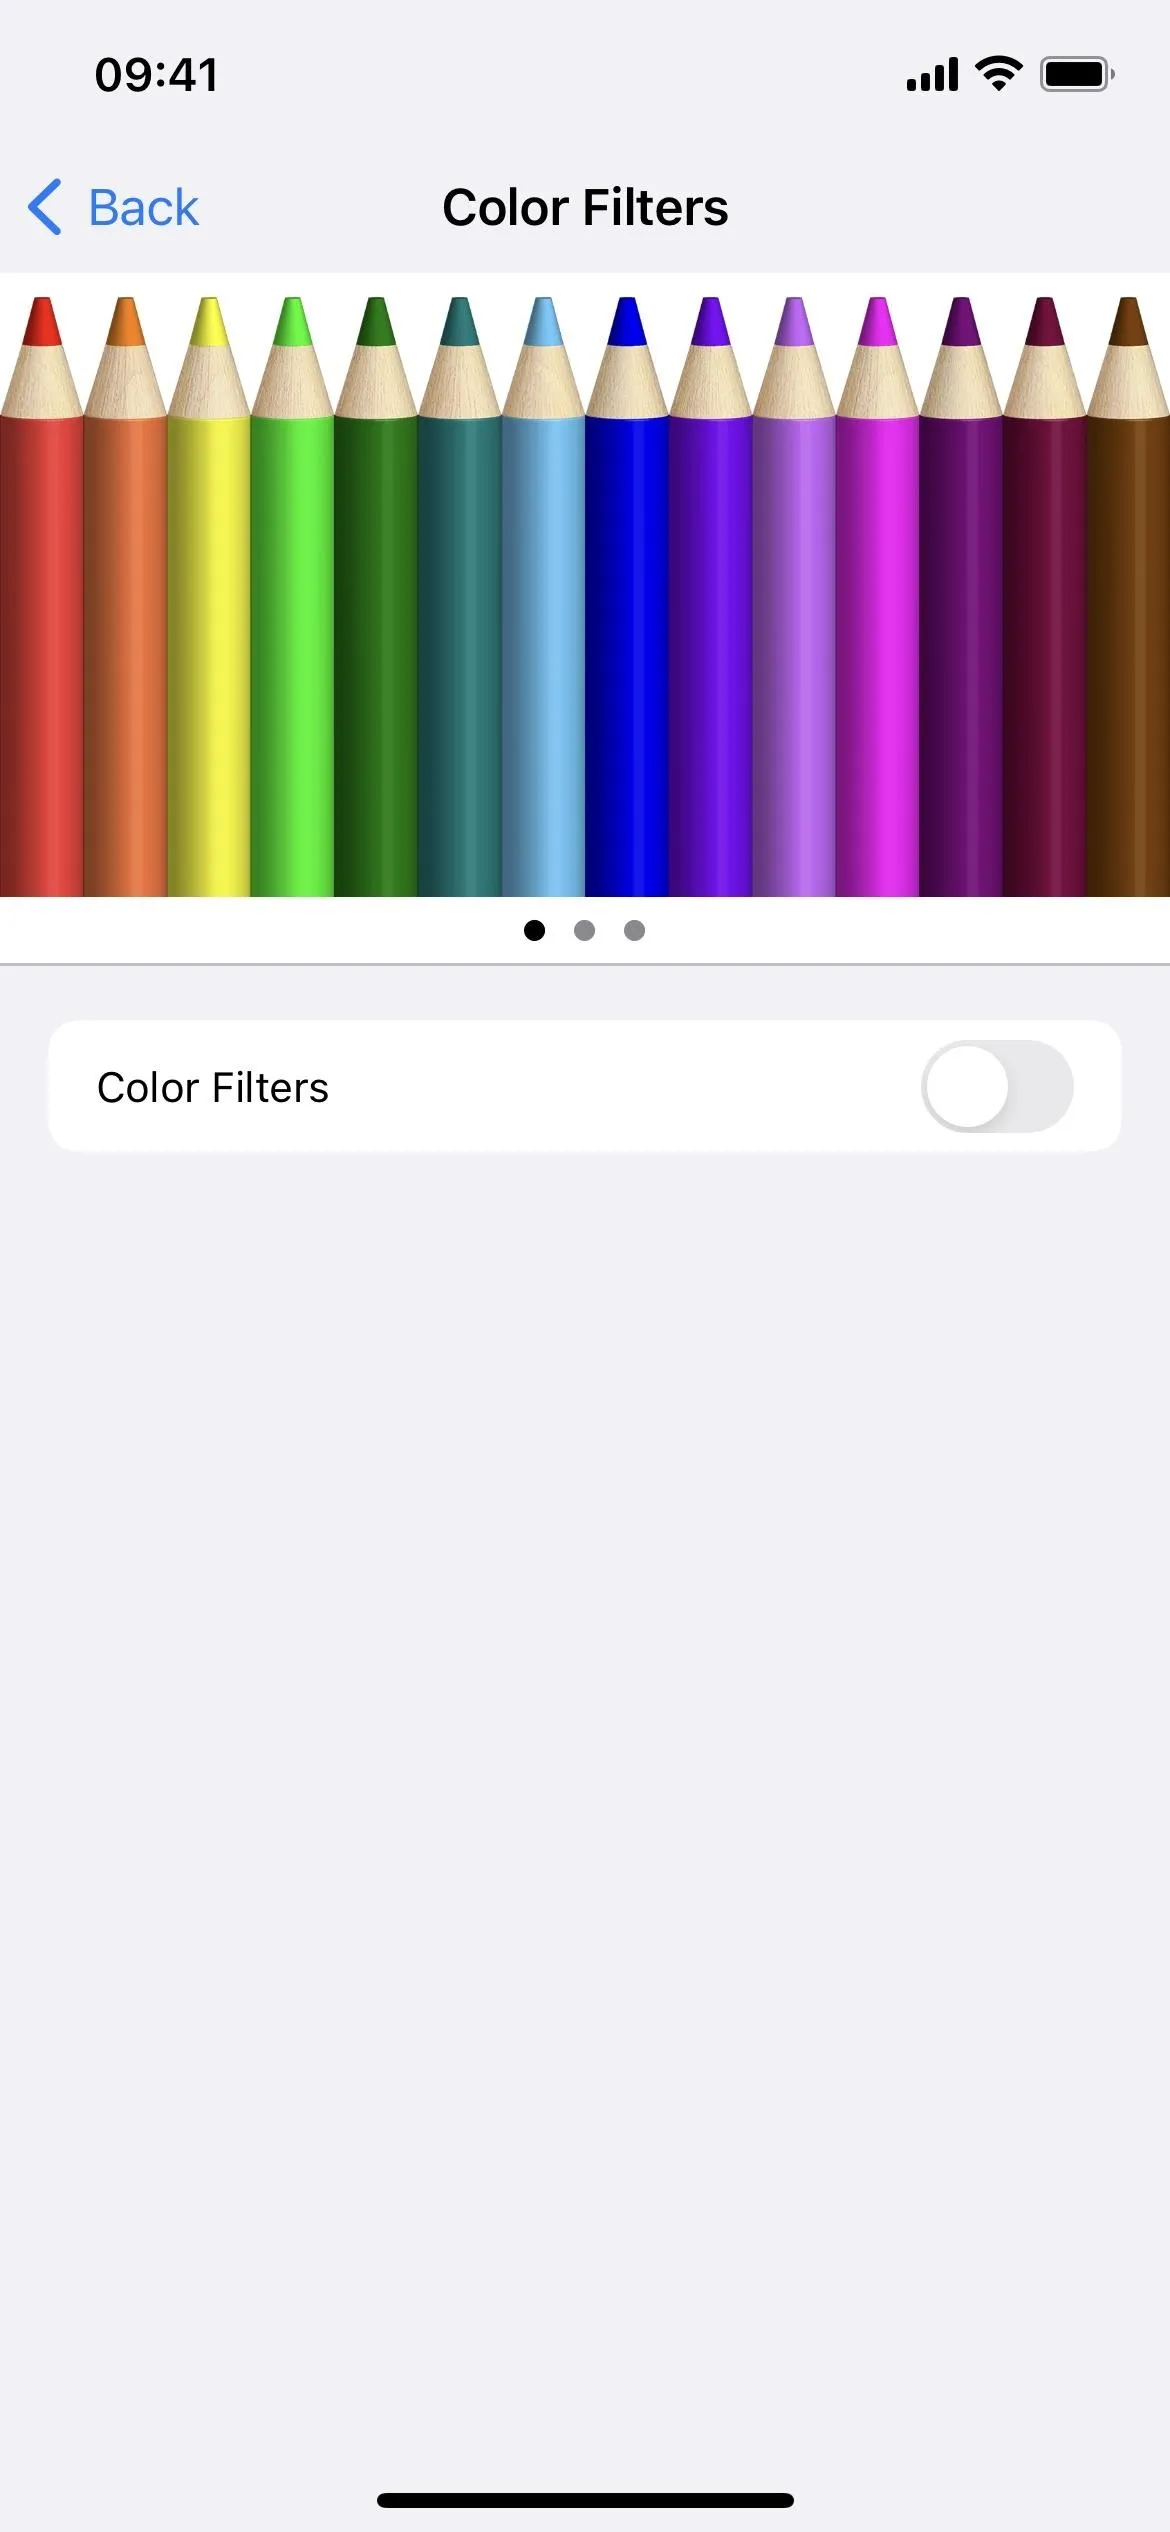
You can turn Color Filters on or off from Settings –> Accessibility –> Display & Text Size –> Color Filters. Siri also works. Note that Color Filters do not affect screenshots, screen recordings, and screen mirroring.
When you turn Color Filters on, you may not notice much different depending on the filter set. Whatever filter or tint you choose will be the one Color Filters uses when enabled. You can pick between Grayscale, Red/Green (for protanopia), Green/Red (for deuteranopia), or Blue/Yellow (for tritanopia). If you want a more customized look, choose Color Tint instead, then adjust the Intensity and Hue to the color palette you want.
5. Increase Contrast
The Increase Contrast switch, when turned on, improves the color contrast between the foreground and background colors in an app. In some apps, the difference may appear subtle. In the Stocks app, as seen below, you can see a modest difference between the news articles and background, as well as the line chart and price change, percent change, or market cap bubbles below each price.
- Don't Miss: This Hidden Trick Lets You Bold Text in Your iPhone's Status Bar for a Heavier Look System-Wide
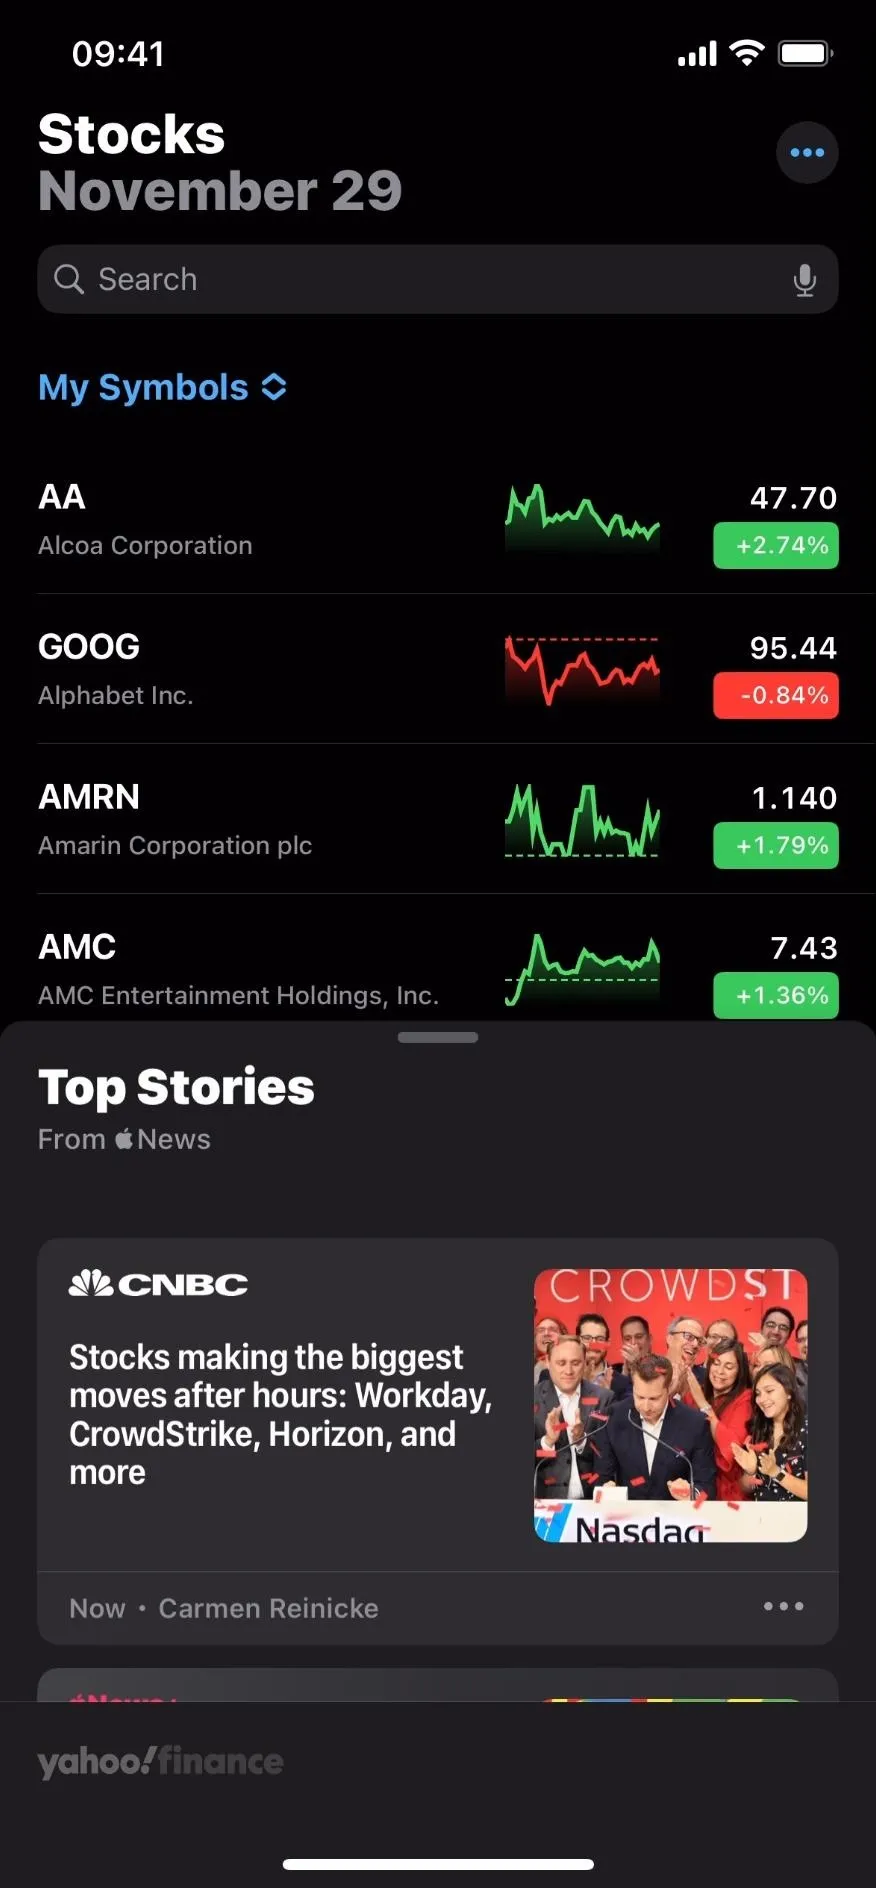
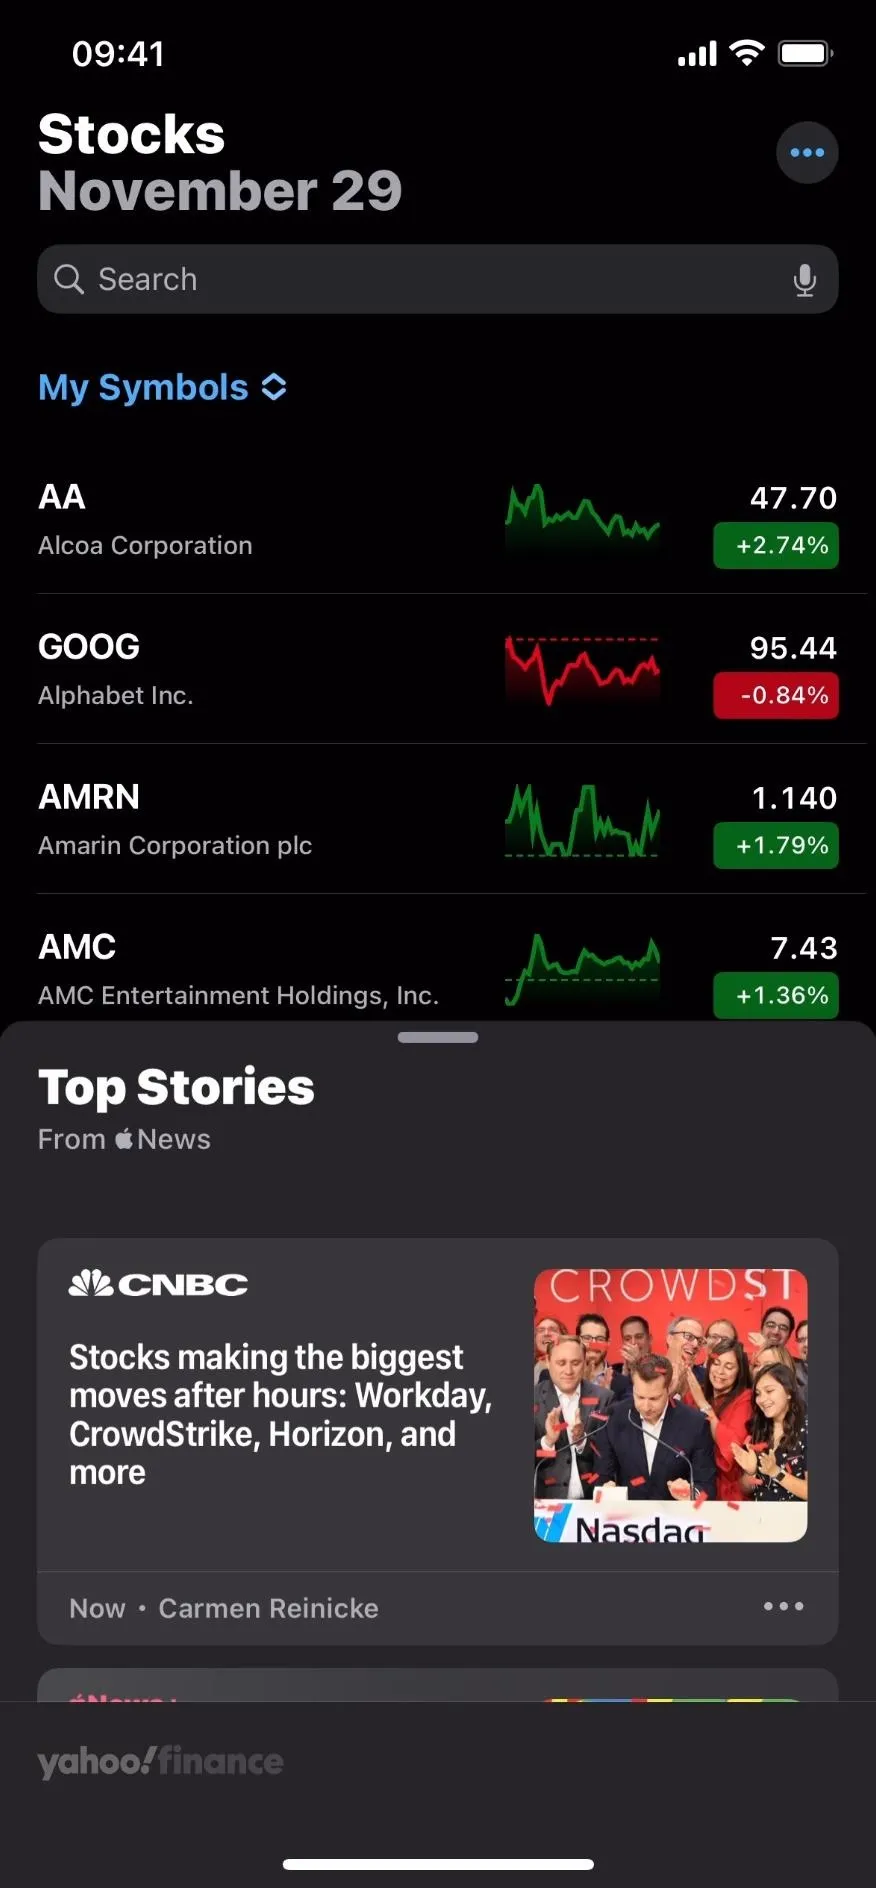
You can turn Increase Contrast on or off from Settings –> Accessibility –> Display & Text Size. Siri also works. Note that Increase Contrast affects screenshots, screen recordings, and screen mirroring.
6. Reduce Transparency
When activated, Reduce Transparency reduces the transparency and blurs on some backgrounds, increasing the overall contrast. It's an excellent companion to the Increase Contrast switch. In the Weather app, as you can see below, the boxes prevent the background weather animations from showing up in their regular translucent, blurred form.
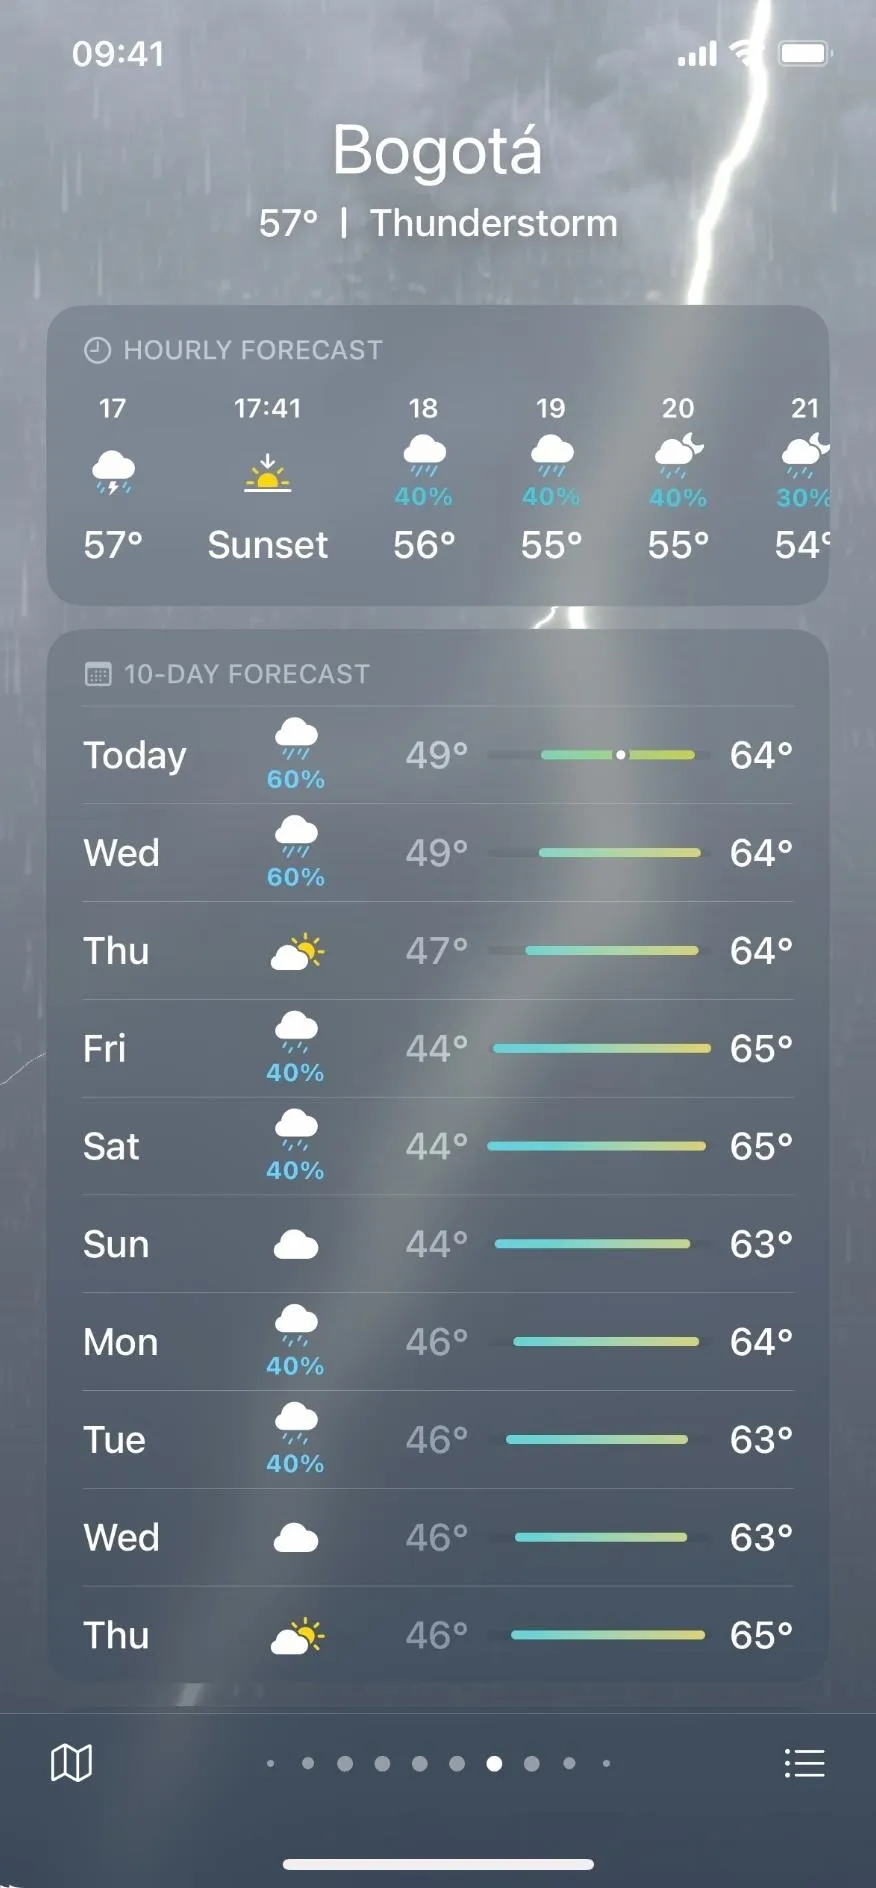
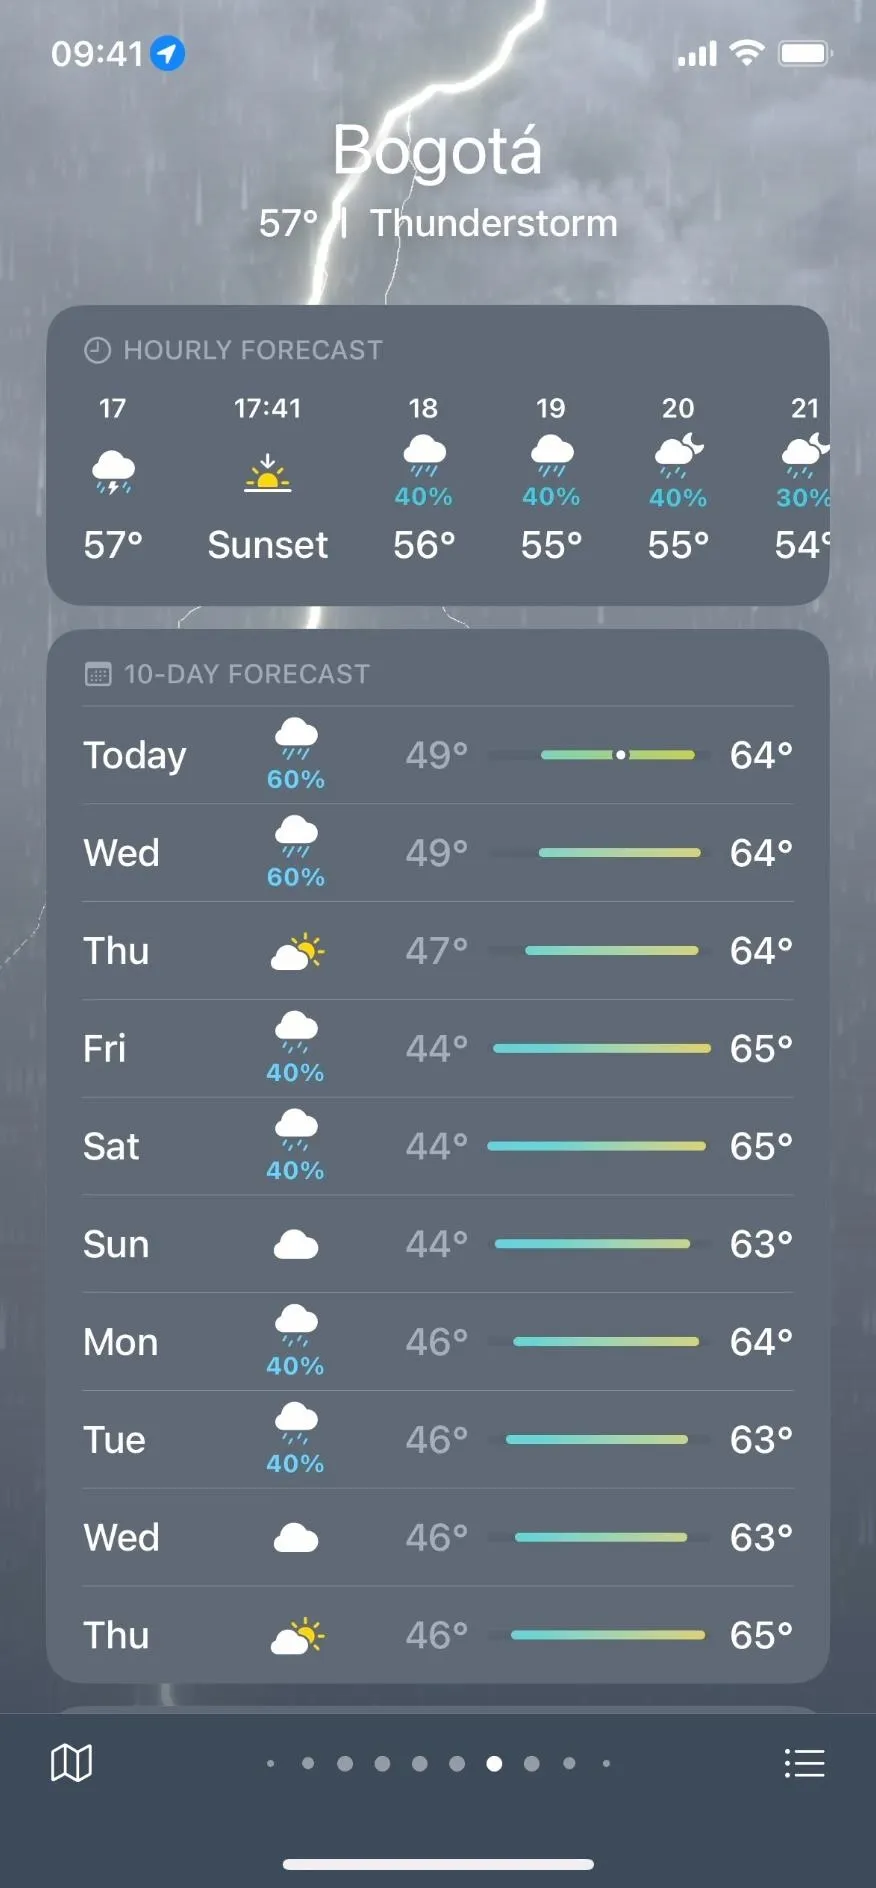
You can turn Reduce Transparency on or off from Settings –> Accessibility –> Display & Text Size. Siri also works. Note that Reduce Transparency affects screenshots, screen recordings, and screen mirroring.
7. Reduce White Point
If an app seems too bright overall, you can try Reduce White Point to lessen the intensity of bright colors. When on, you can reduce the white point by between 25 and 100 percent, which looks like turning down your screen brightness. In fact, it's one way to reduce your screen brightness below the minimum value.
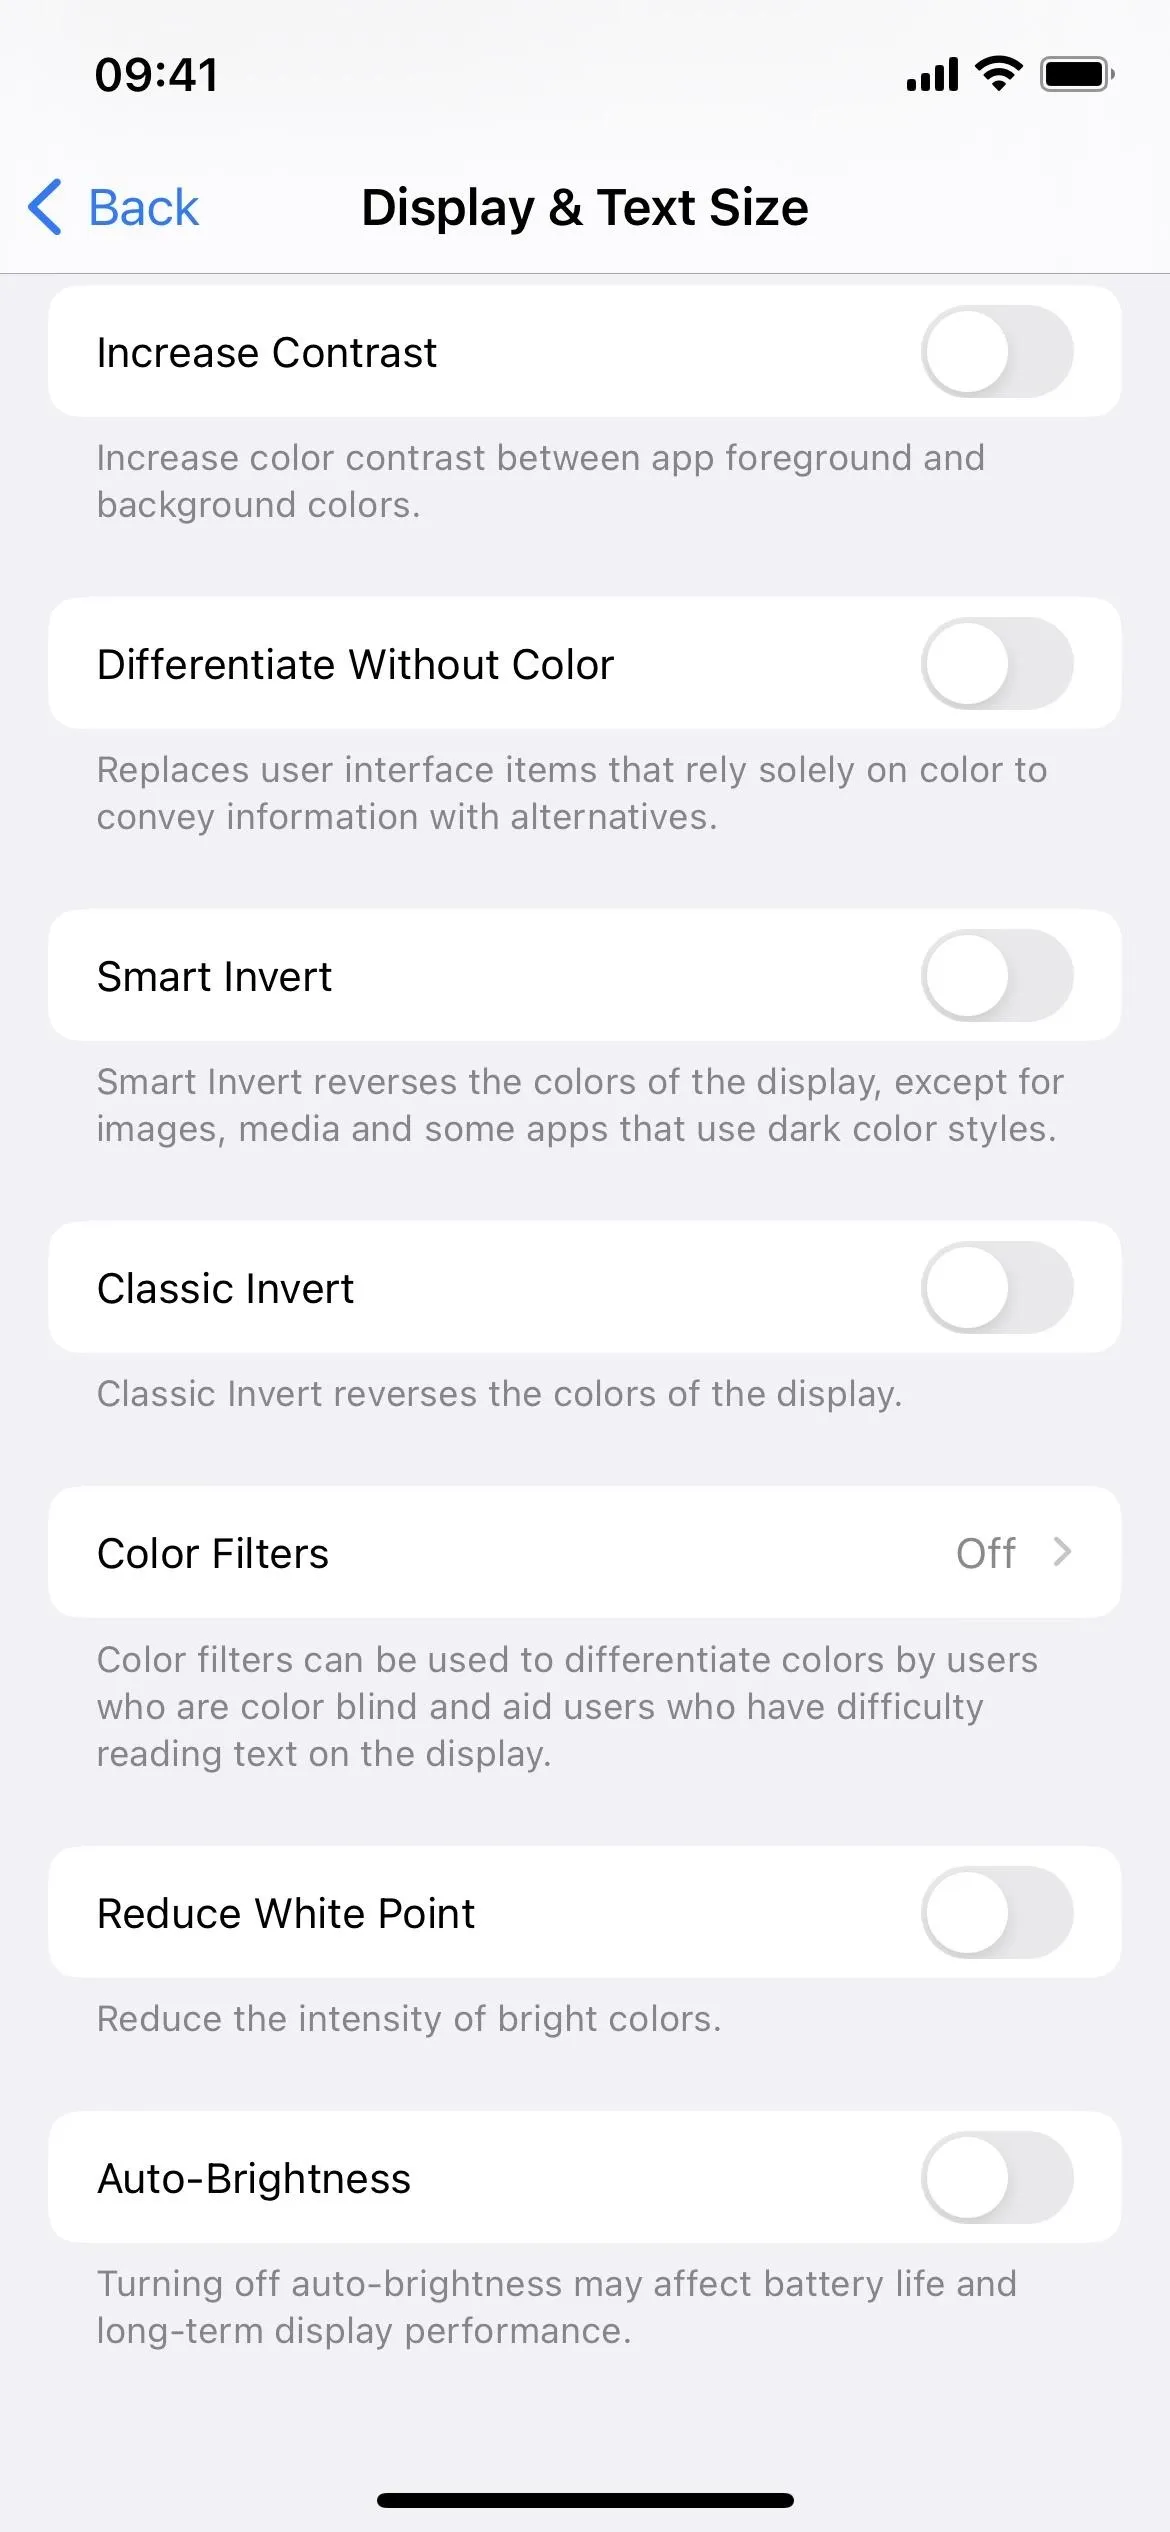

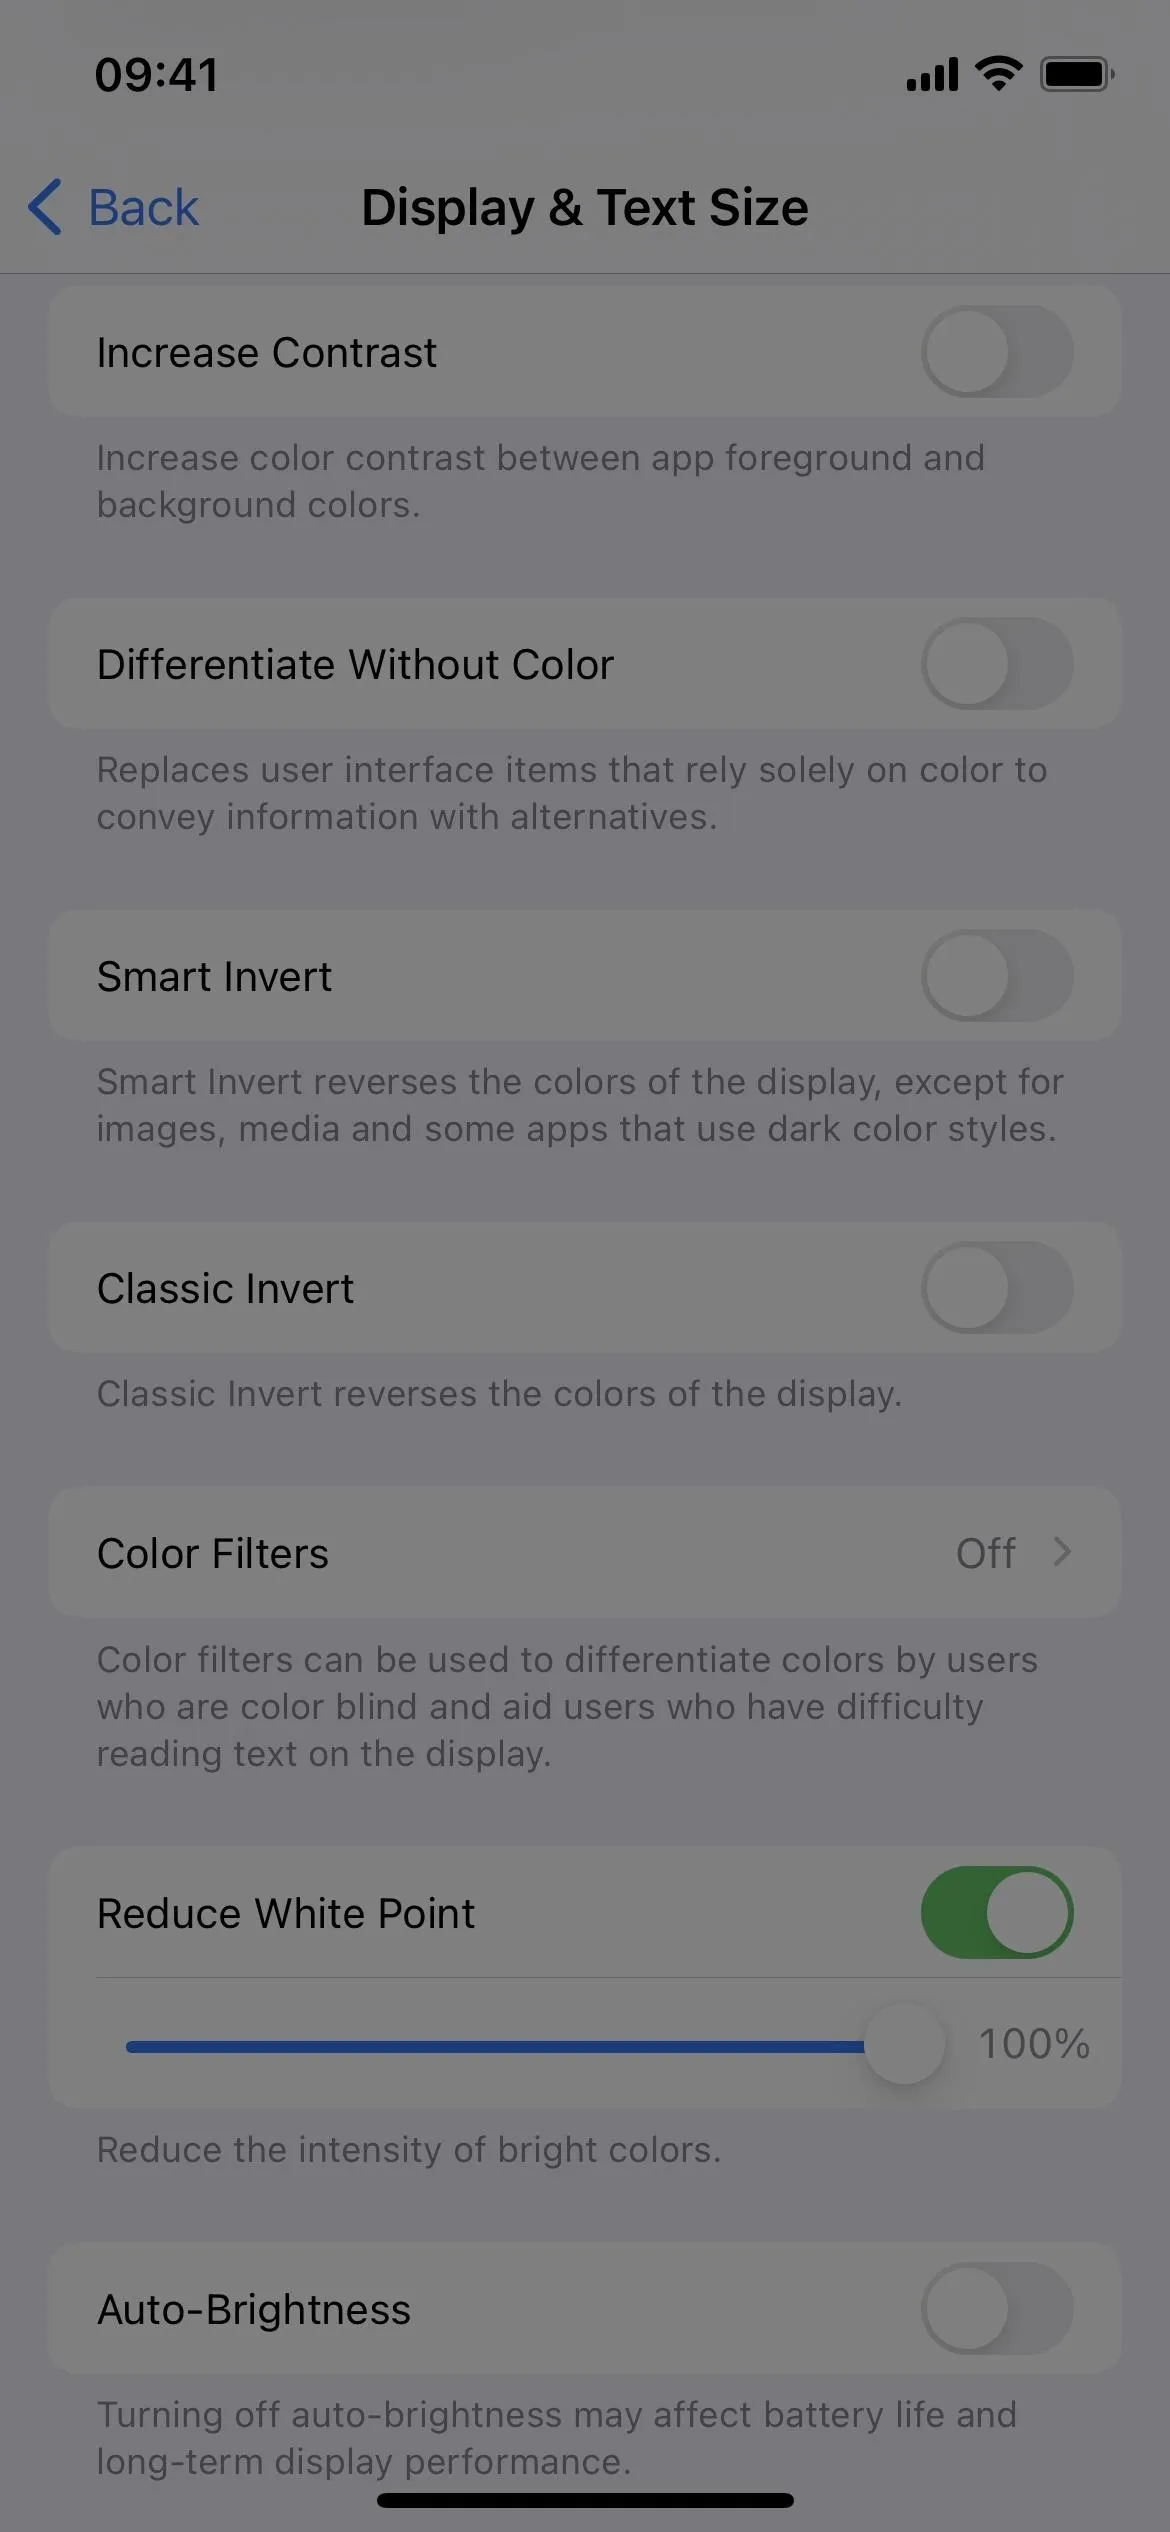
You can turn Reduce White Point on or off from Settings –> Accessibility –> Display & Text Size. Siri also works. Note that Reduce White Point does not affect screenshots, screen recordings, and screen mirroring.
8. Zoom
Zoom isn't something you'd typically use unless you have vision problems, and even then, enlarging the text size on the screen is usually everyone's go-to choice when things are too small to see on the screen. However, Zoom isn't just for zooming. It also has a filter feature that lets you apply the following filters:
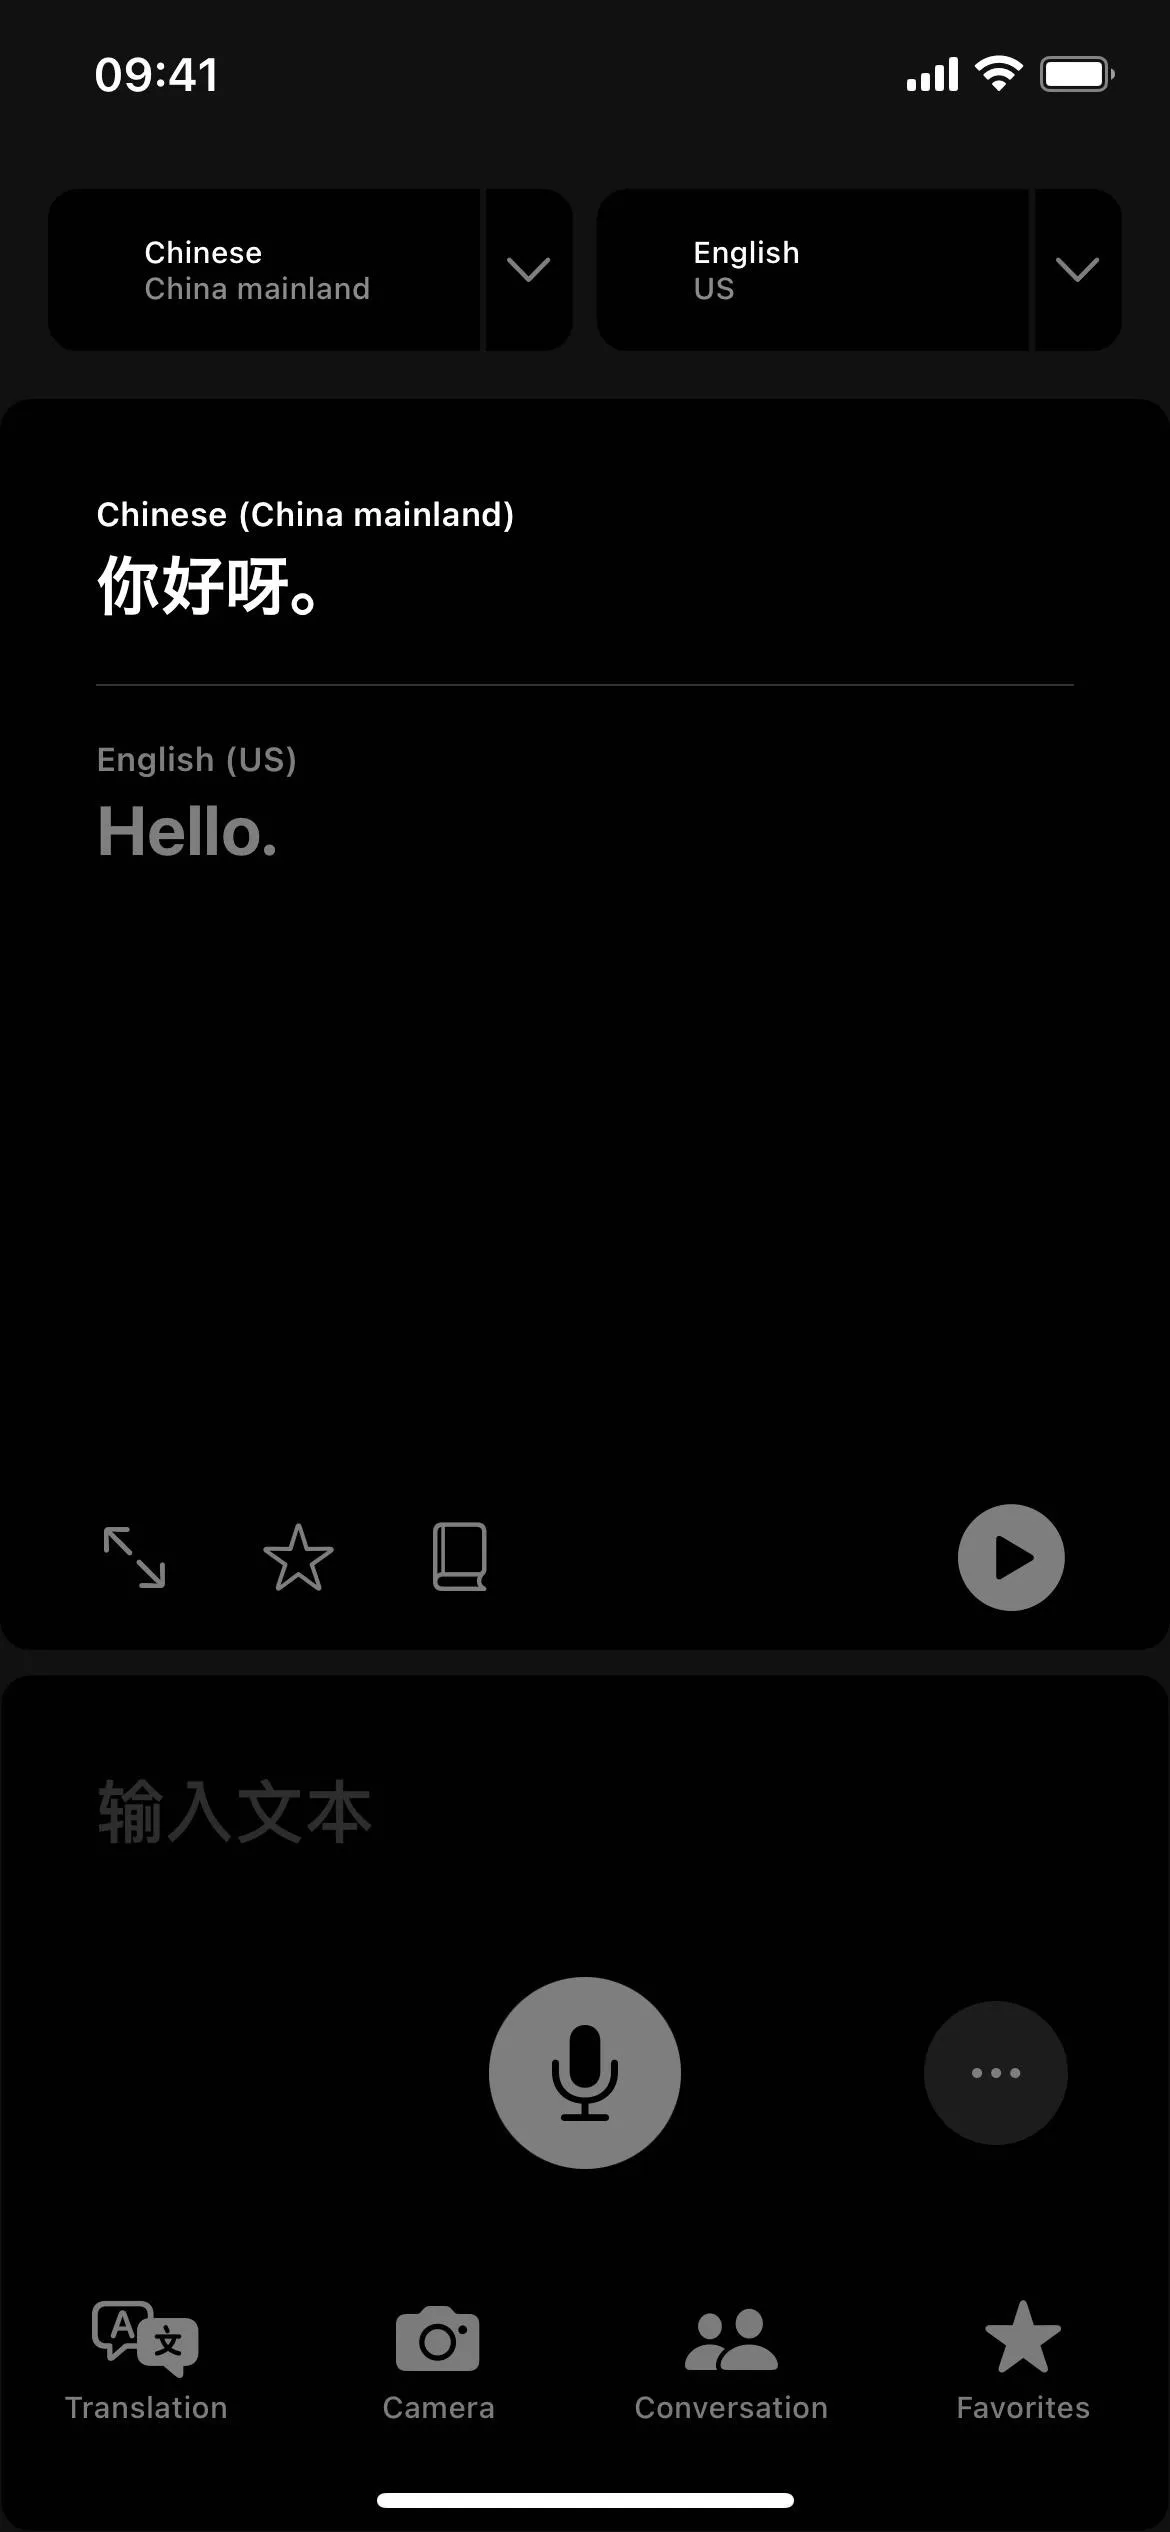
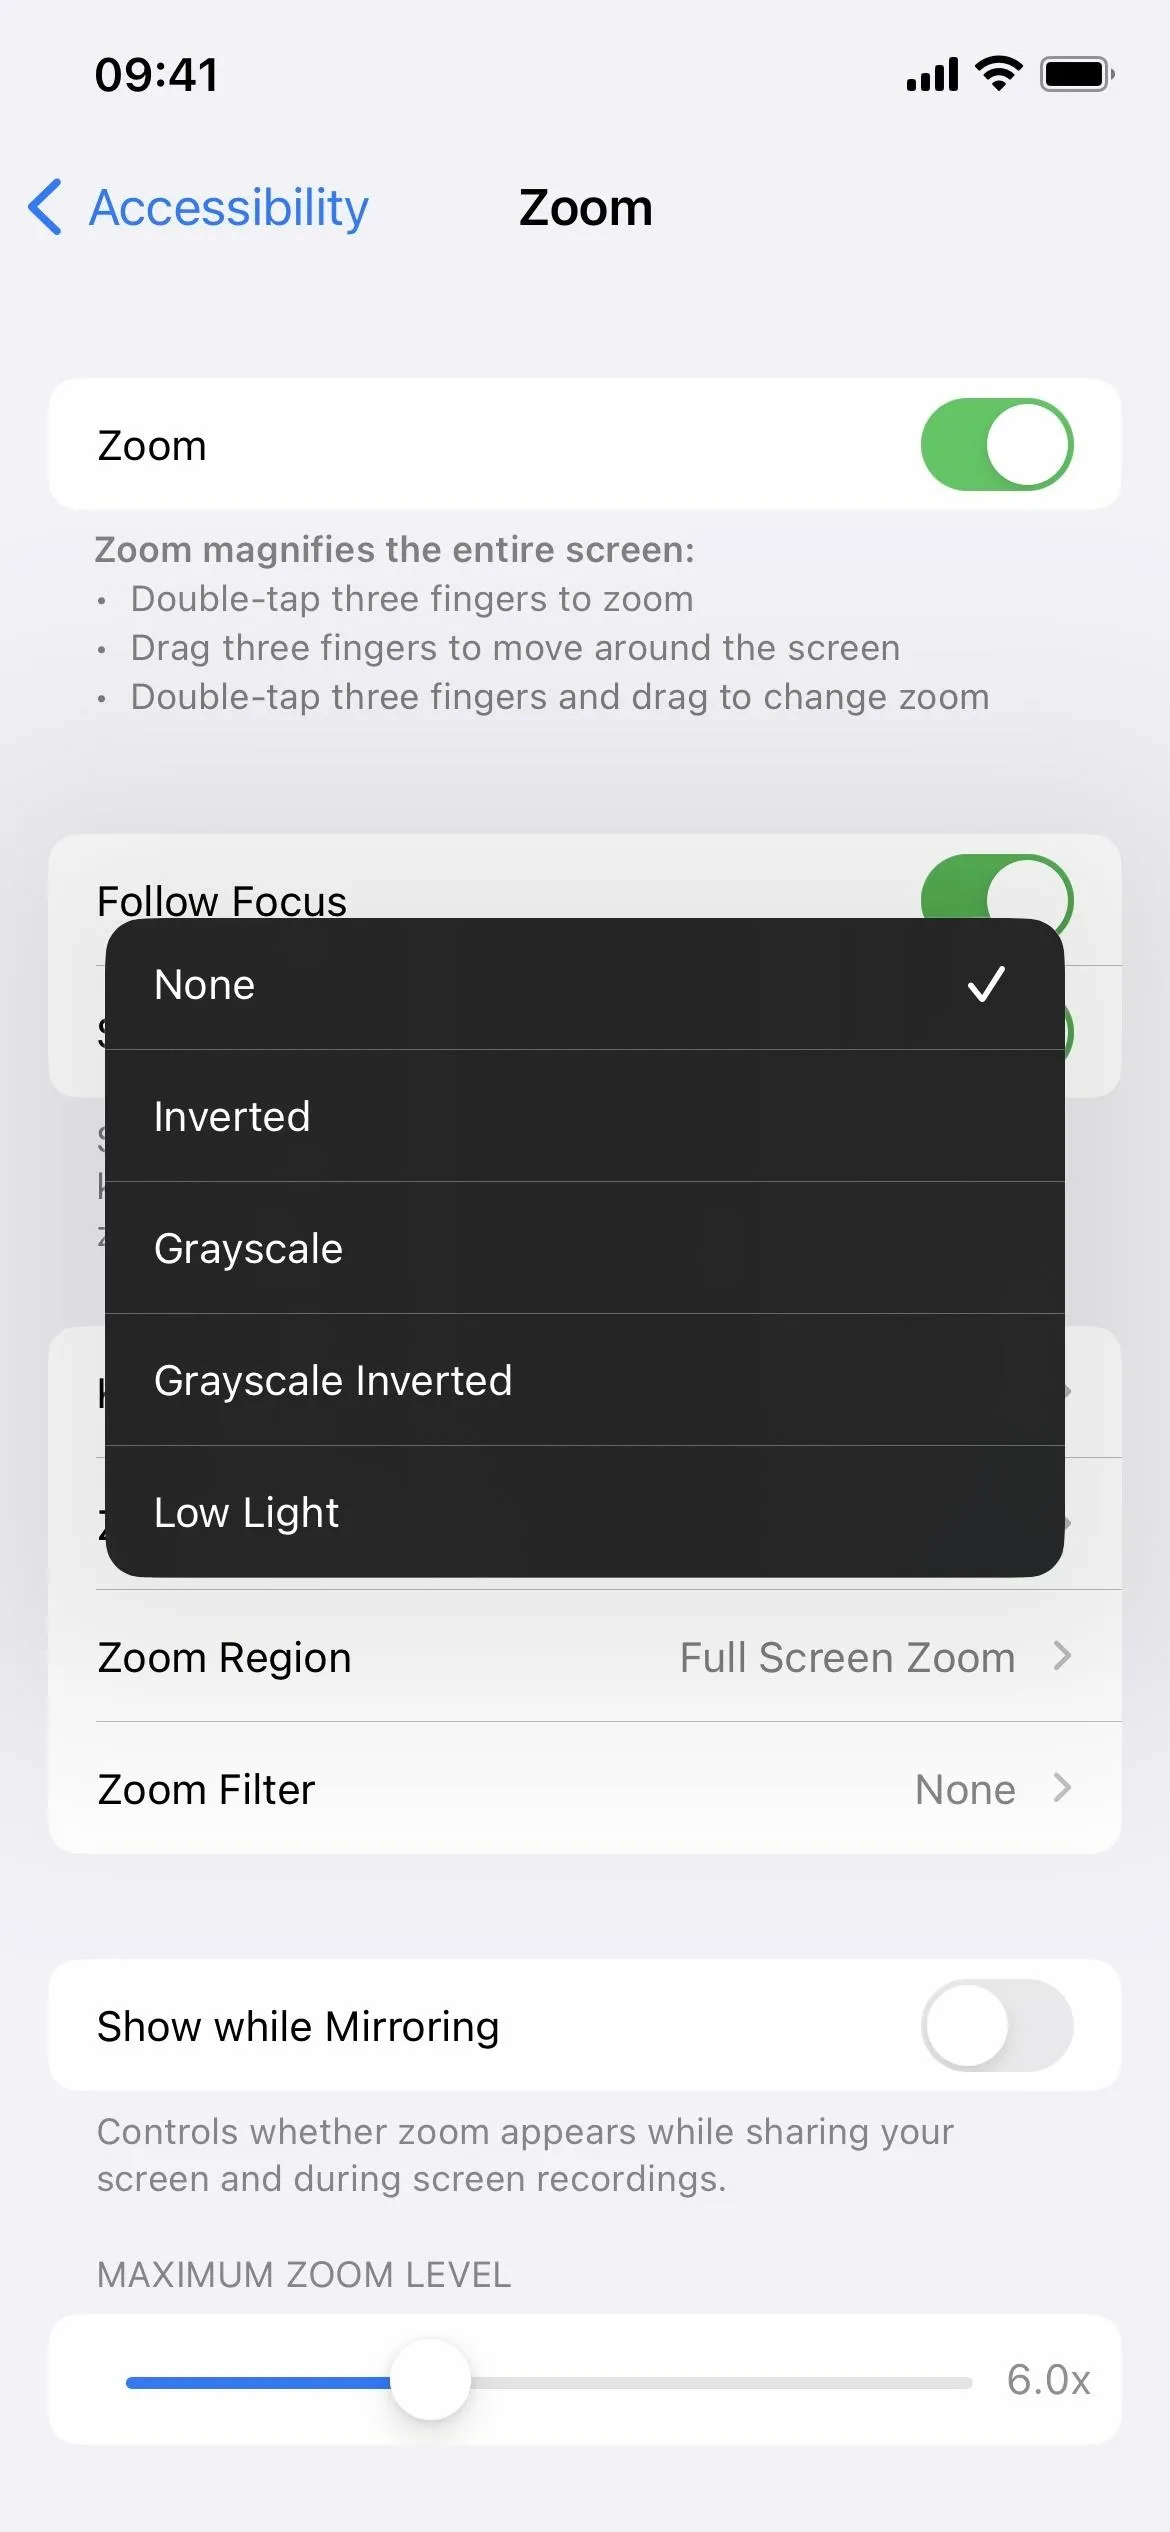
- Inverted, which is just Classic Invert.
- Grayscale, which is almost identical to Color Filter's Grayscale, besides having deeper darks.
- Grayscale Inverted, which uses Classic Invert on the Grayscale filter.
- Low Light, which works similarly to Reduce White Point but without a slider to adjust the effect. This works nicely with Reduce White Point if you're trying to go below the minimum screen brightness for dark environments.
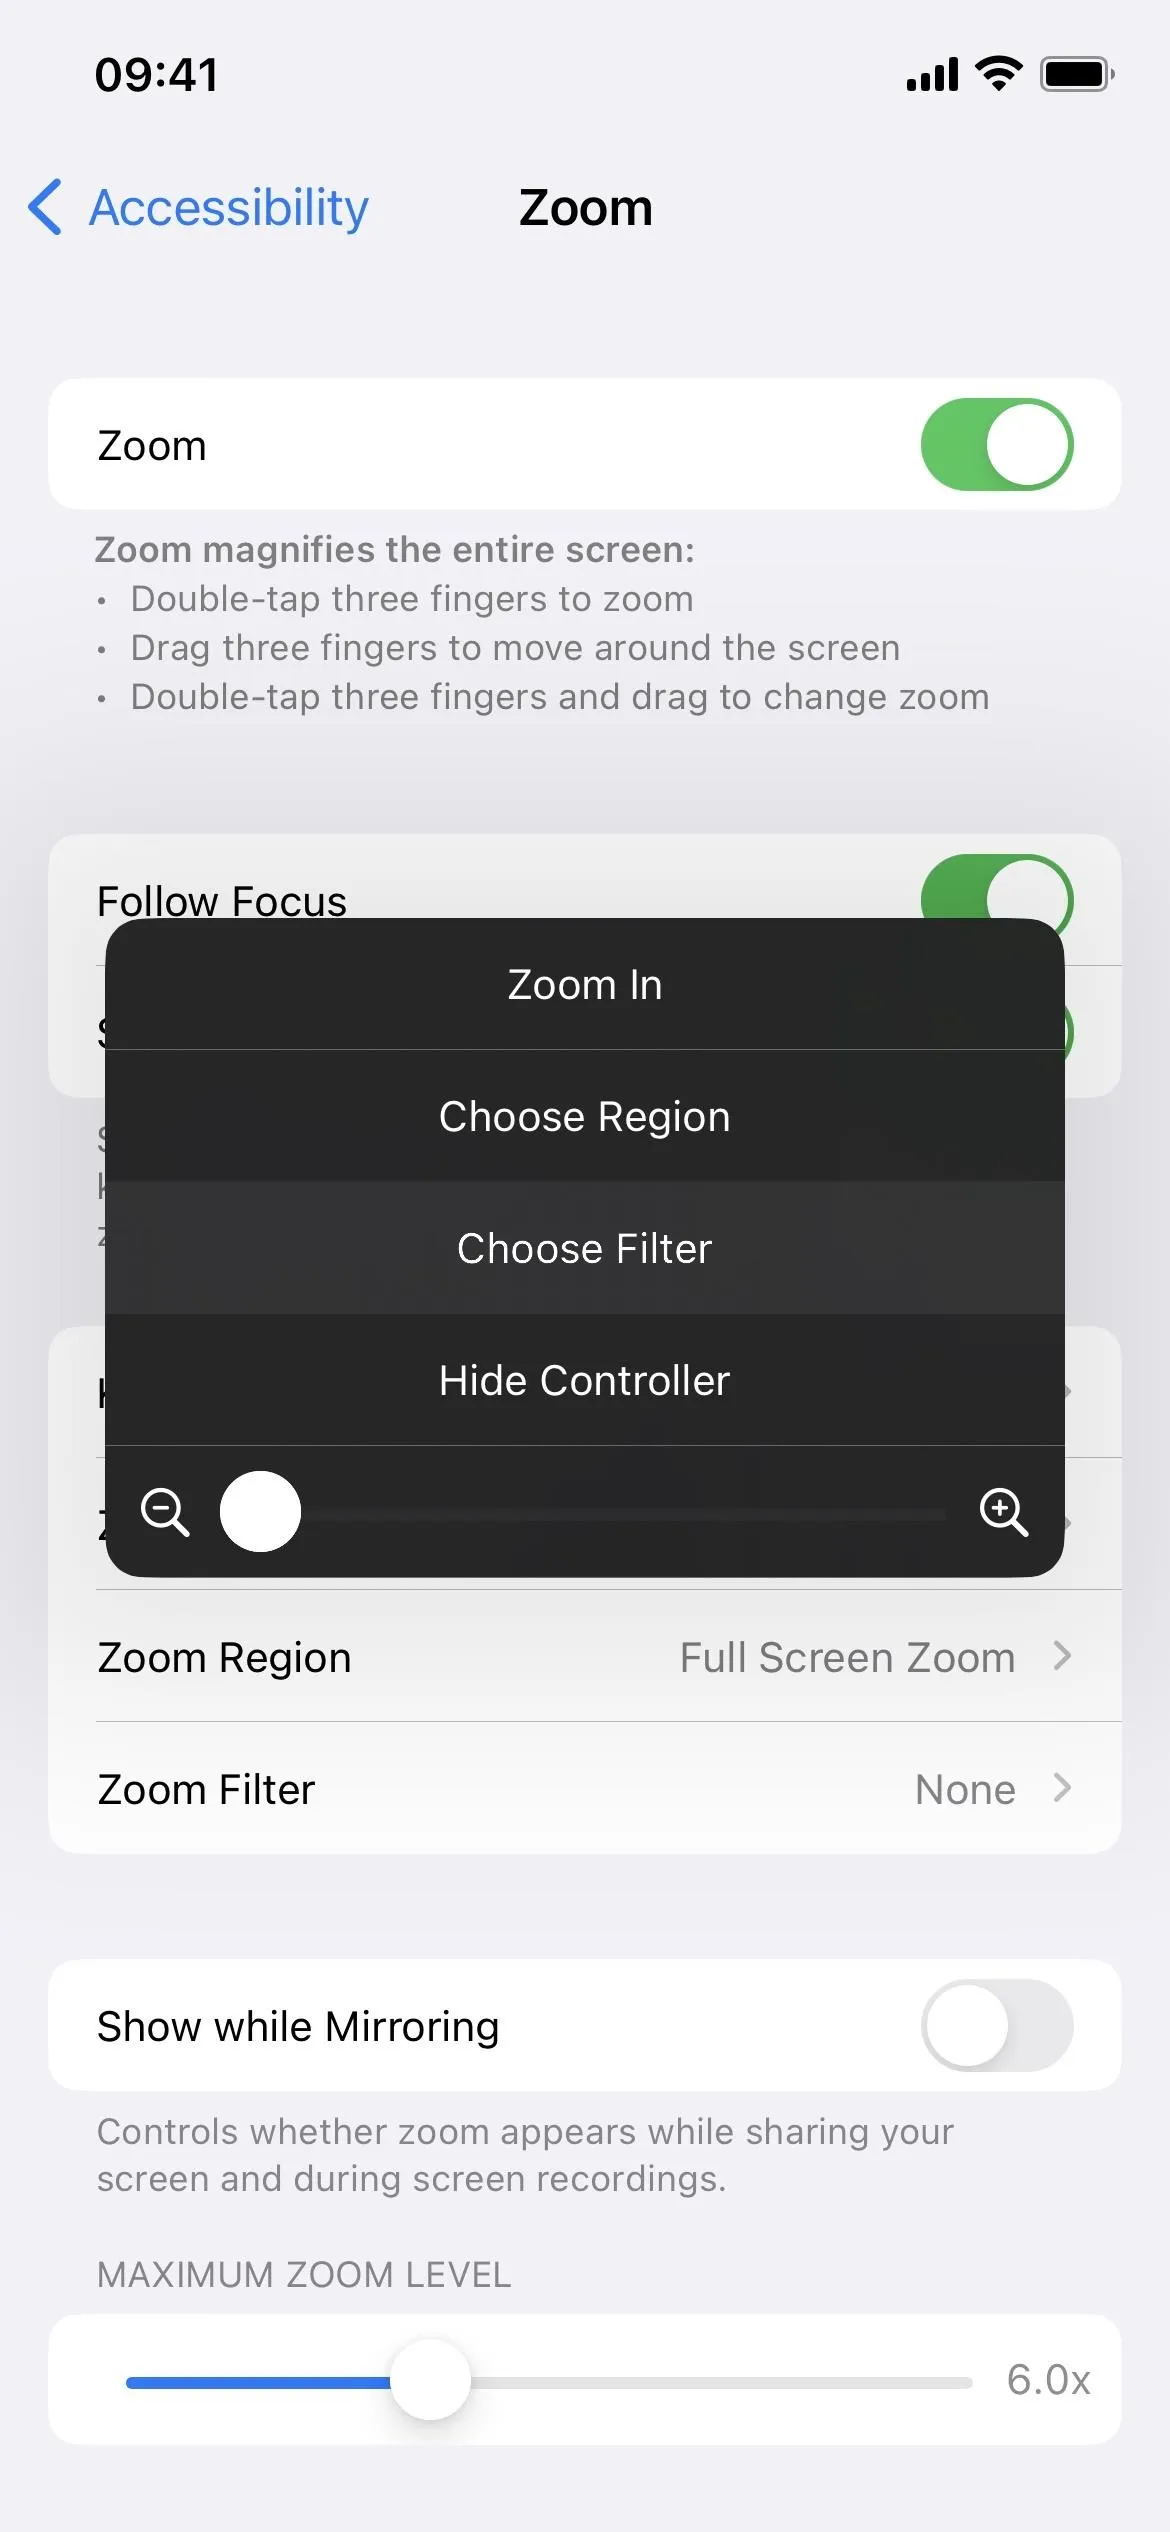
You can turn Zoom on or off from Settings –> Accessibility –> Zoom. Note that Zoom's Grayscale filter affects screenshots, but Inverted and Low Light filters do not, while Grayscale Inverted appears as Grayscale. By default, Zoom does not affect screen recordings and mirroring except when using the Grayscale filter, but you can toggle on "Show while Mirroring" in Zoom's settings to change that.
When you turn Zoom on, you can choose a filter from "Zoom Filter" in the Zoom settings or "Choose Filter" from the Zoom Controller.
9. Night Shift
Night Shift, which has been around since iOS 9.3, is a color overlay that drowns out all the blue light that negatively affects your circadian rhythm, makes it harder for you to fall asleep, and hurts your eyes when using your iPhone at night.
The feature moves everything on the screen from the cooler end of the color spectrum to the warmer side. It won't help you conk out faster than if you weren't using your iPhone, but it's much easier on the eyes and brain at bedtime.

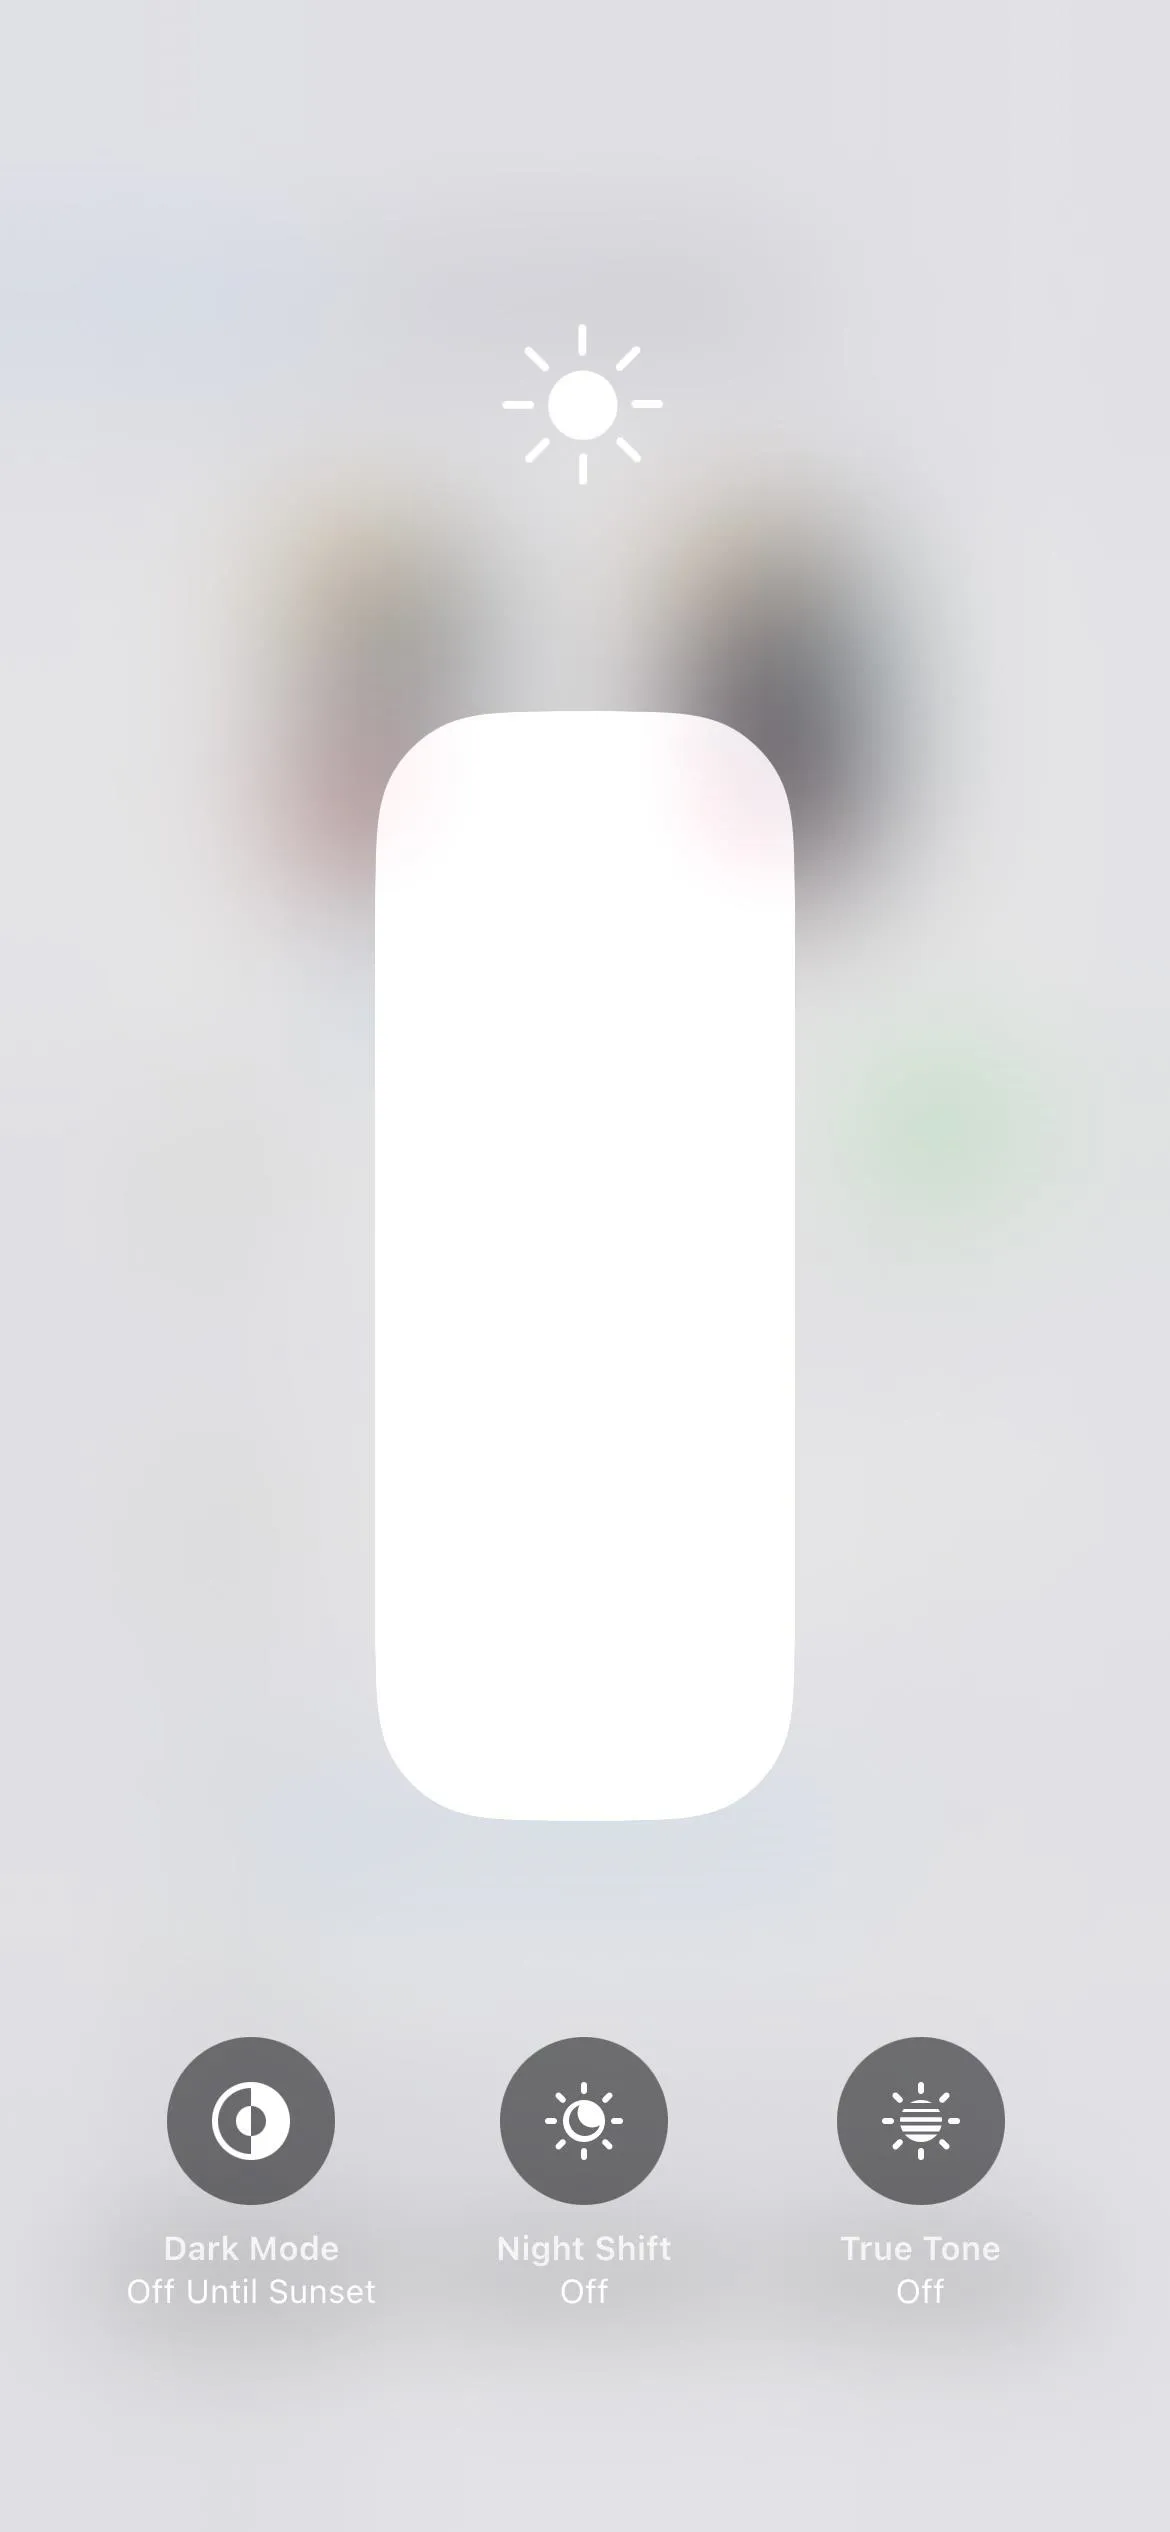
You can turn Night Shift on or off from Settings –> Display & Brightness –> Night Shift or by using the Brightness menu in Control Center. Siri also works. You can put it on a schedule and use the color temperature slider to adjust the look from Less Warm to More Warm. Note that Night Shift does not affect screenshots, screen recordings, and screen mirroring.
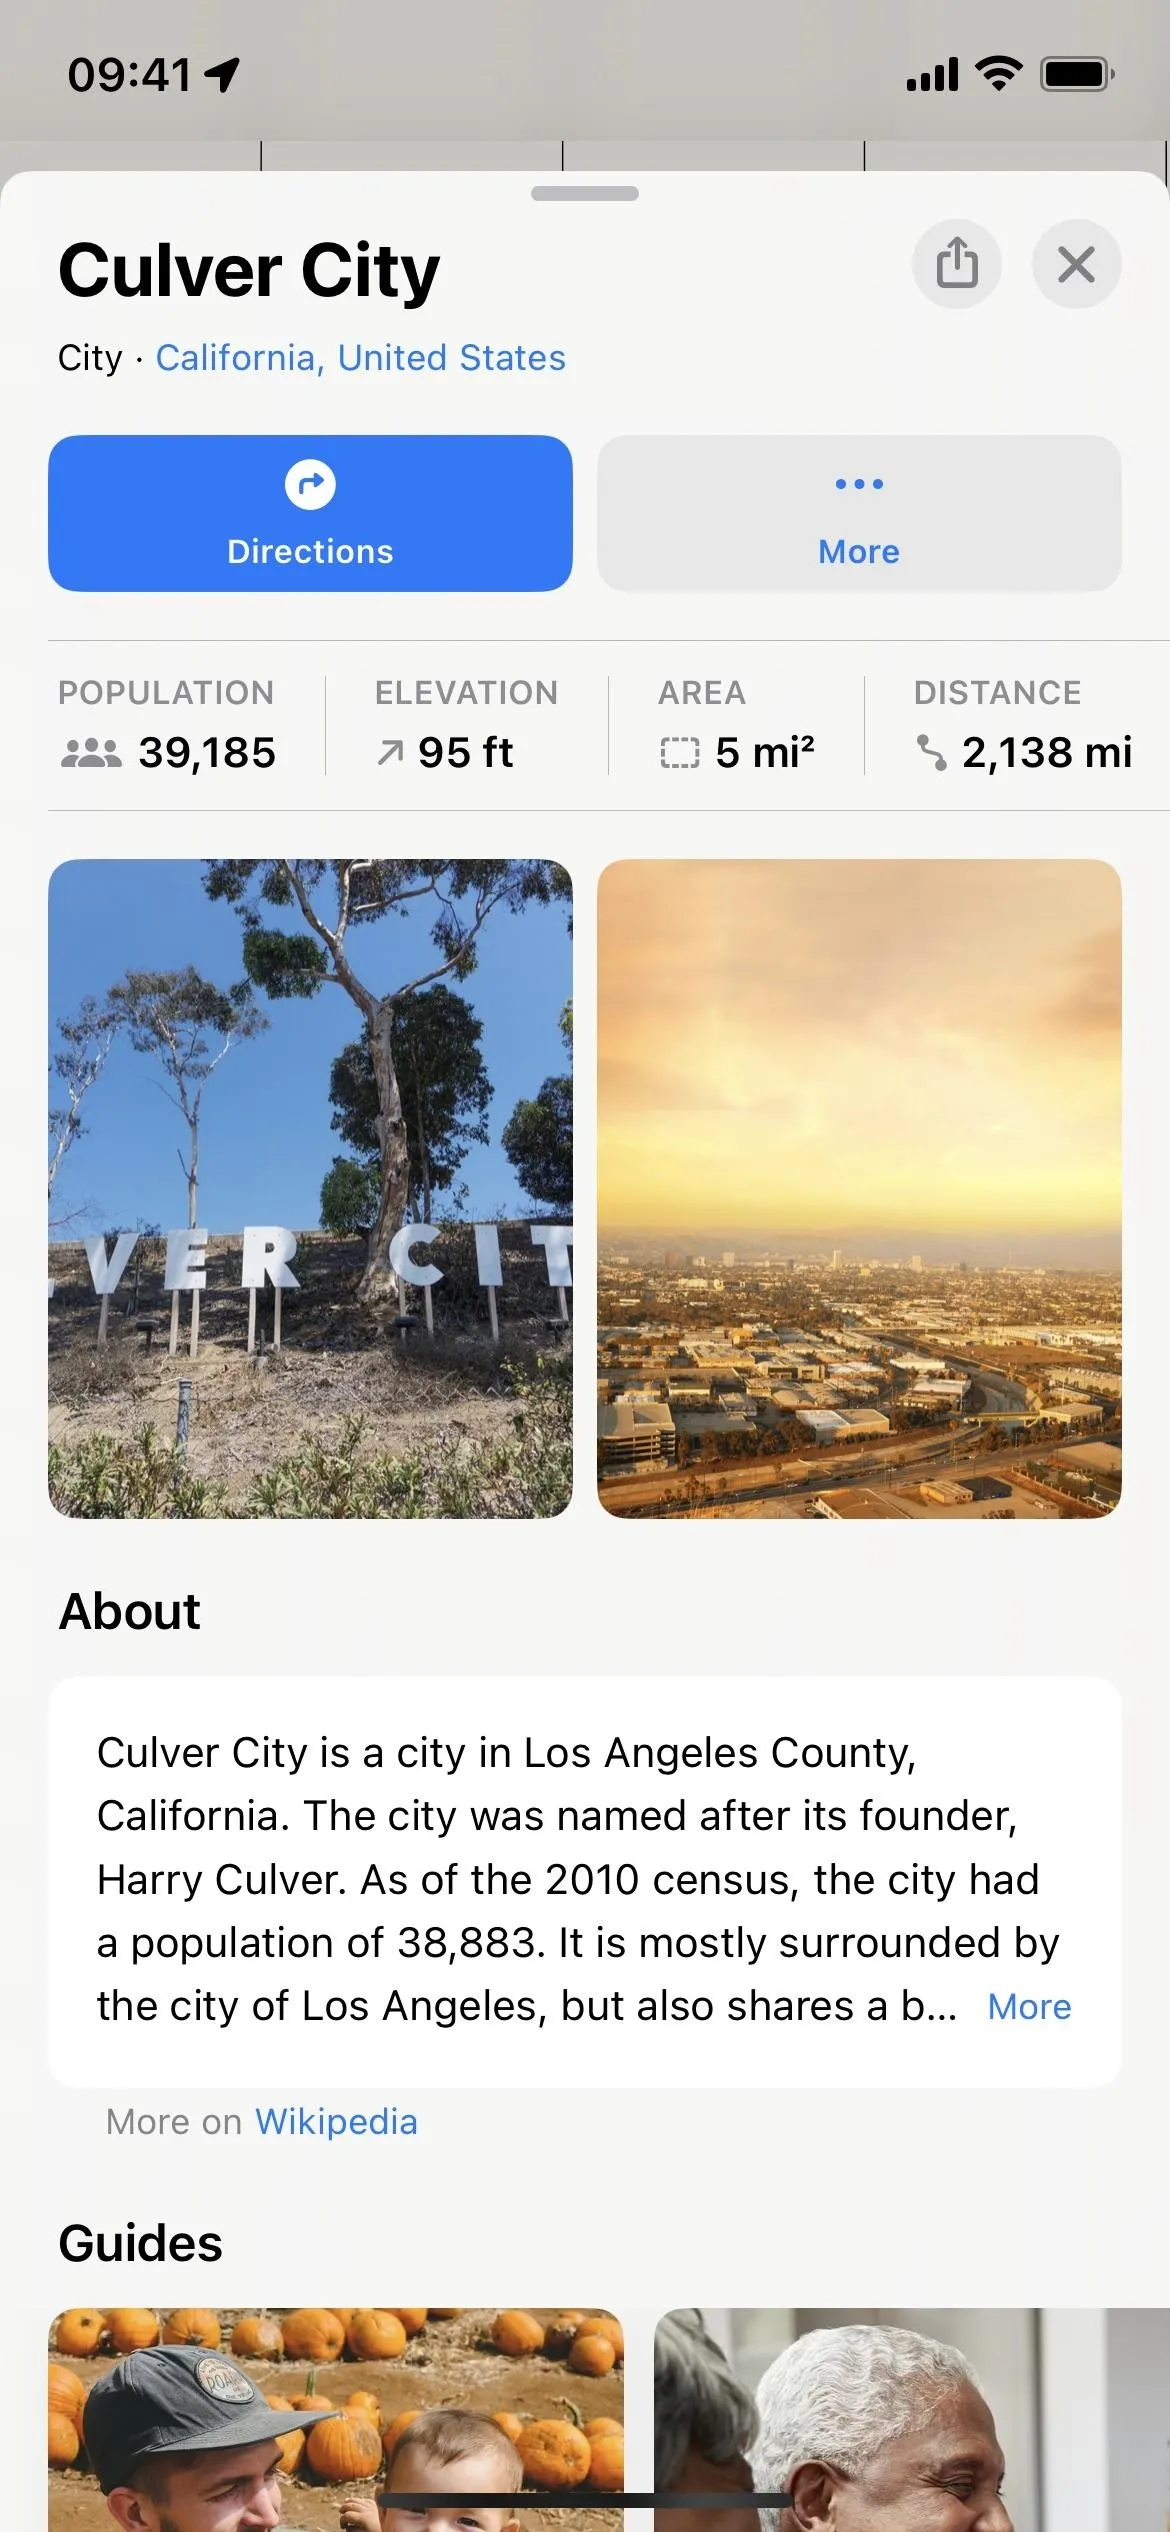
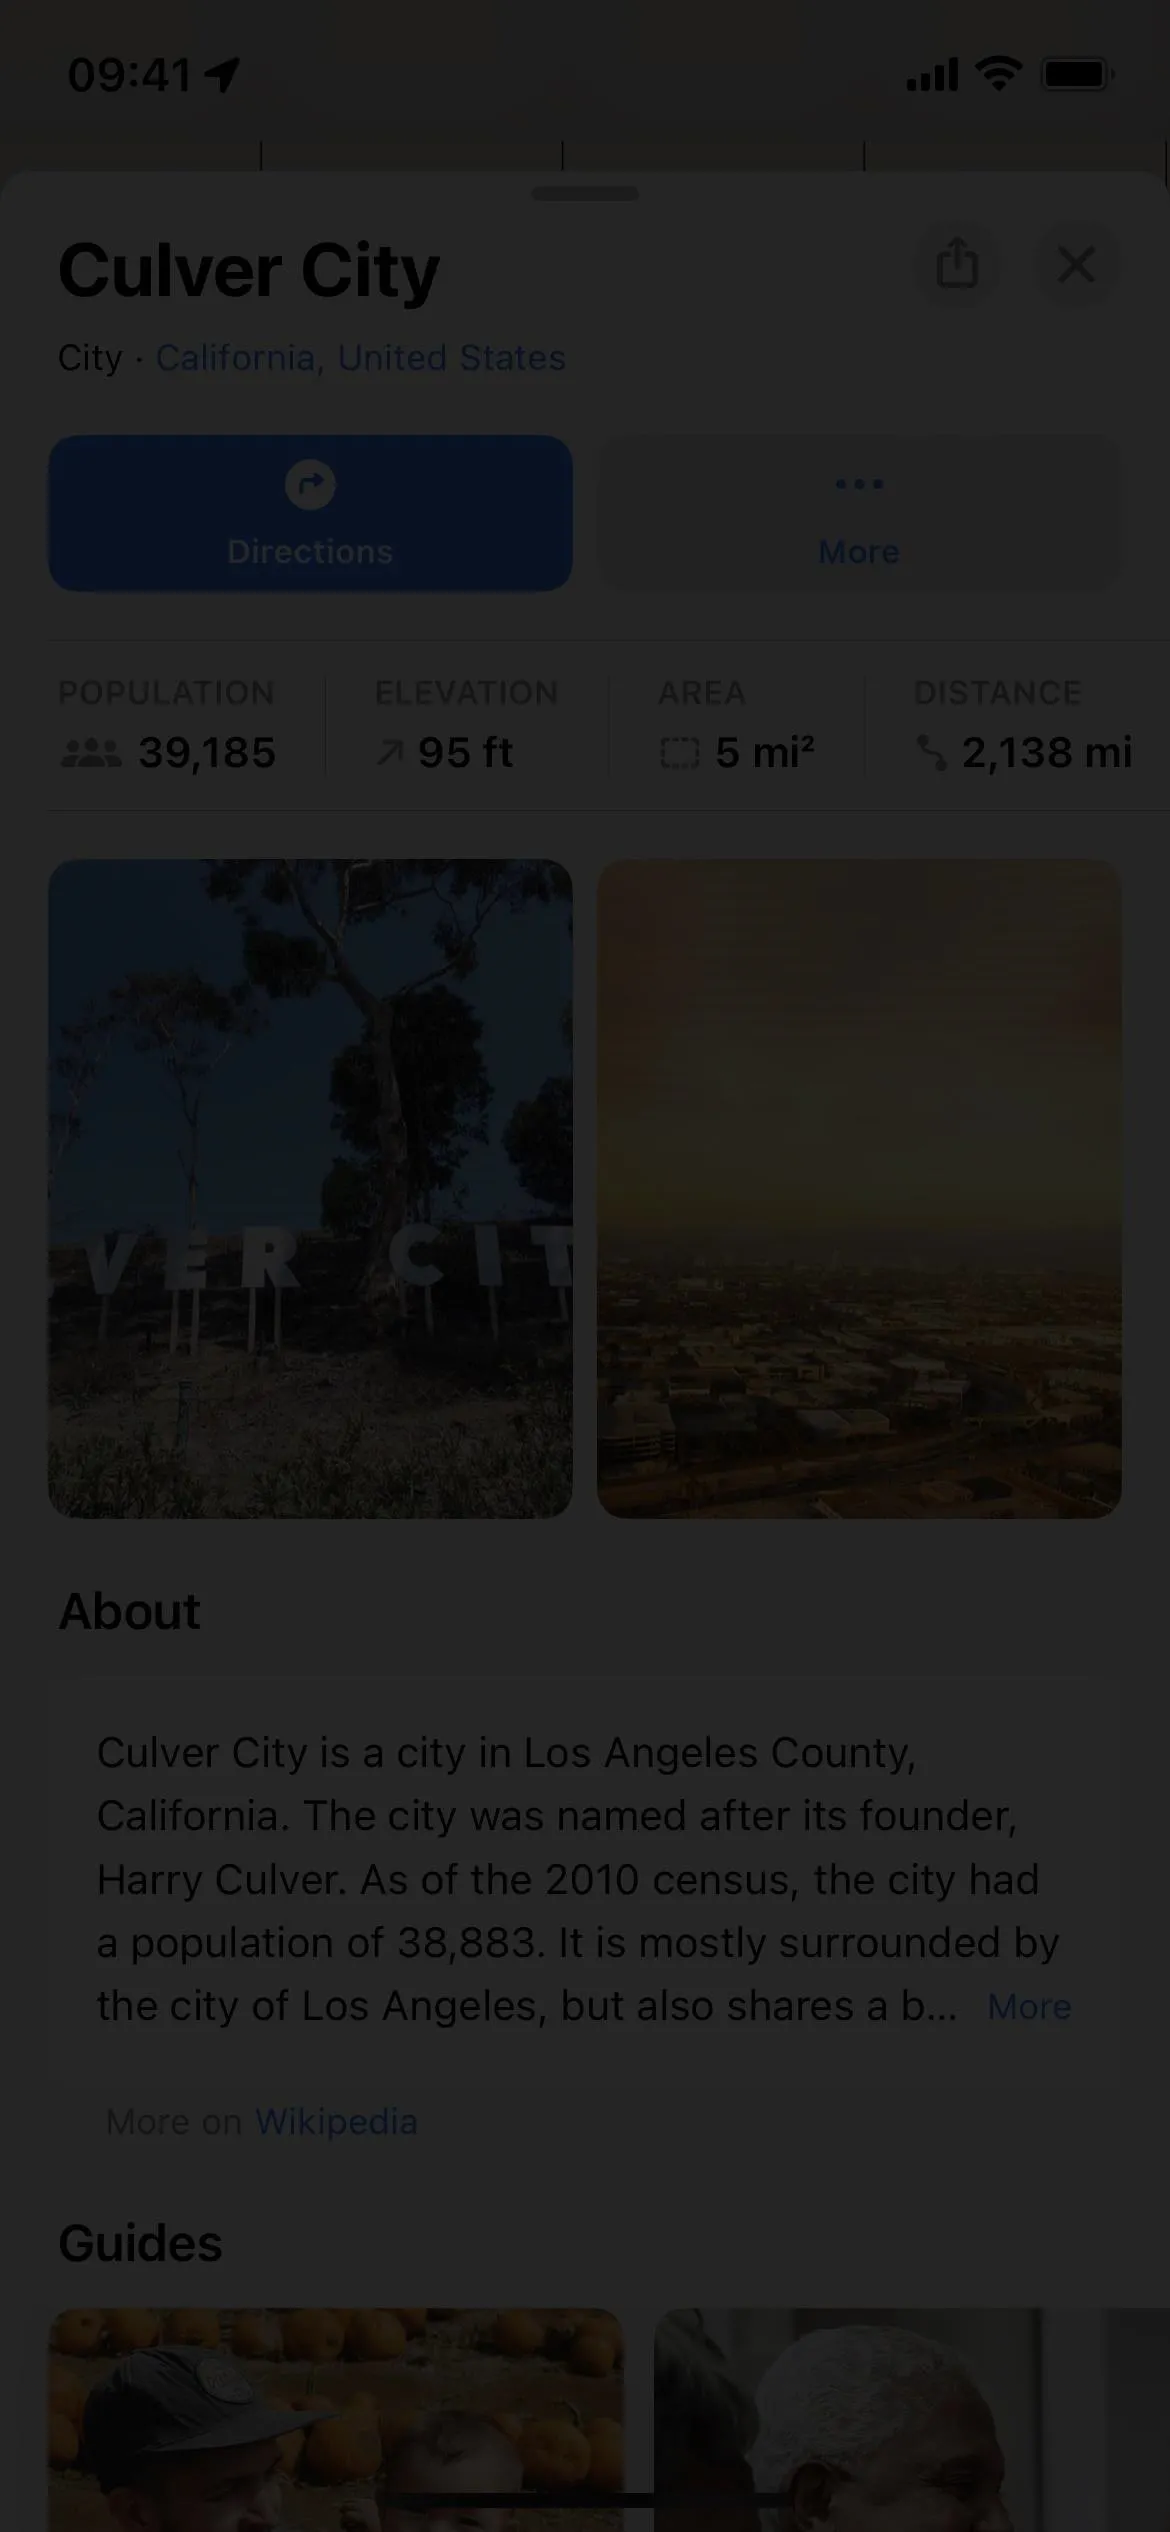
10. True Tone
You might not have even realized it, but True Tone is enabled on the iPhone 8 and newer models by default. Your iPhone's sensors measure the ambient light around you, and then True Tone adjusts the color and intensity on your display to make content appear more natural.
Some of the color settings in this article could disable True Tone automatically, such as Classic Invert, Smart Invert, Grayscale filters, and Increase Contrast. You can also disable it yourself, which keeps the color and intensity on your display constant.
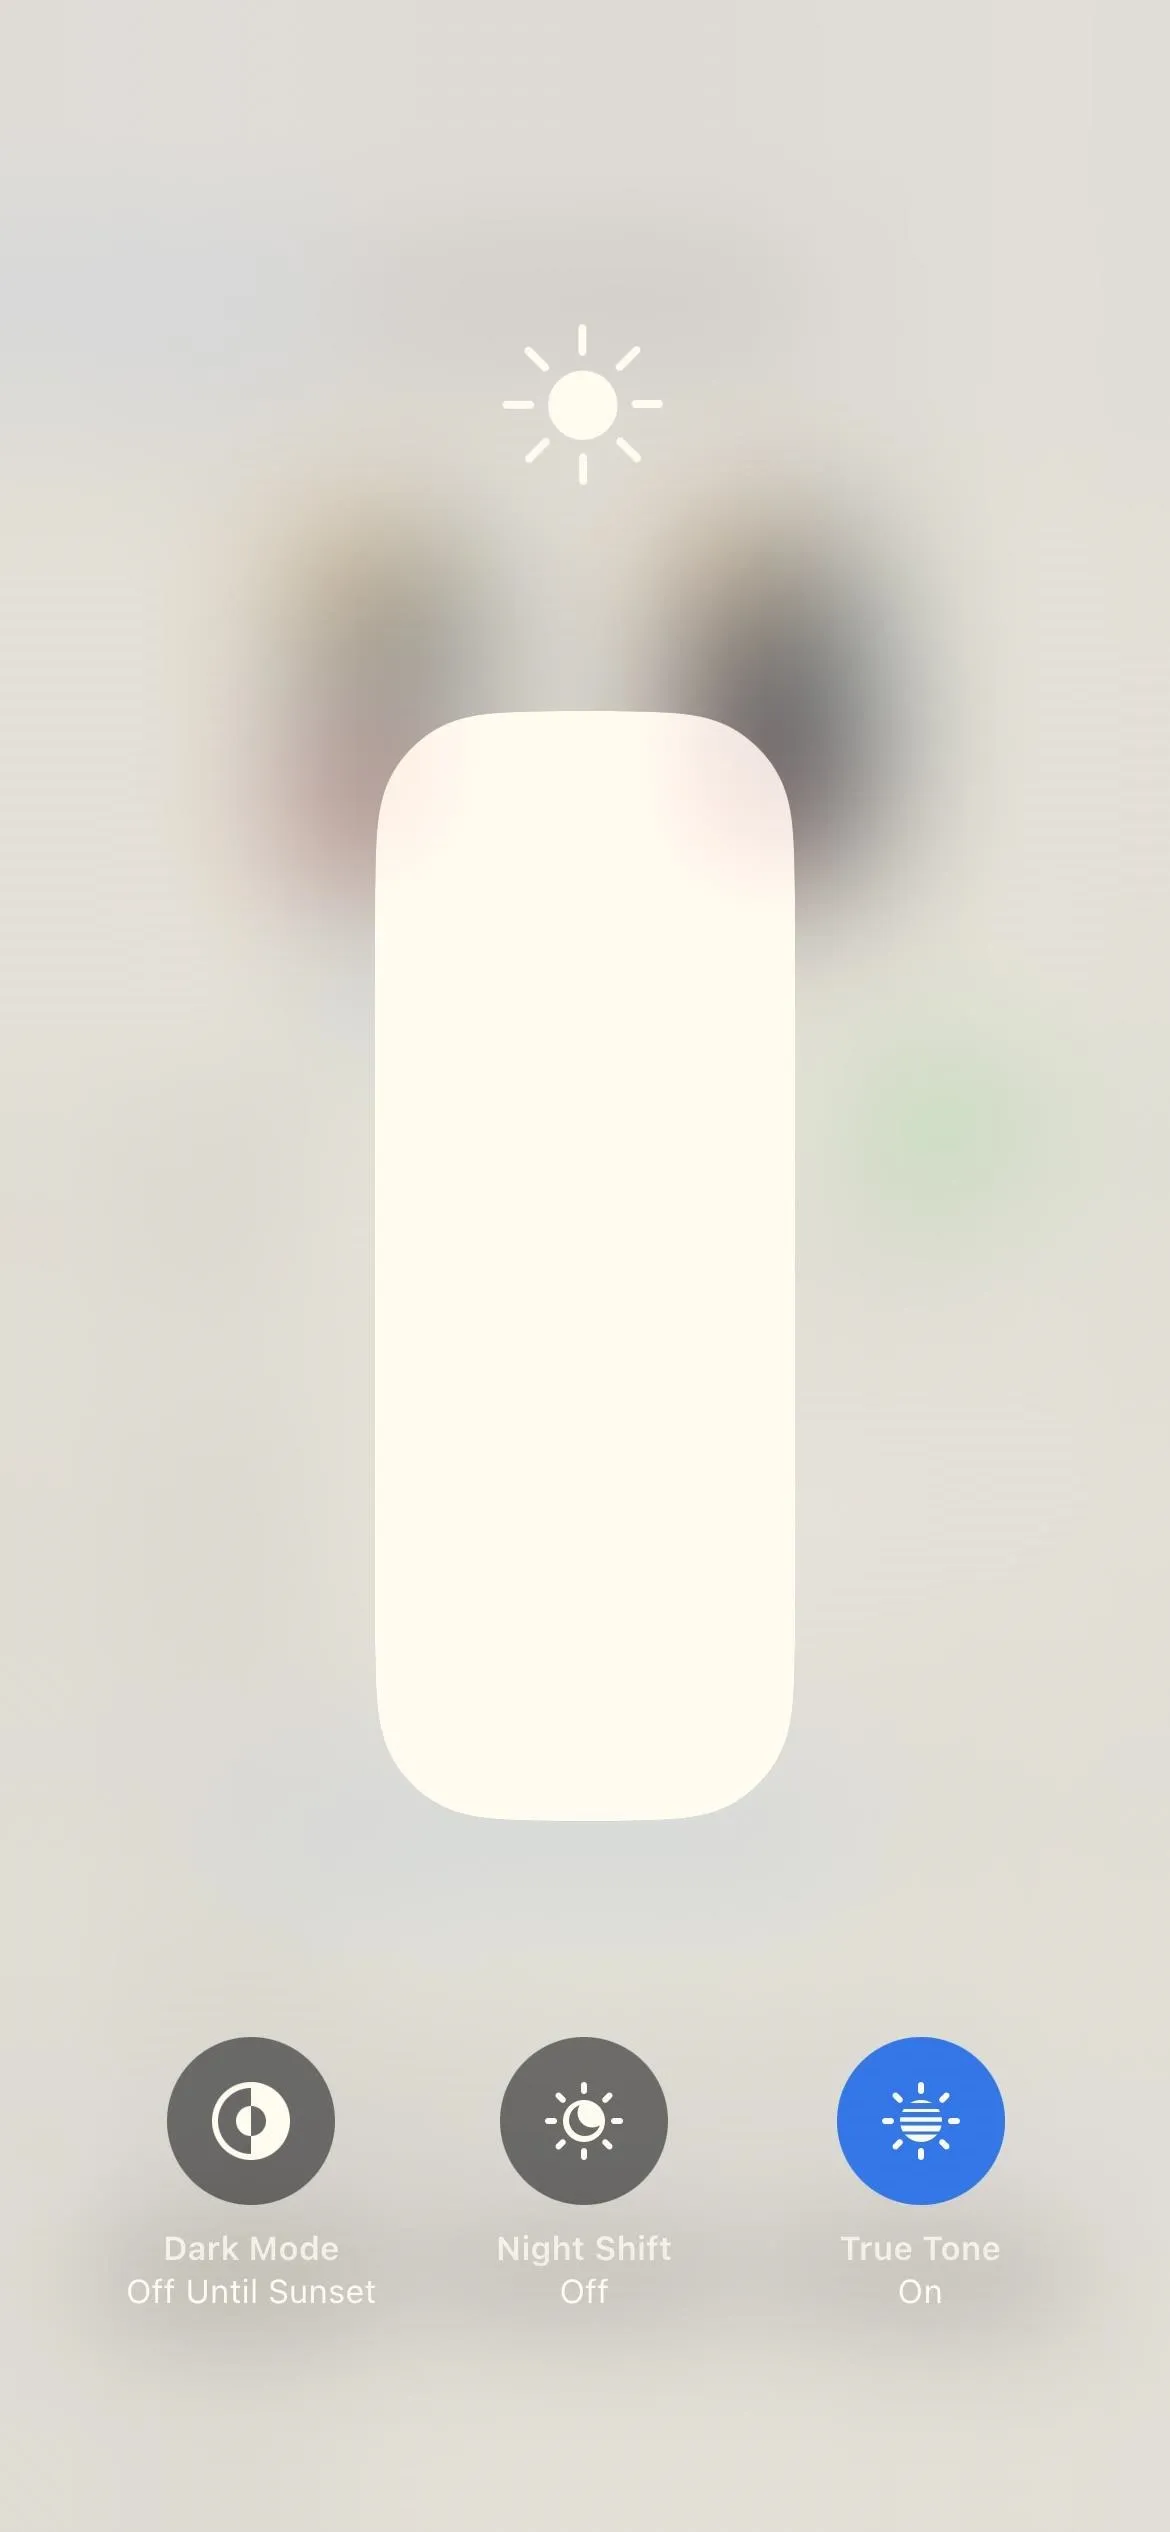
You can turn True Tone on or off from Settings –> Display & Brightness –> True Tone or by using the Brightness menu in Control Center. Note that True Tone does not affect screenshots, screen recordings, and screen mirroring.
11. Brightness
You should already know how to adjust the brightness on your iPhone, whether you do it manually or have it set to adjust automatically. With Auto-Brightness enabled, the default setting, your iPhone uses its ambient light sensor to measure the light conditions around you. Your display's brightness adjusts accordingly, lowering brightness in dark places and raising it in well-lit spots.
You can turn Auto-Brightness on or off from Settings –> Accessibility –> Display & Text Size. Siri also works. You can adjust brightness manually via the Brightness control in Control Center or Settings –> Display & Brightness. Note that Brightness does not affect screenshots, screen recordings, and screen mirroring.
Customize Per-App Settings
Apple introduced per-app settings with iOS 15, and three of the color-affecting features above can be set in this way. If you're going to use any of the supported features for your apps, it's much better to customize them in the per-app settings than by using the other two methods below.
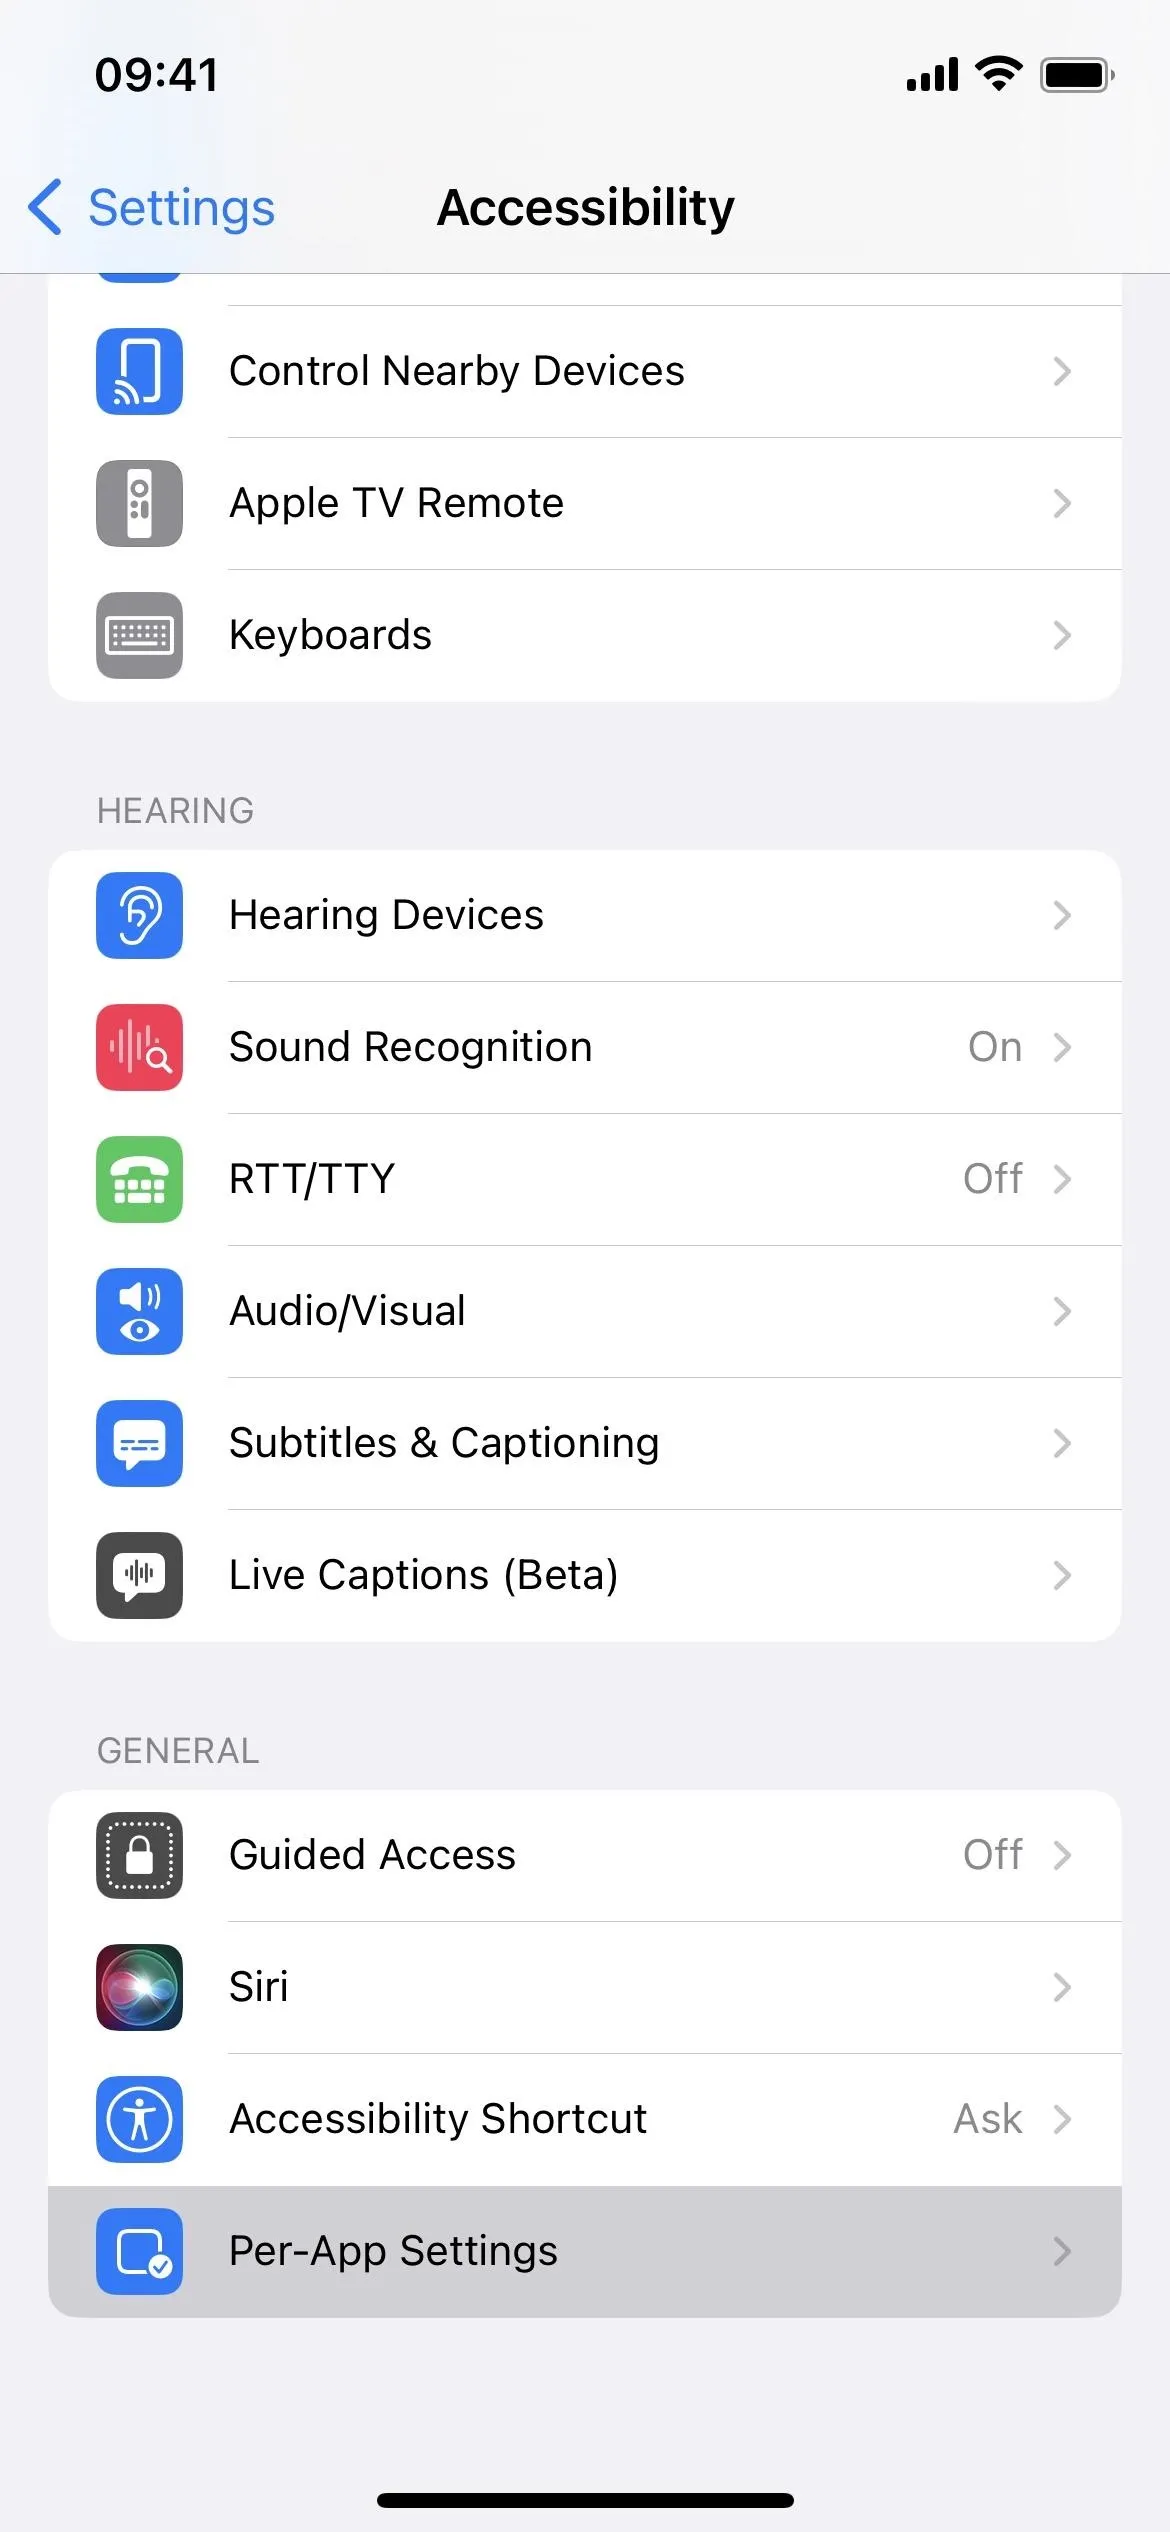
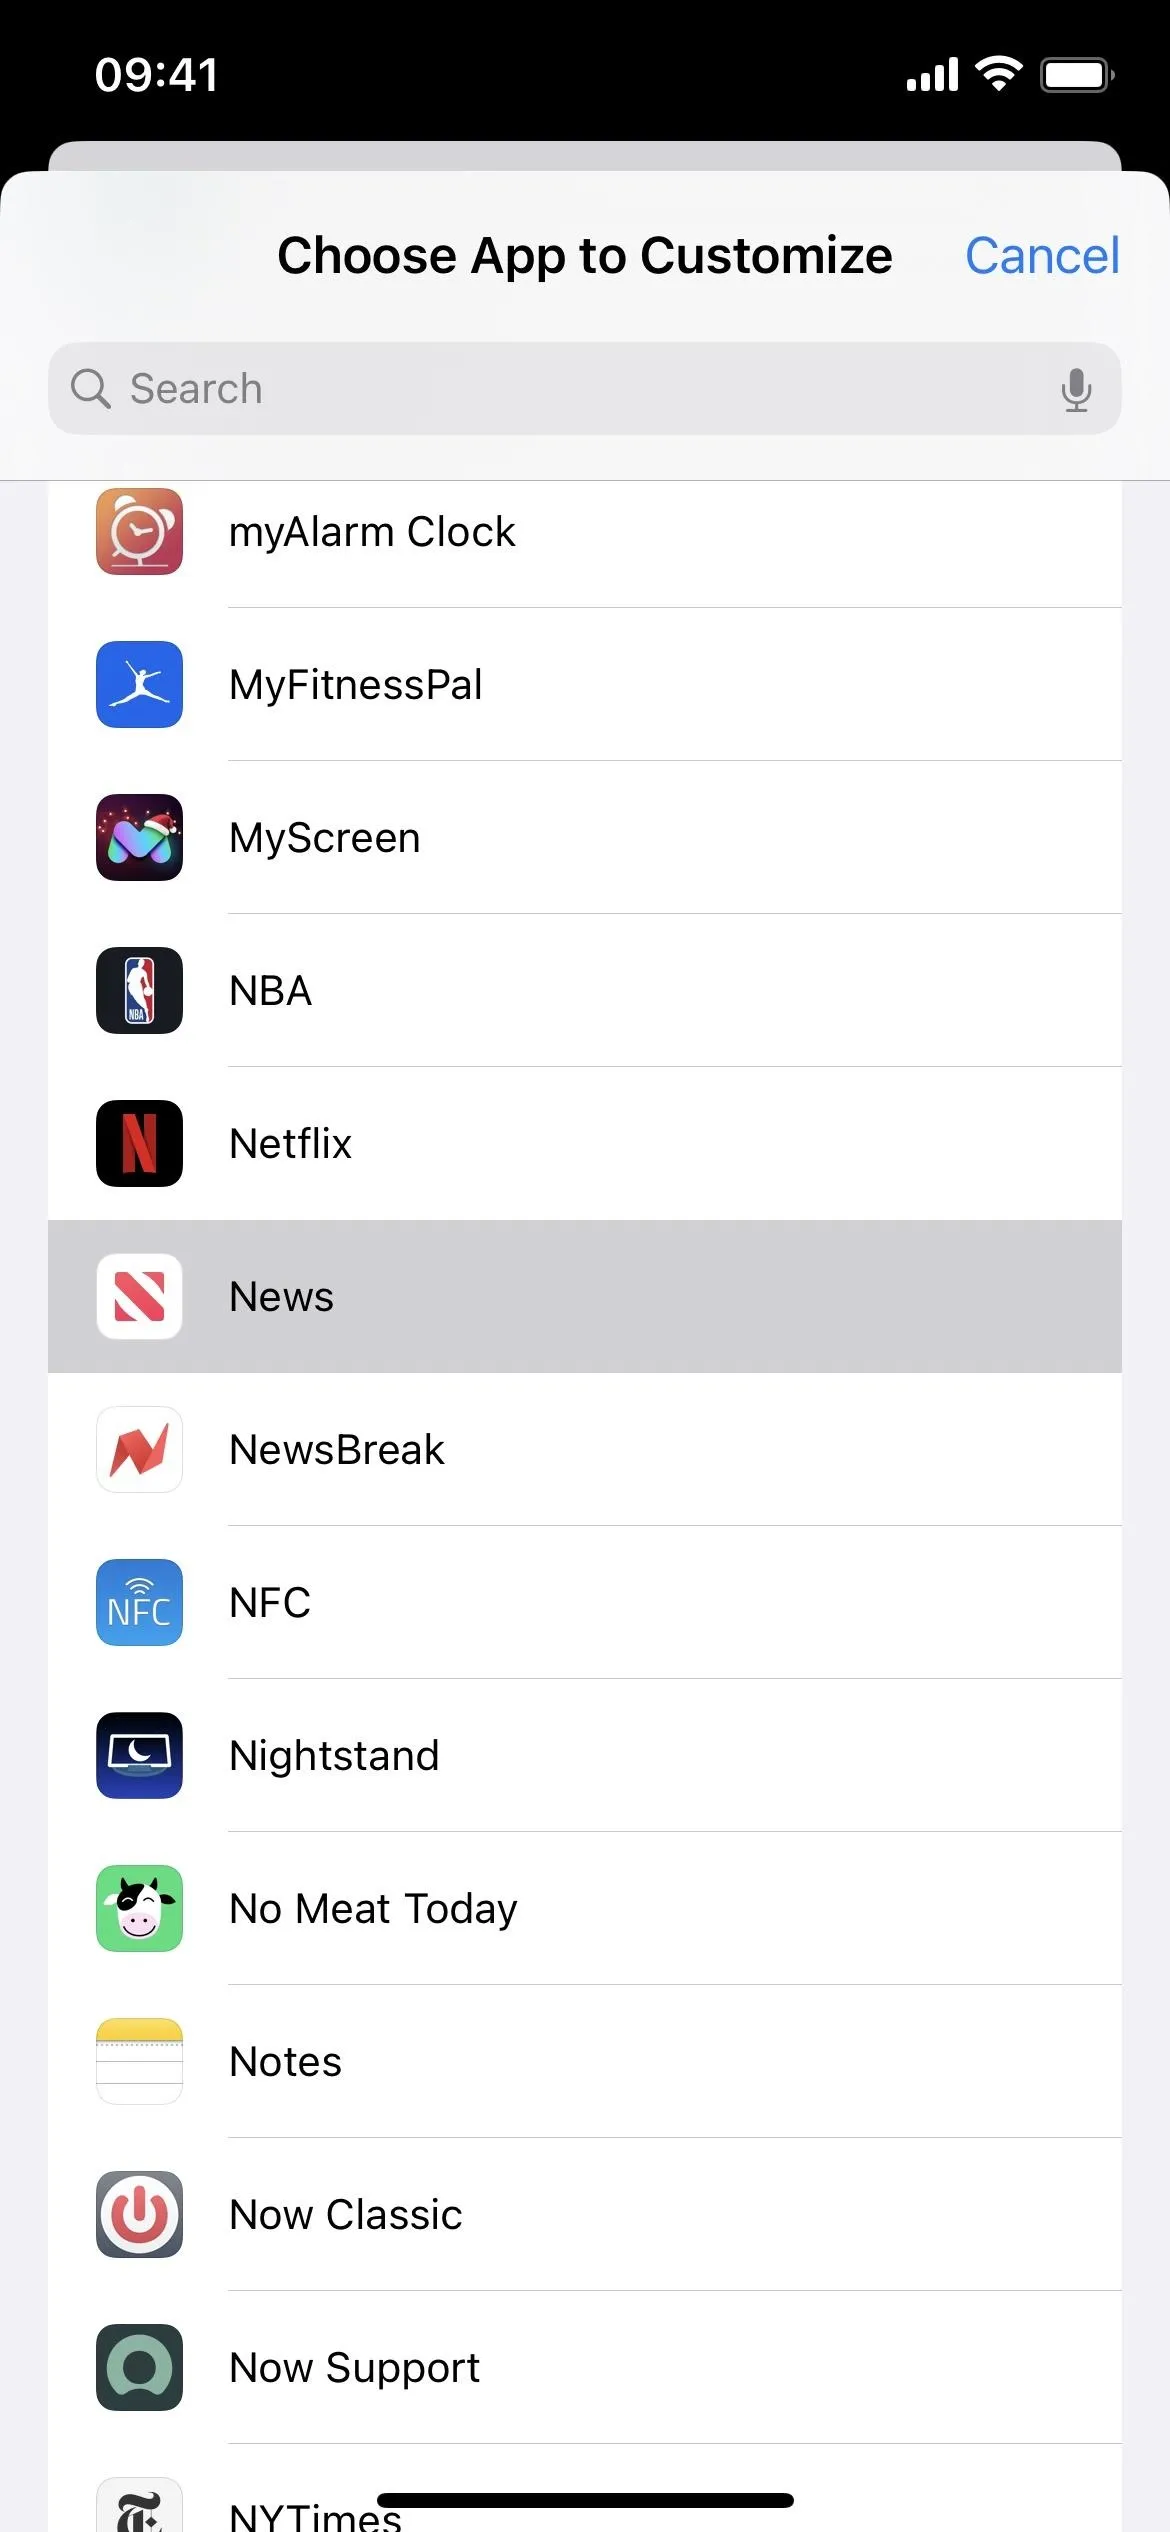
Go to Settings –> Accessibility –> Per-App Settings, tap "Add App" if the app you want to customize isn't listed, and then choose the app.
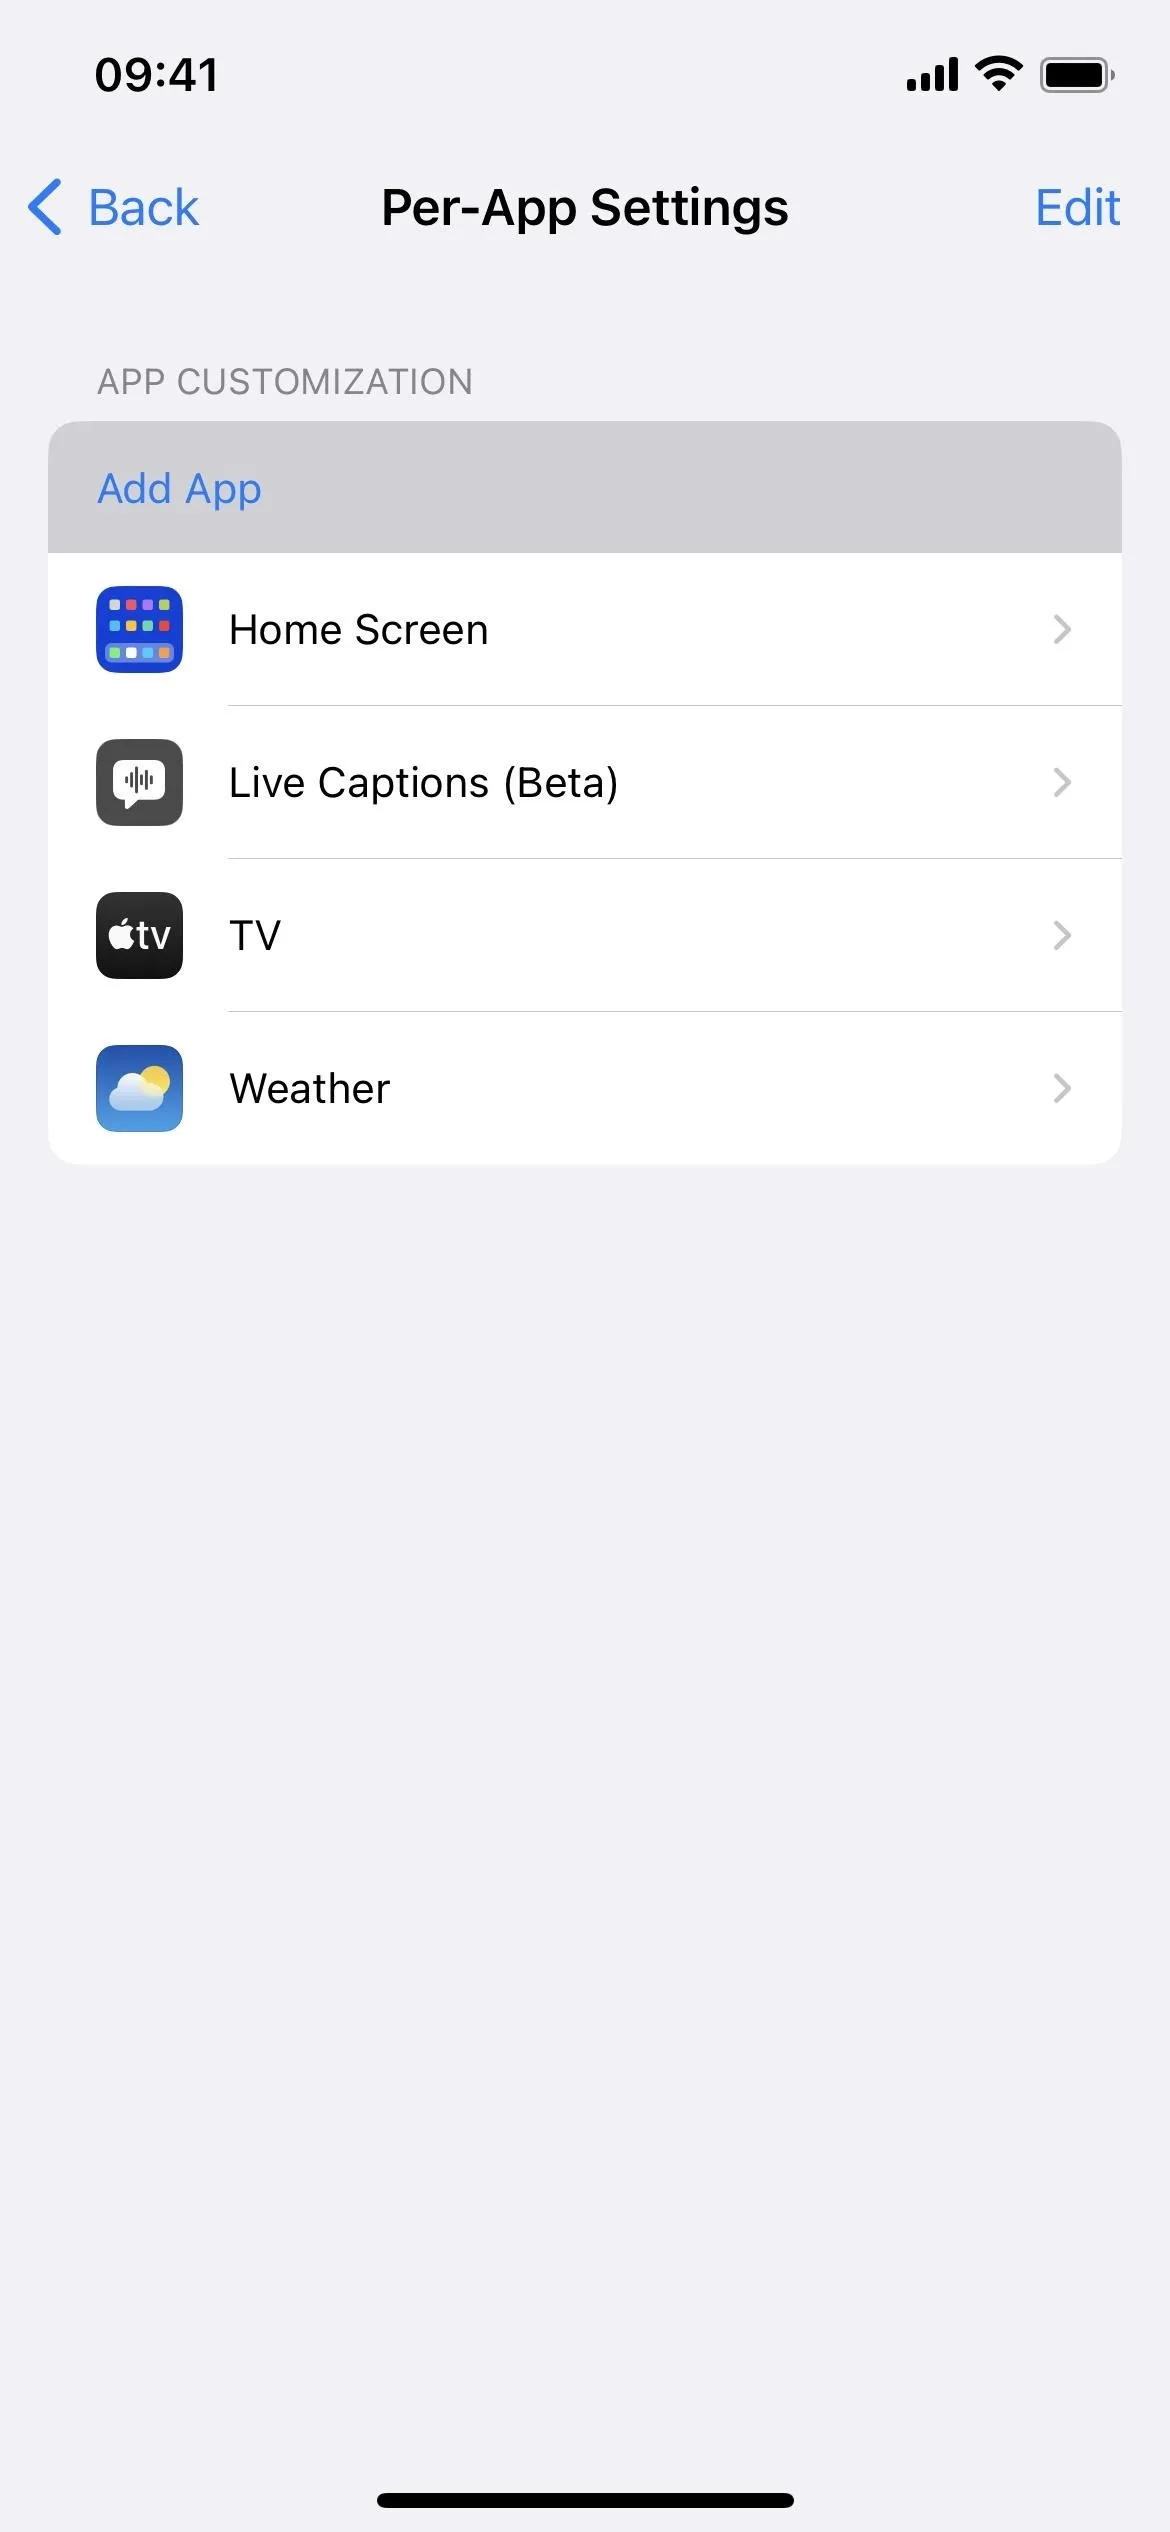
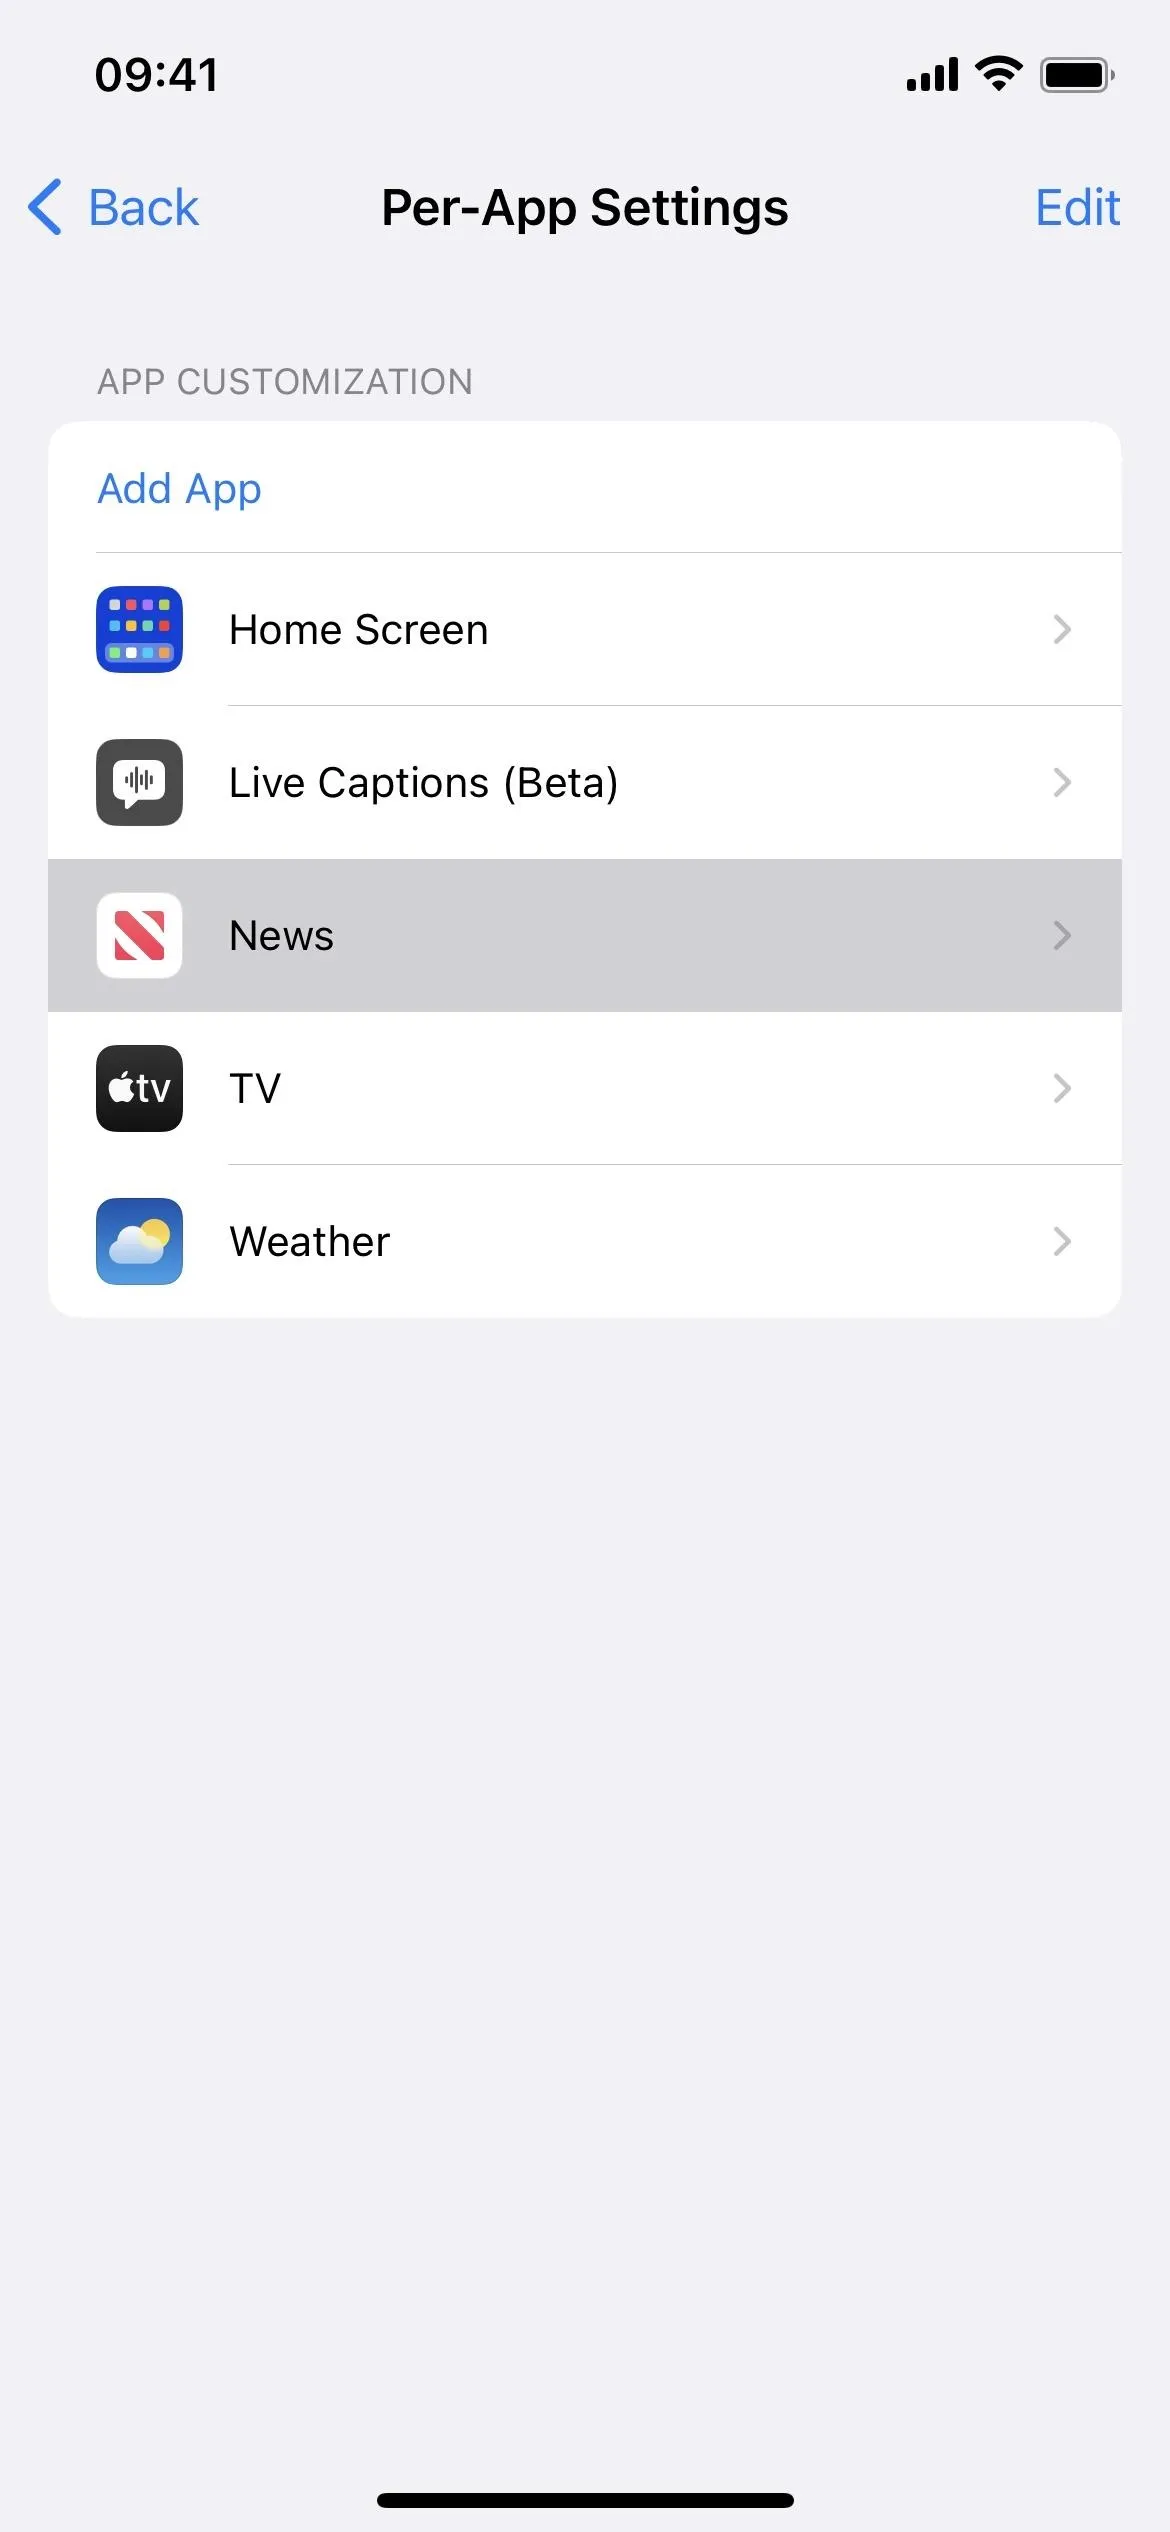
Back on the Per-App Settings list, select the app. You can even choose Home Screen; its preferences can affect your iPhone's status bar outside your Home Screen pages.
Set the following three features from "Default" to either on or off.

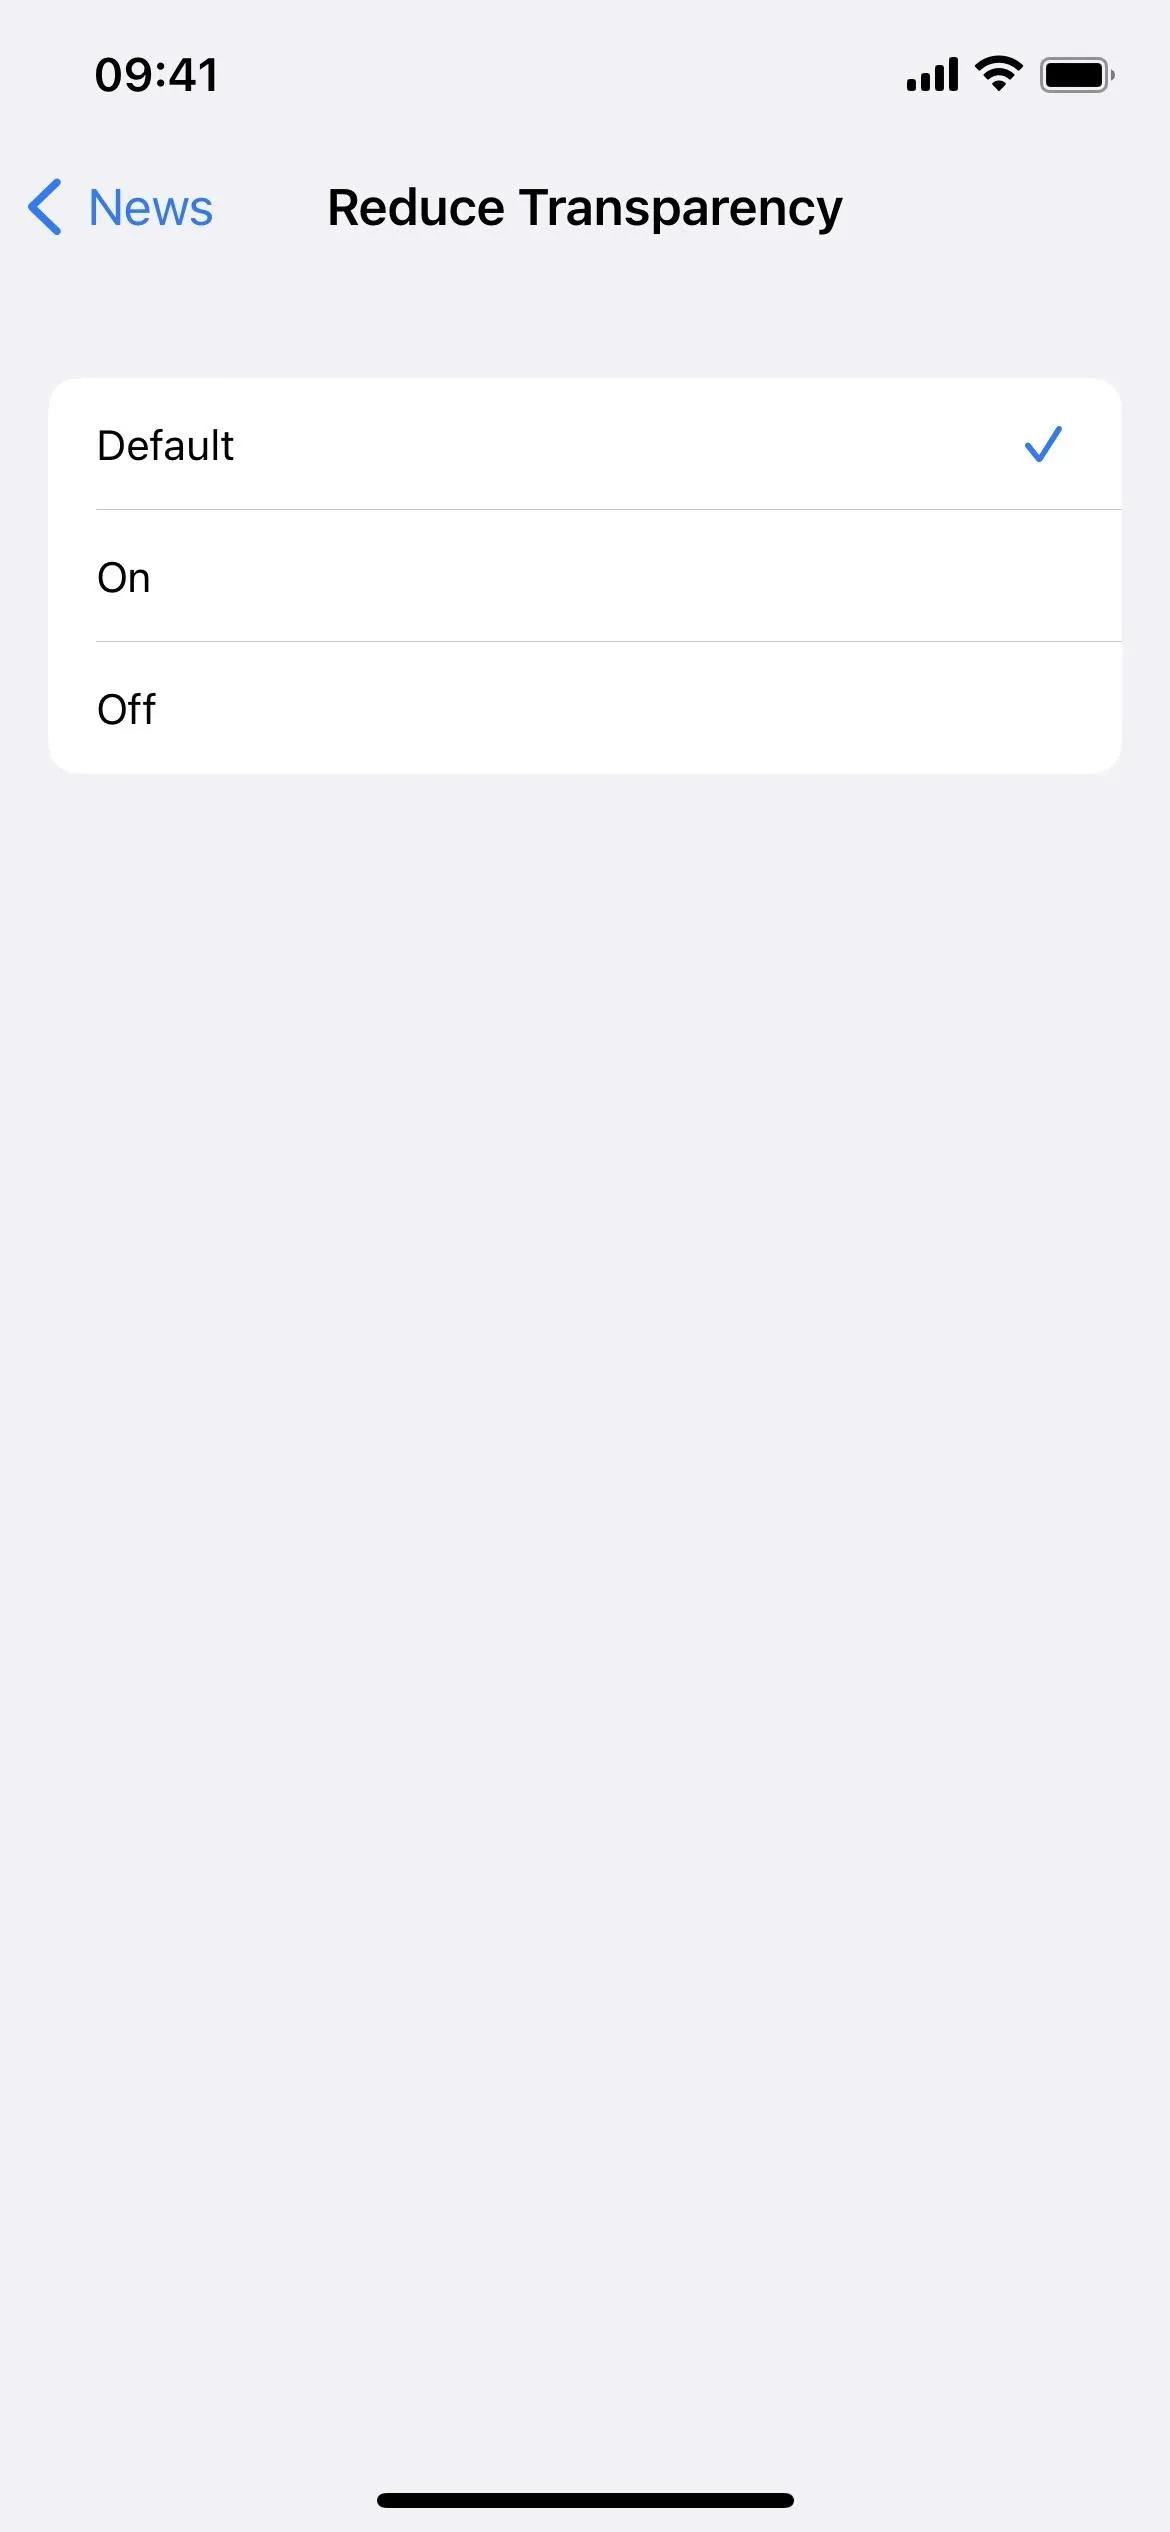
For most of the other filters and effects, you'll need Method 2 or 3 below.
Automate Color Changes in Apps
With the automation feature in the Shortcuts app, you can automatically change an app's colors so that there's no work necessary beyond the initial setup. The automation runs whenever you open the app, applying all your filters to iOS. Then, whenever you close the app, everything returns to normal.
Most of the color effects listed above can be used in shortcuts, and they're listed below as their action names in Shortcuts. You cannot automate Night Shift or True Tone.
- Set Appearance (Dark Mode)
- Set Classic Invert
- Set Smart Invert (Method 1 is better for this one)
- Set Color Filters
- Set Increase Contrast (Method 1 is better for this one)
- Set Reduce Transparency (Method 1 is better for this one)
- Set White Point (Reduce White Point)
- Set Zoom
- Set Brightness
There are actually two ways to go about building a color change automation.
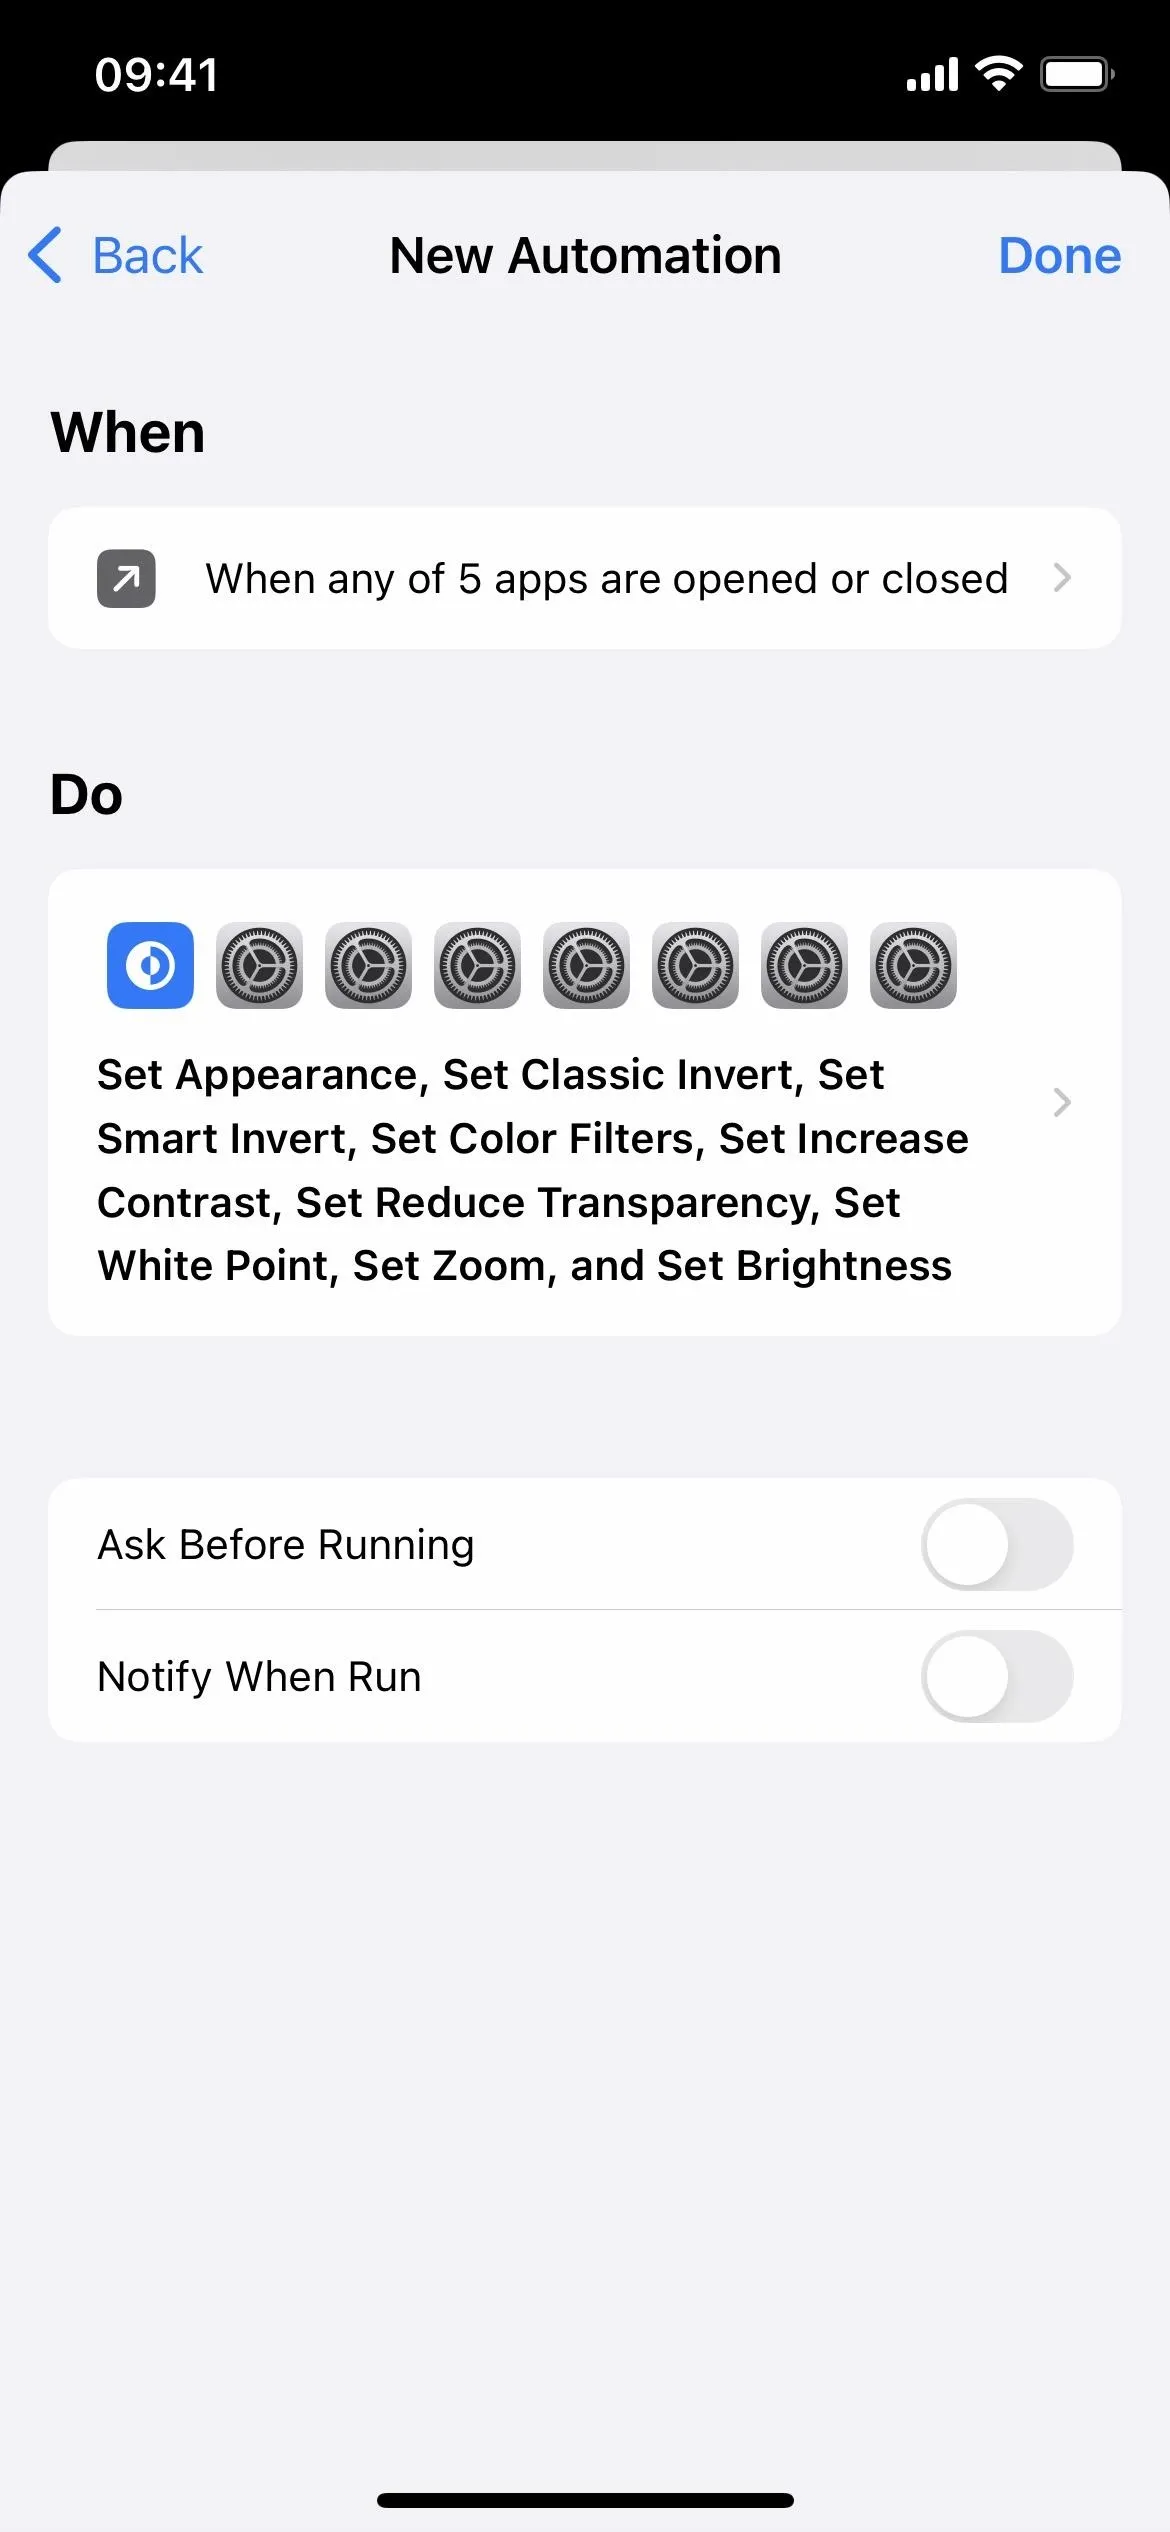
Toggle Filters When You Open and Close the App
This is the easiest way to go. When you open the app, the automation toggles on or off all the filters you added. When you close the app, the automation does the same: toggles all the filters.
- Start a new personal automation in the Shortcuts app.
- Choose "App" from the list.
- Tap "Choose" next to App.
- Select the app or apps you want to assign and hit "Done."
- Toggle both "Is Opened" and "Is Closed" on and hit "Next."
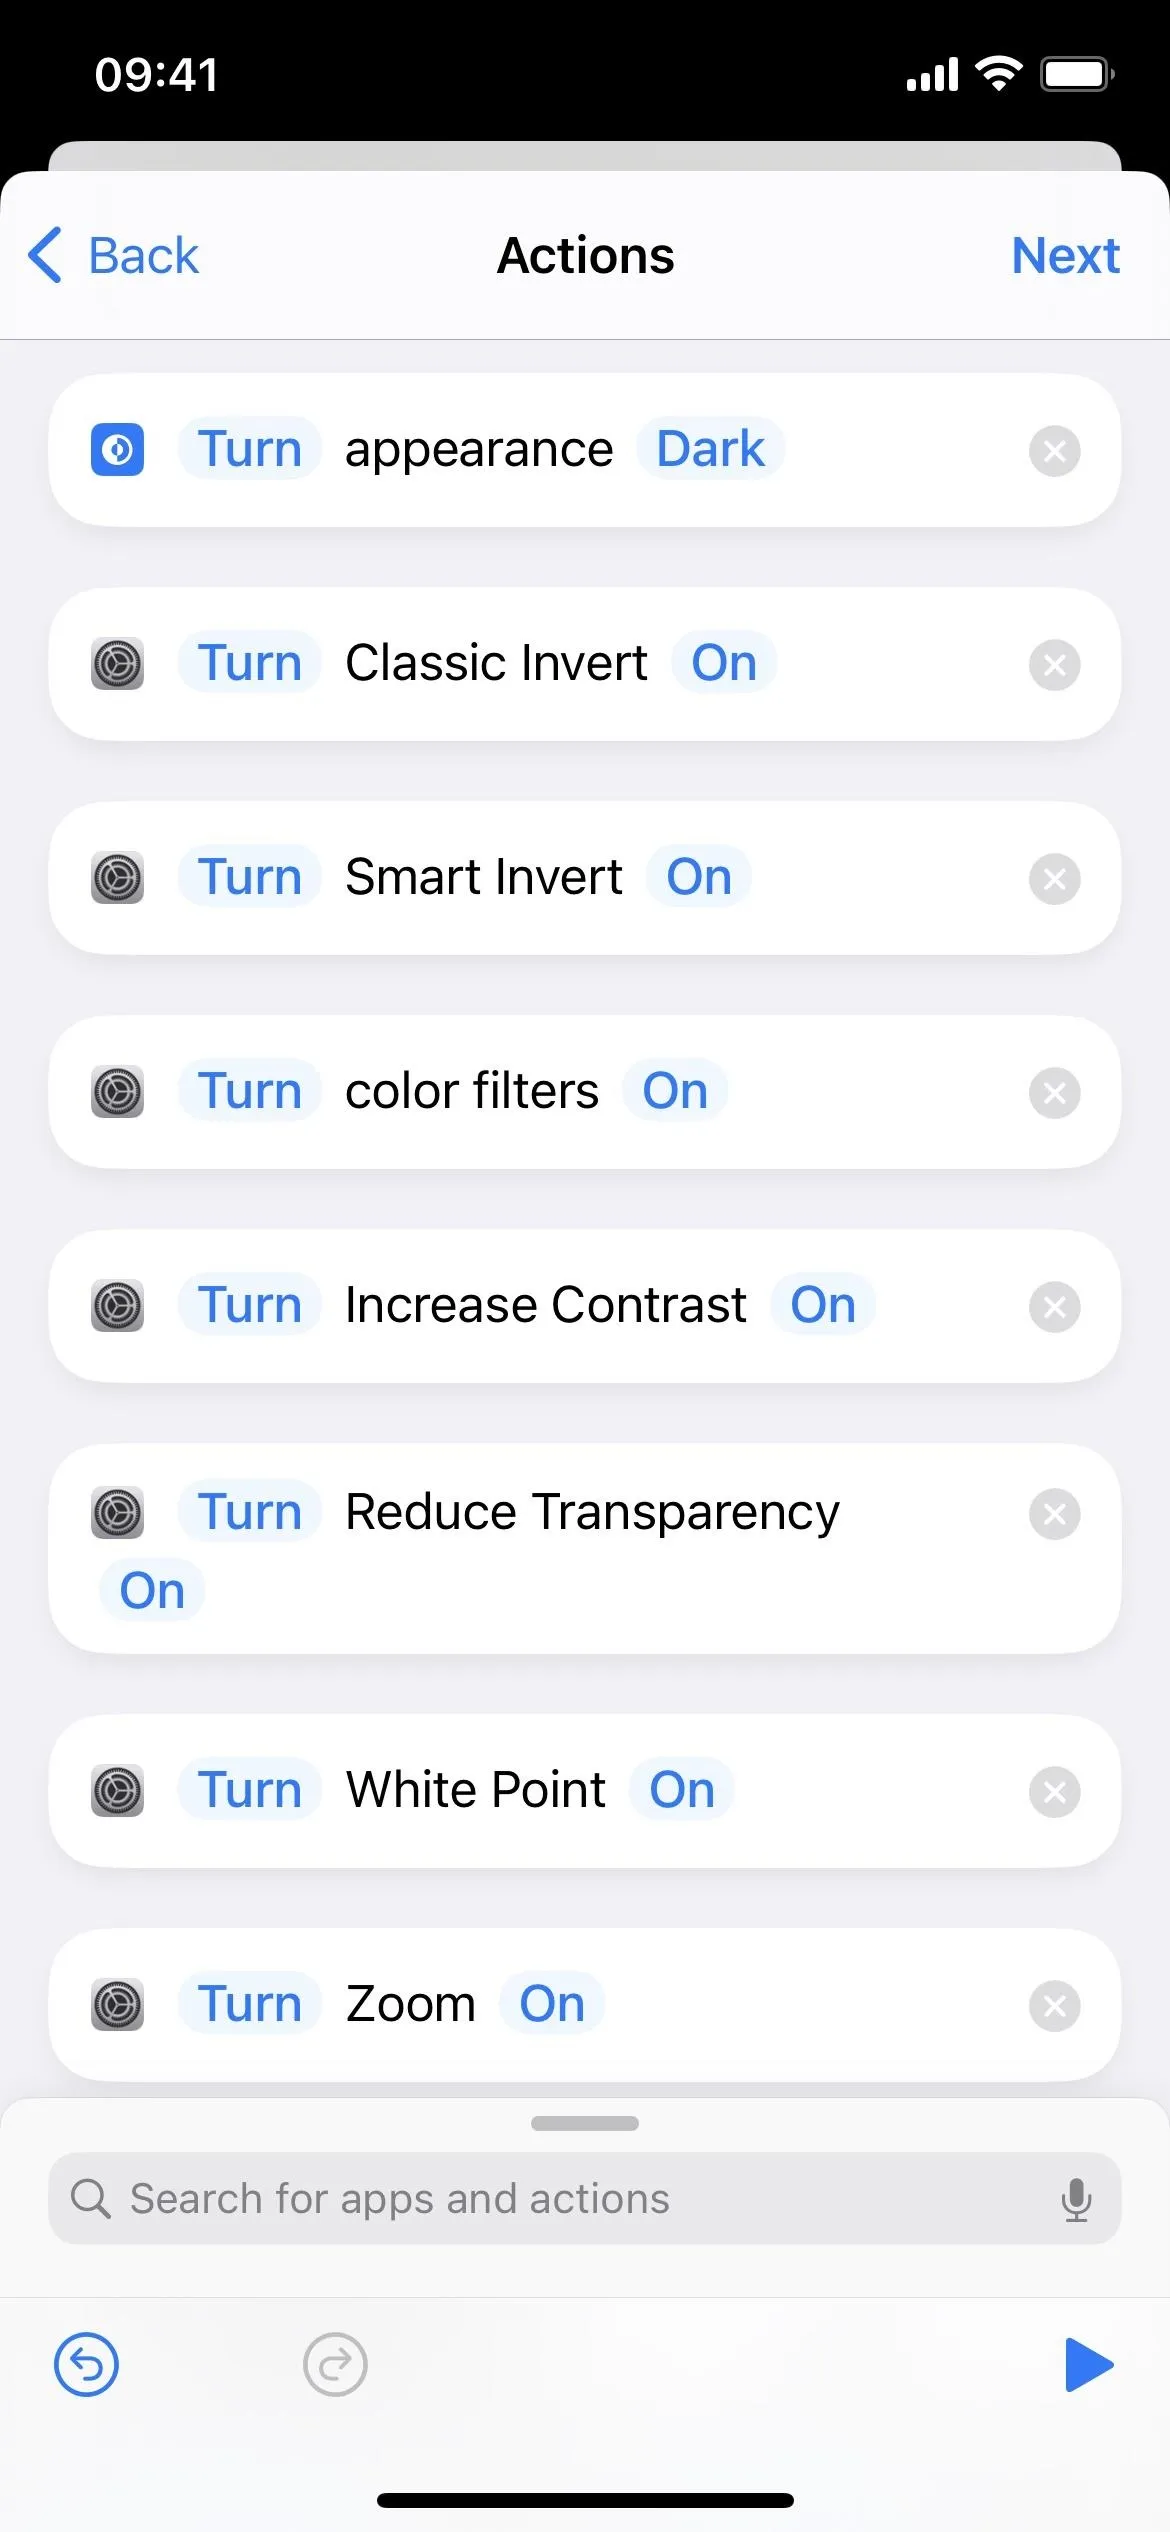
- Add the action or actions you want to assign to the app or apps.
- Tap "Turn" if the action starts with it, then switch it to "Toggle." If using Set Brightness, adjust its brightness level percentage.
- Hit "Next."
- Toggle off "Ask Before Running" and hit "Don't Ask" to confirm.
- Tap "Done" to finish.
While you can combine actions for unique color effects in apps, don't go overboard. If you choose too many, it will take a long time for Shortcuts to set everything when you open the app, and it may fail to revert everything when you close the app.

The Downsides to Toggling Filters
However, if you are already using a filter system-wide or in an app you're directly switching from, opening the target app will toggle the filter off inadvertently. Closing the app or switching directly to the previous app should revert things.
To avoid that, at least for Smart Invert, Increase Contrast, and Reduce Transparency, use Method 1 above.
For the rest, you can manually toggle the filter (see Method 3) used elsewhere before or after opening the target app. Still, you would have to do it again when switching back if you wanted to maintain the previous theme. If it's a theme of the prior app and not system-wide, you can also open the Home Screen or another non-filtered app before opening the target app.
In an ideal world, you could make the automation record the filters used before opening the target app so you could return to them when closing the app. However, Shortcuts only has an option to record dark and light appearances, not color filters, smart invert, and other options.
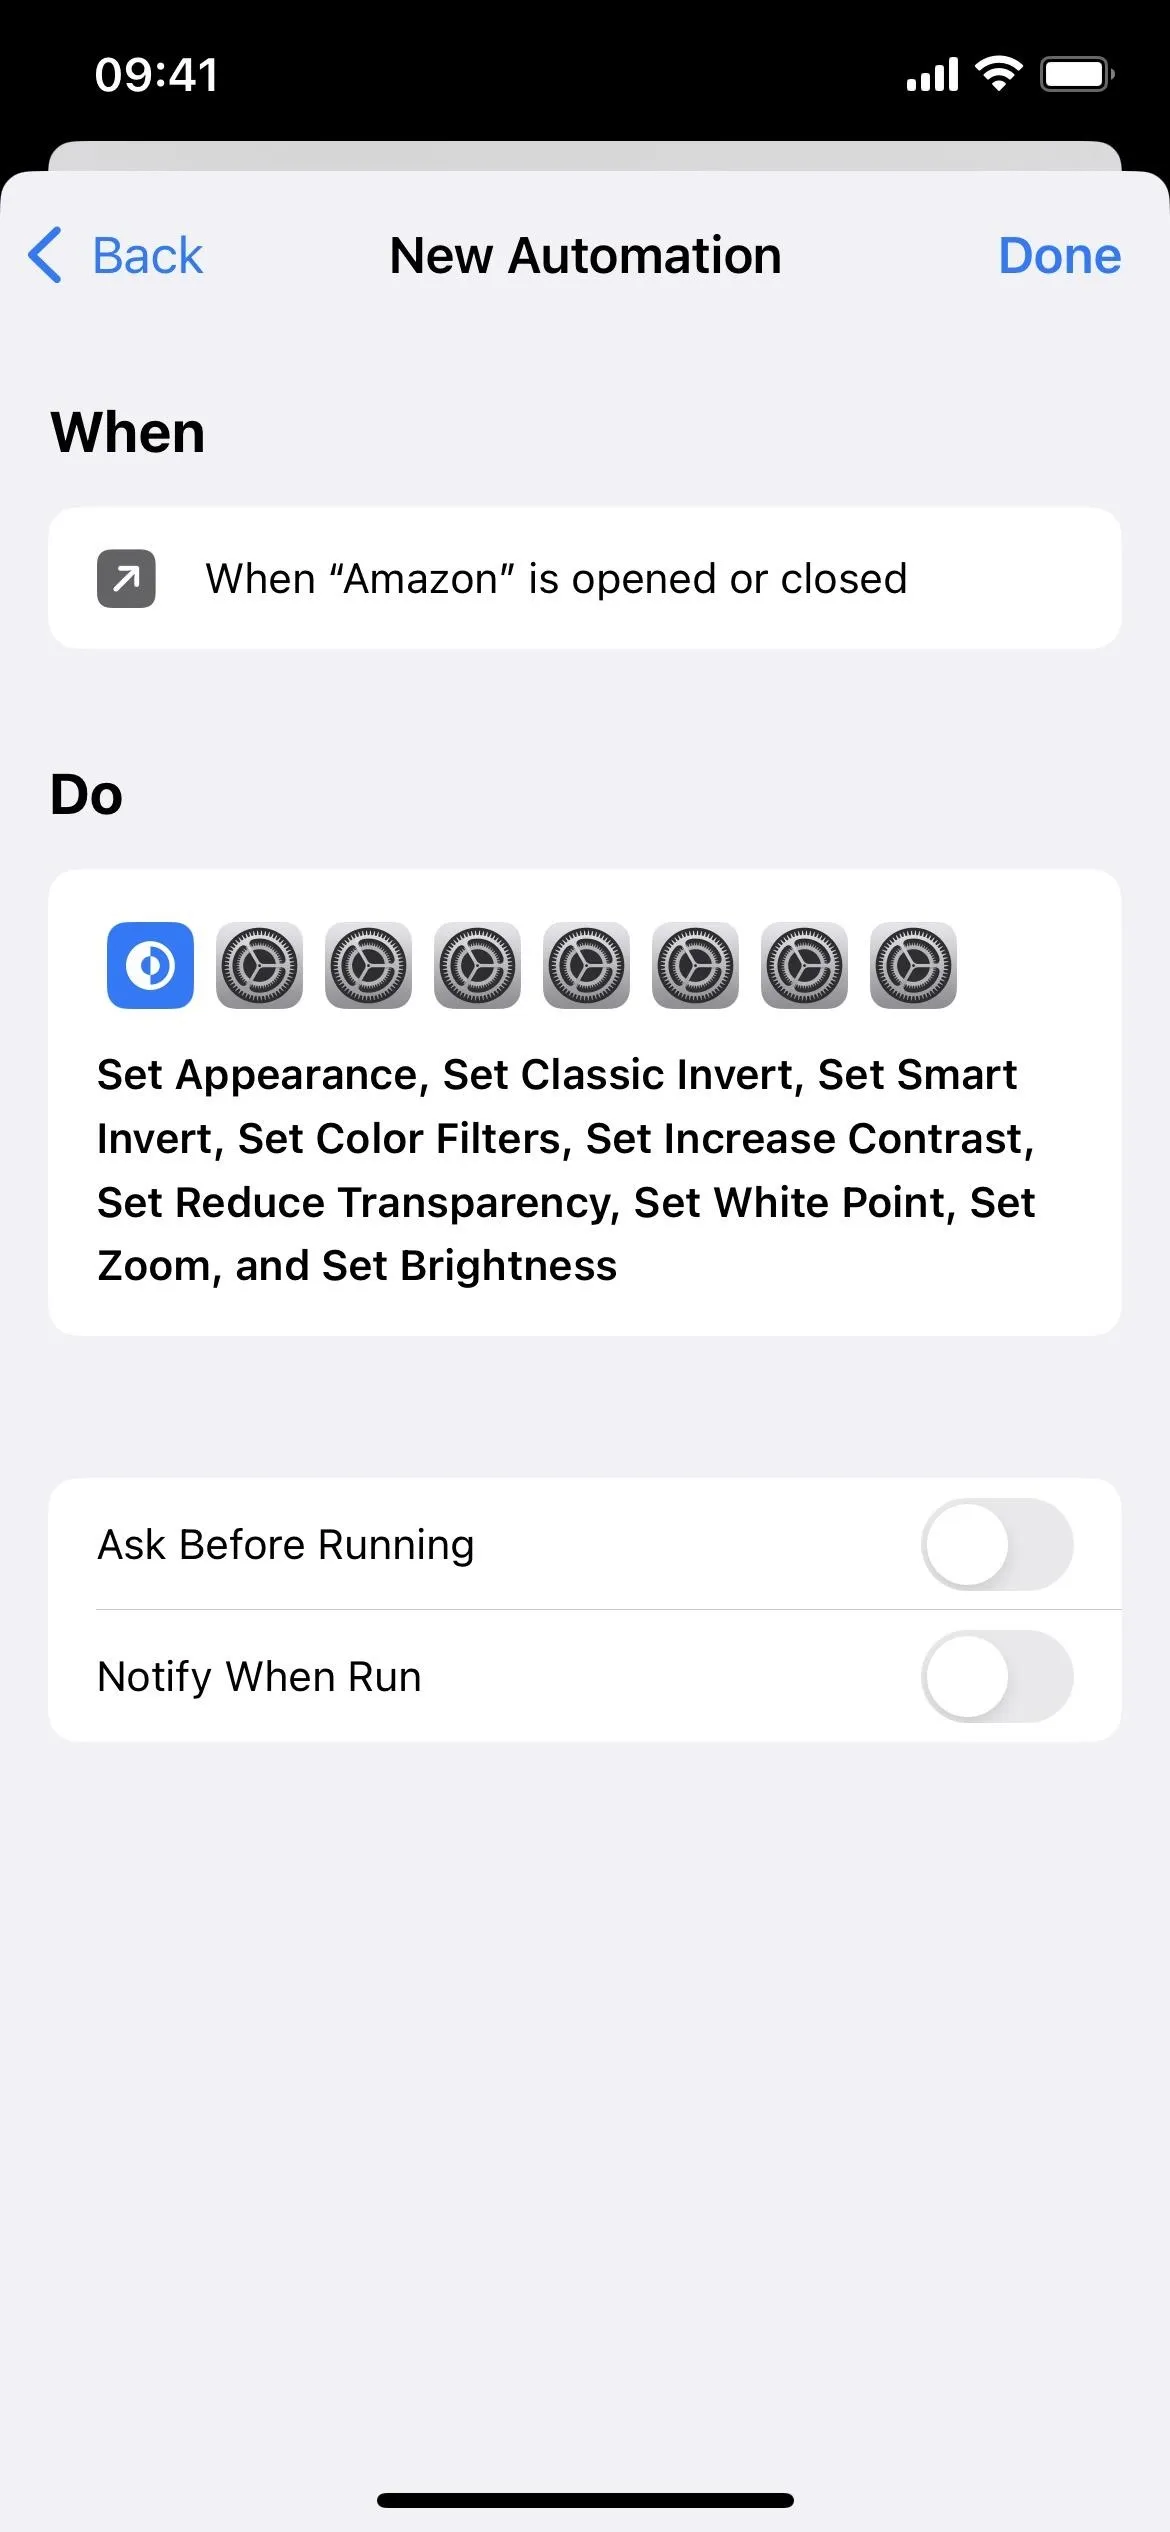
Turn Filters On/Off When You Open/Close the App
This involves more work since you need to create two separate automations, one for opening the app and one for closing the app. So if you're already using a filter elsewhere, opening the target app should keep it on if it's in the automation. However, closing the app would turn it off unless you use a similar automation on whatever you switch to.
- Start a new personal automation in the Shortcuts app.
- Choose "App" from the list.
- Tap "Choose" next to App.
- Select the app or apps you want to assign and hit "Done."
- Toggle only "Is Opened" and hit "Next."
- Add the action or actions you want to assign to the app or apps.
- Leave "Turn" as it is if the action starts with it. If using Set Appearance, pick between Dark or Light. If using Set Brightness, adjust its brightness level percentage. For all other actions, choose On or Off.
- Hit "Next."
- Toggle off "Ask Before Running" and hit "Don't Ask" to confirm.
- Tap "Done" to finish.
As when toggling filters in automations, don't go overboard when combining actions for unique color effects in apps. If you choose too many, it will take a long time for Shortcuts to set everything when you open the app, and it may fail to revert everything when you close the app.
The Downsides to Turning Filters On/Off
If you are using any filters system-wide and one of those is used in your automation, opening the app won't affect it unless you set it to turn off when in the automation. However, if a filter is on when you open the app and on in your automation, the system-wide filter will be disabled when you close the app.
To avoid that, at least for Smart Invert, Increase Contrast, and Reduce Transparency, use Method 1 above.
As you can see, there's a minor issue with each option. If you don't use filters system-wide, it shouldn't be a problem. If you do, you'll have a little extra work when you open and close apps to return to the previous system-wide look. Setting an automation for every app on your iPhone would give you complete control, but that's too much work.
Manually Change Colors in Apps
If you don't want to use a Shortcuts automation to switch the color theme for an app automatically, or when you need to make a quick color adjustment when your automation toggles or turns on/off something you want on, you can use Siri or the main controls for each option in the Settings app, as seen above. However, there are faster ways to set some of them without speaking or digging through the Settings app.
Most of the color effects listed above can be used in shortcuts, and they're listed below as their action names in Shortcuts. You cannot automate Night Shift or True Tone.
- Classic Invert
- Smart Invert (Method 1 is better for this one)
- Color Filters
- Increase Contrast (Method 1 is better for this one)
- Reduce Transparency (Method 1 is better for this one)
- Reduce White Point
- Zoom
Accessibility Shortcut
When enabled, the Accessibility Shortcut is assigned the triple-click Side or Home button gesture on your iPhone. So when you click the button quickly three times in a row, whatever setting you choose for Accessibility Shortcut will toggle on or off. If you set more than one setting, it will show you a list of those to choose from.
Go to Settings –> Accessibility –> Accessibility Shortcut, then ensure at least one of the color adjustments is checked. Not all of the things shown above are available, but you can control Classic Invert, Smart Invert, Color Filters, Increase Contrast, Reduce Transparency, Reduce White Point, and Zoom.
Accessibility Shortcuts in Control Center
Set up your Accessibility Shortcut as seen in Option 1 above, then go to Settings –> Control Center. Add the "Accessibility Shortcuts" control if it's not already in the list of included controls.
Whenever you open Control Center, you can tap the Accessibility Shortcuts control to toggle the assigned features on or off. If you have more than one set, choose from the list that appears.
Back Tap
Back Tap has been around since iOS 14, and it does just as it sounds. You can either double-tap or triple-tap the Apple icon on the back of your iPhone, and it will perform whatever action you assign the gesture.
Go to Settings –> Accessibility –> Touch –> Back Tap, then choose either "Double Tap" or "Triple Tap." You can pick between system actions, accessibility actions, scroll gestures, and even shortcuts.
In our case, you could set it to Accessibility Shortcut if you don't want to open as Option 1 and 2 above describes. None of the system actions help with color changes. For accessibility, you can choose Classic Invert, Smart Invert, Color Filters, or Zoom.
You can also use one of the other color-changing features above, but you have to create a shortcut for them in the Shortcuts app, then assign it here. If you do that, you also get access to Dark Mode, Increase Contrast, Reduce Transparency, Reduce White Point, and Brightness. You can also use any combination of color effects.
Cover photo, screenshots, and GIFs by Justin Meyers/Gadget Hacks


Comments
Be the first, drop a comment!