In iOS 13, Apple introduced HomeKit Secure Video, which allows smart home devices with cameras to give iPhone users a private and secure way to store recorded videos. Plus, it has benefits such as object detection and activity notifications. Logitech is the first to add support for HomeKit Secure Video with its Circle 2 cameras, and all it takes is a quick firmware update to get started.
With most smart home security cameras, features like multi-day recording storage, object detection, and push notifications require a paid subscription.
For Circle 2's own Circle Safe plans, recording storage for more than 24 hours costs $4 per month, and object detection costs $10 per month. But by moving over to HomeKit Secure Video, Circle 2 users can get ten days of storage; detection of people, vehicles, and animals; and push notifications as part of an existing 200 GB or 2 TB iCloud plan, starting at $3 per month.
Plus, each camera will further integrate with the built-in Home app, requiring one less app to clutter up your home screen.
Before You Enable Enable HomeKit Secure Video
Using HomeKit Secure Video requires a HomeKit hub, such as an Apple TV, HomePod, or an iPad that generally stays in the house. For more information, check out the support article on Apple's website.
Also, by switching to HomeKit Secure Video, you will lose many perks you'd get with the Logi Circle Security Camera app, such as Android support, and any recordings you already have stored with Circle Safe may be lost.
Switching Your Circle 2 Cameras to HomeKit Secure Video
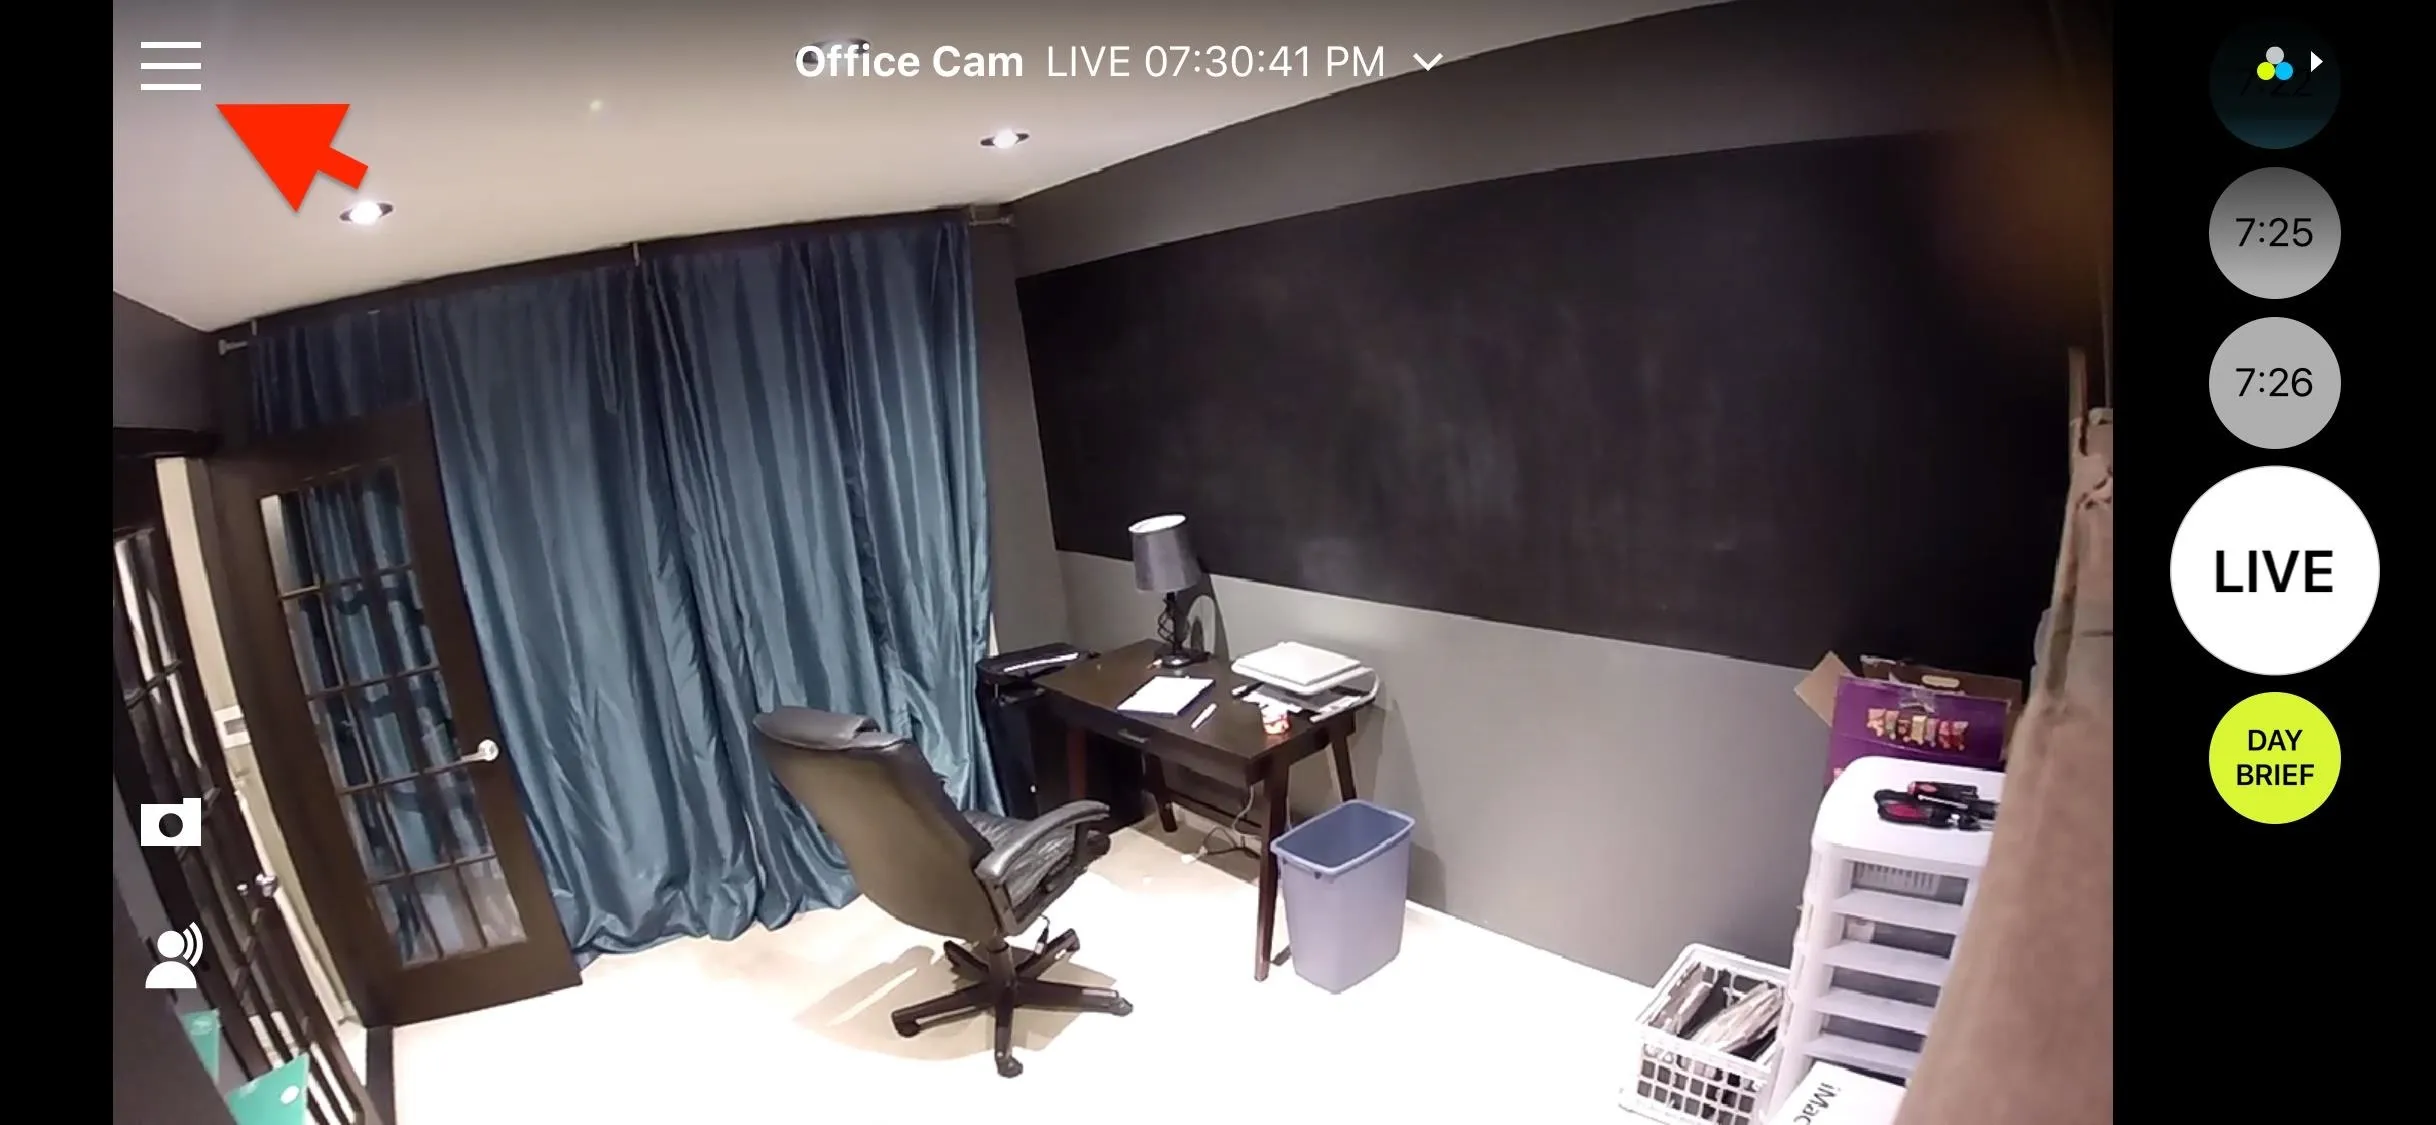
If your Circle 2 cam isn't already set up in the Circle app mentioned above, follow the instructions it came with to do so. Once a camera is set up, converting it to use HomeKit Secure Video is quick and easy. To start, open the Circle app on your iPhone if it's not already open. Then, tap the hamburger menu in the upper left to open the options screen.
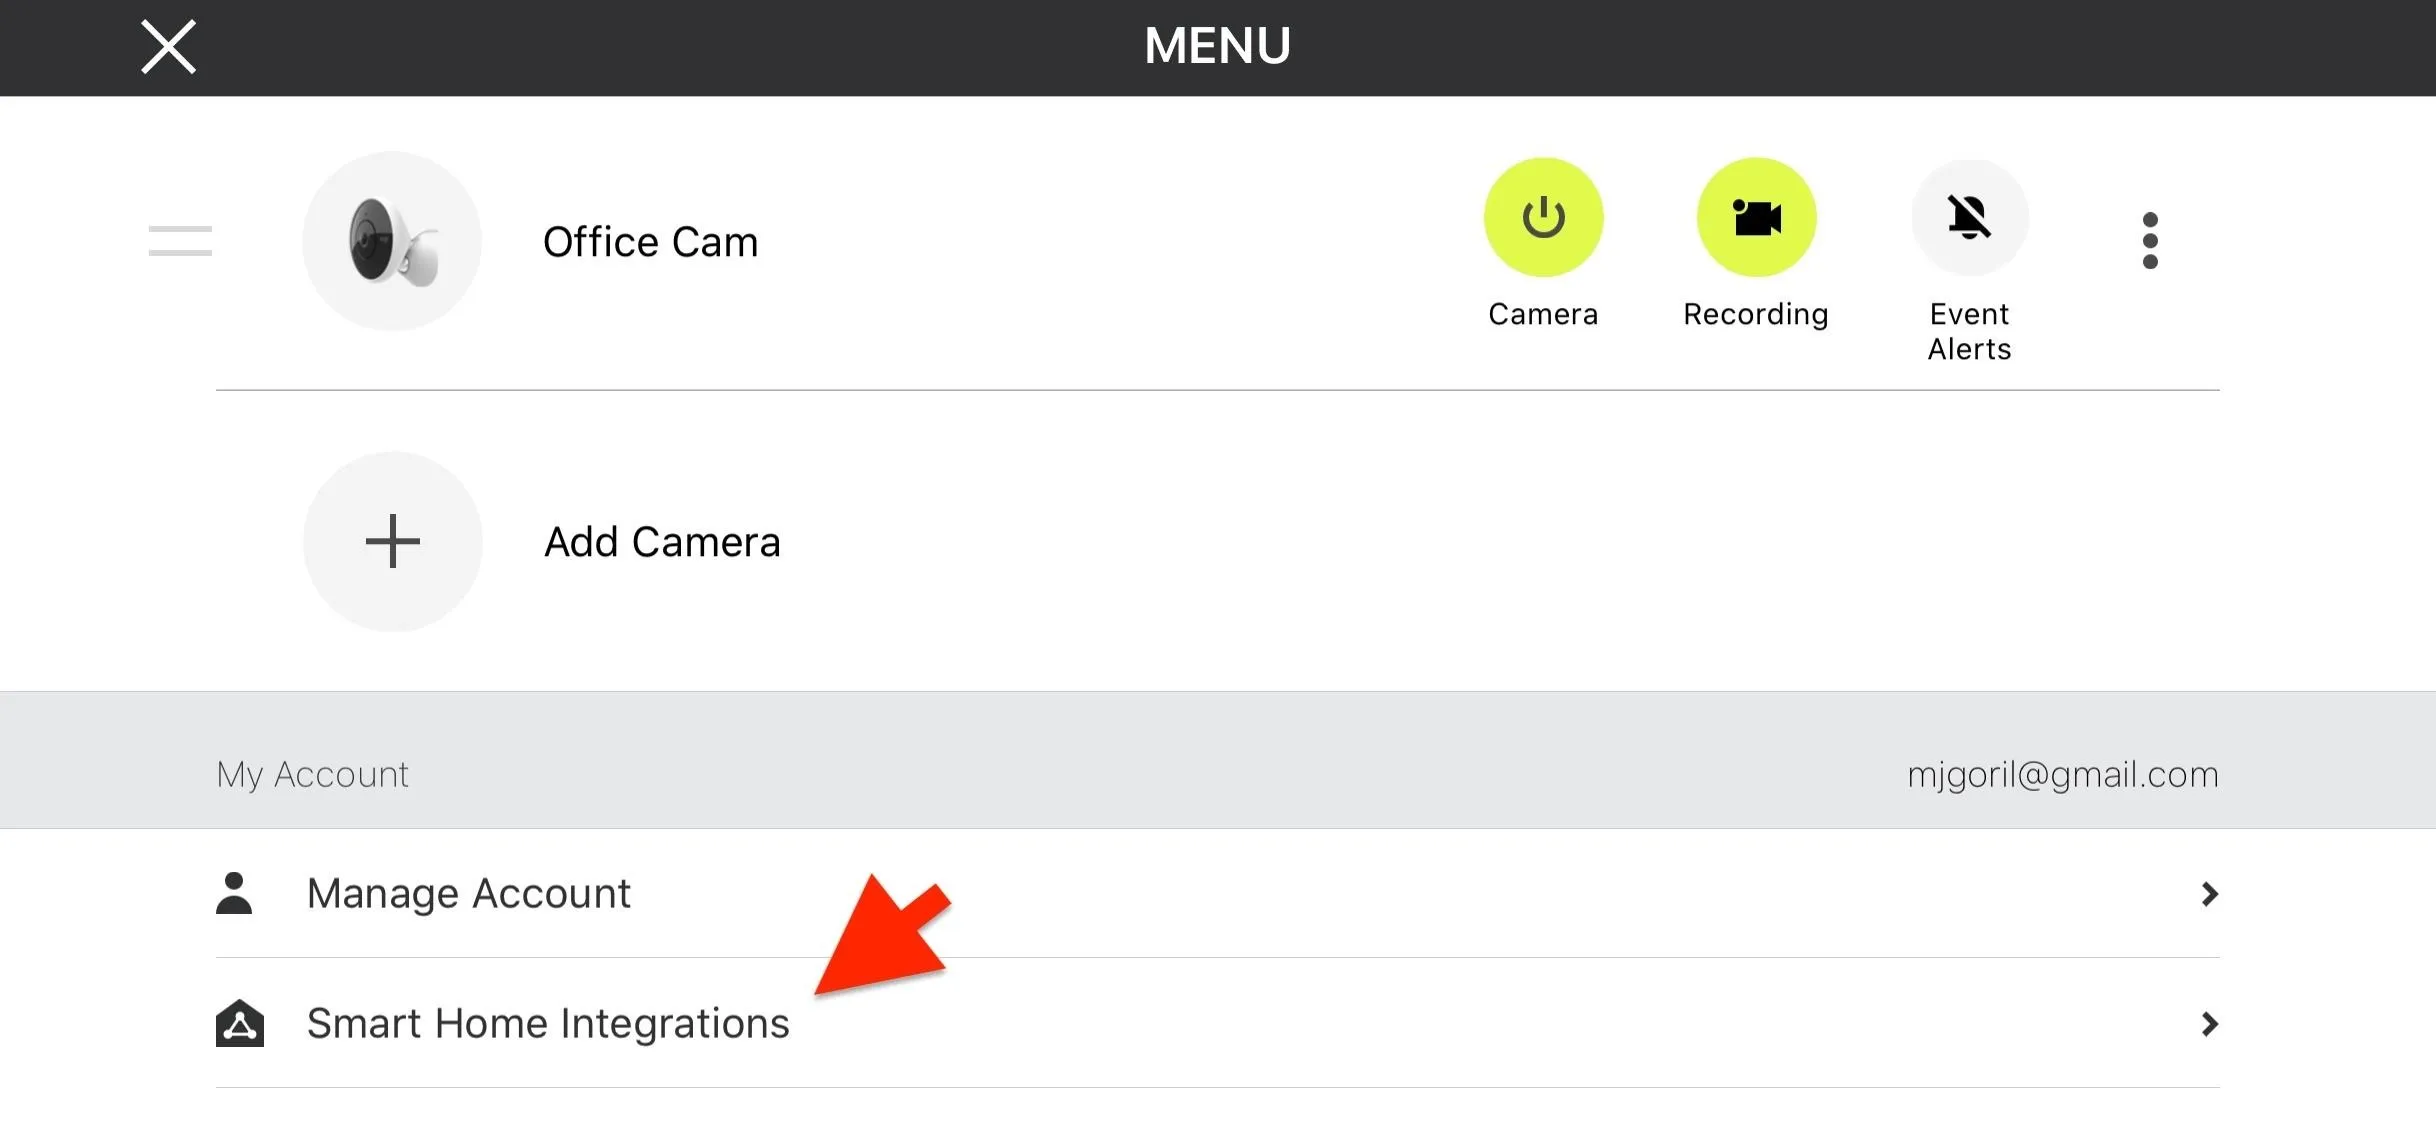
Under the My Account section, tap "Smart Home Integrations."
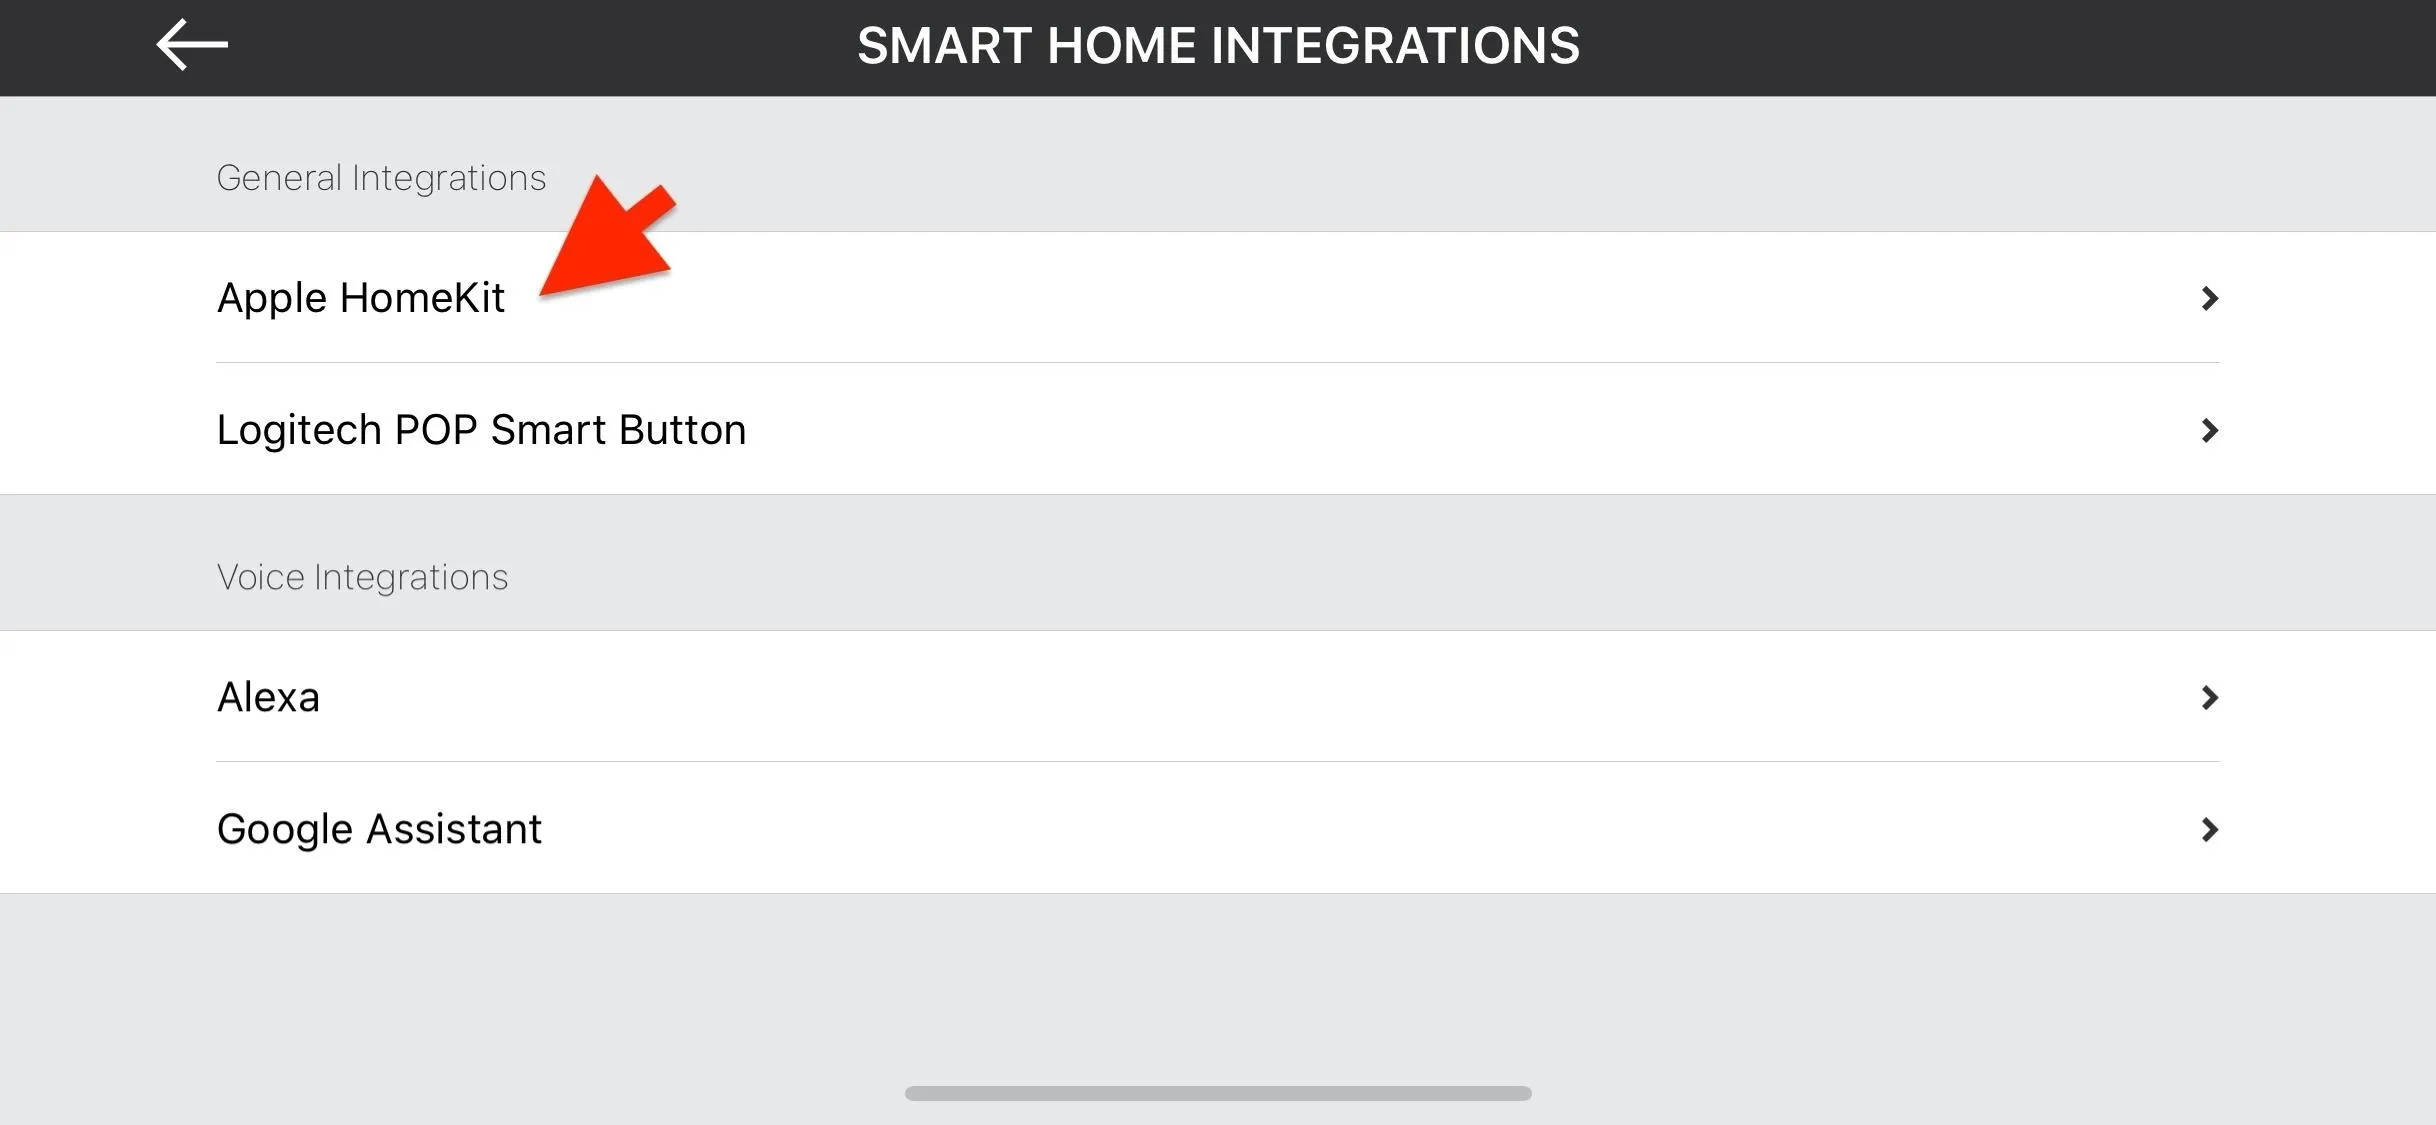
Under the General Integrations section, tap "Apple HomeKit."
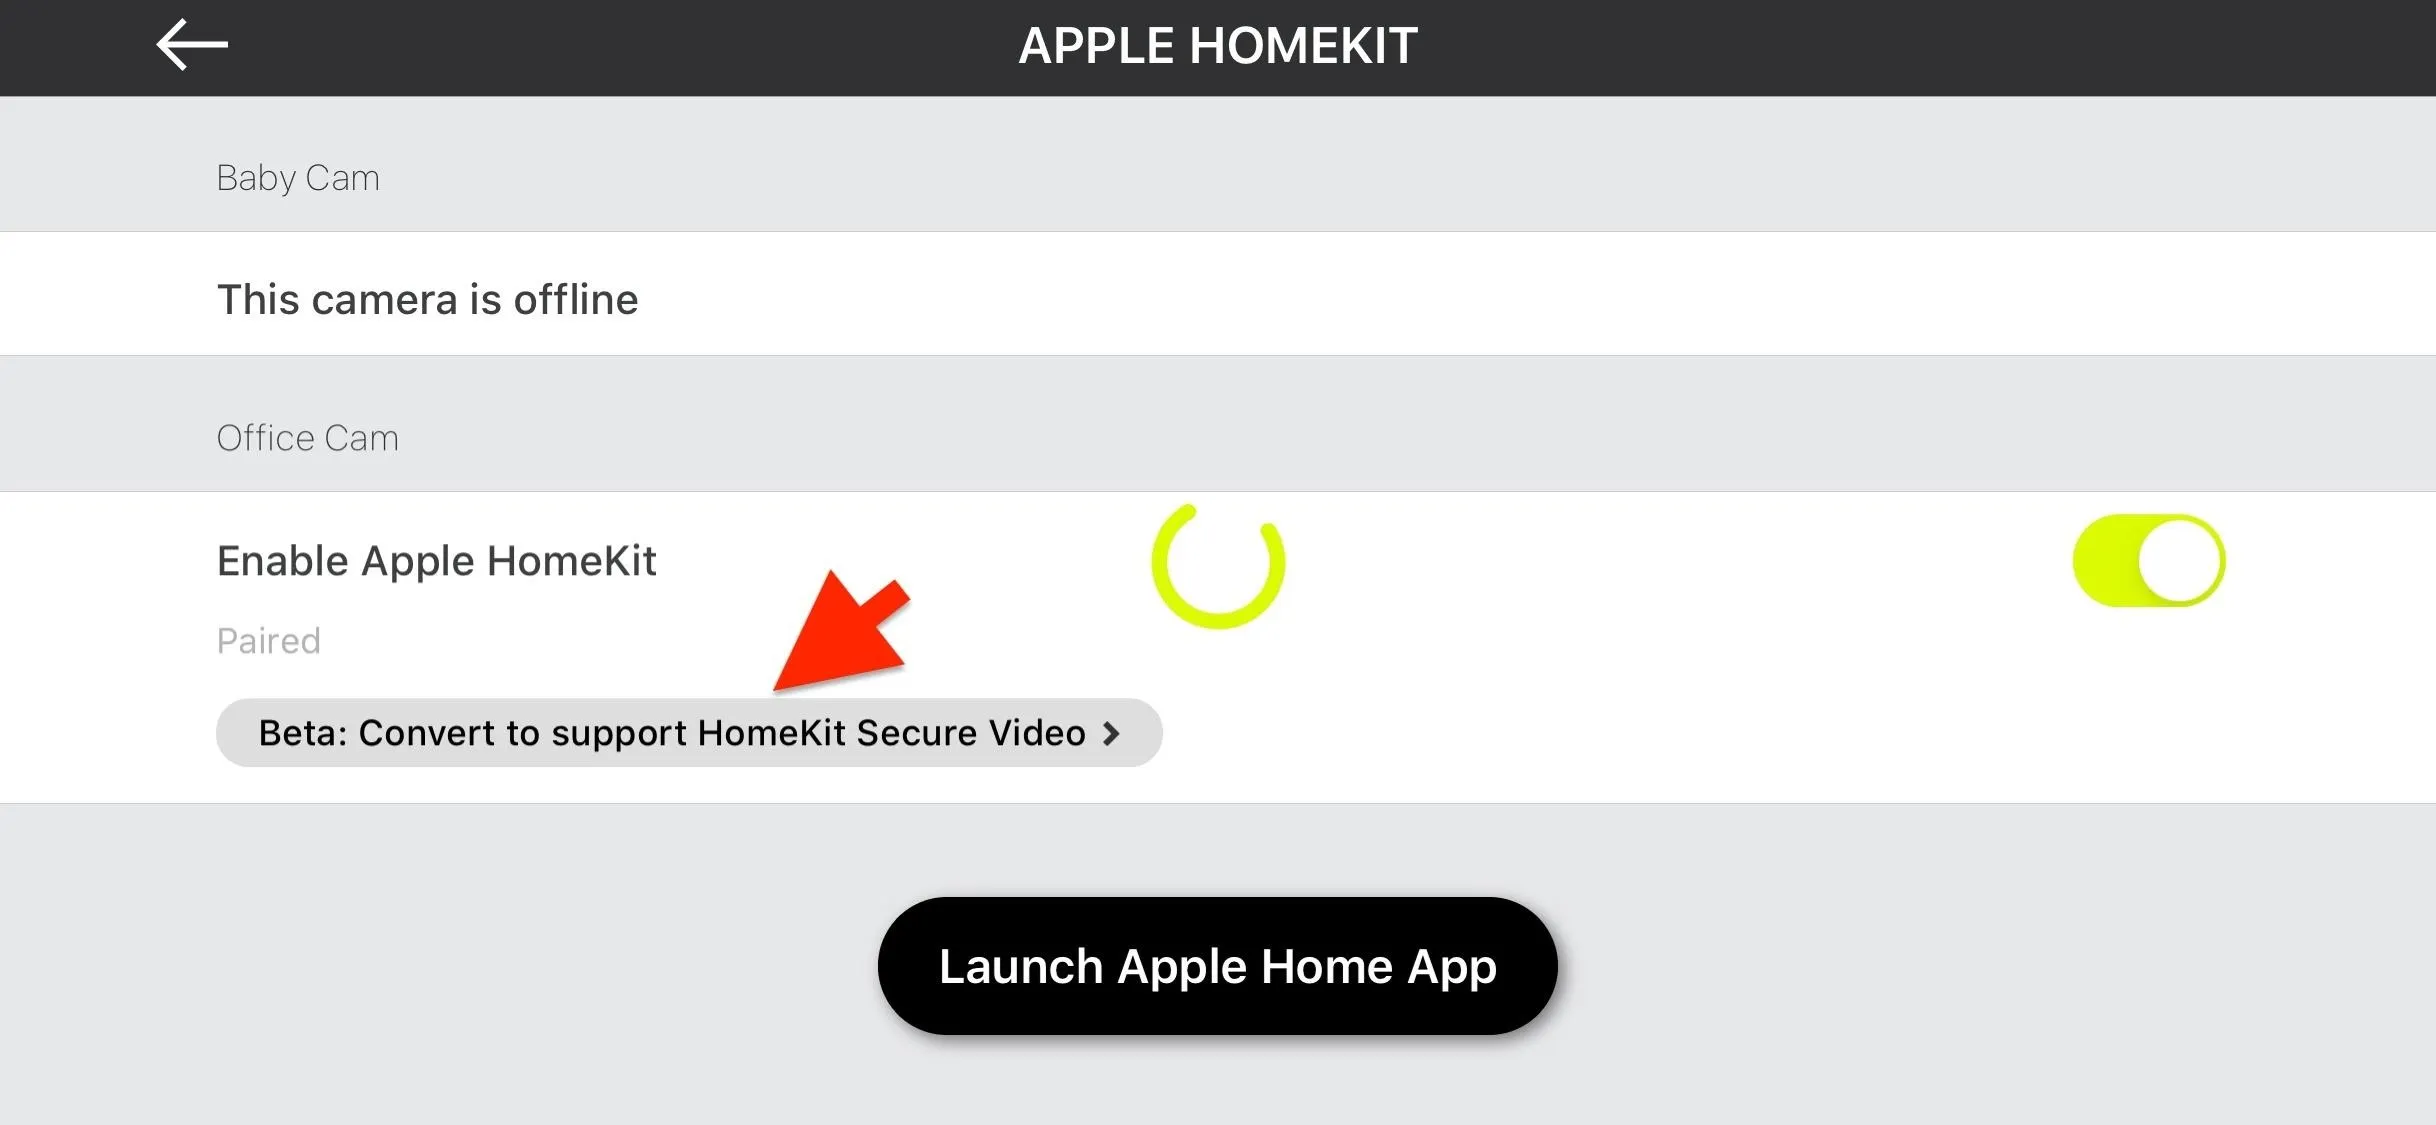
Here, you should see the name of your camera or cameras. Tap the button labeled "Beta: Convert to support HomeKit Secure Video" under one of the camera's name.
If you haven't already, the Circle app will ask for access to your Home data. If this request pops up, just tap "OK."
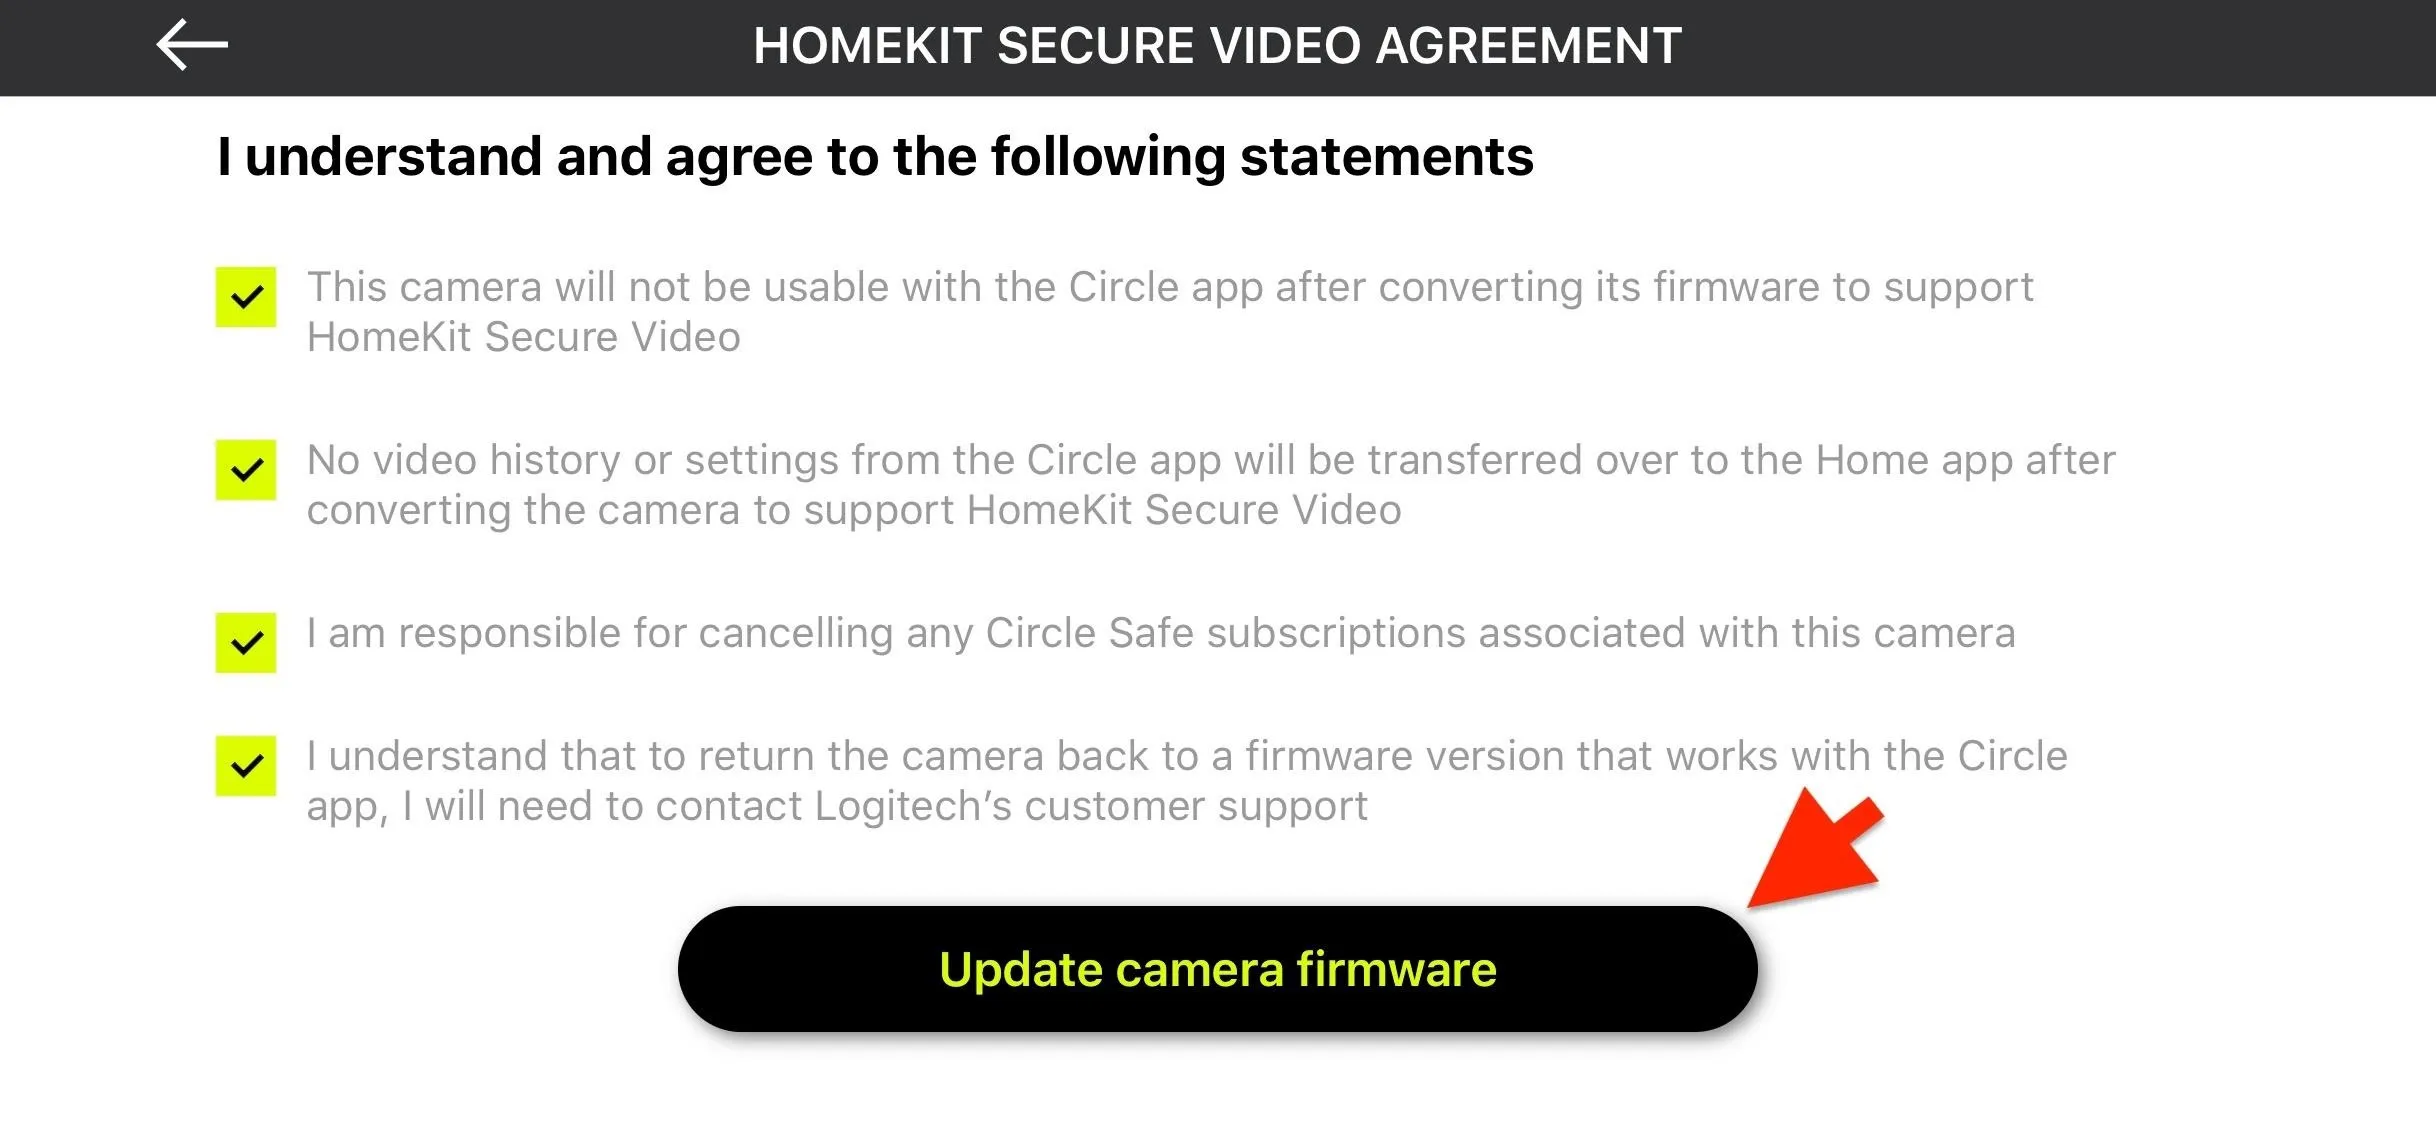
Before the update, you'll have to check a few boxes to acknowledge a few things. Importantly, the camera will no longer be accessible from the Circle app, and rolling back the firmware will require contacting Logitech.
Once you check all the boxes, tap the "Update camera firmware" button to start the update process.
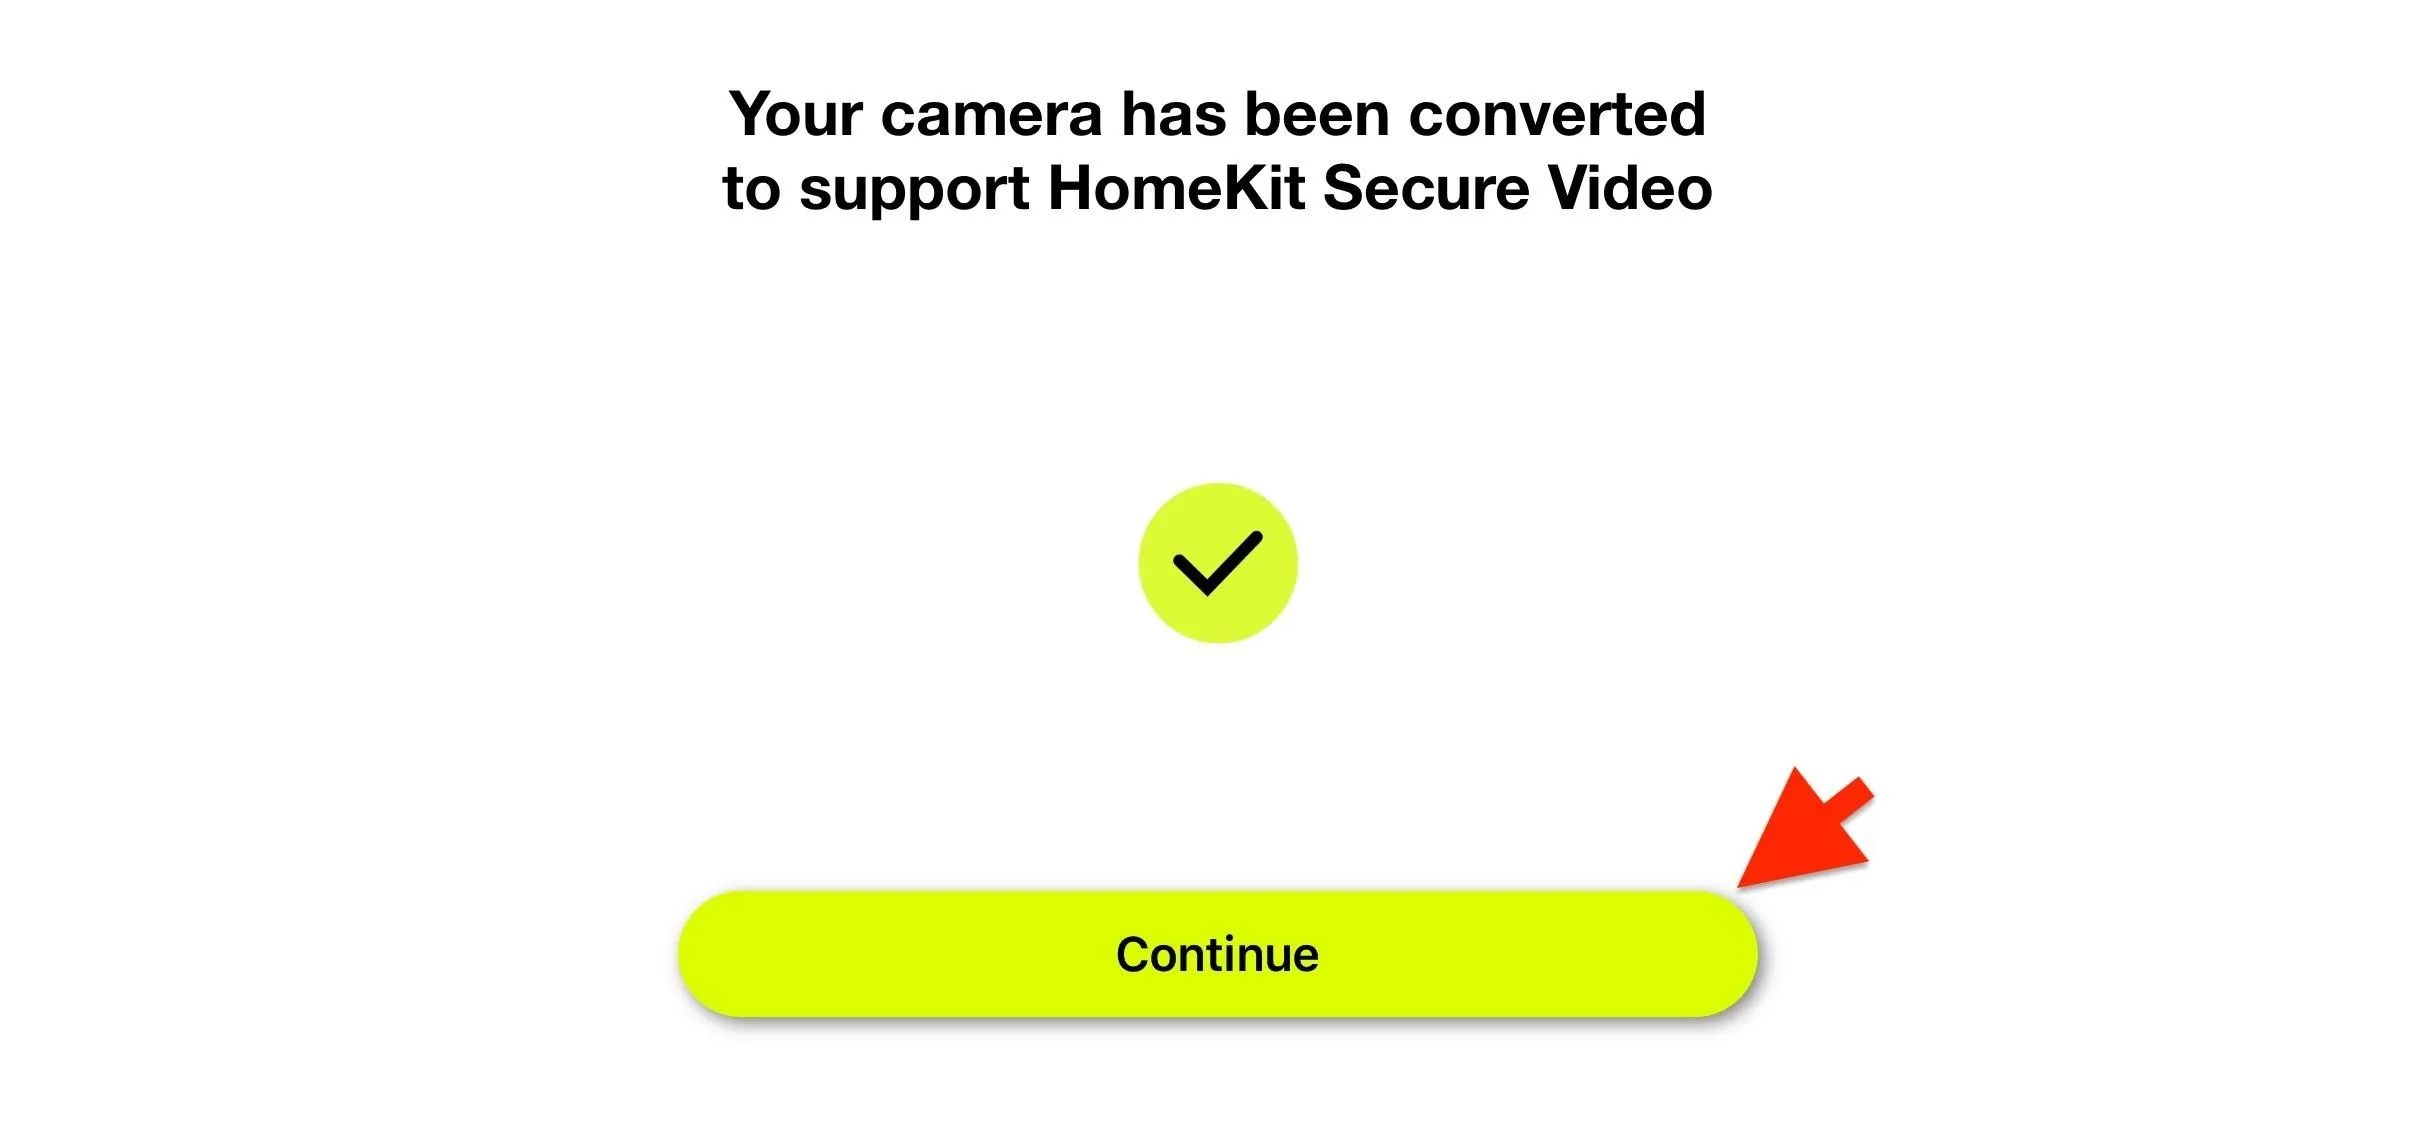
The update process should only take a few minutes, during which the light on the Circle 2 should be magenta colored. After the update is done, tap "Continue."
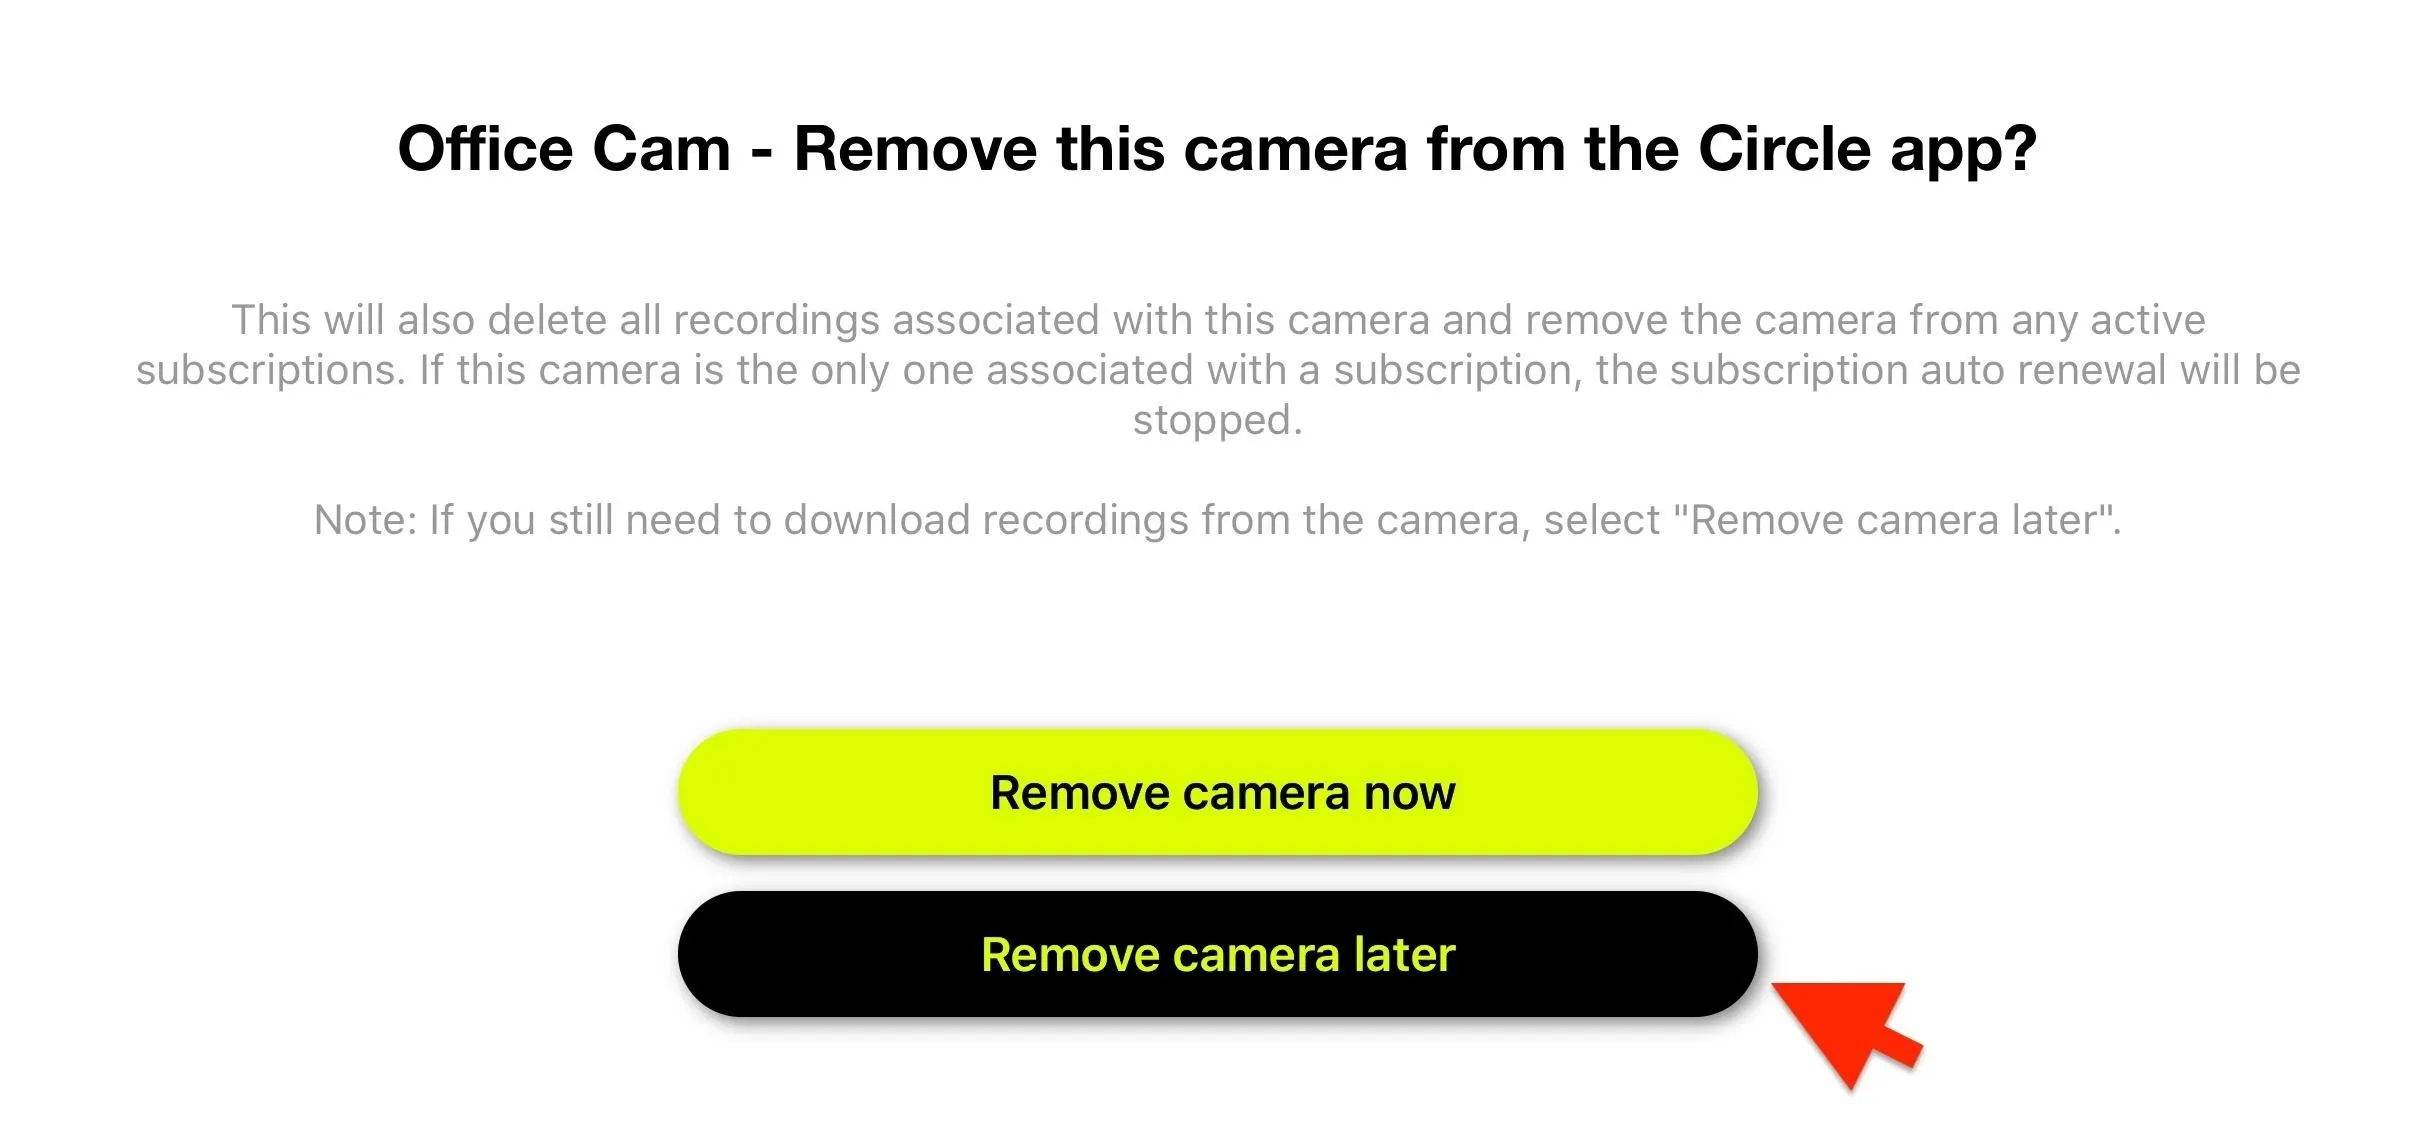
Next, if you haven't downloaded any previous recordings, tap "Remove camera later." Otherwise, you can tap "Remove camera now."
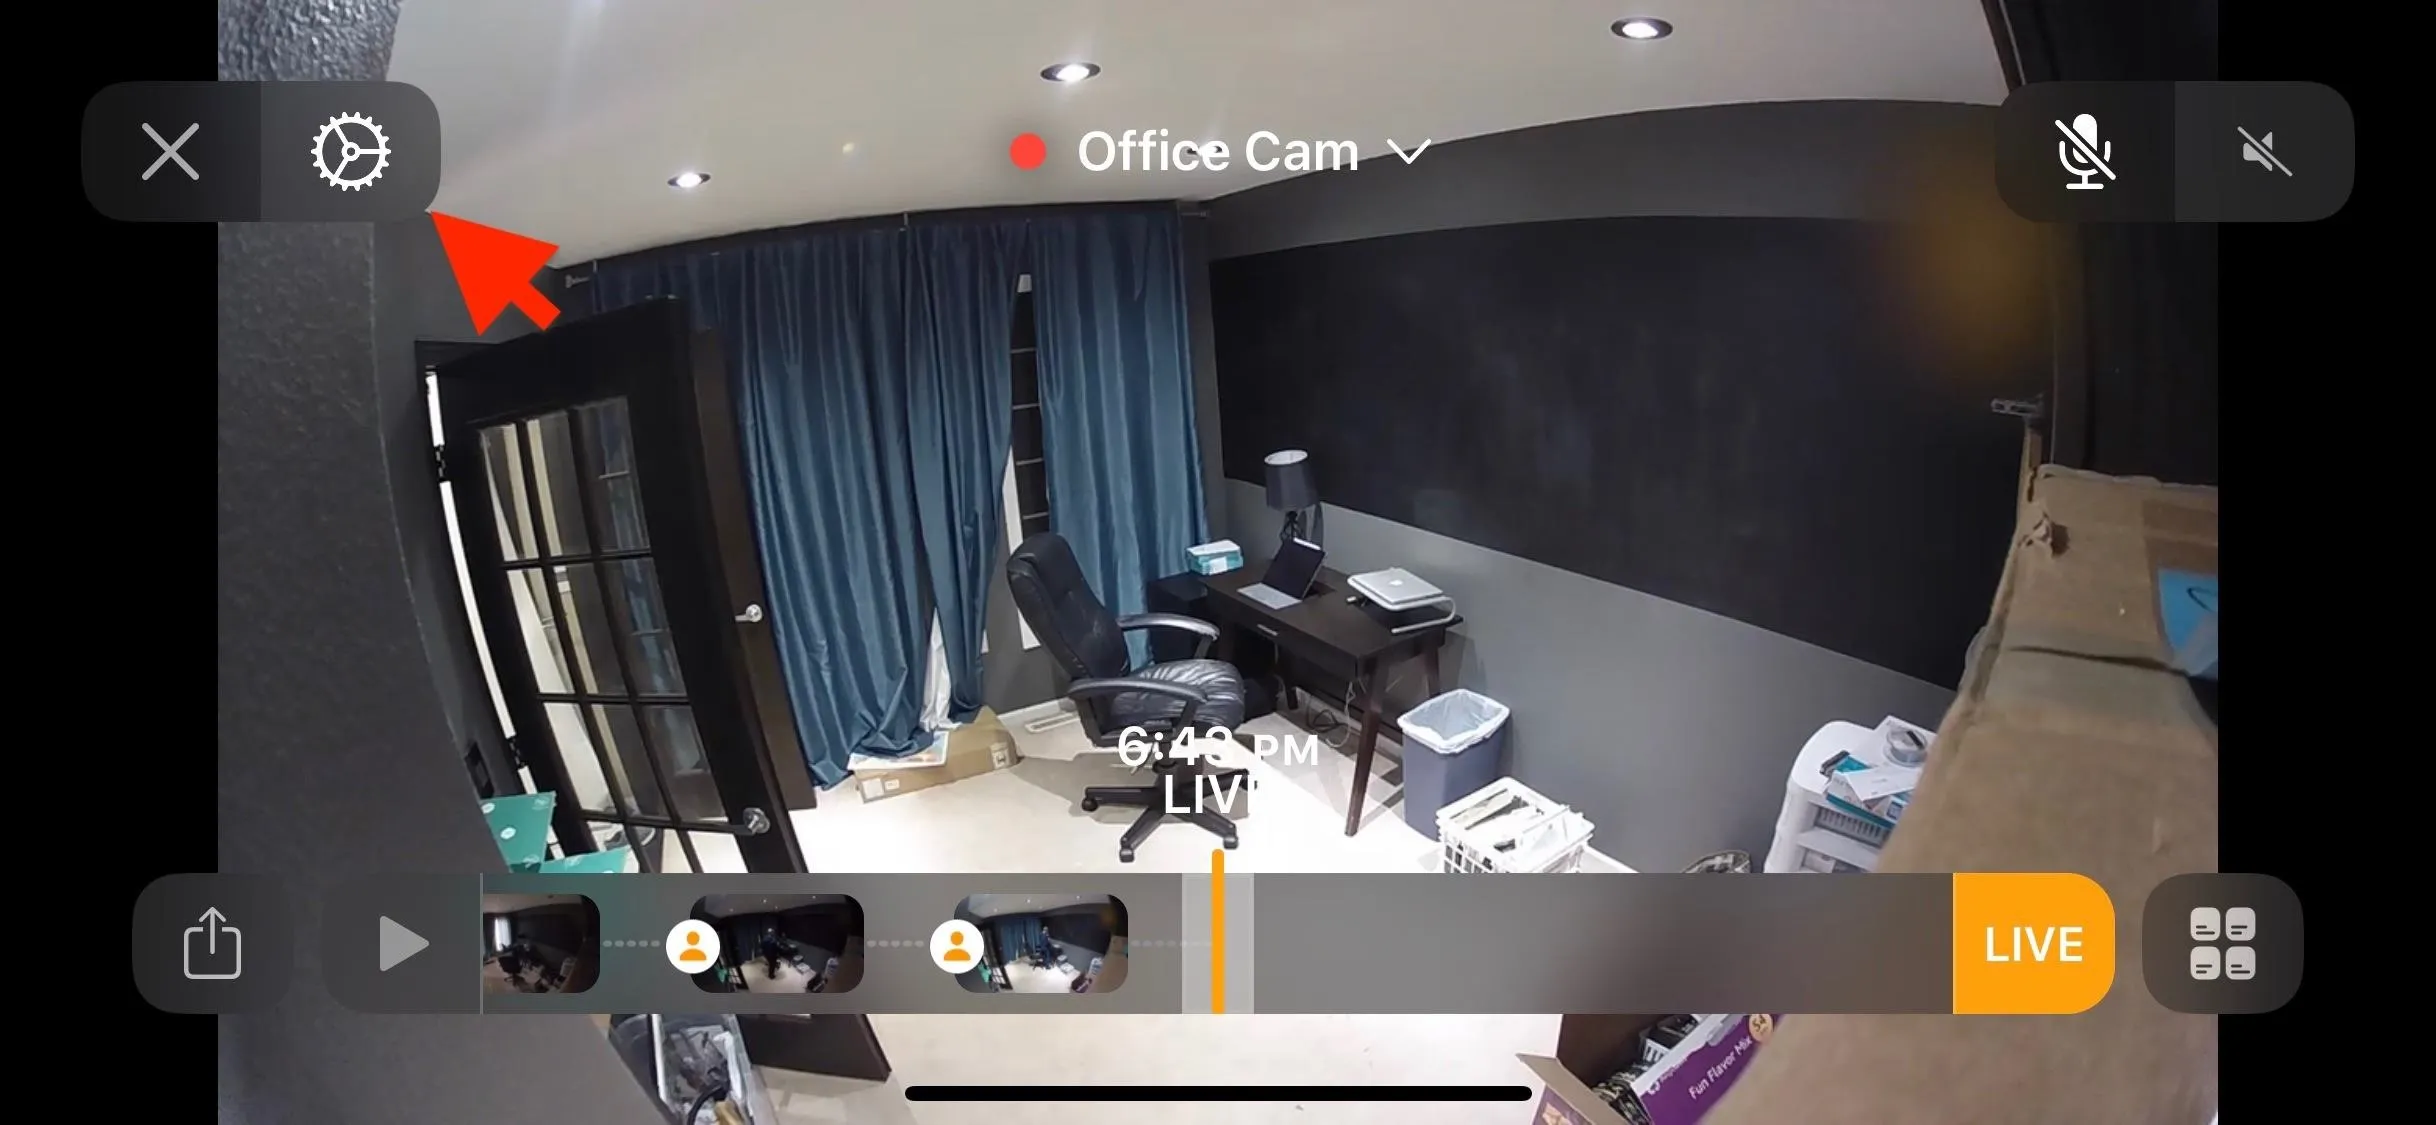
Now you can head over to the Home app. From here, you can tap on your camera, then tap the Settings icon in the upper left. Then, you can set the options for your camera.
That's it, your Logitech Circle 2 is now set up. If you additional Circle 2 cameras that are supported by HomeKit Secure Video, you can repeat the process above for each one of them.
With HomeKit Secure Video, any recordings made will not count against your 200 GB or 2 TB storage plans. And with the Home app, you can change the name of your camera and its location. You can add a camera to the Control Center and adjust notifications. And you can pick your streaming and recording preferences, which even includes choosing to record only when all household members are away.
Cover image and screenshots by Mike Goril/Gadget Hacks


Comments
Be the first, drop a comment!