Nintendo fans rejoice! Not only can you play classic NES games on your iPad or iPhone without jailbreaking, you can play Game Boy Advance and Game Boy Color games. And that's not it. Now, thanks to @angelXwind, we can add Nintendo DS to our list of non-jailbreak emulators for iOS 7.
Unlike GBA4iOS, the nds4ios emulator also has a jailbreak version, so if you are jailbroken, it's best to choose that option. If not, you'll be sideloading it. Sounds scary, but it's not, and it's easy to delete should you ever want to.
Update: April 15th, 2014
nds4ios has updated their emulator UI, added Dropbox capabilities, changed their certificate date to February 8, 2014, and added a testing version of the emulator on their site. The below instructions have been updated accordingly.
- Don't Miss: 200+ Exciting New iOS 13 Features for iPhone
Download & Install the Emulator
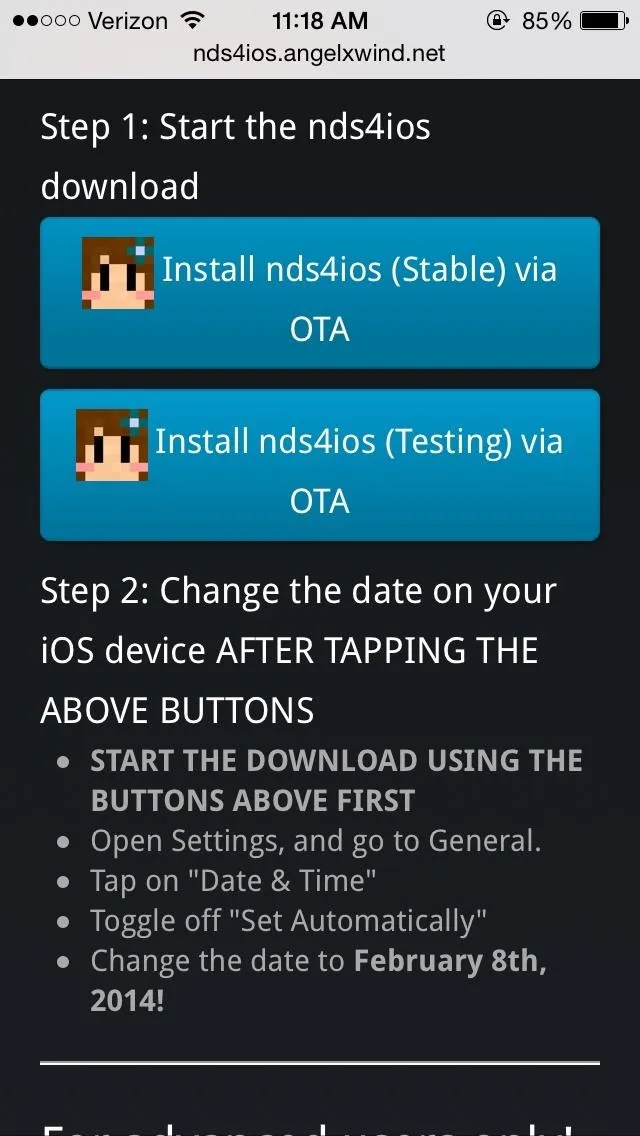
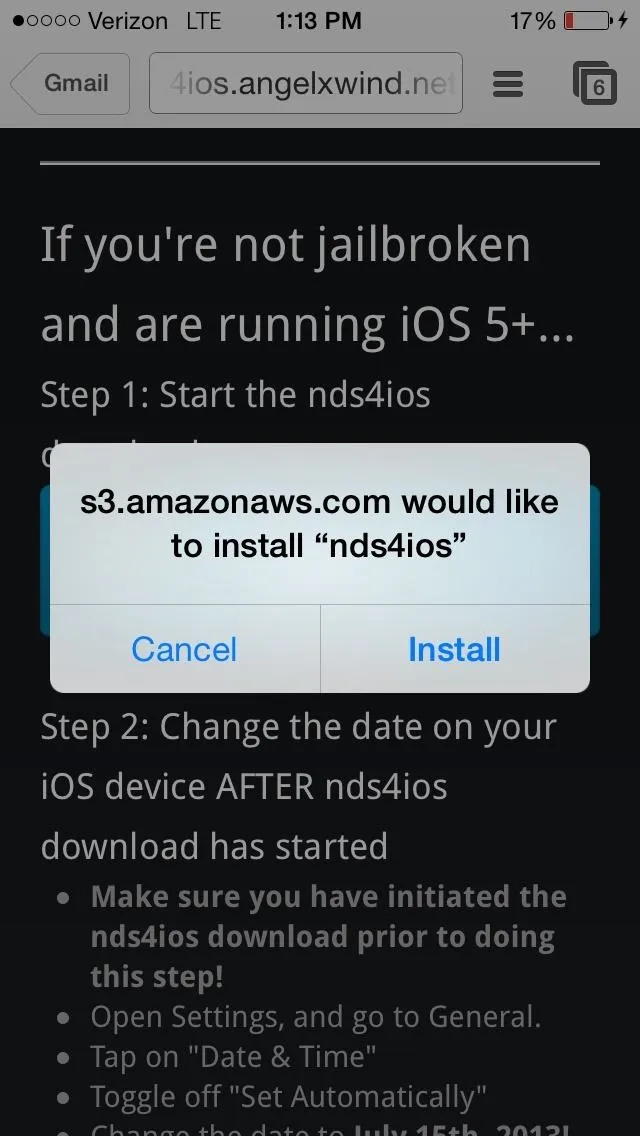
From your mobile web browser on your iPad or iPhone, go to nds4ios's download page. If you're jailbroken, choose one of the Cydia options. If not, choose the OTA version, then hit "Install" when the popup appears.


Change Your Date Back!
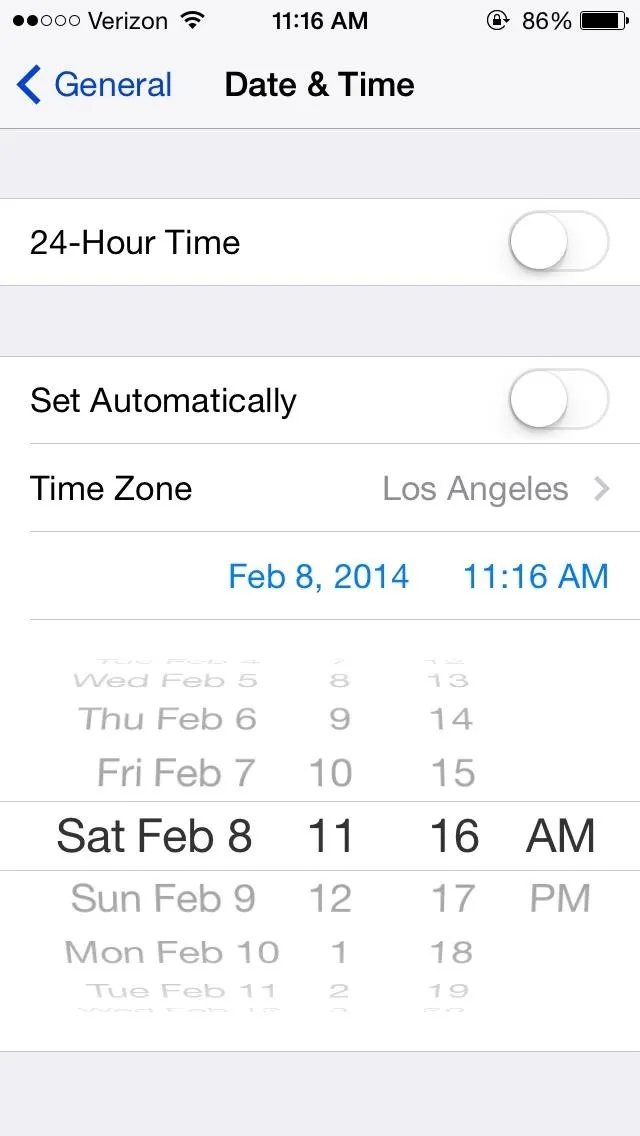
This is IMPORTANT. As soon as the download starts, you need to manually change the data back to February 8th, 2014.
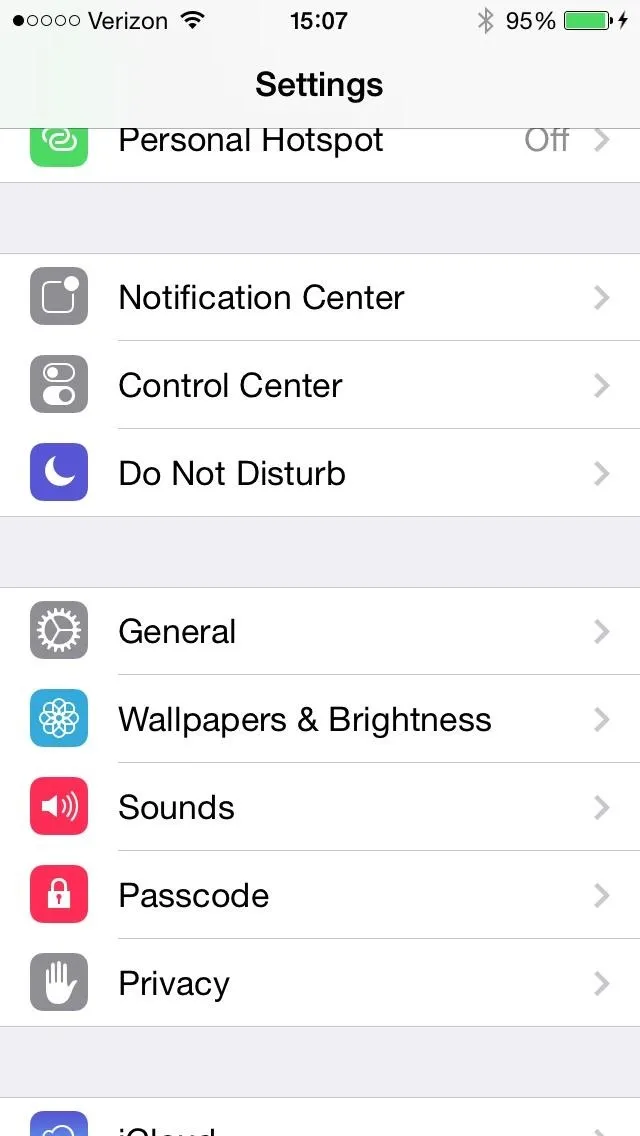
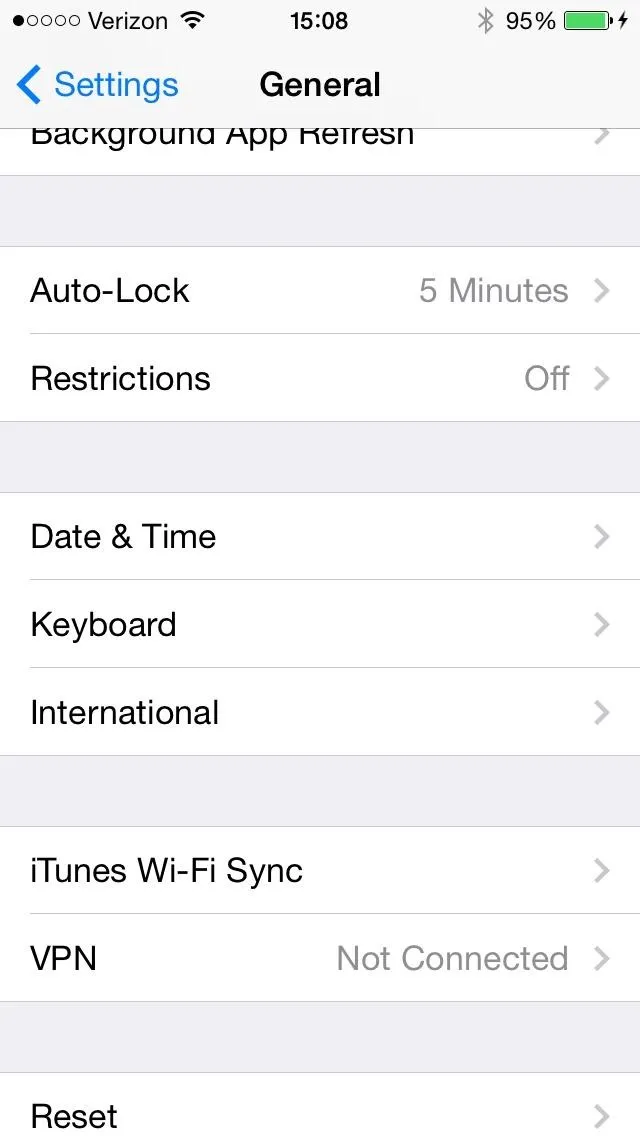
To do it, go to Settings -> General -> Date & Time. Uncheck the Set Automatically option, then select the current date and time listed and manually adjust it to February 8th, 2014.
You need to do this after the download starts, not before. It took me a couple of tries before I got it to work, but it definitely works.


Access the Emulator
Once the date is changed, the download should complete and appear on your device (like in the screenshot below).
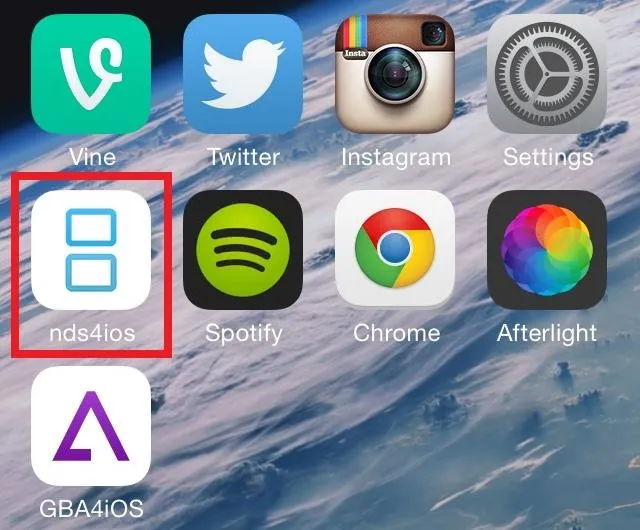
After the whole installation process is complete, open up the emulator.
Add Some Nintendo DS ROMs
UPDATE: The plus sign used to add ROMs is now gone from nds4ios; see the update at the bottom of this article to see how to manually add ROMs.
Since this is just an emulator, there won't be any games installed, but you can find ROMs by tapping on the plus (+) sign at the top right. Only download ROMs that you own. If you don't own them, you're technically committing piracy and the FBI might raid your house and arrest you. You've been warned.
You can also mess with the settings by tapping on the three-lines symbol in the top left. I enabled Bottom, which relocates the controls to the bottom of the emulator (leaving it on Top makes the controls stay at the top of the emulator, which get in the way of gameplay).
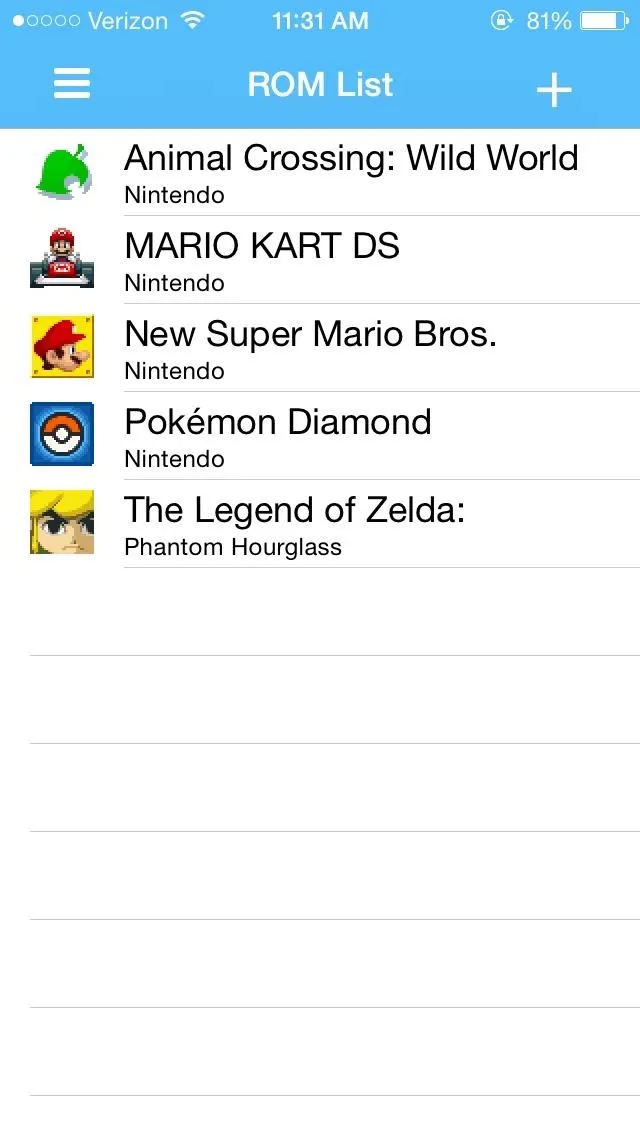
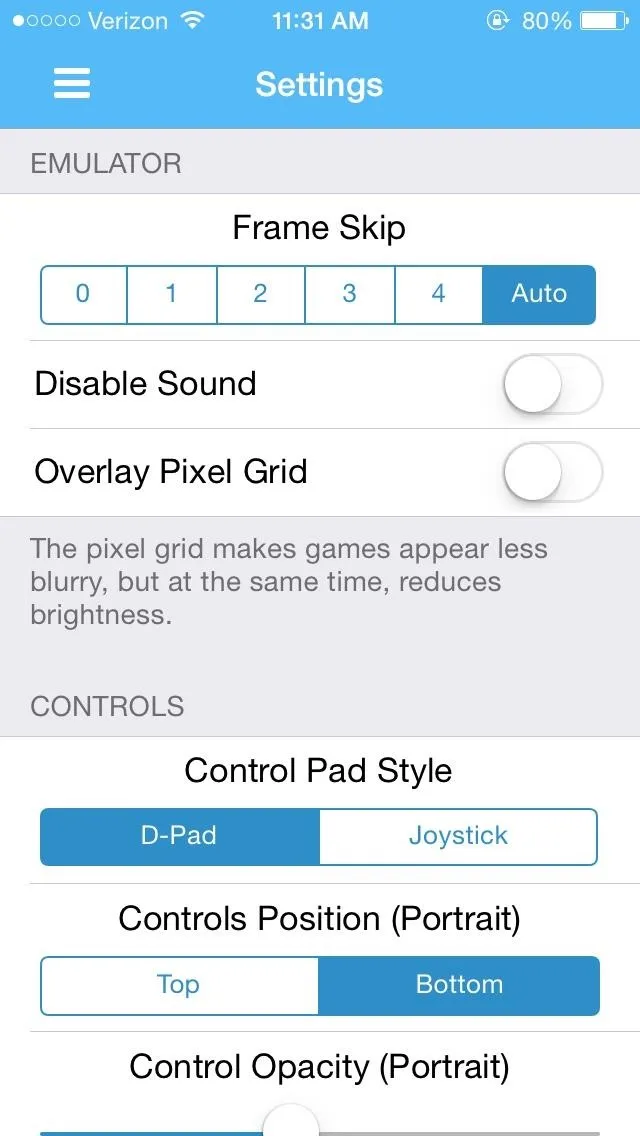


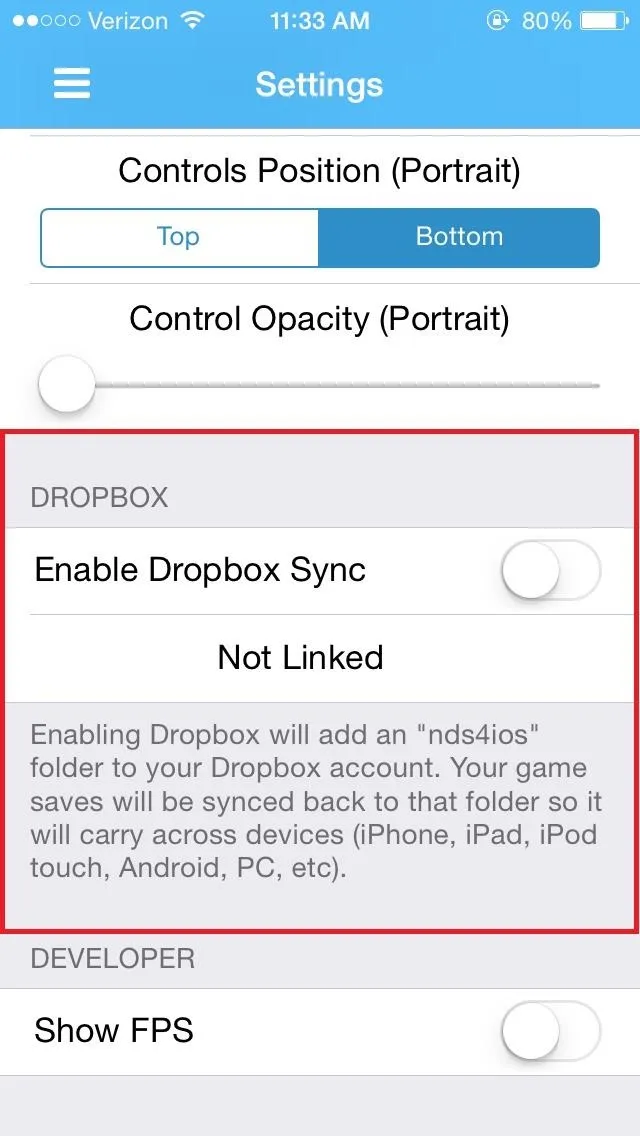
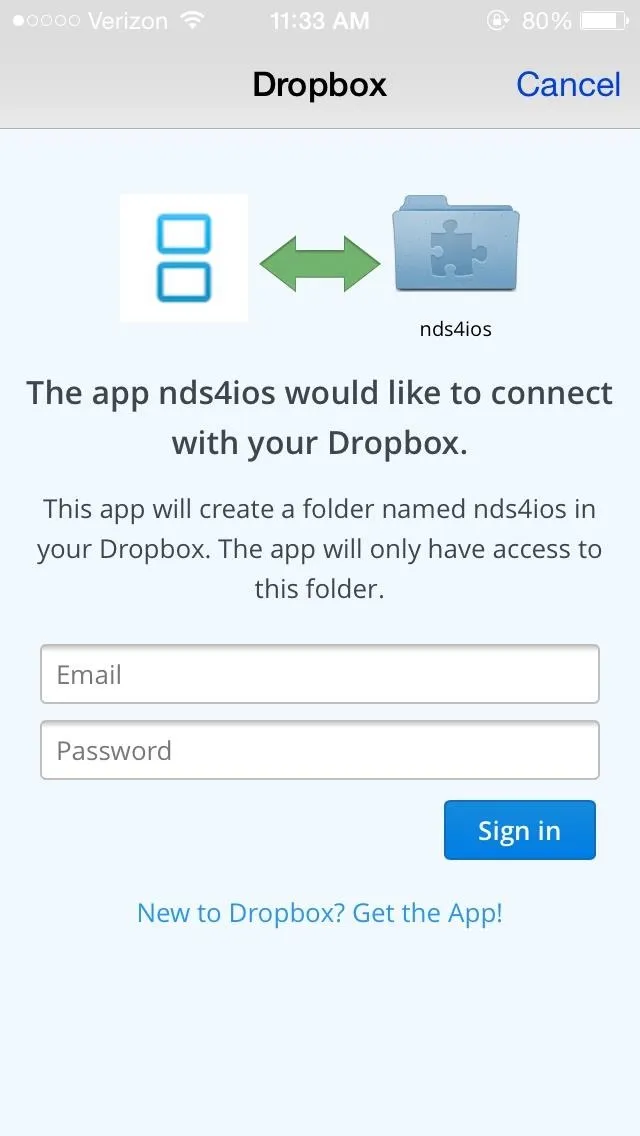
If you have some of your ROMs uploaded to a Dropbox account, you can go to the settings in nd4ios, enter your information, link your account and easily access all of your games, just like you can with the GBA4iOS 2.0 emulator.


Play, Play, Play
Once you've downloaded your ROMs, it's time to start playing. Seeing as this is a Nintendo DS emulator, some of the larger games might lag a bit (Assassin's Creed, Grand Theft Auto, etc). Smaller games that have much simpler graphics (Pokémon, Super Mario Bros., etc.) worked perfectly though.
In addition to the regular controls, you also have the bottom portion of the screen, where you can perform touchscreen actions as you would on the Nintendo DS.
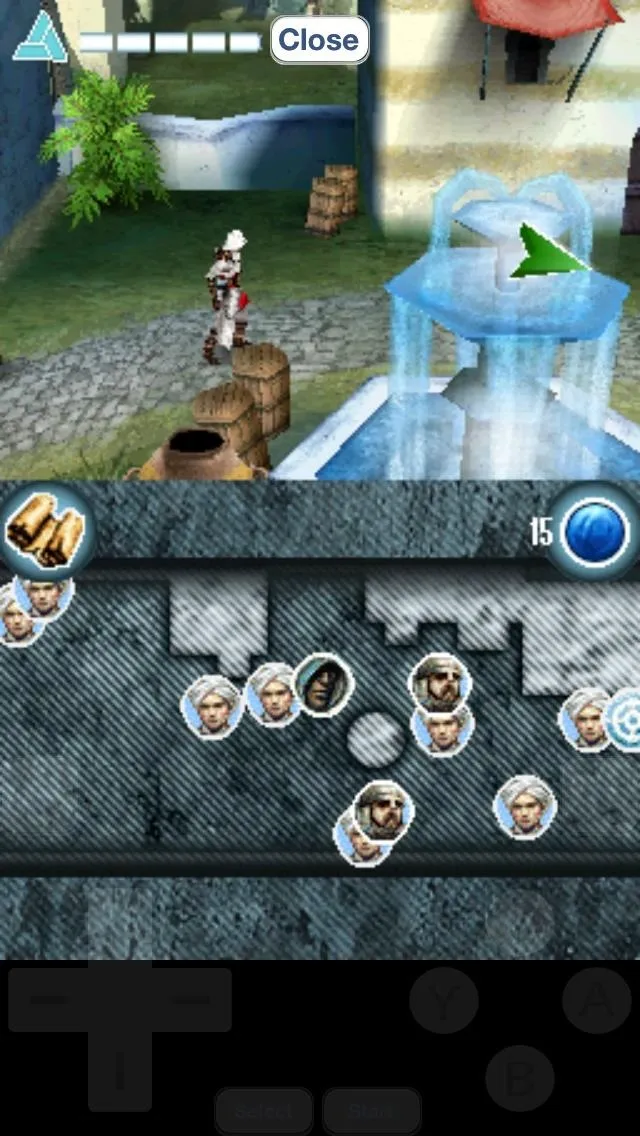
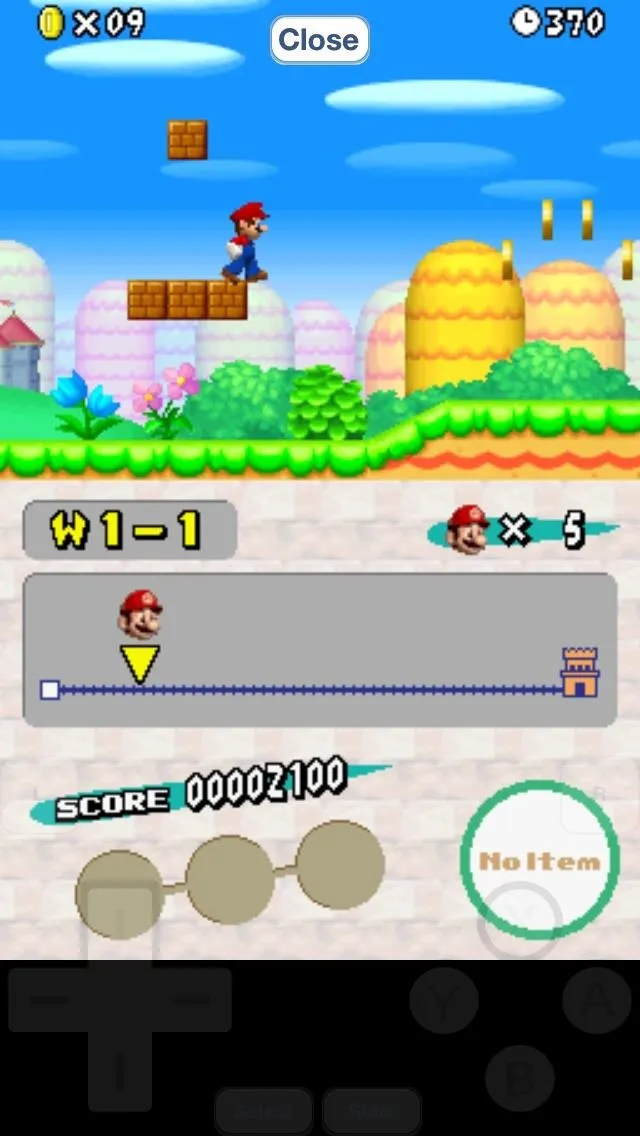


Overall, the emulator worked pretty great, only lagging with extremely large games that render complicated graphics and overarching landscape. Even with the lag, I would still recommend this application for all you Nintendo lovers and video game addicts alike, as well as GBA4iOS and webNES.
So far, I'm an hour deep into Pokémon. Bye, bye social life.
How to Remove nds4ios from Your iPad or iPhone
In the off chance that you don't like it, or just feel funny about having an app on your iPad or iPhone that's not from the iOS App Store, don't worry—it's easy to uninstall.
First, remove nds4ios from the home screen like you would any other app. Long-press on it and tap on the X when it appears. Done.
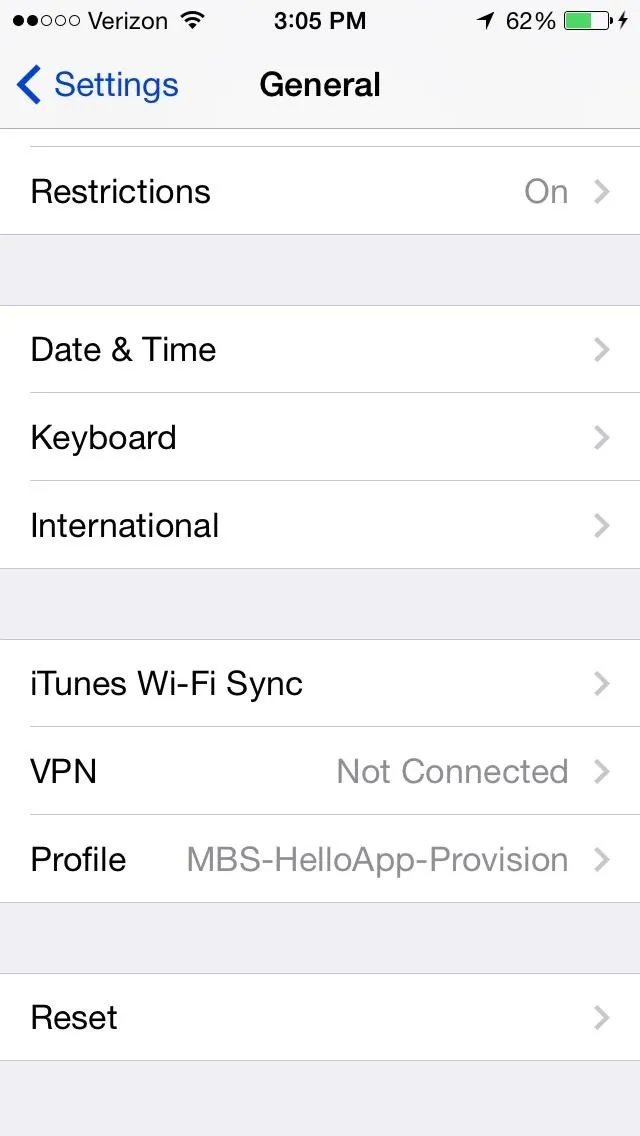
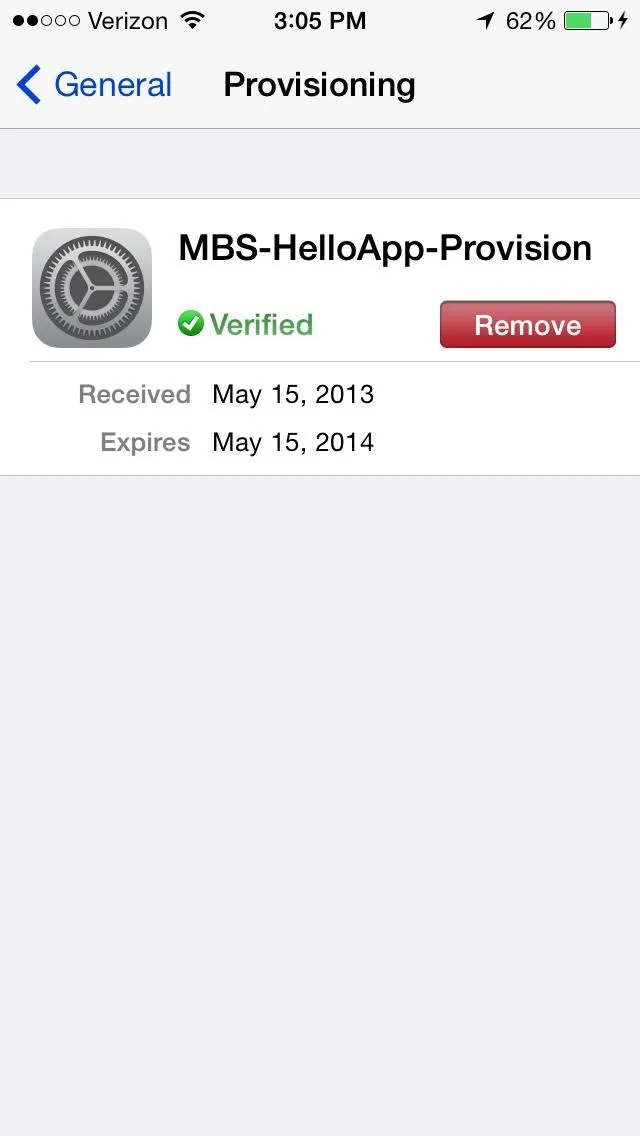
After that, you'll need to remove provisional access. Go to Settings -> General and if there's a Profile section with MBS-HelloApp-Provision listed, tap on it and select Remove to get rid of it for good.


UPDATE: Adding ROMs Manually Now That the Plus Sign Is Gone
Now that the plus sign used to find ROMS has disappeared from the application, you'll have to manually find somewhere else to download ROMs. Ones you legally own, of course.
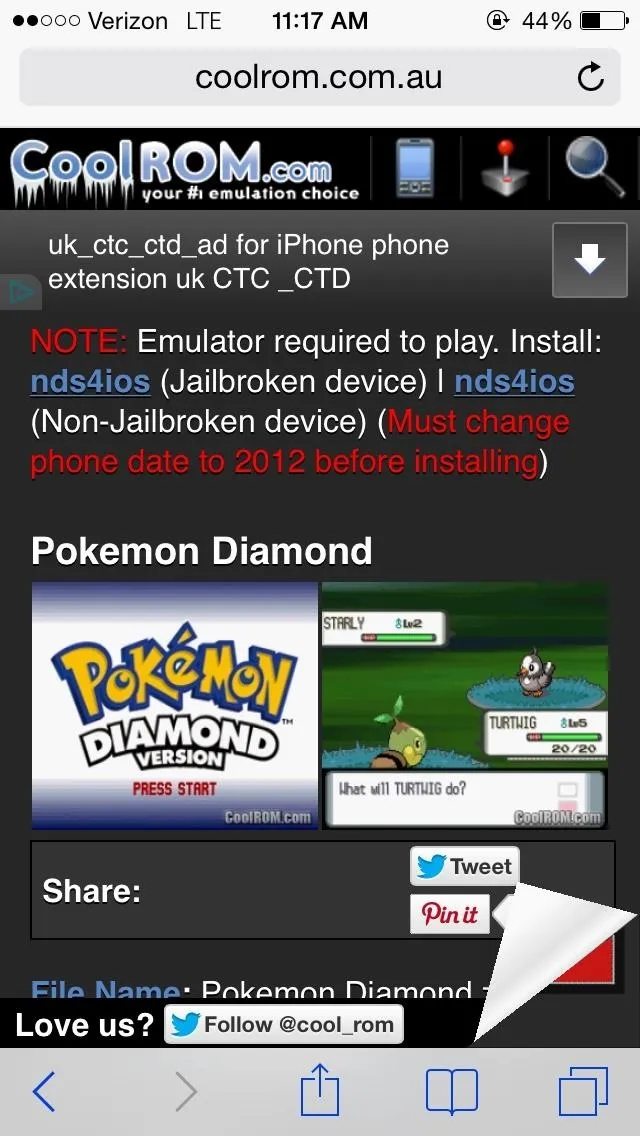
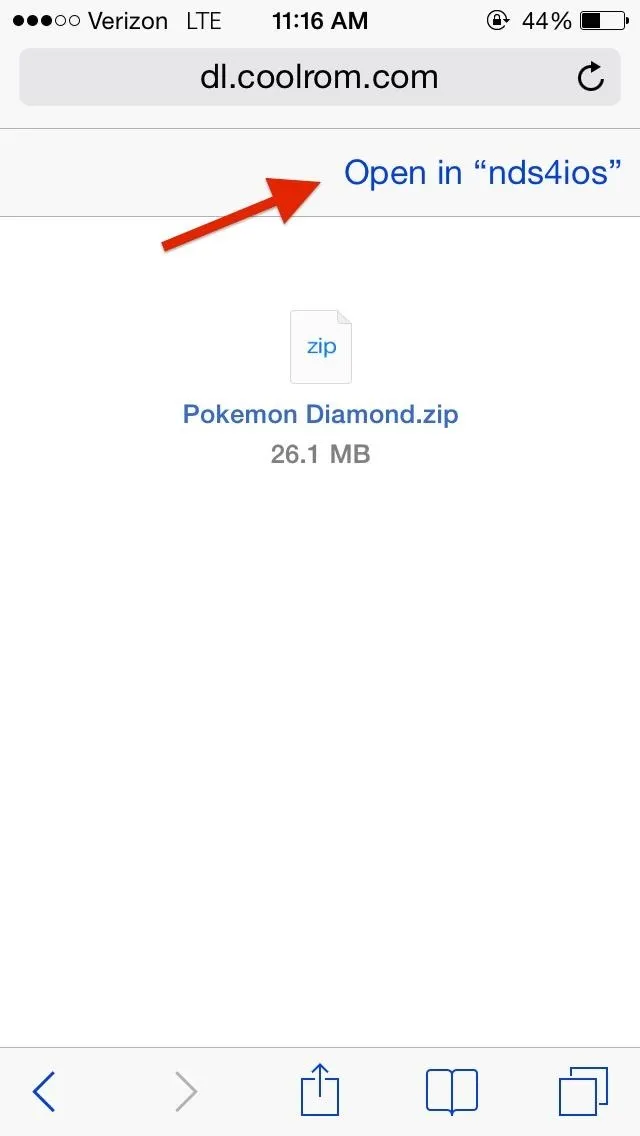
Using a site like CoolROM from your Safari browser, find a Nintendo DS ROM that you own and download it. It might take a few seconds before you're redirected after downloading, so be patient.
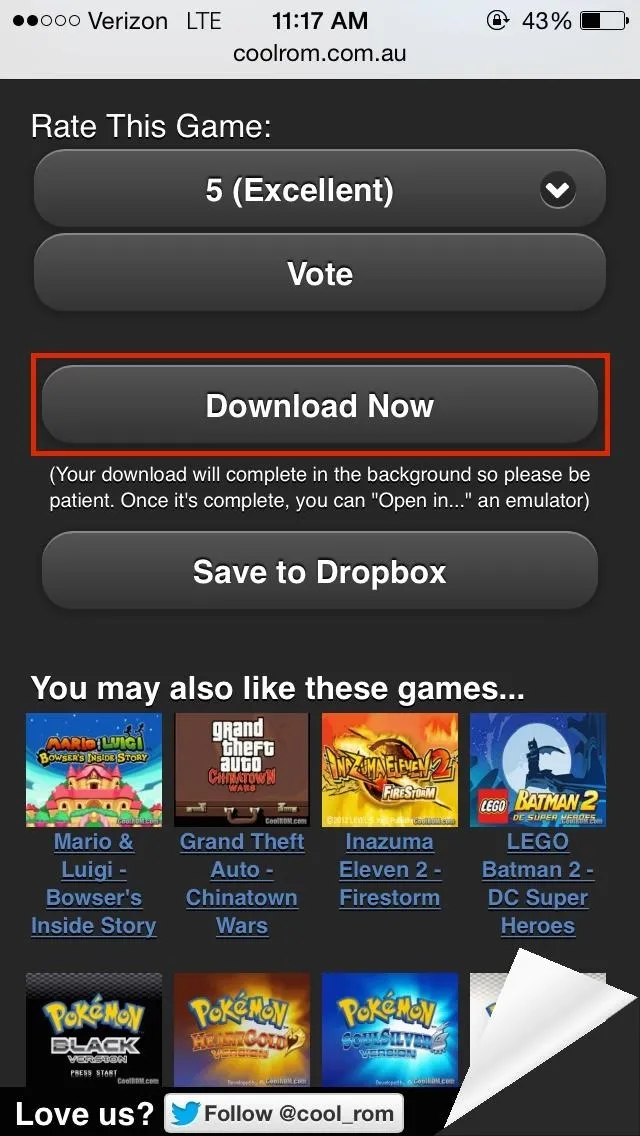


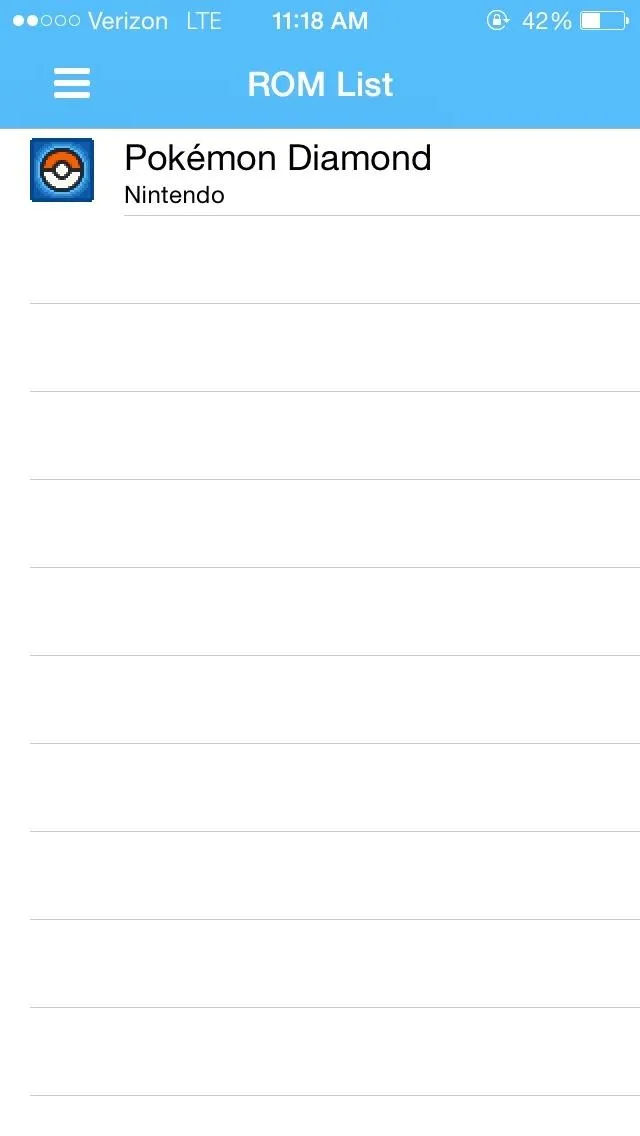
Once the download is complete, you'll have the option of opening the ROM with nds4ios. Select the Open in "nds4ios" option and the ROM will appear in your emulator.


How do you like your new Nintendo DS emulator? Share your thoughts on it below!


Comments
Be the first, drop a comment!