Emails sent from an iPhone, by default, are signed "Sent from my iPhone," which almost seems like a disclaimer in case the email has spelling or formatting errors. If your goal is to look professional while corresponding with coworkers or potential employers, then you're better off removing the signature completely and just typing your name out.
But you don't have to leave it at that. You can take things to the next level by creating a unique signature for each of the email accounts on your iOS device. They can be playful or serious, and you can have an actual handwritten signature and/or include HTML or hyperlinks.
Getting Started
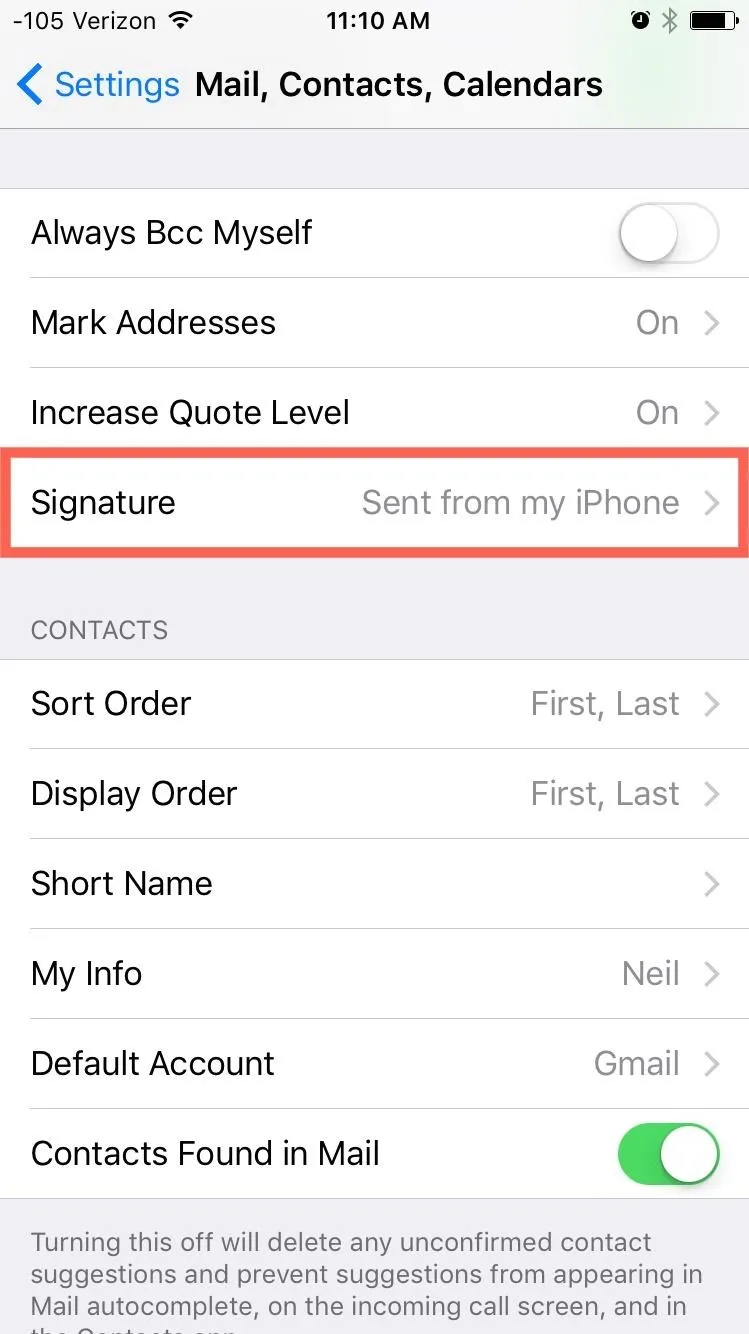
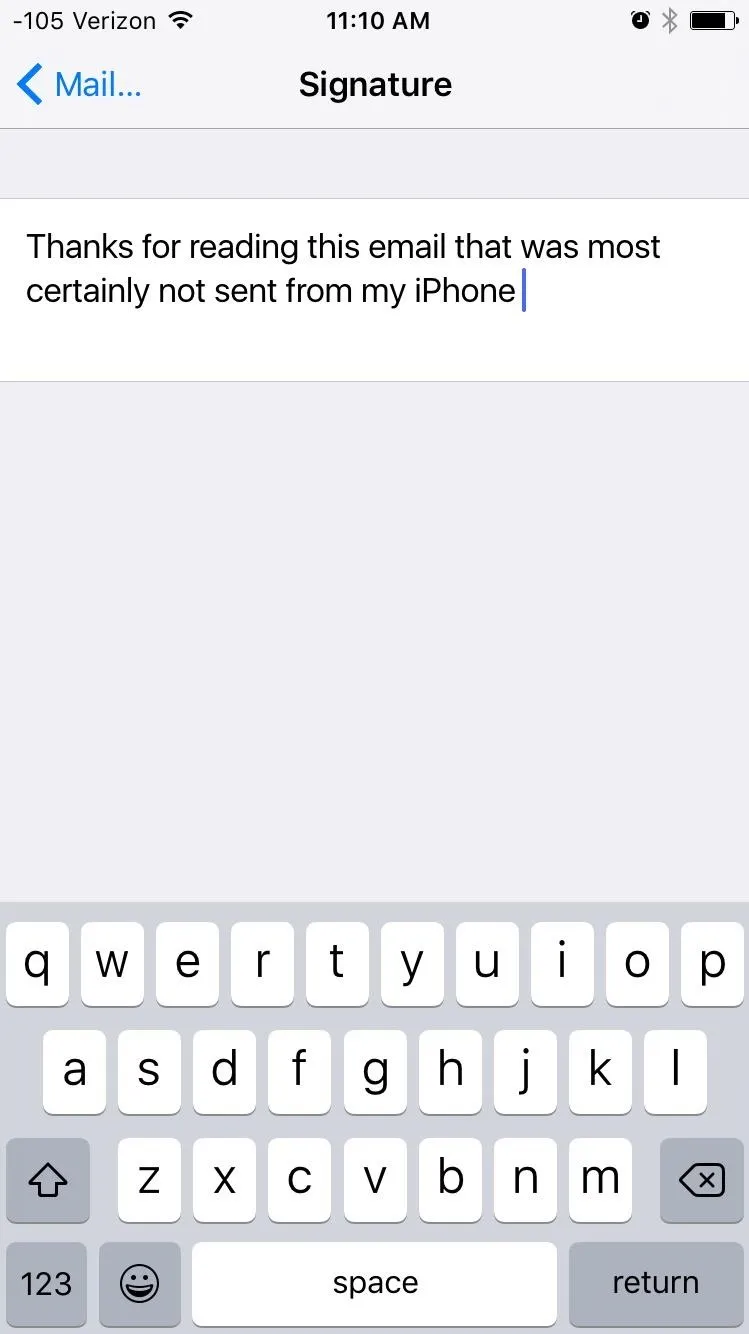
To get rid of the "Sent from my iPhone" text and add your own signature, navigate to Settings -> Mail, Contacts, Calendars -> Signature. In this field, you'll be able to add your name or anything else you want.


Add a Handwritten Signature
As shown by John Hancock, signatures can do a lot for you, so why not add yours to your emails? To accomplish this, all you need is a free scanning app like Evernote Scannable.

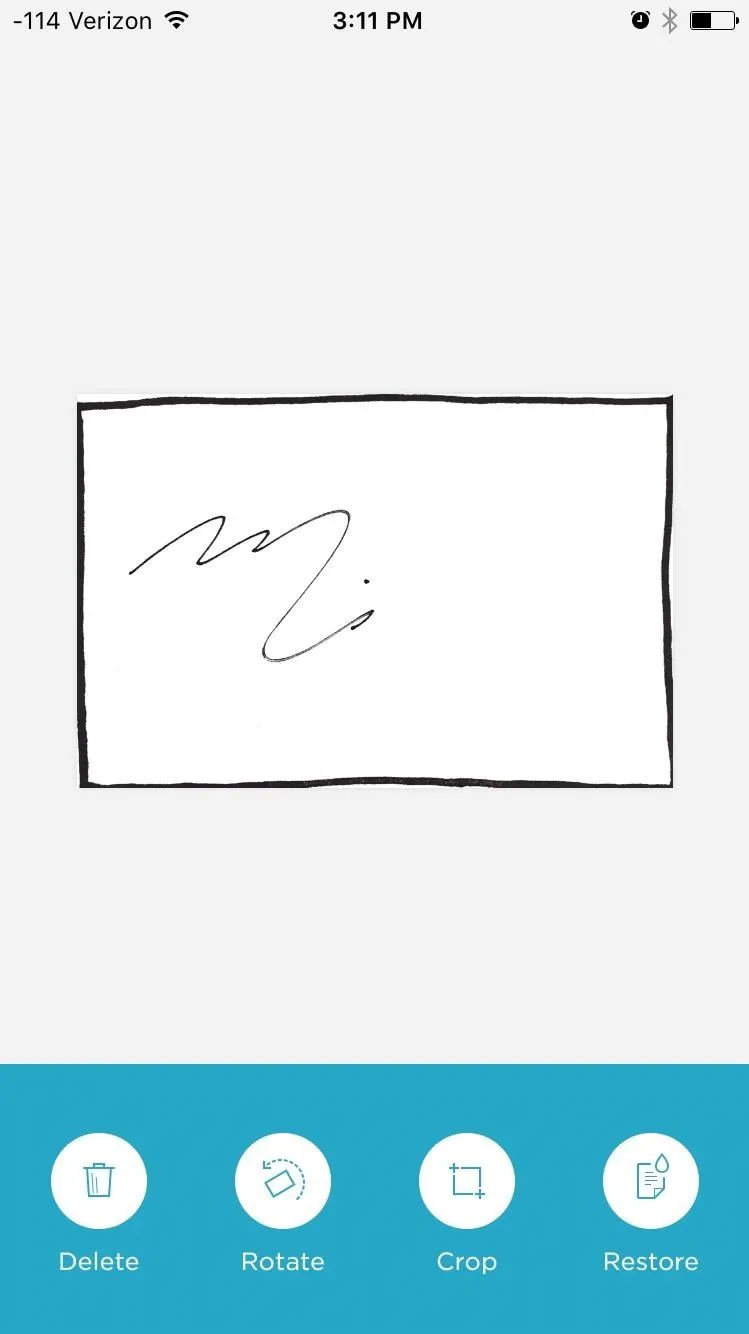
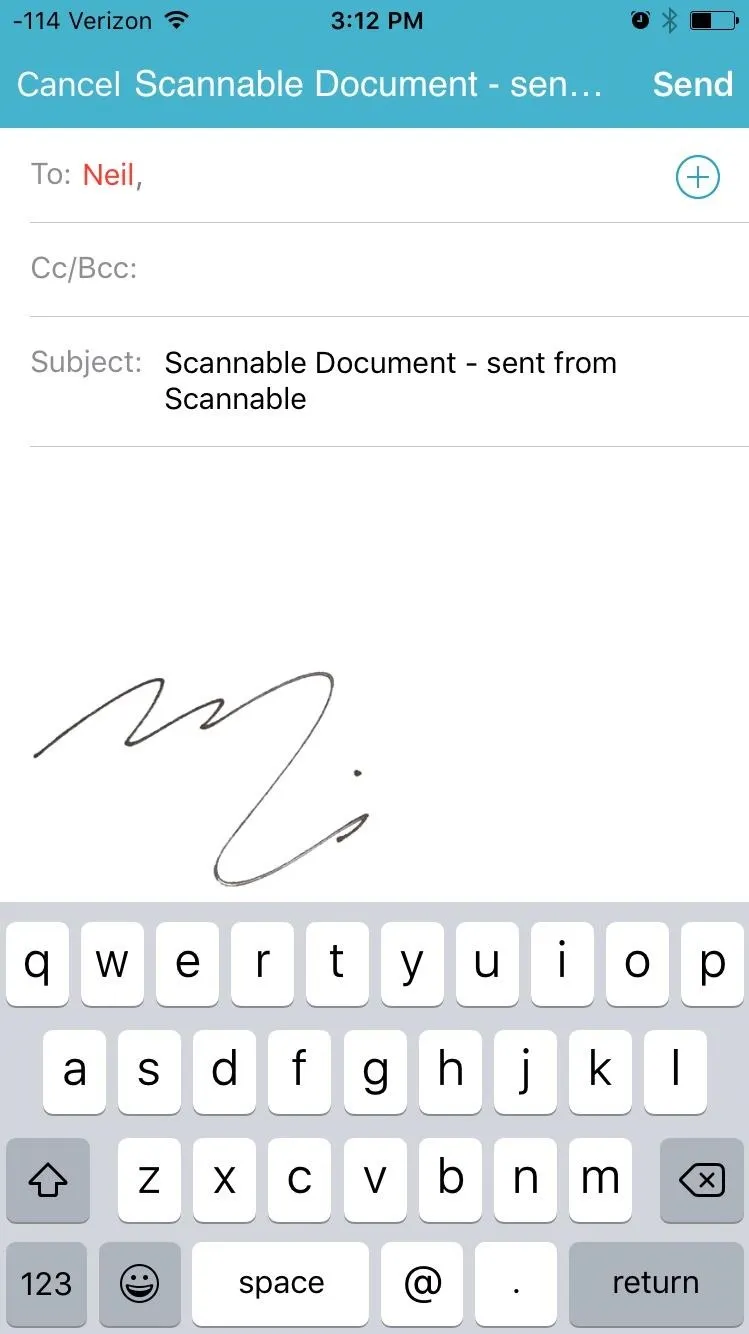
Next, get a blank sheet of white paper and write out your signature. Scan the signature, then proceed to crop it. When you're done, go ahead and email the signature to yourself so you can receive it on your iPhone.
Tip: Write the signature on the back of a blank business card or draw a square around your signature so that the app doesn't insist on scanning the entire document.
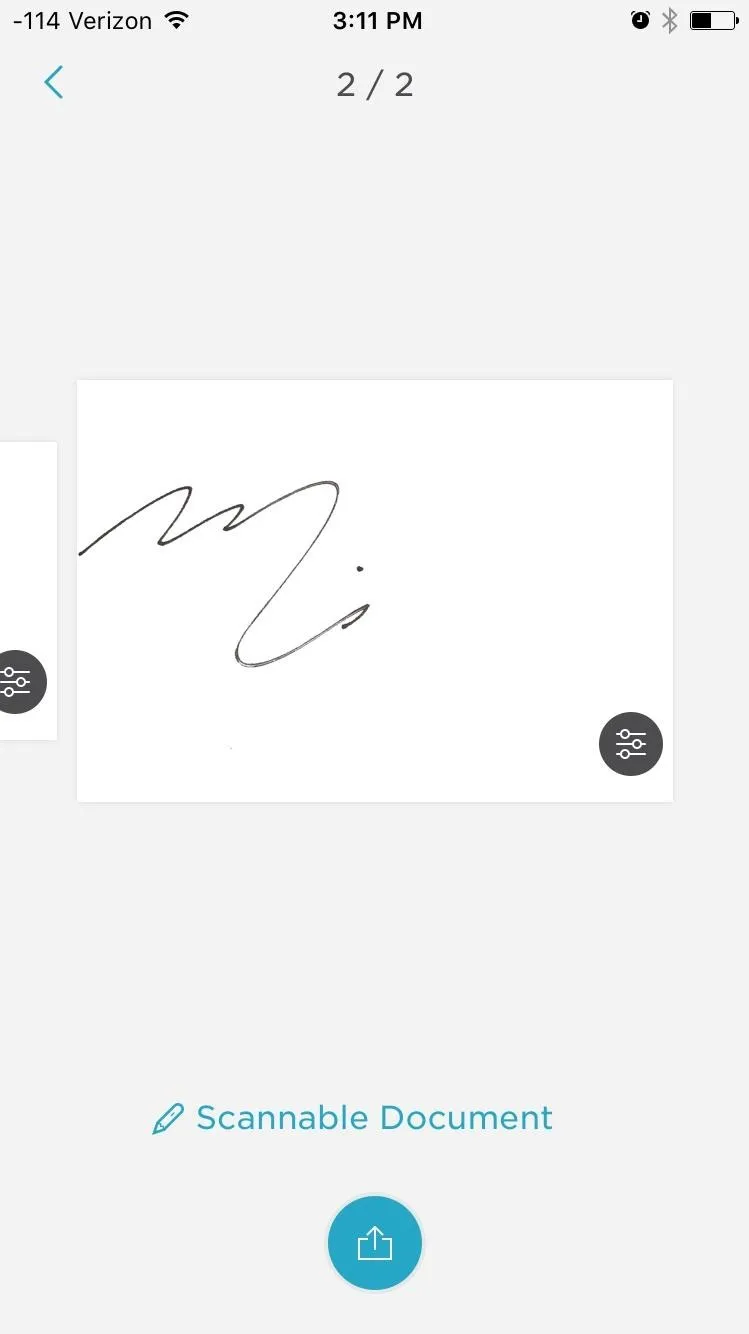


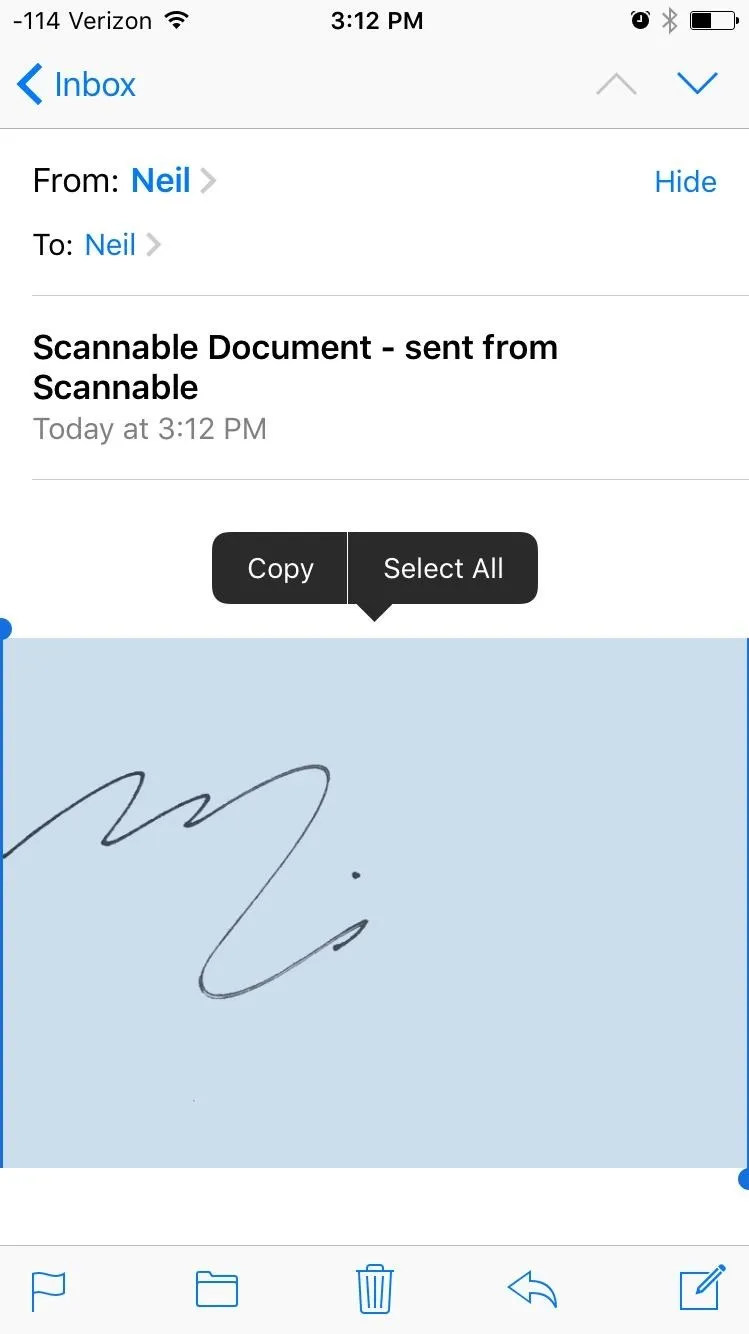
Once you've emailed it to yourself, be sure to copy it as shown below—don't tap and hold the image to copy. If you're copying it right, you will see the selection menu above the highlighted area.


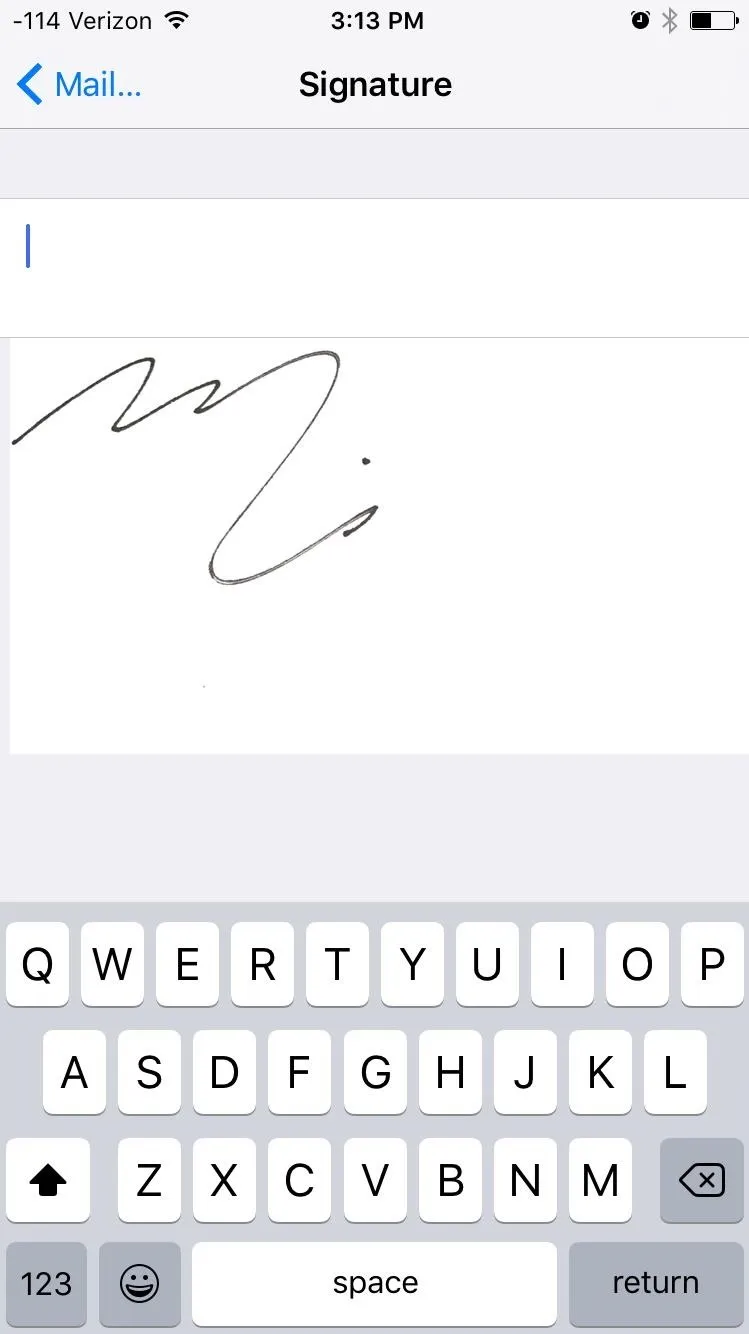
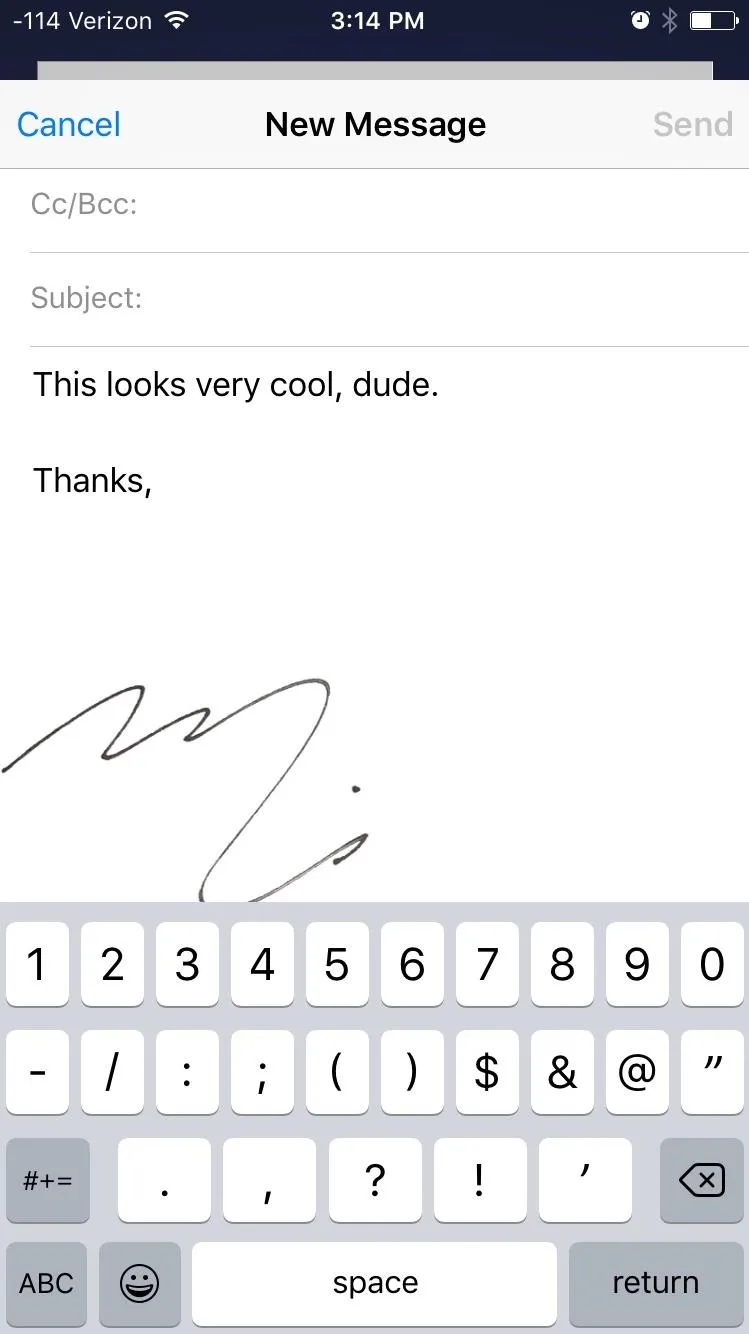
Navigate to Settings -> Mail, Contacts, Calendars -> Signature and paste the signature image here. Test it out by composing an email; you'll see the handwritten signature below. If you find that the signature is too large, then try writing it smaller or cropping it differently.


Add a Custom HTML Signature
For those of you running a business or going for a more professional look, you'll definitely want to try adding some HTML to help brand yourself. If you don't have a signature, don't worry, you can create one in less than five minutes using HTMLSig.com.

After generating your HTML signature, copy it and email to yourself.

Once you get the email on your iPhone containing the signature, copy the entire HTML signature, navigate to Settings -> Mail, Contacts, Calendars -> Signature, then paste it. Compose an email and check it out. If it looks jumbled together on the iPhone, don't fret—it'll look much better on a desktop.
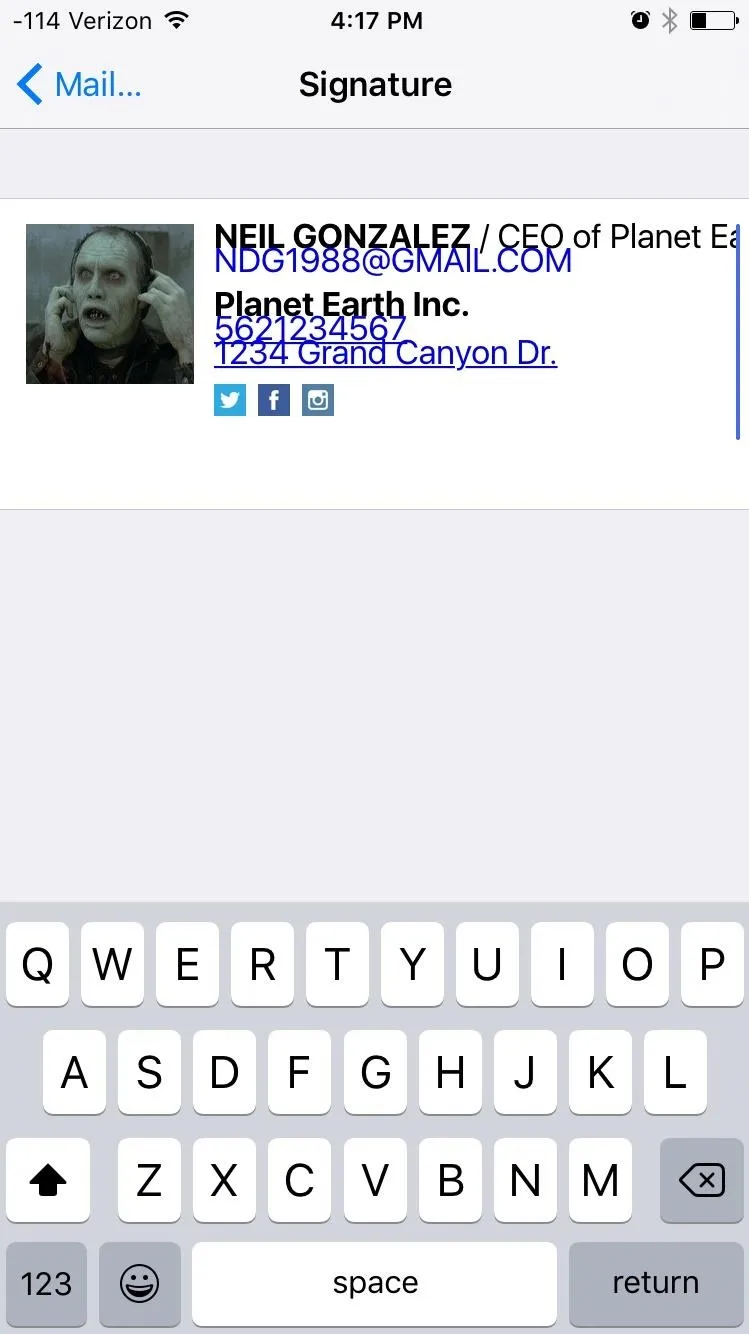


Use Hyperlinks in Your Signature
If an HTML signature is more than you need, then just use hyperlinks. For example, include links to your social media profiles or a personal website. To begin, start by using the desktop version of your email service (I'll be using Gmail).
Within the settings of the email service, locate the Signature preferences. From here, you can copy and paste the links that you wish to include and edit the text displayed for it.
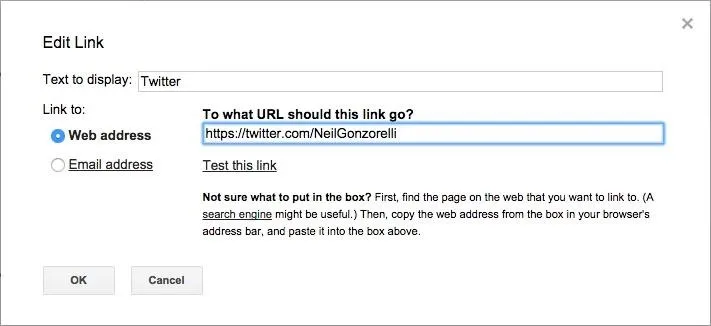
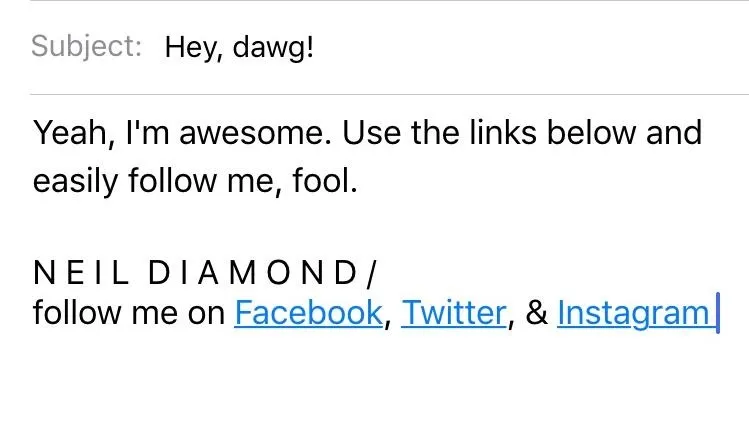
You can get creative, but when you're done, you can have something similar to my example below.

Email yourself in order to receive the signature with hyperlinks on your iPhone. After receiving the email, copy and paste the signature, then proceed to paste it in the Signature preferences like in the previous examples.
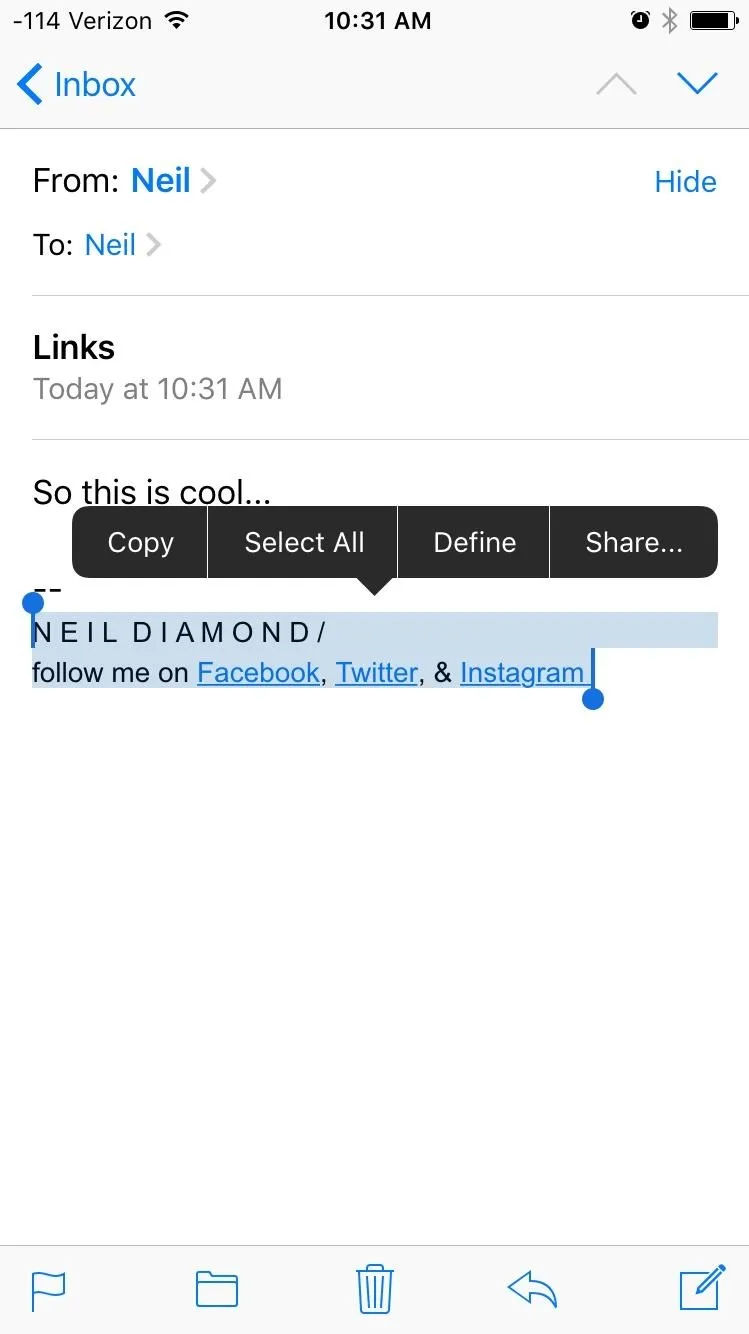
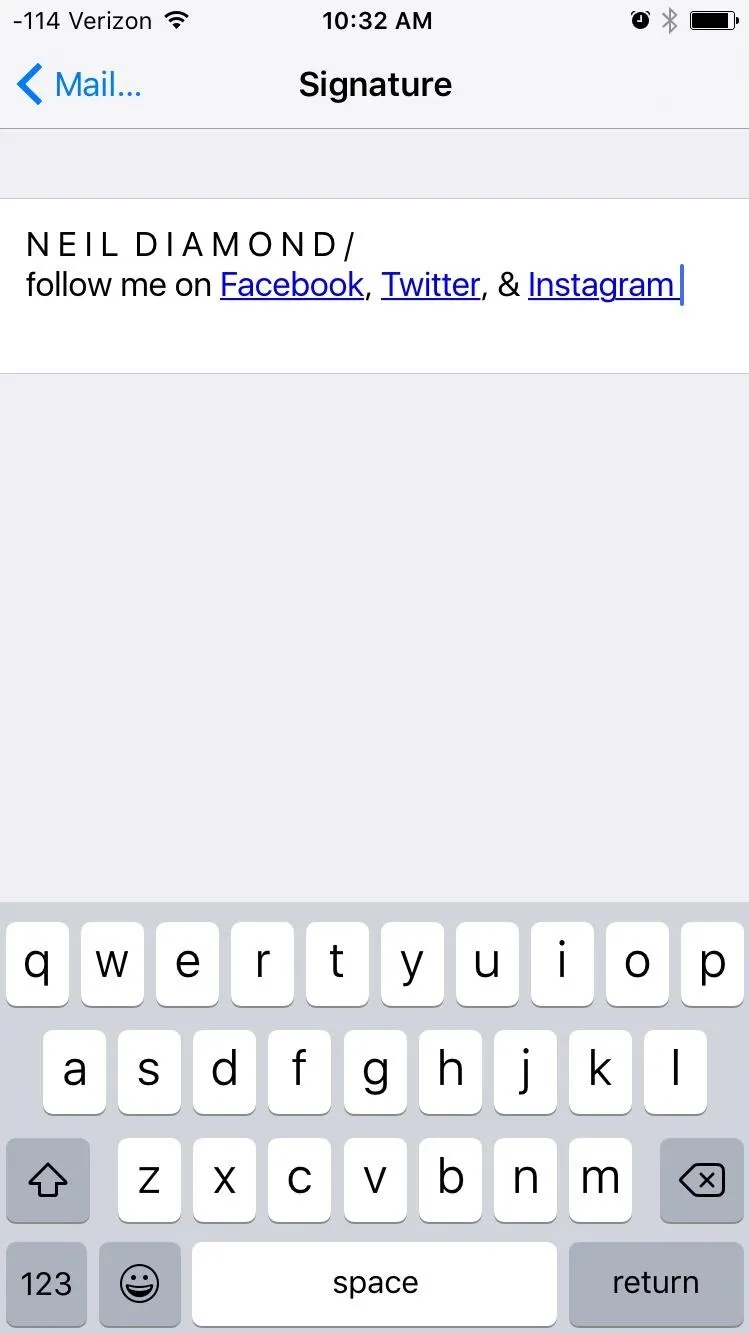


Test it out by composing a new email on your iPhone, and don't forget to test out the hyperlinks.
Let us know which one you used and how it looked by commenting below.
Follow Apple Hacks over on Facebook and Twitter, or Gadget Hacks over on Facebook, Google+, and Twitter, for more Apple fun.


Comments
Be the first, drop a comment!