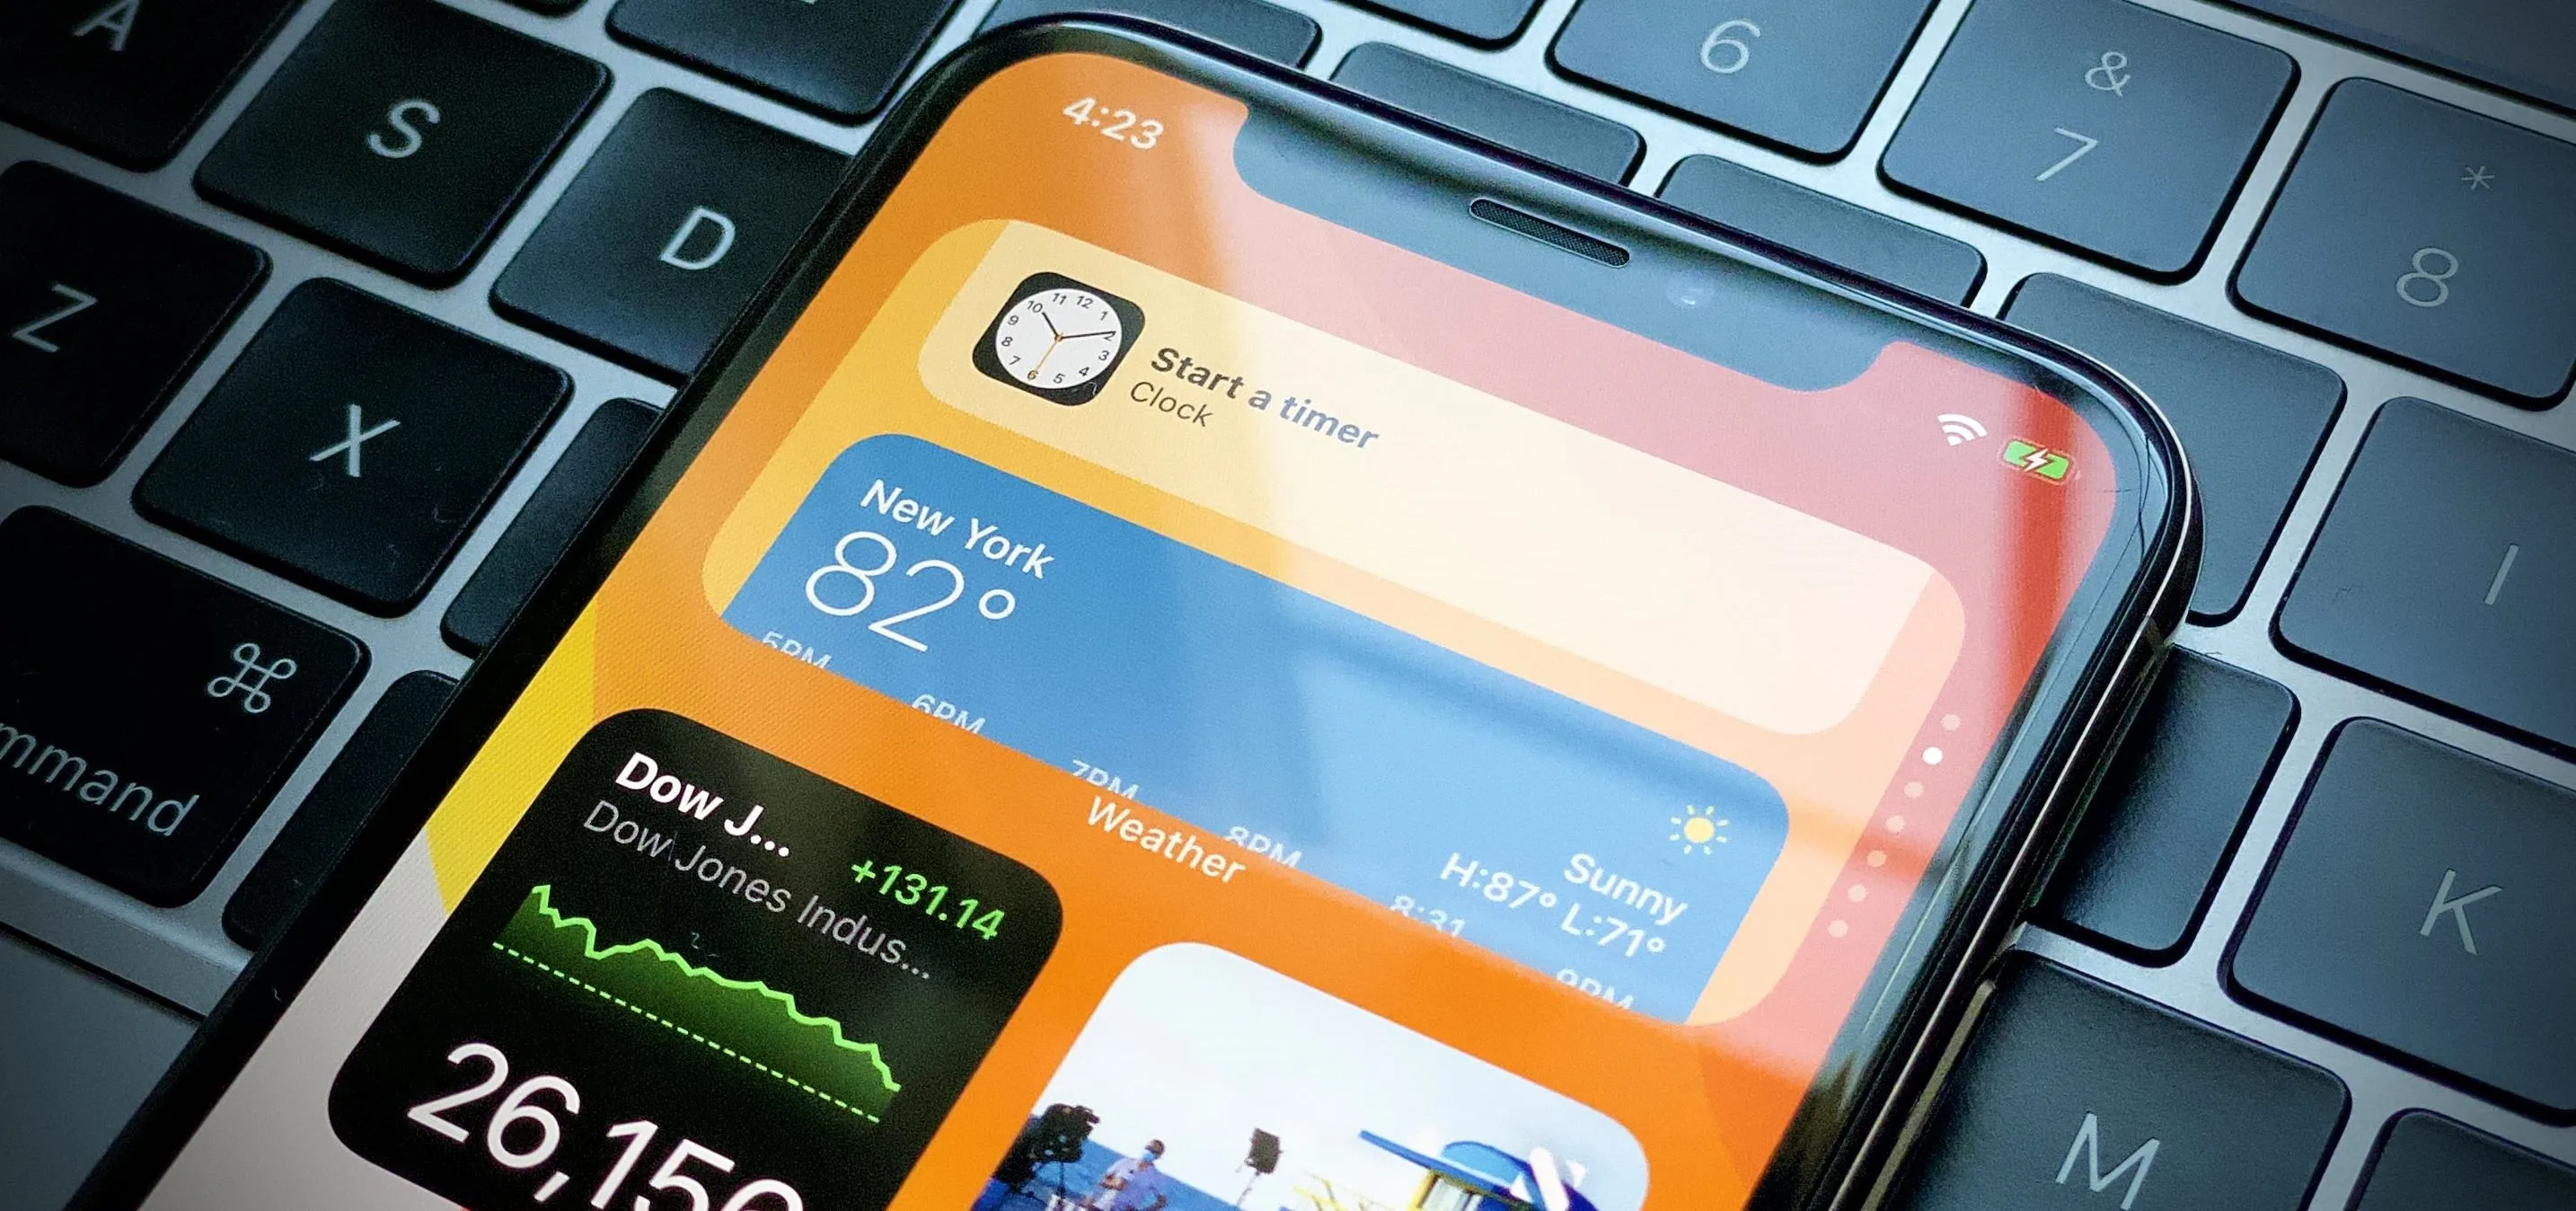
Home screen widgets might not be a new concept in the Android world, but for iPhones, they're downright revolutionary. A new iOS 14 feature allows you to place small, medium, and large-sized widgets of your favorite apps on the home screen, to see important information without needing to long-press an app's icon, swipe to the Today View, or launch an app directly. Even better — you can stack them!
If there are more than one or two widgets you'd like to add to your iPhone's home screen in iOS 14, your home screen pages can get full really fast. Stacking widgets can save a lot of space without making everything all cluttered while keeping the hidden widgets in the stack just a swipe away.
When you stack widgets, only one will show up at a time, but it's incredibly easy to swipe through all of the widgets in the bunch. While iOS folders require you to open them before swiping through the pages, widget stacks let you swipe to each widget without that extra step. Plus, aside from being able to view info on the spot, you can tap the widget to open the app. So really, you could hide all of the regular app icons since you don't need them anymore. It's a win-win situation.
How You Create Widget Stacks
The great thing about stacking widgets is that it's incredibly simple. If you know how to make a folder, you know how to stack. All you need to do is drag one widget on top of another of the same size, then let go. That means small widgets stack on small widgets, medium widgets stack on medium widgets, and large widgets stack on large widgets.

Small vs. medium widgets.


Small vs. medium widgets.

You don't need to rely on the widgets you already have on the home screen, either, since you can also create or add to stacks from the widget gallery. Long-press on the wallpaper or long-press a widget or app and hit "Edit Home Screen." Next, tap the plus (+) icon in the top left. Find a widget in the gallery, then drag your desired widget from the gallery to a widget or stack on the home screen, then let go.
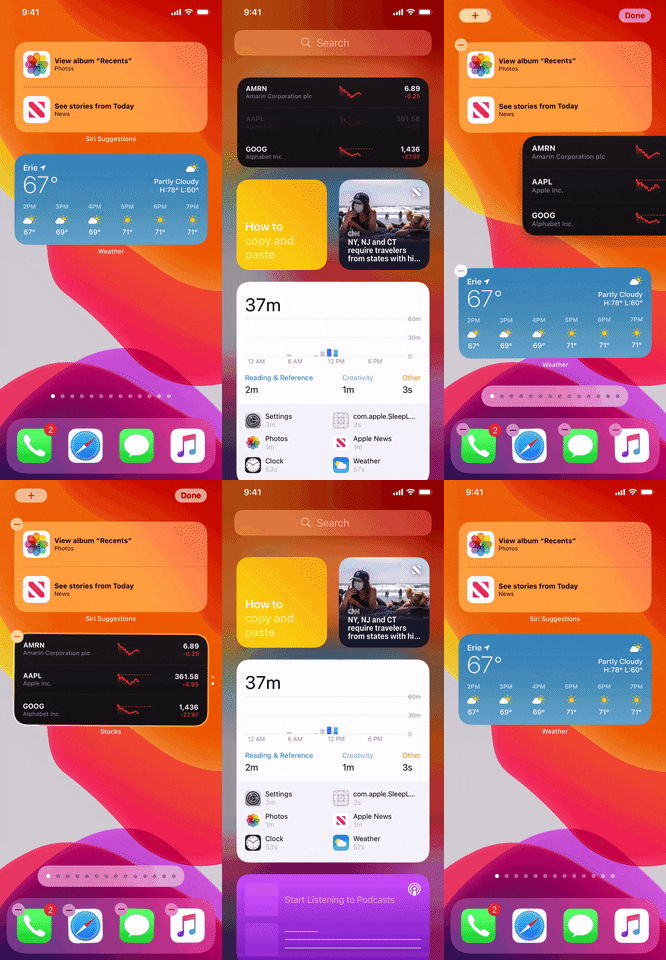
Additionally, you can move widgets in the same way from your Today View screen, but keep in mind that you're moving the widget. While you'd think that it would just copy it so that the widget would also stay in the Today View, that's not true. (Tip: you can also create stacks on the Today View if you want.)

From the gallery vs. from the Today View.


From the gallery vs. from the Today View.

You can add up to 10 widgets in one stack. Once a stack features 10 widgets, it won't accept any more. When finished stacking, tap "Done" to exit the home screen editor. You could also just sleep your iPhone's display if you're done using your iPhone at that moment (the edits will save).
How You Browse Your Widget Stacks
Checking out the contents of your stack is easy. Firstly, you'll know a stack isn't merely a standalone widget by the dots the appear for a moment when you swipe into the page. These dots represent how many widgets are in the stack, but they disappear soon after arriving on the page.
If you tap on the active widget in a stack, you'll launch the app associated with it. To change the active widget, just swipe up or down on the stack. Each swipe moves through the stack widget by widget, and you'll see the dots on the side of the stack change in unison. Again, tap on the active widget to launch its app.


Making the dots appear vs. swiping through widgets.


Making the dots appear vs. swiping through widgets.
How You Edit Your Widget Stacks
The easiest way to edit the widgets in or outside of your stack is to long-press the widget, then choose "Edit Widget" (if it's not in a stack) or "Edit '[Widget's Name]'" (if it's in a stack). However, not all widgets can be edited. For instance, you can change locations for a Weather widget or switch topics in a News widget, but you can't tweak the Music or Photos widgets.
If you want to edit the widget stack itself, long-press it and choose "Edit Stack" instead. Alternatively, you could long-press on the wallpaper or long-press a widget or app and hit "Edit Home Screen," then tap the widget stack. At the top of the stack editor, you'll see a list of all the widgets present. You can reorder these widgets by dragging them by their three-lined icons, as seen below.
The order might not matter much, though, if you keep the stock settings. By default, iOS 14 enables "Smart Rotate" for stacks, which switches the active widget automatically depending on your iPhone use. If you'd rather be in total control of the active widget in a stack, just disable the toggle here.

Editing the stack vs. toggling "Smart Rotate."


Editing the stack vs. toggling "Smart Rotate."

You can also delete any widgets you don't want from the stack editor. Just swipe left on the widget in question, then tap "Delete." Alternatively, pull all the way left to delete it in one swipe. You can also remove the active widget by long-pressing on the stack, selecting "Remove '[Widget's Name]'" from the quick actions menu, then selecting "Remove" on the pop-up.

Deleting widgets from the stack editor vs. from quick actions.


Deleting widgets from the stack editor vs. from quick actions.

Strangely, you can't remove widgets from your stack without deleting them from the home screen altogether. We hope that Apple brings that feature to stacks in future updates since having to re-add widgets you remove from stacks is super tedious.
How You Delete Your Widget Stacks
If you want to go nuclear and get rid of an entire stack at once, no problem. Long-press on the stack, choose "Remove Stack" from the quick actions menu, then confirm with "Remove" on the pop-up. Alternatively, you could long-press on the wallpaper or long-press a widget or app and hit "Edit Home Screen," then tap the minus (–) icon for the stack and select "Remove."

Removing a stack from the quick actions vs. from the home screen editor.


Removing a stack from the quick actions vs. from the home screen editor.

Cover image and GIFs by Jake Peterson/Gadget Hacks


Comments
Be the first, drop a comment!