For quite some time, popular messaging apps such WhatsApp and Skype have let you set a profile picture along with a display name to make you more instantly identifiable to loved ones and colleagues. Apple has finally caught up with this fad in iOS 13. That means you can set a custom name and profile image within iMessage so others can quickly view who's messaging them at a glance.
The latest iOS not only lets you set photos as profile images, but it also gives you the ability to use custom Memojis and Animojis for more variety. Paired with the ability to set a display name, the app's new features will help ensure you stand out even more amongst contacts. These new features work no matter what iPhone model you and your contacts have, as long as they're running iOS 13, they're good.
- Don't Miss: 200+ Exciting New iOS 13 Features for iPhone
Set Up After First Updating to iOS 13
When you first update to iOS 13, Messages will present a splash screen to you which helps you set up a custom iMessage name and profile icon right away.
If you don't see the splash screen right away, from the list of conversations, tap the ellipsis (•••) button at the top, then "Share Name and Photo." If you do that and see something different than the gallery below, skip to Method 2. You may have dismissed the splash screen before or possibly never got it.
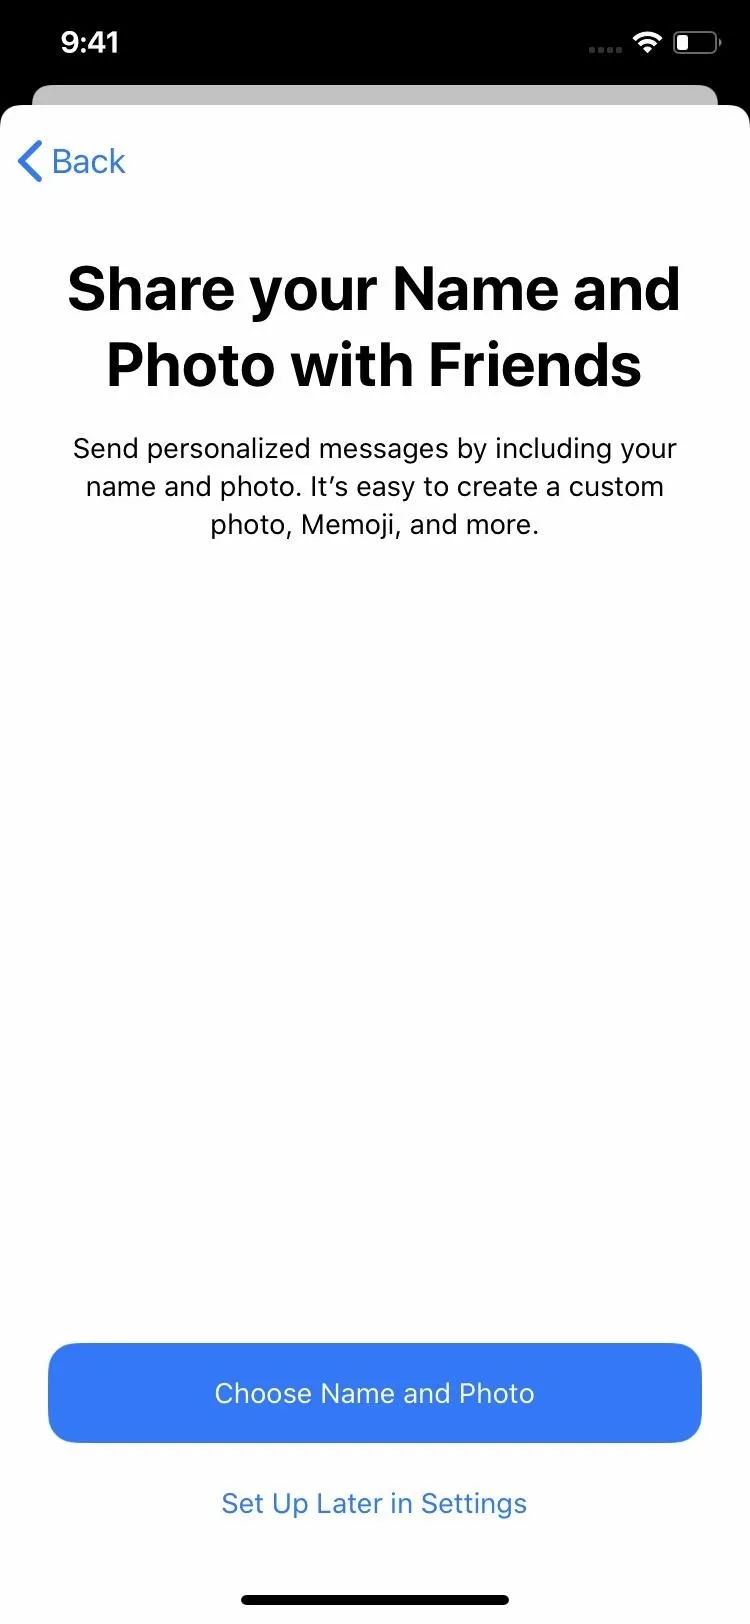
Once you see the Share your Name and Photo with Friends splash screen, tap the "Choose Name and Photo" button to continue. On the next screen, your Display Name will be listed as whatever name is associated with your Apple ID, but you can change it to whatever you want. Only one field needs to be filled out, so you can just choose a first or last name or special moniker or nickname.
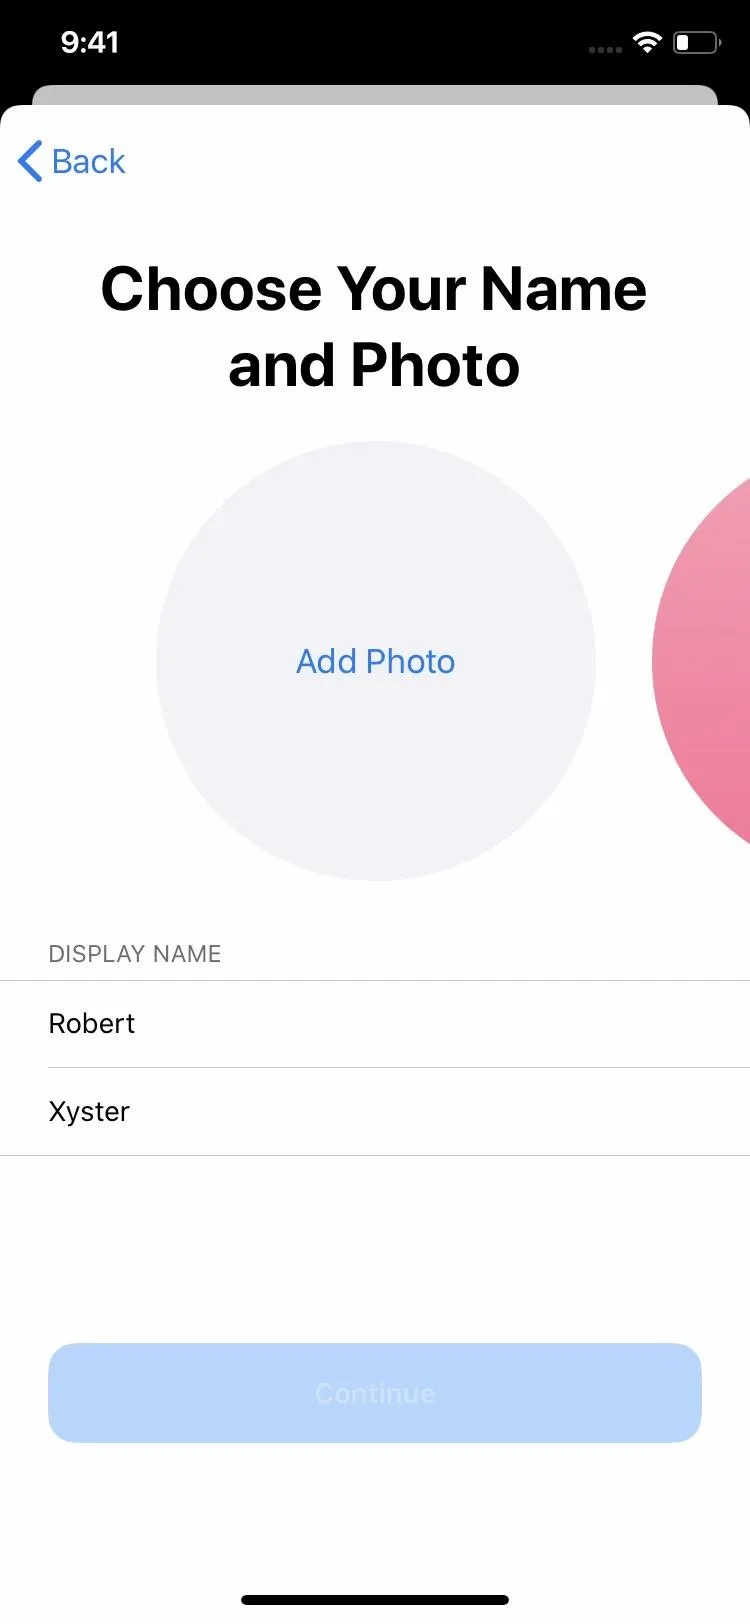


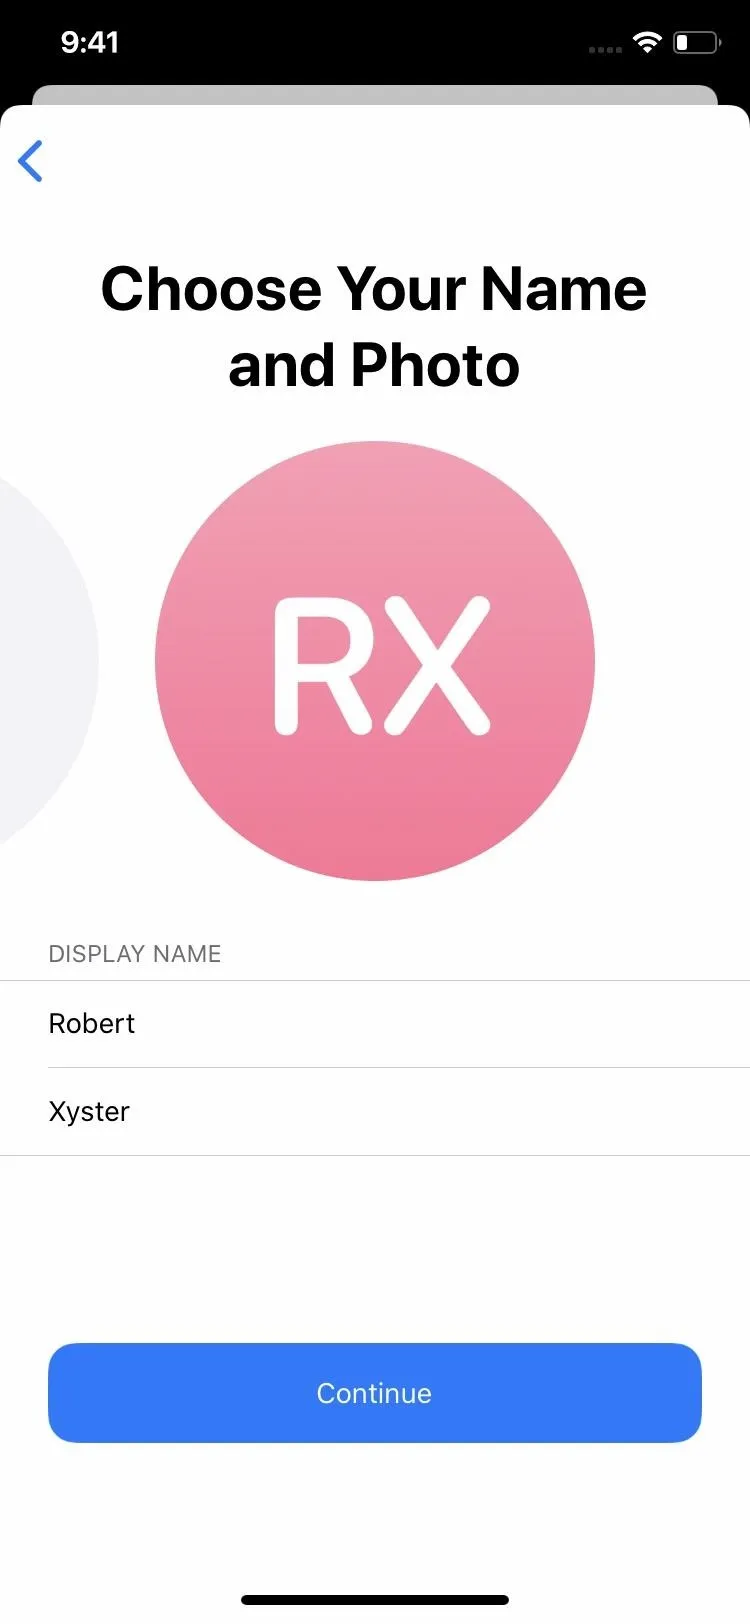
As for the photo, if you've set a custom photo for yourself in the Contacts app or have already created a Memoji, you'll see those options in the large circles above your display name. You can swipe through the options and select one you'd like to use. If you want something different, there should be a "View More" option in one of the circles.
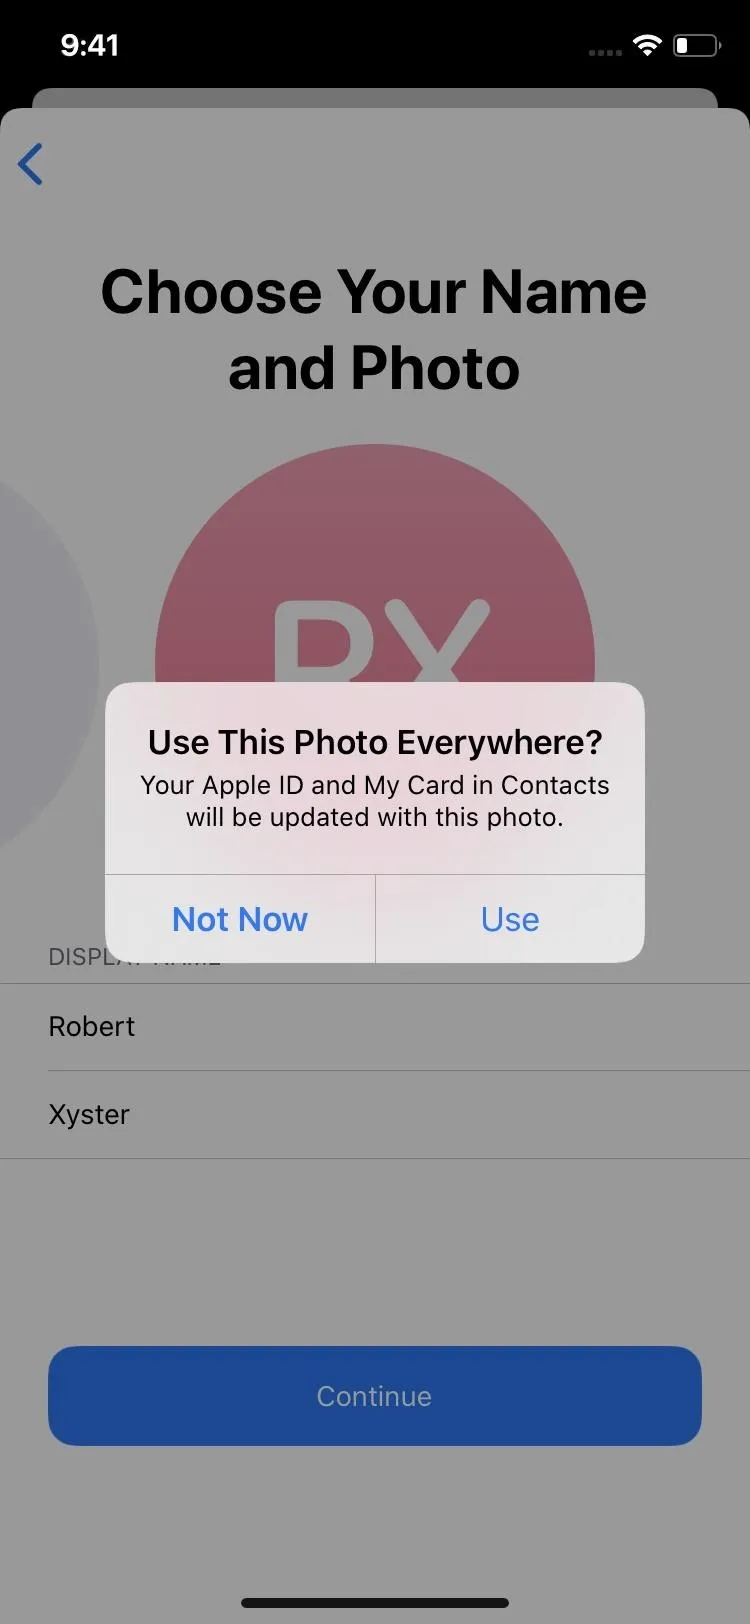
If all you see is your monogram listed, i.e., your initials, you can use that or tap "Add Photo" in one of the circles to add a photo, Memoji, or Animoji right away. Once you've selected one you like, tap the "Continue" button at the bottom, and you'll get a prompt asking to "Use This Photo Everywhere?" It states that using the new image will change the photo associated with your Apple ID and in your My Card in the Contacts app. Tap "Use" to continue.
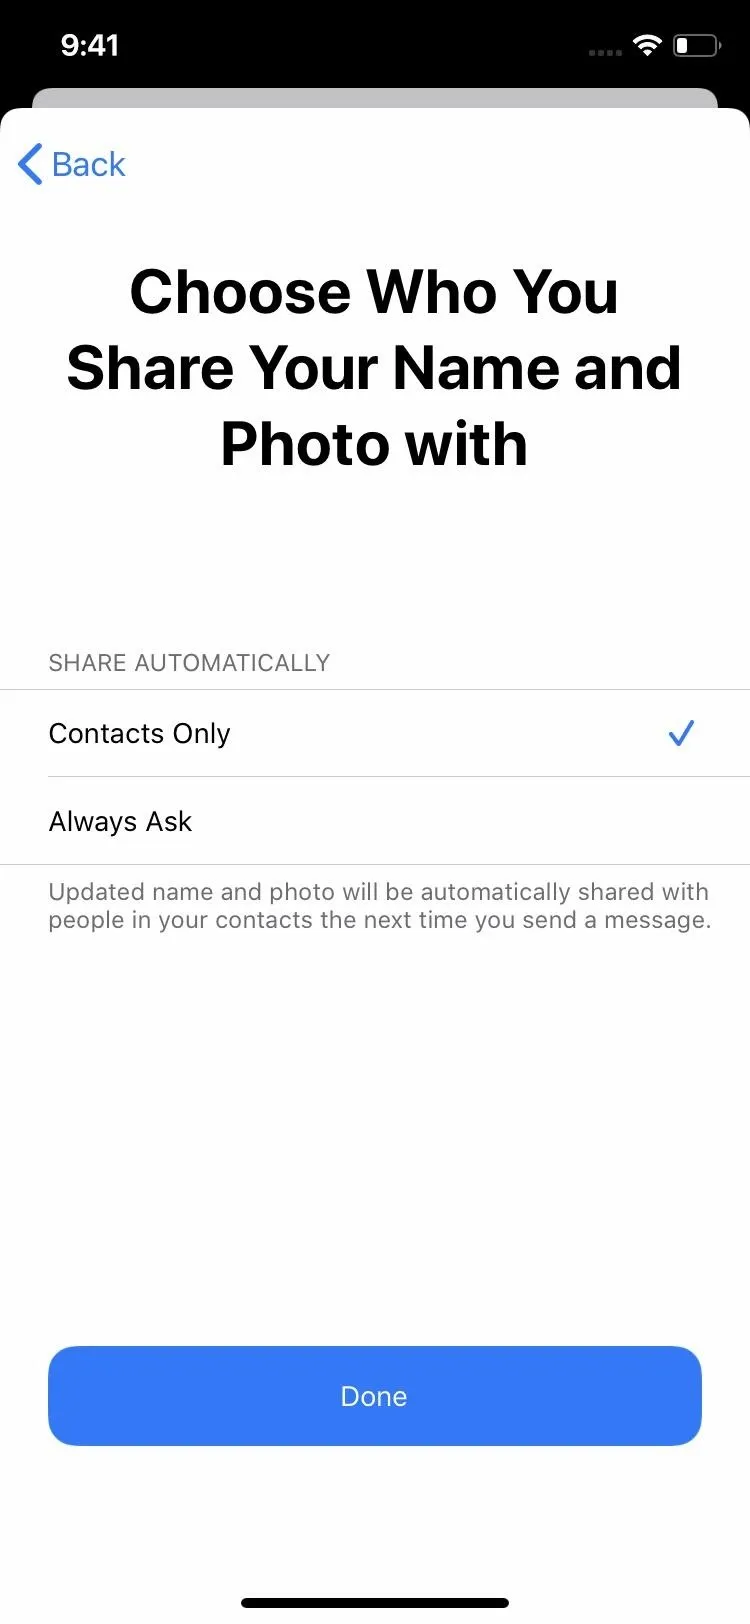


On the last page, you'll be asked to choose who you share your name and photo with. You can choose to share it automatically with "Contacts Only" or one a case-by-case basis with "Always Ask." For the latter, when you're messaging someone on iOS 13 or macOS 10.15 Catalina, there will be a prompt at the top of the Messages thread asking to "Share" your name and photo.
Manually Edit from Settings or Messages
If you didn't see the splash screen shown in Method 1 above, you could edit your display name and photo either from the Settings app or the Messages app.
- From the Settings app: Select "Messages," then "Share Name and Photo."
- From the Messages app: Tap on the ellipsis (•••) button at the top of the list of conversations, then select "Edit Name and Photo" on the action sheet that appears at the bottom.
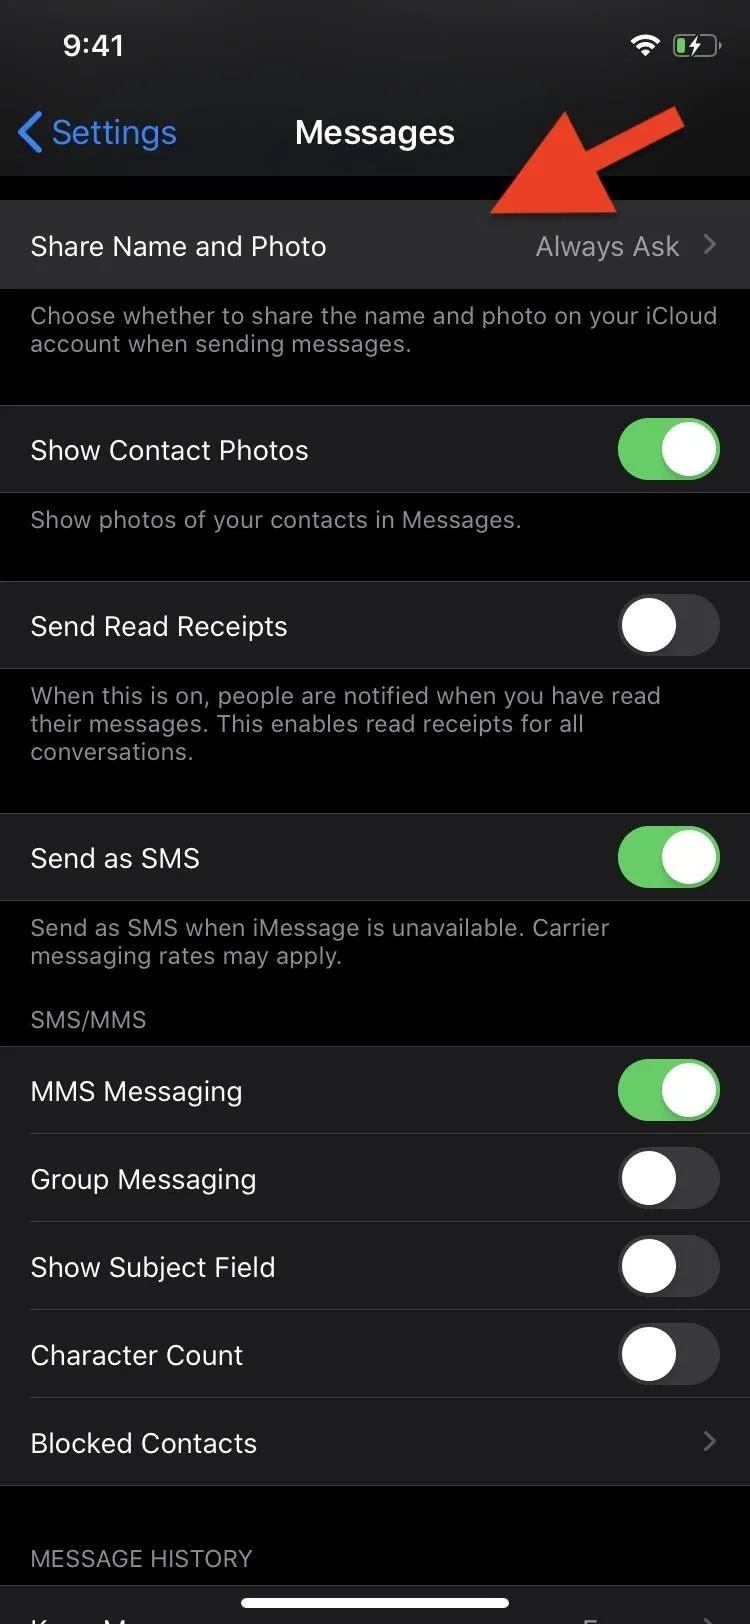



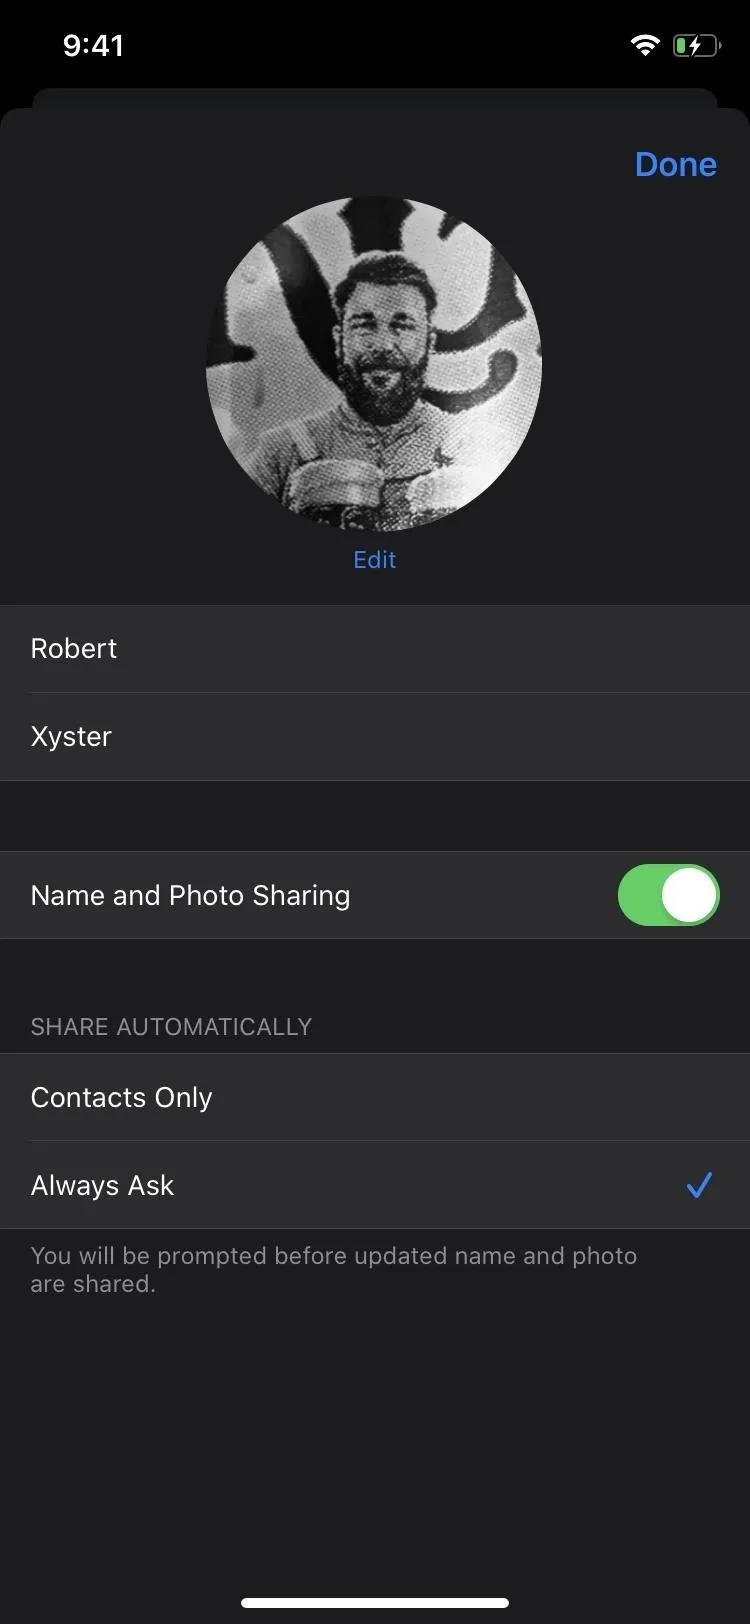
Your name and photo settings should appear. Under the profile image, you'll see your current first and last name. It should already be your name that's associated with your Apple ID or the name you last chose manually. Tap each field to edit them if you want, and keep in mind that both fields to not need to be filled out, so you can have a first name or last name only.
To change your display image, tap on the picture that says "Edit" above your name. You'll then see a list of suggested icons that show monograms (your initials inside circles), as well as a camera button to take a selfie real quick. You can also tap "All Photos" to choose an image from your Photos library. Under that section are your Animoji and Memoji selections, and you can create a new Memoji with the plus (+) button.
After tapping one, you can select "Use in Messages" right away from the action sheet for some options or "Edit" to customize it. You can even choose "Duplicate" if you want to clone something and modify it slightly. To edit your current display photo, tap "Edit" below it.
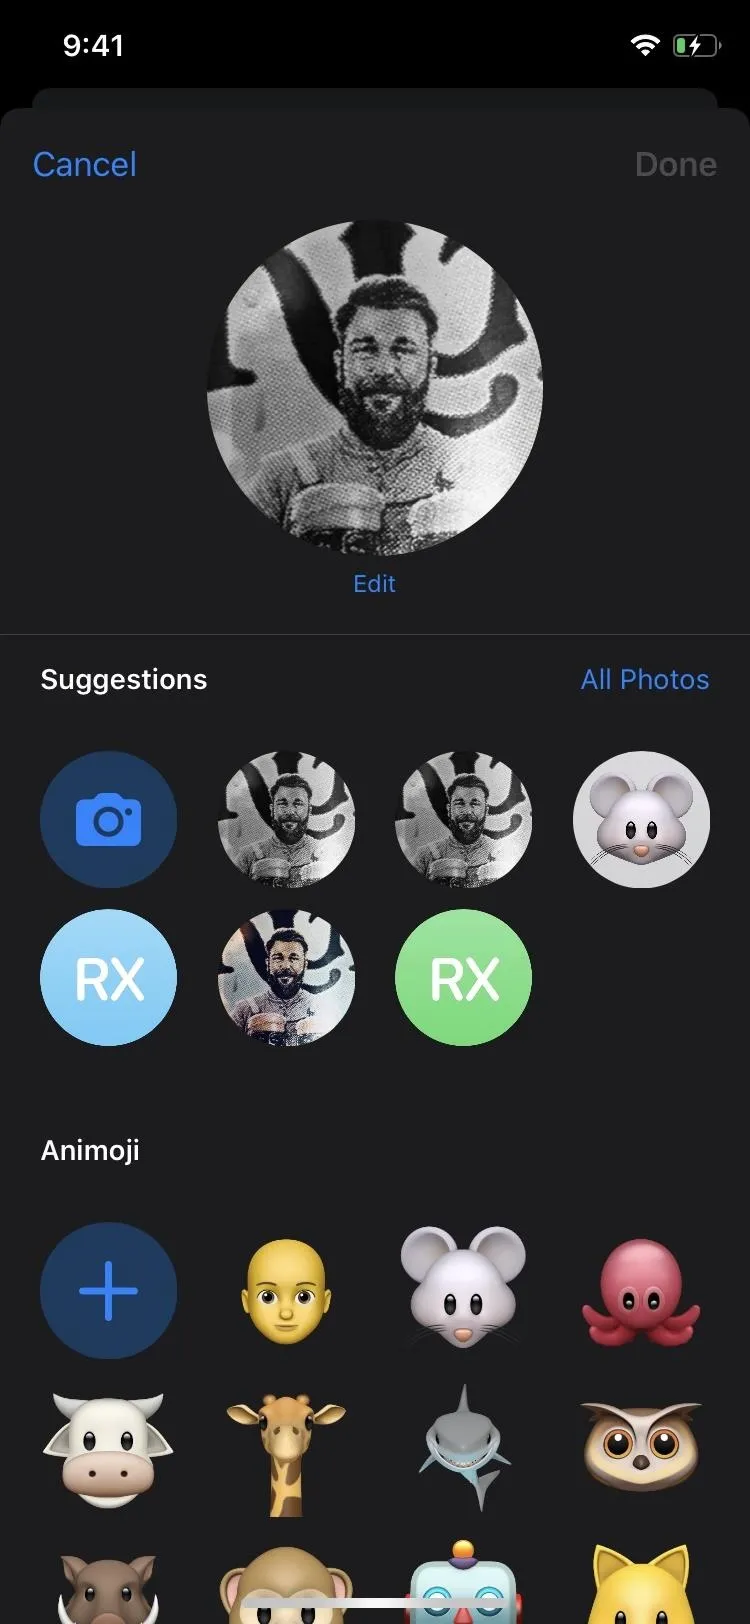


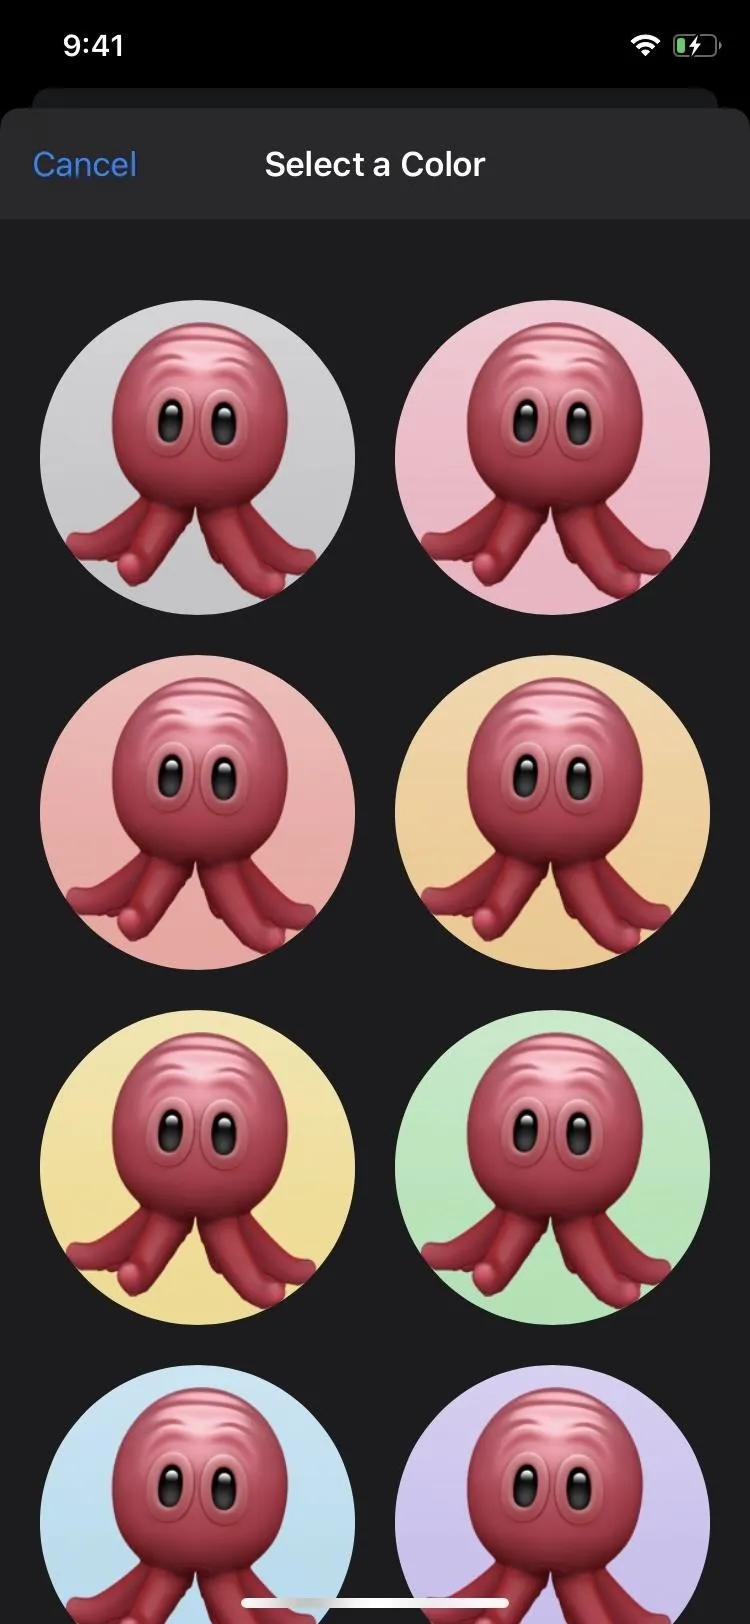
When editing monograms, you can choose different colors.




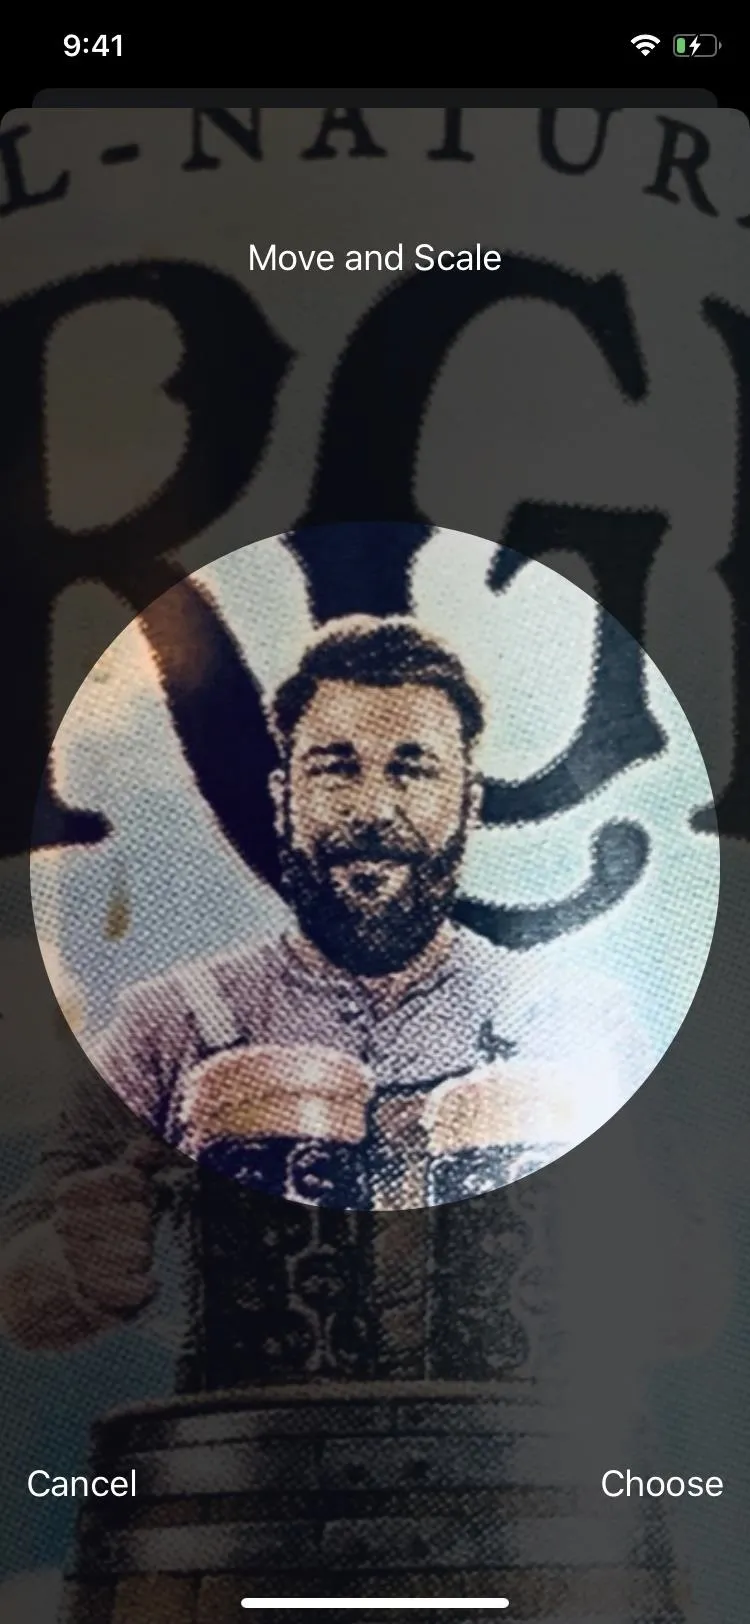
When editing photos, you can move and scale it again, as well as select a new filter.



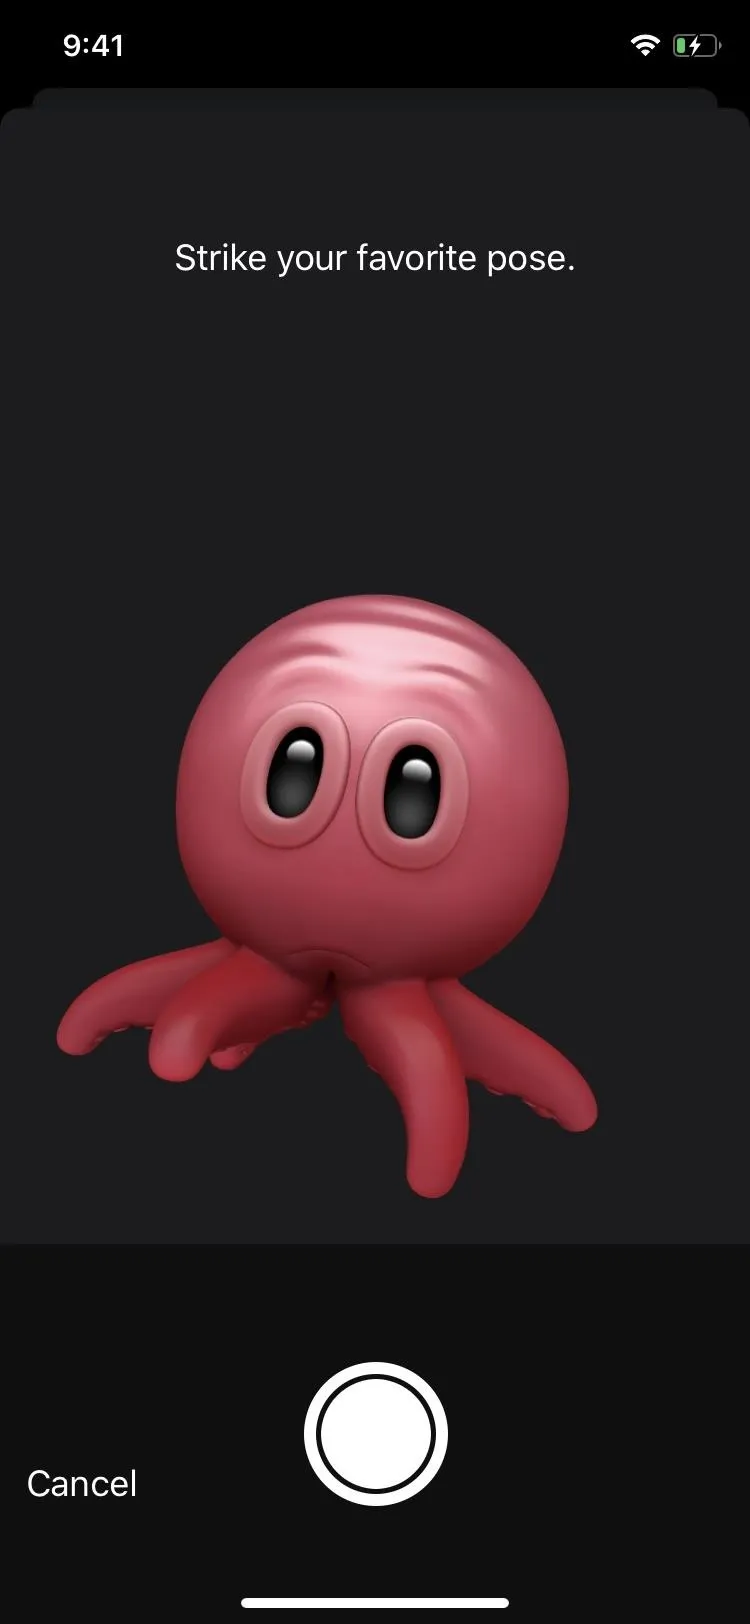
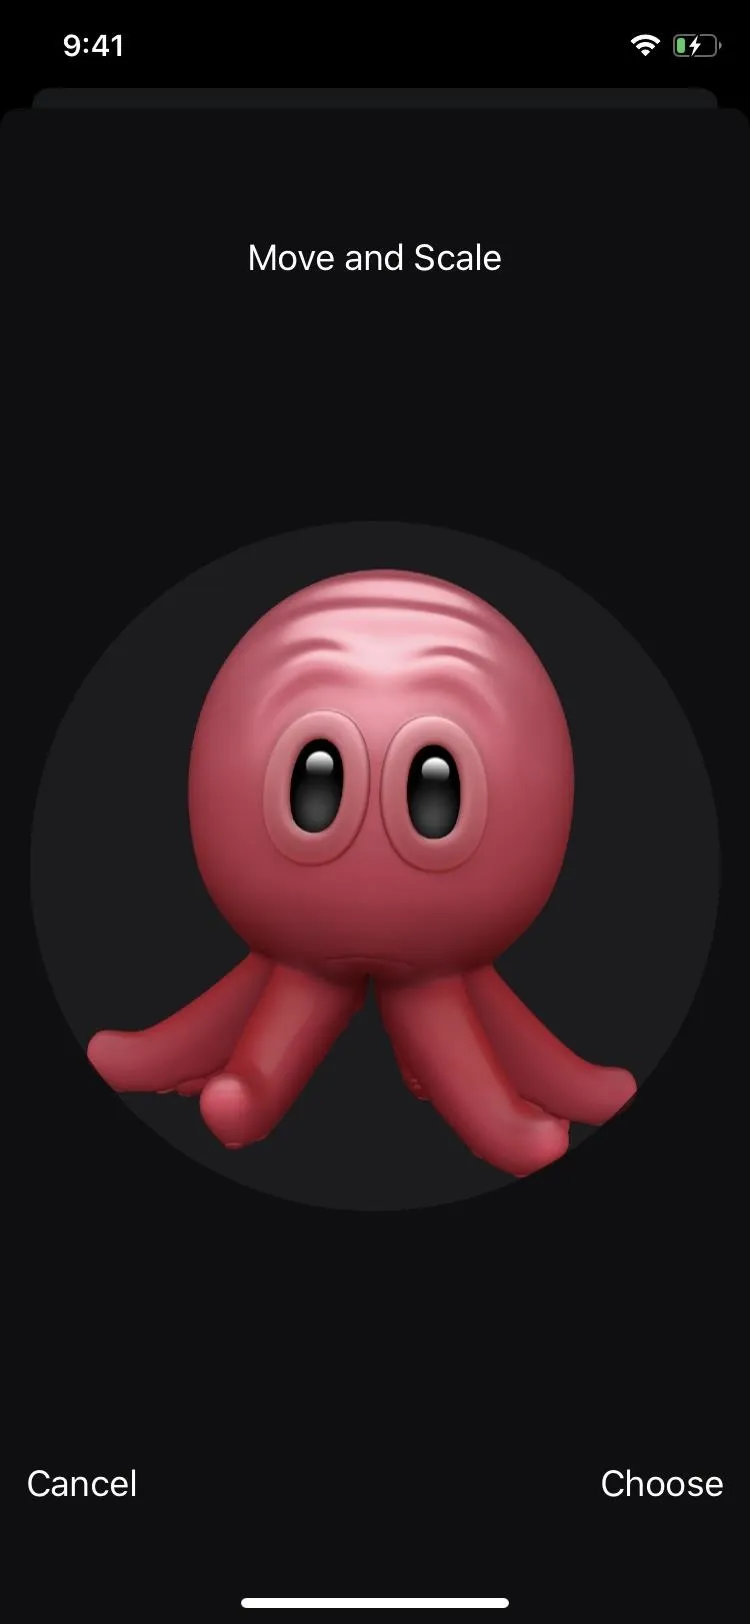
For new Memoji, you can create them as you normally would. And for Animoji, you just select a post and change the background color.


Once you've selected one you like, you'll get a prompt asking to "Use This Photo Everywhere?" It states that using the new image will change the photo associated with your Apple ID and in your My Card in the Contacts app. Select "Not Now" if you want to use the profile photo for just the Messages app itself or "Use" if you're going to apply it across the board. Hit "Done" to finish up.
Once you've changed both your display name and image, you can choose between sharing your new name and photo with contacts or only when asked. Tap the toggle next to "Share Name and Photo" to turn it on, if not already enabled. By default, it's disabled, which means no sharing at all. Besides that, select how you want your image and name automatically shared in the Share Automatically section.
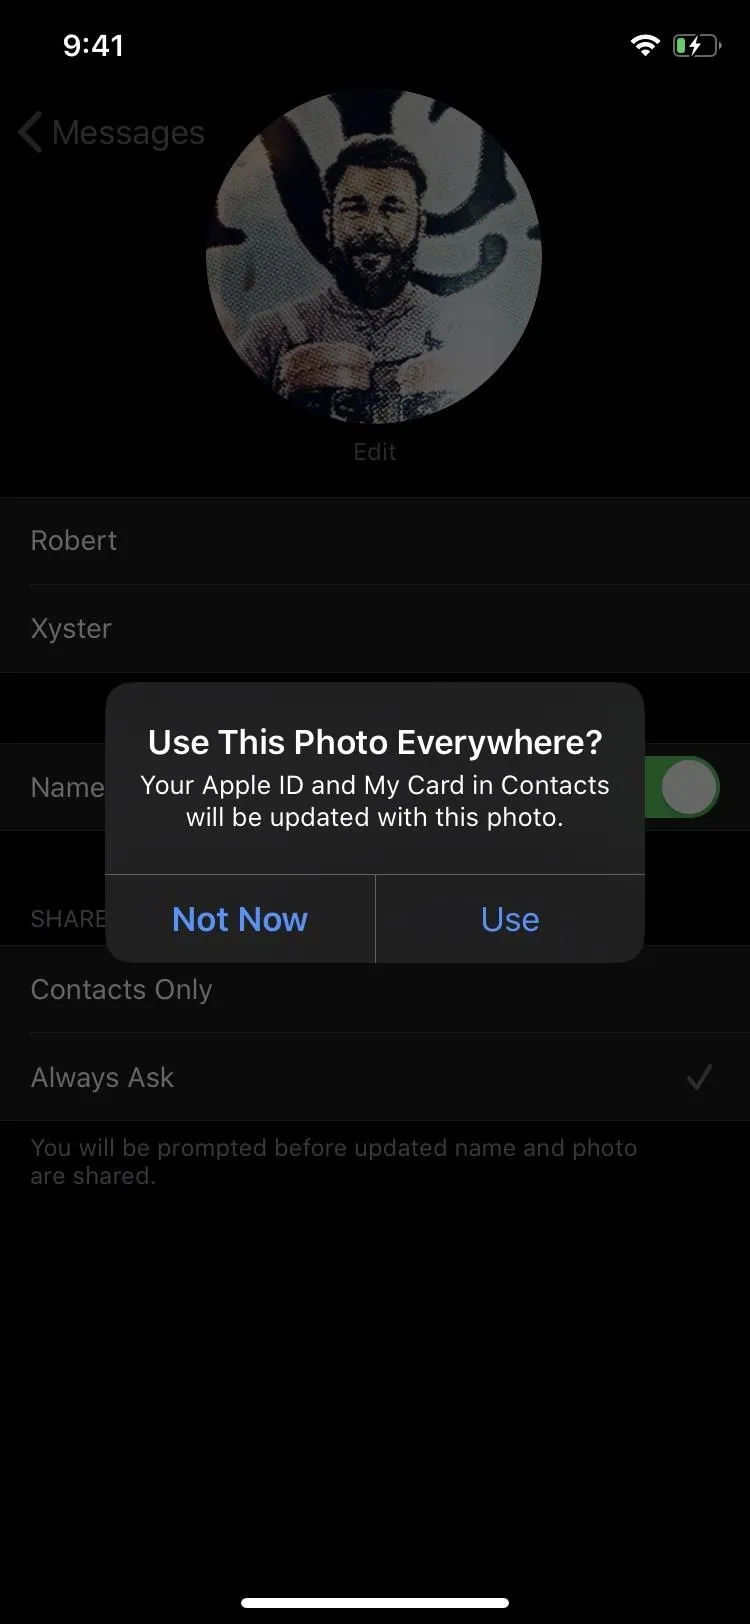
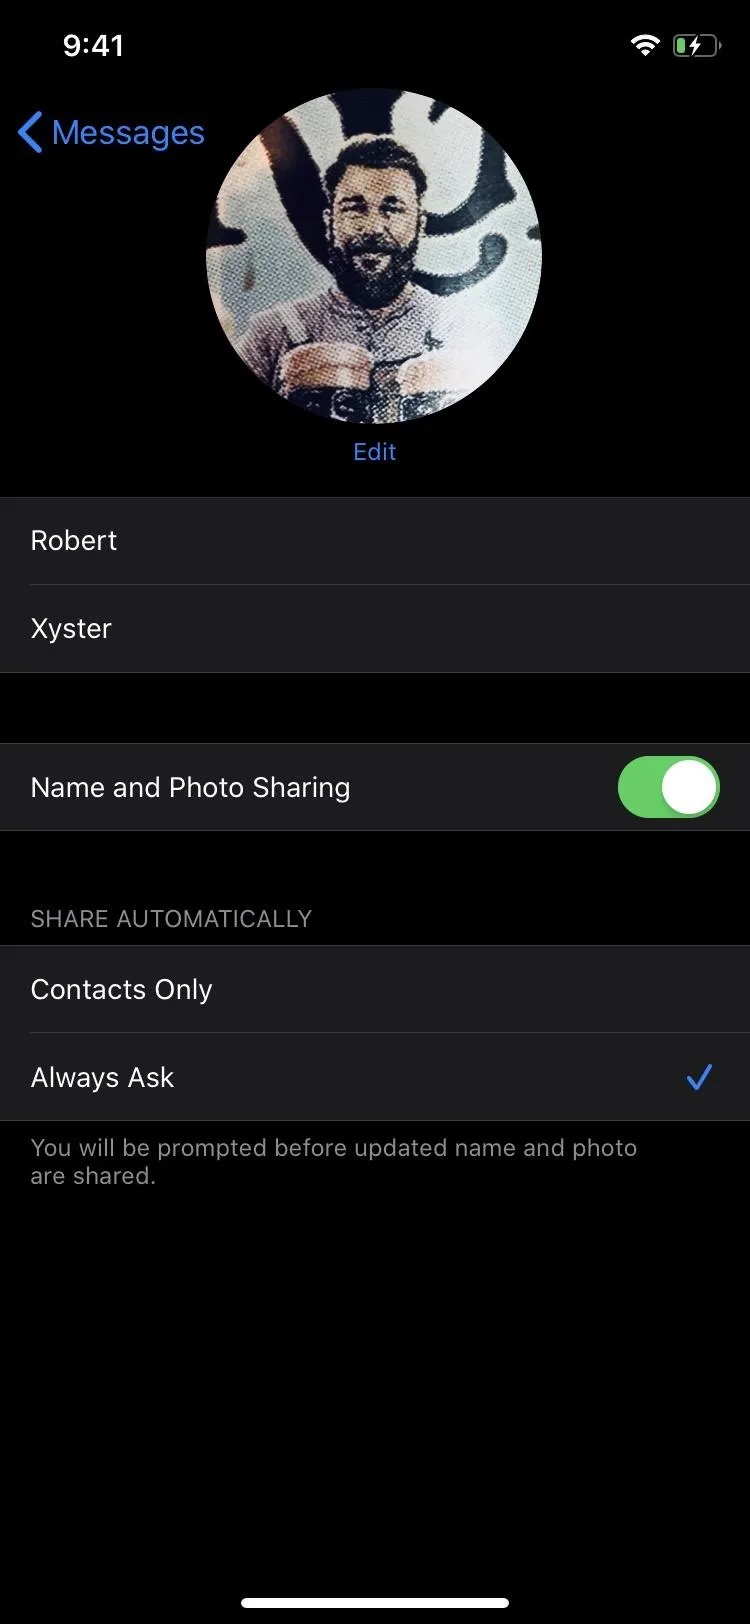
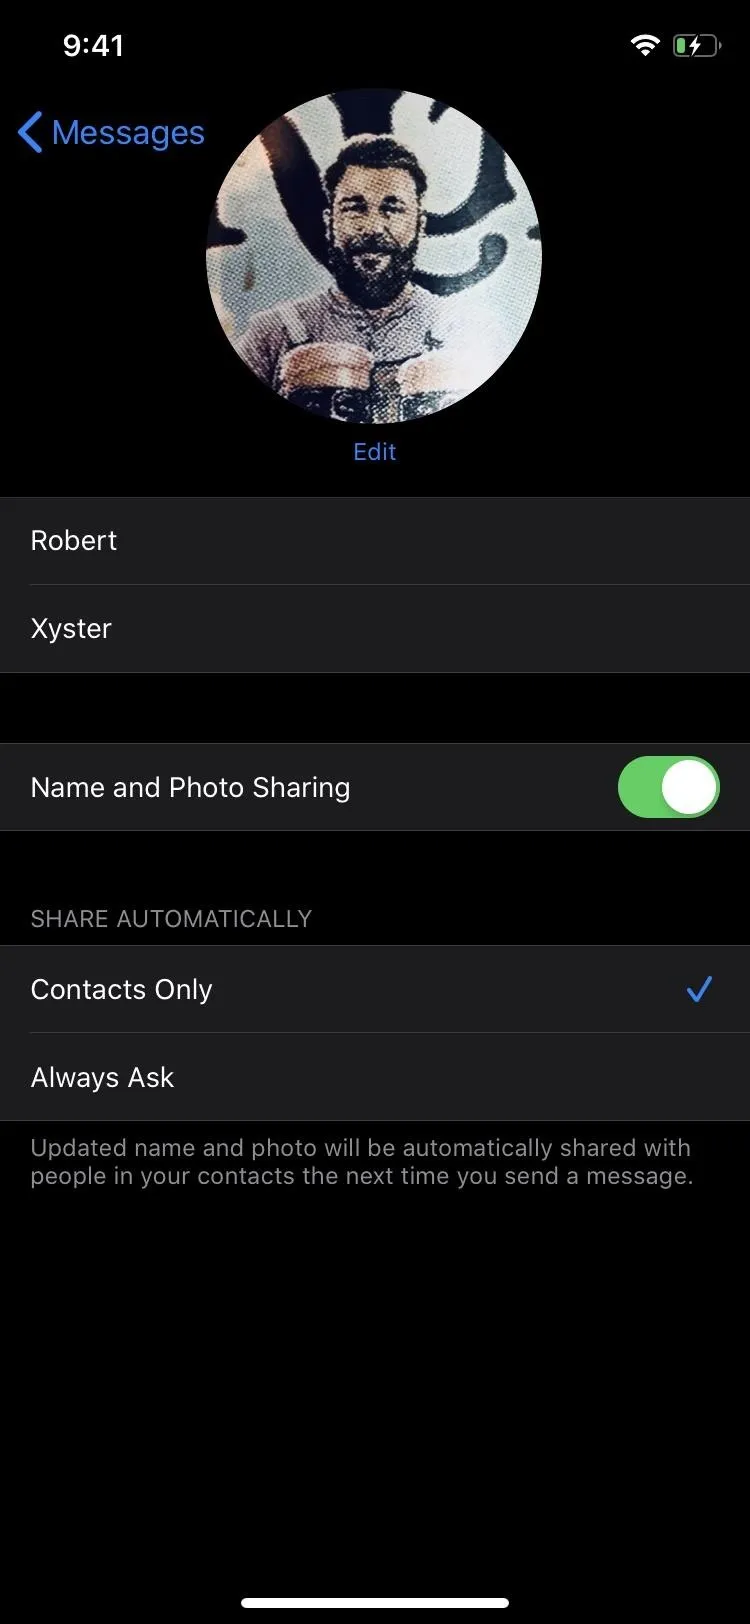


By default, "Always Ask" is selected to maximize your privacy, which will display a permissions prompt within each conversation's thread, where you can choose "Share" or hit the (x) to keep it hidden. If you select "Contacts Only" on the other hand, your profile will be automatically shared with anyone in your Contacts list. Once you've decided, simply hit "Done" to exit the settings and save your changes.

Cover image, screenshots, and GIFs by Amboy Manalo/Gadget Hacks


Comments
Be the first, drop a comment!