The shortest distance between two points is a straight line, but the shortest way to launch an app on an iPhone can be a much more complicated process.
While Android users can practically drown themselves in home launchers and widgets for quick-launching apps, iPhone users are stuck with scrolling through different pages until the desired app is located.
If you really, really want a cool launcher, you'd usually have to jailbreak your iPhone—but not anymore. There's a new app out for non-jailbroken devices called Push Launcher, which will actually let you launch any application right from the pull-down Notification Center.
What Push Launcher Actually Does
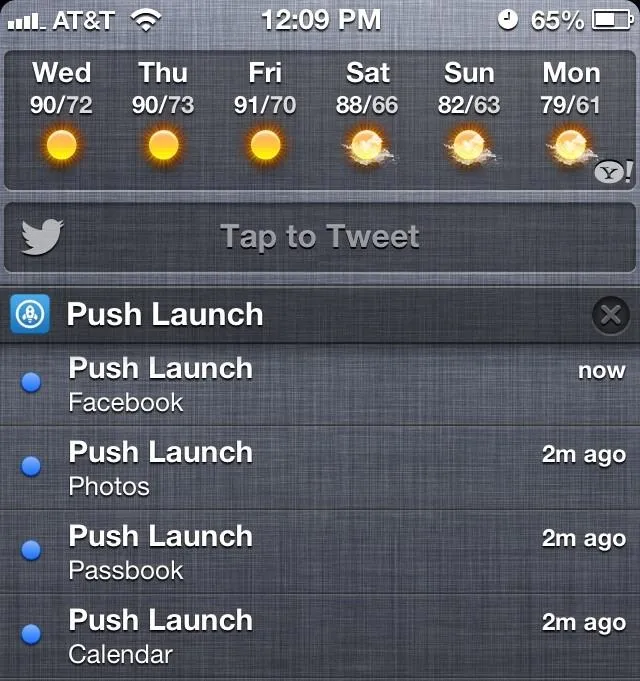
Normally, you can launch apps from the Notification Center on your iPhone, iPad, or iPod touch, but only if you receive a notification from one of those apps. What Push Launcher actually does is place a shortcut "notification" in there that never gets dismissed, so you have immediate access to your favorite apps all the time.
If you do want the shortcuts to disappear, simply clear out Push Launcher and they'll all disappear, just like when you clear out other apps in the Notification Center.
After You Install Push Launcher
After you first install Push Launcher, you'll need to open it up and get a feel for how it works with its mini-tutorial, which I'll go into more detail below.


Adding Applications as Shortcuts
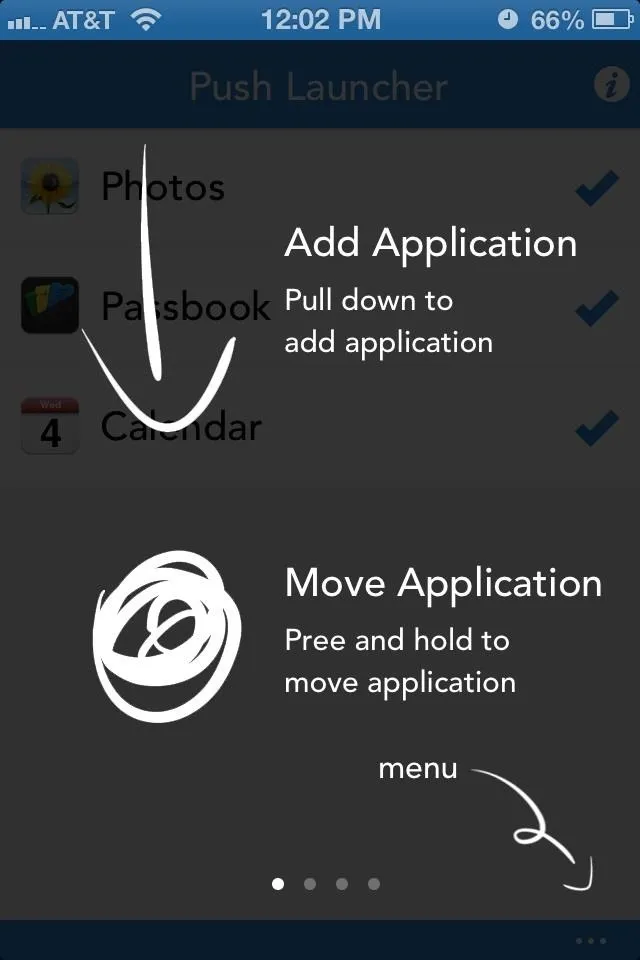
To start, Photos, Passbook, and Calendar are already added to your Push Launcher list as defaults. In order to add another application to the Notification Center list, you'll need to add it to the Push Launcher list.
From the Push Launcher home, pull down on the list to add apps. You'll then be prompted to enter in the app name and the URL scheme, or choose from a screenshot.
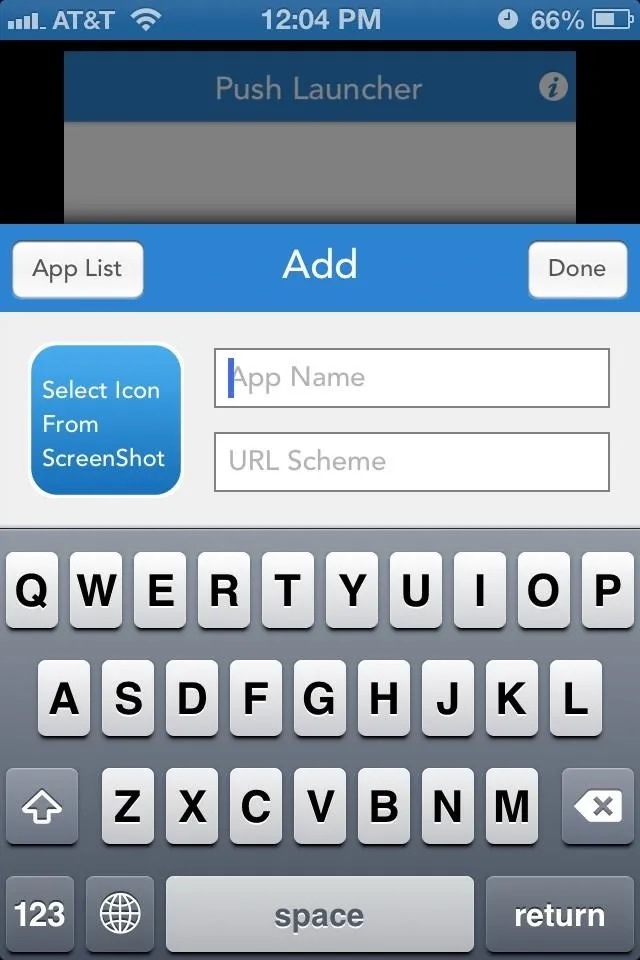
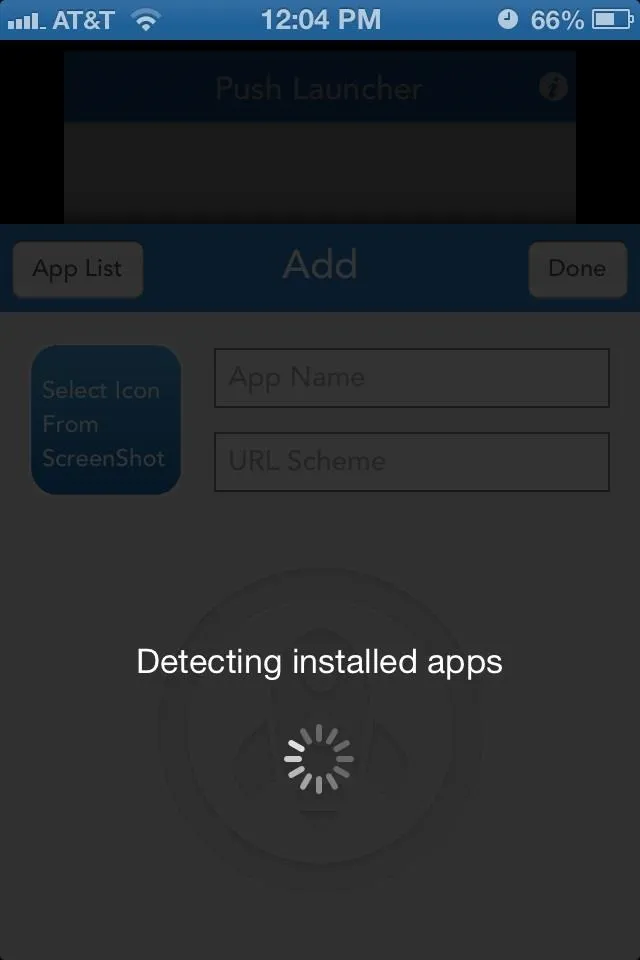


However, that method can be confusing. The easiest way is to tap on the App List button and allow Push Launcher to search for all of your installed apps. Once it's done detecting your apps, they'll be available in a list.
From here you can select your application. It will appear alongside the default applications (Photos, Passbook, and Calendar).
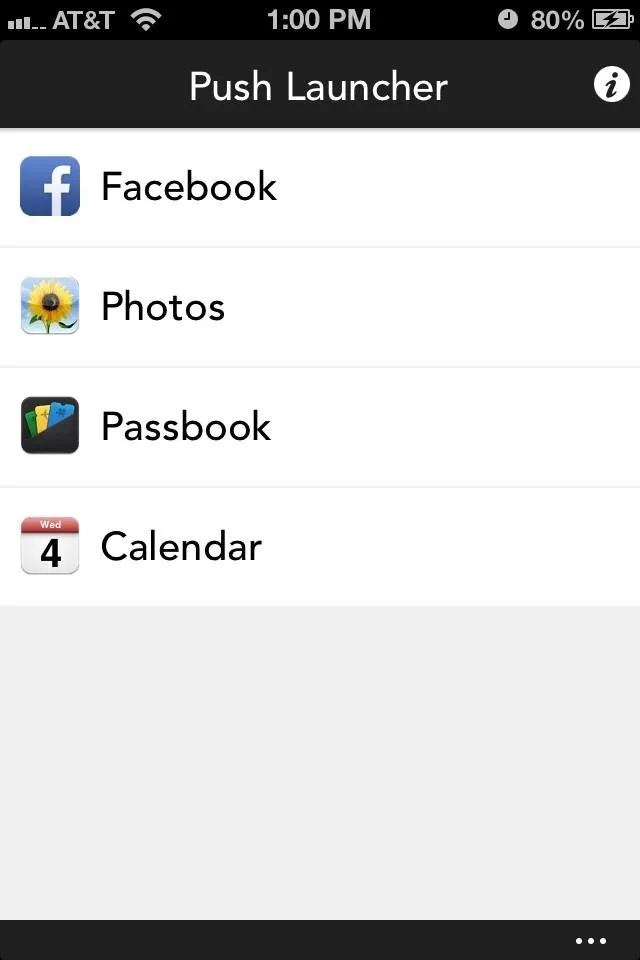
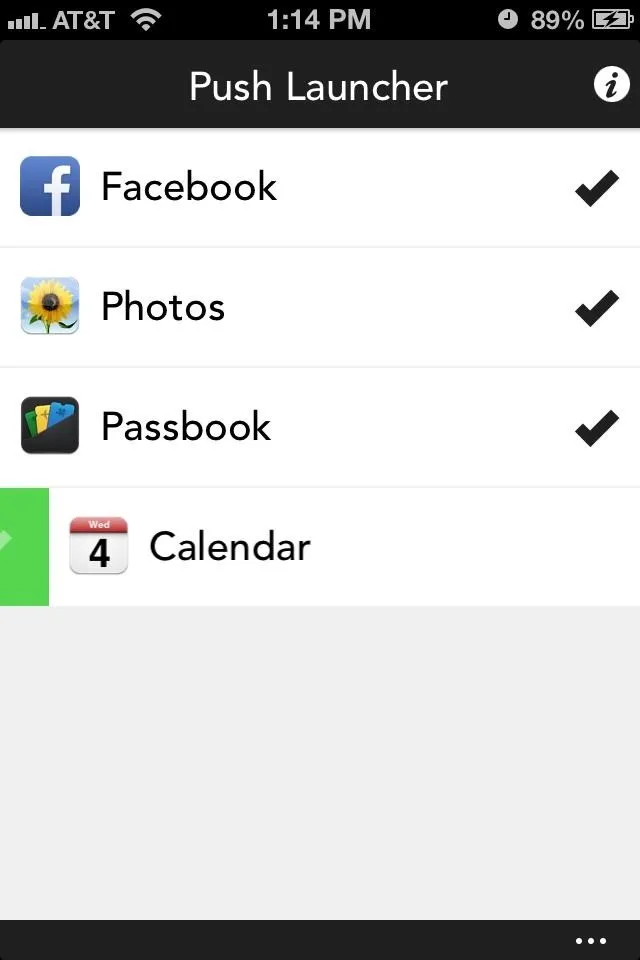


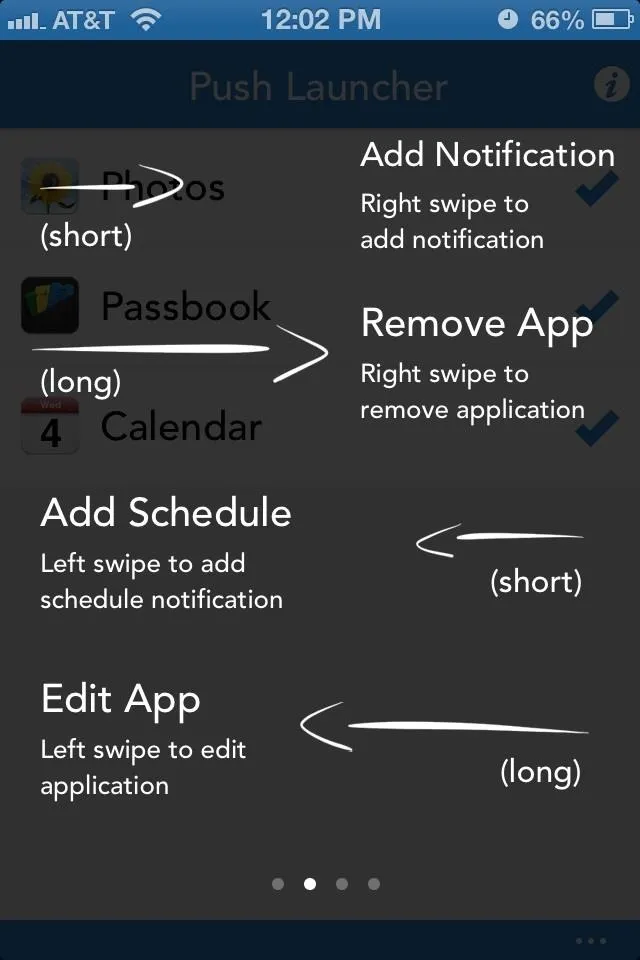
Next, you will slide the app to the right until a green check mark appears. Release and a blue or black check mark should appear to the right. This means that the app will now show up and stay in your Notification Center.
Removing Shortcuts from the Notification Center
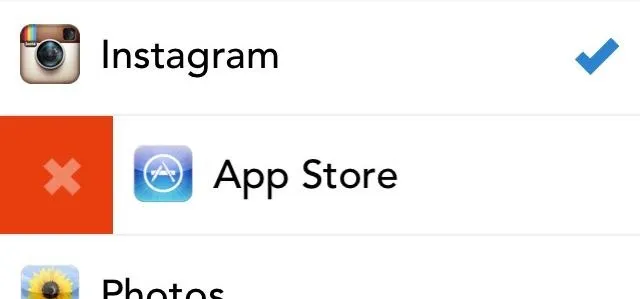
Again, if you want all of the shortcuts to disappear, you would clear Push Launcher like you would any other app in the Notification Center, but if you want to get rid of individual apps in your Push Launcher list, on the Push Launcher home, simply swipe the app all the way to the right until you see the red X appear, then release.
Scheduling Applications in the Notification Center
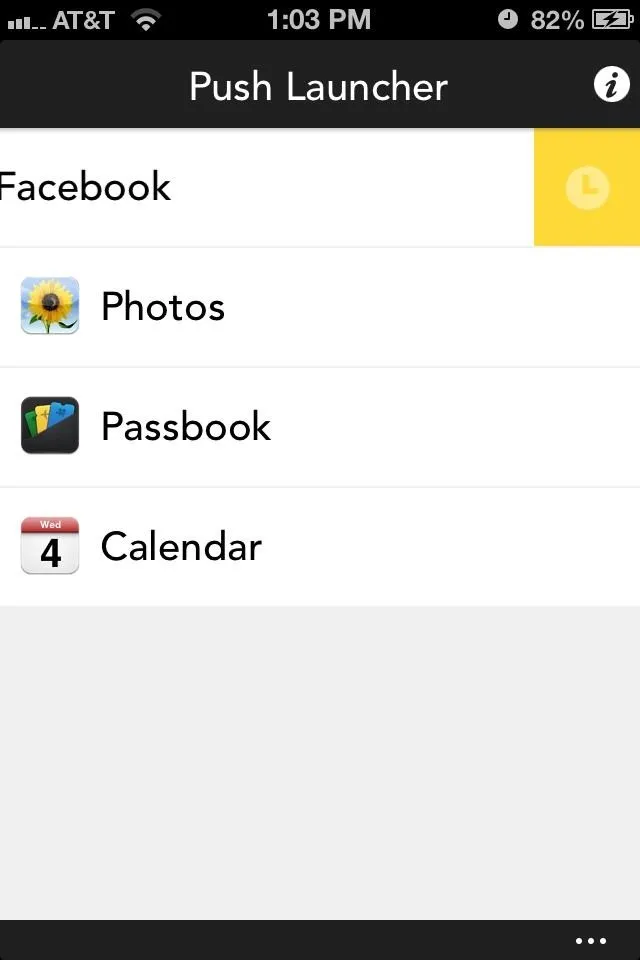
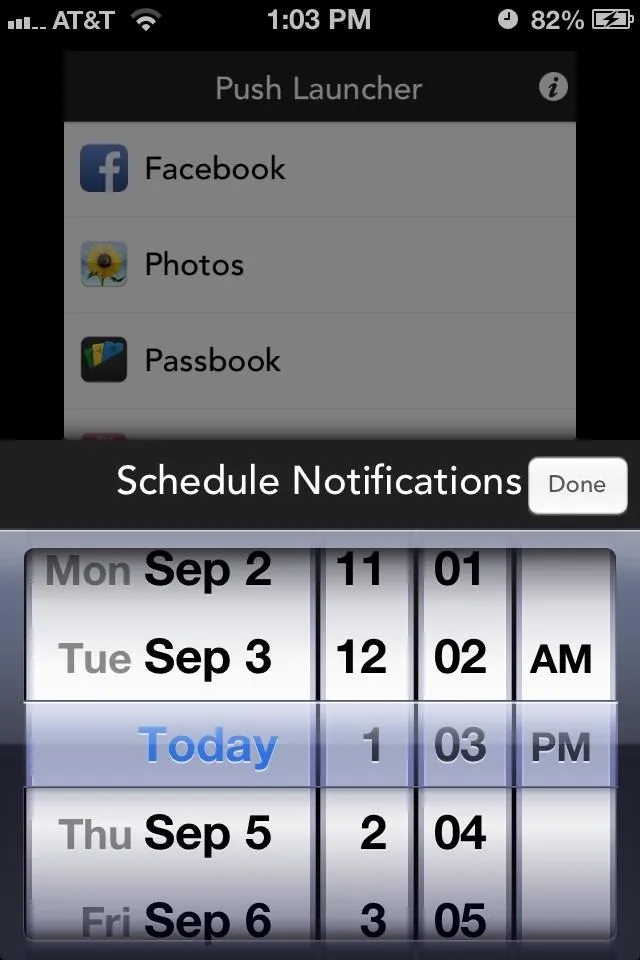
You can also schedule an application to appear in your notifications at a specific time. If you want to use Facebook at 5:00 PM, then you can schedule it in Push Launcher by sliding to the left until the yellow clock icon appear. Release and then schedule your time.


Accessing Push Launcher's Preferences
Push Launcher has a Preferences menu, which you can access by clicking the ellipsis (three small dots) in the bottom right-hand corner.
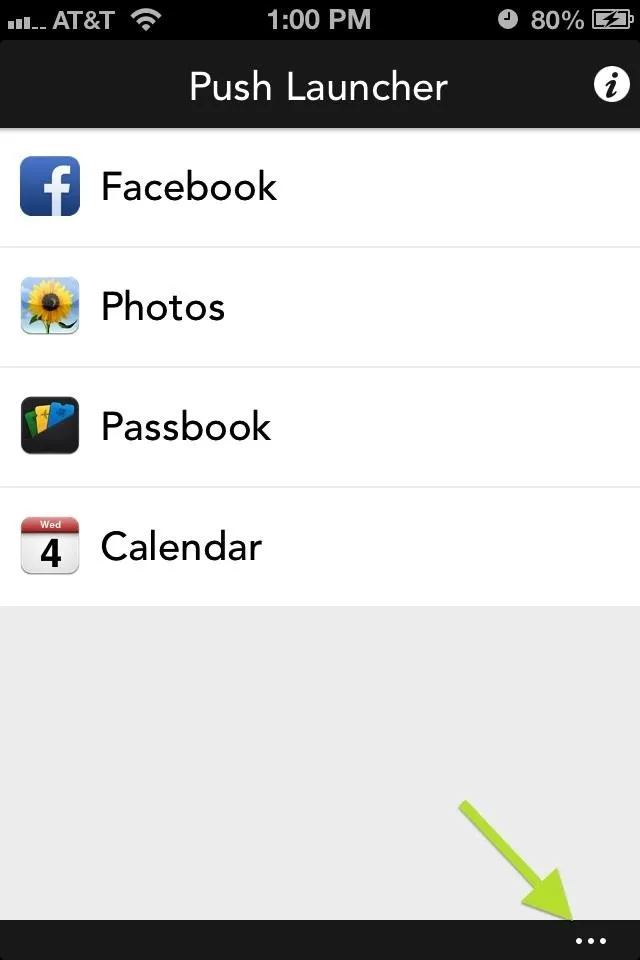
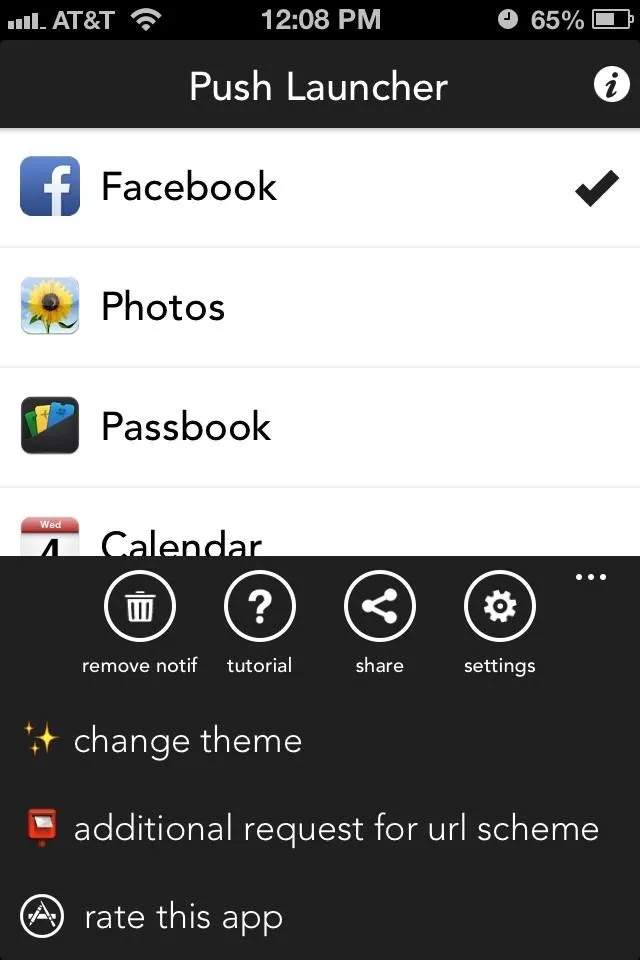


From here, you can change the theme from blue to black in the Settings and send a request for URL schemes if your app is not present. You can also remove all notifications for a fresh start.
Place Push Launcher at the Top of Your Notifications
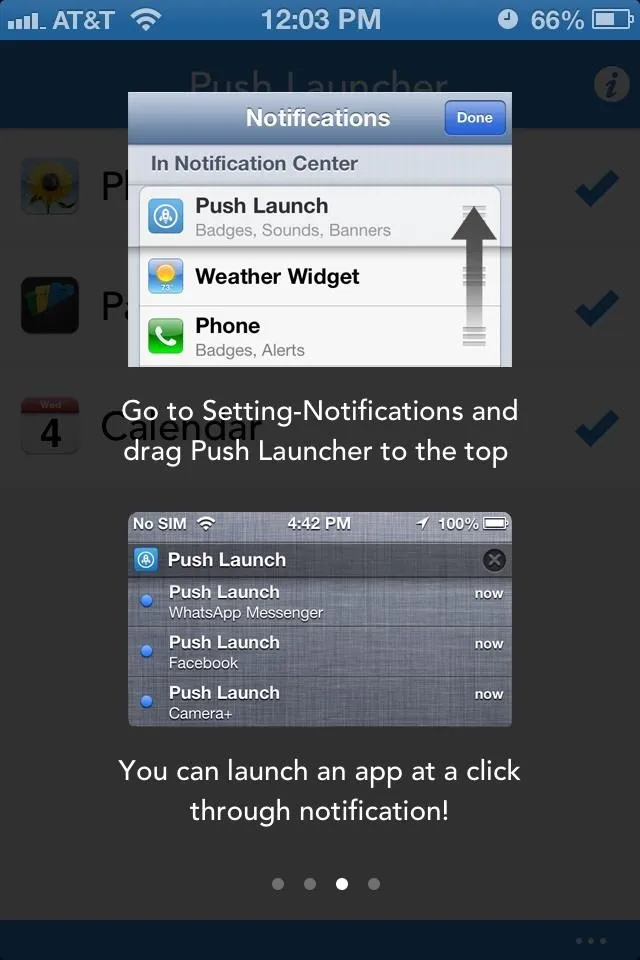
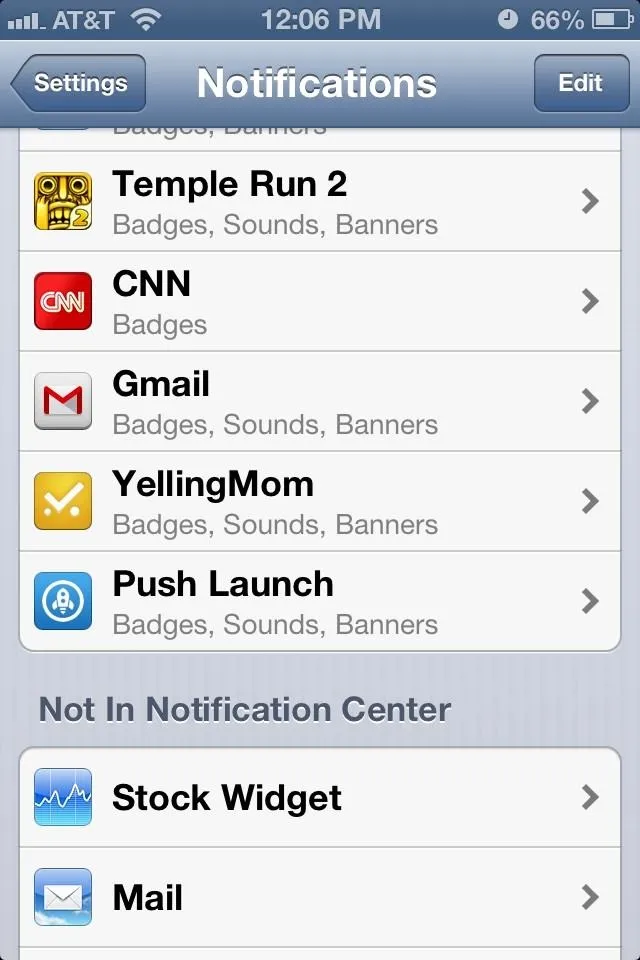
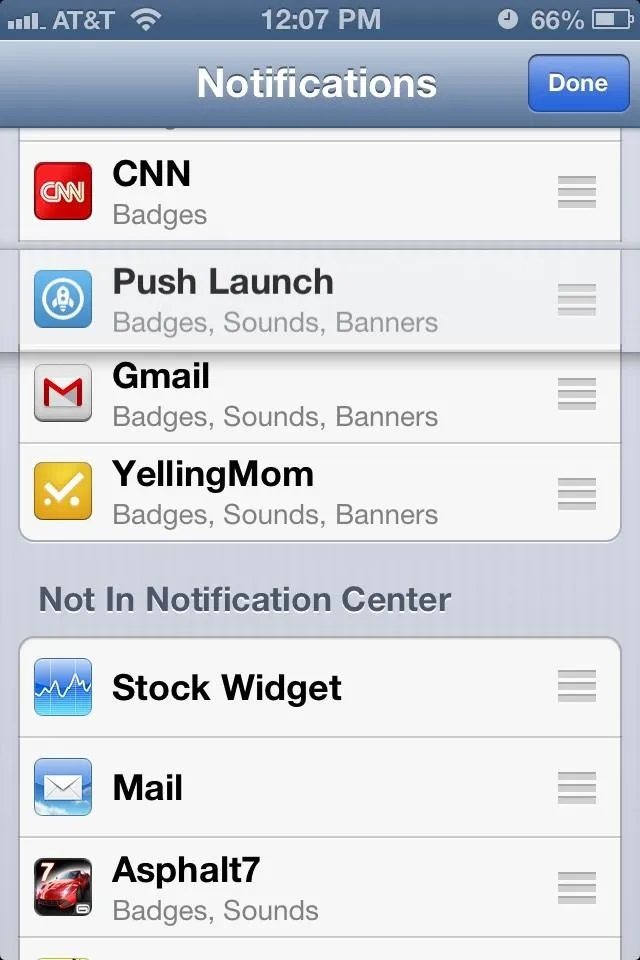
After installing Push Launcher, go to Notifications in your iPhone's Settings and make sure to move Push Launch up to the top position in the Notifications option in your Settings. This will keep Push Launcher's notification at the top in the Notification Center. Hit edit and drag it to the top.


Removing Home & Lock Screen Alerts
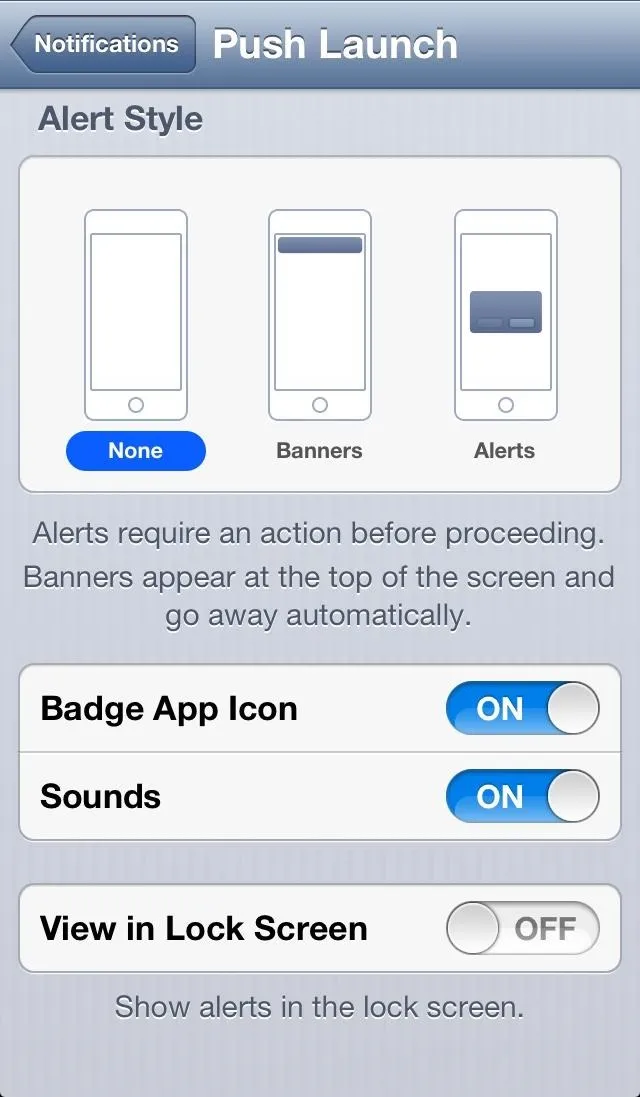
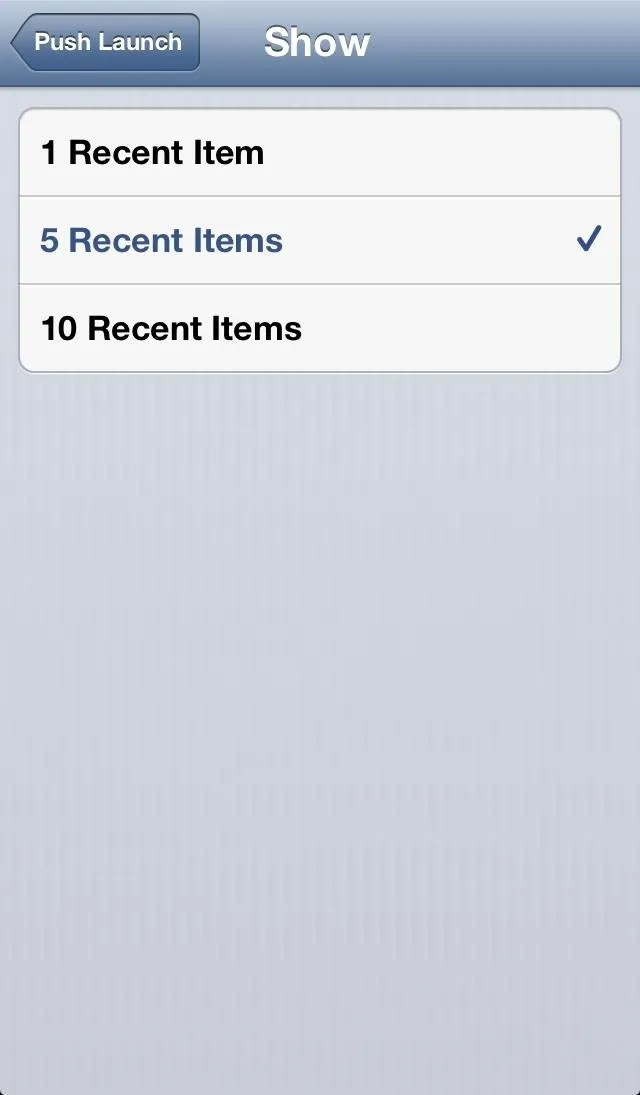
You will inevitably receive a push notification to your lock screen after adding new app shortcuts, but you can dismiss these by heading to Notifications in your iPhone's Settings and selecting Push Launcher. Once there, select None for your Alert Style and turn View in Lock Screen to OFF. From this menu, you can also change the amount of shortcuts you can view in the Notification Center by selecting Show and choosing either 1, 5, or 10.


So far, Push Launcher has worked great for me. The only problem I saw is that when adding a new app, there's no way to exit the Add menu if you change your mind, meaning you have to add an app, but that's a small nitpick.
Push Launcher is currently free in the iOS App Store, but is supposed to go back to being a paid app ($0.99) after 9/6, so make sure to get it for free while you can.
Questions or issues? Let us know in the comments section.


Comments
Be the first, drop a comment!