


You saw our post on the 18 coolest new features of iOS 7, but now that you've had a chance to play around with your updated iPhone, it's time to lock it down.
There are a surprising number of new privacy and security-related issues in iOS 7's default settings, from allowing Apple to track and store every location you visit, to saving your credit card numbers in Safari. There's even a new, and rather serious, security flaw that lets people bypass your passcode on the lock screen (update: this issue has been patched).
Fortunately, there are a handful of quick settings changes you can make to protect your privacy.
In this softModder guide, I'll show you everything you need to know about keeping your iPhone safe and secure in iOS 7. Some of these features appeared in previous versions of Apple's mobile operating system, but they're all things every iPhone owner needs to know.
The New Permissions in iOS 7
#1: Disable Apps from Accessing Your Mic
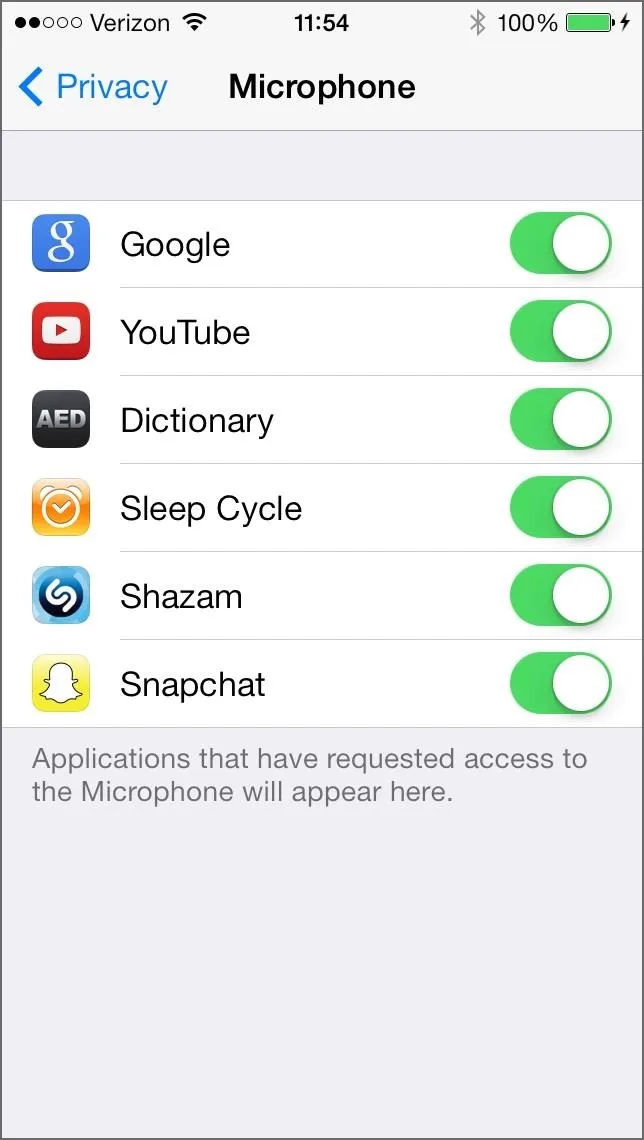
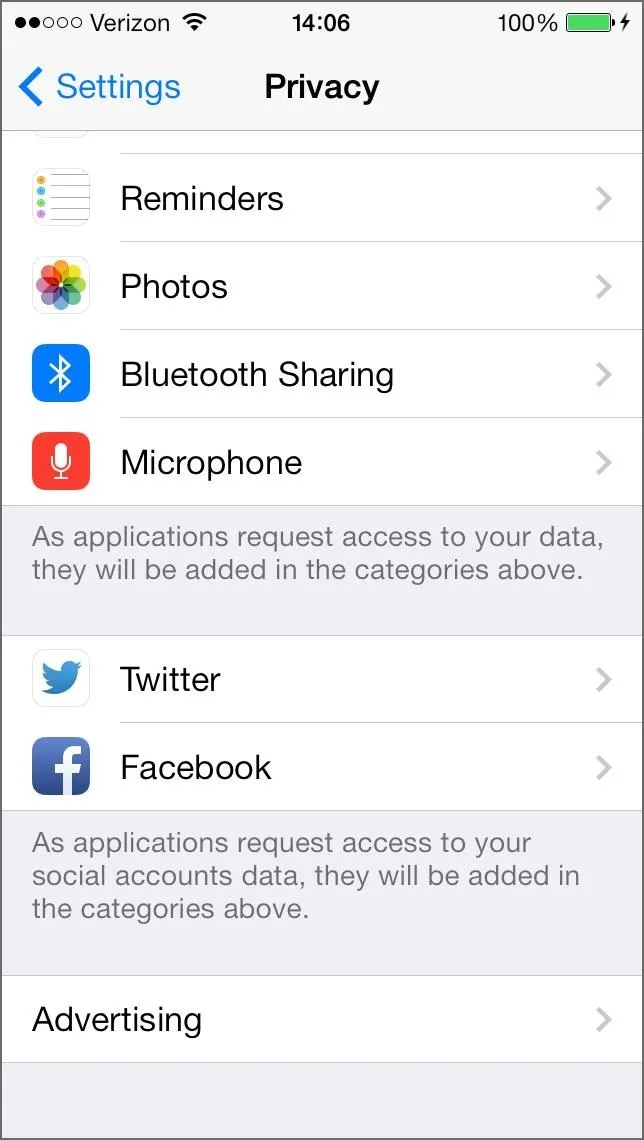
After installing iOS 7, a bunch of your apps will start asking for your permission to access the microphone. For the most part, this is no big deal, especially since they had access to your mic before.
If you think the world is out to spy on you, you can revoke access.
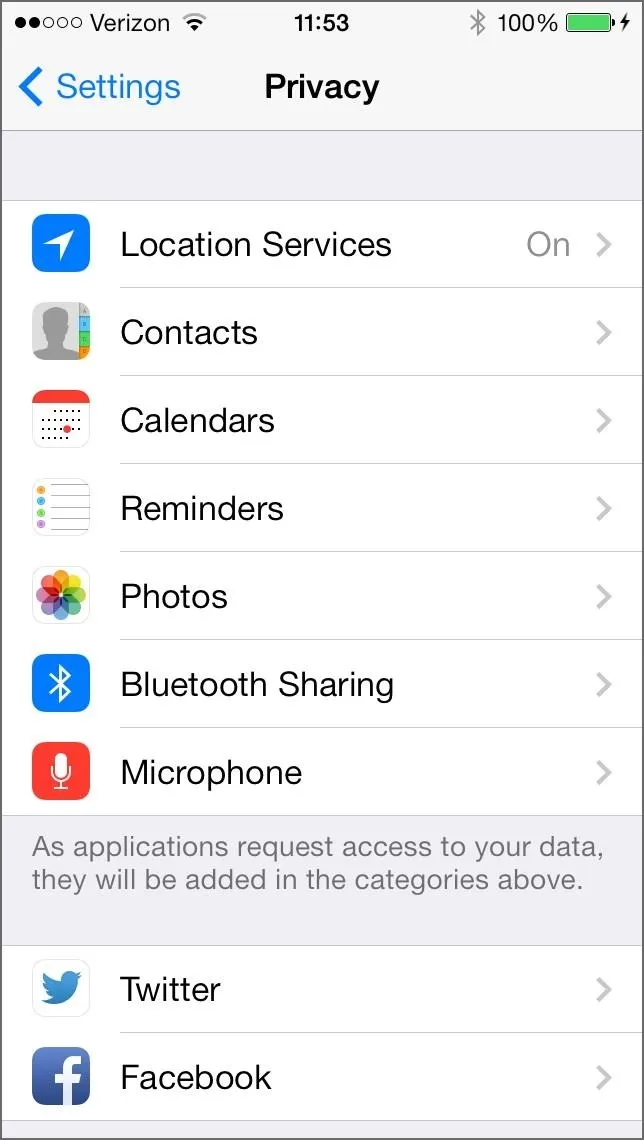
To see which apps have access to your mic, go to Settings -> Privacy -> Microphone. From here, you can turn off mic access to any app you want, but apps like Shazam will be worthless without it—so choose wisely.
Dealing with Lost or Stolen iPhones
#2: Enable "Find My iPhone"
If you're smart, you'll enable Find My iPhone, so if you ever lose your device, you can put it in lost mode or erase the contents on the device from iCloud.
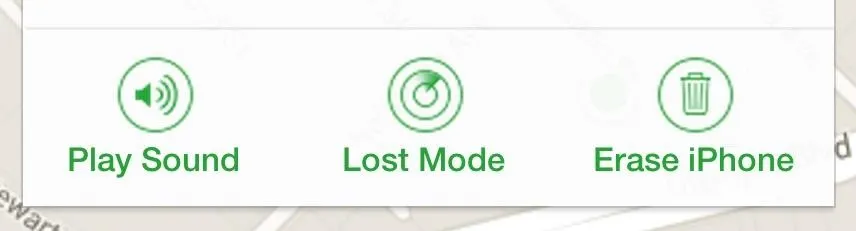
Plus, there's the handy little play sound feature, in case it's just lurking beneath your couch somewhere. To make sure it's enabled, go to Settings -> iCloud and make sure you're signed in. Then, make sure Find My iPhone is turned on.

Now if your phone is ever stolen, you can track its location by logging into iCloud.com with your AppleID.
#3: Prevent Thieves from Erasing or Activating Your iPhone
It's even more important to enable Find My iPhone in the new iOS 7, because Apple has included a password-entry requirement before anyone can erase or activate your iPhone. Plus, if you do a remote wipe, thieves won't be able to reactivate it without your password.
You also won't be able to disable Find My iPhone without logging in (a blindingly stupid omission from the previous version of iOS).


Using Safari to Browse Safer
#4: Disable Passwords & Credit Card AutoFill in Safari
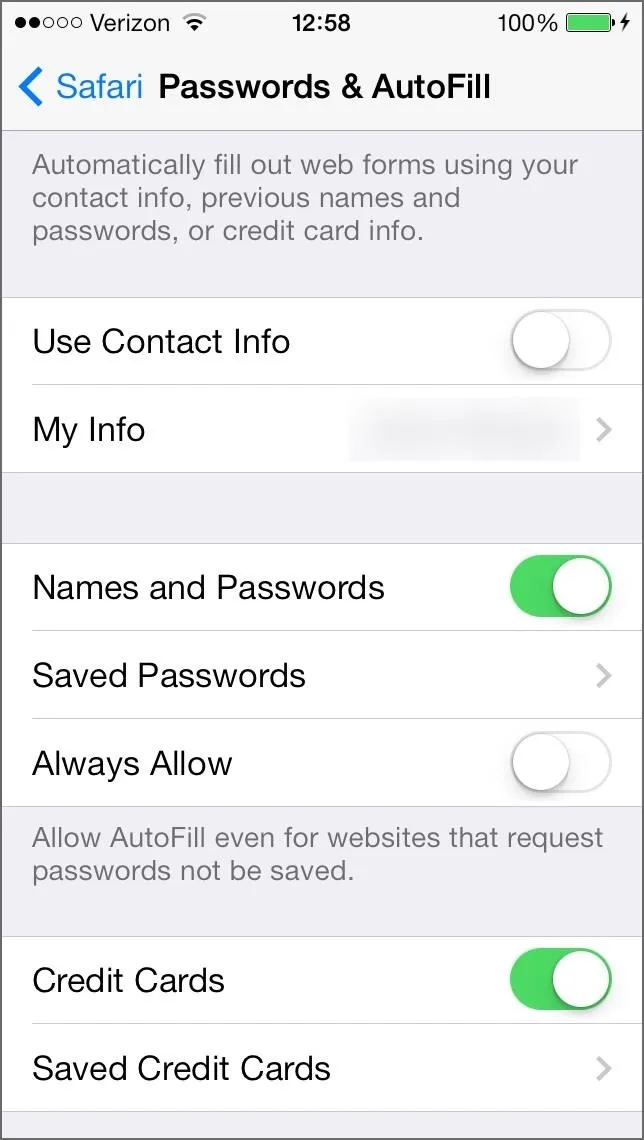
The newest Safari app in iOS 7 will let you save your name, address, usernames, passwords, and even credit card numbers to auto-fill when requested by a website form. Obviously, this could be scary, especially if you disabled the passcode on your lock screen.
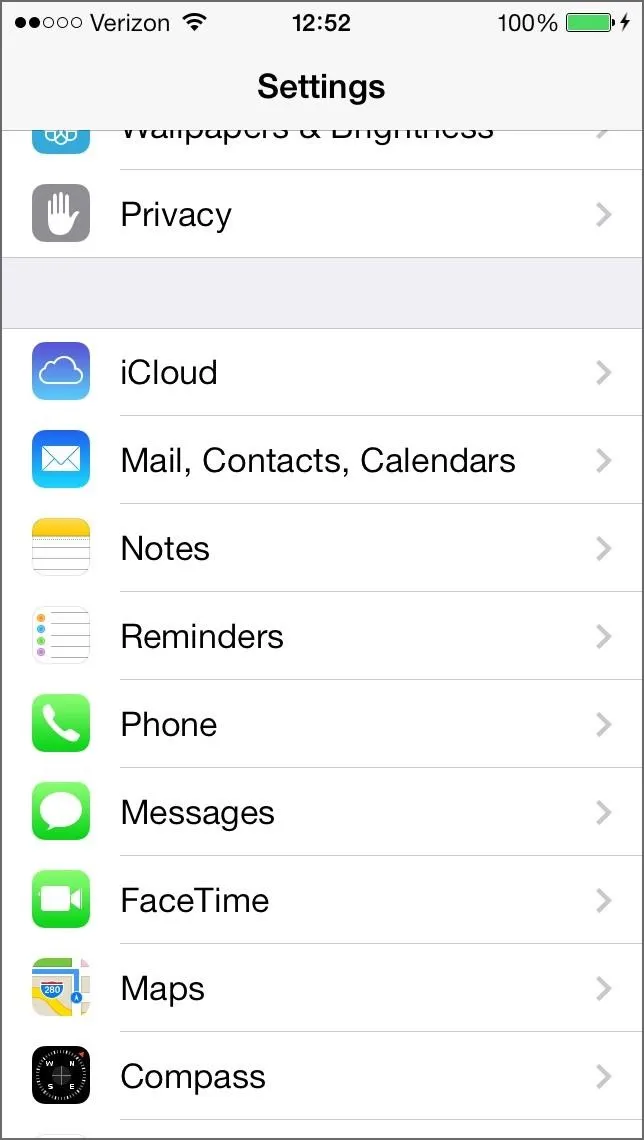
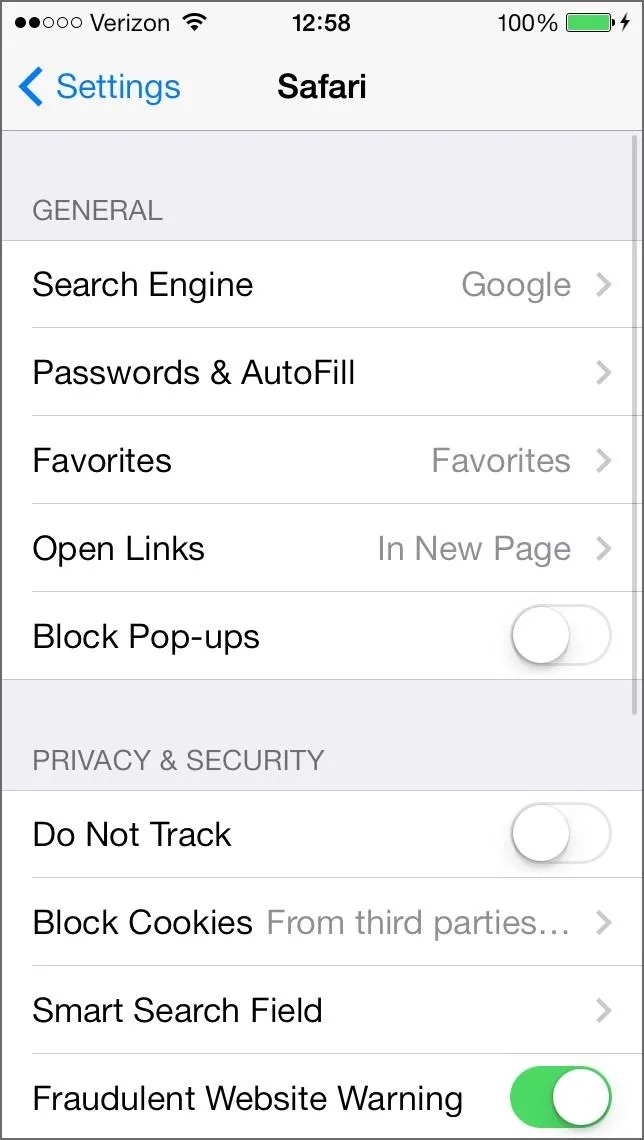
To disable these options, just go to Settings -> Safari and disable everything—Use Contact Info, Names and Passwords, and Credit Cards.
#5: Disable Ad-Tracking
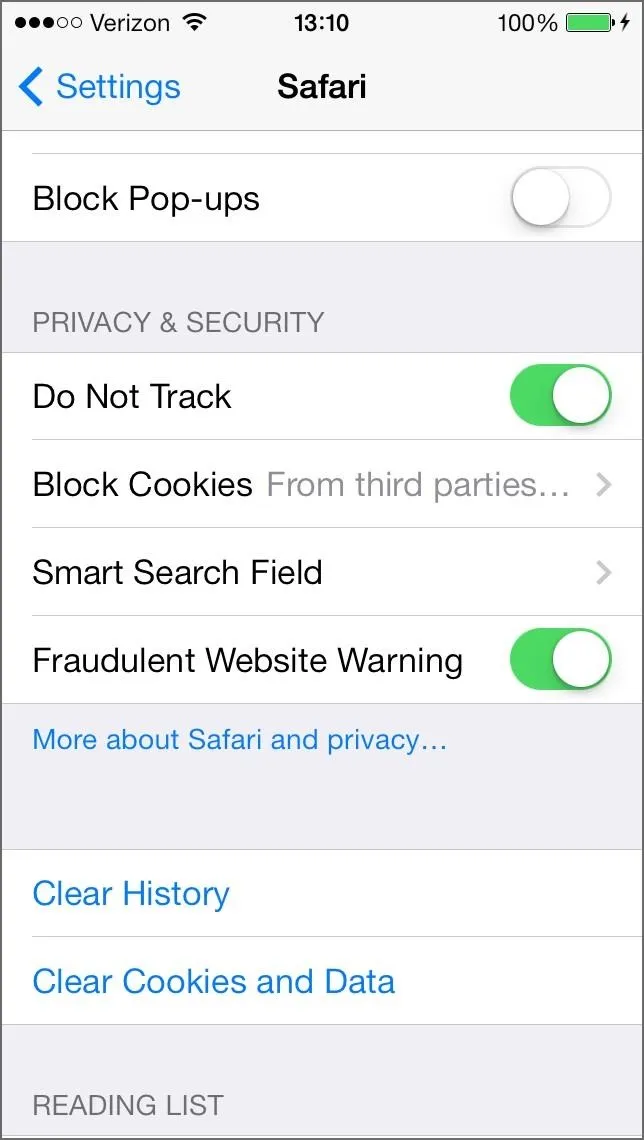
While you're in the Safari settings, you might as well tweak a few more things. If you don't like the idea of advertisers tracking your every move on the internet, it's wise to turn on Do Not Track.

Now, webpage requests will include a flag requesting websites and third-party advertisers not to track you (though they can choose to ignore the request, as it doesn't technically prevent anything).
#6: Block Websites from Storing Cookies on Your Device
If you don't need websites to remember your login status, make sure to switch Block Cookies to Always to prevent websites from storing information on your device, including your name, email, and preferences.

Just be warned that Always disabling cookies will also prevent websites you trust from remembering your preferences or logged-in status.
#7: Turn on the Fraudulent Website Warning
To prevent you from identity theft, Apple has a nice feature in the Safari settings that you should turn on called Fraudulent Website Warning. With this on, Safari will display a warning whenever you try to open a website that is suspected of phishing.

Just be warned that this feature will send every URL you request to Apple's servers for them to check it against their phishing sites database, so if you'd rather not share that info, you'll want to keep this one switched off.
#8: Use Private Browsing Mode in Safari
If you're worried about your browsing history coming back to bite you in the ass, Safari now gives the option to browse in Private mode.
To do so, just open up Safari, tap on the tabs icon, and select Private. Then you can choose to keep all of your current tabs open, or close them all and start fresh.

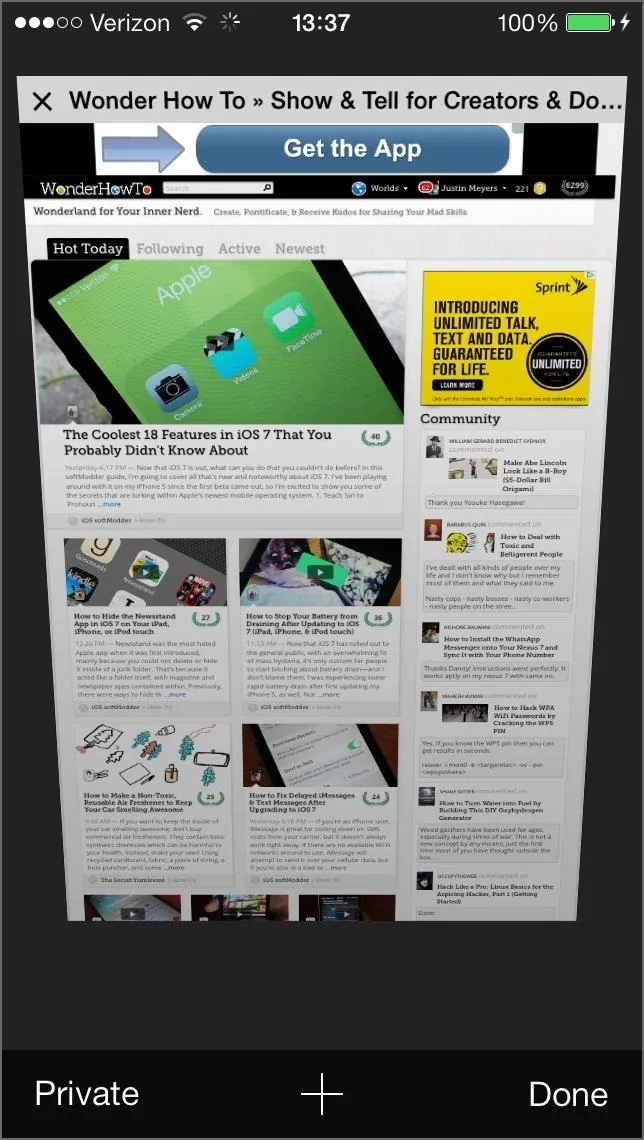
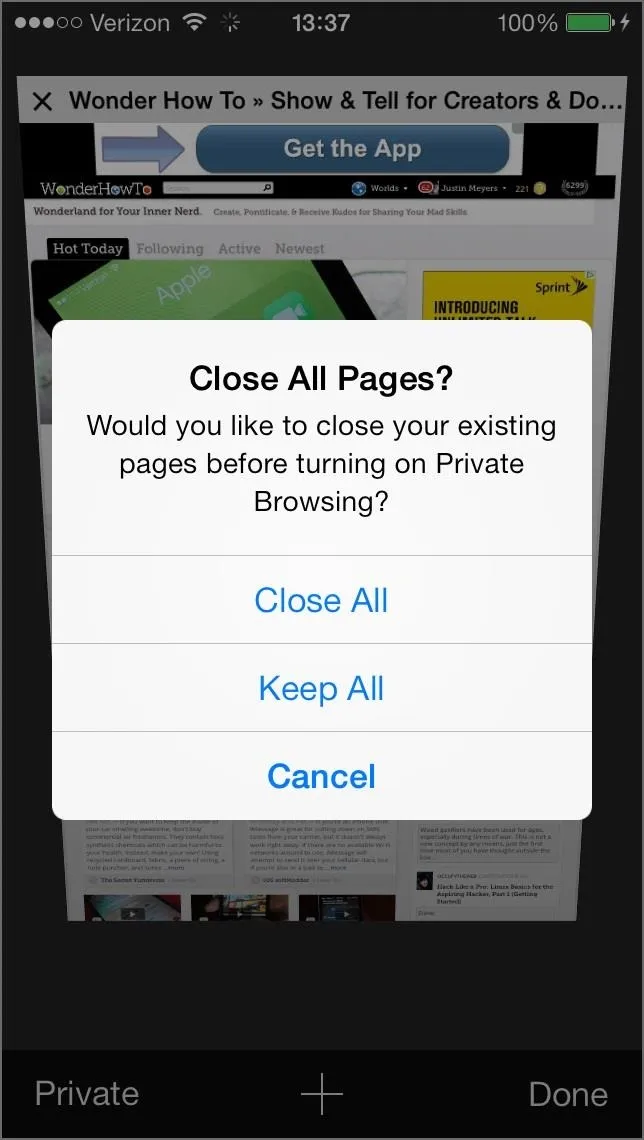
Private browsing also makes it so that Safari doesn't remember AutoFill information and won't store your tabs in iCloud. It will also ask websites and third-party advertisers not to track you, and enables cooking blocking.
#9: Clear Your History & Cookies
As with previous versions of Safari, you can still clear you history and cookies that are stored on your device. Just go to the Safari settings (in the Settings app) and clear them.

Privacy Settings
#10: Disable Frequent Locations
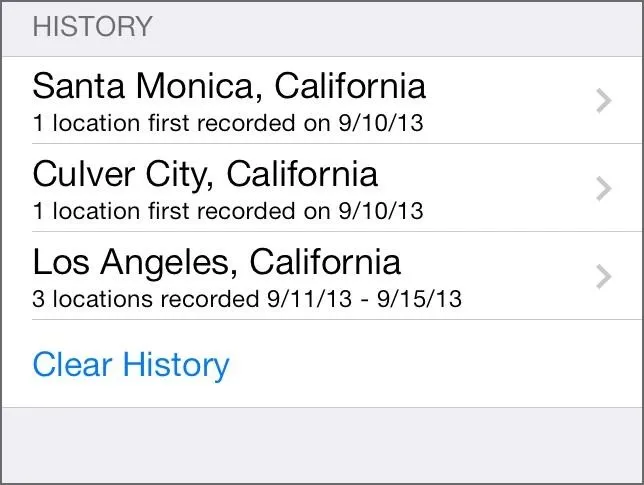
There's a new feature in iOS 7 that helps Maps remember the locations you're at the most, so that it can give you quick traffic information for frequent and predictable destinations (like "work" or "home") in the "Today" tab of the Notification Center when it thinks you're likely to start heading there.
If having Apple track all of your favorite spots scares you, you can disable it by going to Settings -> Privacy -> Location Services and scroll all the way down and tap on System Services. At the bottom of this menu, select Frequent Locations and turn it off.
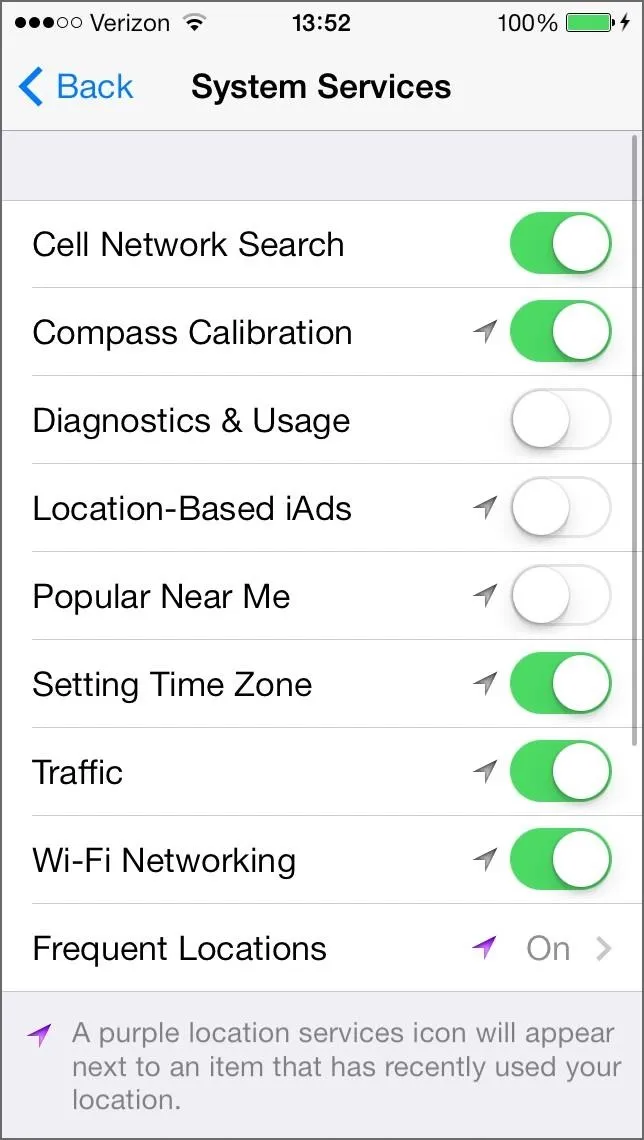

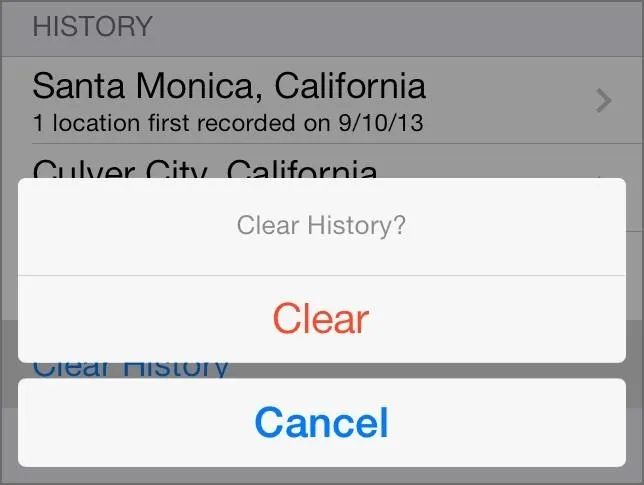
Also, keep in mind that disabling Frequent Locations does not delete the history already stored on your iPhone, so make sure to select Clear History as well.
#11: Disable Location-Based iAds
Also in the System Services menu is Location-Based iAds.

If you're not familiar with iAds, they're the ad banners that appear in third-party apps you've purchased (or downloaded for free) in the iOS App Store. When you tap on them, they show full-sized ads directly in the app.
Though disabling Location-Based iAds will not get rid of them, it will prevent them from tracking your location and providing more relevant ads.
#12: Limit Ad Tracking
Your device has a unique, non-permanent "Advertising Identifier" that apps use to serve you more targeted ads. To stop them from using your information to provide you with more targeting ads, go to Settings -> Privacy -> Advertising and turn on Limit Ad Tracking.

iAd will also opt your Apple ID out of receiving more targeted ads on all of your Apple devices. Plus, you can Reset Advertising Identifier to start fresh. As third parties will always receive this unique identifier, it's wise to reset it every so often if you don't want your app usage behavior following you around forever.
#13: Limit What Apps Have Access to Your Location
If you don't want any apps to know where you are, the best thing to do is turn off Location Services entirely. This will not stop Find My iPhone from helping you locate your device if it's lost or stolen.
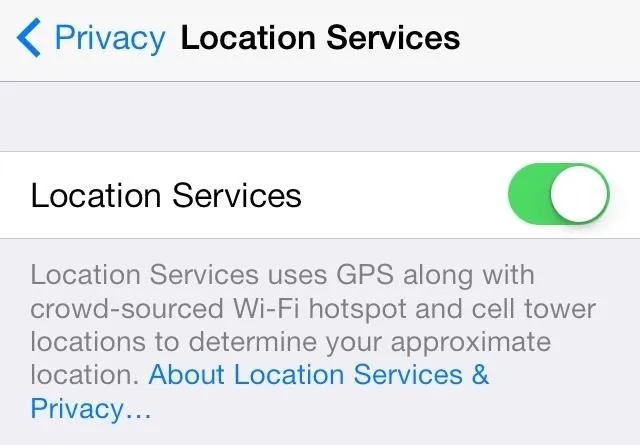
Realistically, some of these services are important or useful, so I wouldn't recommend disabling it altogether. Maps, for example, would be useless. Instead, keep it on and disable it for only the apps you want, like those that don't need your location to run properly.
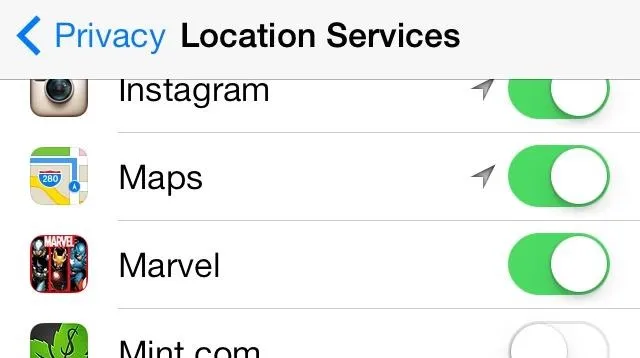
Marvel, really?
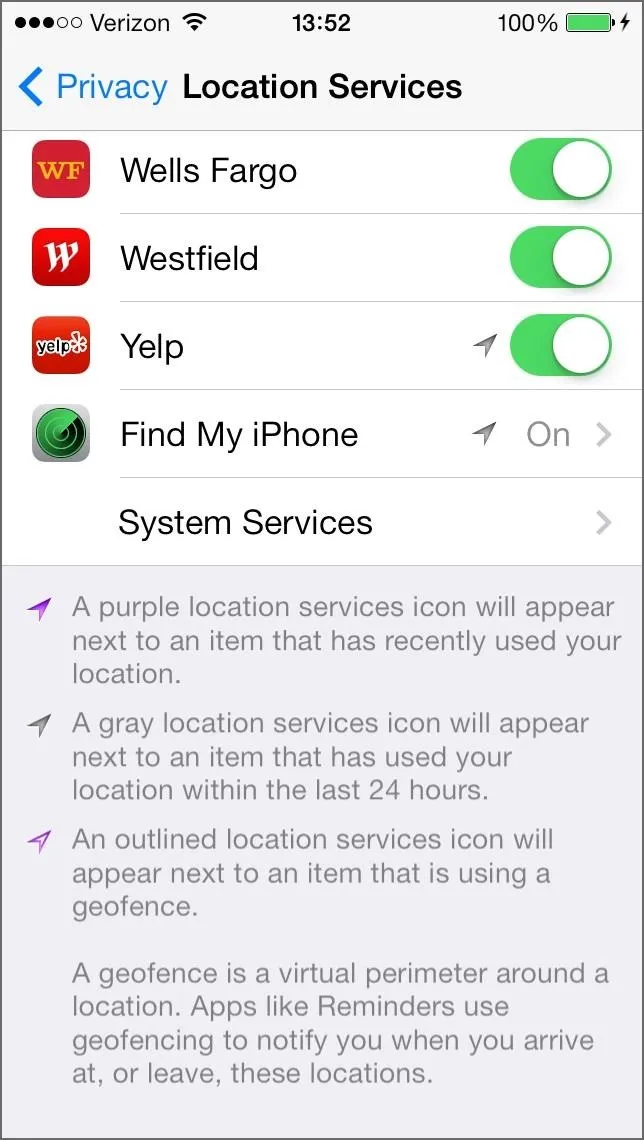
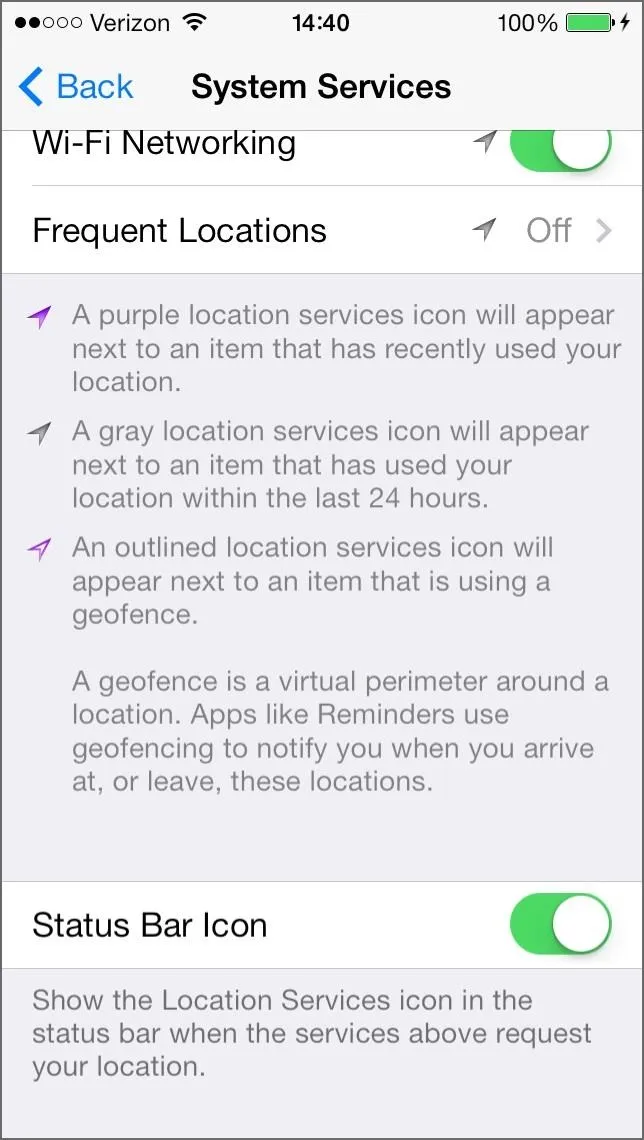
#14: Keep Tabs on Those Who Do Use Your Location
To keep updated on when an app you've allowed has requested your location, make sure to scroll down on Location Services, select System Services, and scroll down to turn on Status Bar Icon.
This will let you know exactly what's going on using either a purple (recently used), gray (used within last 24 hours), or outlined (currently using a geofence) arrow icon in your status bar.

To see exactly which apps have used your location, just go back to Locations Services and look at the icons next to the apps.
Locking Down Your Lock Screen
#15: Use a Passcode!
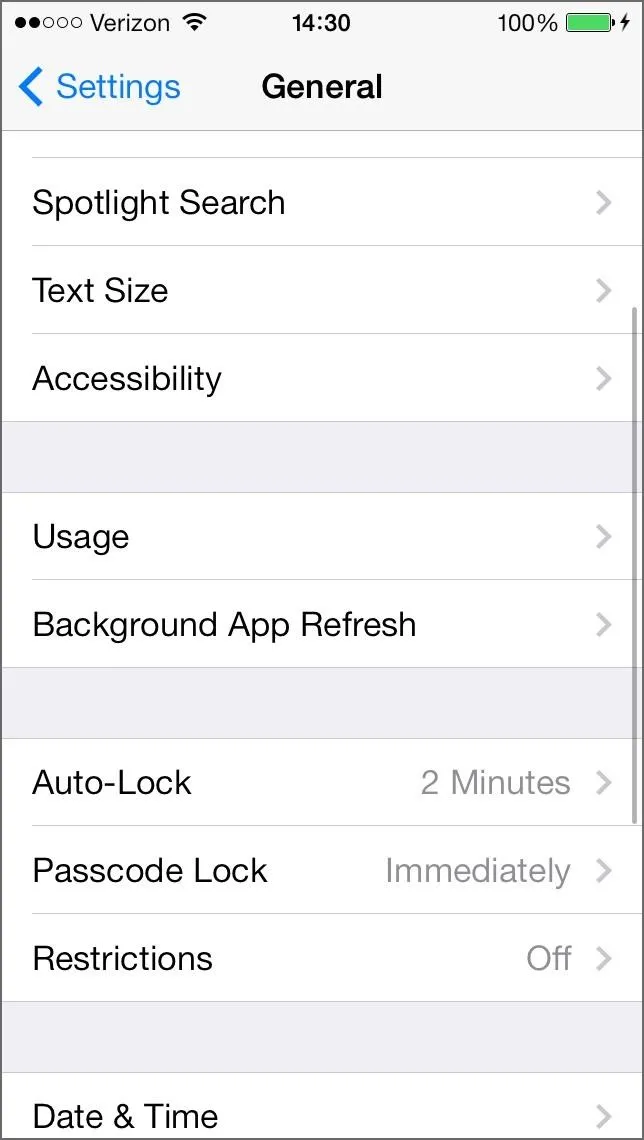
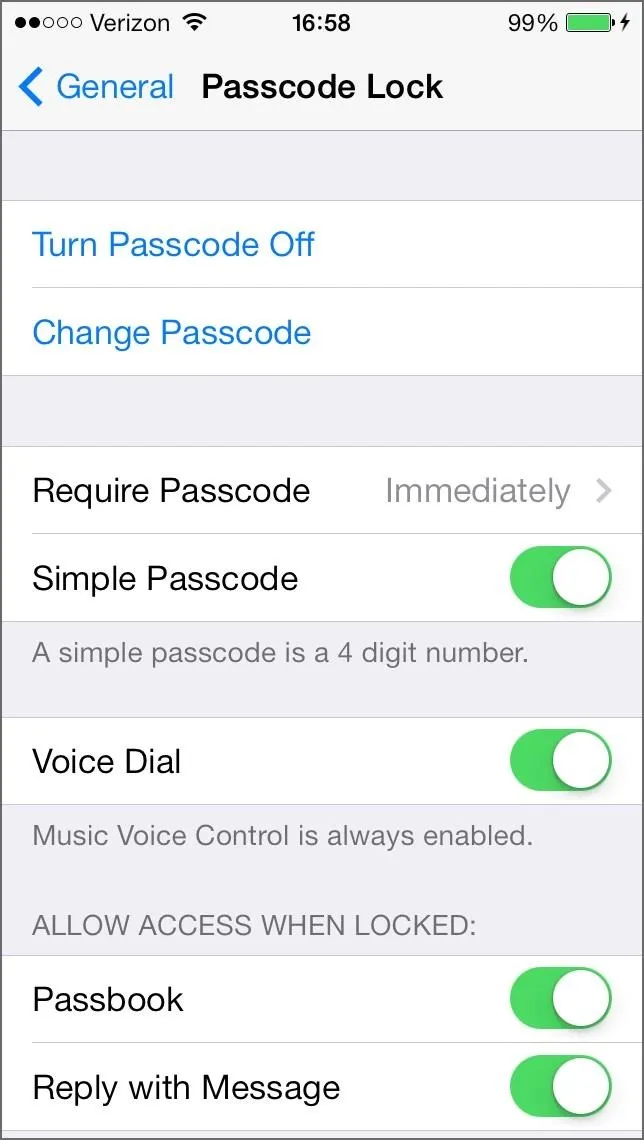
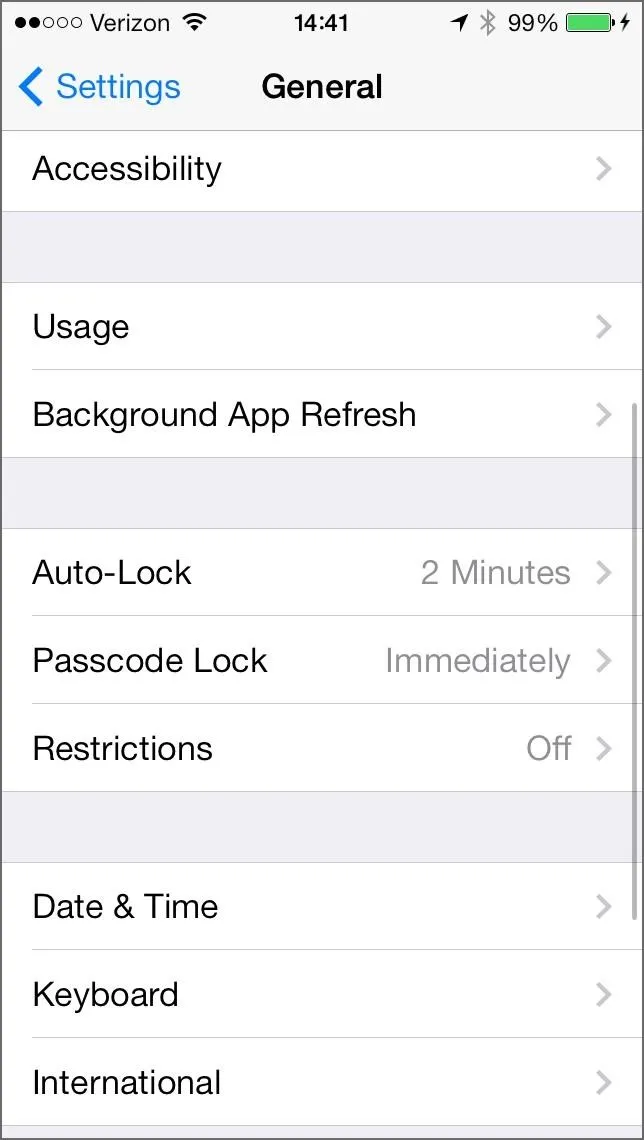
This is pretty obvious, but important nonetheless. All that I need to say here is use a passcode! You can set one up in Settings -> General -> Passcode Lock.
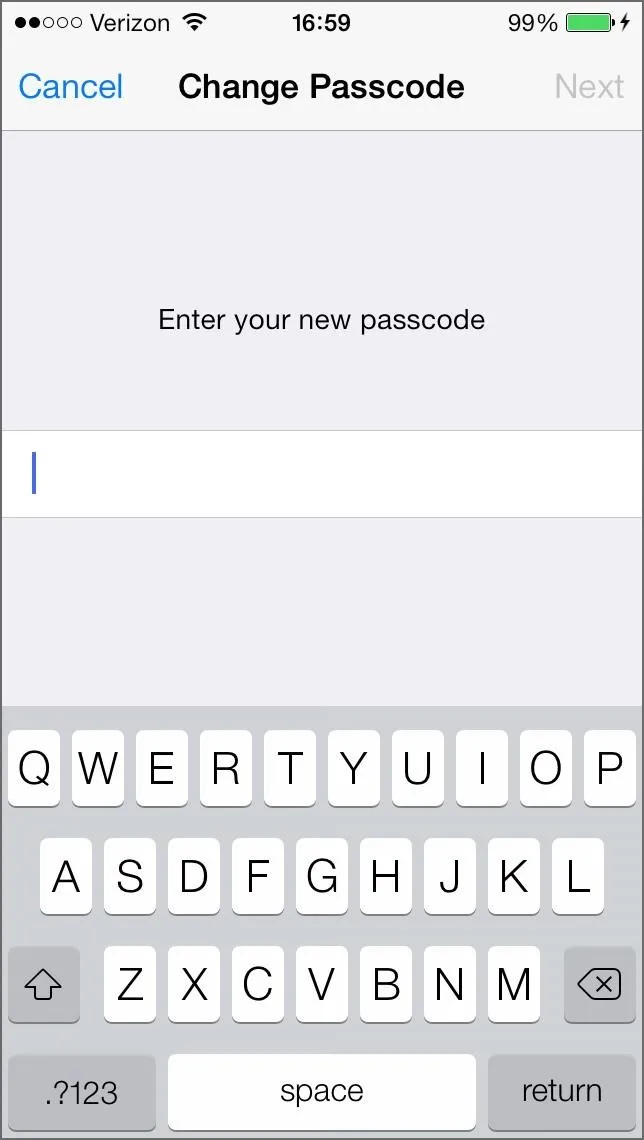
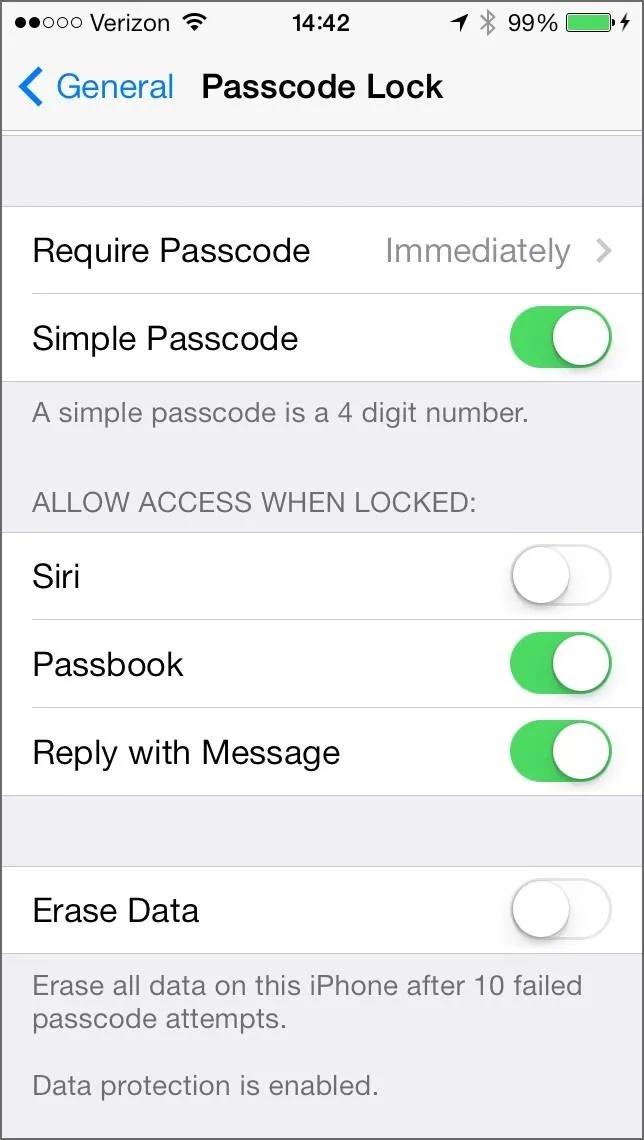
Just be warned that a four-digit code can be tediously guessed—or instantly figured out if you use one of the 20 most common PINs or 10 most used passcodes. So, if you've got any seriously private data, set up a full password (by disabling the Simple Passcode option).
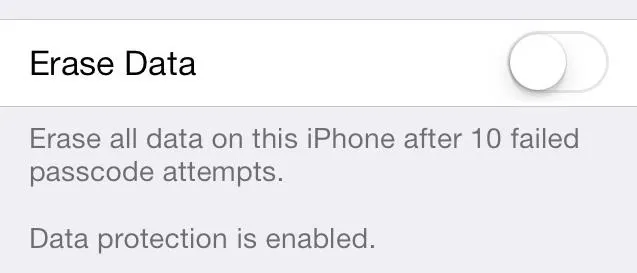
And at the very least, make sure you enable the Erase Data option, which will wipe your phone clean if someone incorrectly tries to guess your passcode 10 times in a row.
#16: Disable Notification Center
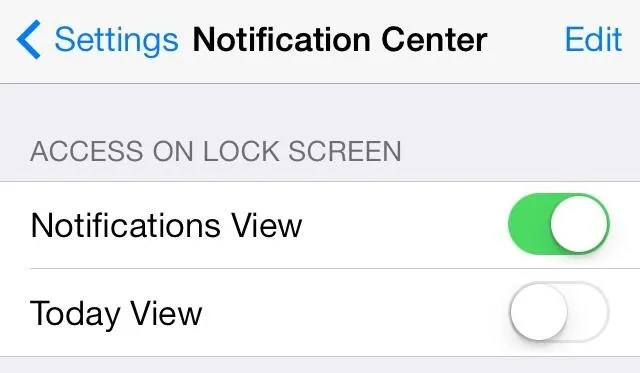
The new iOS 7 lets you view your Notification Center even when the device is locked, which might be an issue for some people who don't want others nearby to sneak a look at their calendar events for the day.
To disable the Notifications View, Today View, or both from appearing on your lock screen, go to Settings -> Notification Center and turn them off under Access on Lock Screen.
#17: Disable the Control Center
There's not much anyone can do from the Control Center on your lock screen besides take pictures and listen to your music, but there's a serious bug that allows someone to bypass your passcode using a trick in the Control Center. It's pretty difficult to perform, but we've verified it works on our iPhone 5.
To prevent this from happening, you can disable the Control Center on the lock screen by going to Settings -> Control Center and turning off Access on Lock Screen. The bug above will probably be fixed in the first update that Apple pushes out, but for now, this will keep your device safe.
UPDATE: Lock Screen Bugs Patched
Apple recently issues an iOS 7.0.2 update which fixes the issue above regarding access to recently used apps in the multitasking menu from the lock screen. This update also fixes the bug that let uses make non-emergency phone calls from the lock screen's emergency call feature.
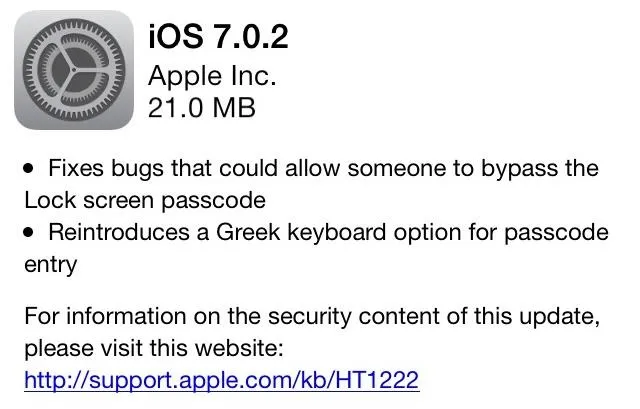
To update, go to Settings -> General -> Software Update and Download and Install it.
#18: Disable Siri
Siri is great, but sometimes she can be a b**ch. For instance, you can ask her to turn on Airplane Mode from the lock screen. Why is this an issue? Because Airplane Mode can effectively prevent Find My iPhone from locating your device if it's stolen.
If you want to disable Siri on your device entirely, just go to Settings -> General -> Siri and turn her off.

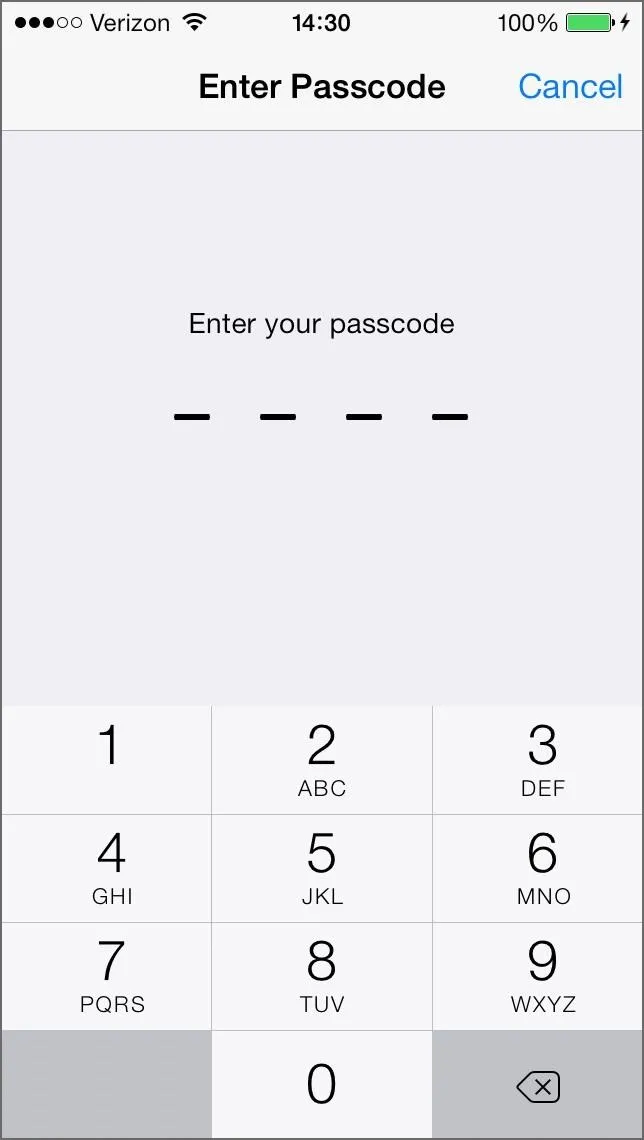
If you don't want to disable Siri altogether, you can simply go to Settings -> General and tap Passcode Lock. Type in your passcode or password, then make sure Siri is disabled under Allow Access When Locked. This will only prevent her from working on your lock screen.
Note: Thieves can also enable Airplane Mode via the Control Center, so that's another reason to disable it in Step 17 above.
More iOS 7 Tips!
There's a lot to learn about the new iOS 7 for iPad, iPhone, and iPod touch, so make sure to visit our iOS 7 tips section to explore all of the new features and hidden tricks. Also make sure to check out the 15 most annoying things and 18 coolest new features in iOS 7 that every iPhone user should know about.


Comments
Be the first, drop a comment!