
When you take a screenshot on your iPhone, it's automatically saved to your Photos app. You can ignore the screenshot thumbnail or swipe it away, but you shouldn't. If you open the screenshot editor instead, you'll gain access to your iPhone's most useful screen capture tool: full-page screenshots.
Full-page screenshots, also known as scrolling screenshots, allow you to capture an entire webpage, not just what's visible on the screen. And they're not just handy on websites — they also work in text documents, spreadsheets, HTML files, presentations, and media. This feature has come a long way since it could only take full-page screenshots in Safari and save them as PDFs.
Now, since iOS 17's release, you can take full-page screen grabs and save them as PDFs to Files or as images like PNGs and JPEGs to Photos. Both formats work as long as the app's developer gives you both PDFs and images as options. Since iOS 16, you can also copy and delete the screenshot at the same time, then paste the PDF stored in your clipboard in whatever app you need.
Apps That Support Full-Page Screenshots
Developers can incorporate Apple's UIScreenshotService into their apps to offer full-page screenshots saved as PDFs, PNG or JPEG formats, or both. Here's a small list of apps we've tested so far that work, not counting third-party apps designed specifically to take full-page screenshots:
Browsers:
- Safari (since iOS 13)
- Chrome (since version 92.0, July 20, 2021)
- Firefox (since version 109.0, Jan. 27, 2023)
Other:
- Apple Files
- Apple Notes
- Apple Numbers
- Apple Pages
Step 1: Take a Screenshot
On your iPhone or iPad, take a screenshot anywhere in a supported app, such as one listed above. You can use the default method below for your device model or another option, such as AssistiveTouch, Siri, Back Tap, Shortcuts, or Voice Control.
- iPhones with Face ID: Press the Side and Volume Up buttons together
- iPhones with Touch ID: Press the Side or Top button and Home buttons together
- iPads: Press the Top button and either Volume button together
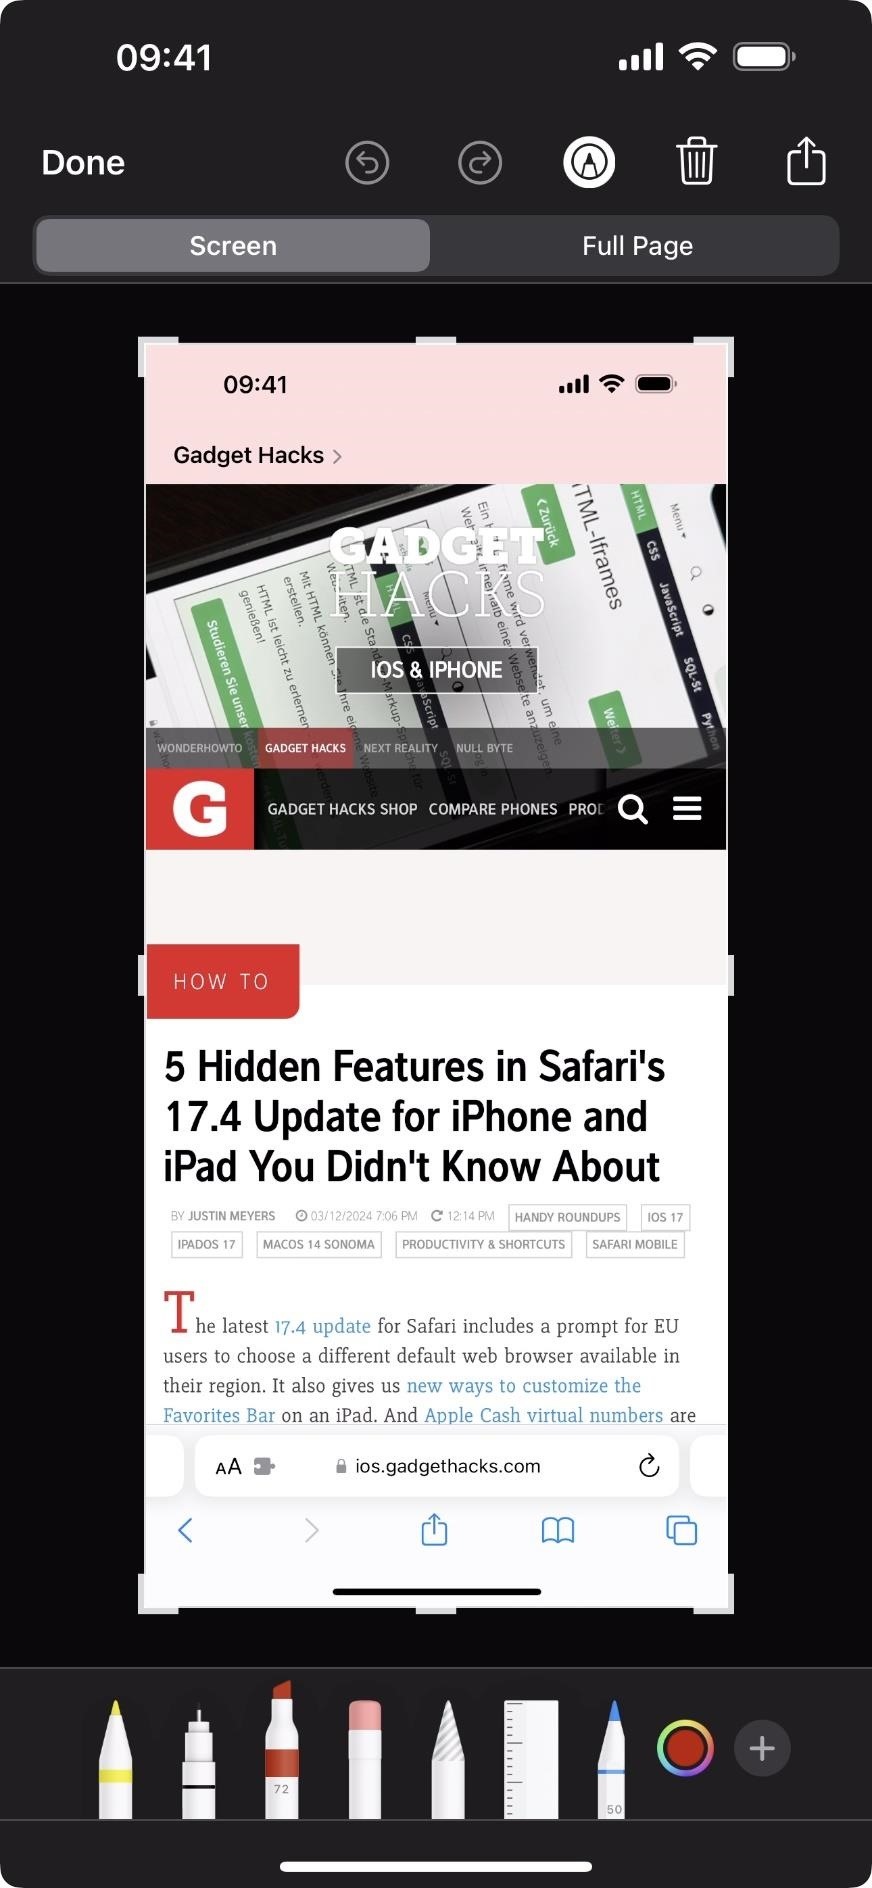
A thumbnail preview will appear in the bottom left; tap it before it disappears to open the screenshot editor. If you don't open the editor, the screenshot will only save what was visible on the screen when it was taken. To capture the whole webpage, you need to access the editor right after taking the screenshot.


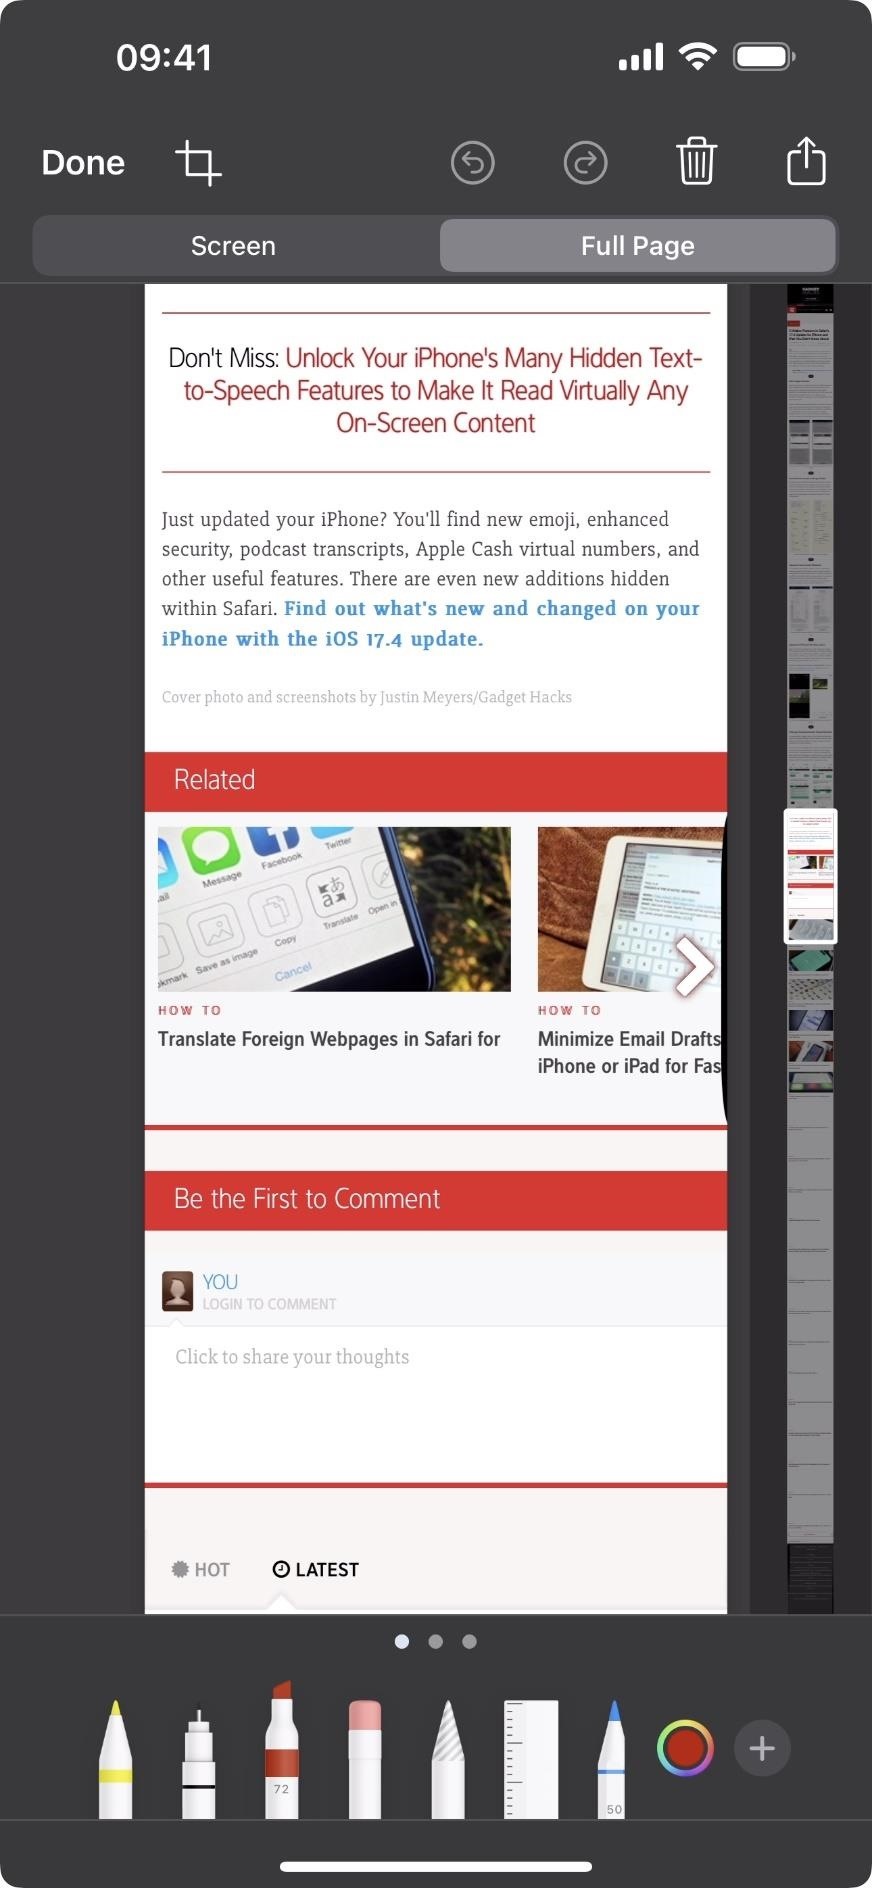
Step 2: Choose the Full-Page Version
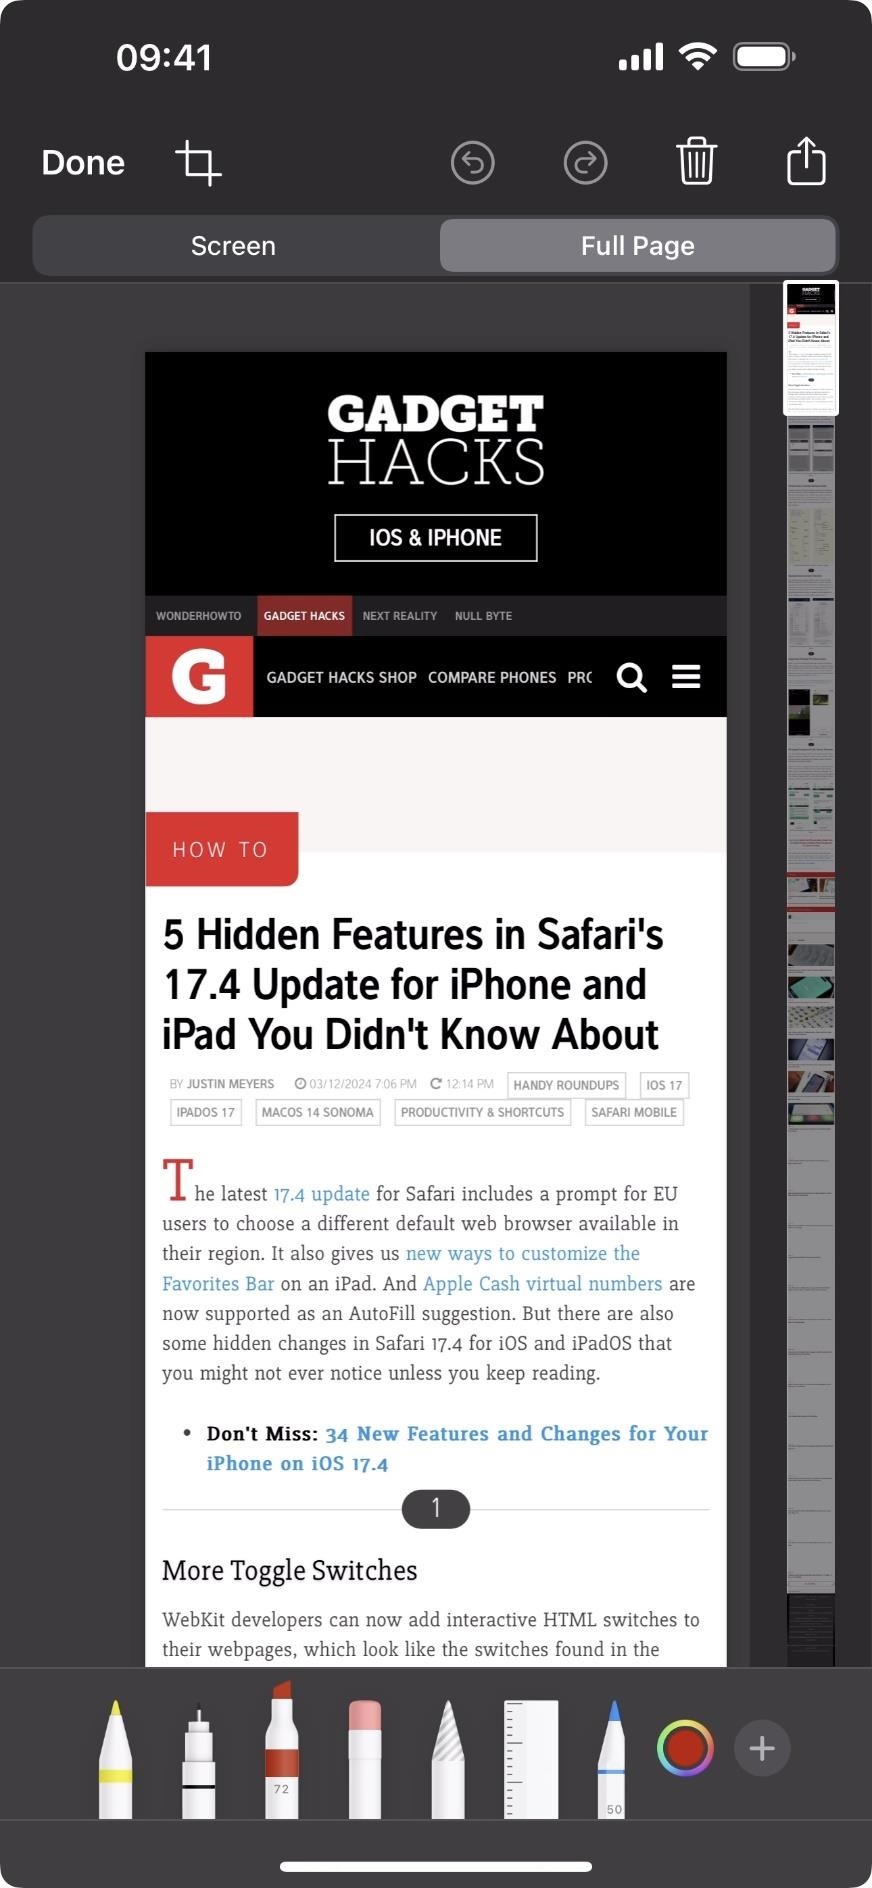
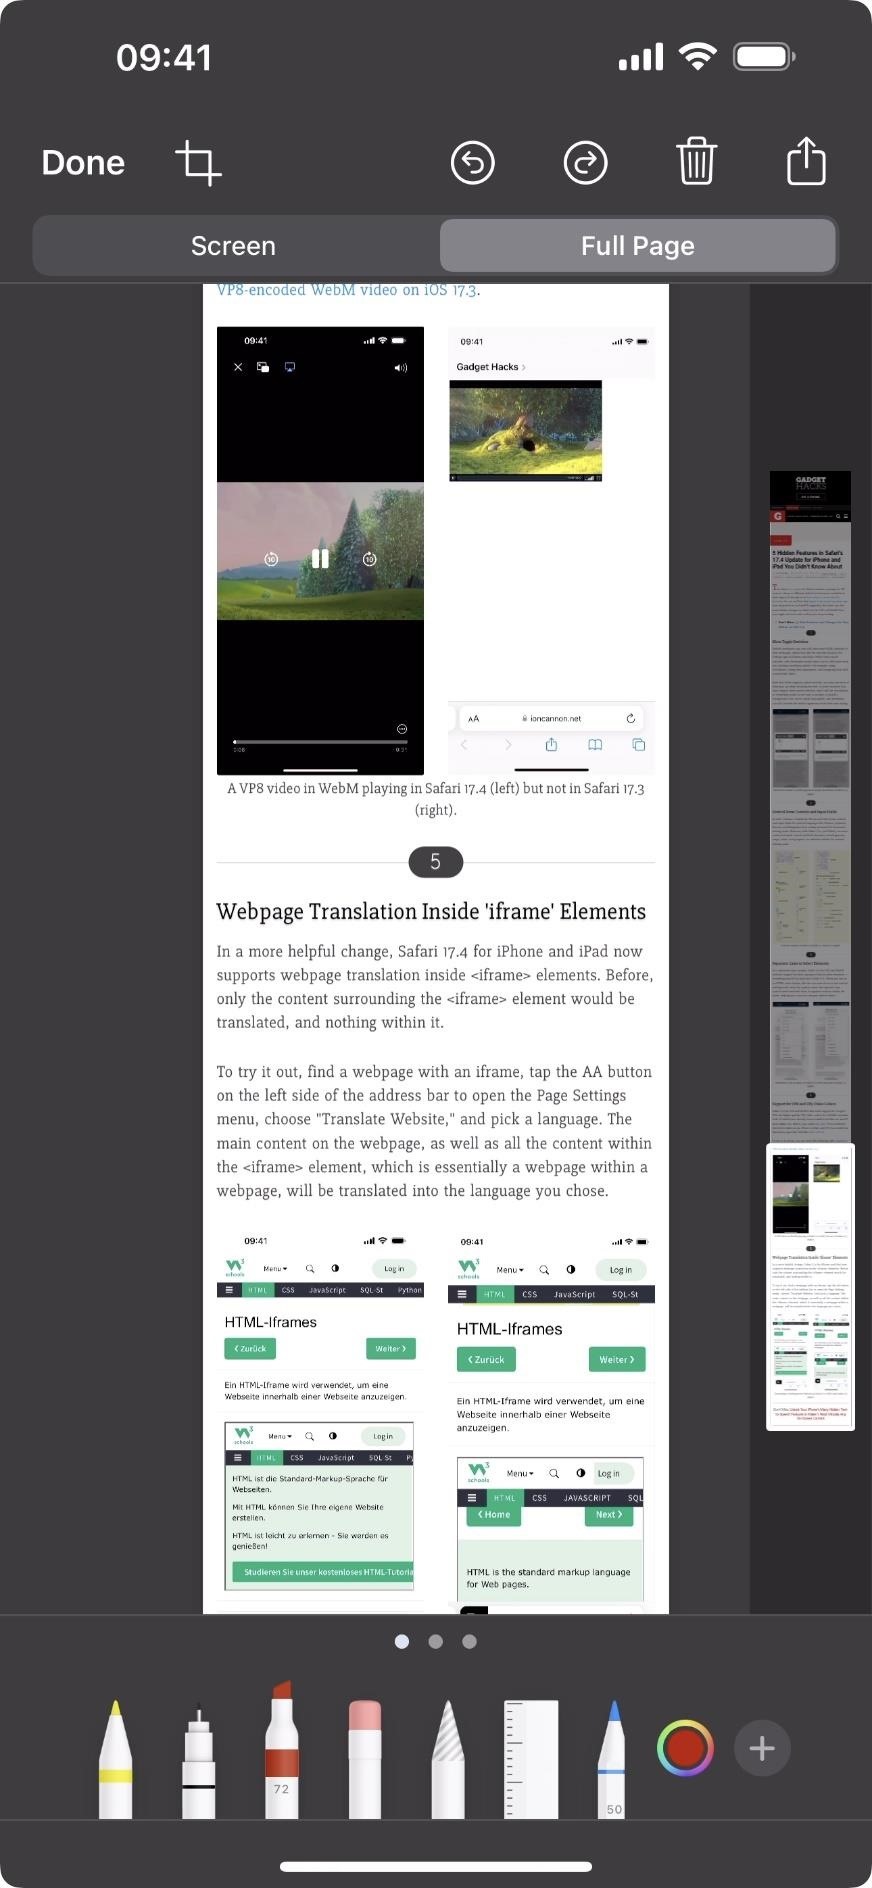
You'll see tabs at the top of the screenshot editor for "Screen" and "Full Page." The former is the default screenshot, which shows what was on the screen when you took the screenshot. For a snapshot of the entire page, switch to the "Full Page" tab, which automatically stitches together the page from beginning to end.
The way a page is presented on the right side of the screenshot editor will differ from app to app. For example, webpages in a browser should show as one continuous page. In Numbers, each sheet will be one page. In Notes and Pages, you'll see each page as separate, conforming to the document's settings, but you can still save it as one continuous image instead of a PDF.
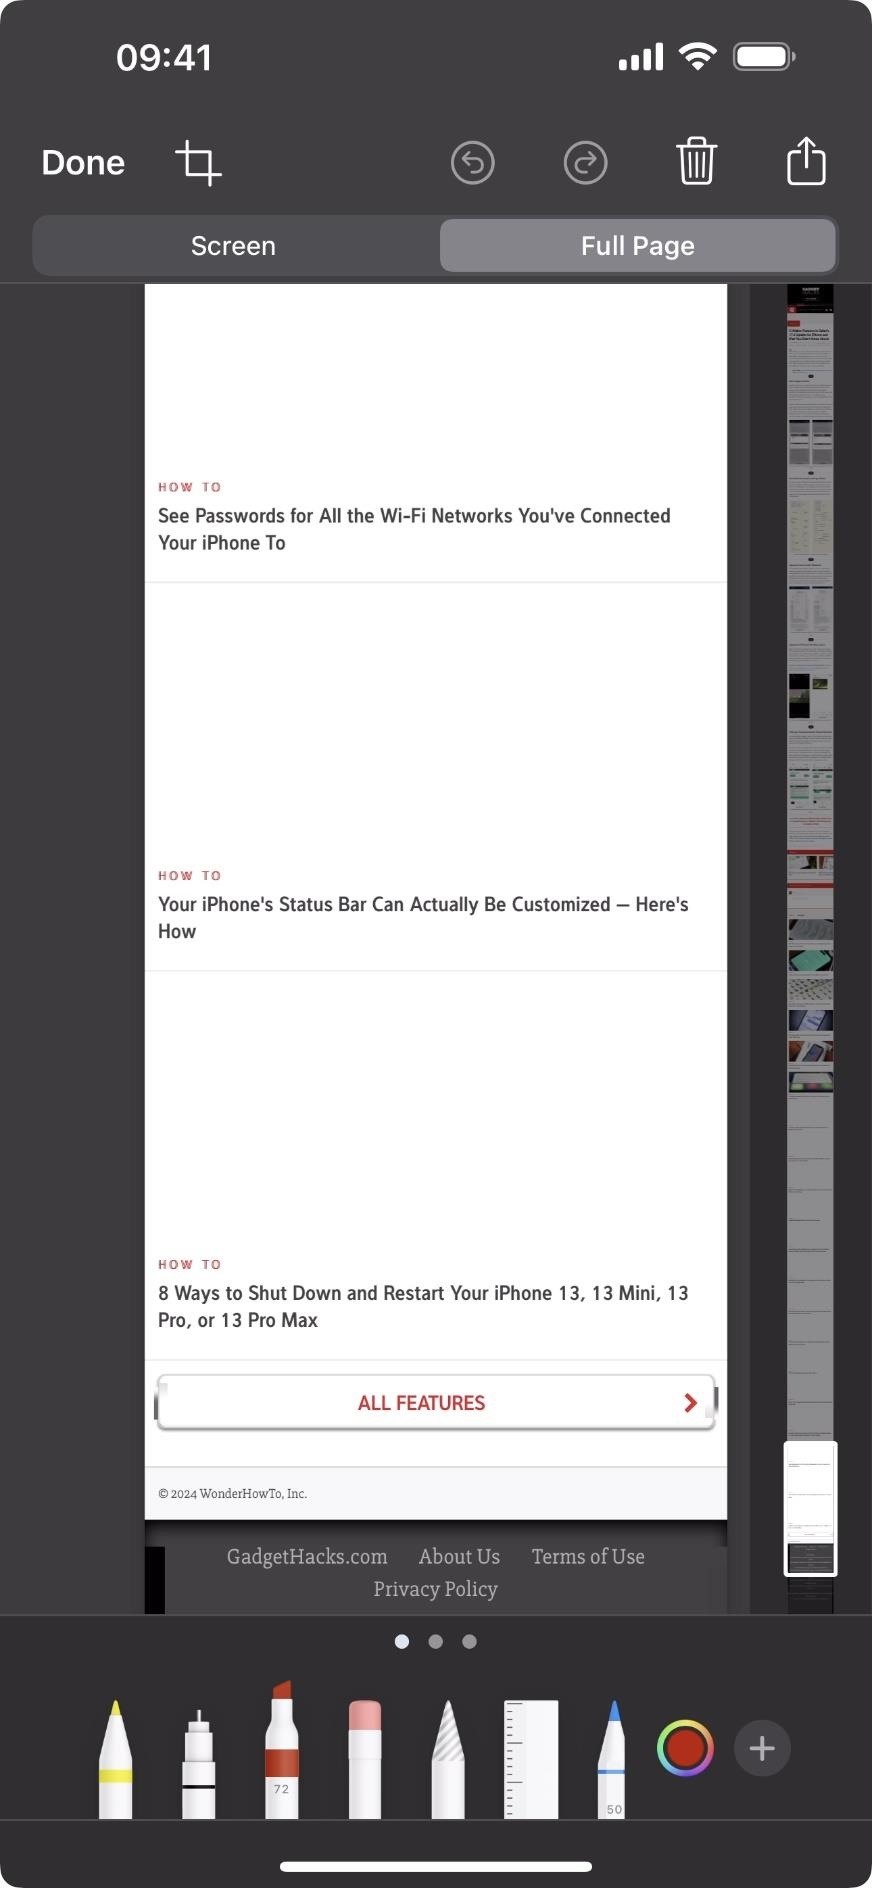
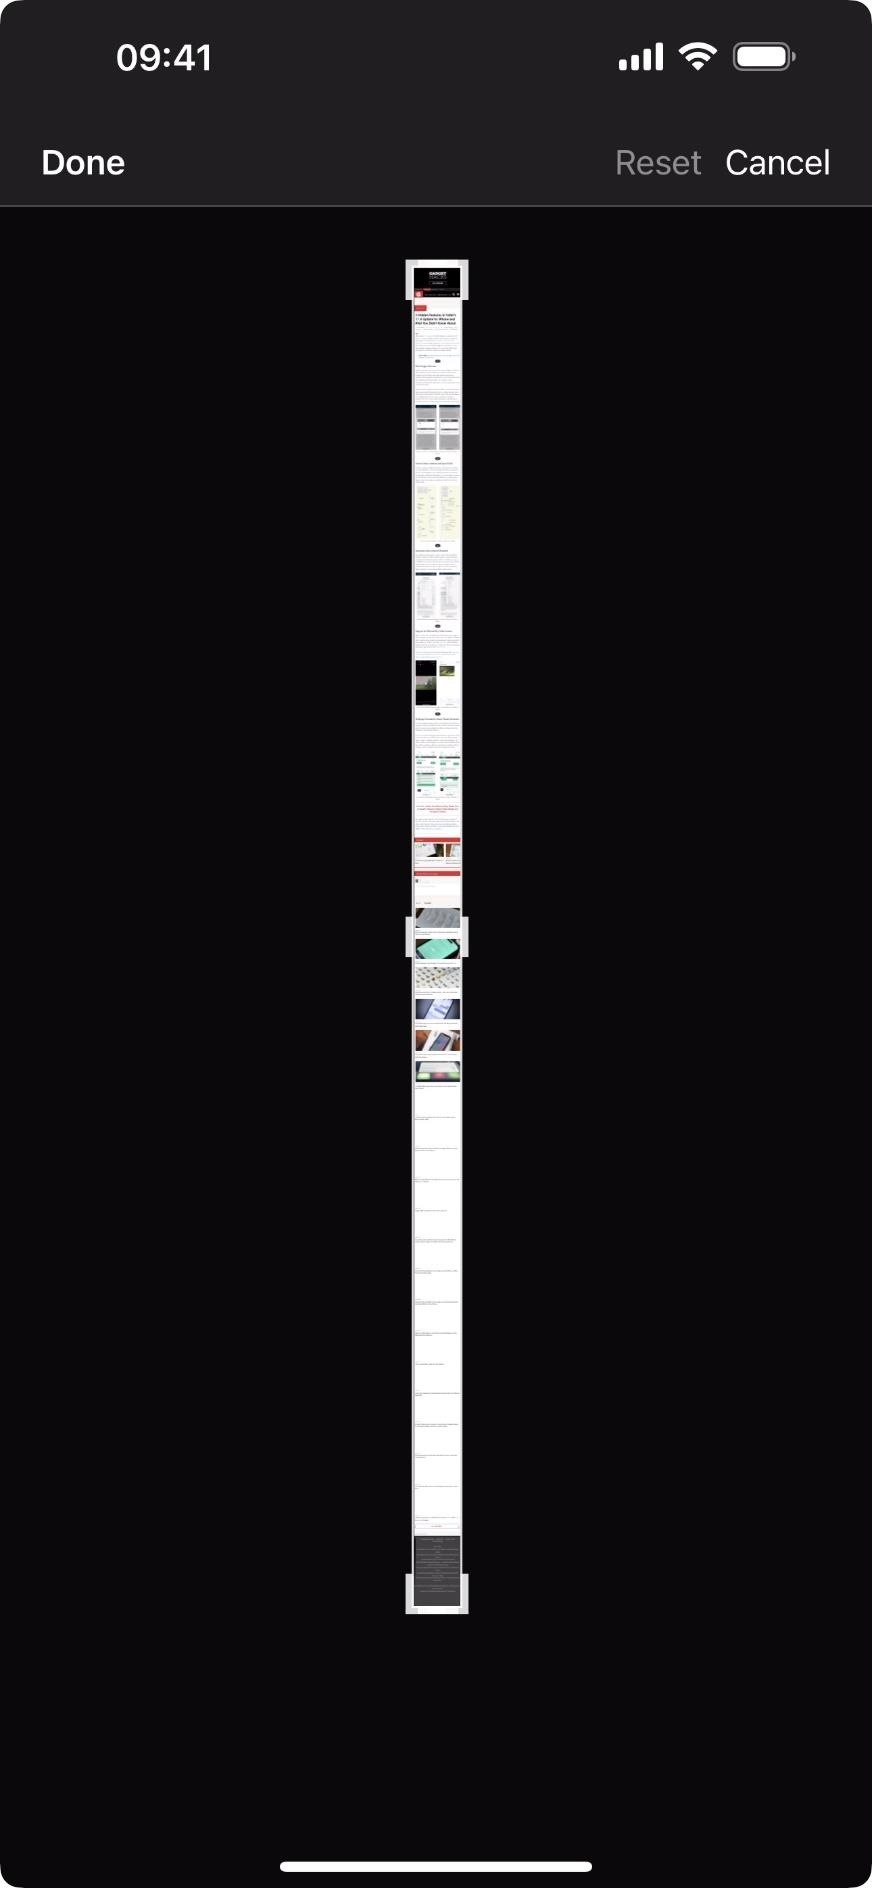
Step 3: Find Where You Want to Crop
Depending on the page, you may want to crop any unnecessary sections, such as comments, further reading links, the site's footer, empty rows in a spreadsheet, etc. However, note that you cannot crop anything when the preview on the right side shows pages instead of one continuous page.
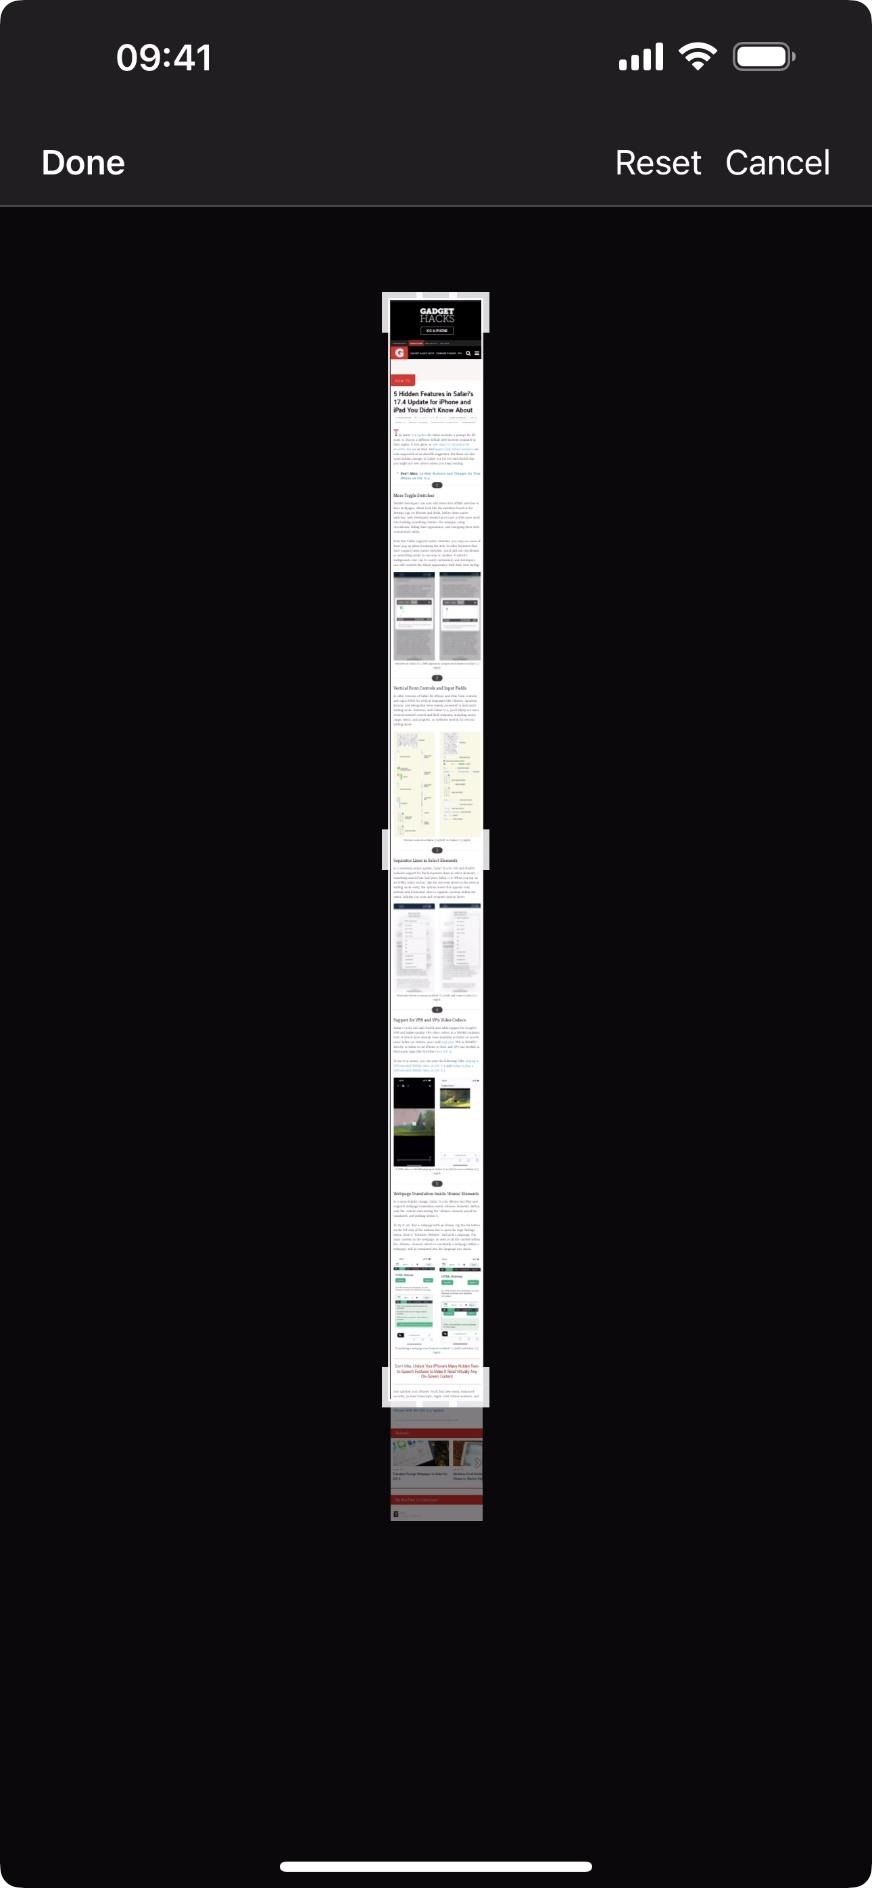
If the screen grab is not paginated, you'll see it as a long, tiny, probably unreadable preview with a highlighted section on the right. The highlighted section is shown in the big preview to its left. Tap and hold the highlighted part, then move it up or down to scroll through the page to see what you want to keep and delete. You can also use two fingers on the large preview itself to scroll up and down.
Step 4: Trim the Screenshot Down
If the full-screen screenshot appears as a single scrolling screenshot, you can tap the crop icon in the top toolbar to edit out a portion of the image from the top, bottom, and sides.
In the crop view, you can use a two-finger pinch gesture to zoom the image in or out of the crop perimeter. But you can be more precise by pulling an edge or corner of the perimeter to where you need it.
After adjusting the boundaries, the crop preview will resize to that specific crop view a few seconds after you let go of the screen. This allows you to try again with a bigger image, and you can repeat that as many times as necessary until you're happy with what's in the crop zone.
Hit "Done" when finished.
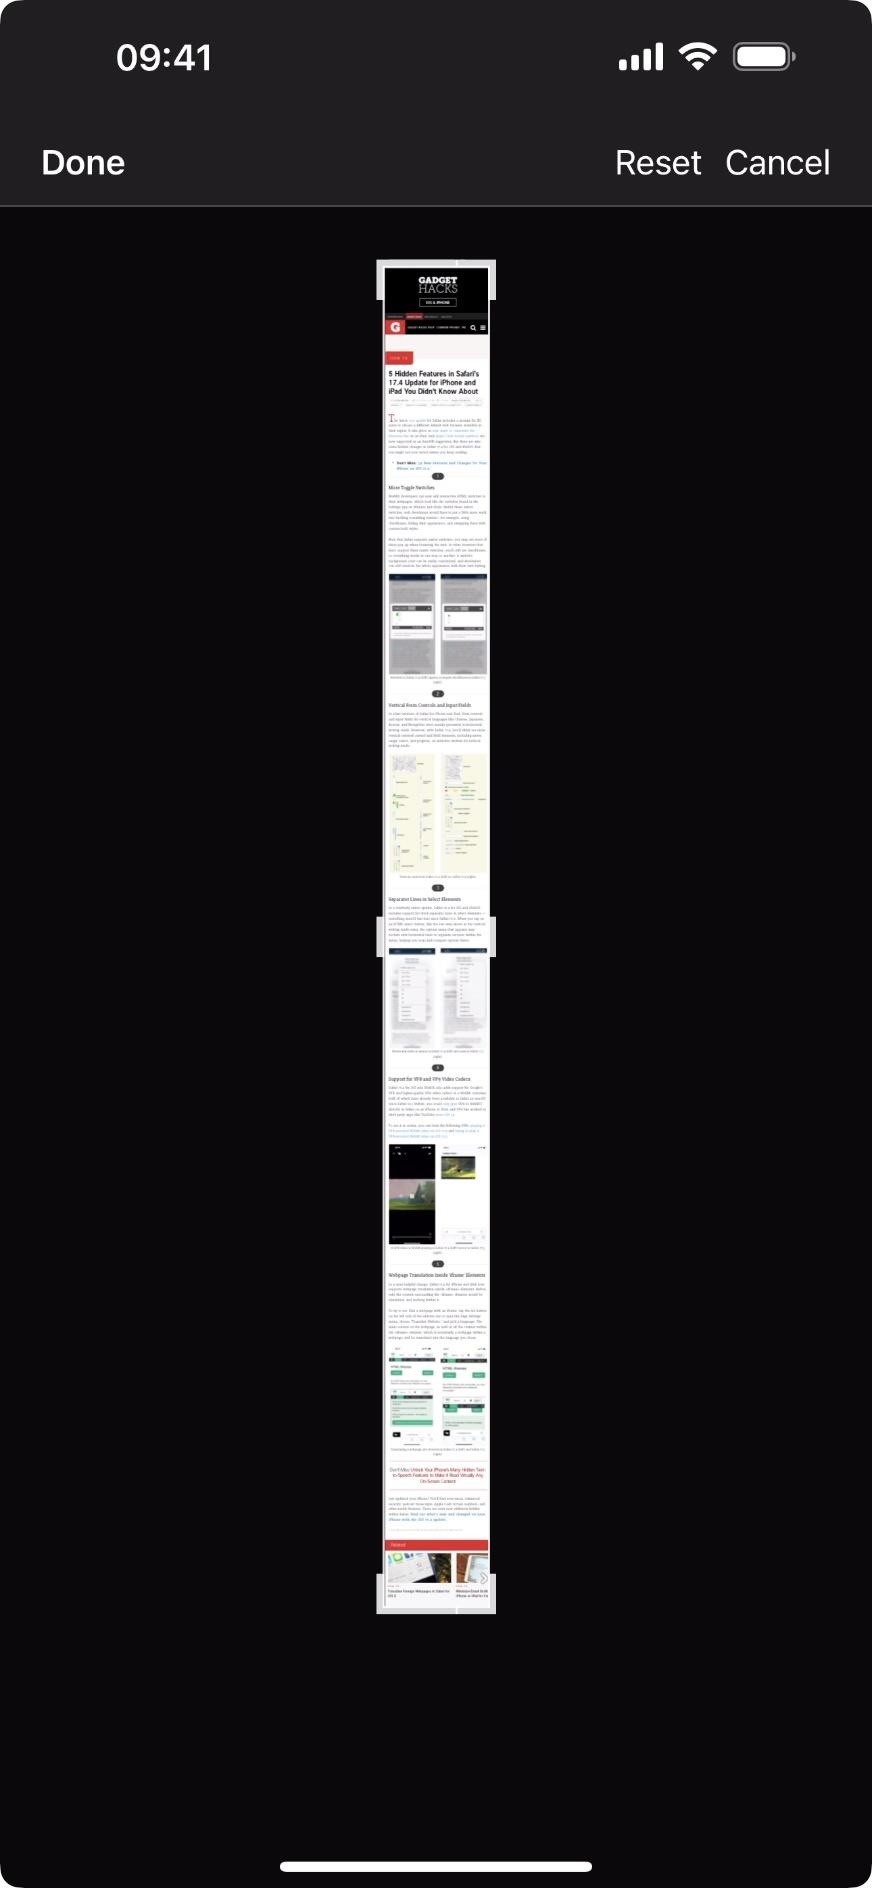
Step 5: Preview and Make Adjustments if Needed
If the screenshot is very long, you may want to preview the result after cropping it to make sure you've cut it exactly where you want it. Use the highlighted area on the right to check the page. If adjustments are necessary, repeat Step 4 above.
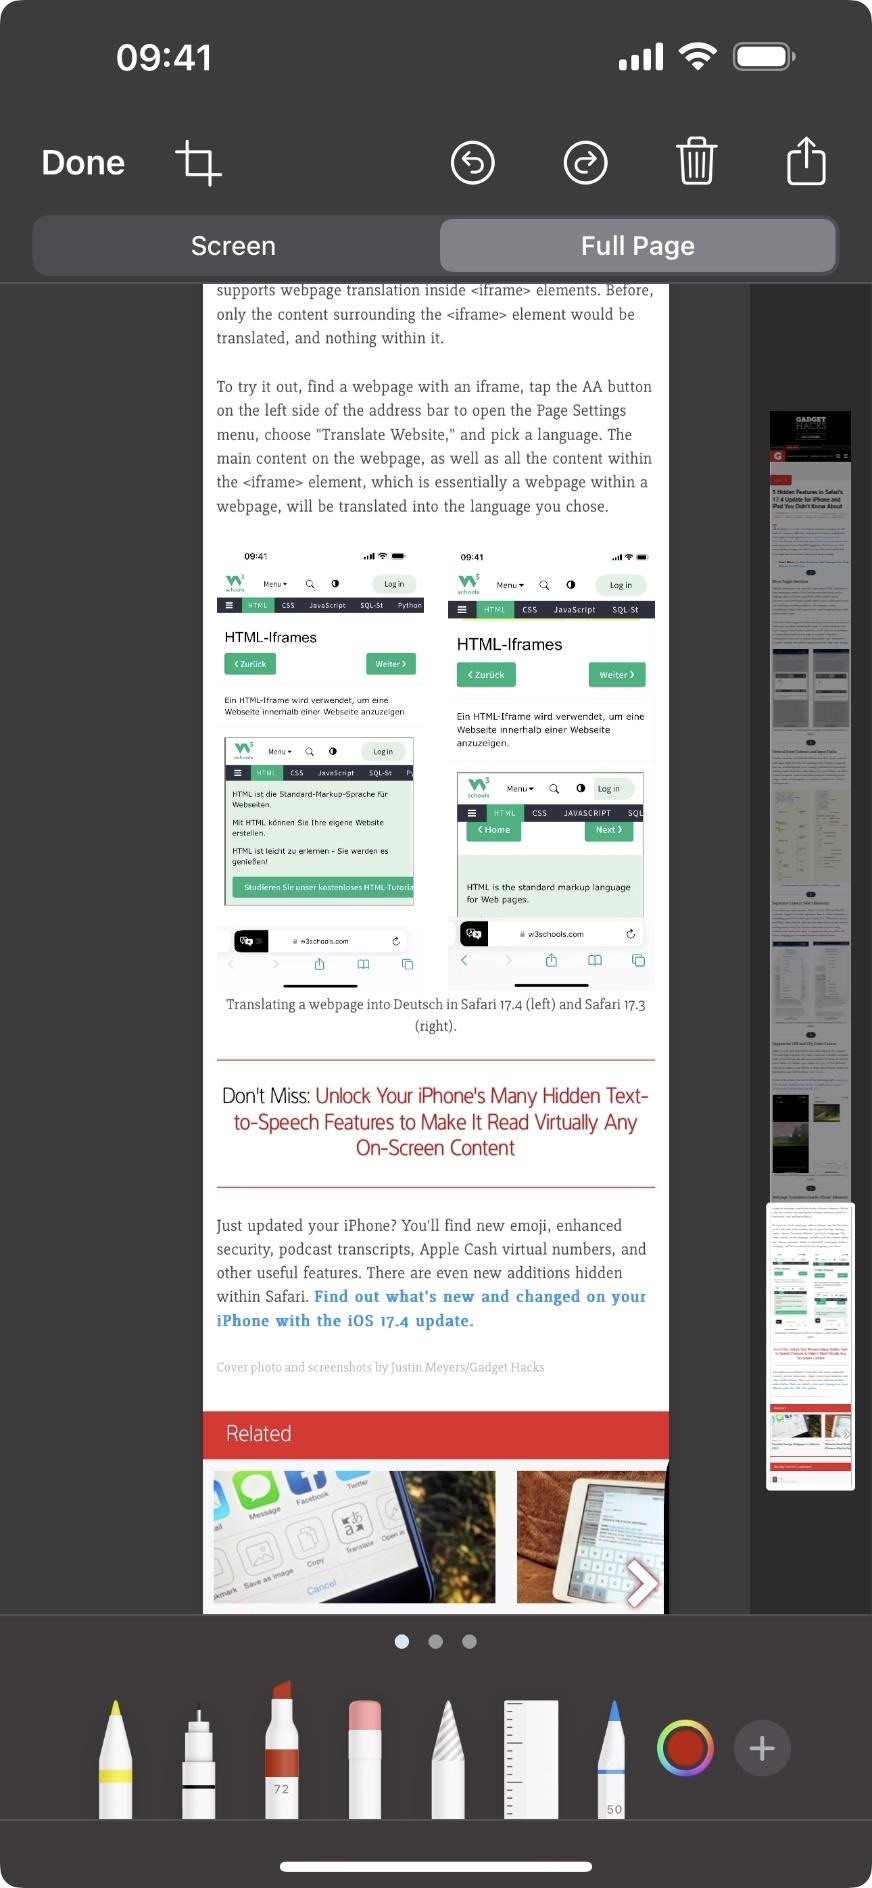
Step 6: Use Markup (Optional)
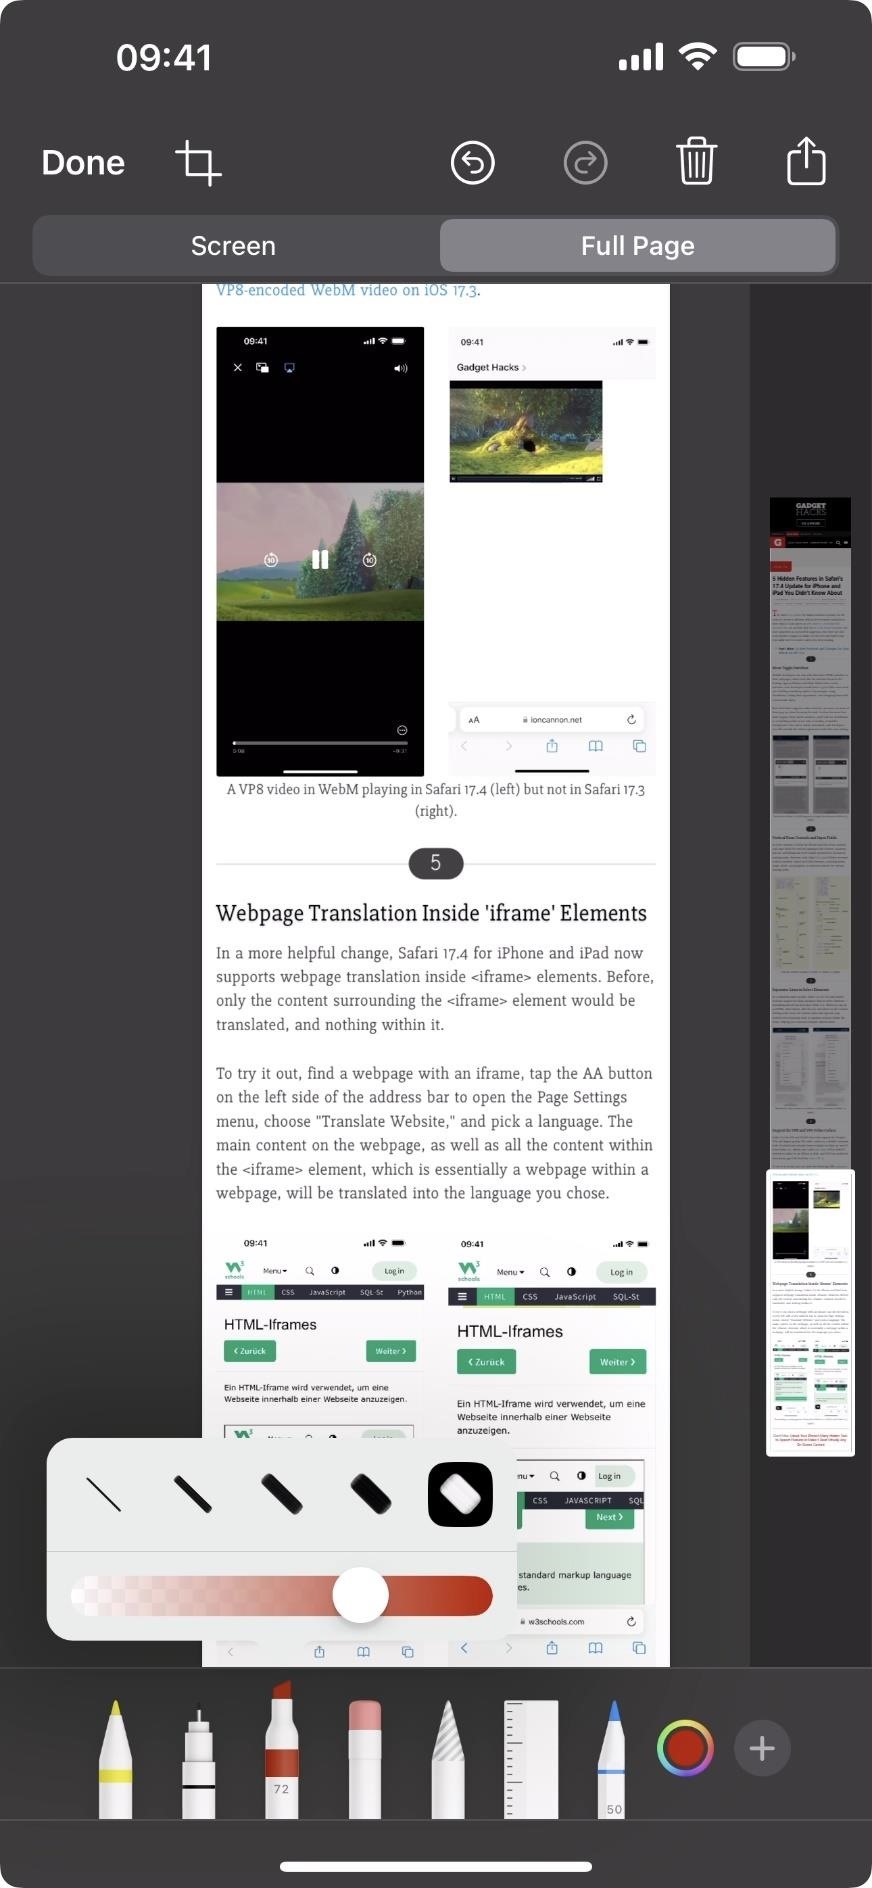
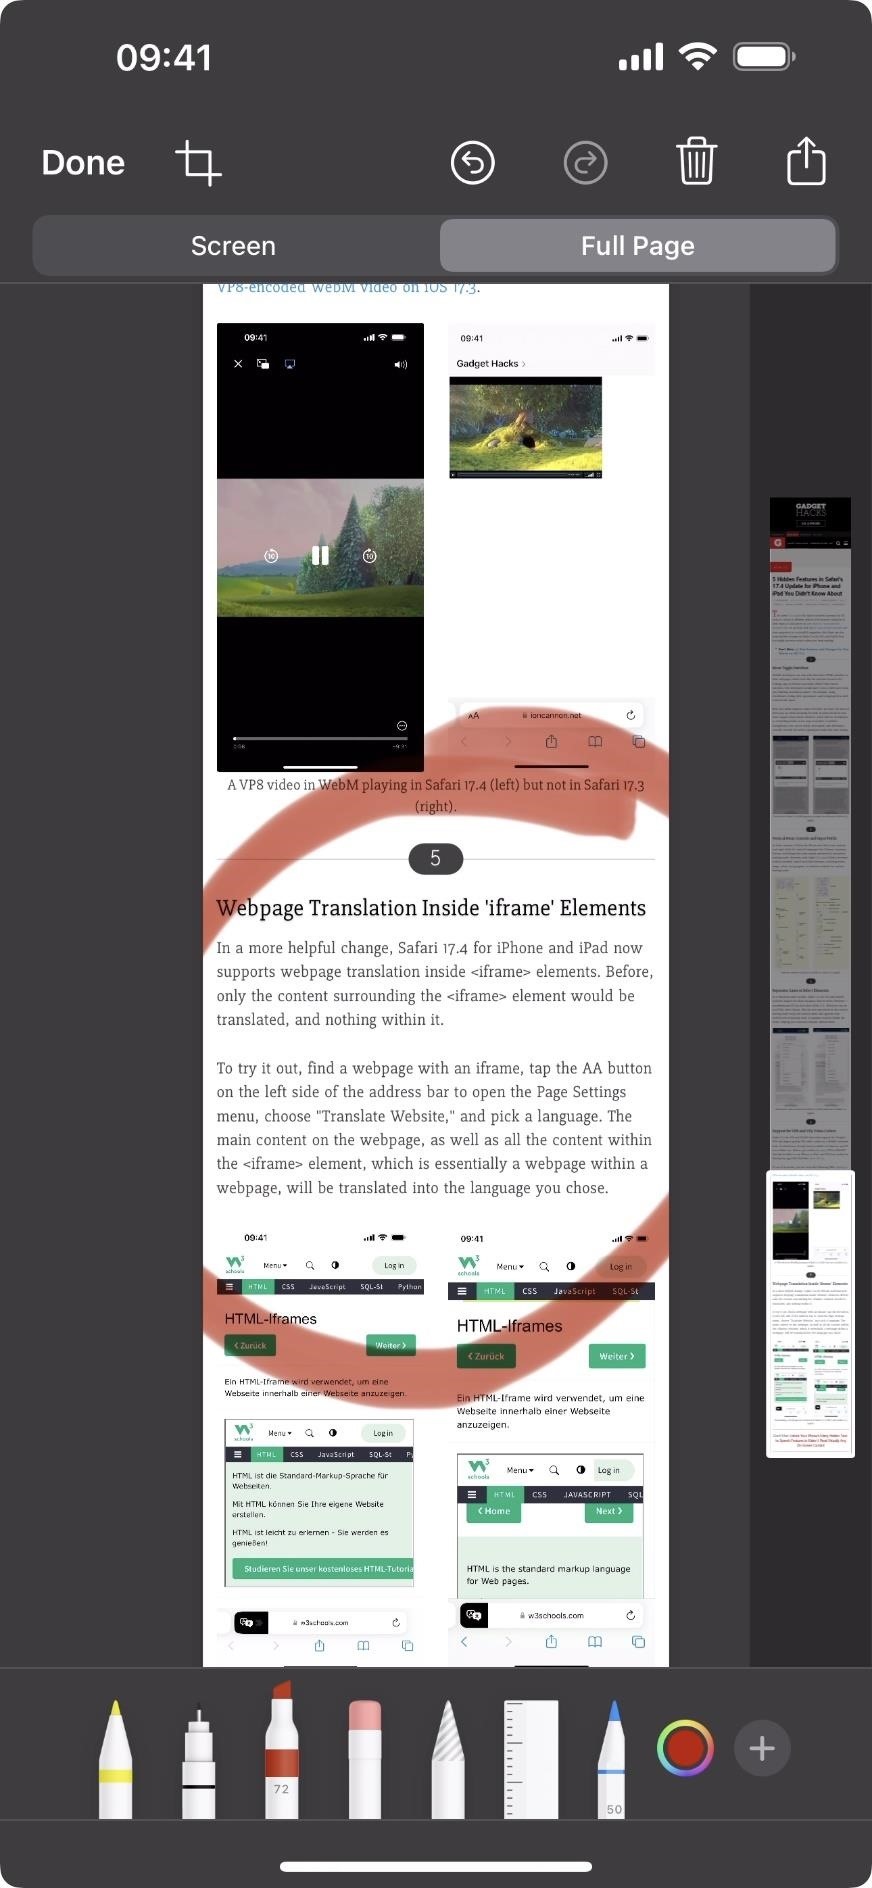
When satisfied with your cropped area, you can use the Markup tool to write on the image, magnify parts, add shapes, draw on it, change the opacity, show the ruler, etc.
Step 7: Share or Save the Full-Page Screenshot
With your full-page screenshot ready, you have a few choices on how to share or save it as a PDF, PNG, or JPEG.
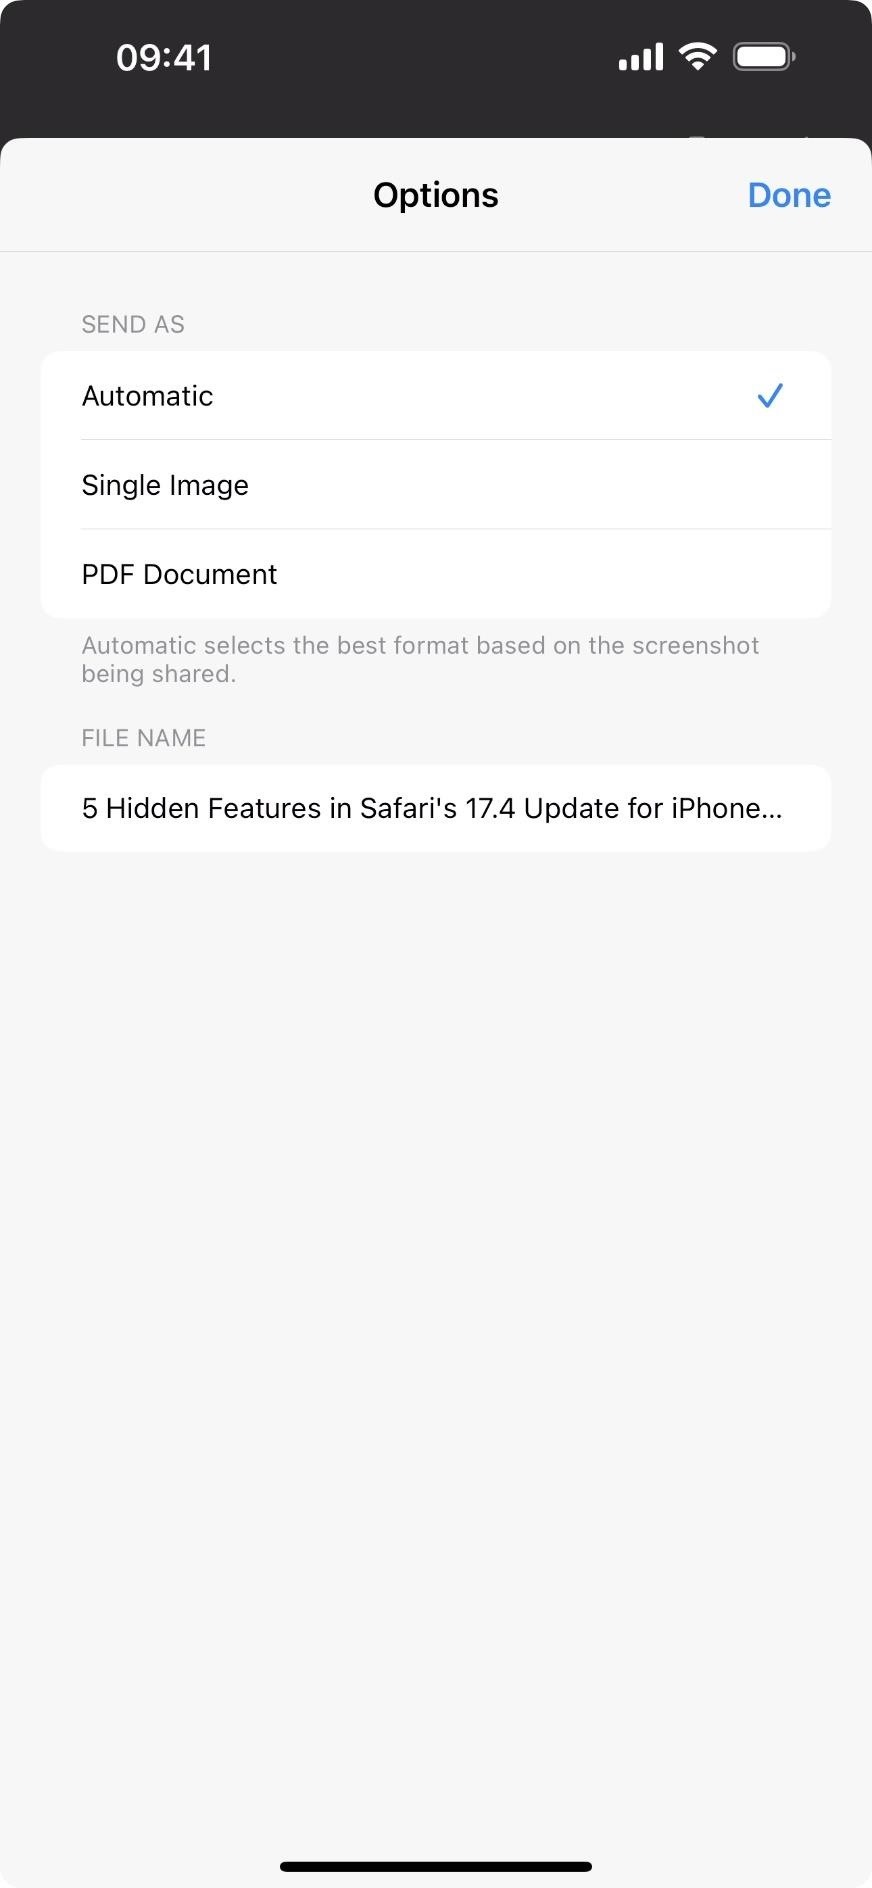
First, tap the share button at the top to bring up the share sheet. Tap "Options" at the top of the sharing menu to choose between a PDF document and a single image, then hit "Done." You can also leave it as automatic so that your iPhone or iPad will choose the format it thinks is best. Then, share it however you want — for example, to your Files app, in a message, via AiDrop, or another method.

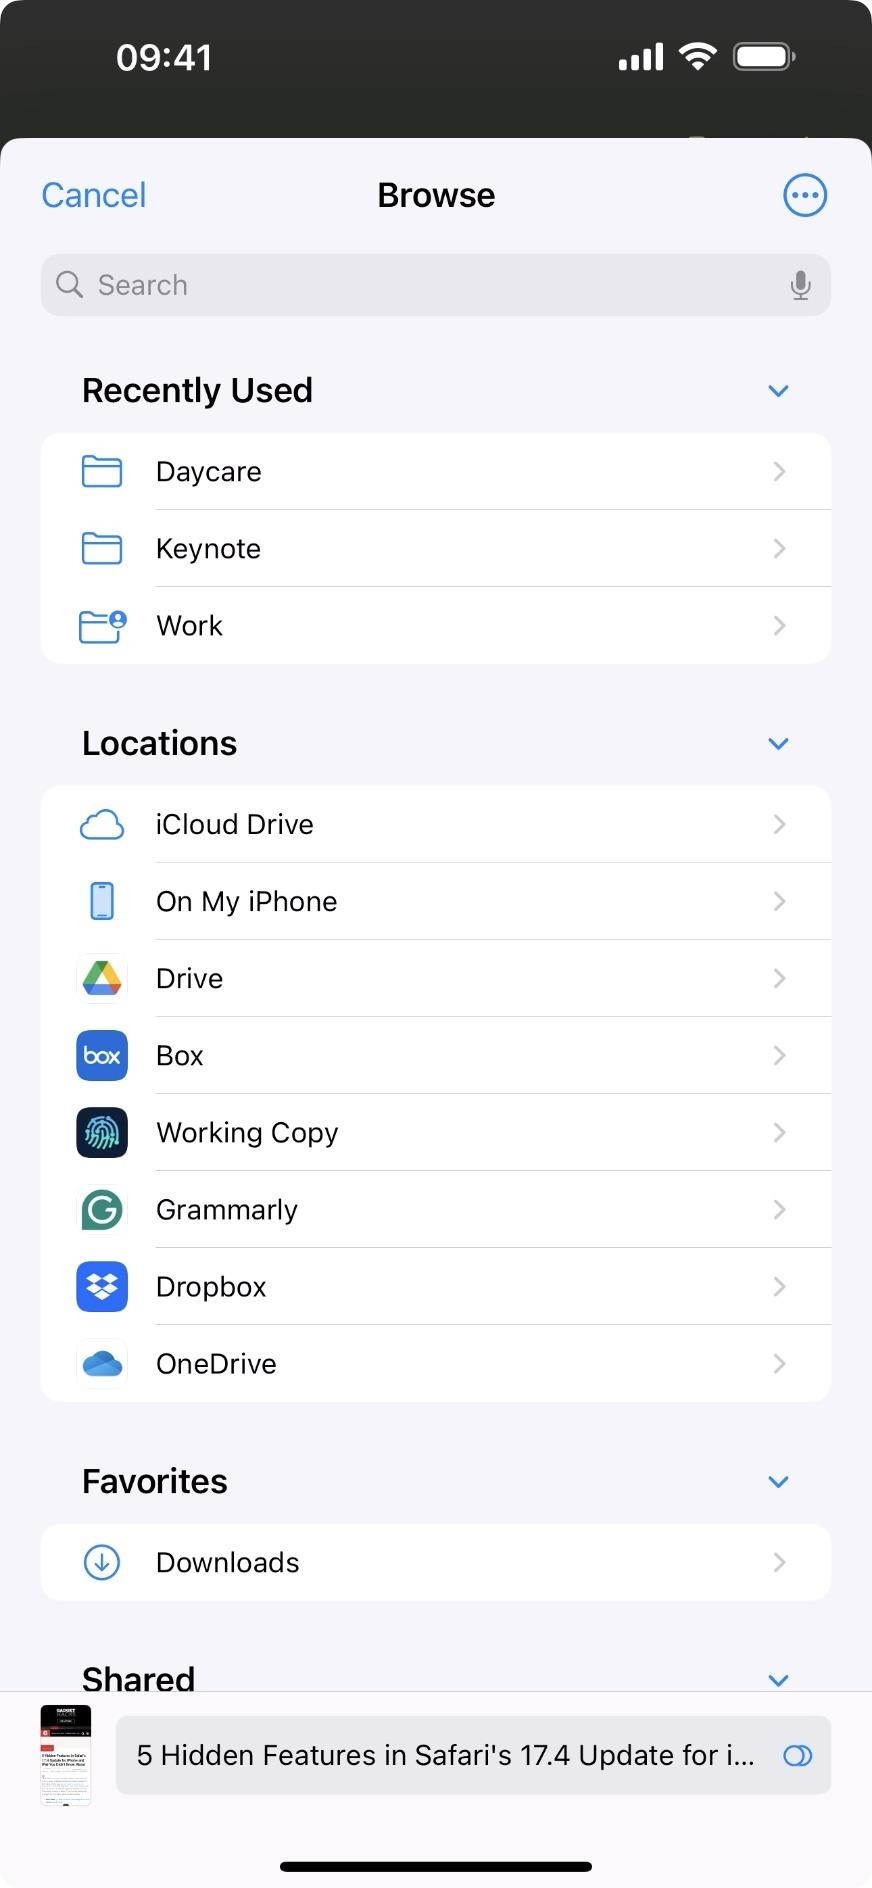
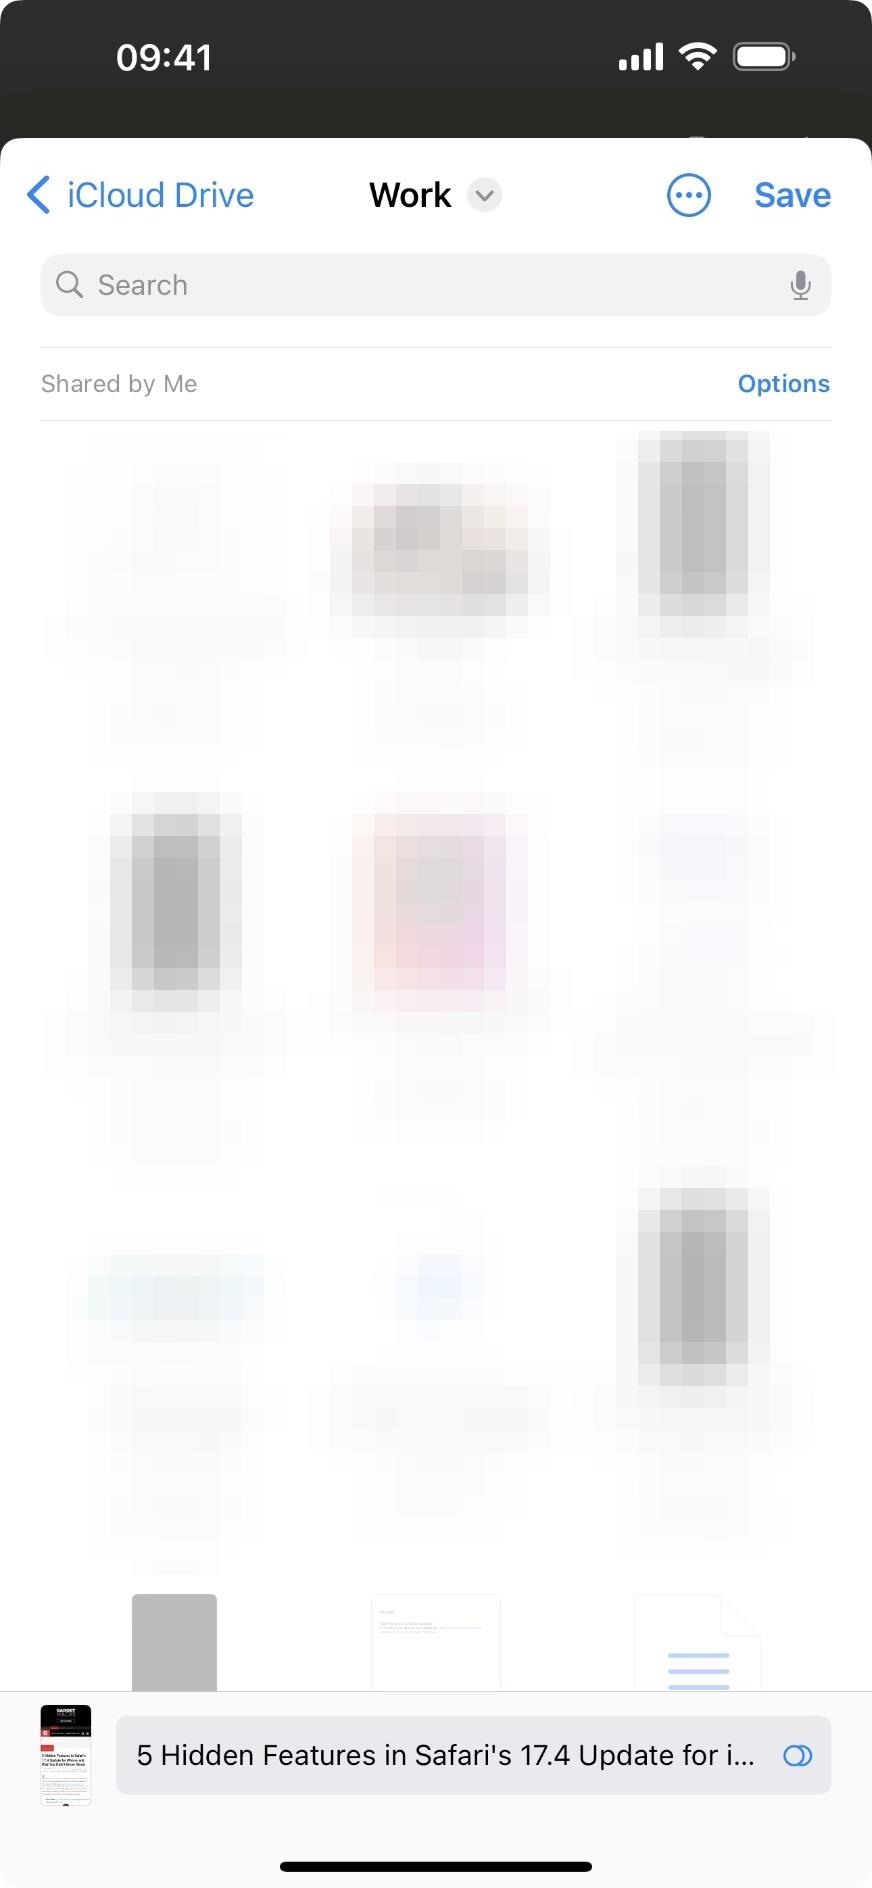
Second, you can tap "Done" in the top left of the editor. From the menu that appears, you can choose "Save to Photos," which will automatically save it to the Recents folder in Photos and close the editor, or "Save PDF to Files." When you save it as a PDF, you can change the file name if you want. Next, select the primary destination, such as On My iPhone, iCloud Drive, your server, or a third-party cloud service. Then, choose a directory within one of those options if desired, and hit "Save."
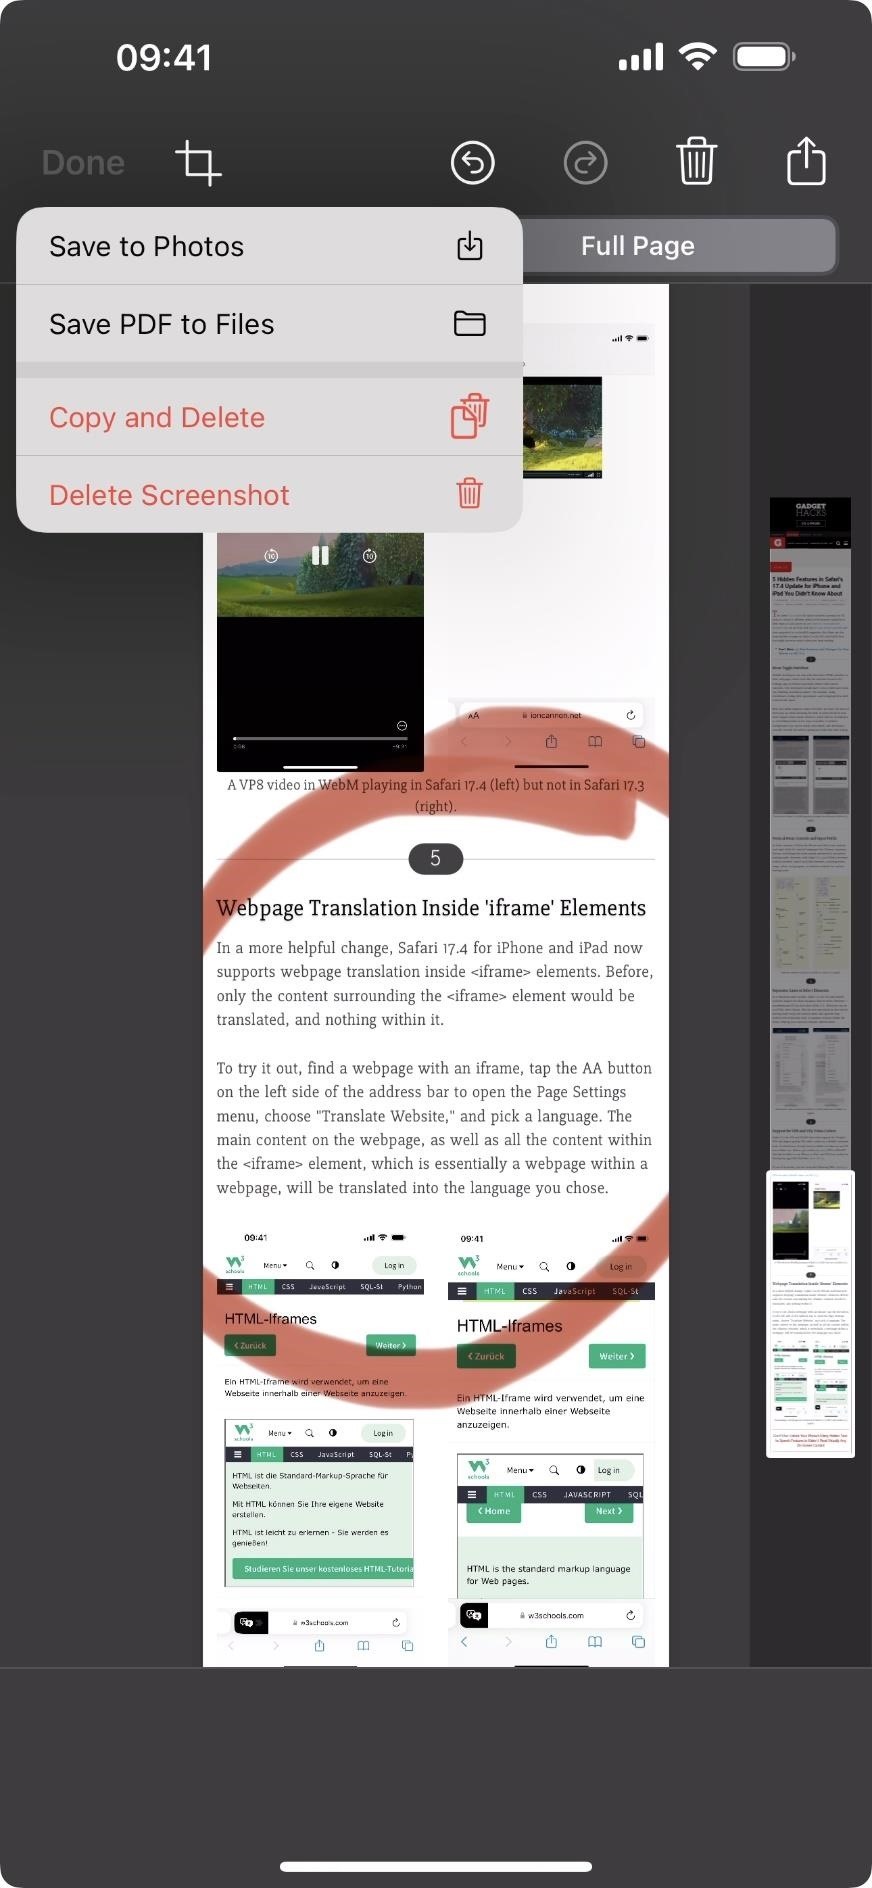
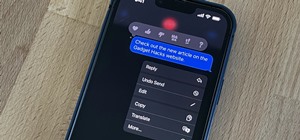
Third, you can choose this to automatically copy the file as a PDF to your clipboard, delete the screenshot, and close the editor. Select "Copy and Delete" from the "Done" menu to do so. Choose this to automatically copy the file as a PDF to your clipboard, delete the screenshot, and close the editor. Then, open the app you want to use and paste it.


Step 8: View the PDF or Image
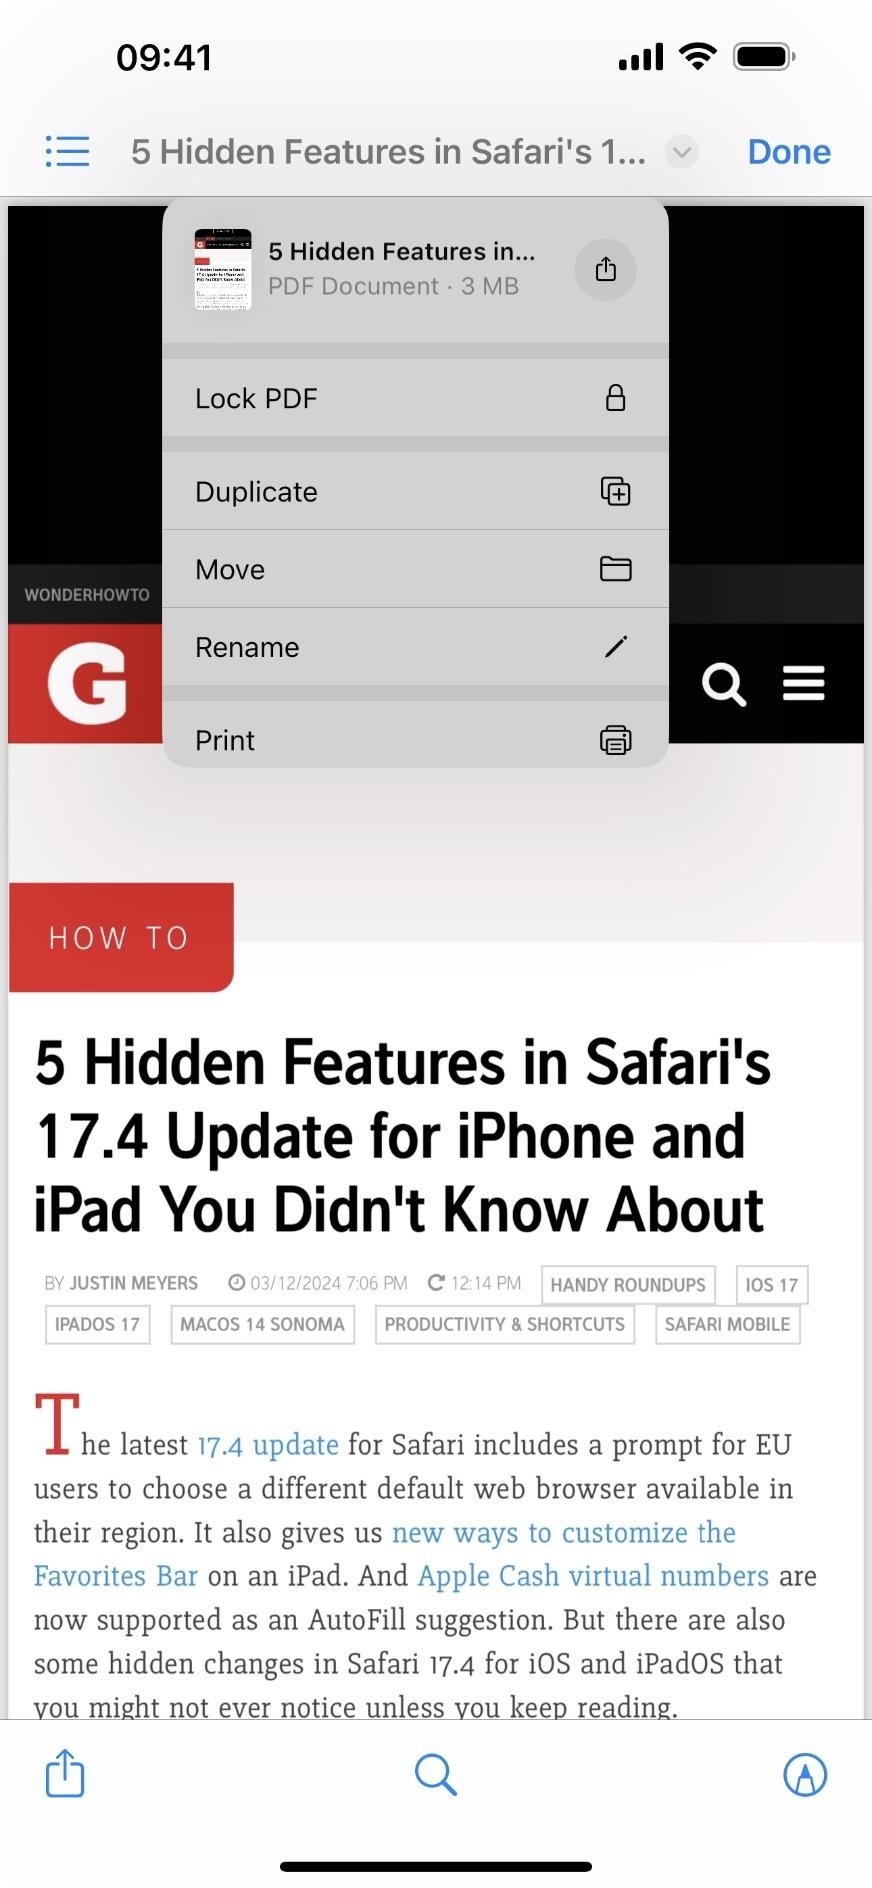
To view a PDF of the full-page screenshot, open the Files app and locate the PDF just like any other PDF file. Tap on it to see it in its entirety. You can use the Markup tools to draw on the PDF and the share icon to share it, copy it, print it, save it to Dropbox, etc. You can also change its name, lock it, relocate it, and more.
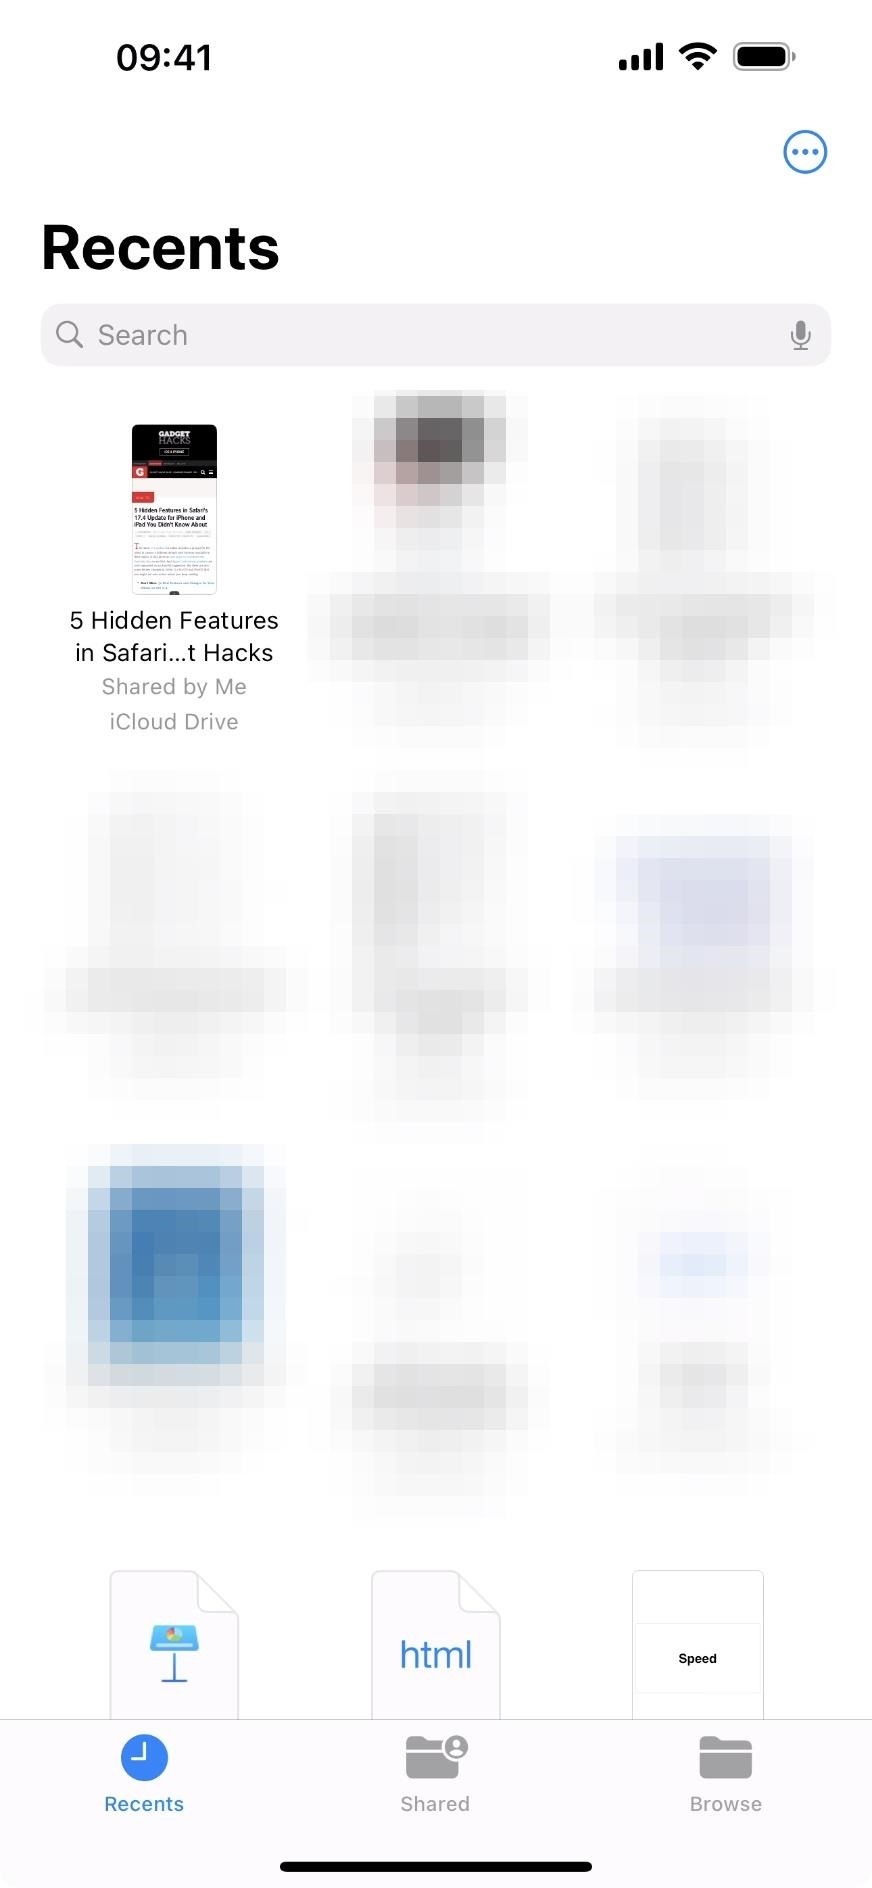

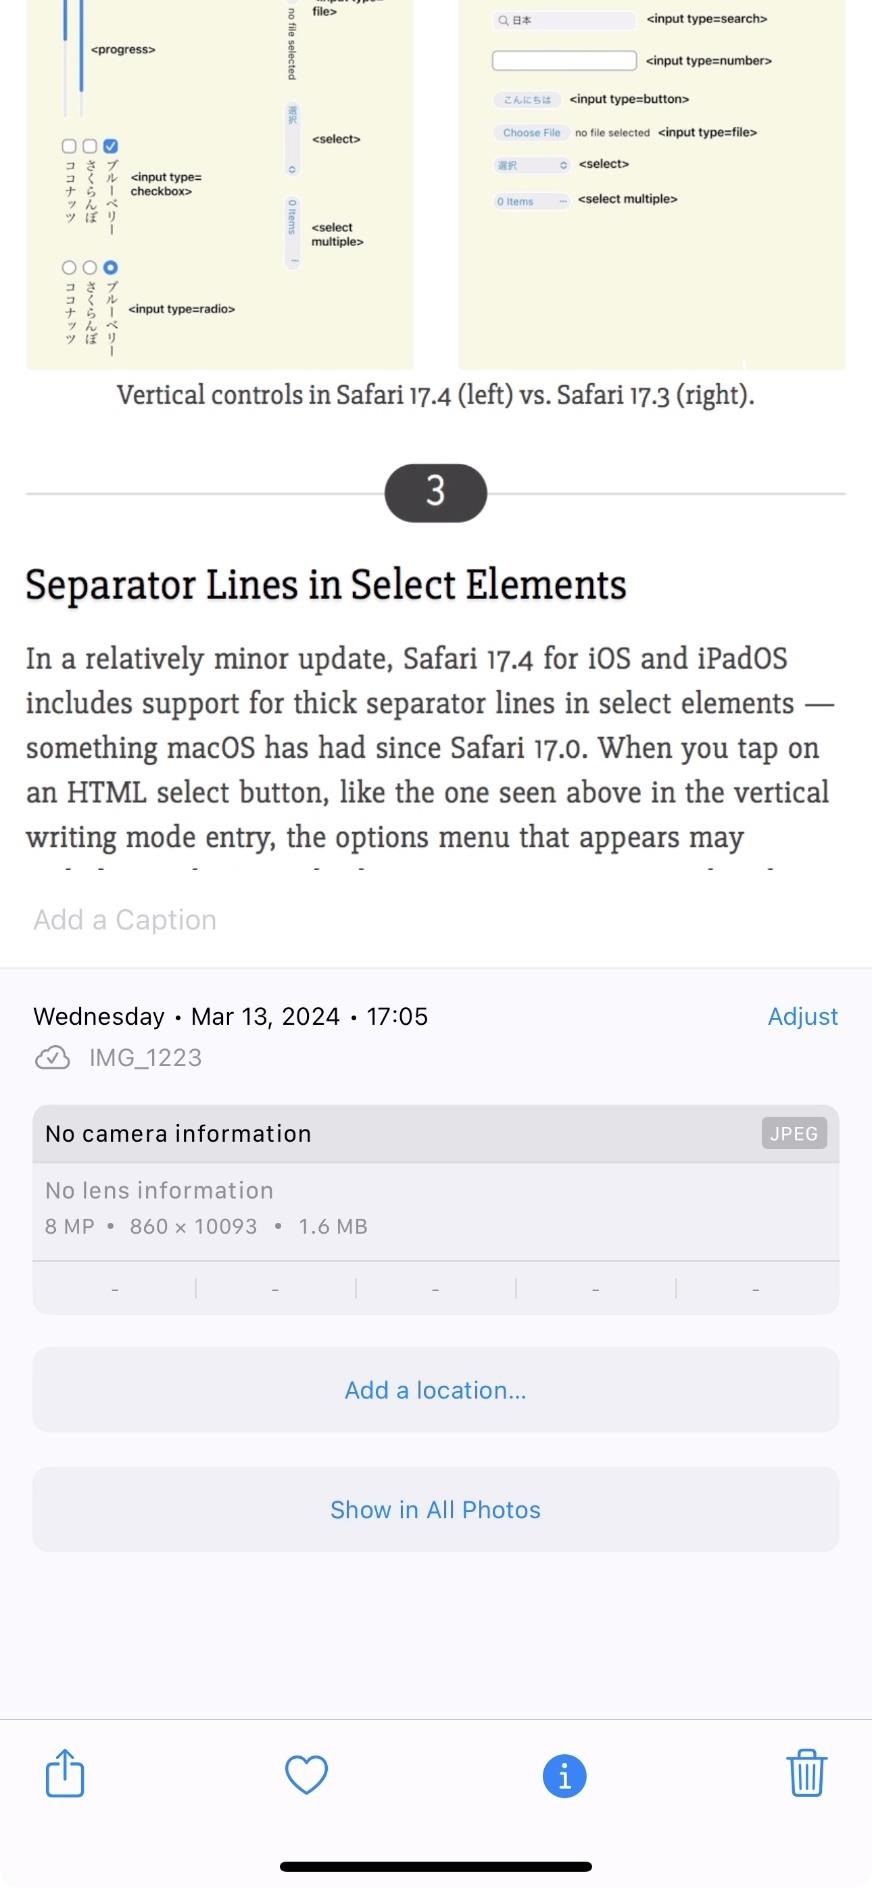
To view an image of the full-page screenshot, open the Photos app and locate the image within the Recents album. Note that full-page screenshots may not save to the Screenshots folder, but you can definitely find them in Recents. Tap on it to see it in its entirety. You can swipe up on the image to view its metadata and edit or Markup the image like any other image file.

The Evolution of Apple's Full-Page Screenshots
- iOS 10: You can use the "Print" tool from the share menu to create full-screen PDFs.
- iOS 11: You can use the new screenshot editor, but select the "Markup as PDF" action from the share menu to create full-screen PDFs.
- iOS 12: You can use the screenshot editor, but select the "Create PDF" action from the share menu to create full-screen PDFs.
- iOS 13 and iPadOS 13: You can finally take full-page screenshots of webpages in Safari via the screenshot editor.
- iOS 16 and iPadOS 16: You can copy and delete full-page screenshots via the screenshot editor and paste them as PDFs.
- iOS 17 and iPadOS 17: You can save full-page screenshots as PDFs, PNGs, or JPEGs via the screenshot editor.
Just updated your iPhone? You'll find new emoji, enhanced security, podcast transcripts, Apple Cash virtual numbers, and other useful features. There are even new additions hidden within Safari. Find out what's new and changed on your iPhone with the iOS 17.4 update.


Be the First to Comment
Share Your Thoughts