
Creating doodles on an iPhone is made easy thanks to the "Draw" tool in Notes and "Digital Touch" for iMessages, but these are limited in scope. Drawing in Notes has no animated effects, and while Digital Touch does, its drawing tools are lacking and the animations can only live within iMessages. If it's animations you want, Apple has another app that can help you create them.
Although Pages, the Apple-designed productivity app, is intended for word processing needs, a powerful new "Animate" tool can help your doodles come to life in a few easy steps. While it's not quite like the animation abilities that some popular third-party apps have, Pages does let you create a time-lapse of your drawing — basically a replay of every line and stroke you drew from start to finish.
Before we dive into the following, make sure you've installed Pages via the App Store and are updated to at least Pages version 42, which contains the animation tool, released on Sept. 17, 2018. As a reminder, Pages is one of three apps in the iWork suite, Apple's version of Microsoft Office, and these apps are free for anyone with an Apple ID linked to the App Store since April 2017.
Step 1: Start a New Document
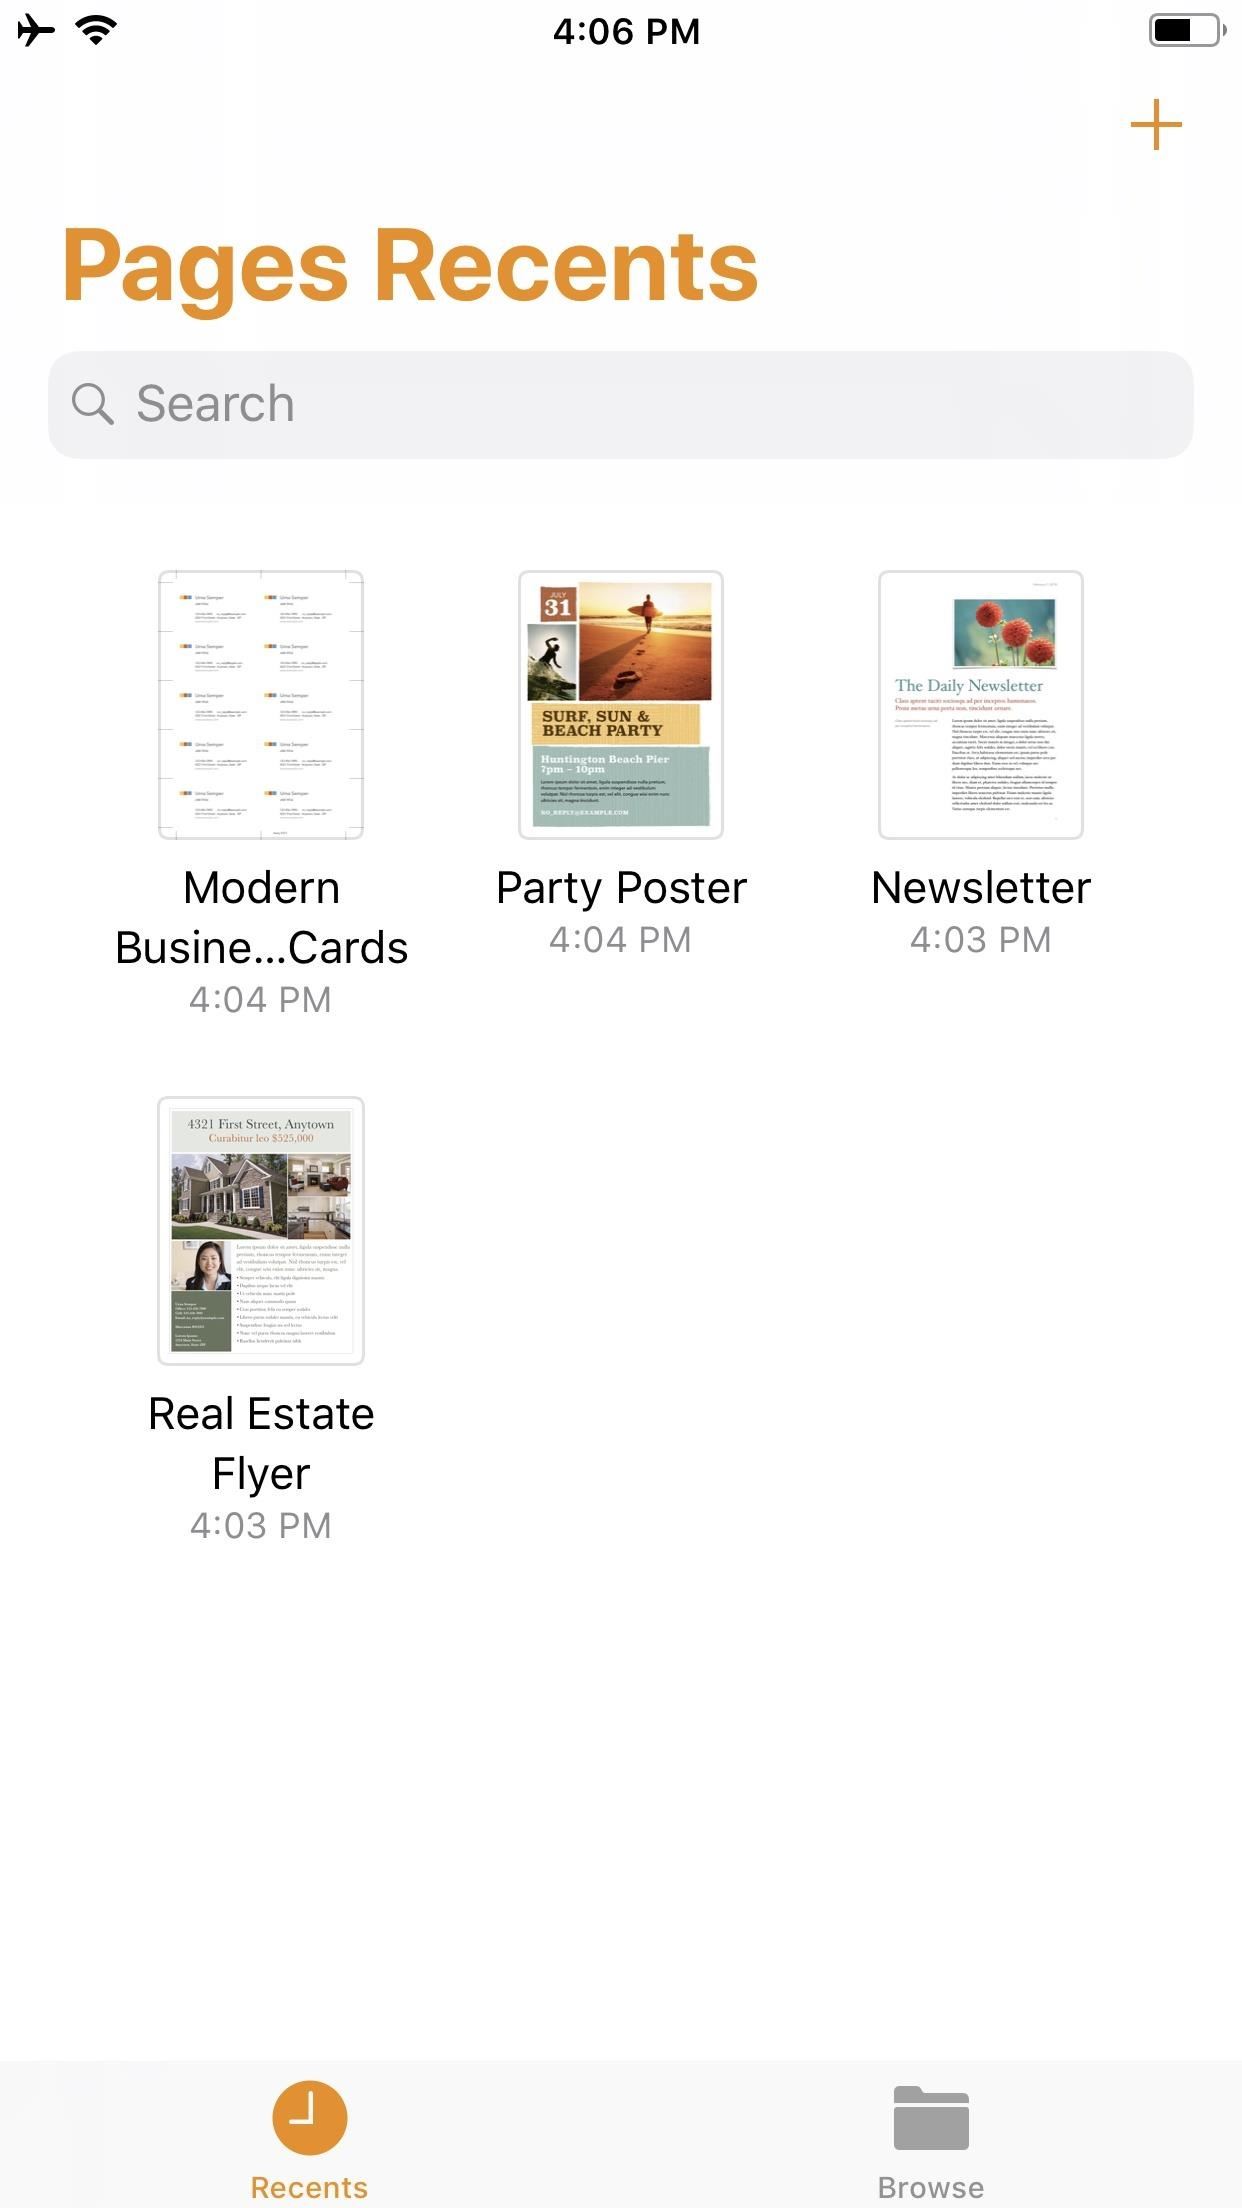
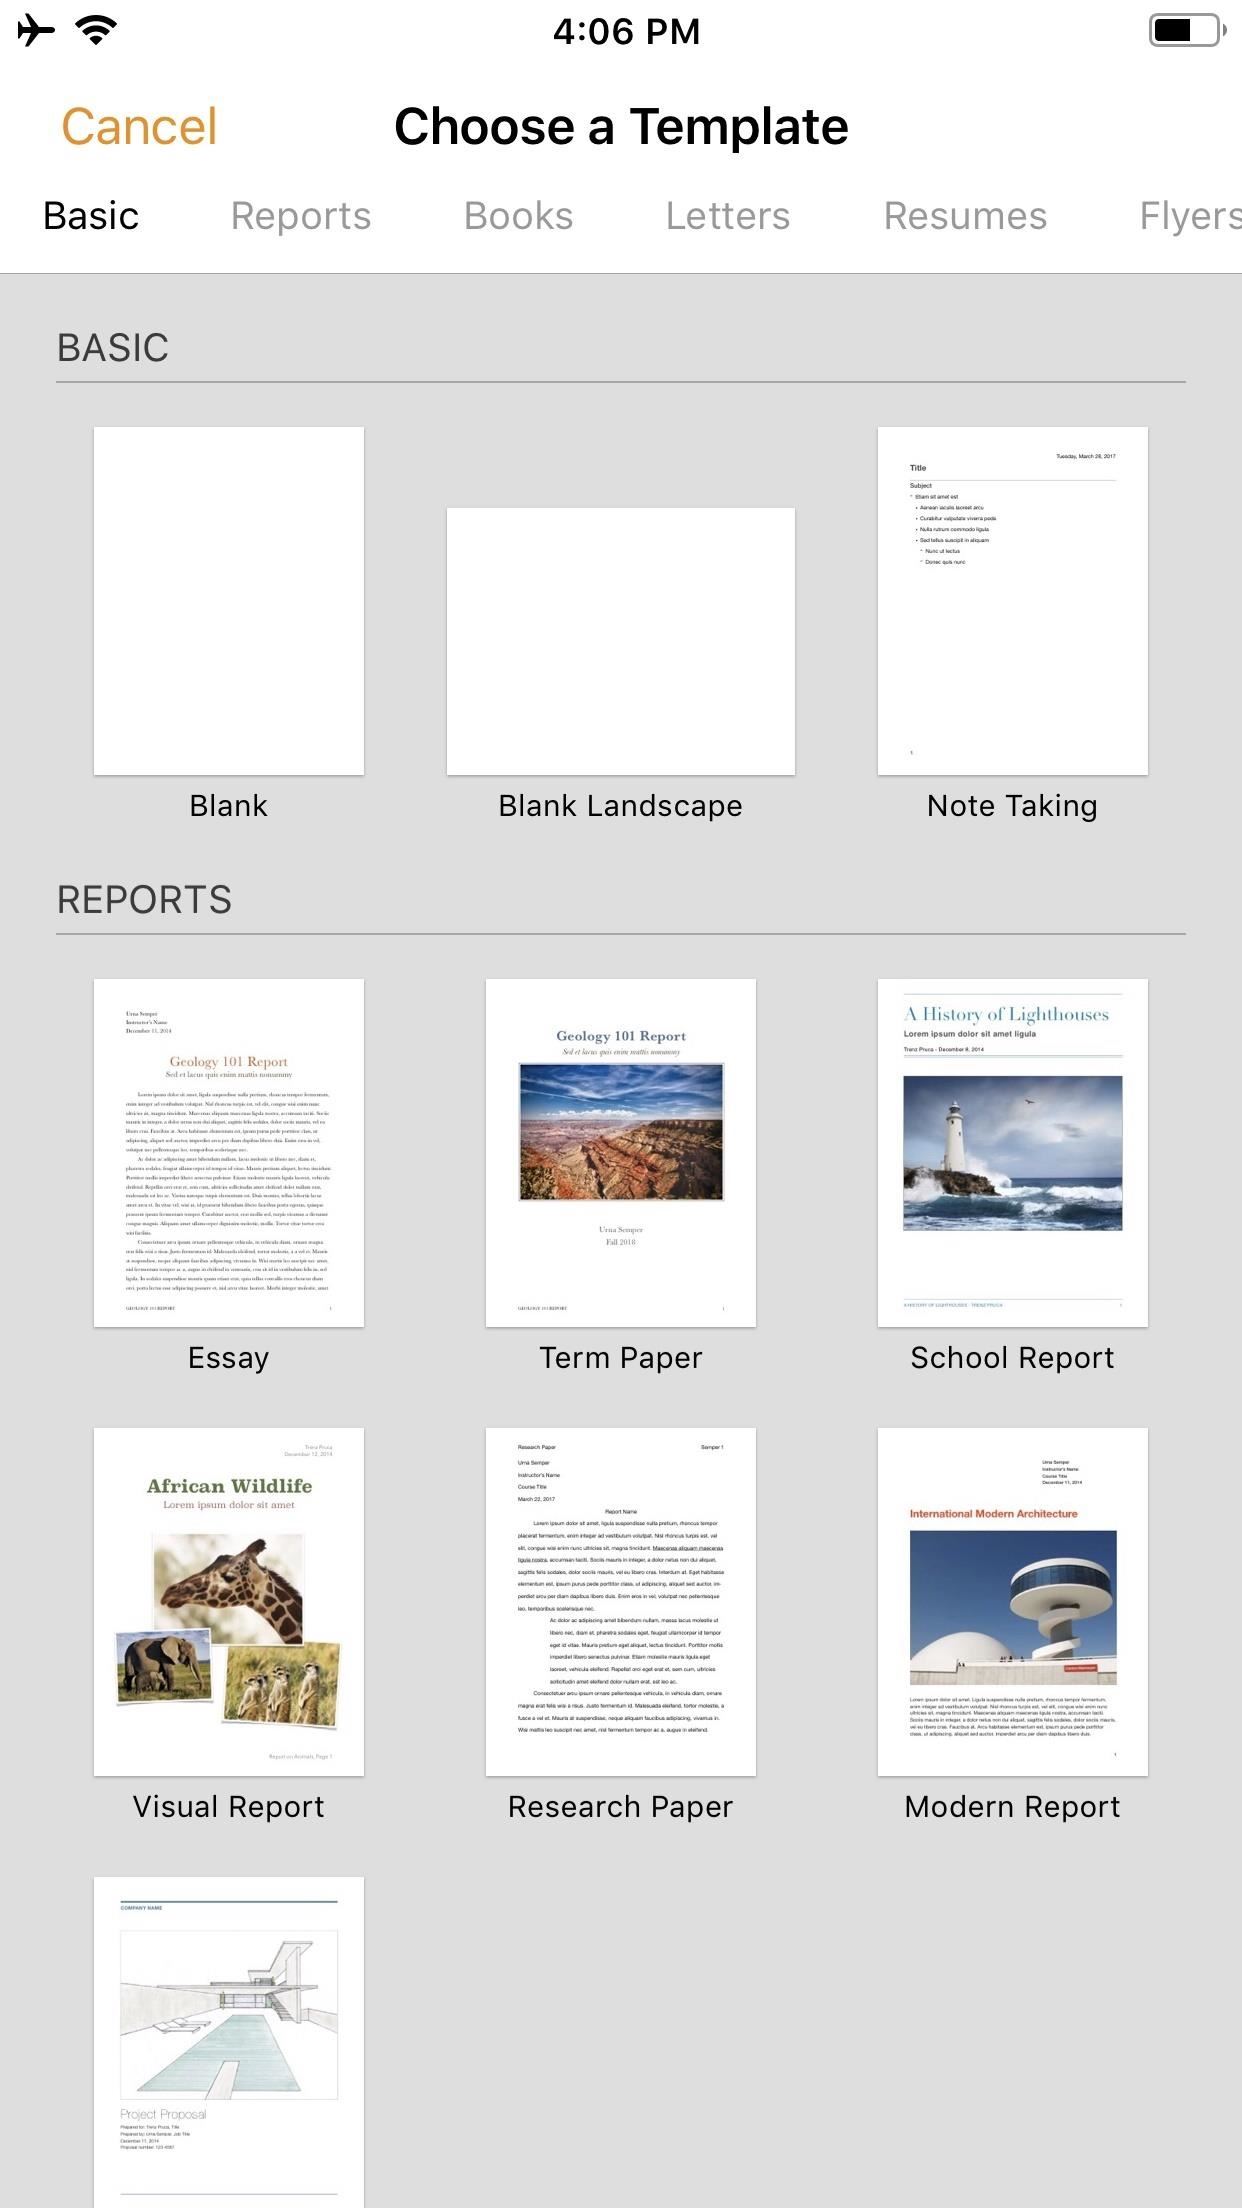
Once you launch Pages, create a new document by tapping on the "+" icon in the top-right of the screen. This will bring up the Choose a Template screen. For our purposes here, tap on something simple like "Blank" which will be the first option at the top of the screen.
Step 2: Create an Illustration
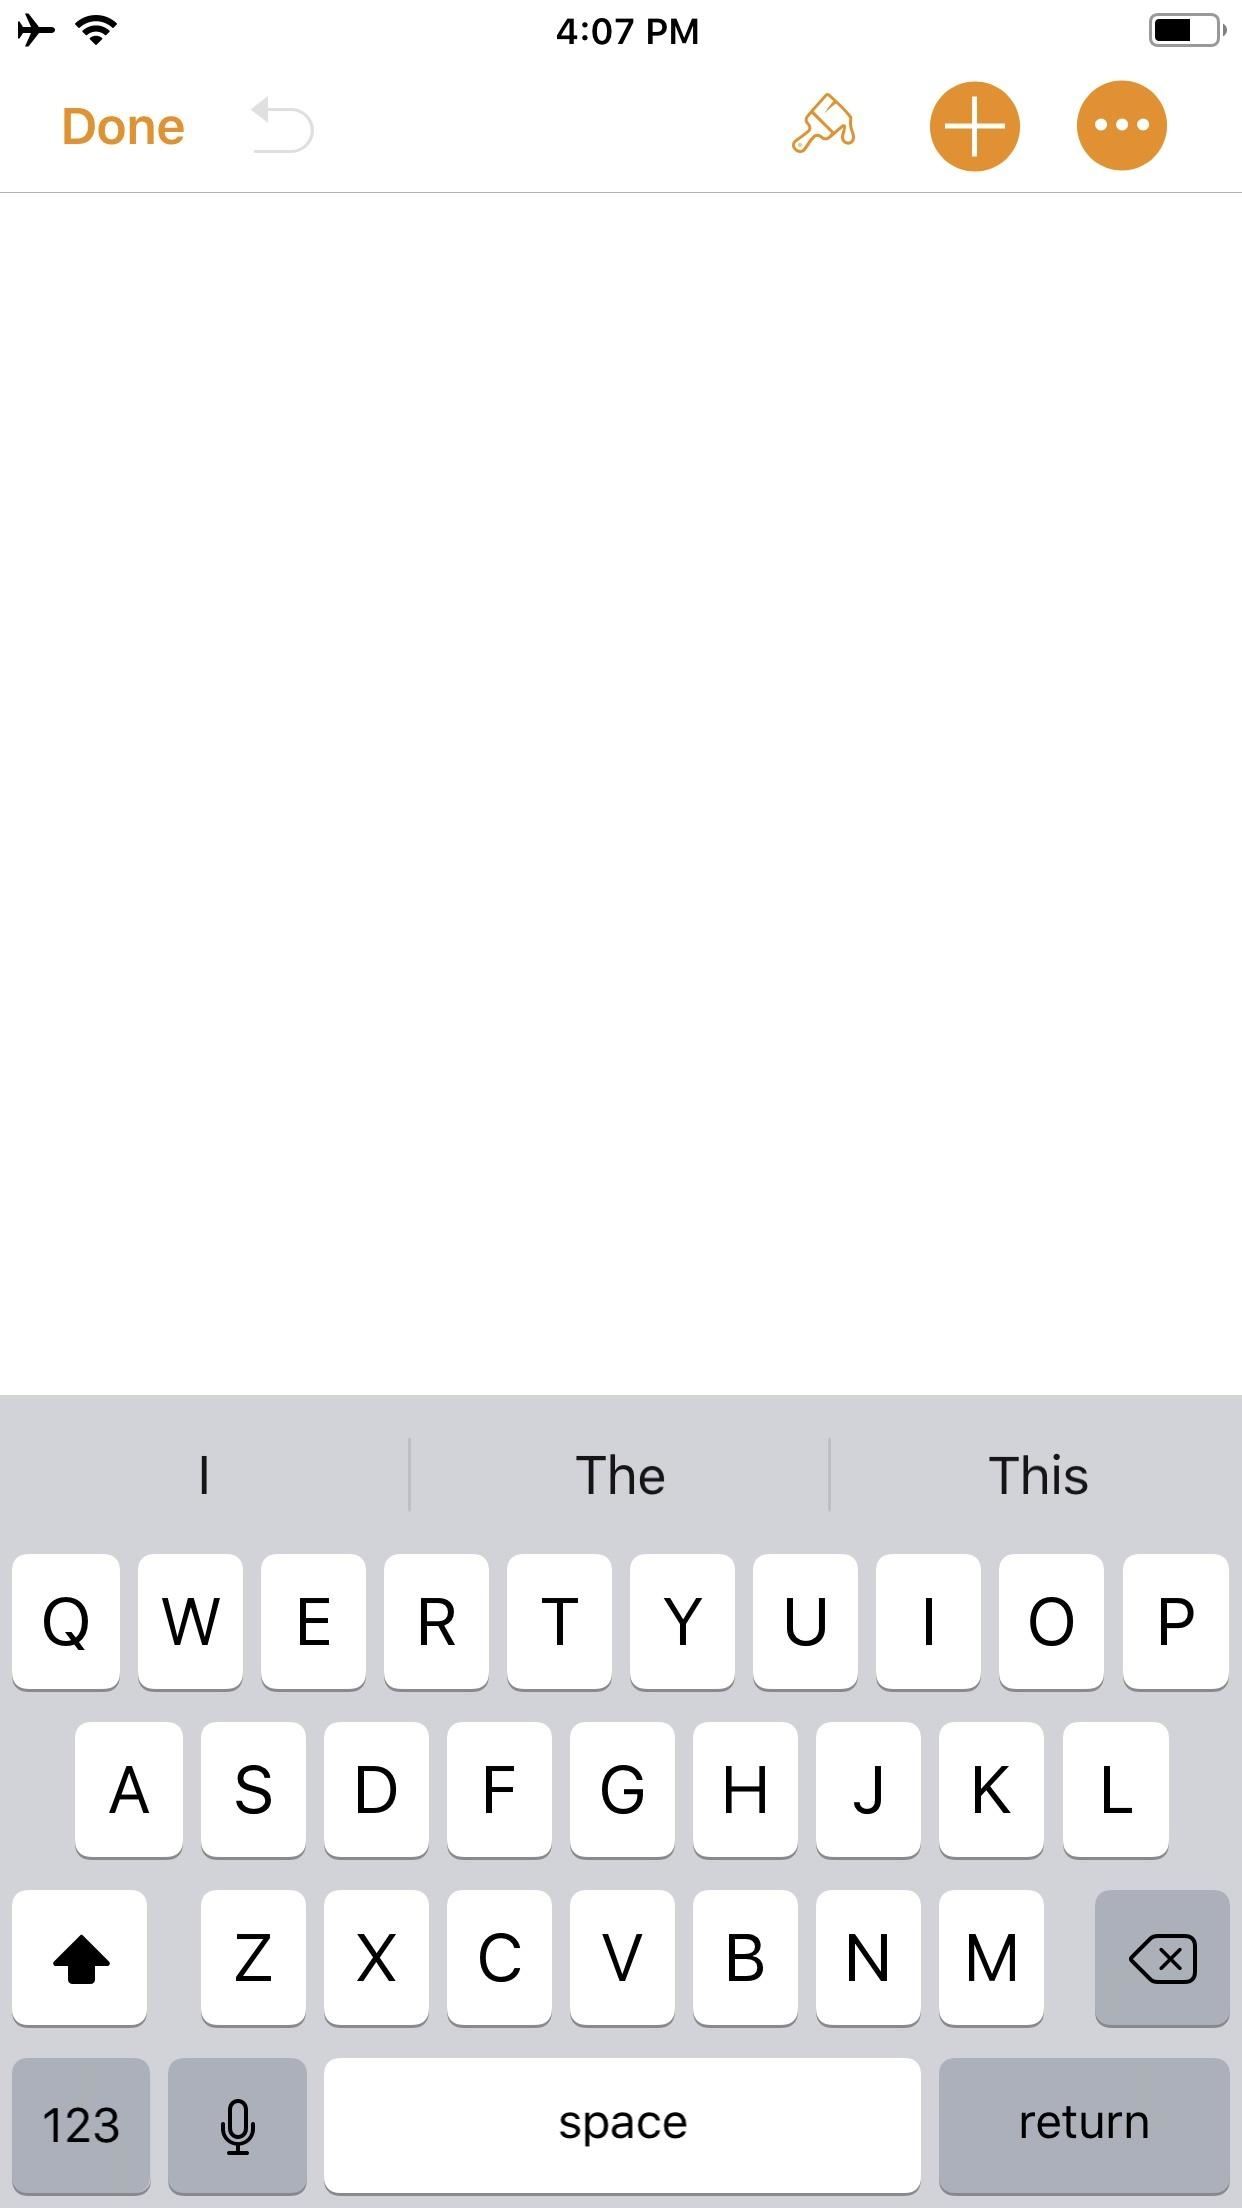
You should now be staring at a blank document, complete with a blinking cursor. Tap on the "+" icon in the top-right corner to view the objects menu. Once there, make sure you're on the "Media" tab (the fourth tab with the photos icon), then tap "Drawing" near the bottom.
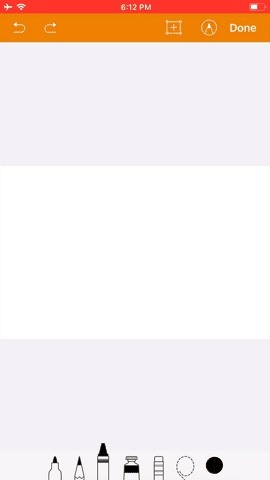
The drawing tools will appear and you'll see an orange header above. If you're in a word-processing document, like "Blank" would be, a white canvas will appear. If you're in a page layout, like a newsletter or poster, you'll just be prompted to draw on the page wherever you'd like.

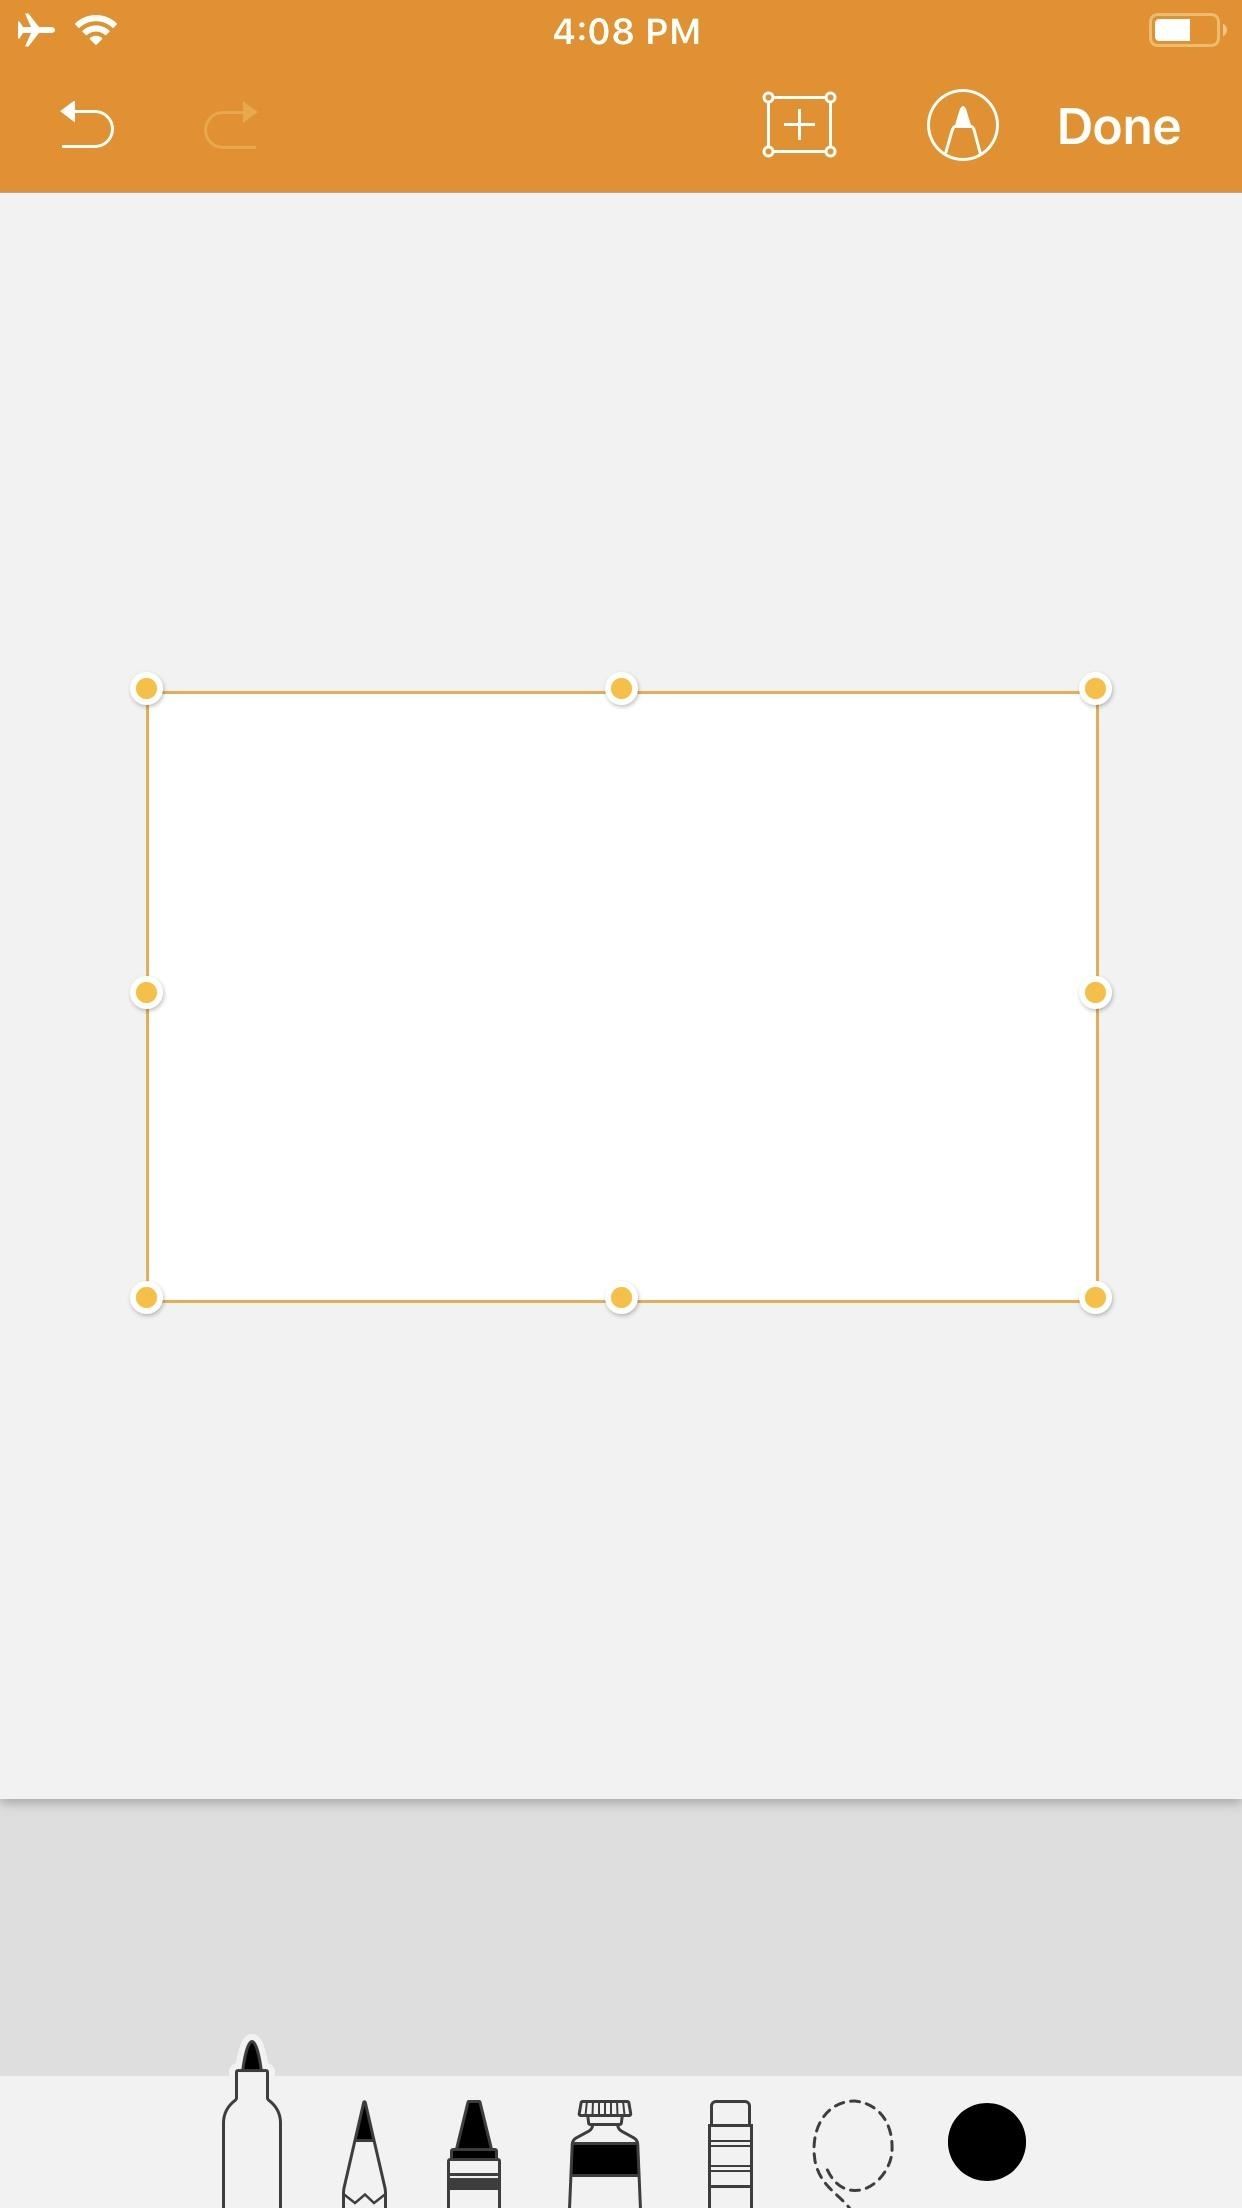
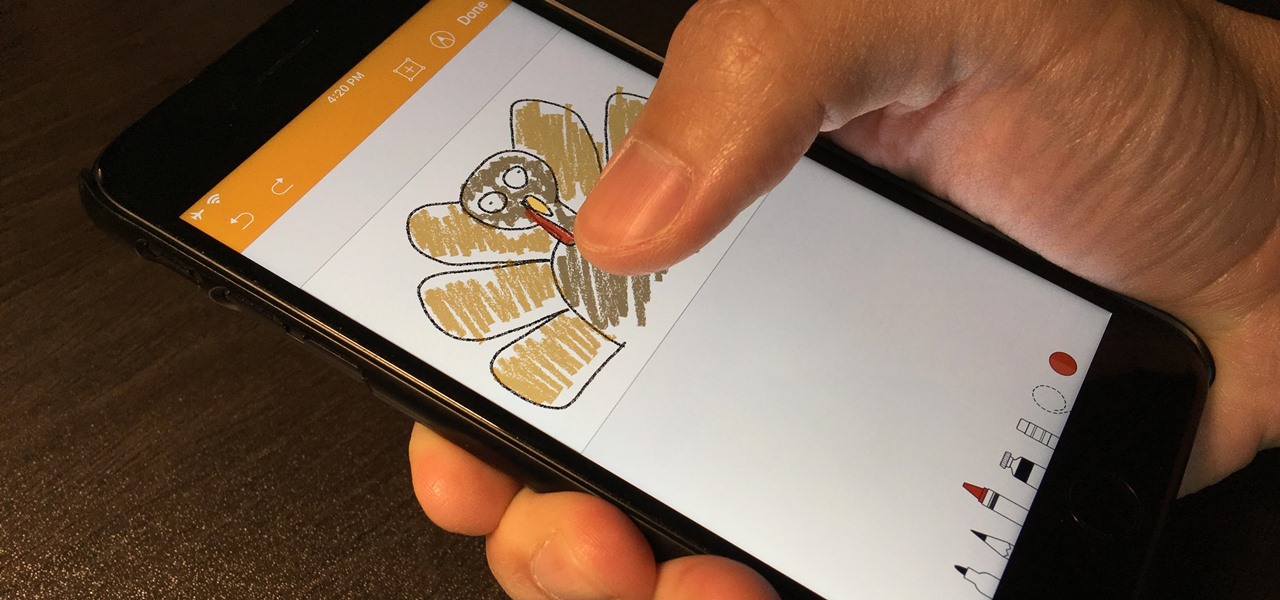
Your drawing tools appear at the bottom of the screen, and this entire row can be toggled up or down by tapping on the drawing icon (a pen within a circle) in the top-right. As you illustrate, keep in mind that the order in which you create the image will be preserved in the animation later. Every line, stroke, and fill you make will be presented in the order that you draw them. Think of it as a time-lapse of your drawing process.
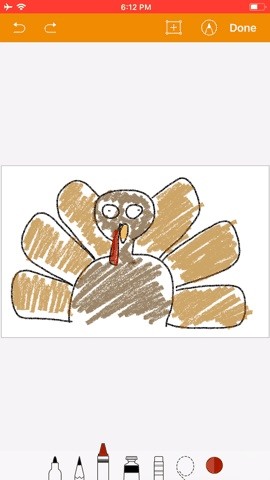
When you are finished with your doodle, tap on "Done" in the top-right corner.
Step 3: Animate Your Illustration
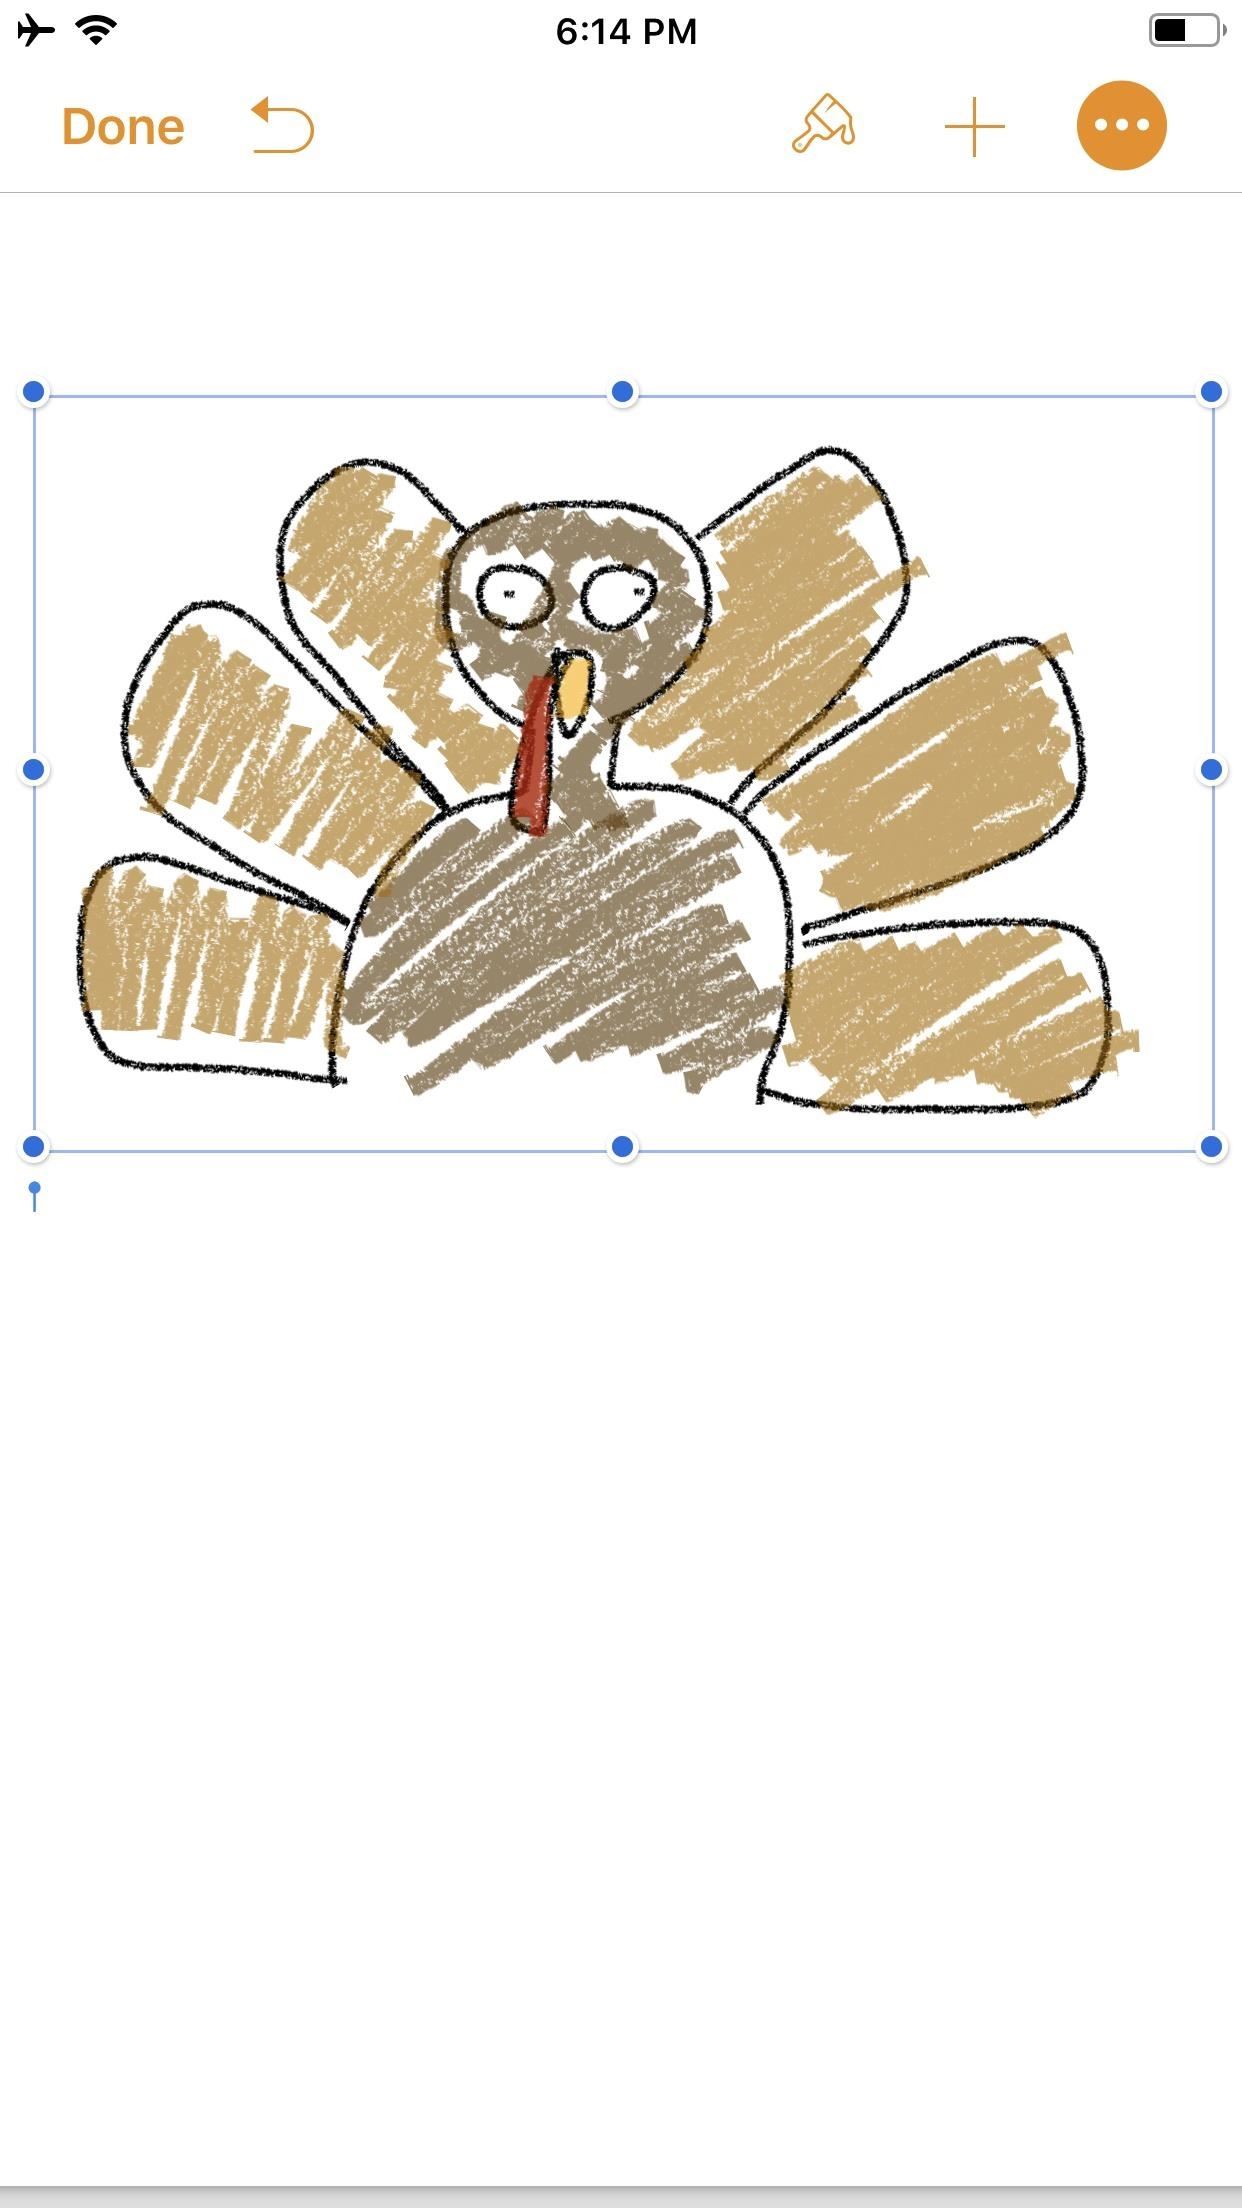
Your new illustration should appear in the original document screen. It should already be selected if you have just tapped "Done" (a light blue rectangular frame appears around the illustration), but if not, tap on the drawing to select it.
Once selected, tap on the "Paintbrush" icon in the top-right to access its options. Note that if your image is near the top of the document, when you tap on the image, the black contextual menu will pop up and cover the "Paintbrush" icon. This is because the image is, after all, a part of a Pages document. Just tap the drawing again to hide the contextual menu and reveal the "Paintbrush" icon.
In the options menu, make sure the "Drawing" tab is selected, then toggle on "Animate Drawing" below it. New options will appear for "Duration" and "Loop." The former allows for an animation as short as 0.10 seconds to as long as one minute. Basically, you can choose the speed of the animation (i.e., how quickly your illustration blossoms). The latter is if you want the animation to repeat, or loop, similar to the "Loop" for Live Photos effect (or like "Boomerang" in Instagram).

To preview the animation, tap "Play" under "Loop," and continue to make adjustments, until you get it exactly how you like it. You can even adjust the "Opacity" at the bottom, which gives you control of the animation's translucency.
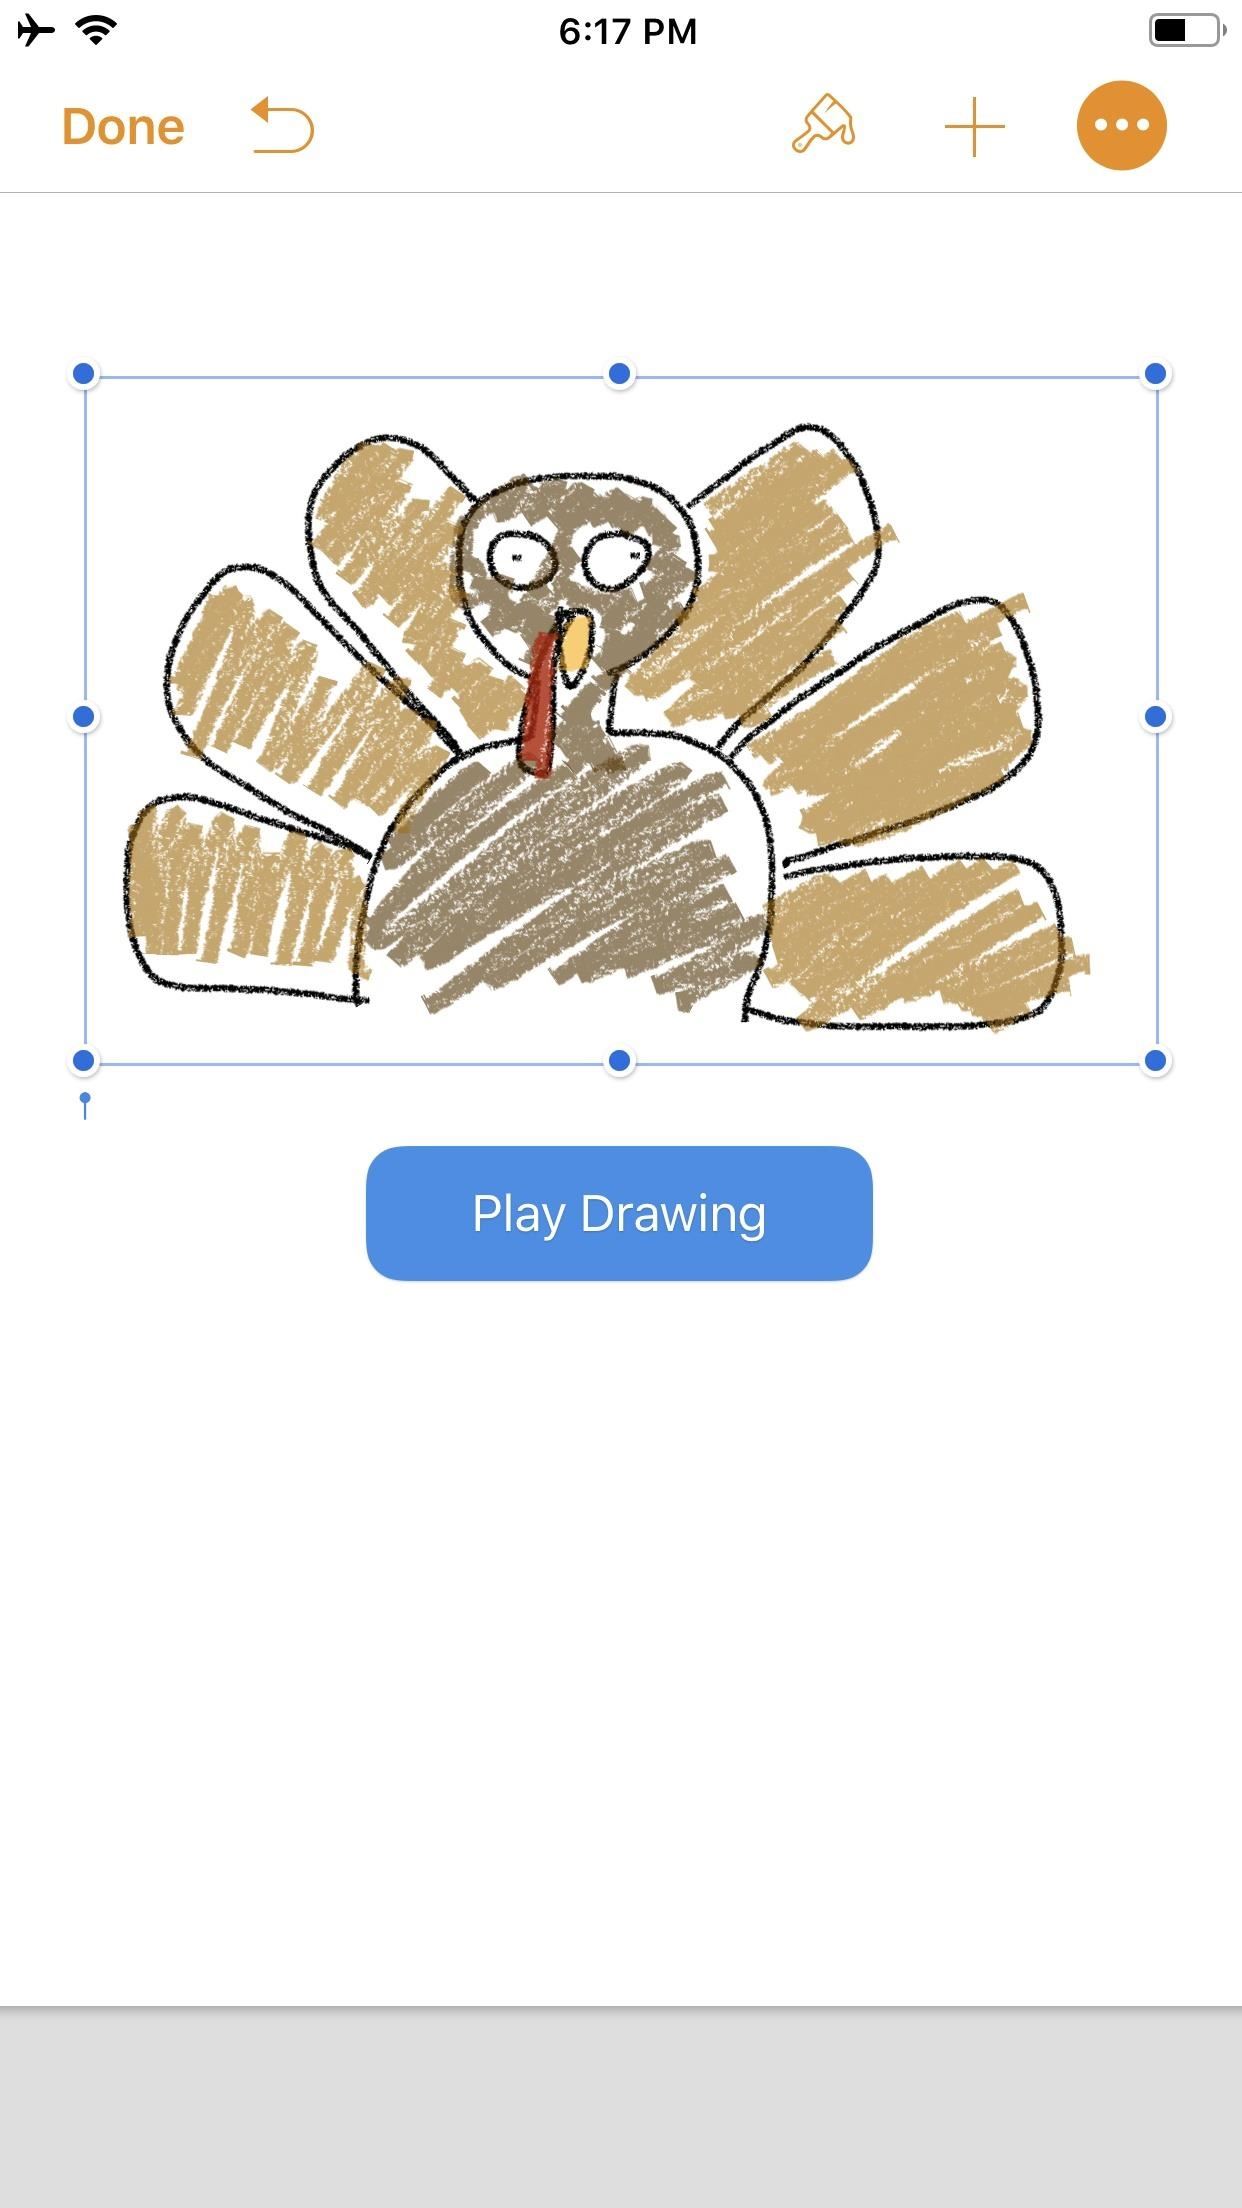
When ready, tap on "Done" in the top-left corner to close the menu (in landscape mode, tap anywhere on the document or hide the options menu with the down arrow to see "Done"). Now, whenever your drawing is selected on the page, a blue "Play Drawing" button will appear so you can quickly watch the drawing's progress in action whenever you want.

Step 4: Create & Share Your Animated Video
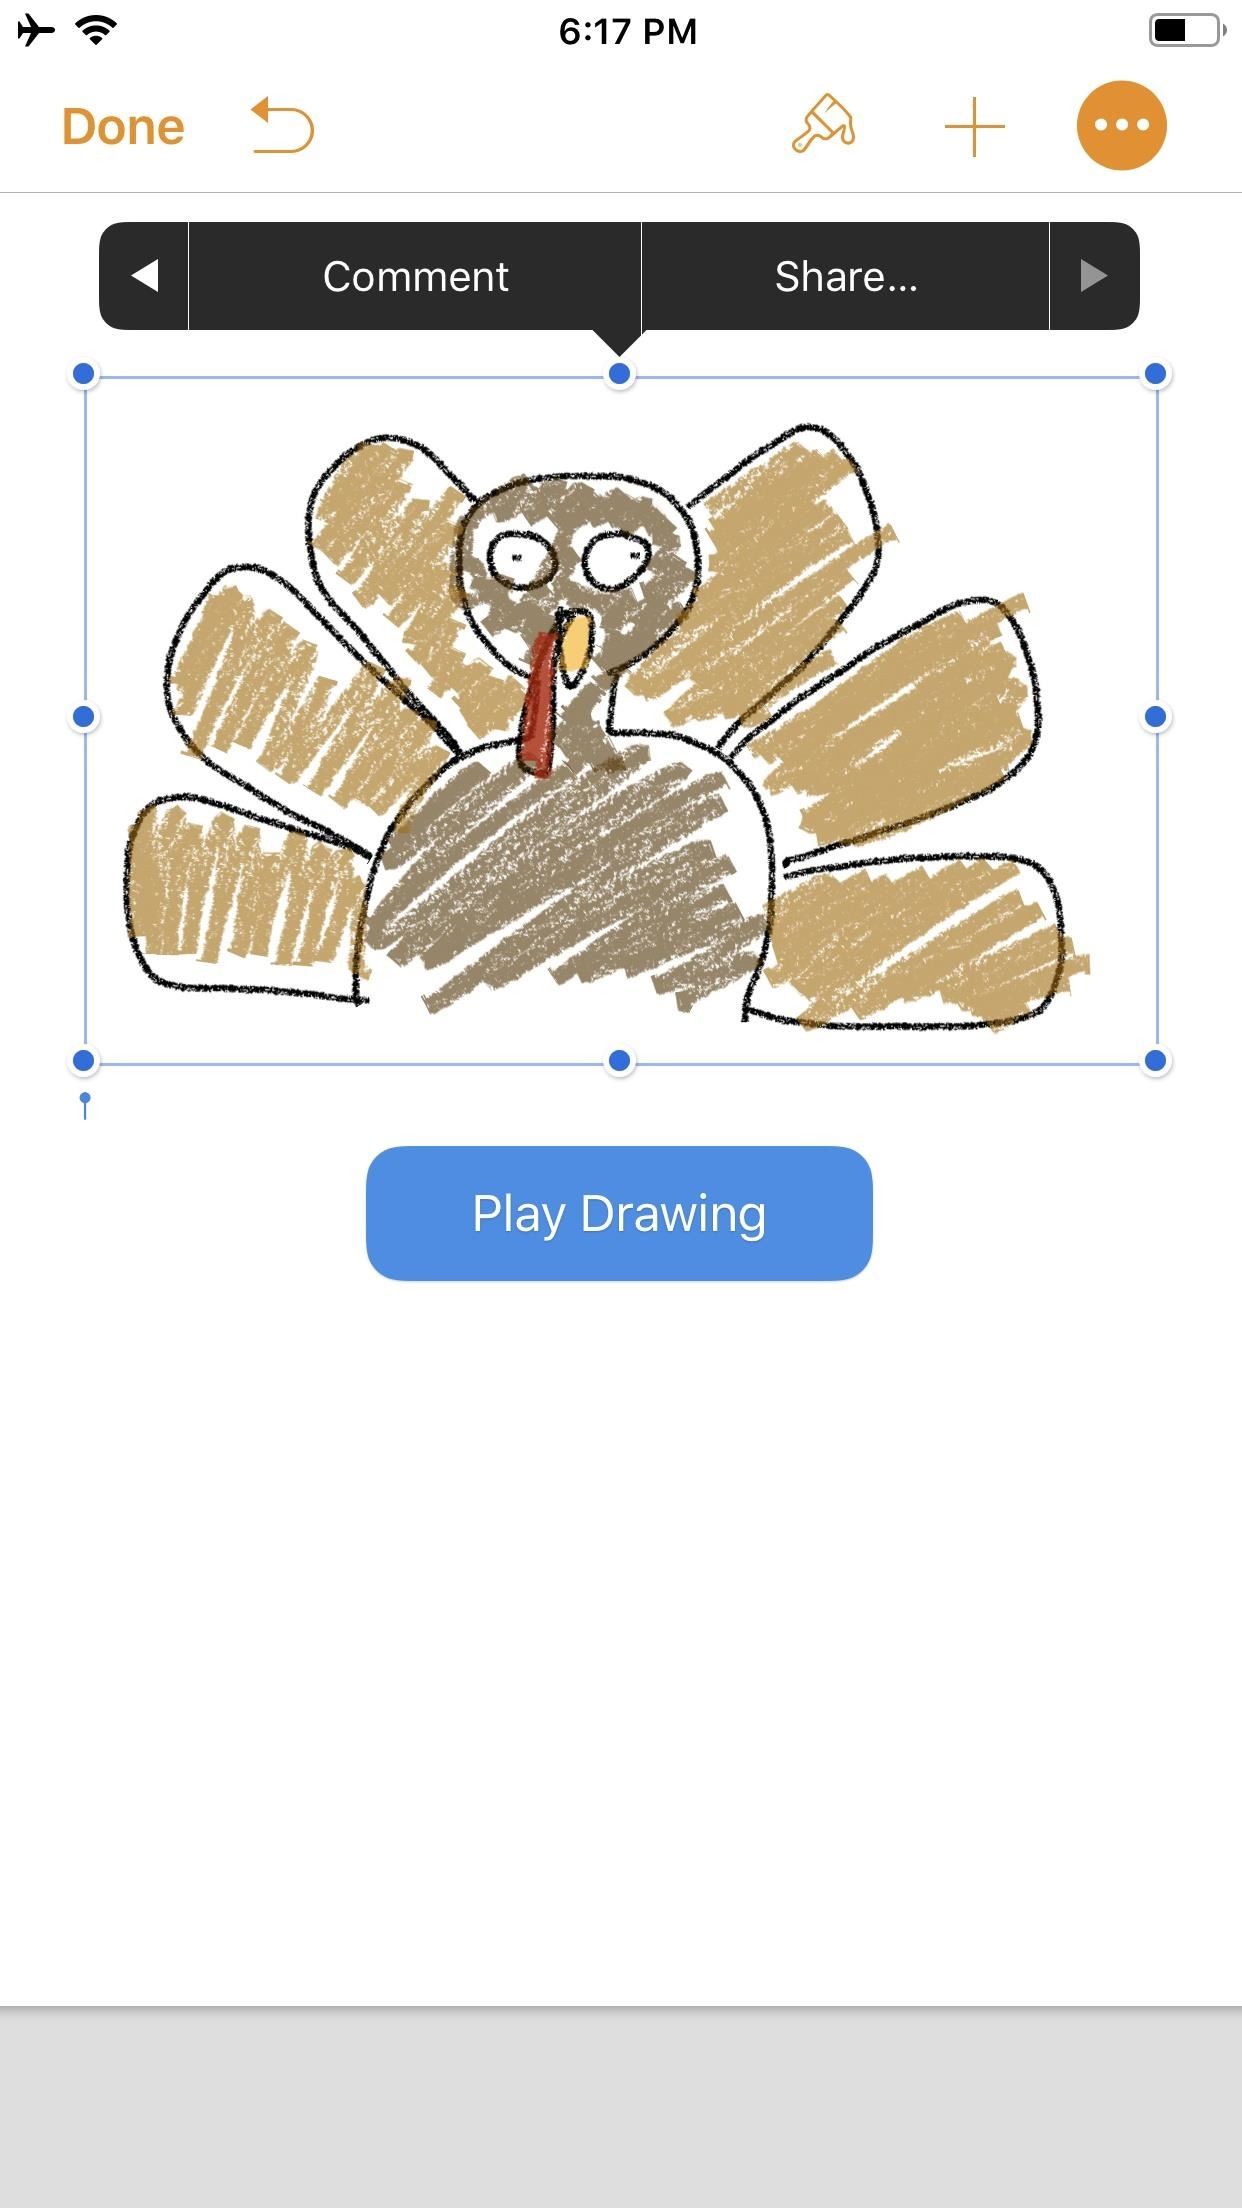
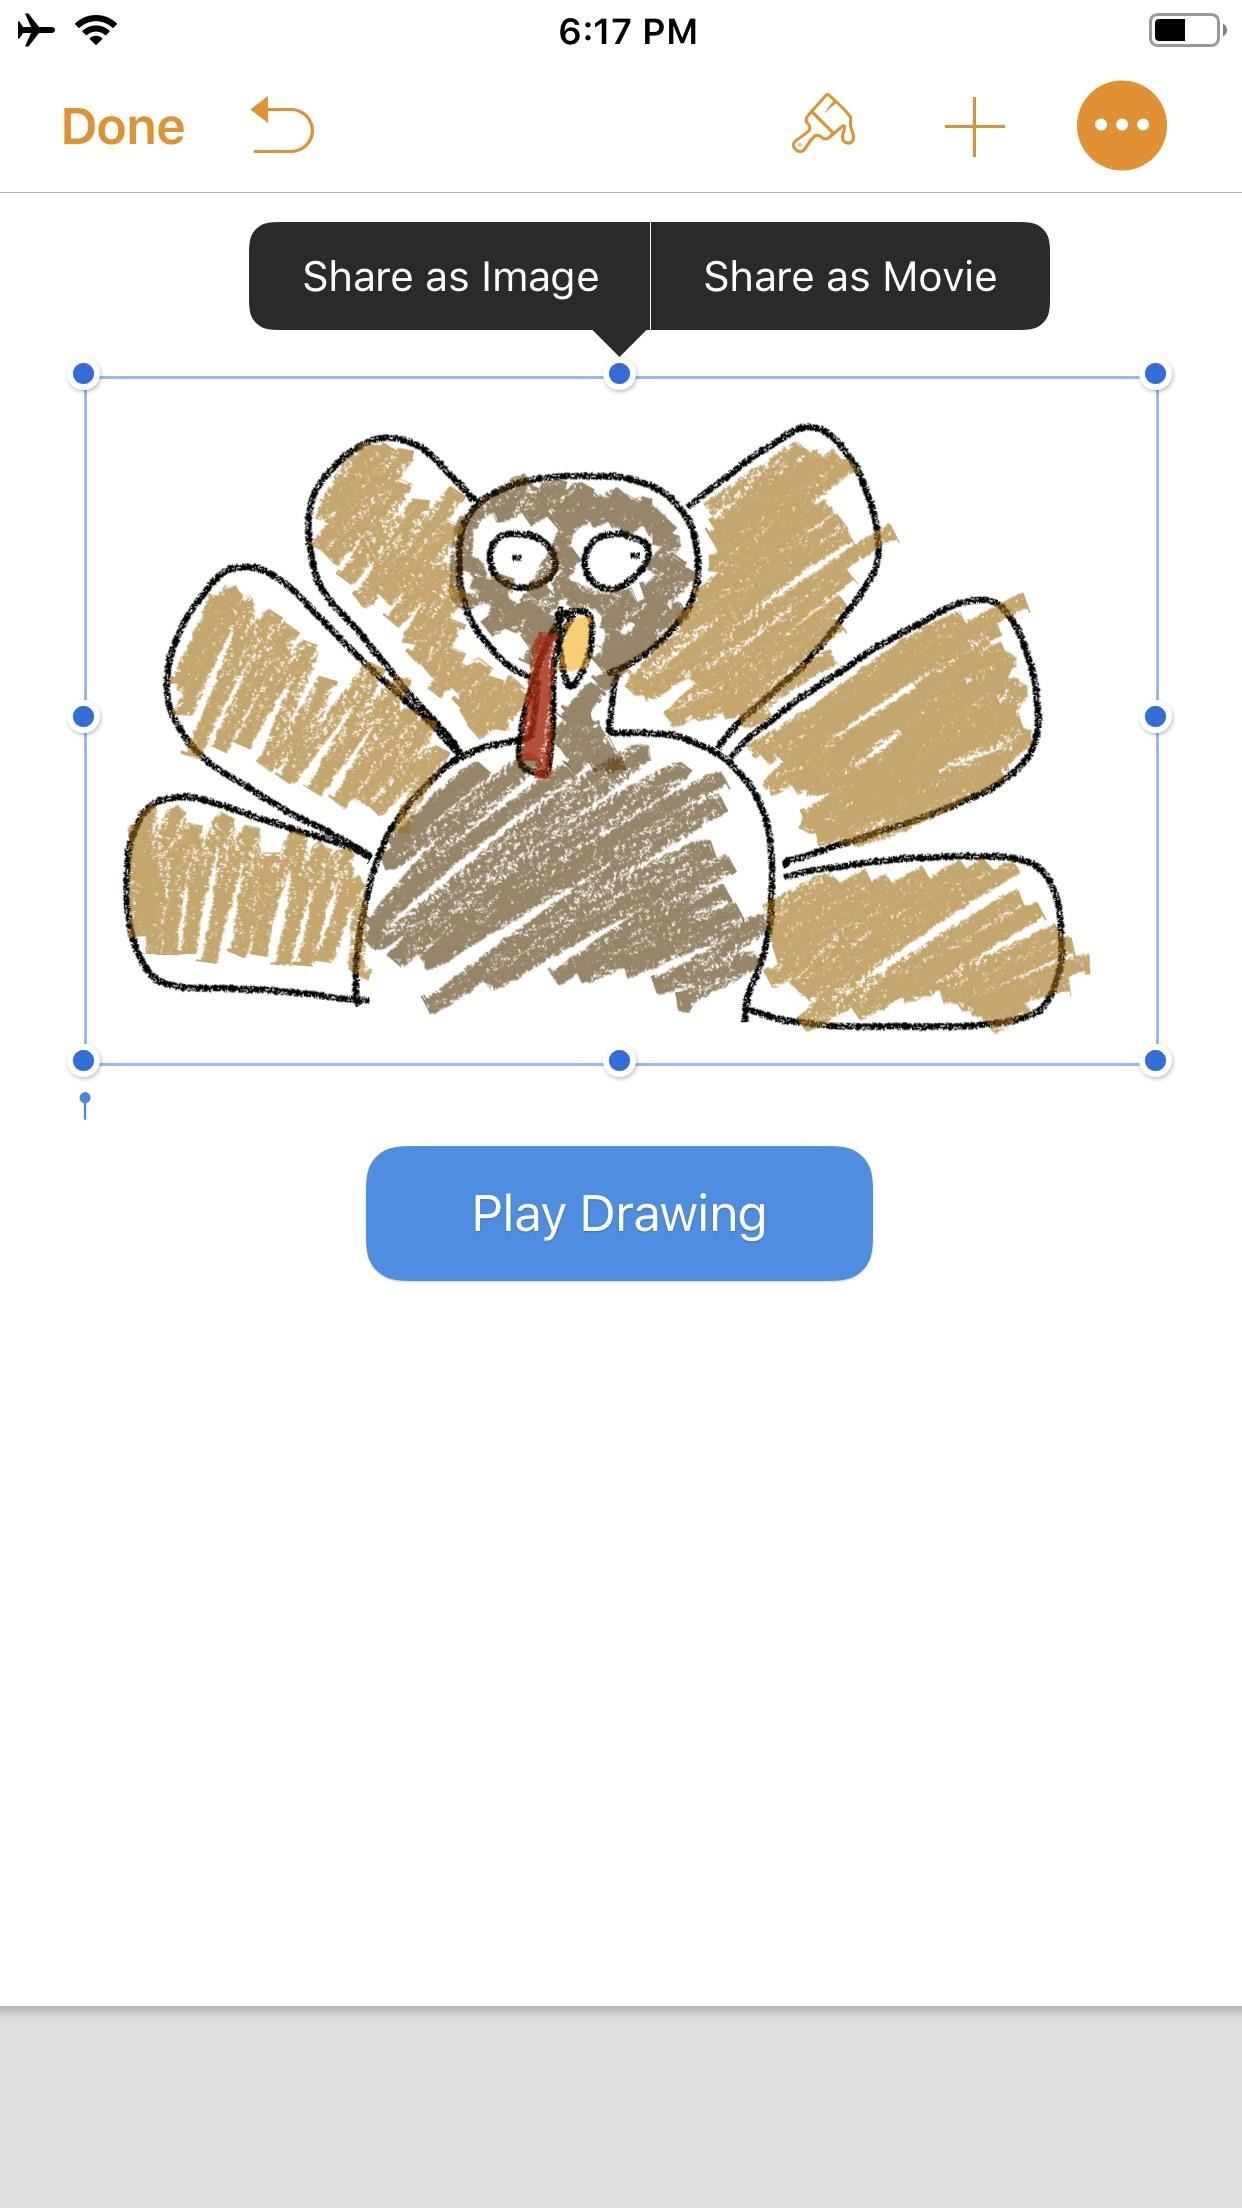
Notice the options that appear in the black contextual menu above your illustration when you select it. Tapping on "Share..." (the last option) will bring up two additional choices: "Share as Image" and "Share as Movie." Tap on the latter.
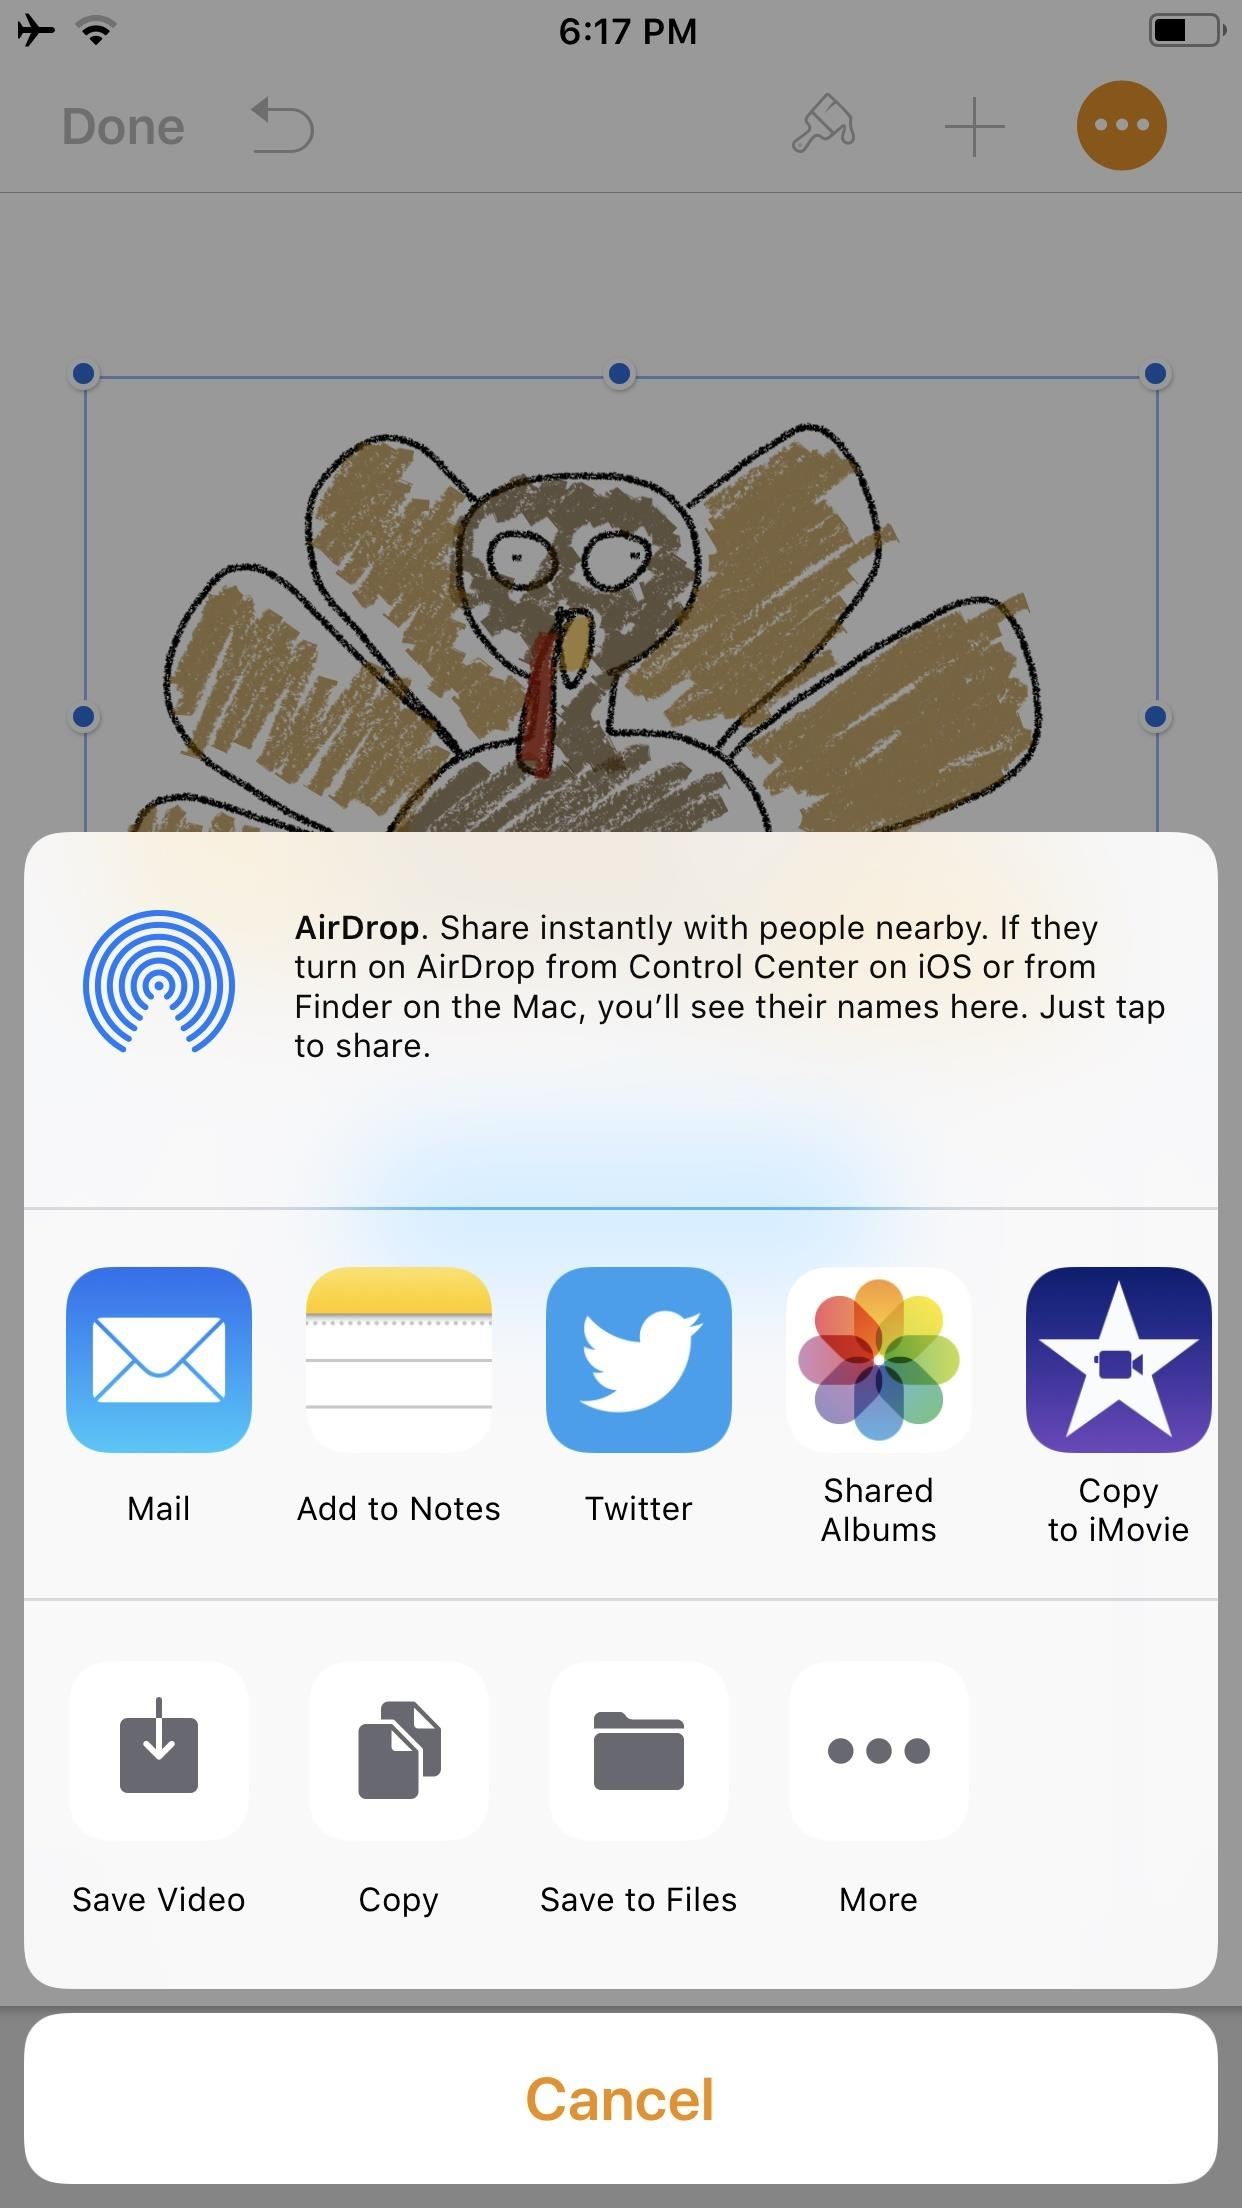
The share sheet will pop up after the movie is done preparing, allowing you to share it as a video via AirDrop or to an app such as Mail in the share extensions row. You can also choose from the actions row to "Save to Files" or "Copy." I prefer to use "Save Video" so the animation is downloaded to the Photos app. This way, I have a local copy of my video along with the same sharing options from the share menu.
The file format is .m4v, making it compatible with many platforms.
Keep in mind that the above steps are a hack to generate an animation using Pages as a means to a video end. The intended purpose, as advertised by Apple, is to incorporate pizzaz to a document. Thus, if you incorporate an illustration with text and export it as a Pages document to other iOS/macOS users, any animation that has been toggled on will be retained for playback. Otherwise, if the document is exported as a format that is not able to handle video — such as a PDF — the image will be retained but solely as a still, so no animation option will be present.
Just updated your iPhone? You'll find new emoji, enhanced security, podcast transcripts, Apple Cash virtual numbers, and other useful features. There are even new additions hidden within Safari. Find out what's new and changed on your iPhone with the iOS 17.4 update.


Be the First to Comment
Share Your Thoughts