
An iPhone's display can get seriously bright, whether LCD or OLED. When you're in bed at night or in a dark room where you don't want to disturb others visually, the brightness is even more noticeable. But there are a few built-in ways in iOS to reduce brightness below the default levels for less eye strain and other reasons.
With the built-in tools that Apple provides for display brightness, you can turn the screen light so low that the display appears to be off, to give you an idea of just how dim it can get. For that reason, it's best to turn your screen brightness all the way up before starting with Step 1 below. If you don't remember how to adjust display brightness normally, reference Step 3 below.
Step 1: Reduce White Point
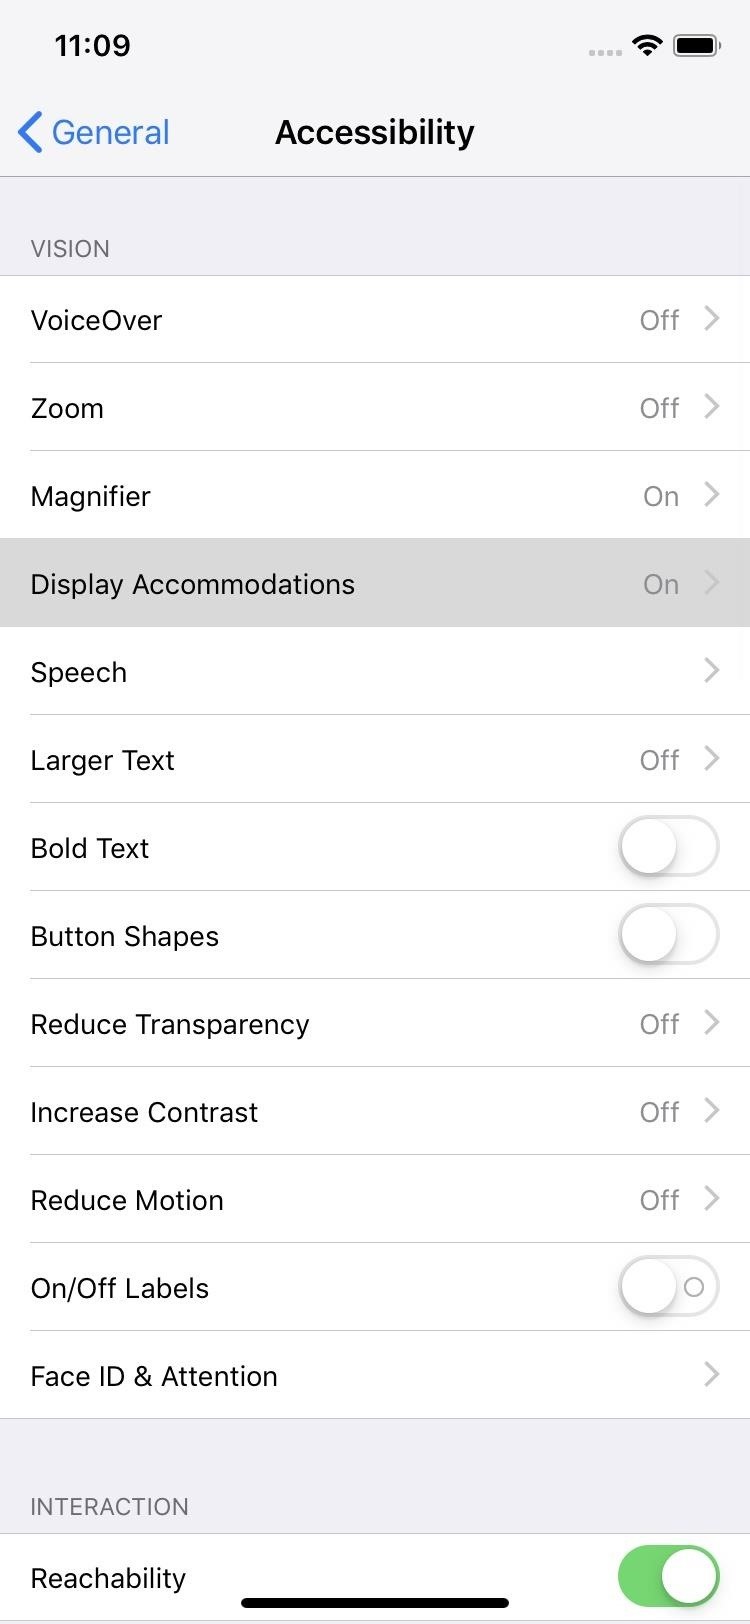
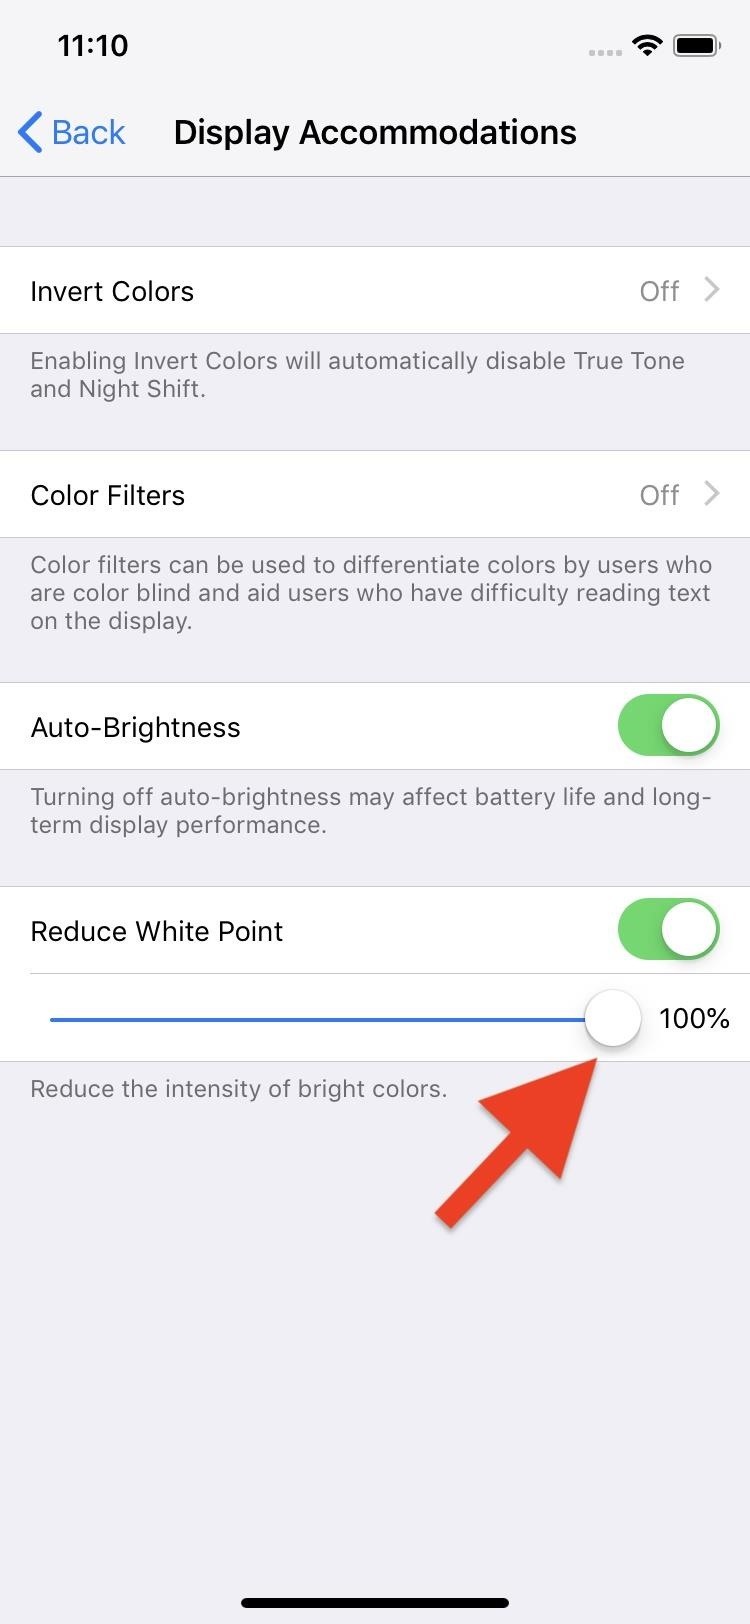
Those white parts on the screen are the brightness areas, so reducing how bright the whites are themselves will help push down the overall display brightness below the defaults. To do this, open Settings, tap "General," and open up "Accessibility." Next, tap "Display Accommodations," and toggle on "Reduce White Point." When the slide appears, slide it up to 100 percent.
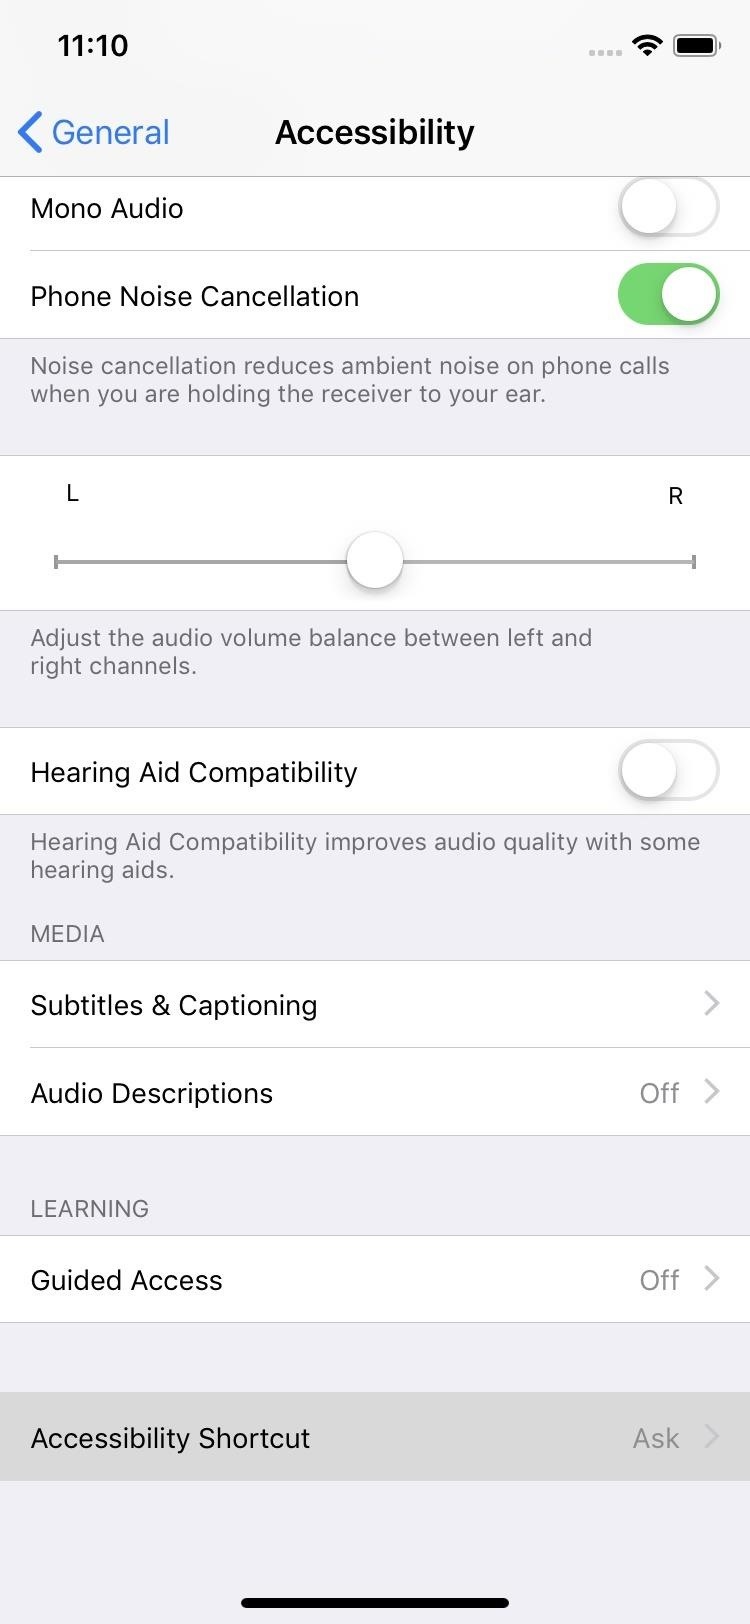
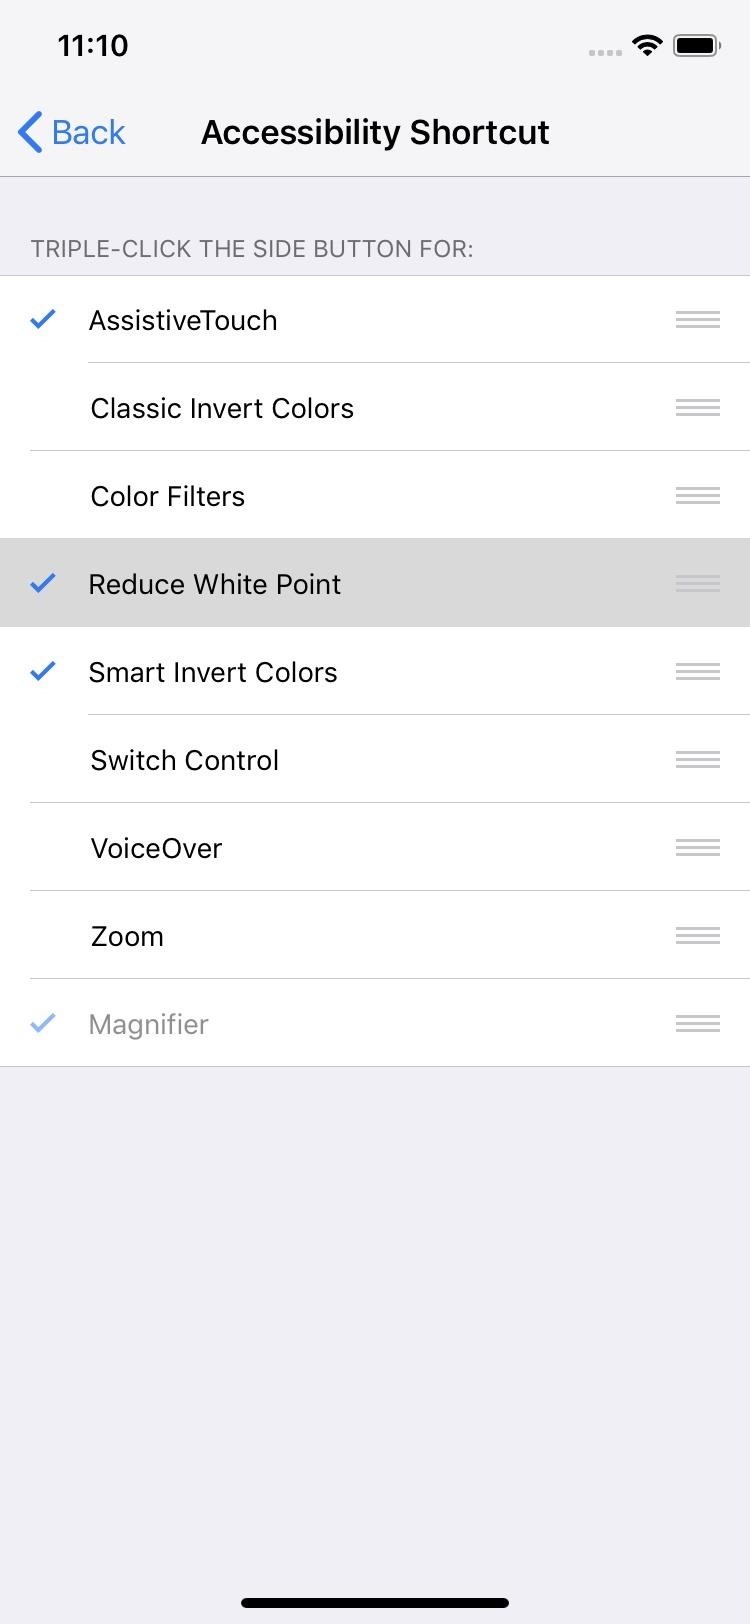
If you want to toggle this on and off faster, in the "Accessibility" settings, go all the way down and tap "Accessibility Shortcut." Then, just make sure "Reduce White Point" is checked. Afterward, triple-click either the Home or Side button, depending on your iPhone model.
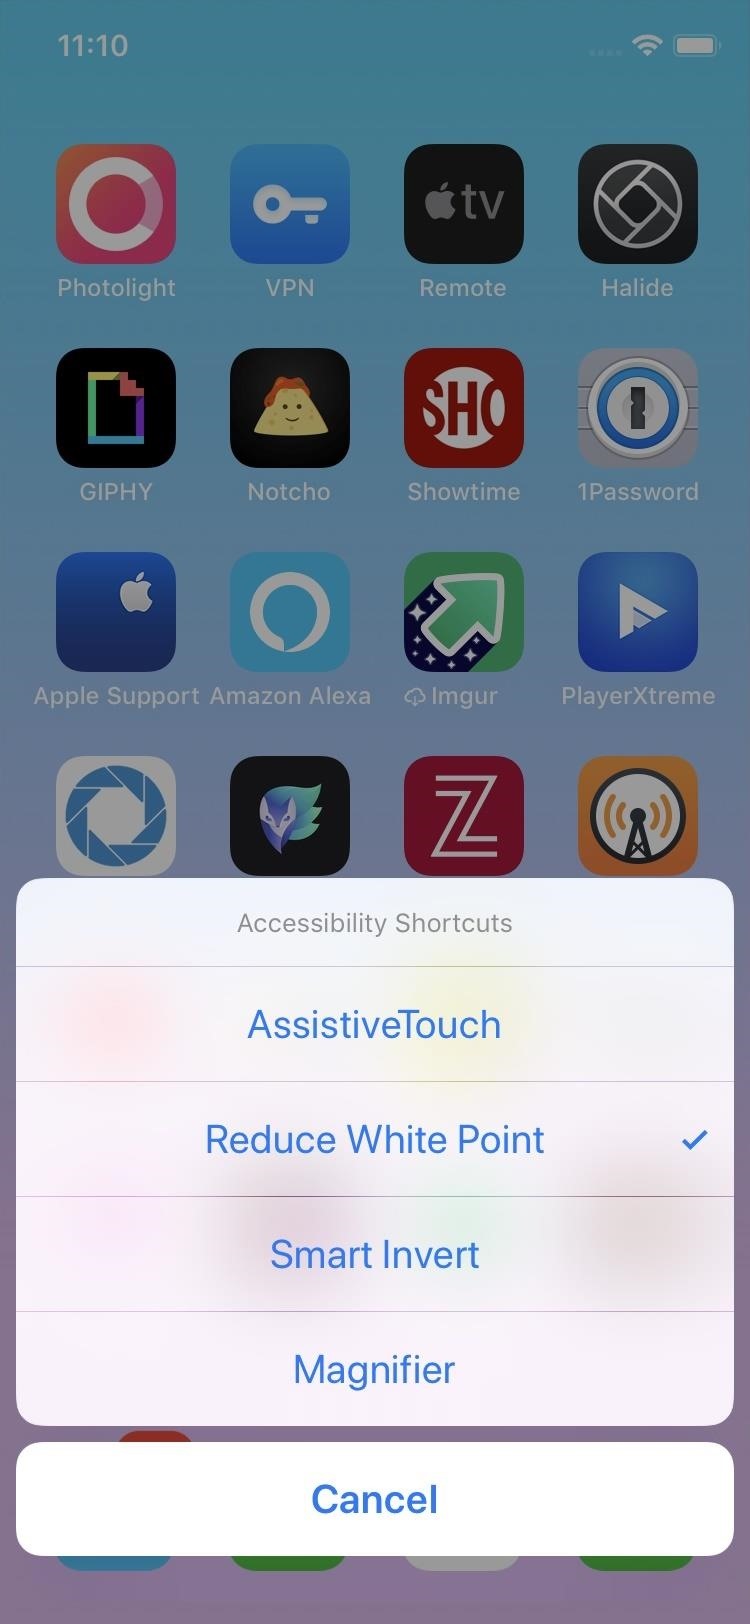
If you only have "Reduce White Point" checked for the accessibility shortcut, triple-clicking will turn it on and off right away. If you have more than one thing checked, an action sheet will pop up — tap "Reduce White Point" to turn it on or off.
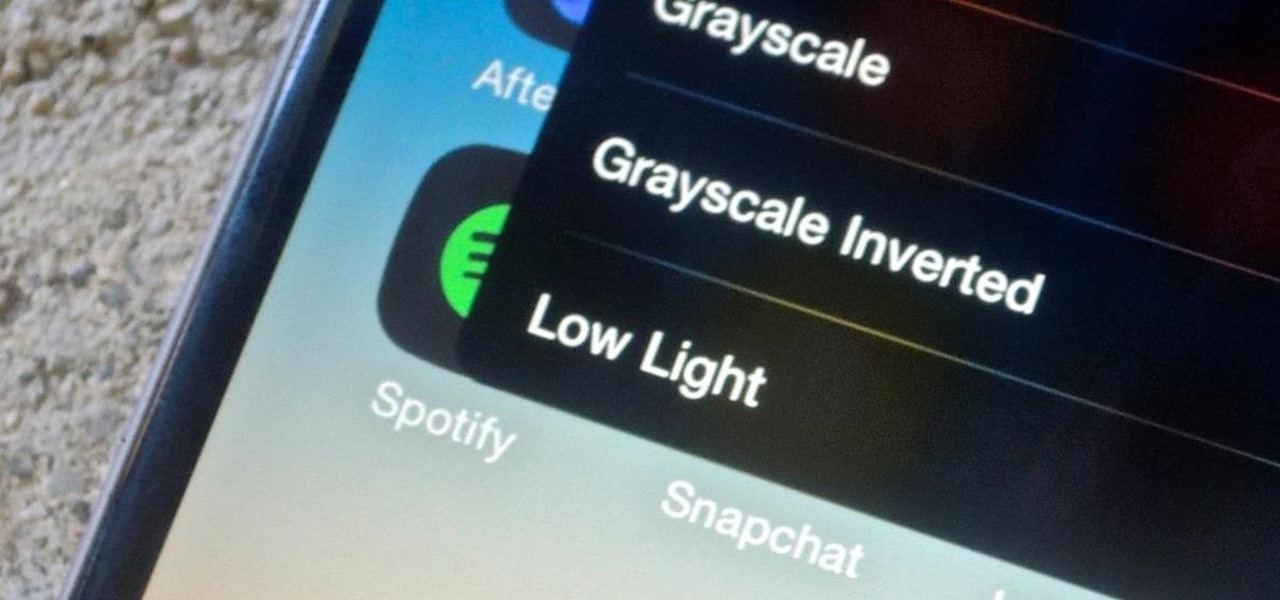
Step 2: Use the Low Light Filter
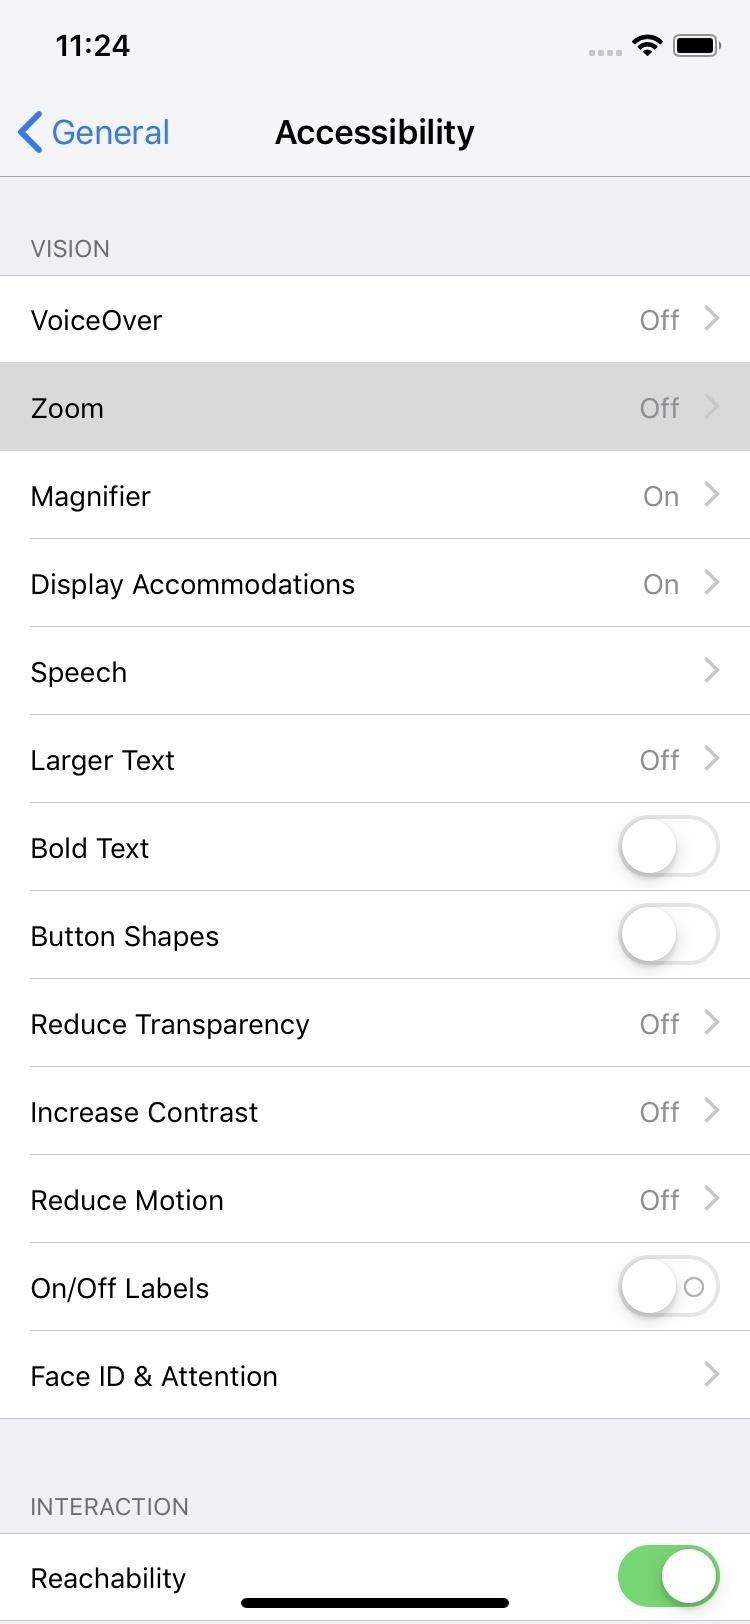
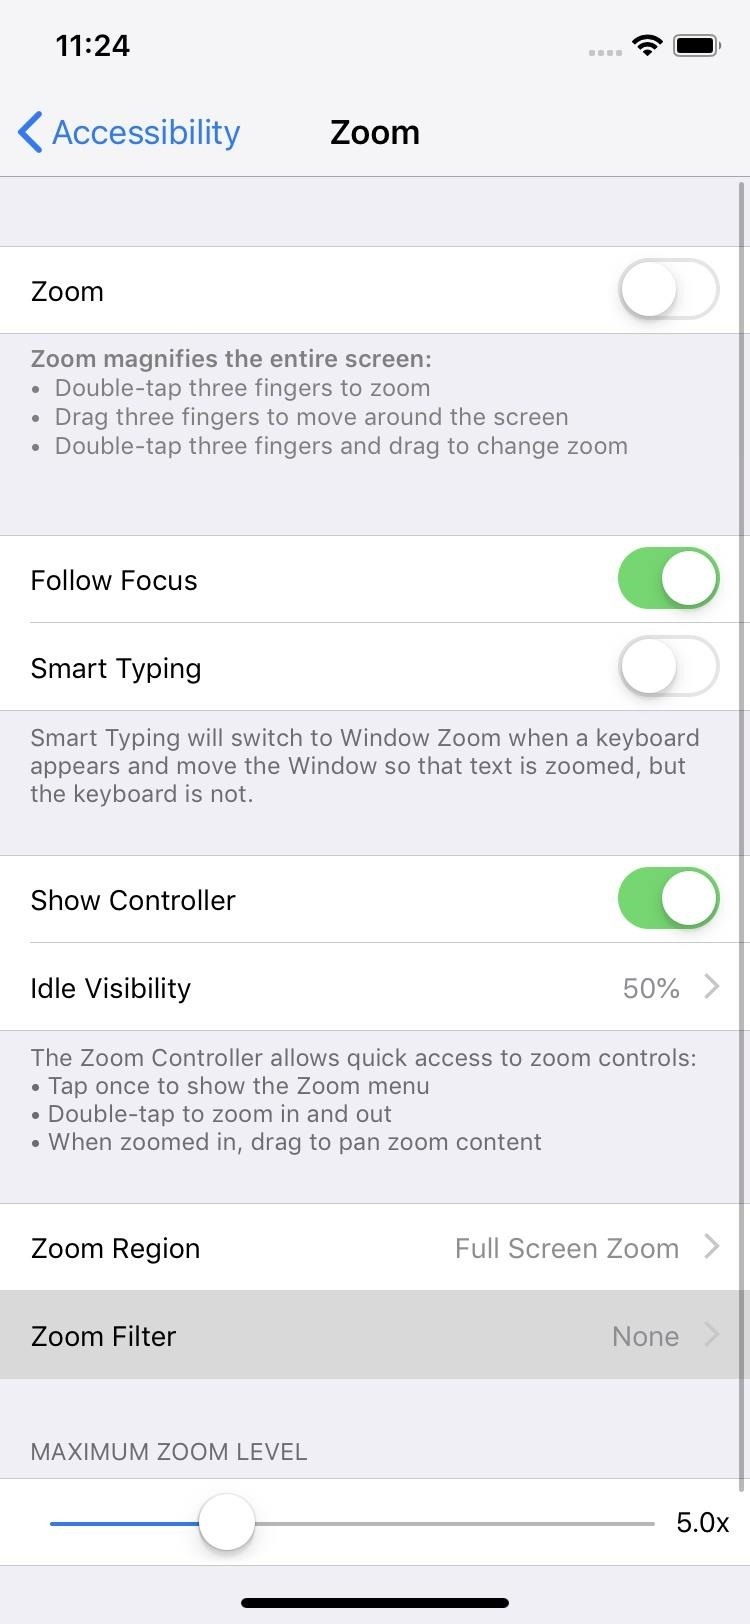
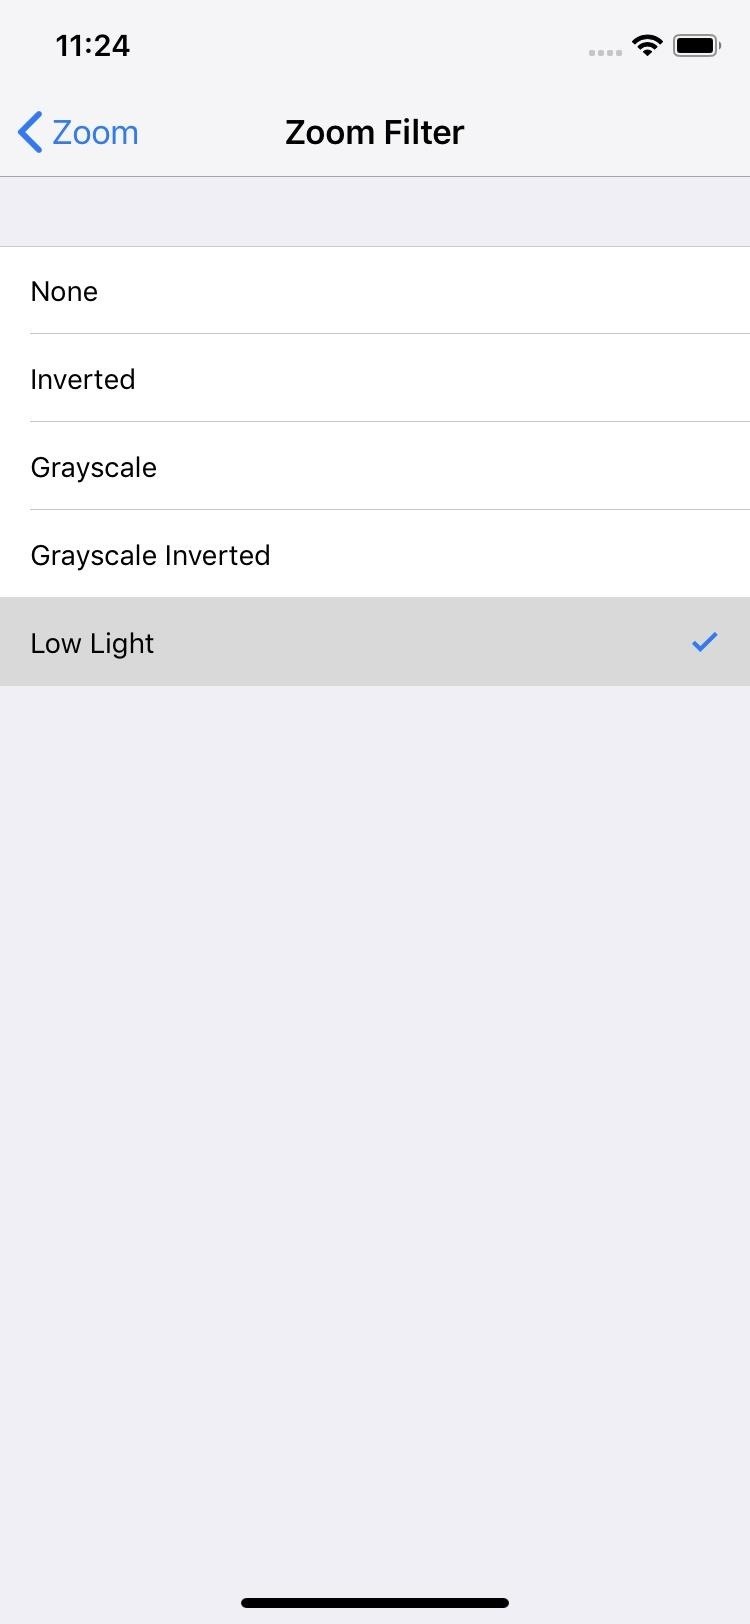
If lowering the white point still isn't dim enough for you, the second thing you can do is add the Low Light filter, which first appeared in iOS 8. To do so, open up Settings, tap "General," then "Accessibility." At the top, tap "Zoom," then select "Zoom Filter." Next, check "Low Light," and you're done.
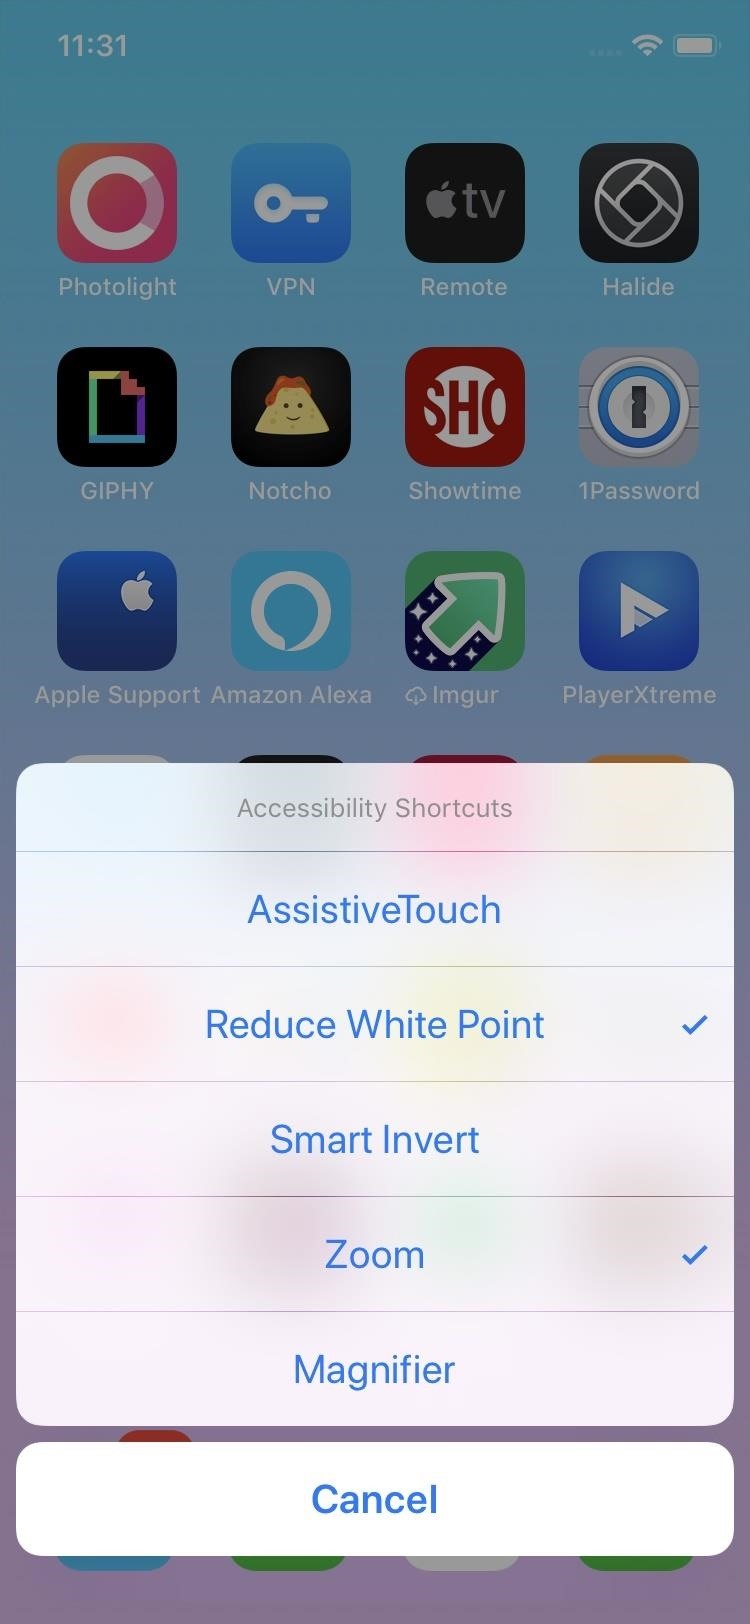
Now, in the "Accessibility" settings, go all the way down and tap "Accessibility Shortcut" again. Then, just make sure "Zoom" is checked. Afterward, triple-click either the Home or Side button, depending on your iPhone model.
If you only have "Reduce White Point" checked for the accessibility shortcut, triple-clicking will apply the filter and reduce brightness right away. If you have more than one thing checked, an action sheet will pop up — tap "Zoom" to apply the filter and reduce brightness. Your display may zoom in afterward, and if so, tap the screen with three fingers at the same time to go back to the zoom-less view.
Step 3: Lower Display Brightness
The last thing to do is to use the normal brightness controls to make the display even dimmer. However, at the point, the screen will already be super dark, but you can go even lower if you want.
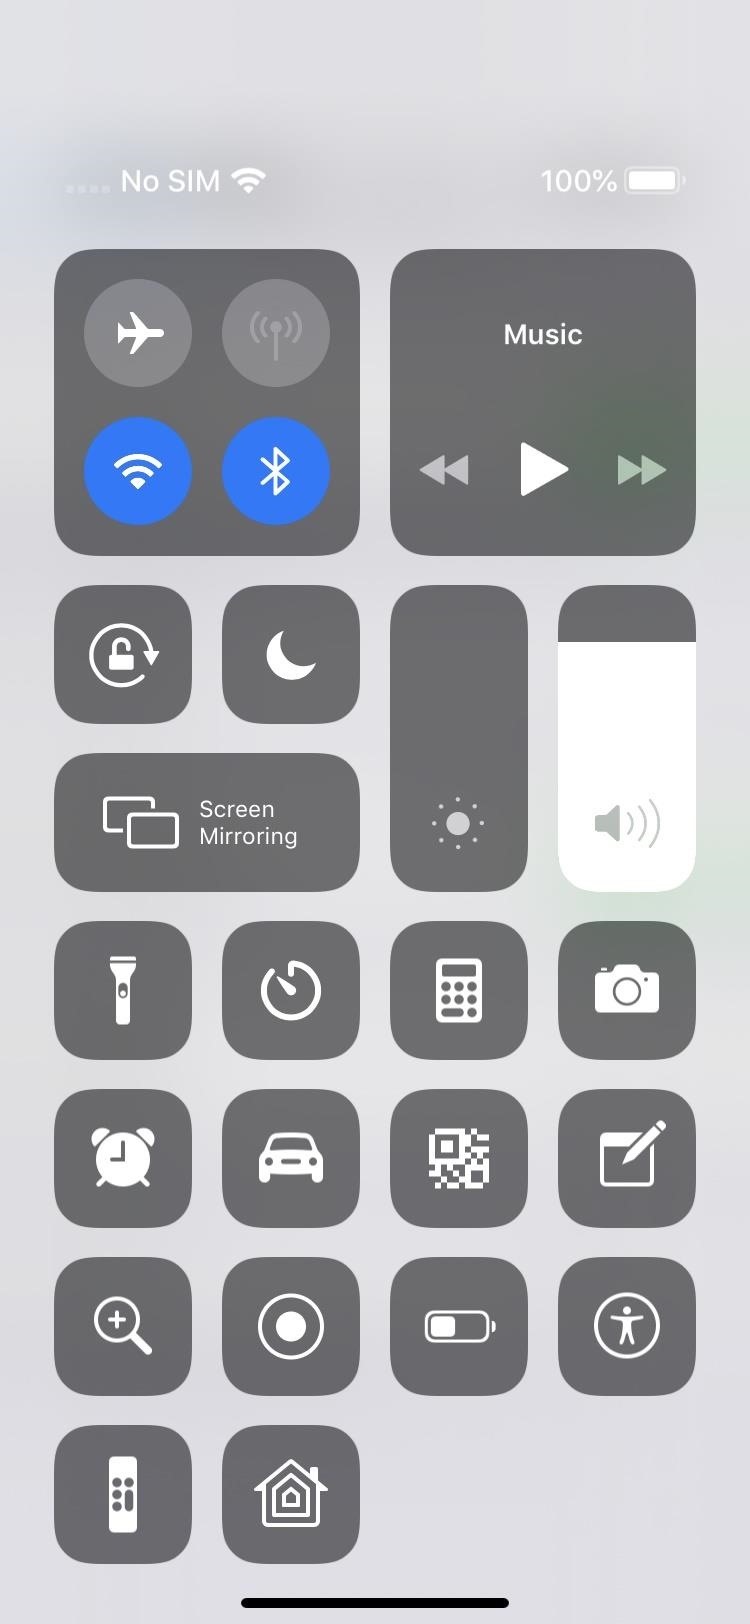
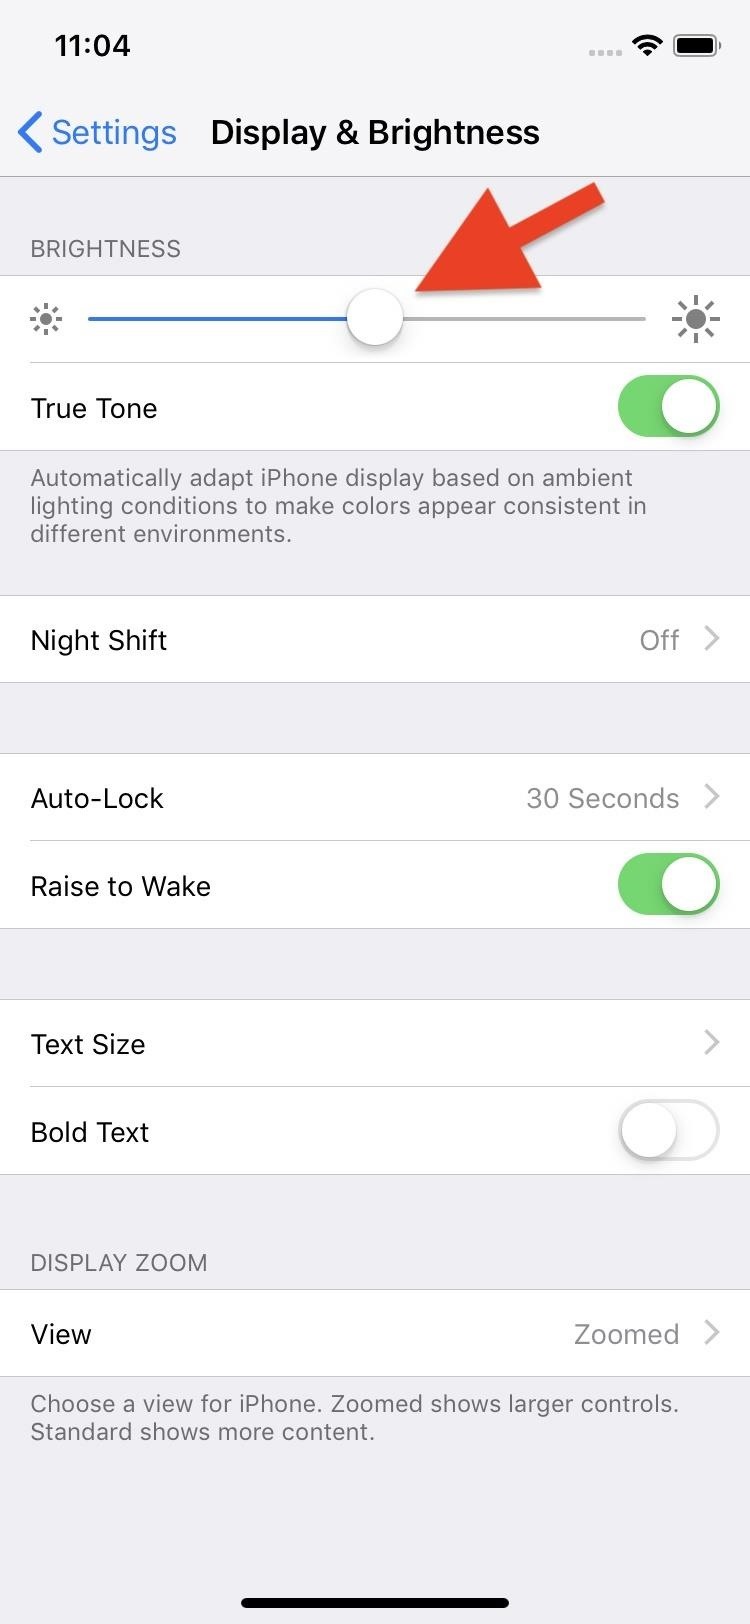
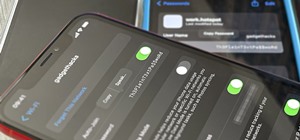
To do this, open up the Control Center and move the display brightness control down. Alternatively, you can open Settings, tap "Display & Brightness," then adjust the brightness slider accordingly.
With the display brightness turned all the way down, Reduce White Point enabled, and the Low Light filter applied, items on your screen won't even be visible — that's how dark it can get. That could make using your iPhone very difficult.
If you accidentally turn it the brightness entirely off, you can use the Control Center and slide up the brightness where the control typically sits. You won't be able to see what you're doing, but it's easy enough since that control doesn't seem to move. If you can't get that to work, restart your iPhone.
Just updated your iPhone? You'll find new emoji, enhanced security, podcast transcripts, Apple Cash virtual numbers, and other useful features. There are even new additions hidden within Safari. Find out what's new and changed on your iPhone with the iOS 17.4 update.


1 Comment
Muy bn.
Share Your Thoughts