

There are definitely some great things about iOS 7, but like any good piece of software, it's got some things to kink out—and how wallpapers work seems to be one of the biggest issues, since it's so much different than in previous iOS versions.
We've seen tons of questions popping up all over iOS softModder about various wallpaper problems, from not being able to see white fonts clearly, to photos automatically zooming in when trying to crop them as wallpapers, to notifications blurring out the wallpaper on the lock screen.
For the most part, there are easy fixes for all of these problems, and in this guide, I'm going to discuss them all. I'll also be including some general tips for making better custom wallpapers in iOS 7 on your iPhone, iPad, or iPod touch.
UPDATE: Upcoming Fix for Auto-Zoomed Wallpapers in iOS 7.1
In the latest beta build of iOS 7.1, there's a fix for the resizing issue most of you have been dealing with, but it won't appear until 7.1 gets released to the public (rumored to be in March sometime). Until then, you should continue with the following fixes.
Why Wallpapers Auto Zoom When Cropping
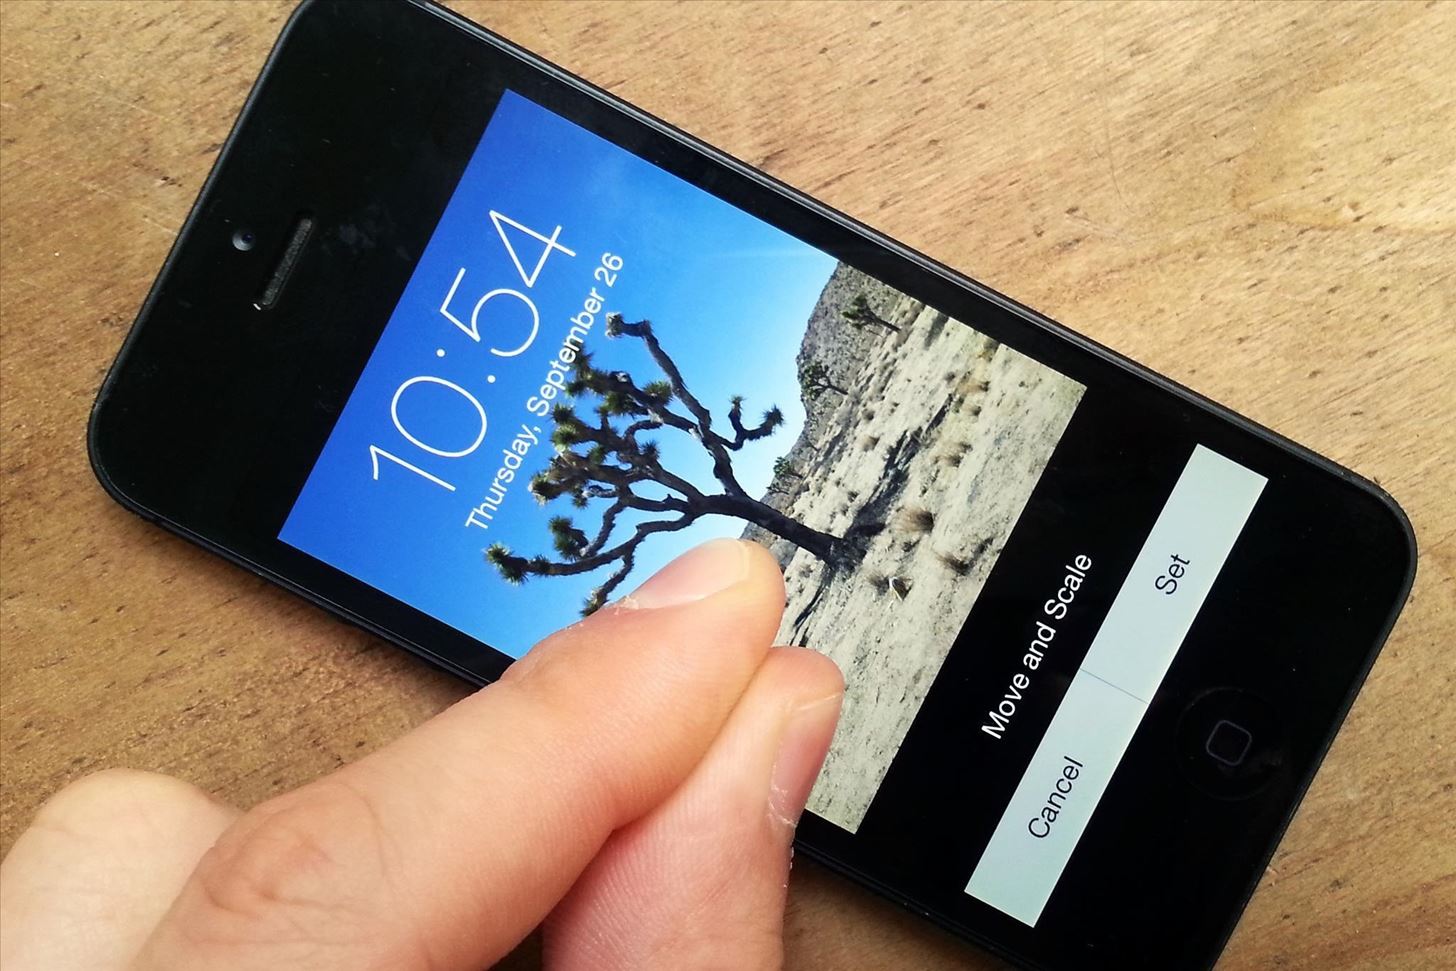
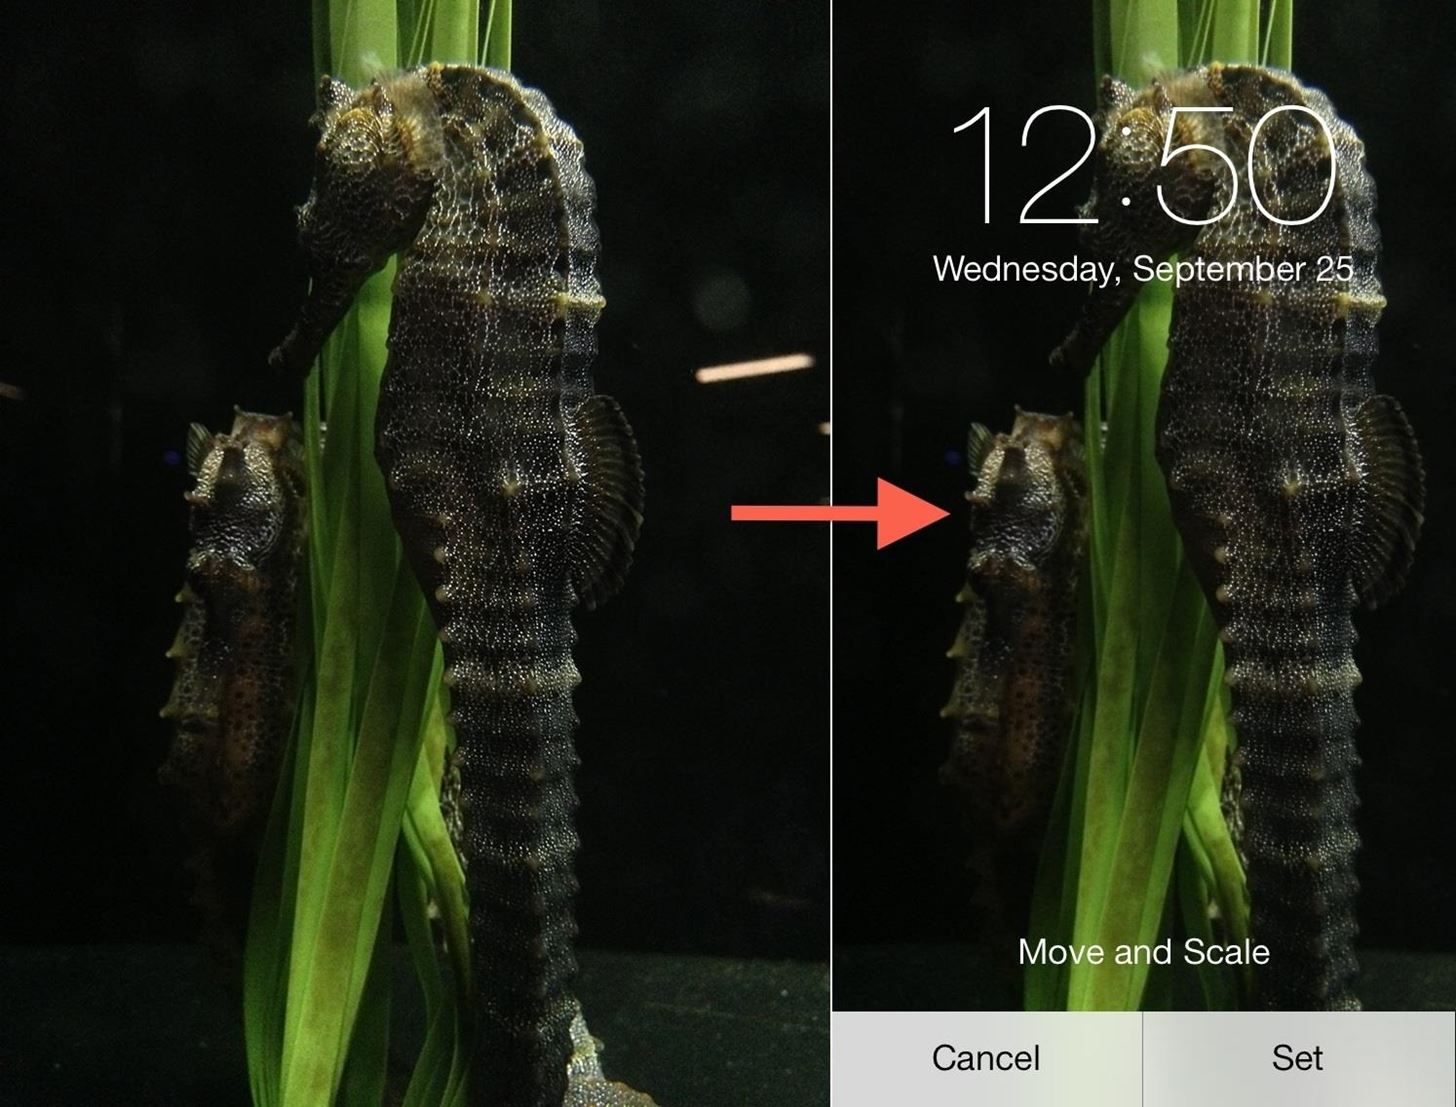
You probably haven't noticed this issue if you're using one of the stock Apple wallpapers, but if you're trying to use your own photo as a wallpaper, it automatically zooms in when trying to crop it to perfection.
And it's even worse if you're trying to use a square image with no real buffer around the subject, like one from Instagram.
This is because of the parallax effect, which creates the illusion of a multilayered 3D system, with the background on a separate plane from text, app icons, clock, etc. When you tilt the device around, the gyroscope and accelerometer creates a change in the orientation of the different planes, therefore increasing your depth perception.
Because of this effect, your wallpapers need more cushion on the sides to allow them to move freely around as you tilt your device.
What Apple Devices Use the Parallax Effect
Parallax wallpapers are only available for iPhone 4S, iPhone 5, iPhone 5S, iPhone 5C, and some newer iPad and iPod touch models. It does not work on the iPhone 4 or lower.
How to Disable the Parallax Effect
If you'd rather have more control over your wallpapers, you can easily disable the parallax effect in your settings. Actually, it doesn't disable it entirely, but it's close enough to let you crop wallpapers how you want them.
If you want to disable parallax, simply head over to Settings -> General -> Accessibility -> Reduce Motion and turn it ON.
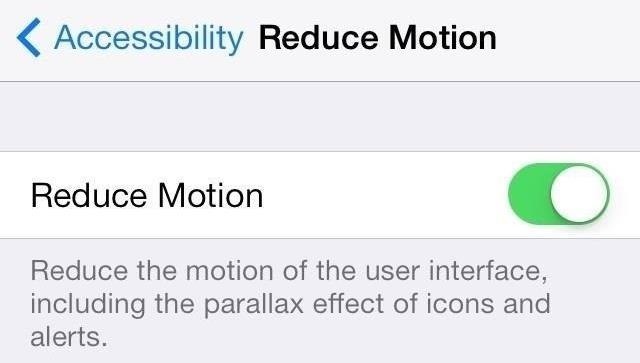
Like I said, this won't disable the parallax effect entirely, but it reduces it enough to make custom wallpapers more workable, and will stop the auto zooming when cropping.
What Will Happen if You Disable Reduce Motion?
If you cropped your custom wallpaper to perfection, then go back and disable the Reduce Motion setting, the parallax effect will come back and your wallpaper will be automatically zoomed in. If you enable it again, it should go back to normal.

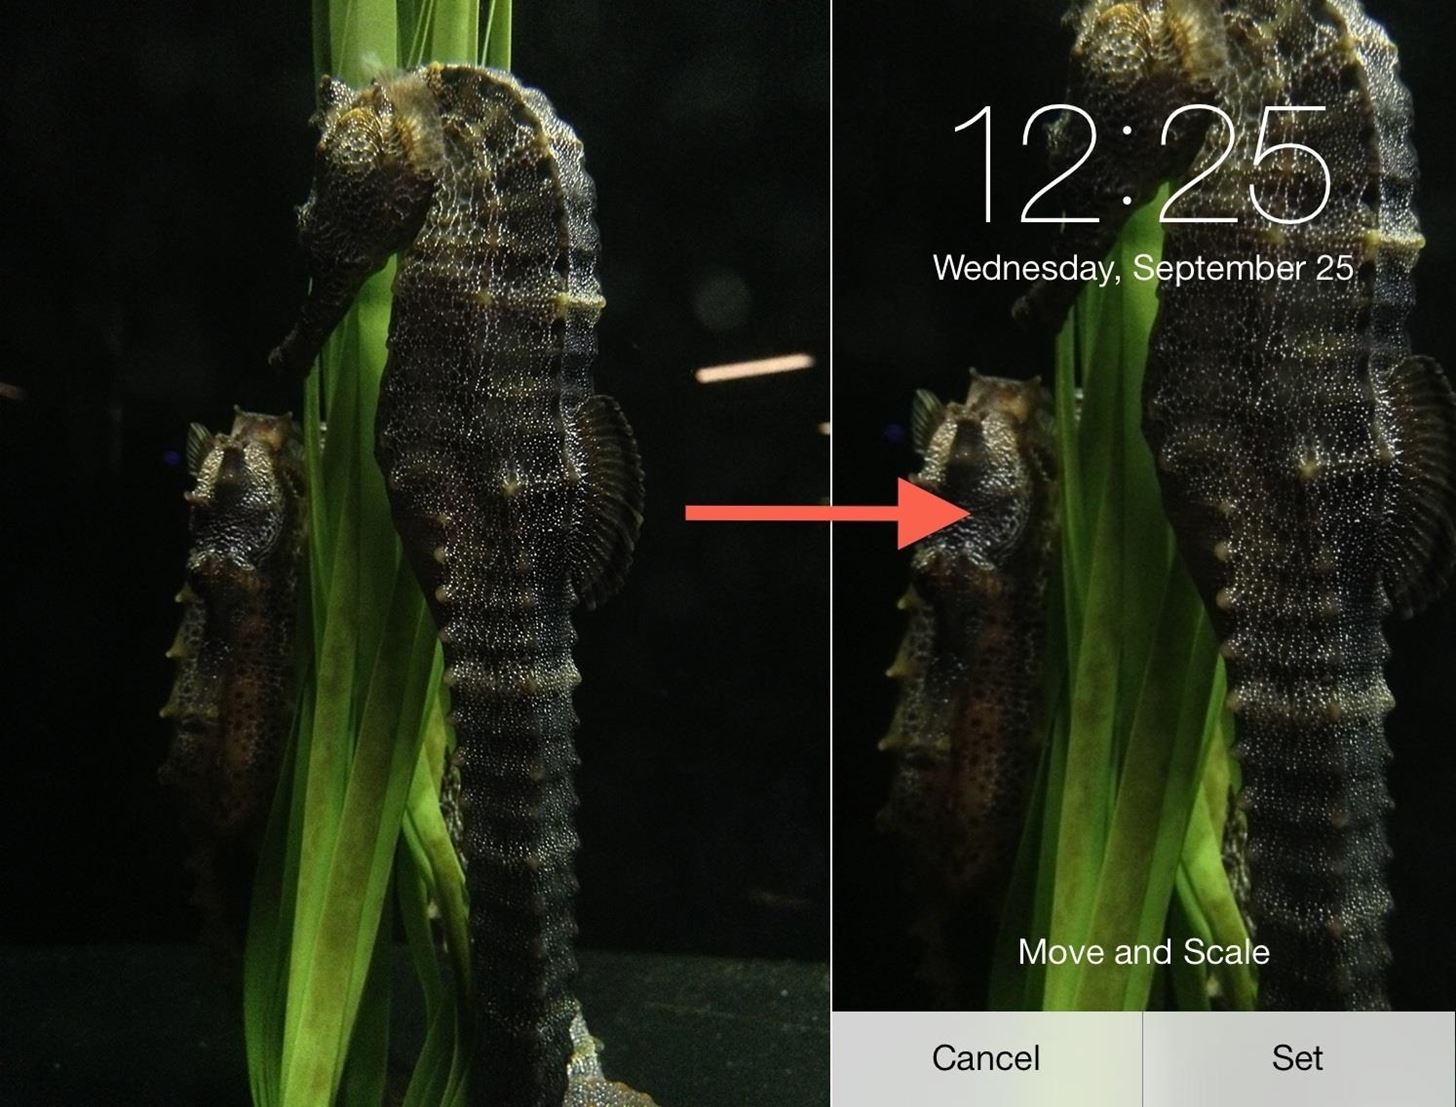
How to Fix the Green Bars Around Your Wallpapers
If you have the parallax effect disabled and set a custom wallpaper, you may have noticed a green (or other colored) border around your wallpaper, or only on one edge.
I've tested this with a few images, but it doesn't happen all of the time. It mostly occurs when you pinch to zoom out all of the way when adjusting the wallpaper, and happens more often than not with square images.

You probably can't see the difference above, but let me zoom in for you.
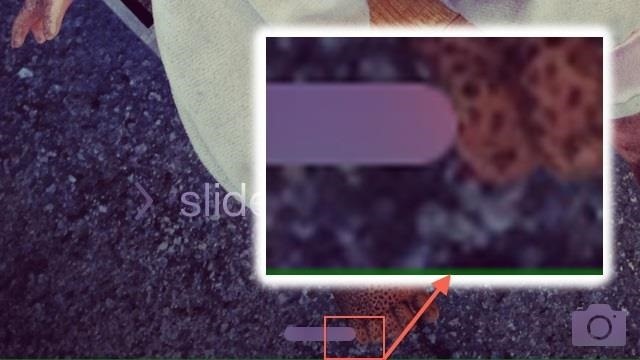
See it? The green bar?
If this happens to you, just make sure to zoom in slightly when cropping and adjusting your wallpaper. You won't be able to see if it worked or not until you set it, since the gray bar at the bottom obstructs your view, but it's easy enough to readjust.
The Easiest Way to Make Your Own Parallax Wallpapers
If you actually like the parallax effect, you can easily make custom parallax wallpapers when you take photos by just making sure your subject is in the center and you have a big enough border around it.
The easiest thing to do is just take a photo with the new Camera using the Square feature. Make sure your subject is in the center of the grid and take the picture. It should work out quite nicely with parallax.
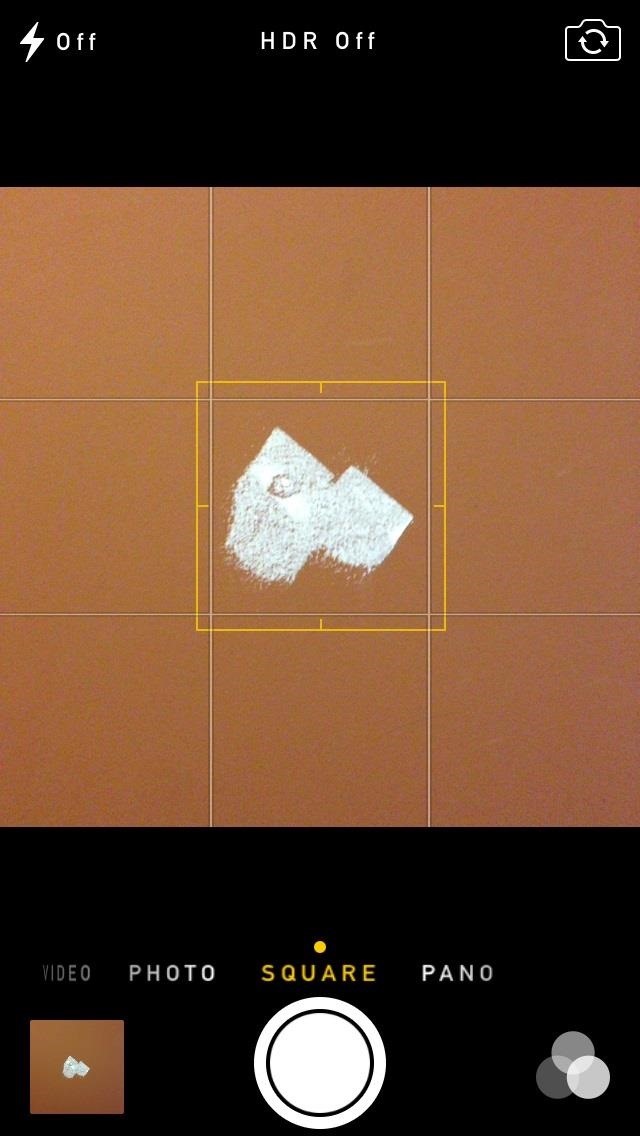
Obviously, you can use Instagram too, or just crop the photo into a square using your iPhone's editing feature if you want to use a regular pic. Just make sure there is a decent border around your subject in the photo.
This method might work differently on iPads, since they have a wider screen, so the best thing to do is play around until you find the perfect crop for your wallpaper.
The Difficult Way to Make Parallax Wallpapers
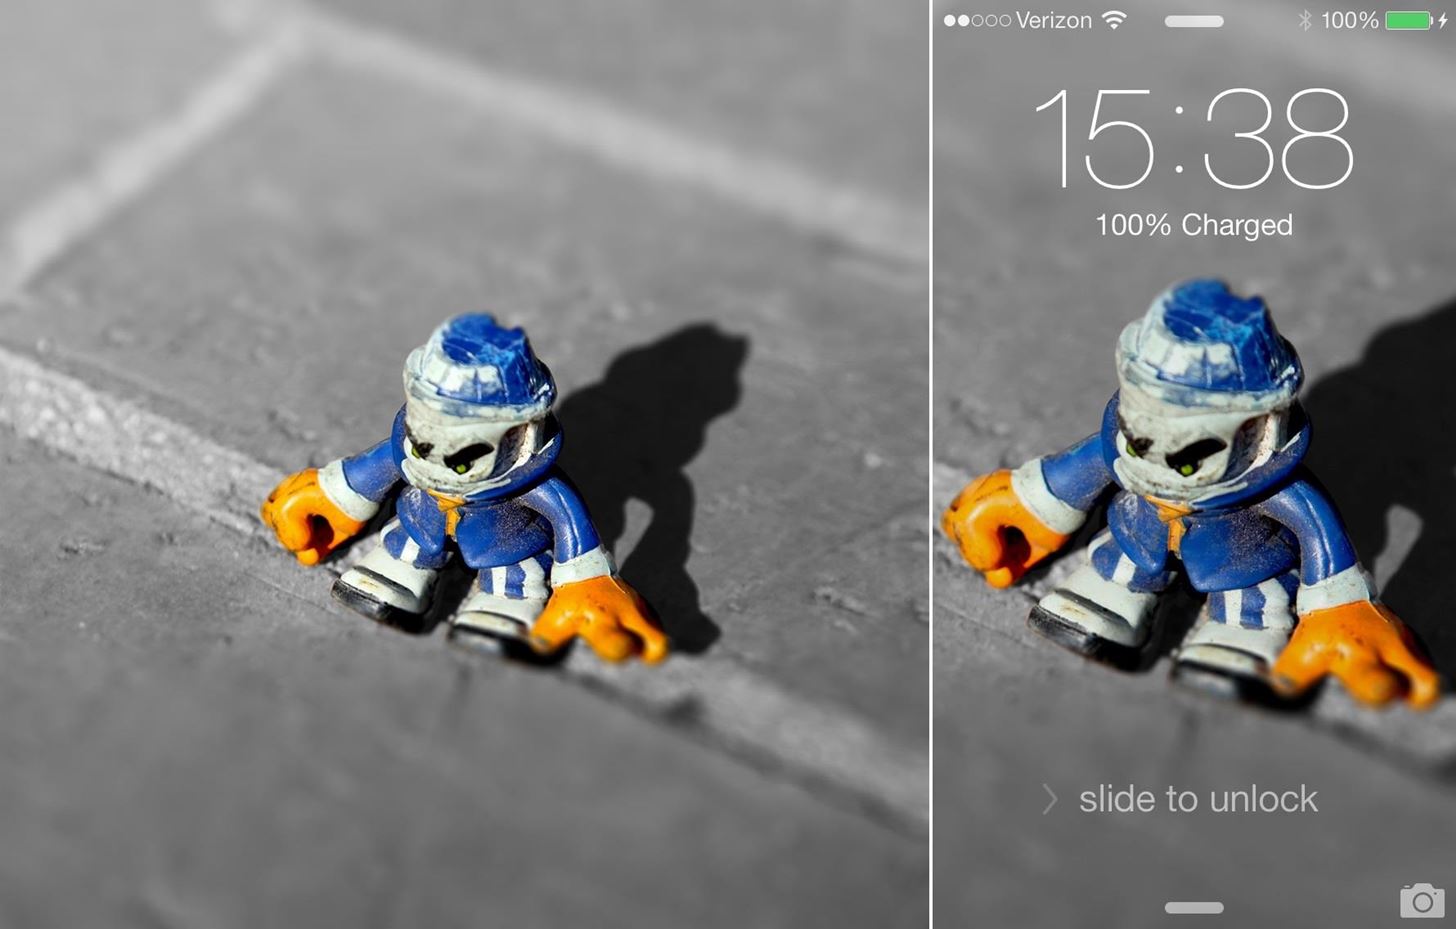
Let's look at the following example without the parallax effect. It's pretty easy to get the toy figurine exactly where I want it—right in-between the time/date and unlock slider—using the photo I have.

In order to get that figurine in the same exact place with the parallax effect on, I had to crop it into a square with equal space on each side of the figurine, just like if you were taking a square pic.
Unfortunately, I did not have enough real picture on the top of the image to do this right and make sure the figurine ended up in the center where I wanted it.
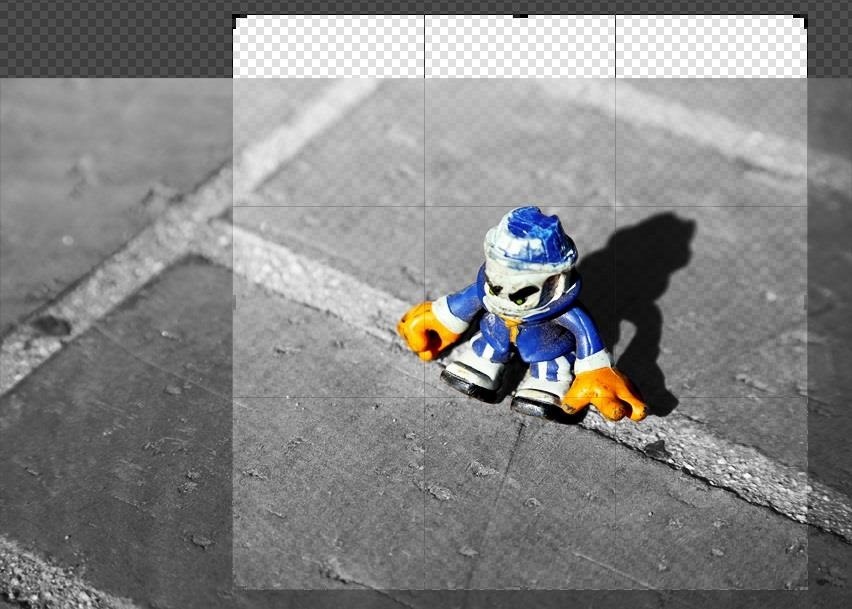
So I had to use the Clone Stamp tool to fill it in, and I'm not that good at it, so I decided to add a little Tilt Shift to blur out my crappy Photoshopping skills.
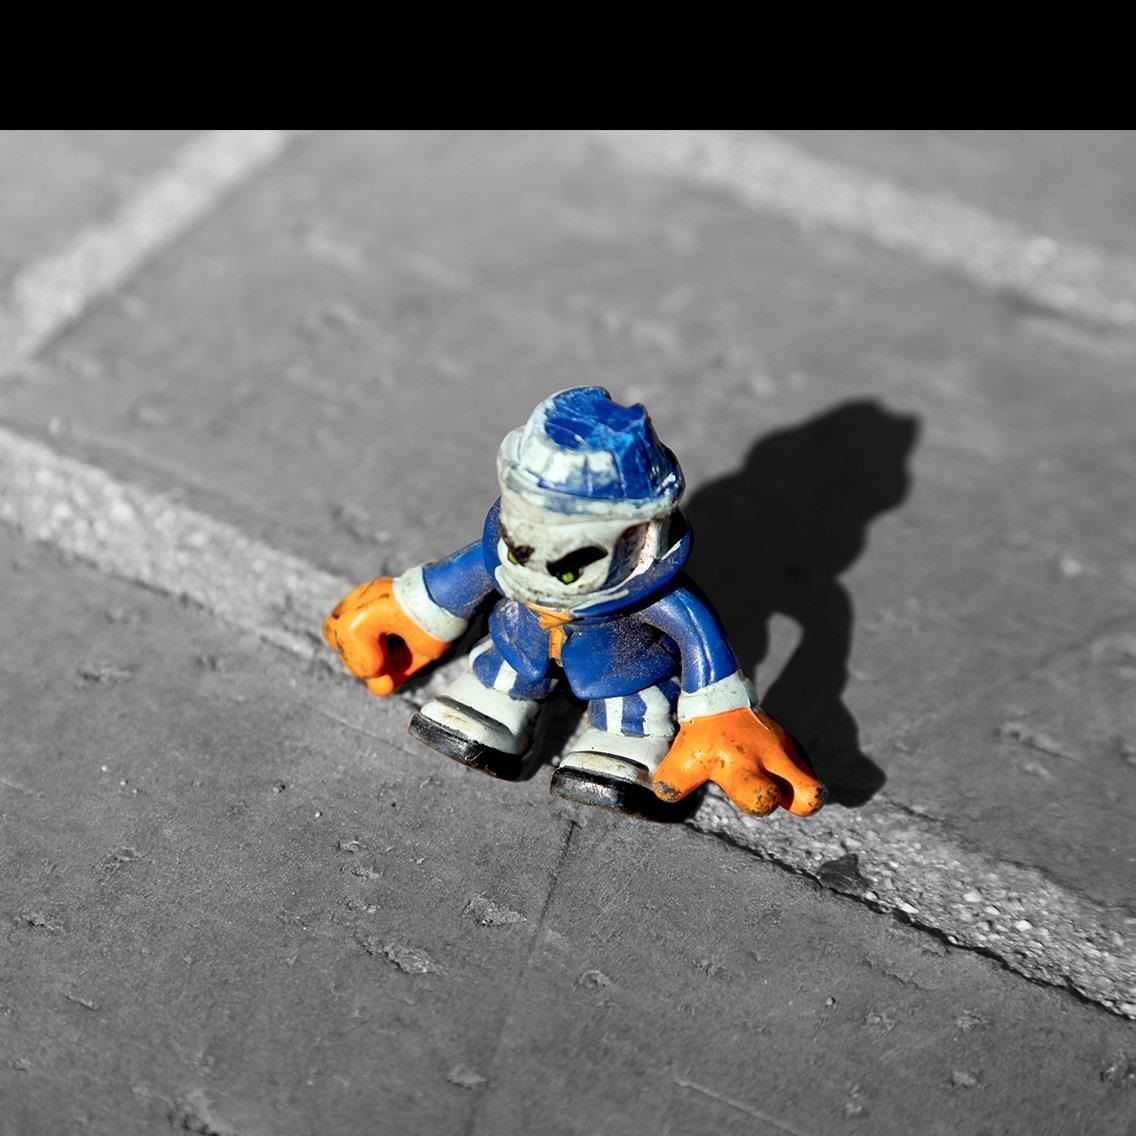
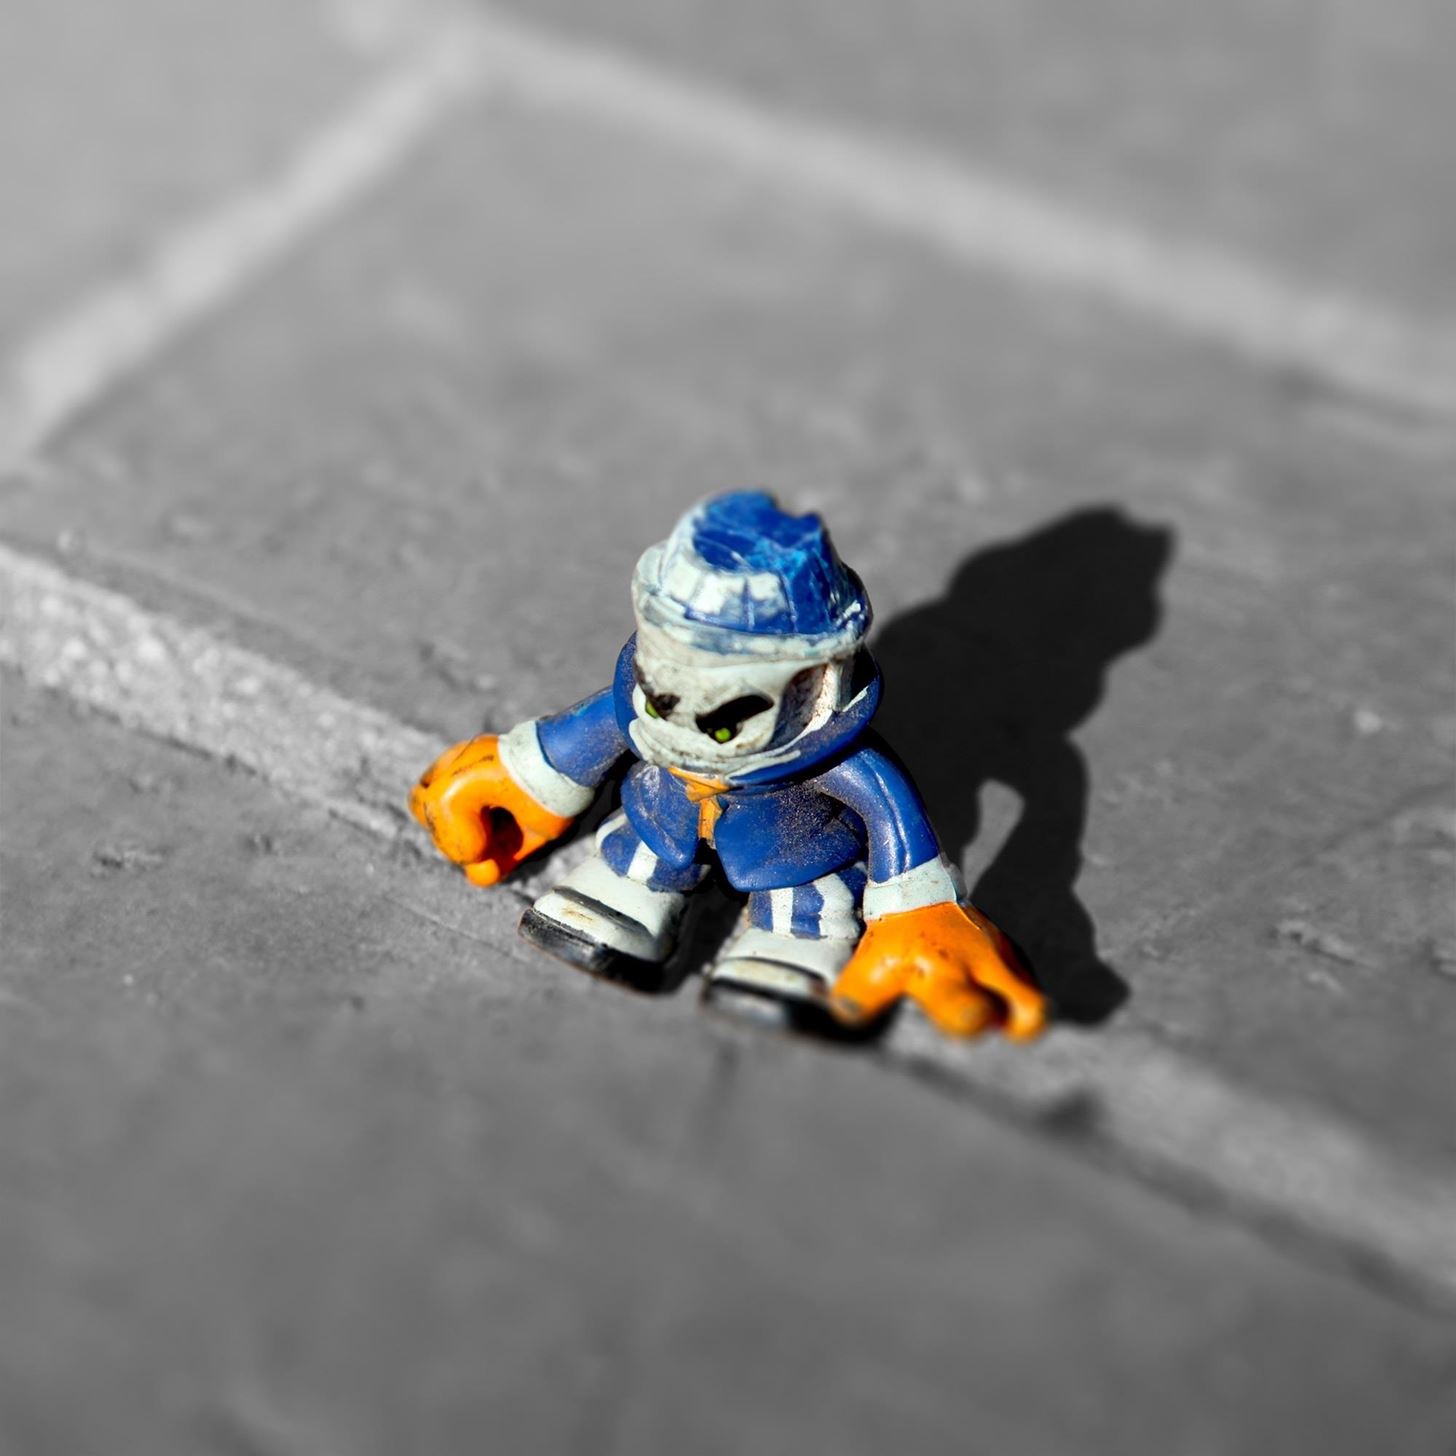
But the end result is pretty much where I want it, only it took way more time than just taking the photo as a square.
If you don't have Photoshop, GIMP, or another photo editing software, it's probably best to just stick with making sure you take photos as square with the subject tiny in the center.
Don't Like Squares? Just Add 200 Pixels
If you don't want to have some leeway with your wallpapers, you can always just add 200 pixels to each side of your image to get the perfect parallax-compatible wallpaper.
Let's say I want the picture below on the left to be my wallpaper. It's sized for my iPhone 5 at 640 x 1136 pixels. To get it to look exactly like that on the lock screen, I'll add 200 pixels to each side, for 1040 x 1536, which gives me the image in the middle.
The result is pretty good, but if you want the exact same crop, you'll probably still have to zoom in a little, and even then it won't be perfect.
Below on the left is the original 640 x 1136 image cropped from above, with the untouched, unzoomed version on the lock screen (a little zoomed out), and the zoomed in version on the far right (a little closer to the original).
So, it's not a perfect solution, and my least favorite, since a square is so much easiest to manage, but it gets the job done.
If you follow this rule, use the below sizes for reference.
- iPhone 5/5C/5S: 1,040 x 1,536
- iPhone 4S: 1,040 x 1,360
- iPad (3rd, 4th gen): 1,936 x 2,448
- iPad Mini: 1,168 x 1,424
- iPod Touch (5th gen): 1,040 x 1,536
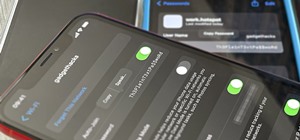
How to Get Black Text on the Home Screen
Some users, like myself, hate the tiny white text that appears on the Home screen. It's not so bad on the lock screen, but it can pretty hard to read app and folder names on the Home screen.

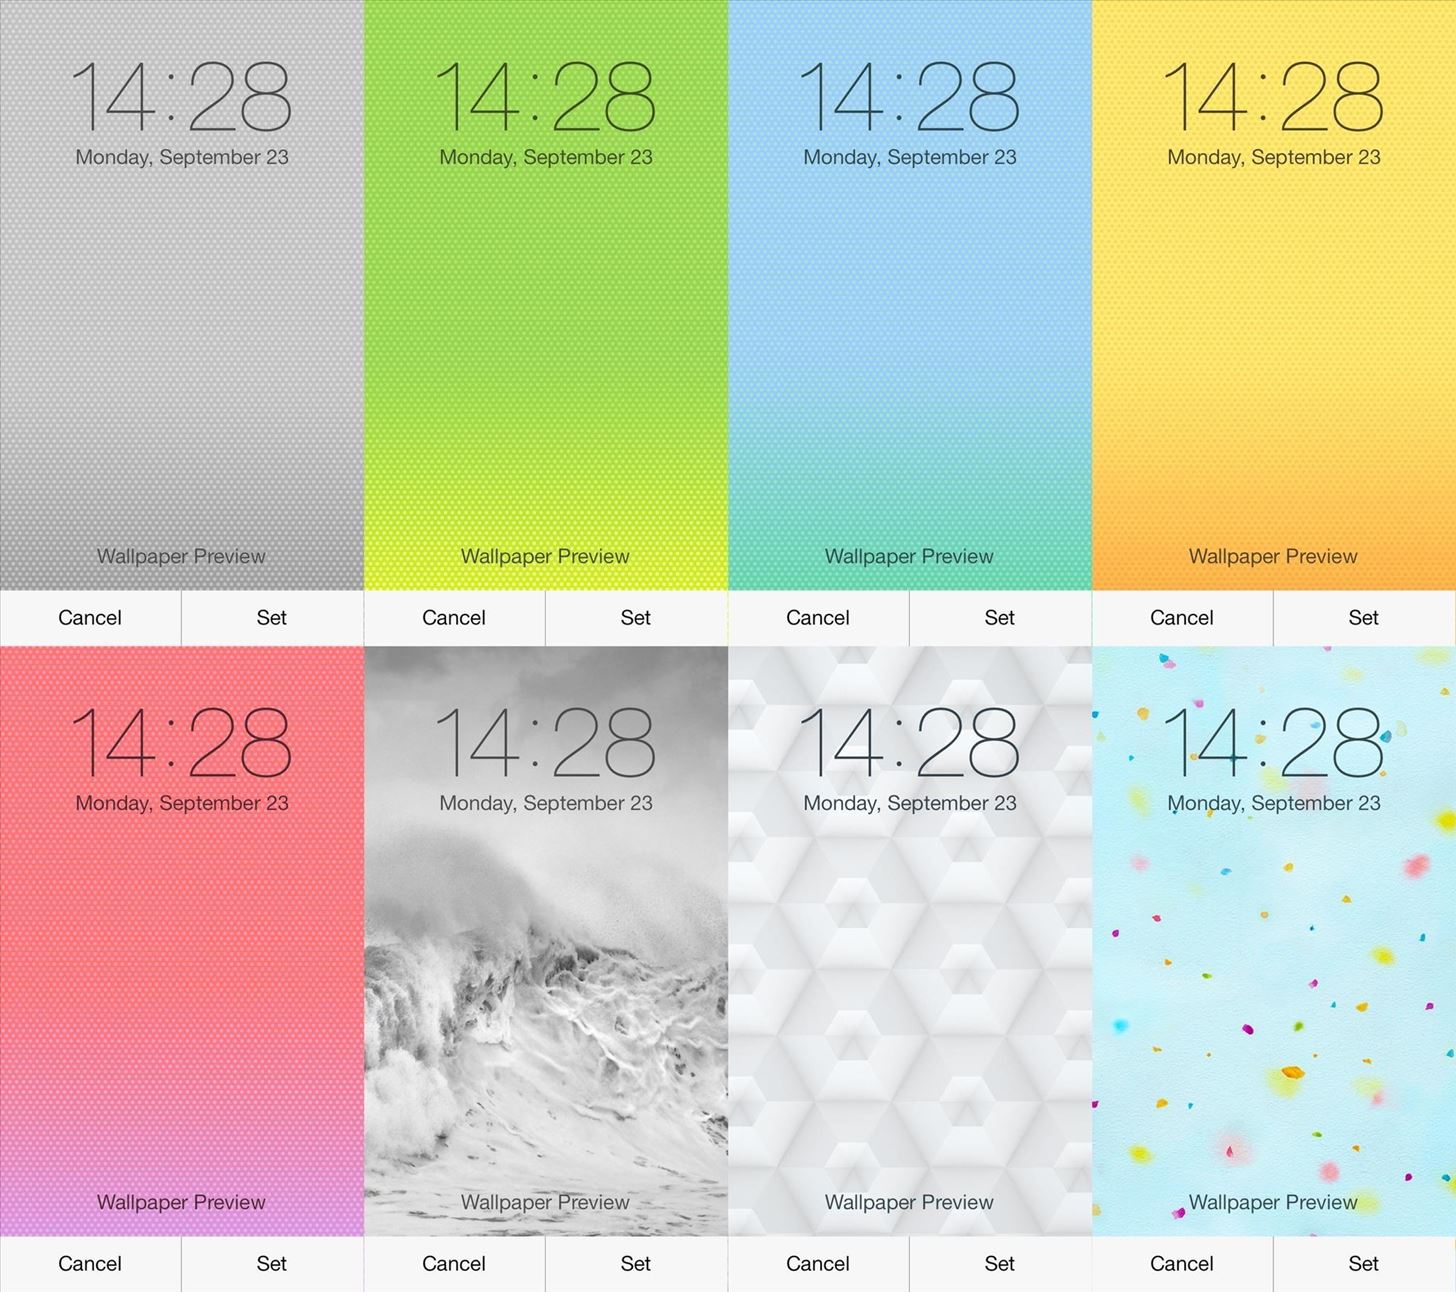
Thankfully, you can make the text black by simply picking the right wallpaper. Apple included 40 stock wallpapers choices, but only 8 of them will let you change the text on the Home and lock screen to black—and none of them are dynamic wallpapers.
These are the only ones you can use for dark fonts.
The Colors Needed in Custom Wallpapers for Black Text
If you want to get black text on the Home or lock screen using your own custom wallpapers, it gets a little tricky, and it pretty much depends on what colors are dominant.
Going off of hex color codes, if you're using a white or grayish wallpaper, BBBBBB through FFFFFF will give you black text, while AAAAAA and darker will give white.
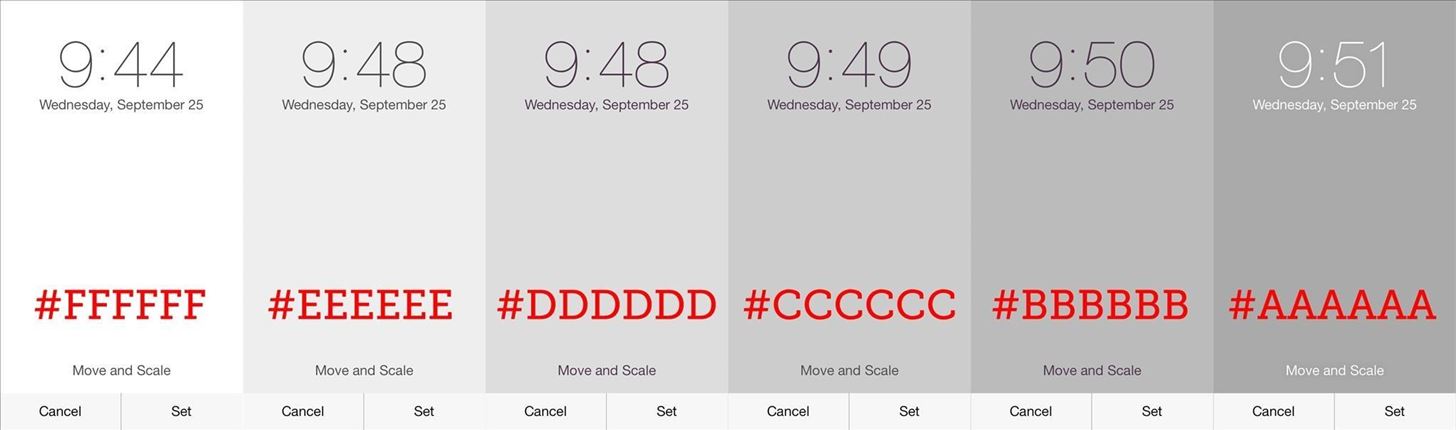
As for more vibrant colors, just make sure the color is as light as possible to get black text to appear. I'd go through and test them all, but I'm afraid it would take me a long time, since there's at least 1,500 more colors.
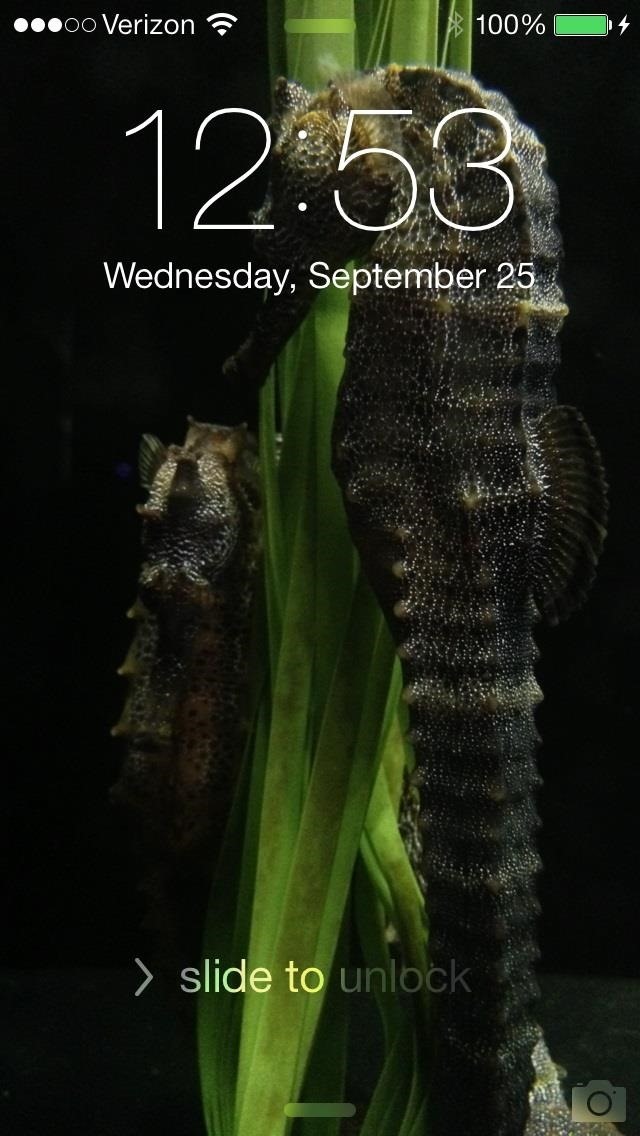
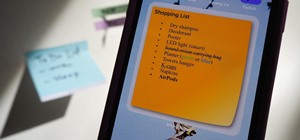
The Blurry Lock Screen Wallpaper Problem
So, when you first updated to iOS 7, you probably noticed the notifications work differently with your wallpaper on the lock screen. Whenever you receive a new alert, the lock screen wallpaper blurry. This is because of the translucent notification panel, which adds prominence to the new alert.
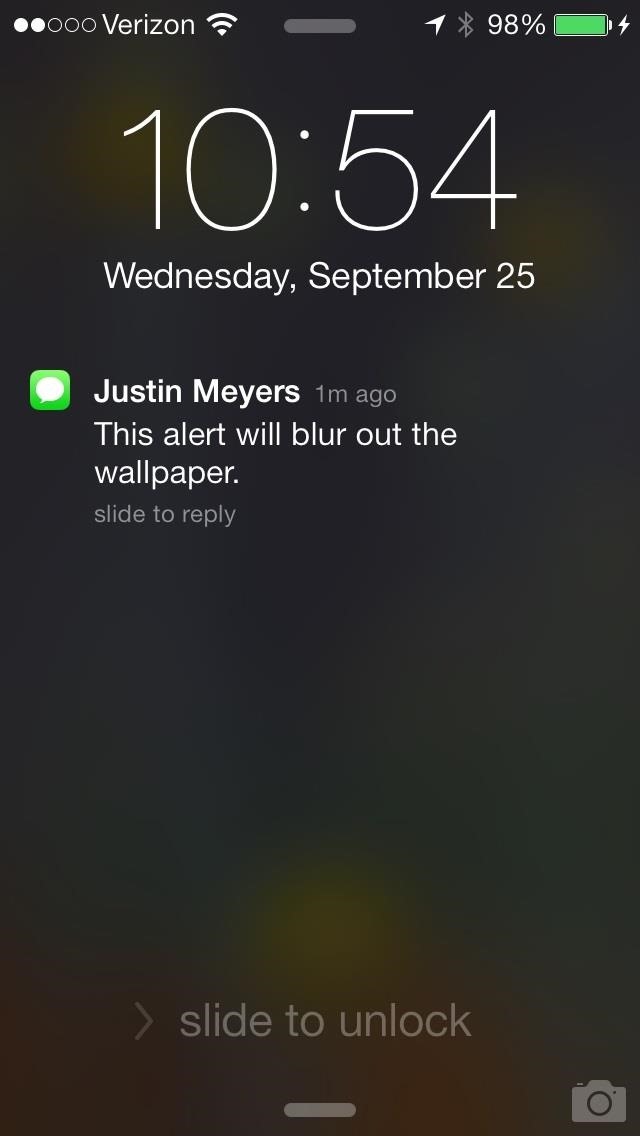
Additionally, your wallpaper will become blurred on the unlock screen, as well, not just for new notifications.
Technically, there is no way yet to get rid of the translucency effect on the lock screen so you can see the wallpaper in all its glory. At least, not yet.
How to Get Rid of Blurry Lock Screen Wallpapers
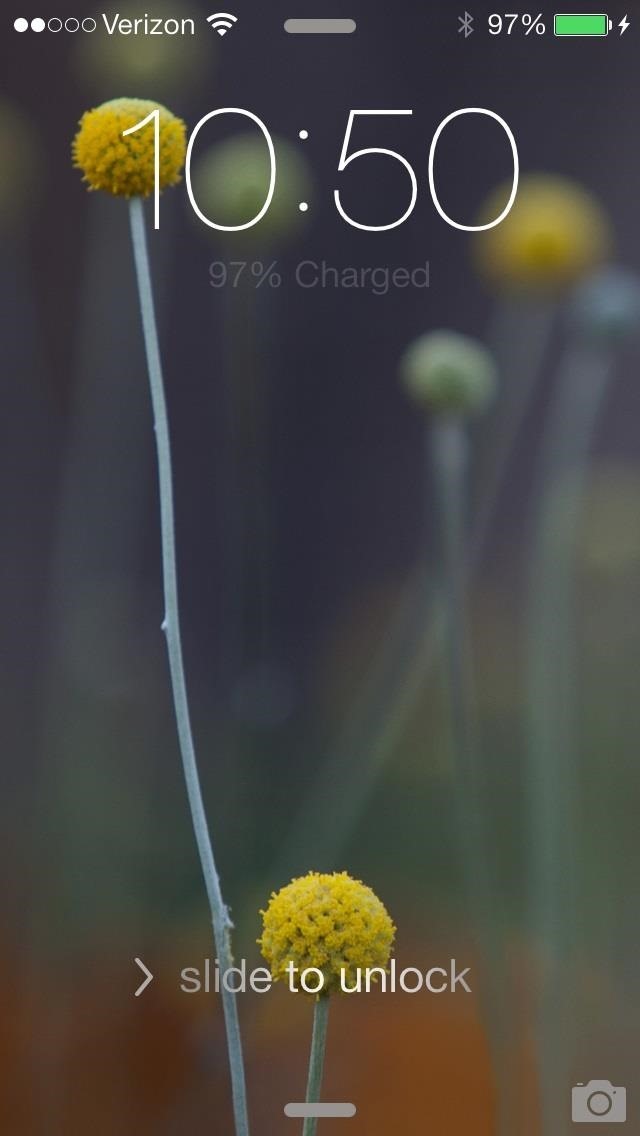
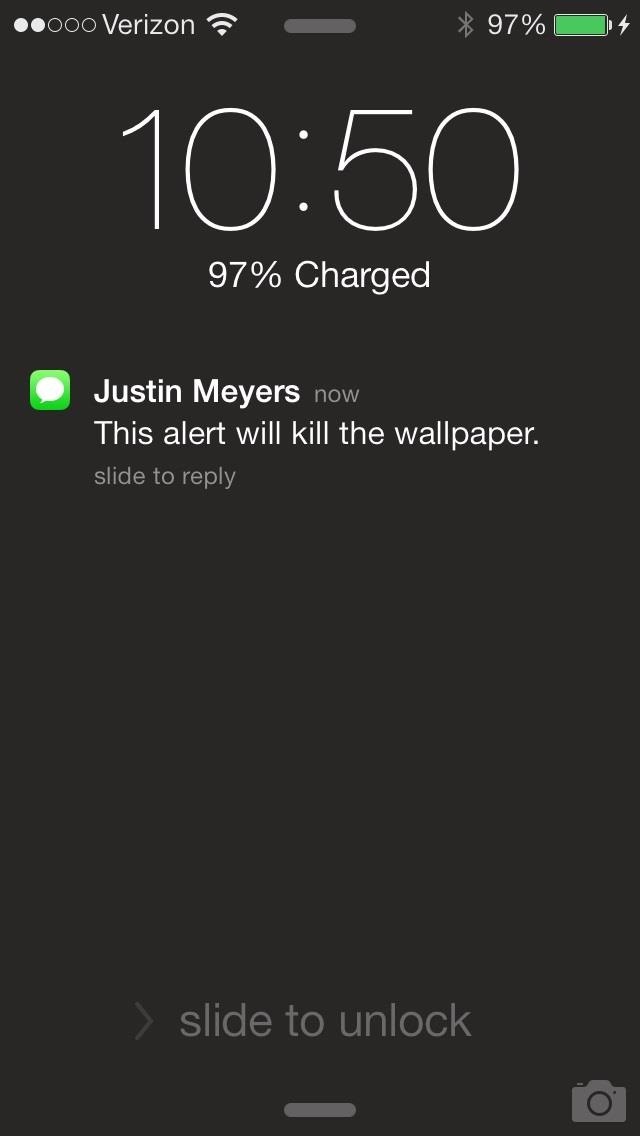
However, there is another option available if you don't like your brilliant background blurred. Go to Settings -> General -> Accessibility -> Increase Contrast and make sure it's ON.
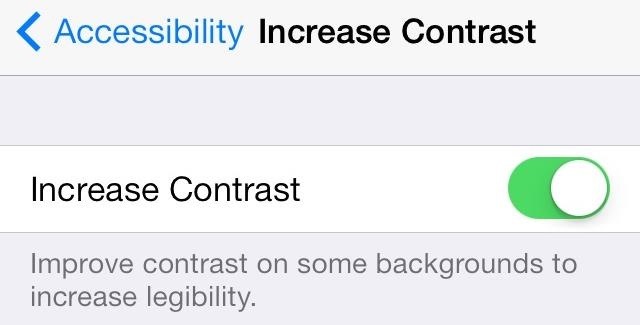
This will disable the wallpaper on your lock screen altogether when you get a new alert or are unlocking your device, replacing it with a gray background instead.
If you'd rather have a blurred out wallpaper, simply head back and decrease the contrast in your settings.
More iOS 7 Tips!
There's a lot to learn about the new iOS 7 for iPad, iPhone, and iPod touch, so make sure to visit our iOS 7 tips section to explore all of the new features and hidden tricks. Also make sure to check out the 15 most annoying things, 18 coolest new features, and 18 sneaky privacy-betraying settings in iOS 7 that every iPhone user should know about.
Submit Your Favorite Custom Wallpapers Below!
If you made a really cool parallax wallpaper for your iPhone, iPad, or iPod touch, please share it below in the comments for the rest of us to download and use. What's the best one you've got?
And if you have any issues, feel free to ask them below or visit the iOS softModder forum for help.
Just updated your iPhone? You'll find new emoji, enhanced security, podcast transcripts, Apple Cash virtual numbers, and other useful features. There are even new additions hidden within Safari. Find out what's new and changed on your iPhone with the iOS 17.4 update.


12 Comments
There is an app for that, called Wallax- Scale, Resize & Make your own wallpapers for iOS 7. Works for both iPhone & iPad.
Except that app costs money.
You could easily get the same effect by using two layers in Photoshop or whatever, then enlarging the bottom layer and blurring it out. Does the same thing, but either way, you have to pay extra close attention to how you're scaling the image in the settings so that you don't see those blurred out borders, which kind of defeats the purpose of a wallpaper for me.
It's their own app
I have another question, though.
In iOS 6, I loved to use Icon Skins (that I downloaded, not 'took a picture of'), and when set it and just automatically formatted to be perfect and wrap around those icons as intended.
When I used iOS 7, it zooms IN automatically and I can't zoom it back out to make it wrap around the icons nicely.
How do I disable that 'Autozoom' feature, or whatever its called?
That's the motion effect that the parallax effect gives. Reducing motion can help, but your iOS 6 skins still probably won't work that great anyway with iOS 7.
Here is a much easier way:
1) Open the picture you want in the camera roll
2A) Press anywhere on the screen other than the top or bottom menu
2B) The picture should now appear without the top and bottom menu (black)
3) Take a screenshot (home screen + power button)
4) Set the "new" picture of a picture as a wallpaper
Yes, you could do that. It is definitely easier, but it gives lackluster results, which is why I didn't include it.
Firstly, the image will almost always look worse, especially with landscape shots, because you're reducing the actual image size by a lot. Then, you have the black bars to look at (below, left). You could zoom into the image to make them disappear when setting it, but then the image looks grainy/blurry (below, middle) and you still might see the black bars pop up when you move the phone around if you didn't scale large enough. In that case, you might as well just use the original photo (below, right).
For portrait shots, it's not as bad, but you still have black bars (below, left), unless you scale (below, 2nd from left), but then still black bars when moving (below, 3rd from left).
The best way to kill the unwanted black bars, when still and moving, is to scale up, and it'll roughly be the same size as the original image auto-scaled. So, for me, it's better to just use the original, or Photoshop it to how I want it.
But, if the black bars are something that do not bother you, Philip's tip is definitely one to try out.
You are the man! Thx so much!
Finally, there's a solution that works.
Reduce Motion did not work on my iPhone5 (IOS 7.0.4). But the screen shot did. Thank you.
Thanks man! Wish I had googled this issue months ago.
Great tutorial, loved it.
I've experimented a bit with Inkscape and my trusty iPod Touch, and I've figured out how much margin is absolutely necessary for the parallax effect to work.
Defining the height of the center part as "100%", the top and bottom margins are "11%" each.
Share Your Thoughts